Back to Parent

Outcome


Intention

Preparing for early morning classes and appointments are quite stressful, even more so when you have to coordinate with a flatmate who has a similar schedule. Many people consider bath time a perfect time to relax and plan out their day, some even listen to music.  However,  there is a tendency to lose track of time.


My flatmate and I would both find it very convenient if there was some way of ensuring that we don't spend too much time in the bathroom every  morning so that we don't get ourselves and each other late.  She also suggested that an indication of whether the bathroom is occupied at any given point of time would help her organize her morning routine better. 

Goal

This device aims to optimize the time spent by a person in the bathroom by indicating to them when they have been in there for longer than 10 minutes. It plays music during this time to provide a relaxing experience.  The device also provides the status of bathroom occupancy to the others who share the bathroom. Further functionality in terms of an online spreadsheet that logs the number of minutes that the bathroom has been used has been provided. This can be used to keep a tab on the average time spent in the bathroom and re-calibrate the device if required. Users could use this to plan out a reward system among themselves.  


Process

Components used:

2 - 1k ohm resistor

1- 1ok ohm resistor

1 - Photoresistor

1 - Green LED

1 - Red LED

1 - Piezospeaker

1 - Particle Photon and breadboard

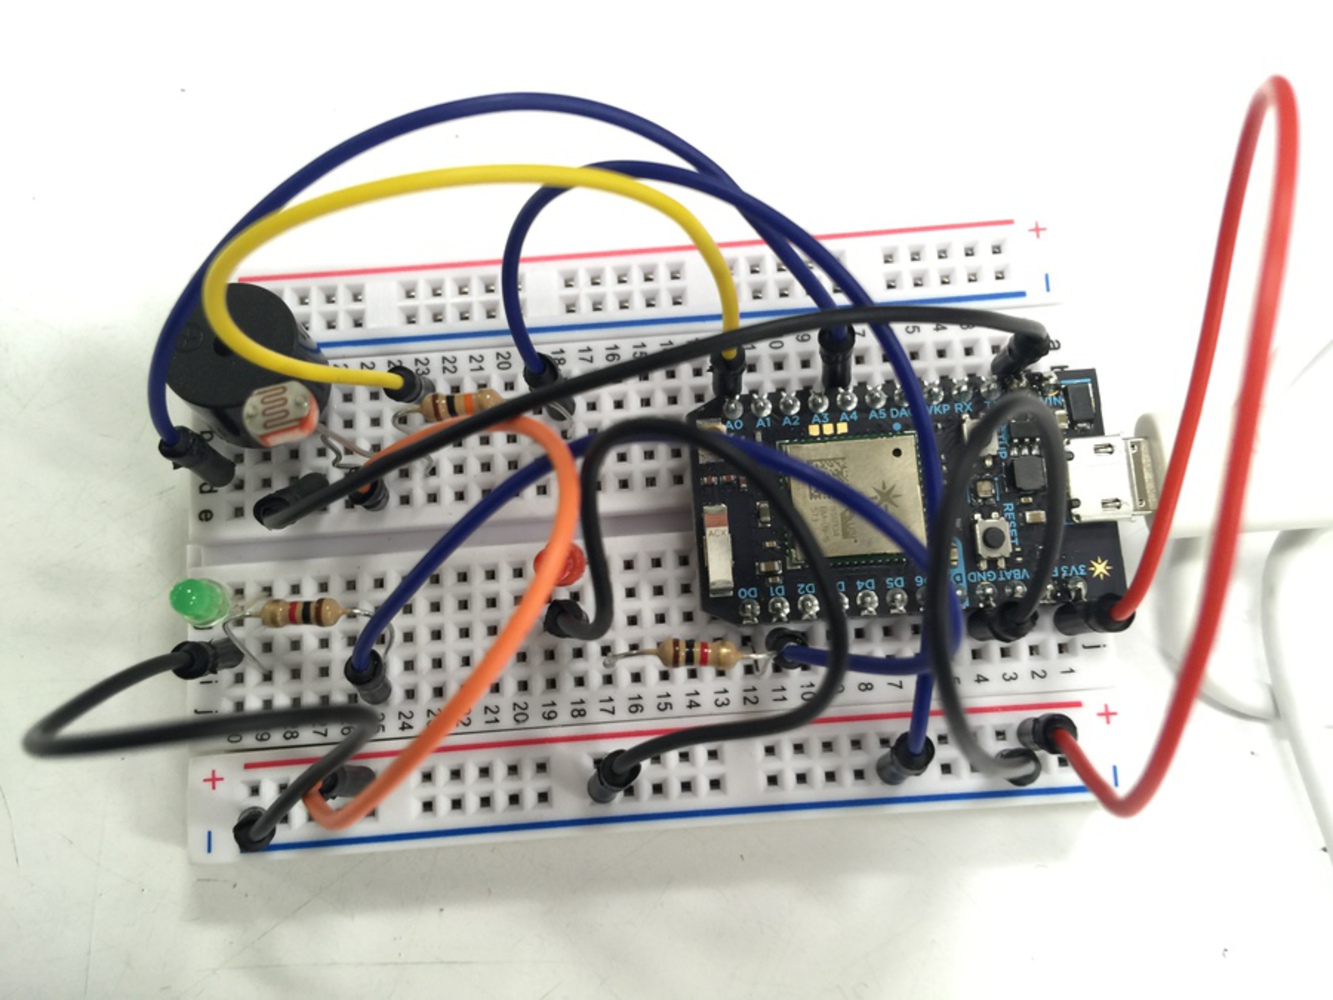
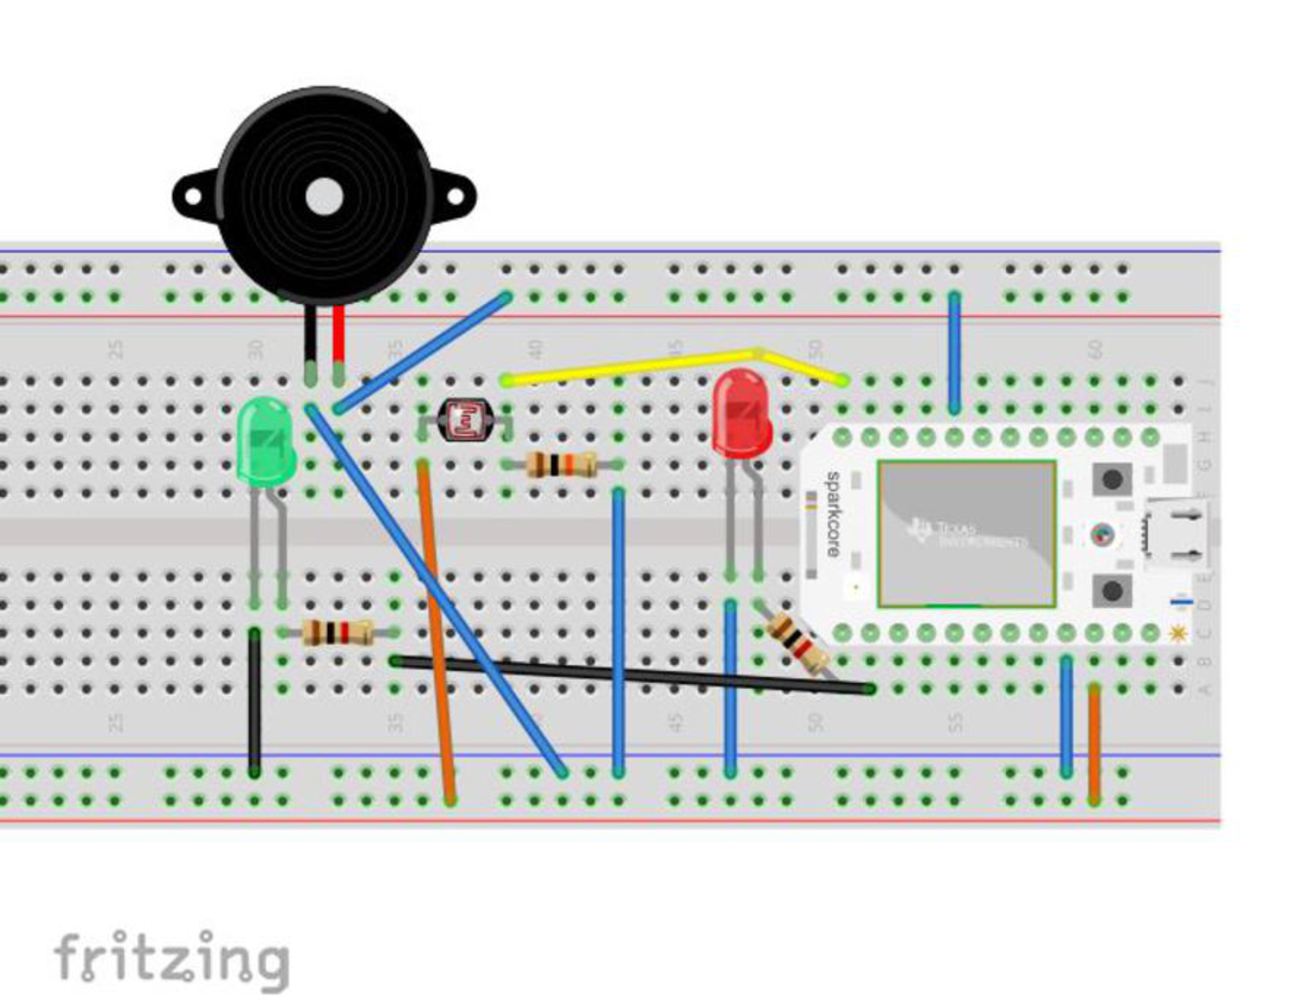
The circuit was assembled as shown below:

Displaying IMG_8181.JPG  

Bathroom time management.jpg.thumb
Show Advanced Options
Img 8181.jpg.thumb
Show Advanced Options

1. The first part of the circuit that I assembled and coded was the LED output part. The red LED is the one in the bathroom. It blinks once as soon as the light is turned on to indicate that the timer has started. After the light remains on for more than 10 minutes, it blinks continuously. The green LED is outside the bathroom. It glows to signal that the bathroom is in use.

2. The next part of the circuit and coding is the light sensor. A photoresistor was connected to an analog pin as the input part of the circuit. I then calibrated the bathroom light in my house to determine the threshold value that would trigger presence/absence and complete the circuit.

3. The music circuit is an additional feature. A piezospeaker was connected to an analog pin and programmed to play a part of a song. The code for this was obtained from an online source: https://learn.sparkfun.com/tutorials/sparkfun-inventors-kit-for-photon-experiment-guide/experiment-5-music-time . Initially, I intended the device to connect to an internet radio service such as Spotify or play music through my iPhone. However, IFTTT does not allow this functionality yet.

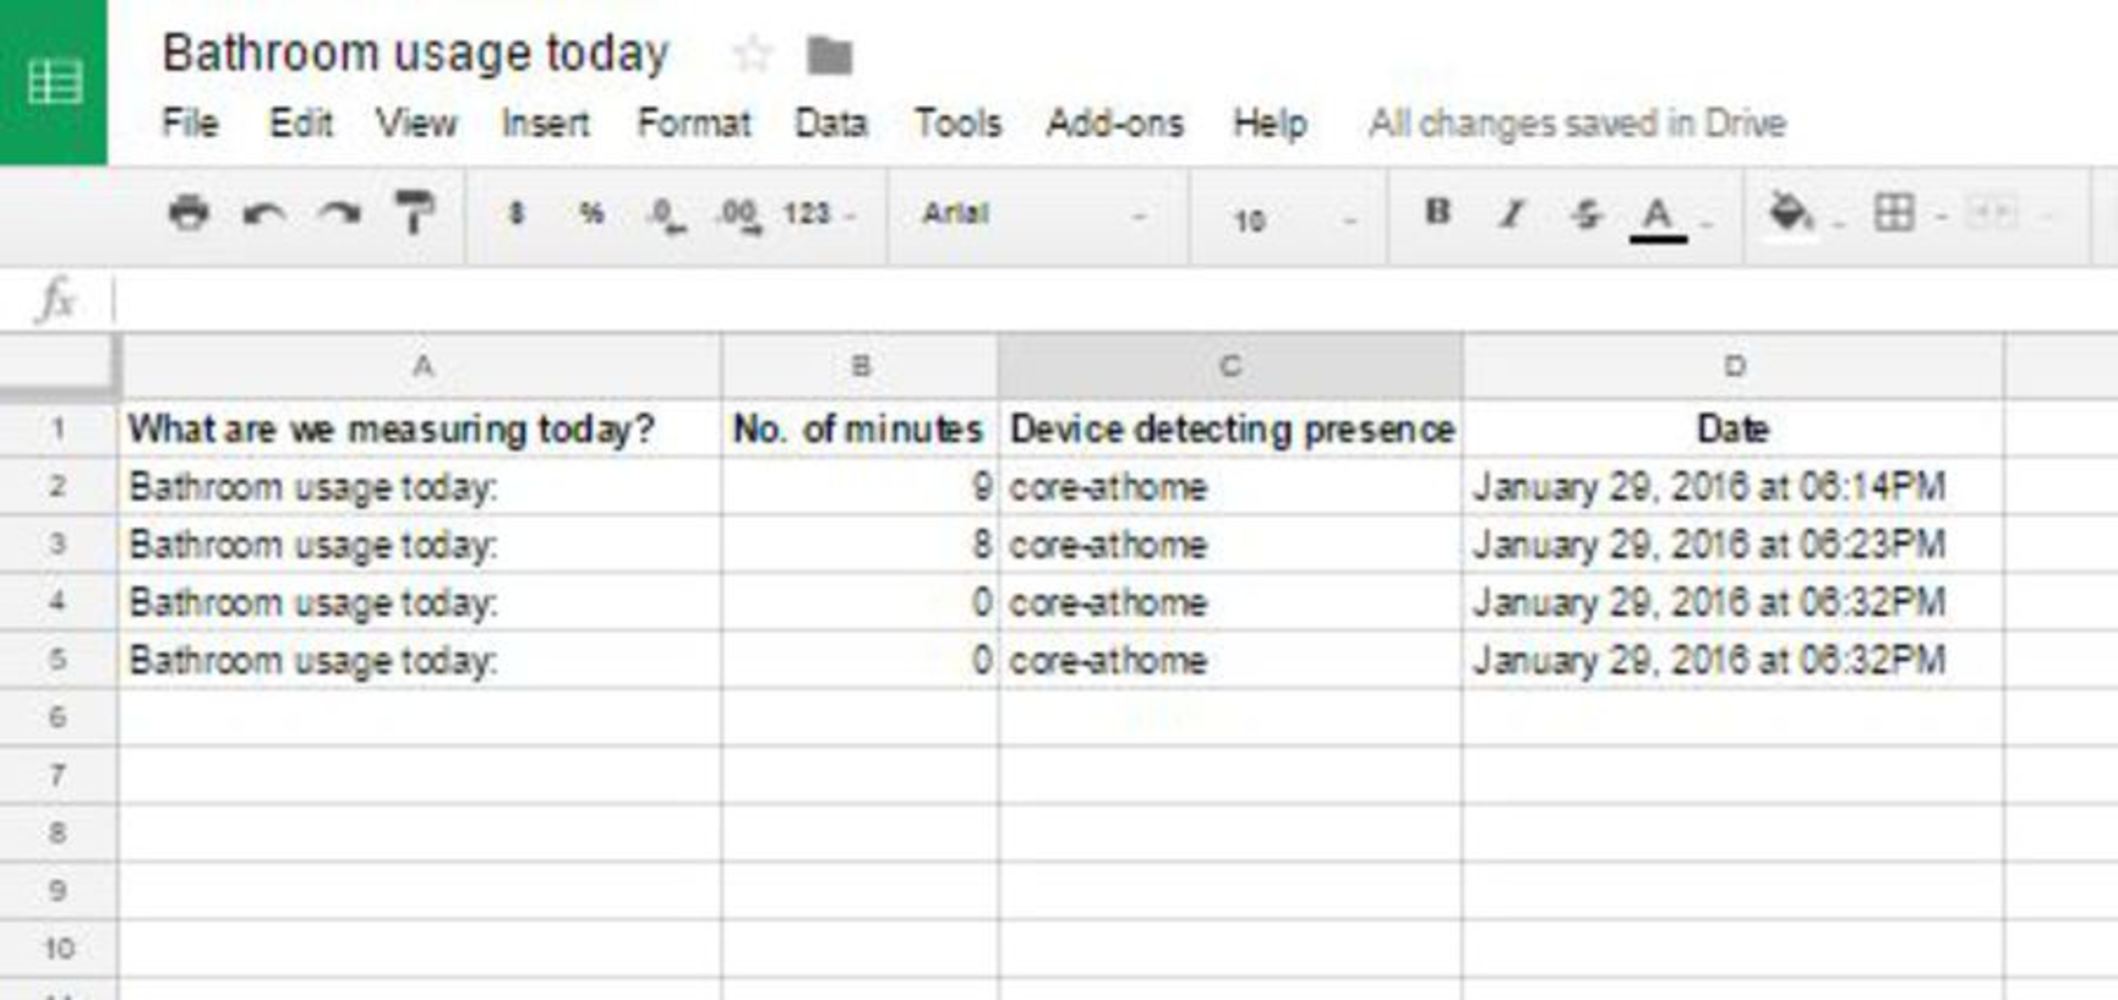
4. The last part included connecting the device to the cloud so that the time spent in the bathroom could be logged into a spreadsheet on google drive.

Show Advanced Options

Outcome

The video below shows how the device works. As soon as the light is switched on, both the LEDs indicate occupancy and the music starts playing. If the light is turned on for more than 10 minutes,the red LED inside the bathroom starts blinking and the music stops. When the bathroom light has been switched off, both the LEDs are off and the music stops playing. This also triggers a new entry into the online spreadsheet , which can be seen here:  
Spreadsheet.jpg.thumb
Show Advanced Options

Reflections

I had intended to use internet based music such as Spotify or Pandora as the source of music. However, I couldn't find any sample code or libraries which could help me do this. The Spotify and Soundcloud functionalities available on IFTTT were not suitable for playing songs. In spite of using code that plays a song on this speaker, I find that the music coming from the piezospeaker is more annoying than relaxing. I would like to improve on this feature.

I also faced issues in an initial version of my program which used a while loop and disconnected the device from wifi.  There were initials problems with the speaker as well, which was simply solved by changing its input pin from A0 to A4. This project has helped me understand the Particle Photon platform better and learn about the subtle factors that have to be considered while programming and building circuits for the Photon.

Drop files here or click to select

You can upload files of up to 20MB using this form.