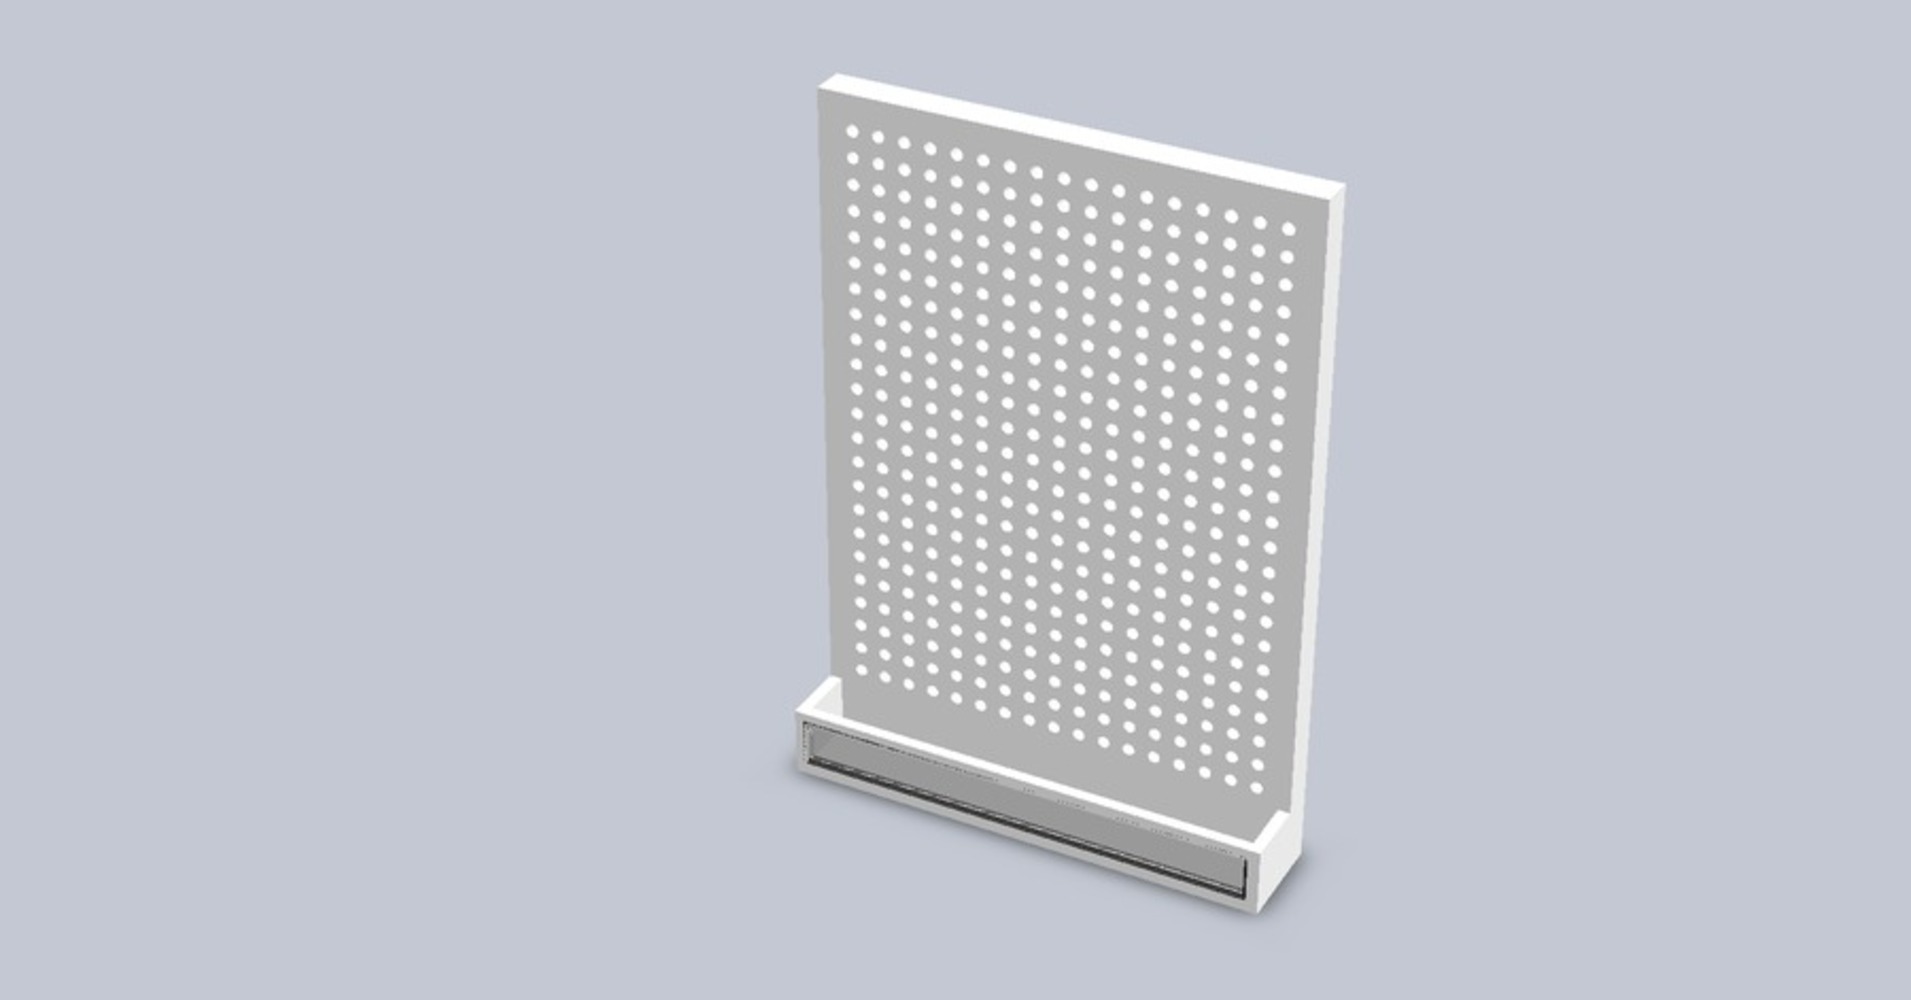
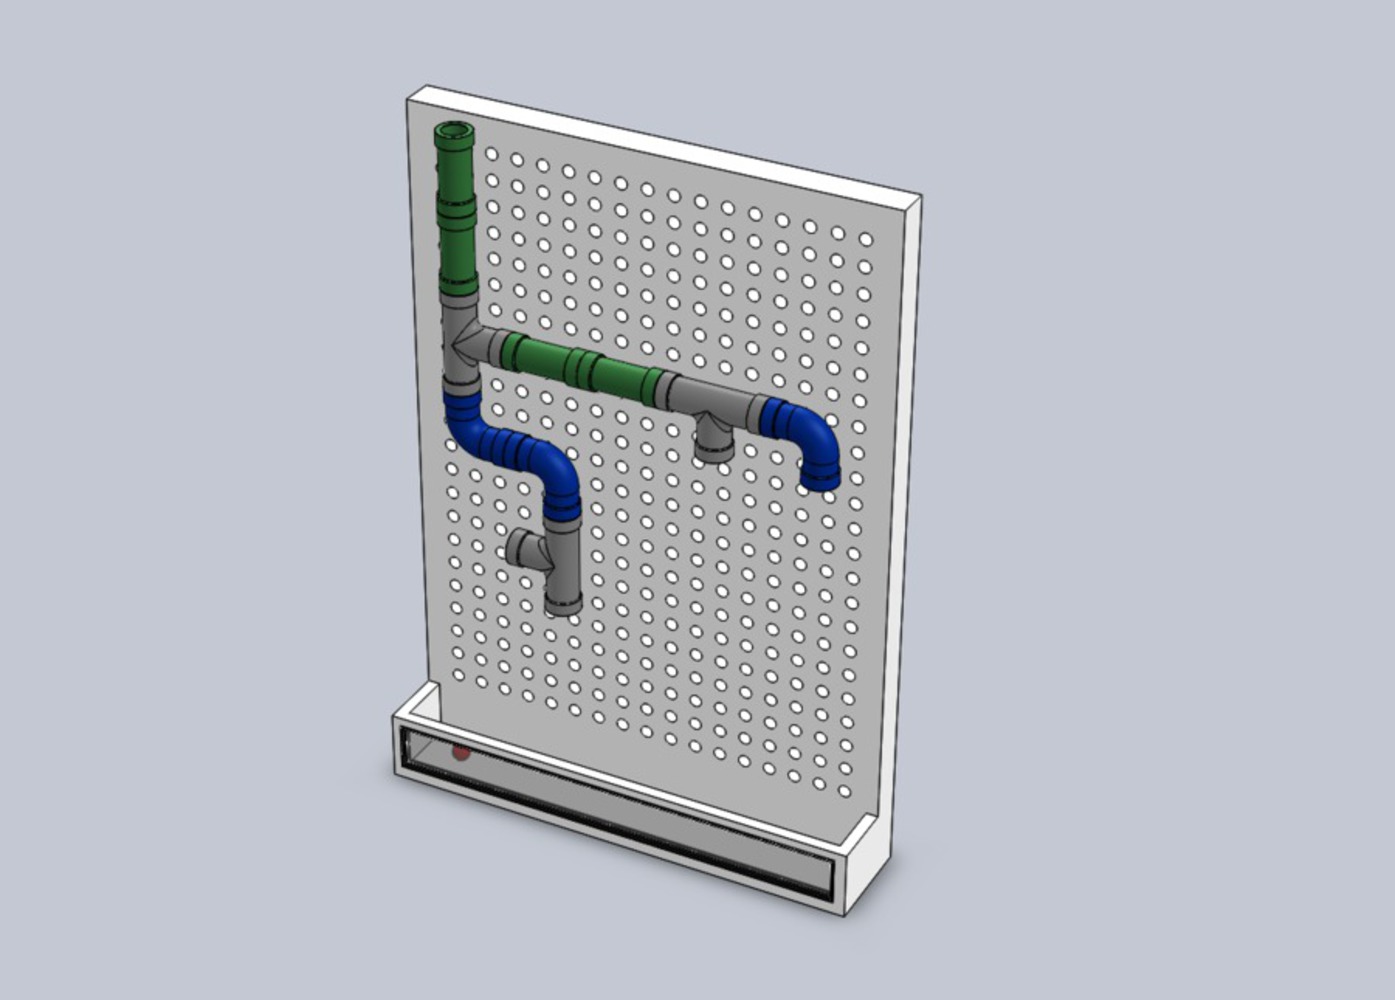
PEGBOARD
Material: Acrylic Sheet or Wood
Manufacturing: Laser-cutter or CNC Router
Dimensions:
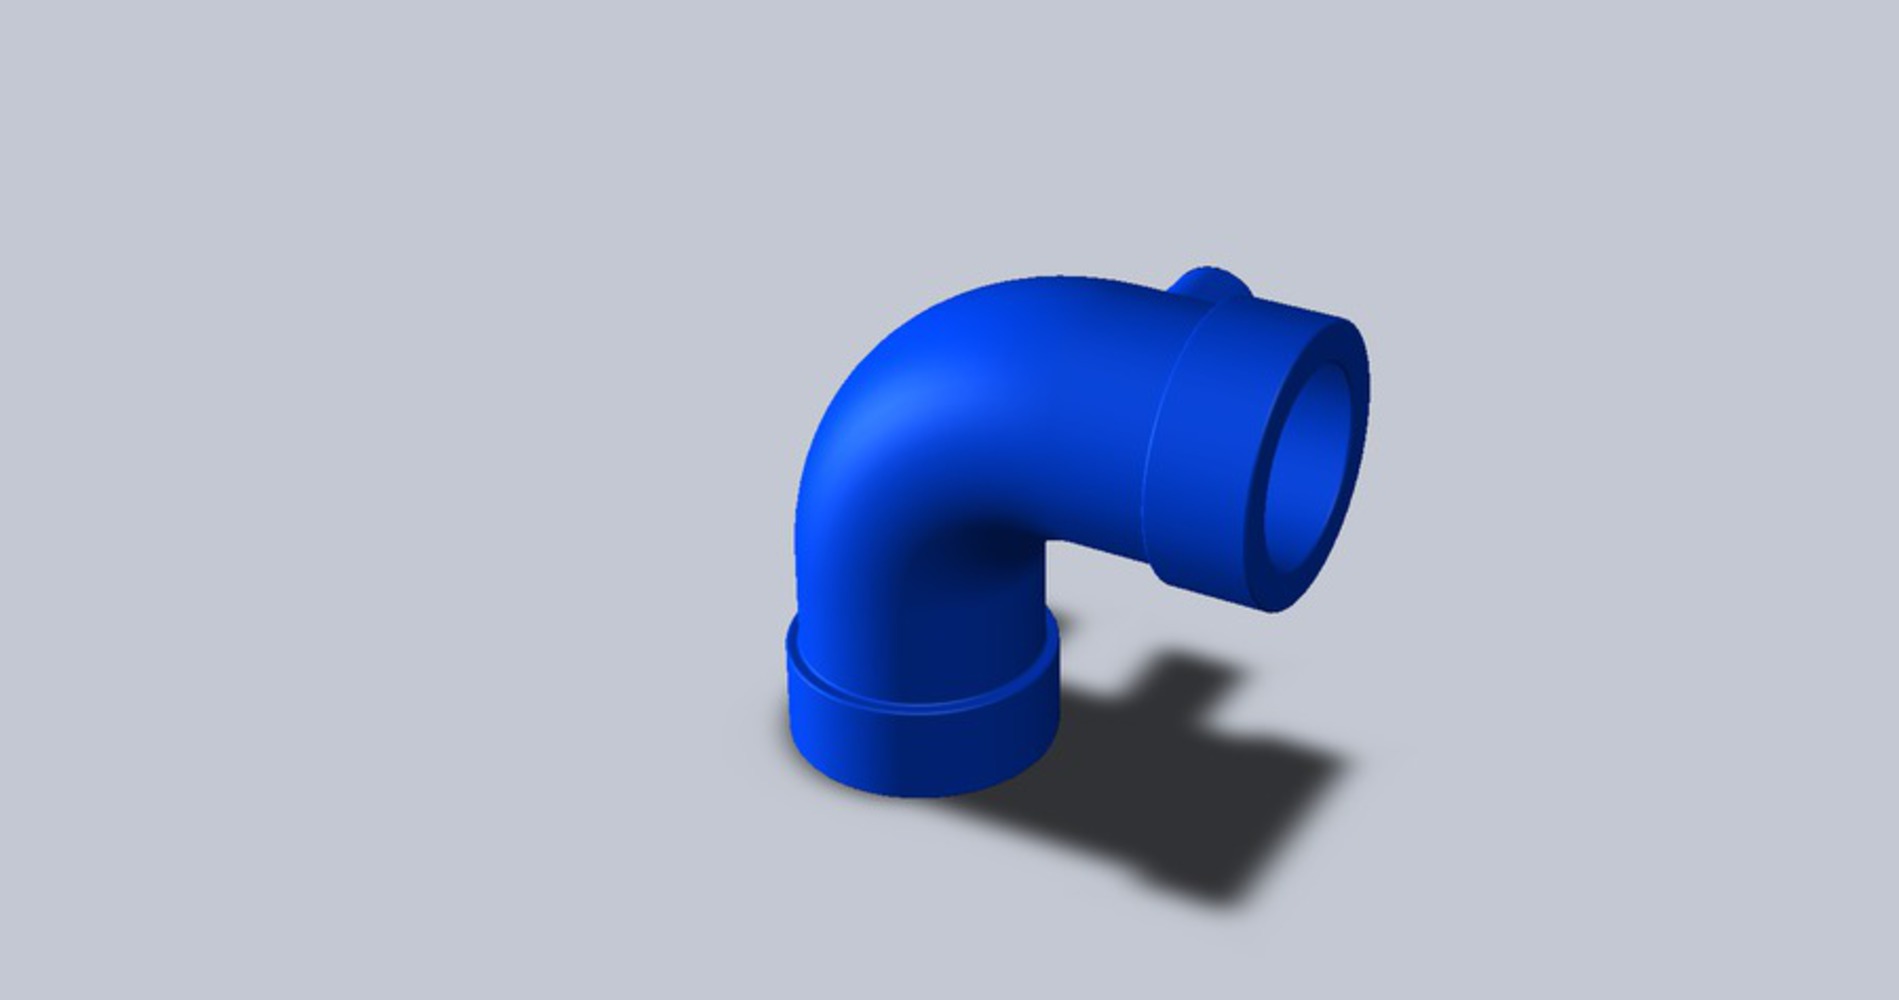
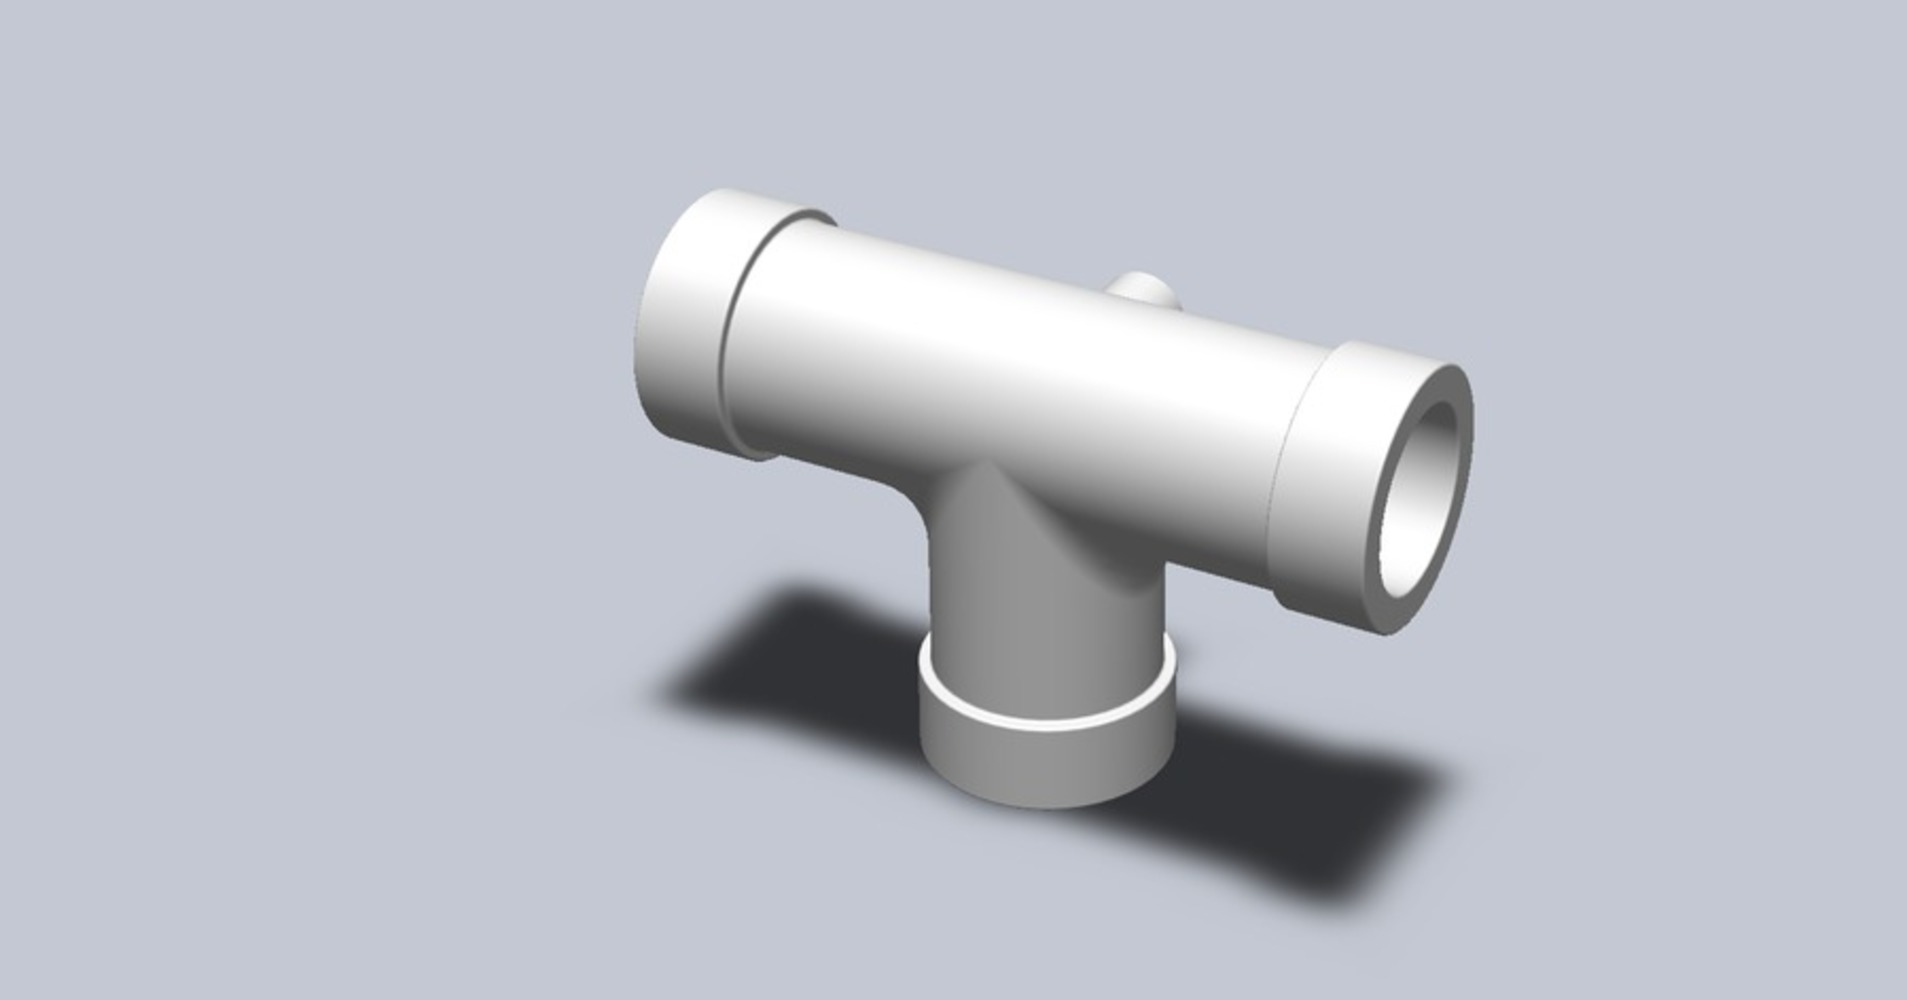
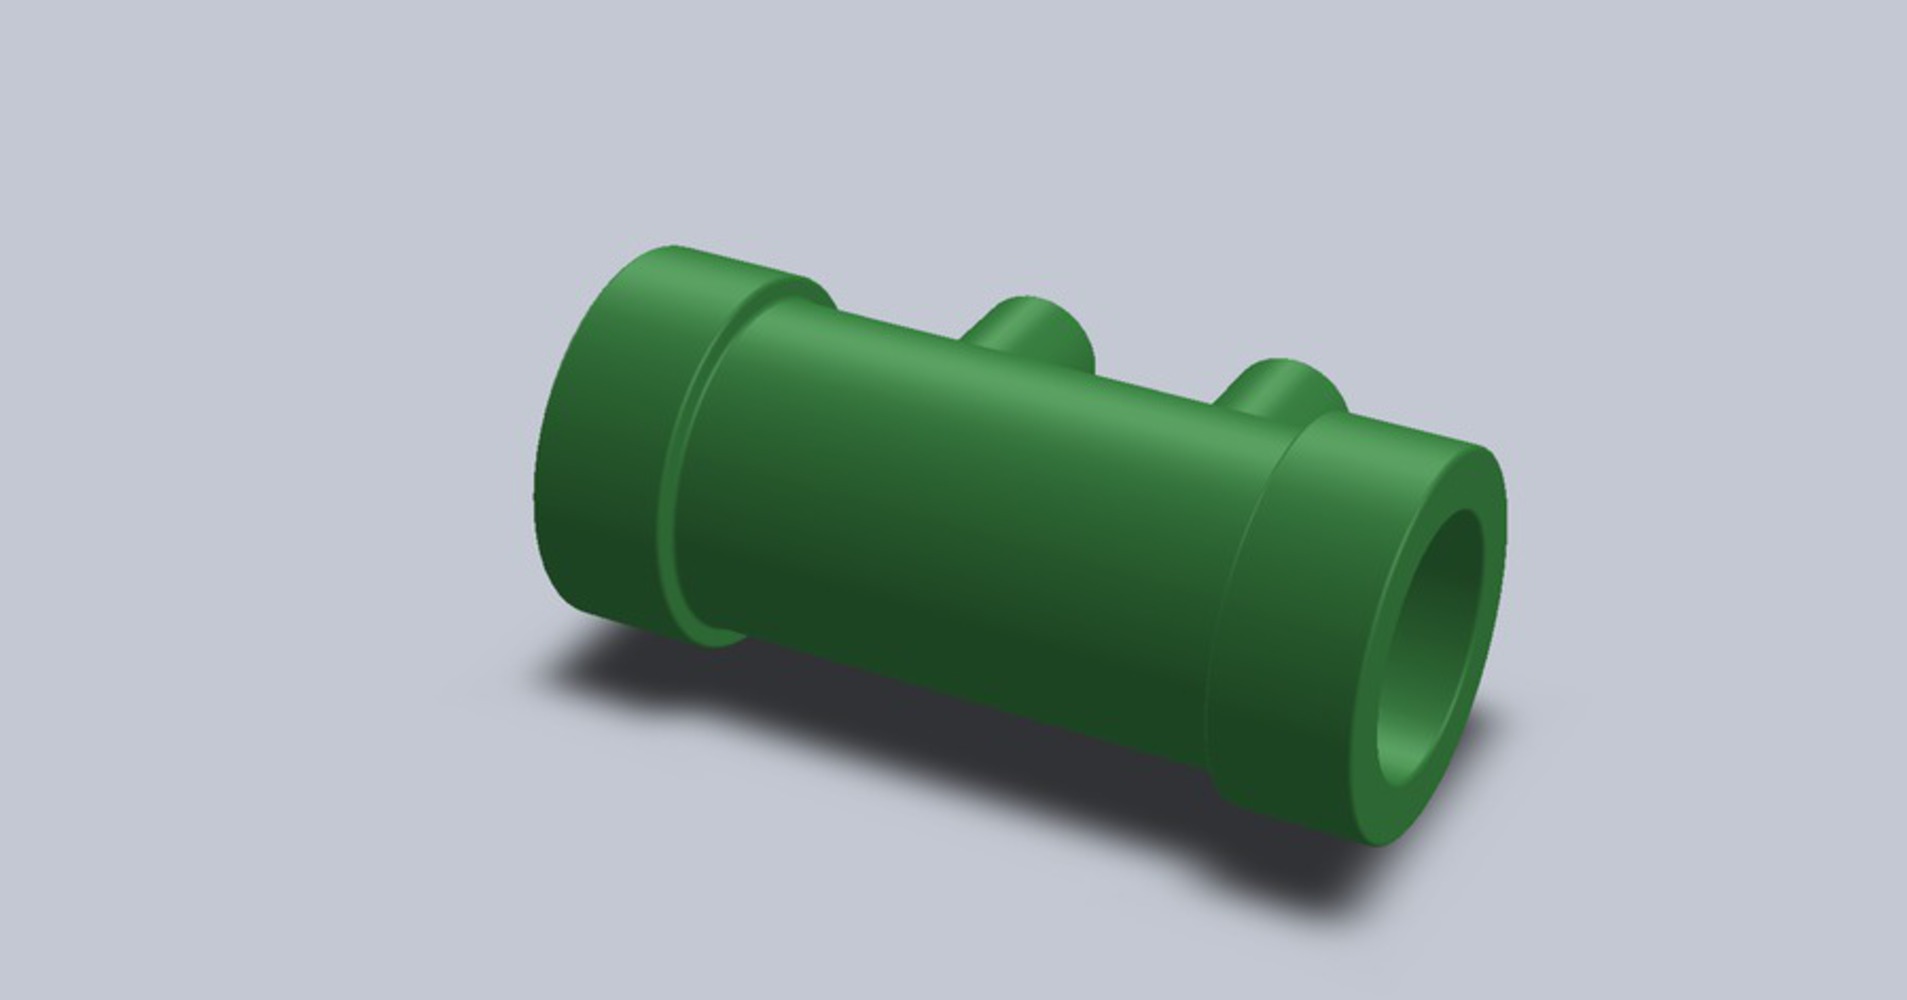
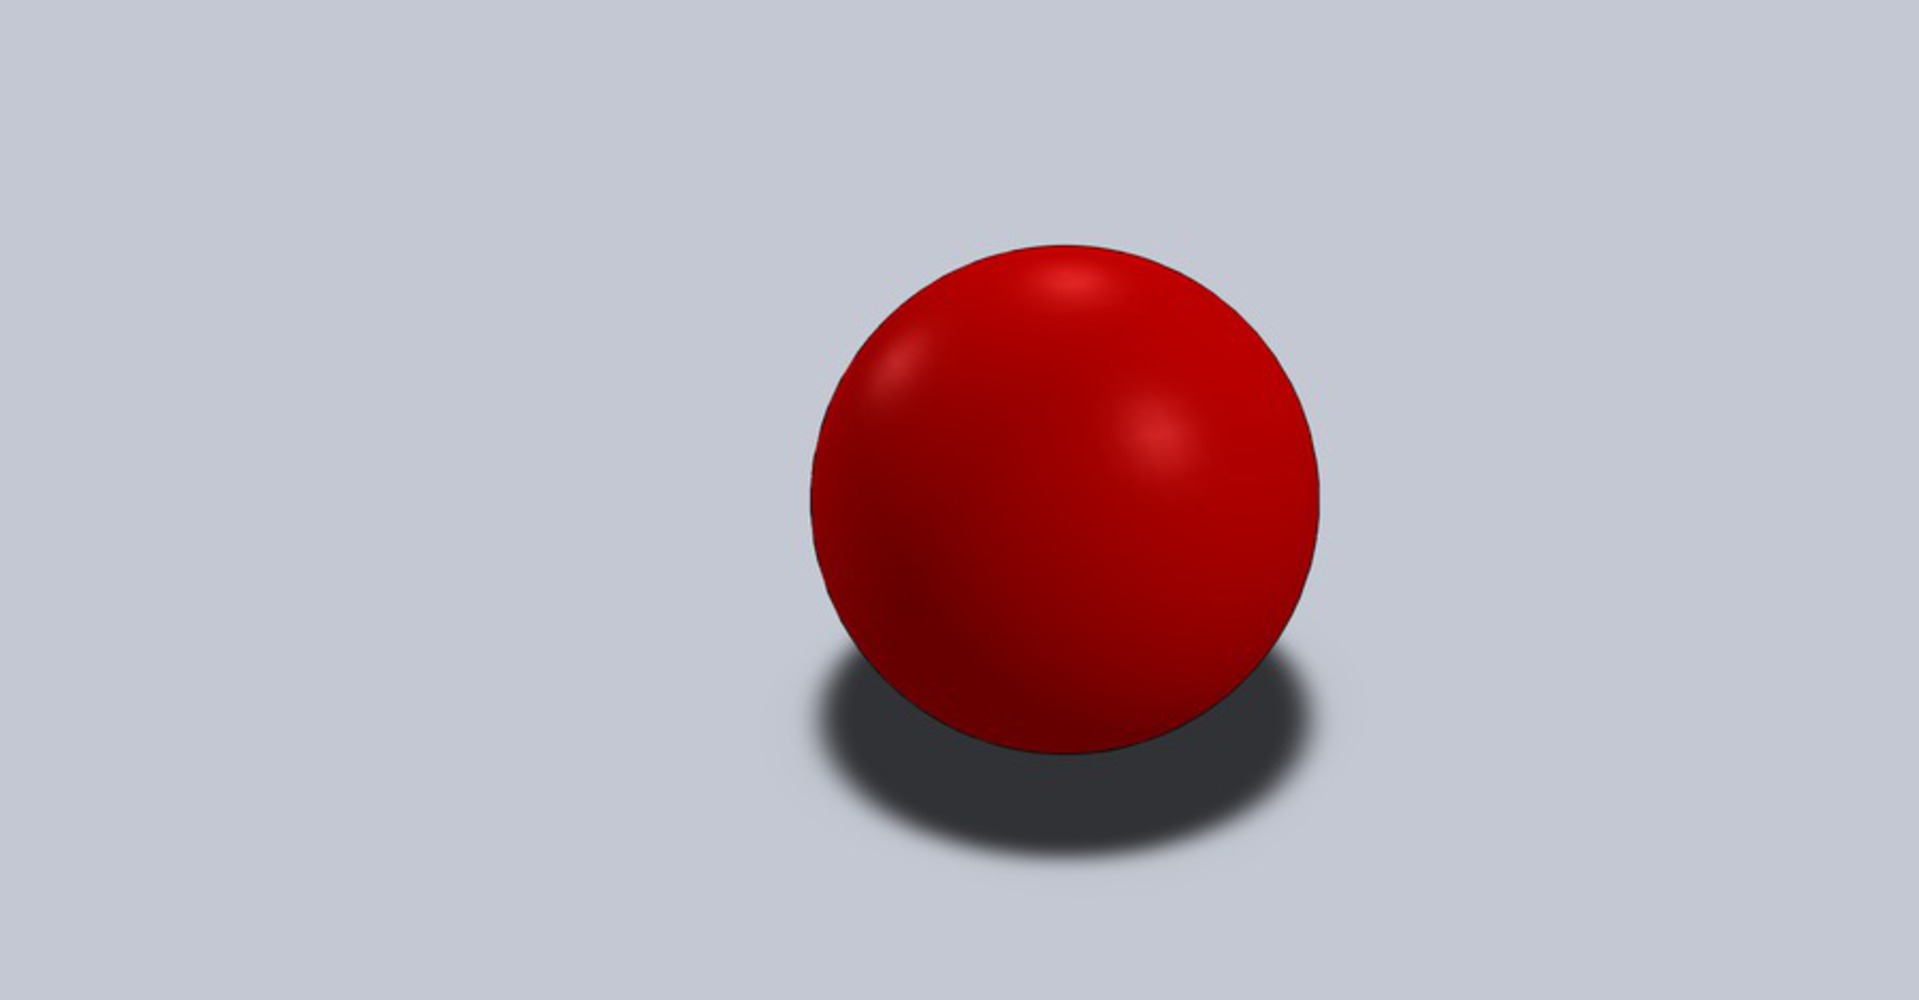
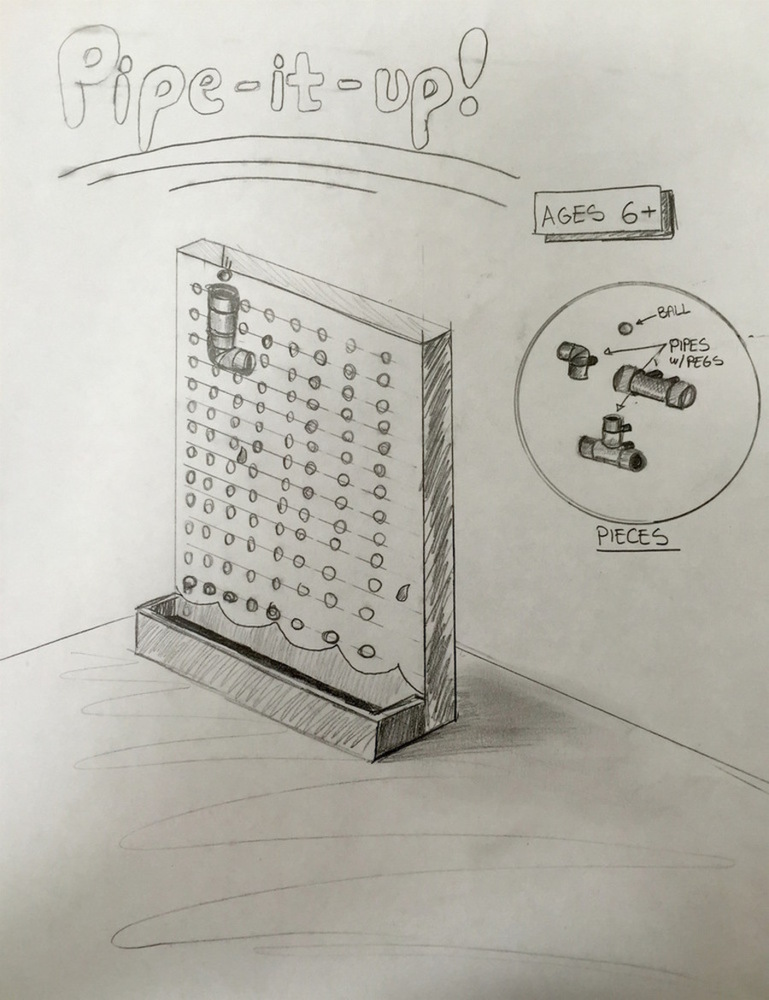
Kids can have fun connecting assorted plastic pipes in multiple configurations of their choosing as they attempt to get the balls from the top of the peg board to the bottom! Pipes made of durable ABS plastic. Transparent with different tints for each type of joint (elbow, T, straight, etc.) Different types of games can be created in order to make it a multi person game (i.e. get it to the bottom the fastest given certain parts)
CHANGE: The pegboard ended up not being the most ideal method of attaching the pipes too the board. So, we tried to use magnets in order to make it easy to move, yet secure. However, for project 2 we could not find the correct magnets to use. Thus, we decided to use velcro on the board. The pipes still look the same and the board is still the same frame, however instead of there being pegs and peg holes, we attached velcro to the board and to each pipe.
Reflection: we did not use the pegs because it would be rather difficult to make it all uniform. By this, I mean that it would be tough to ensure that all the pegs on the same types of pipe are in the same spot since we would be doing it by hand. Machining the wholes into the board, however, would not have been difficult. The magnets did not work because initially we had planned on using magnet tape to put on the pipes and magnet paper to cover the board. However, these magnets were not strong enough to hold the pipes on the board. We realized that the pipes were surprisingly heavy when it came to using magnetism, even though they are actually light. We wanted to ensure that we had a toy for project two, so the velcro was an easy fix that still make it easy for the children to move the pipes, yet to keep it secure.
You can upload files of up to 20MB using this form.