Outcome
DESCRIPTION
1. What is the concept the children will learn about?
The children will learn the basics of gravity through observing where the ball ends up and manipulating the pipe path to direct the ball to a desired location. They will also learn to understand the underlying principles of momentum and kinetics.
2. What will the children do and how will they learn by interacting with your project?
The children will direct the ball to specific places in the basket at the bottom of the board*. They will learn through trial how to manipulate the pipes to direct the ball where they want it to go.
3. How does your project meet the requirements given above?
We will engage children's curiosity to learn by presenting the toy as a fun game that can be played competitively, cooperatively, or solo. Younger children will enjoy playing with the various pipe pieces and the ball while older children will enjoy designing pipe paths to achieve goals. The board will be crafted with laser-cut acrylic and glued and the pipes are not large enough for a young child to accidentally swallow.
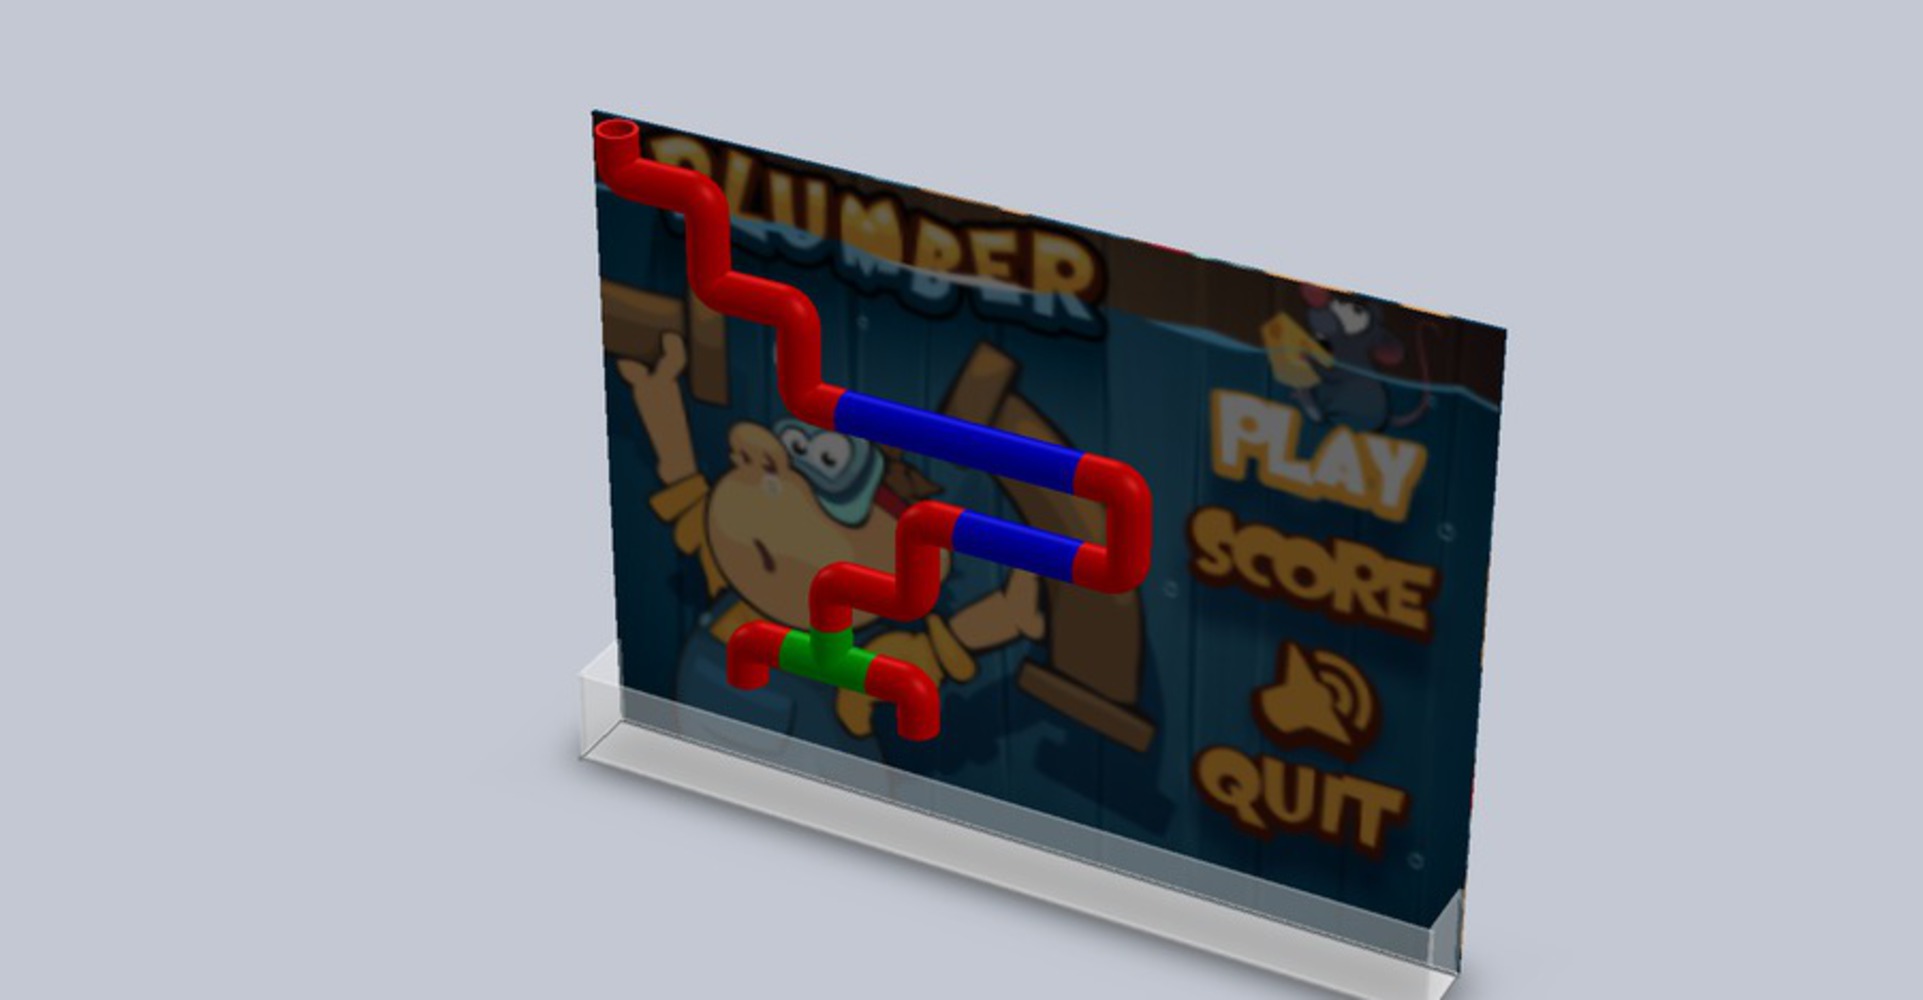
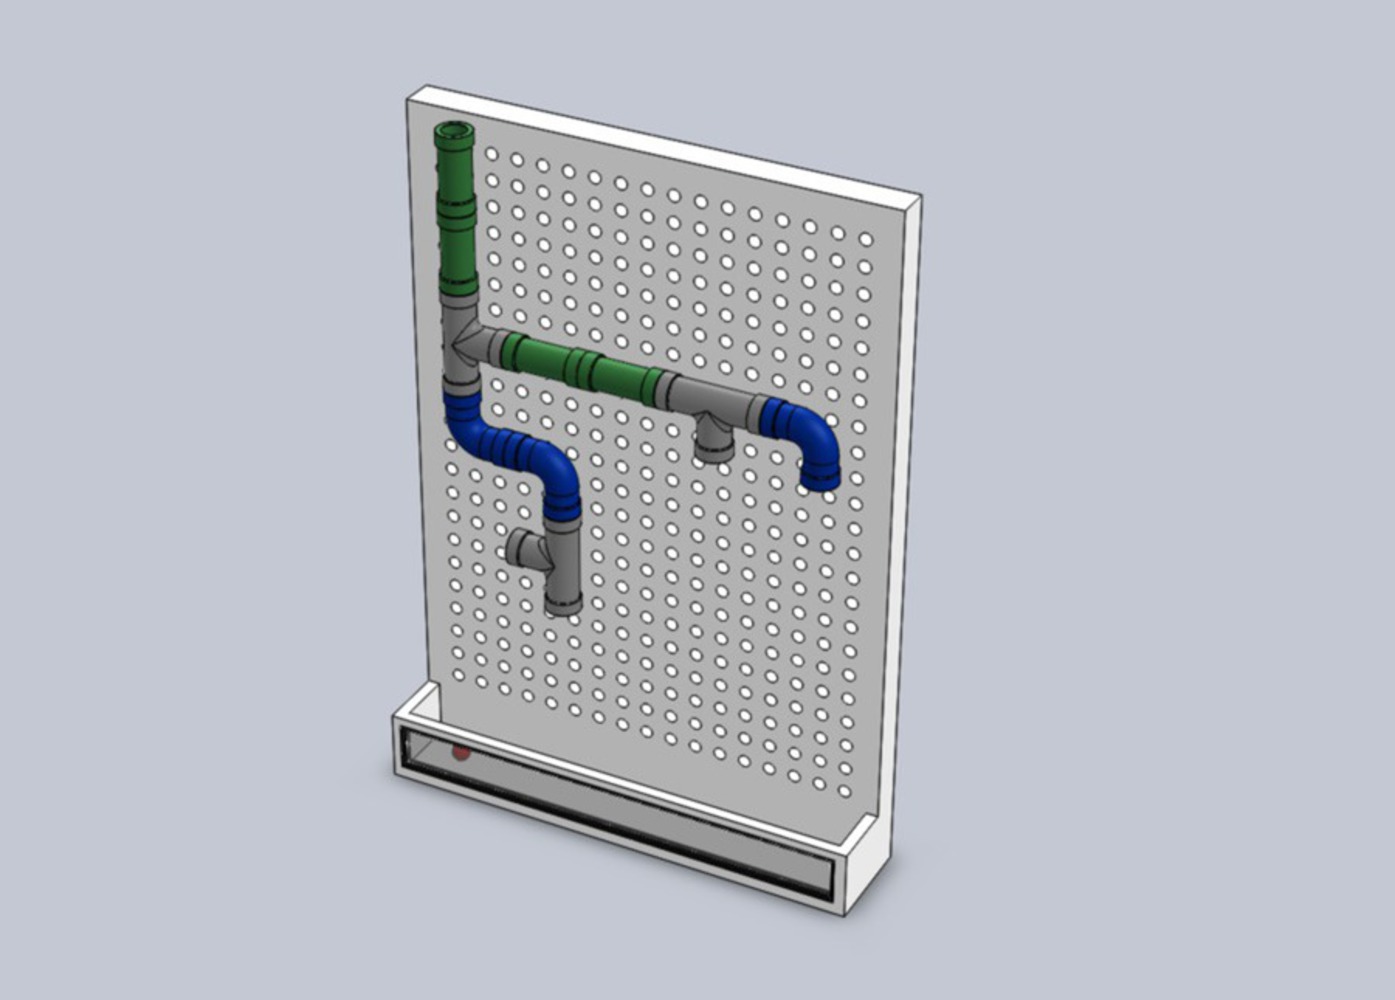
4. What supplies will be needed? What needs to be manufactured? If appropriate, include a sketch of the activity.
We have already manufactured a large portion of this toy. We need to create dividers by laser-cutting acrylic. If we decide to use magnets for the project 3, we will have to find a magnetically strong enough surface that allows us to to attach pipes with magnets on to the board.
INSTRUCTIONS
Amount of players: 1-4
Objective: Get the ball to land in the desired location
How To: Set up a logical paths made of pipes that ends in the desired location.
Tips: Figure out a way for the ball to move fast enough so it does not get stuck in the pipes. Use a variety of different pipes to make the ball move faster
REFLECTION
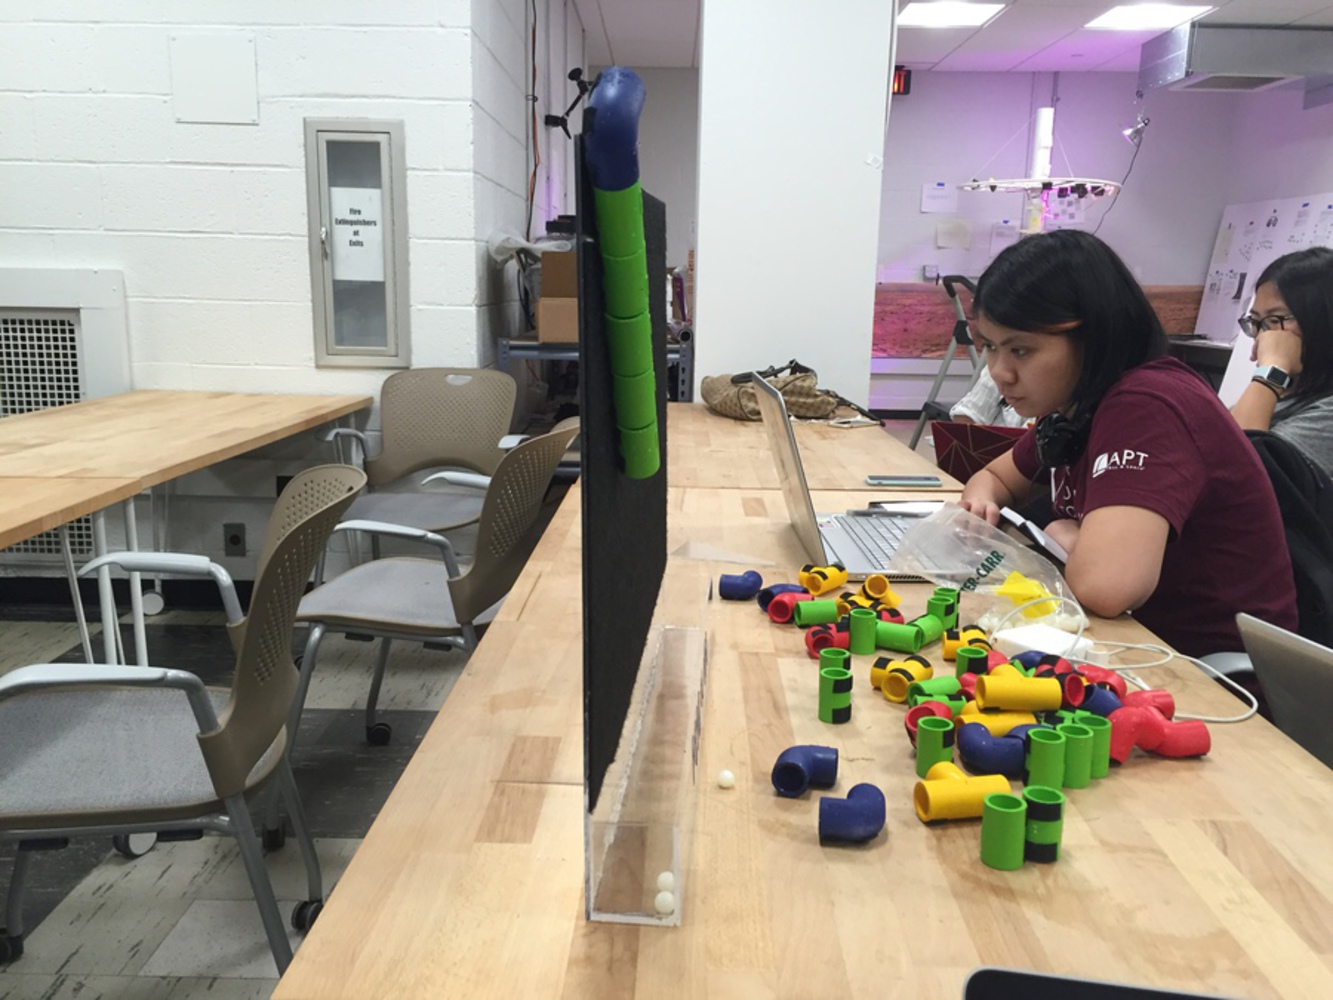
Once completing the initial board we found a few things that did not go quite as we had planned. For example, the casing at the bottom of the board that catches the ball seems like it would extend enough due to the fact that it is so much larger than the overall size of the ball. However, through experimenting and testing - we discovered that the ball misses the capsule somewhat easily. Another issue we found was that our supports were not quite sturdy enough. They were strong enough to hold the board up, but one piece could easily be knocked off. So, we had to redesign the support structures.
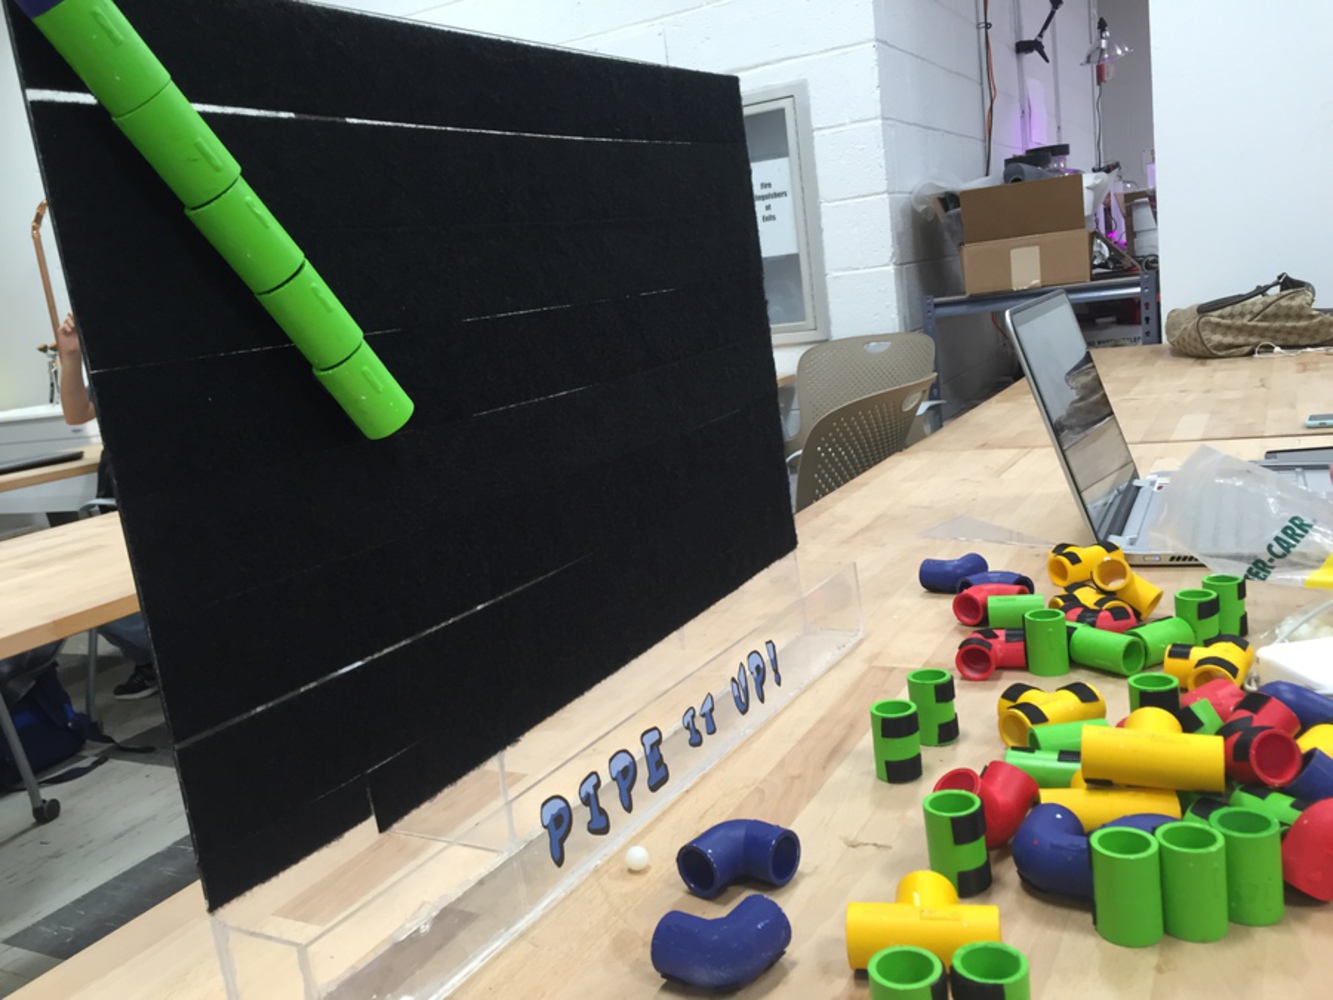
Also, the velcro was a good adjustment in order to allow the pieces to be easily added/removed from the board. However, it allows for some error when it comes to connecting the pieces in a flush manner that allows the ball to potentially get stuck.
The children had a really fun time playing the game - however, we figured we could make the game even more fun by giving them set destinations for the ball to land.
The two pictures below were our original board that we improved.
FURTHER REFLECTION:
Upon attempting to complete part 3 of our project, we truly discovered that if something can go wrong, there is a very high likelihood that it will go wrong. However, we had planned to finish early simply for the sake of being able to handle any issues we have without being extremely pressed for time.
All in all, projects do not always go as smoothly as possible, but if we get to work with a good plan, things tend to work out. It will not always work by following exactly the plan, it hardly ever does, but by working hard and adapting, we are able to complete these projects.
This semester taught us a lot - working in teams, going outside your comfort zone (i.e. drawing when you are not a drawer and presenting when you are not typically a presenter), and trying new ways to manufacture products. It was very beneficial and gave us applicable skills that will help us in the rest of our coursework at CMU and the work force afterwards.
You can upload files of up to 20MB using this form.


