Process
Layer One- Part One: Pleated Night Scene
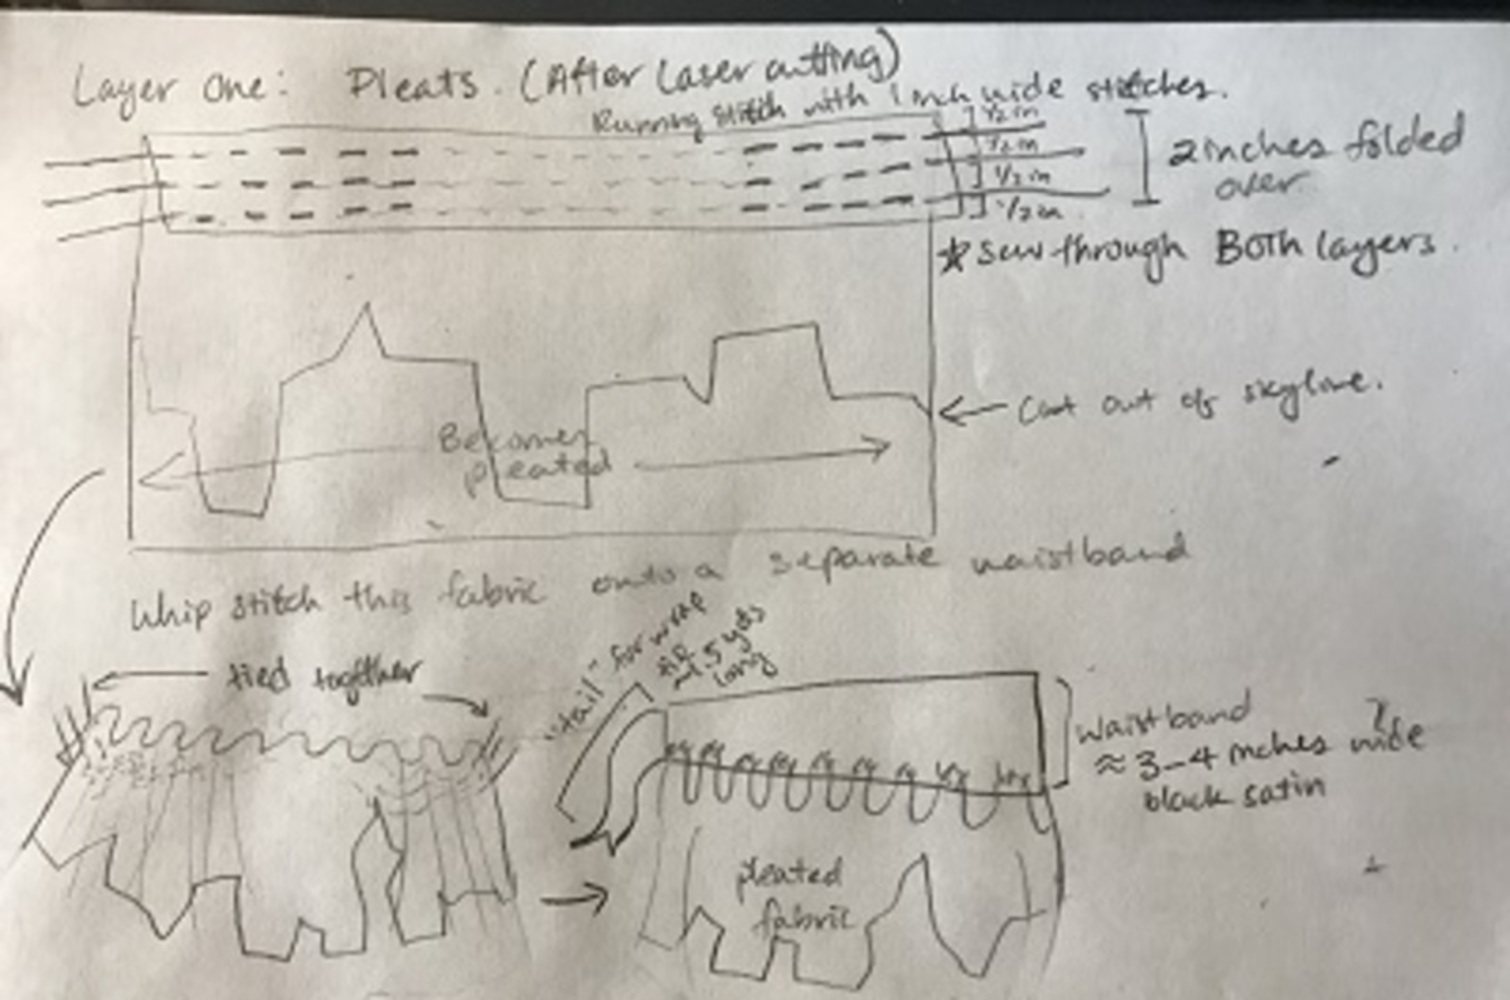
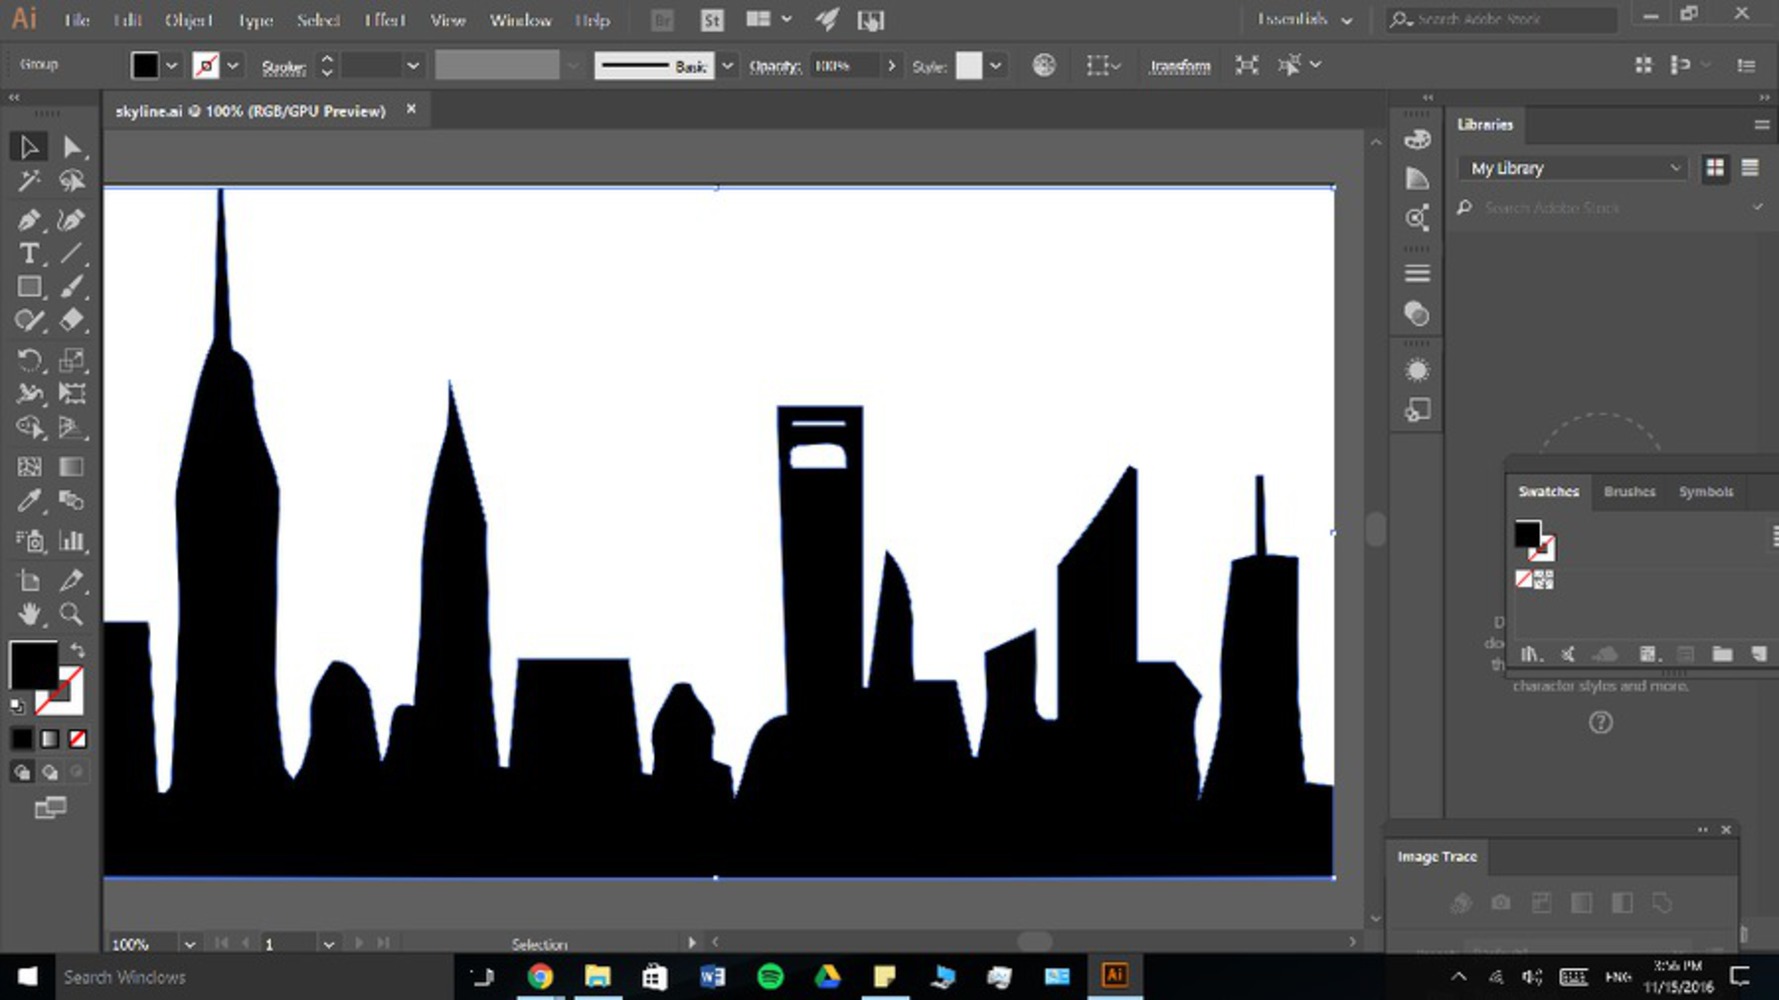
I initially started with just a two layer box-pleated skirt design, however, if I were to laser cut the skyline into the fabric and then pleated it this way, much of the skyline would be hidden in the folds. I researched my pleat options with "The BB Guide to Different Pleats" available here: http://poshair.site/the-bb-guide-to-different-kinds-of-pleats/ and http://ths.gardenweb.com/discussions/2552335/what-type-of-drapery-pleat. To achieve a more full, ball-gown look, I designed the skirt with a tulle petticoat as an under-layer. Cartridge pleats allow a close fit at the waist, which gradually bellows out towards the bottom edges and shows the skyline design more, but must be done by hand. This site gives a basic idea of how cartridge pleats are made: http://www.elizabethancostume.net/cartpleat/.
Ideally, the waist line of the pleated layer will look like that of the first image of this site:
http://thelacedangel.blogspot.com/2014/07/quick-and-easy-way-to-mark-cartridge.html. I can also reinforce the waist band with a thicker fabric as suggested in the site, like wool, to give the skirt more defined shape. Cartridge pleats also can use a separate waist band, so I plan to create a circle for the waist with a trailing appendage to be used as a wrap tie.
I also have to find a slightly stiff fabric that will hold shape well. Silk and similarly soft fabrics droop and take the shape of the surface it contacts. This may not work with the petticoat; I needed a fabric that could translate the pleats at the waist, to about 1/3 to midway down the skirt. Using this guide: http://www.derangeddesigns.com/fabricguide.html, I started to narrow my fabric selection to broadcloth, tweed, thick polyster, or felt. Textured fabric such as crepe fabric made from cotton or polyester could also offer a unique look to the skirt. In the end, I still decided on felt. The texture, stiffness, and boldness of the color of felt remind me of a scrapbook, or a children's book, which is complemented by the patterns made by the running stitch with conductive thread in layer two.
This is a rough sketch of the plan: http://tinypic.com/r/13ye6op/9
Layer Two: Soft Circuit Underskirt/ Starry Sky
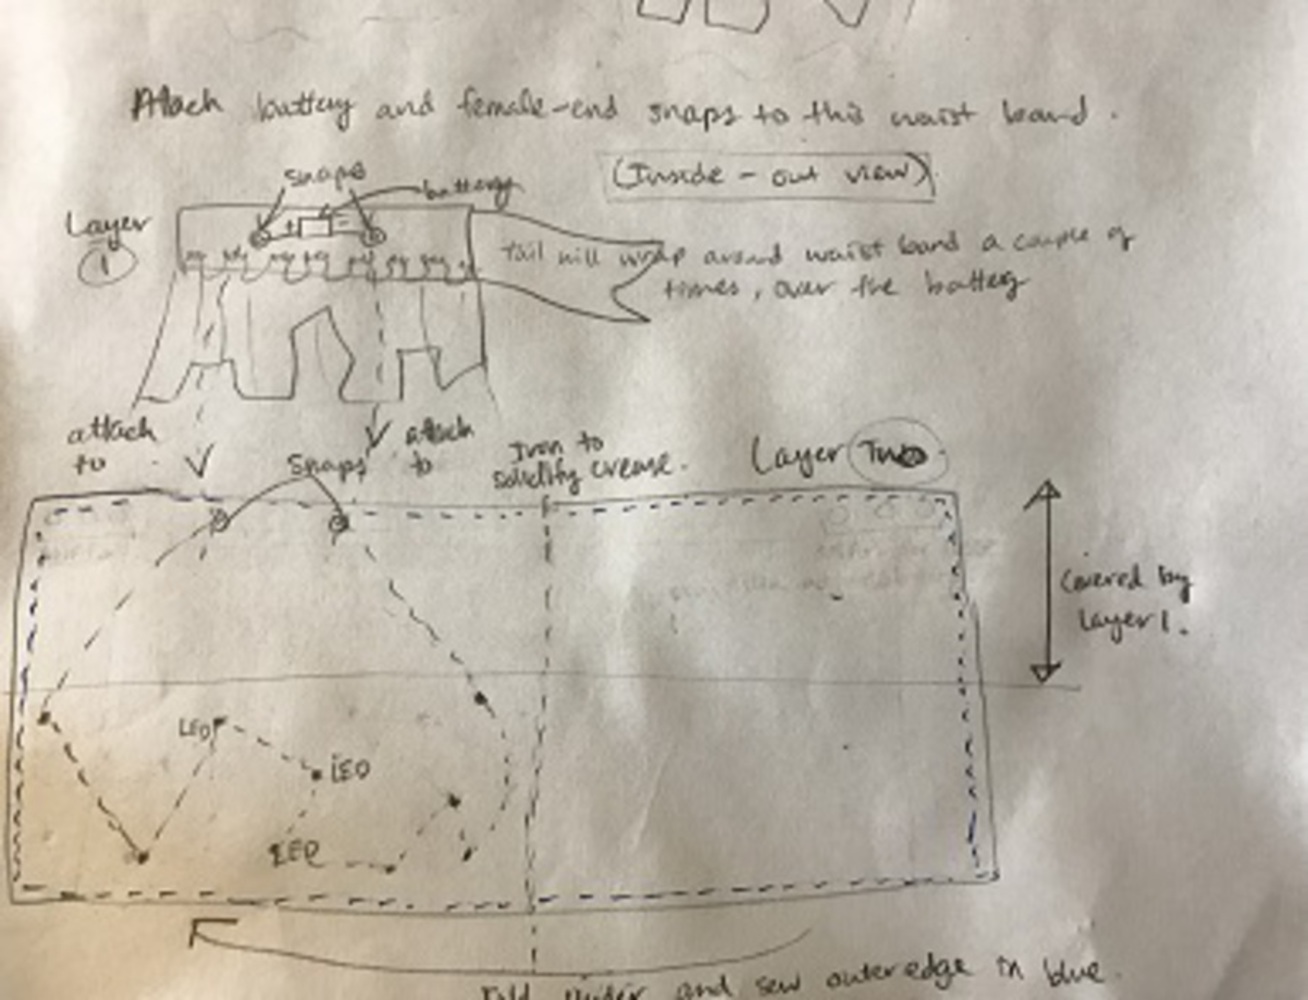
I can use conductive thread on black fabric, which will be hand-sown with black thread onto the waist band of the tulle layer. The stiffness of the textiles used for this layer don't really matter, as long as it is slightly more stiff that silk or chiffon, and will likely just be felt, just like the first layer.
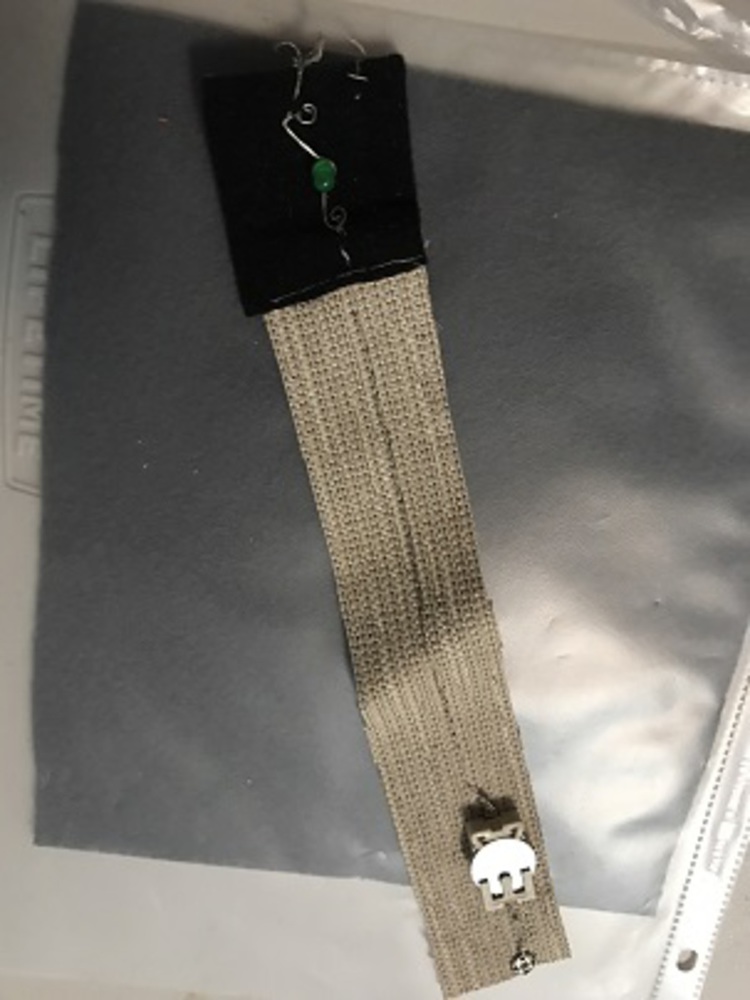
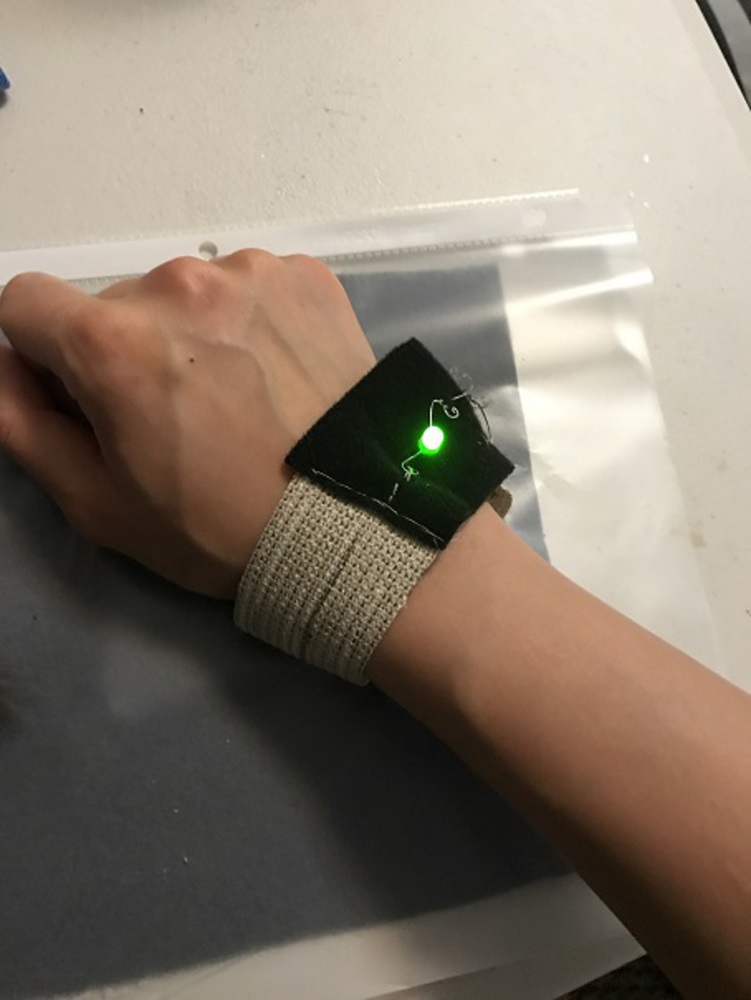
The threads will join about 6-8 LEDs as if they were interconnected constellations. In this case, the running stitch is sufficient for the design. The battery will sit on the outside of the waist band of this layer, under the tie wrap (on the back of the skirt, the conductive thread will run straight up to meet the terminals of the battery). Snaps will connect this layer and the outermost layer. to complete the circuit and turn on the LEDs for the duration of usage.
It was somewhat difficult to figure out a way to attach the battery inconspicuously without compromising comfort. The wrap tie waistband can help cover the battery on the waistband of the second layer.
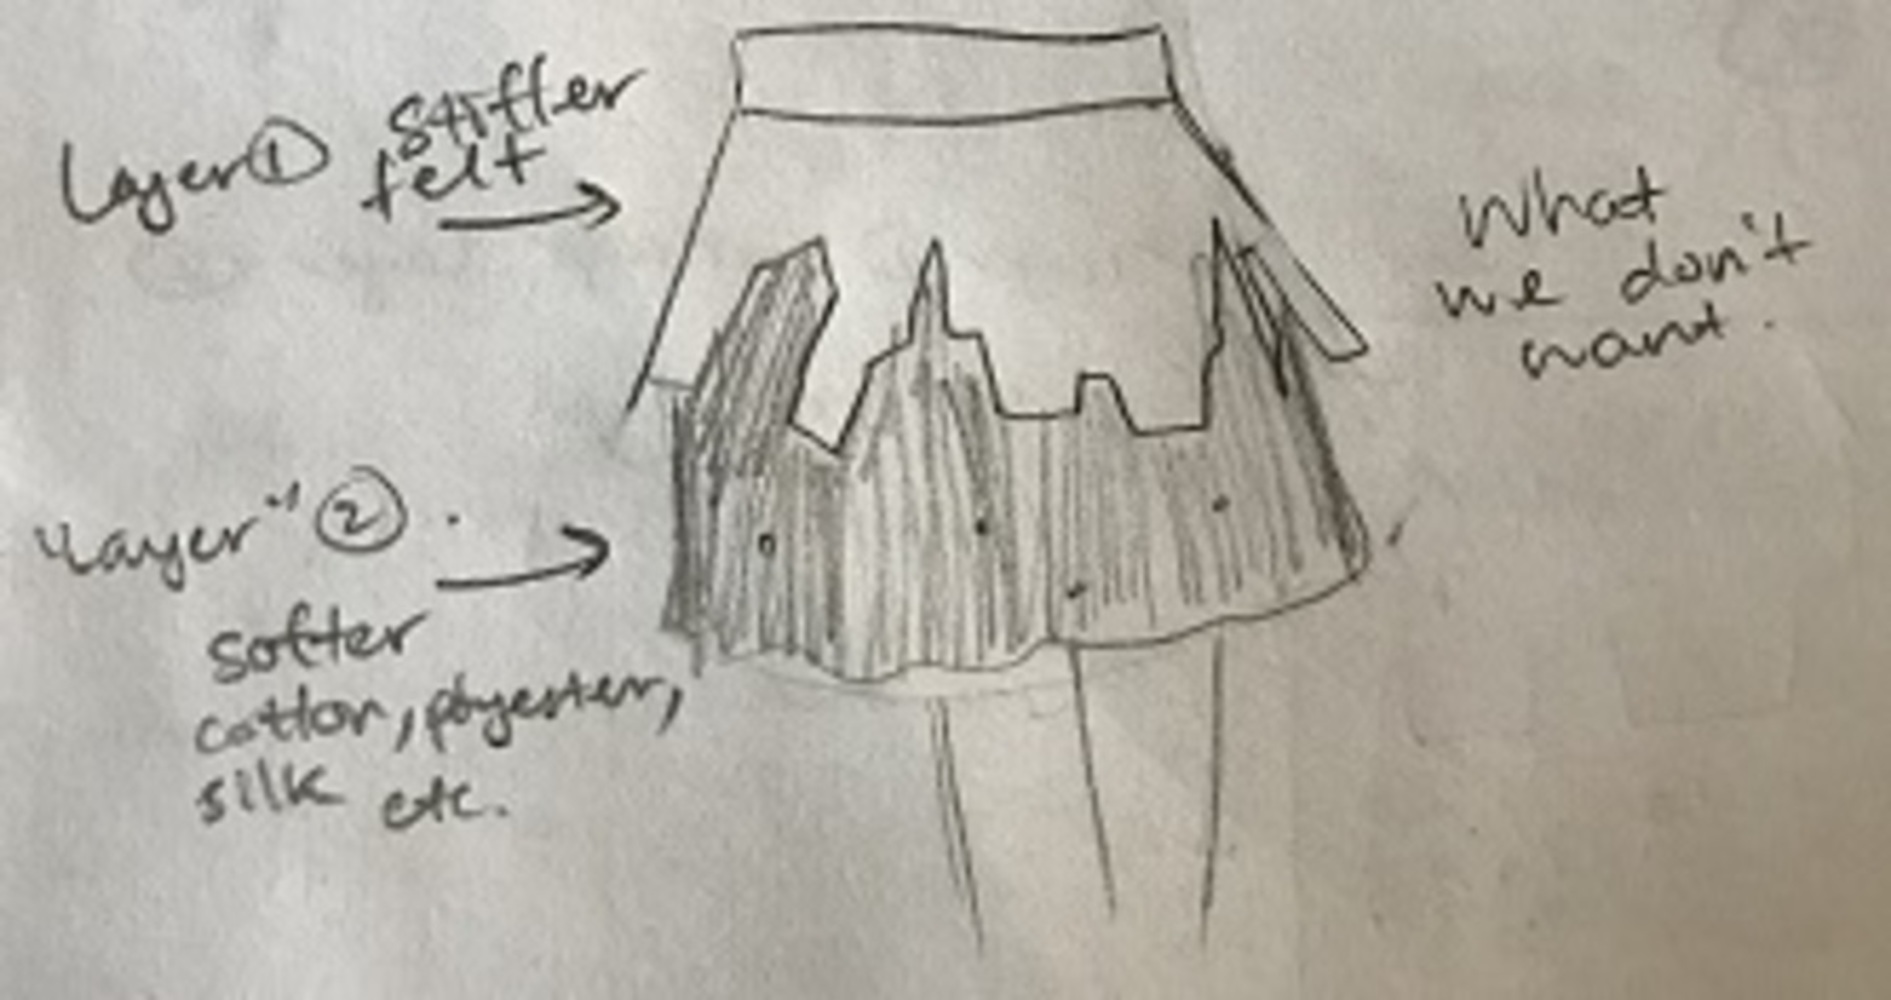
If I used a different, softer fabric, rather than felt, it would hang closer to the user's legs. . To prevent direct contact between the wearer and the circuits, this layer can be sewn from two layer of the fabric, so one side of the fabric has all the circuitry, and the other is between the user and the circuitry (the LEDs may produce heat).
I thought it would look something like this: http://tinypic.com/r/2cctmrp/9.
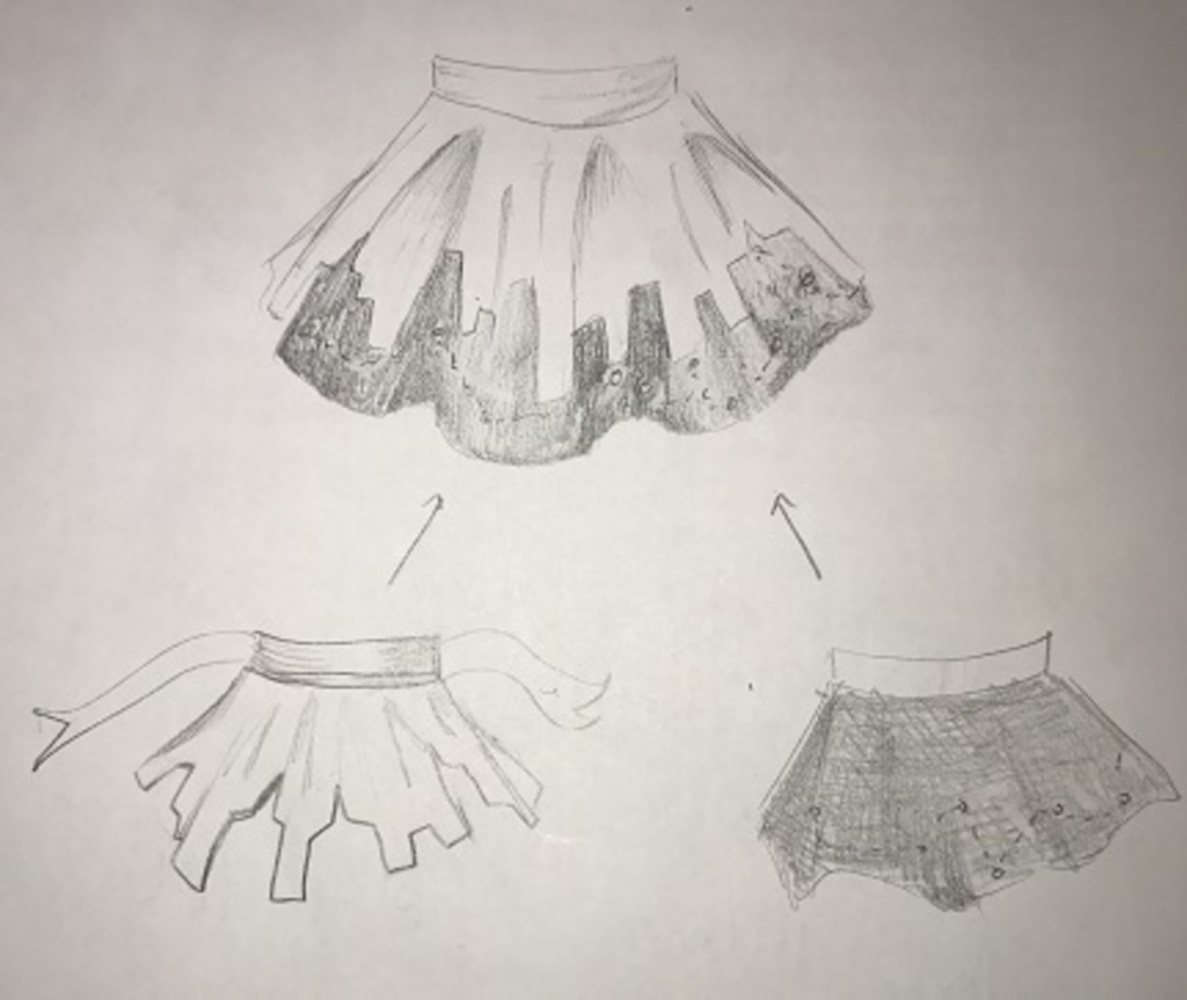
However, a skirt is usually not just a rectangular piece of fabric sewn together sporadically. I could use this pattern http://so-sew-easy.com/30-minute-easy-skirt-pattern/ and adjust the stretch to be wider, but this would look strange with the stiffer outer layer. This made me change my design dramatically: the two layers in the skirt are now more like one layer. The "second" layer is attached to the first, and since both are felt, it wouldn't look like this:
