Process
The components I used are:
1. Particle Microcontroller
2. Breadboard
3. Jumper Wires
4. 1kΩ Resistor
5. 10kΩ Resistor
6. A single color LED
7. Photoresistor
8. A double pole double-throw (DPDT) switch
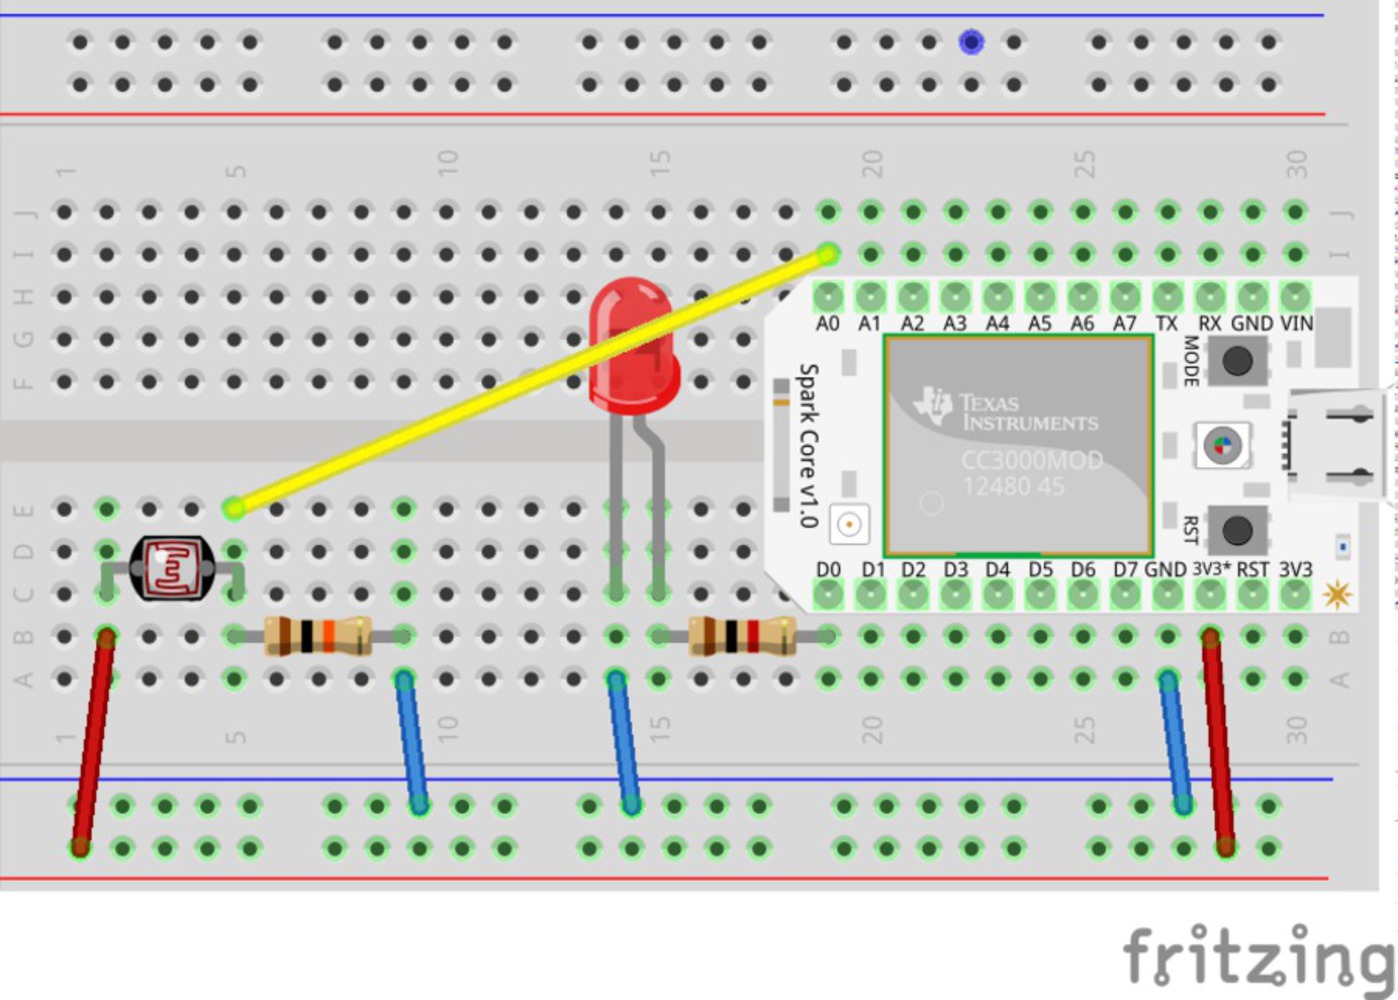
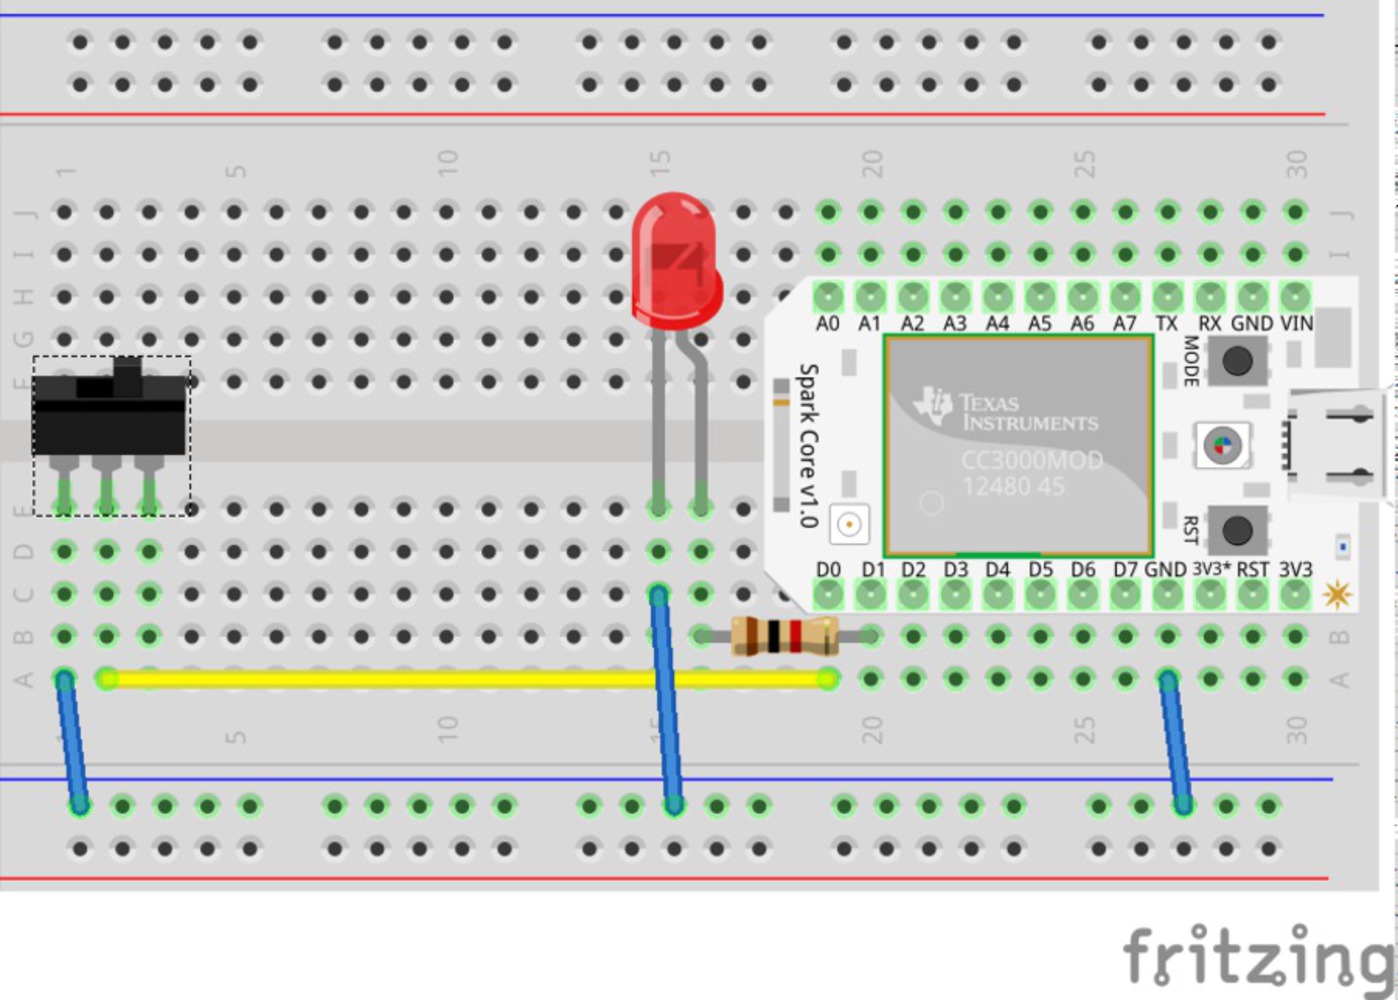
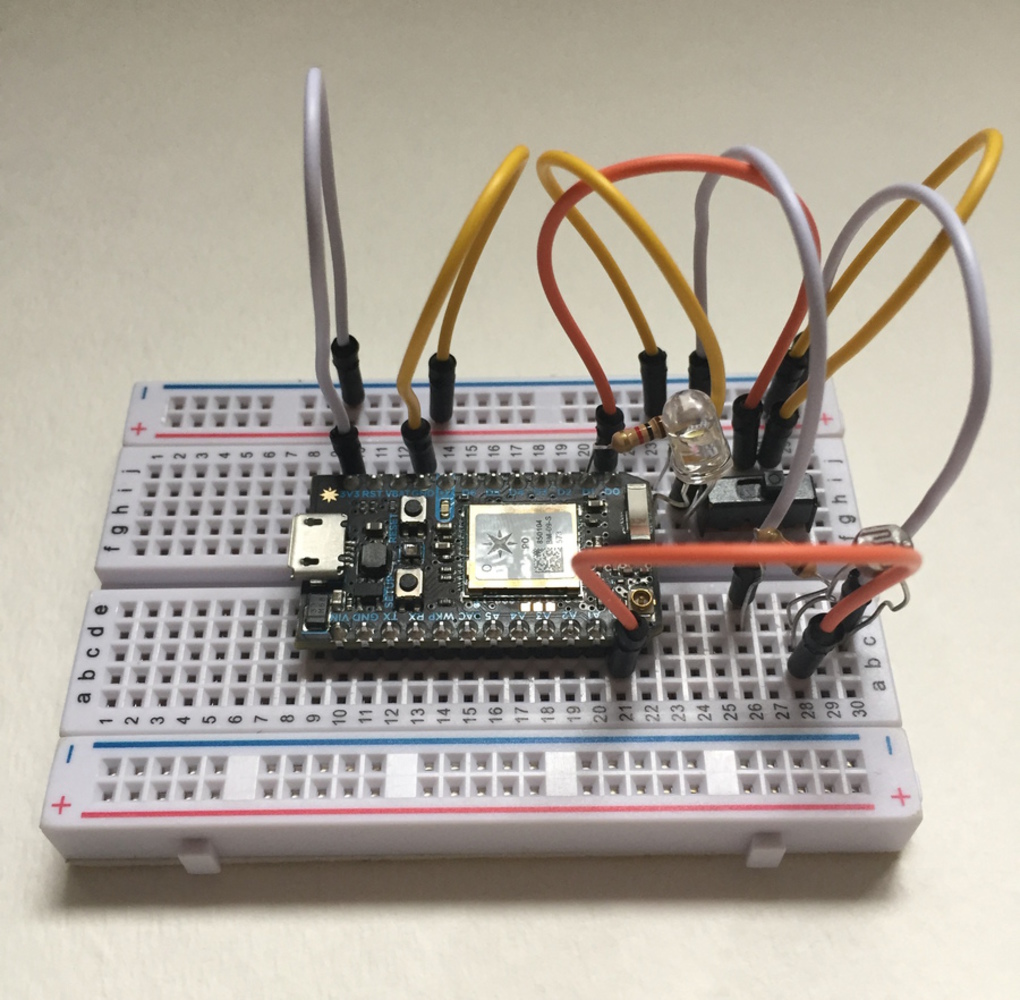
I used two tutorials to figure out how to set up my circuits and write the code for those circuits. The first is how to set up a photoresistor (http://diotlabs.daraghbyrne.me/3-working-with-sensors/photoresistors/) and the second is how to set up a switch (http://diotlabs.daraghbyrne.me/5-getting-input/switches/). I combined both the circuits and the code from each tutorial to get my final outcome (see pictures below).
The main challenges from this iteration of the project were figuring out how the breadboard and some basic circuitry worked, and figuring out technical issues with compiling and writing code for the microcontroller. One specific challenge I had was determining why my LED wouldn't fade when the photoresistor wasn't getting any light (like it was supposed to). The reason was that there was a small range of values that the photoresistor was reading, but my program took a bigger range and mapped it to LED values. So the LED values would only change by a little because the range of photoresistor values that was mapped to it was so large compared to the actual range. After measuring what range the photoresistor was reading and then changing my code to reflect that, my LED faded appropriately. Most of the other problems were solved by trying different circuit configurations out and searching through the internet for documentation for the coding language.


