Back to Parent

Outcome


Problem Statement

We hit a wall when started to explore product ideas that could make long-distance relationships more intimate. In a changing world where technology has brought loved ones closer through cheap travel and Facetime, technology has also torn loved ones apart, as we witness social interactions being replaced by screens that people spend too much time on. Instead of creating a device that would simply be another screen, we decided to capitalize on an already intimate interaction that is special in all relationships (family and friends)... sharing a drink! We chose this interaction because it is personal to all of us, whether it be wine nights with friends that we wouldn’t be able to experience with friends once we graduated, gunning down beers, or drinking tea with family. This device is aimed at loved ones who would like to share a drink together in virtual proximity.
Goal

The goal of this product is to bridge the physical distance between loved ones so they can share a drink with that special someone in real time and even signal a cheers, or a Clink!

Process

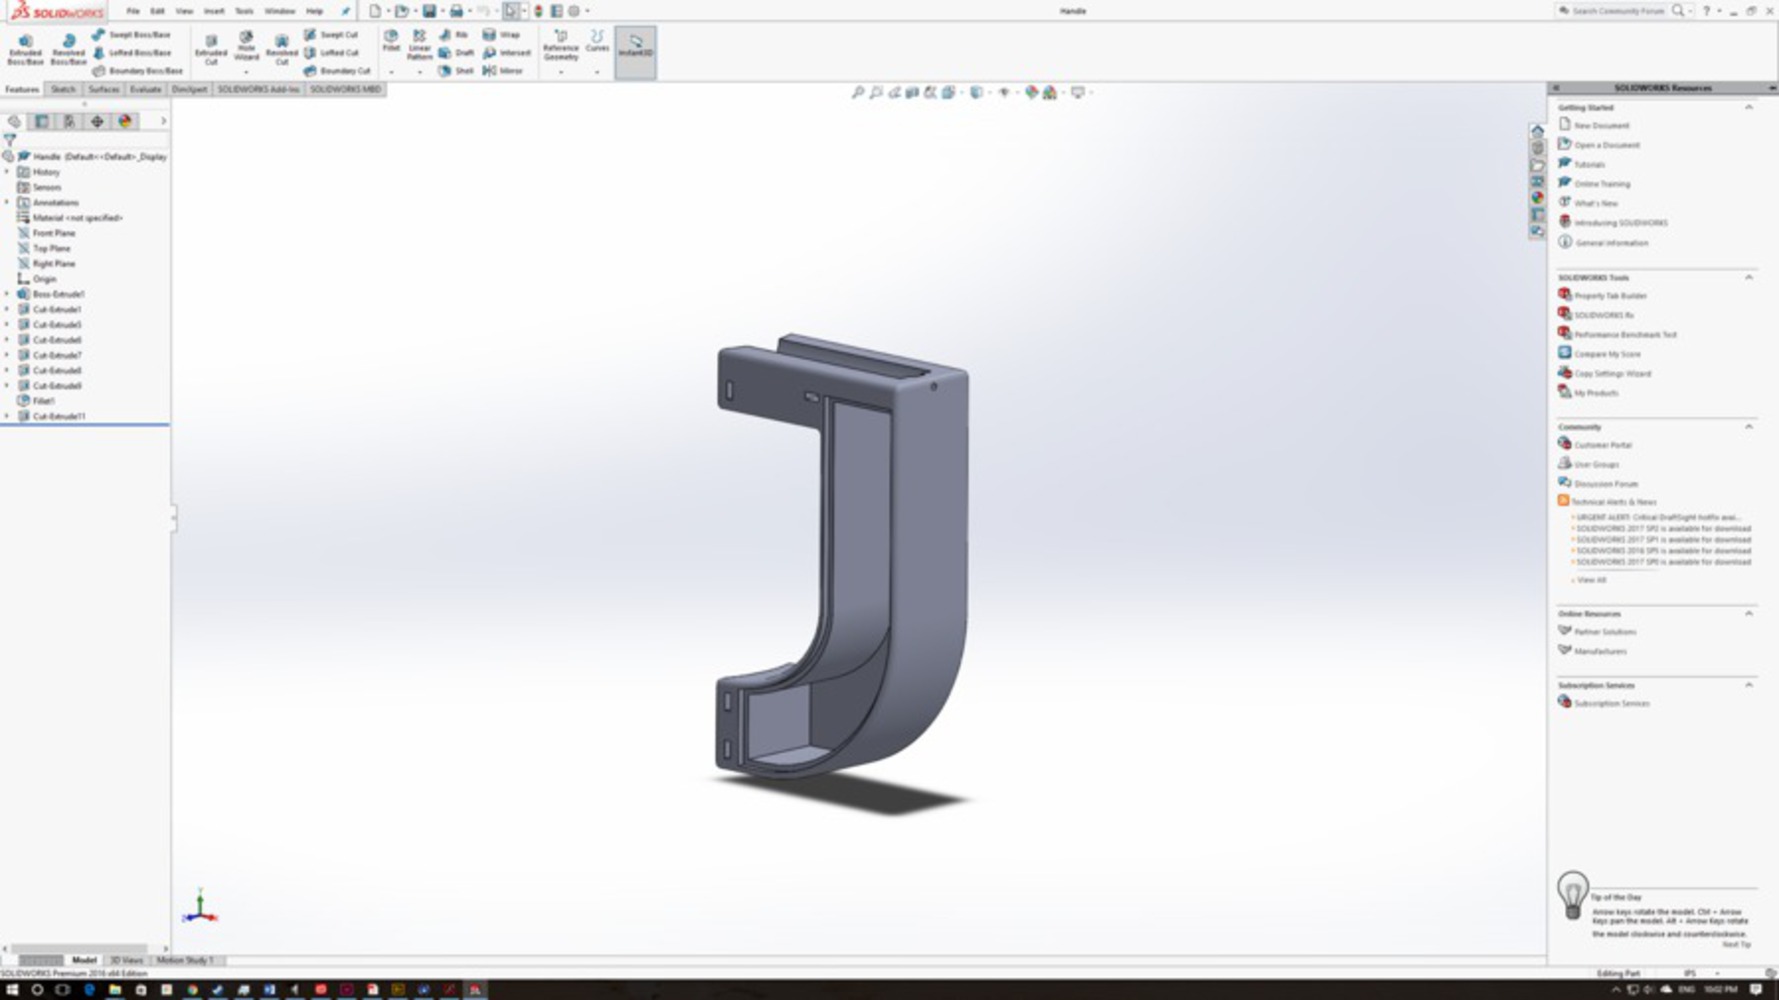
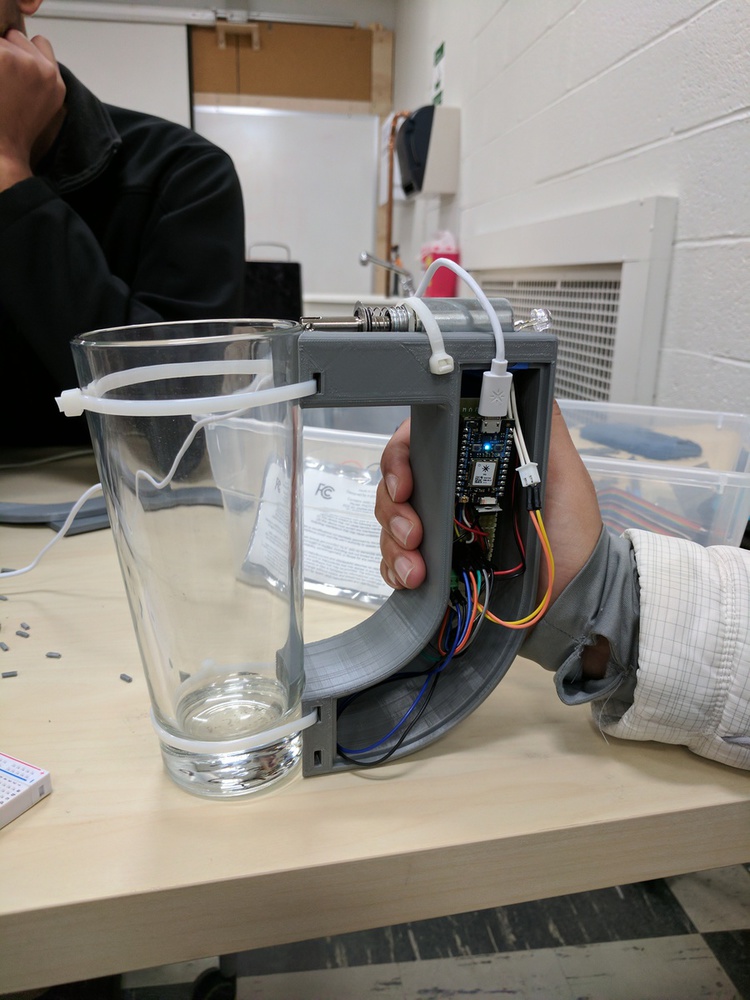
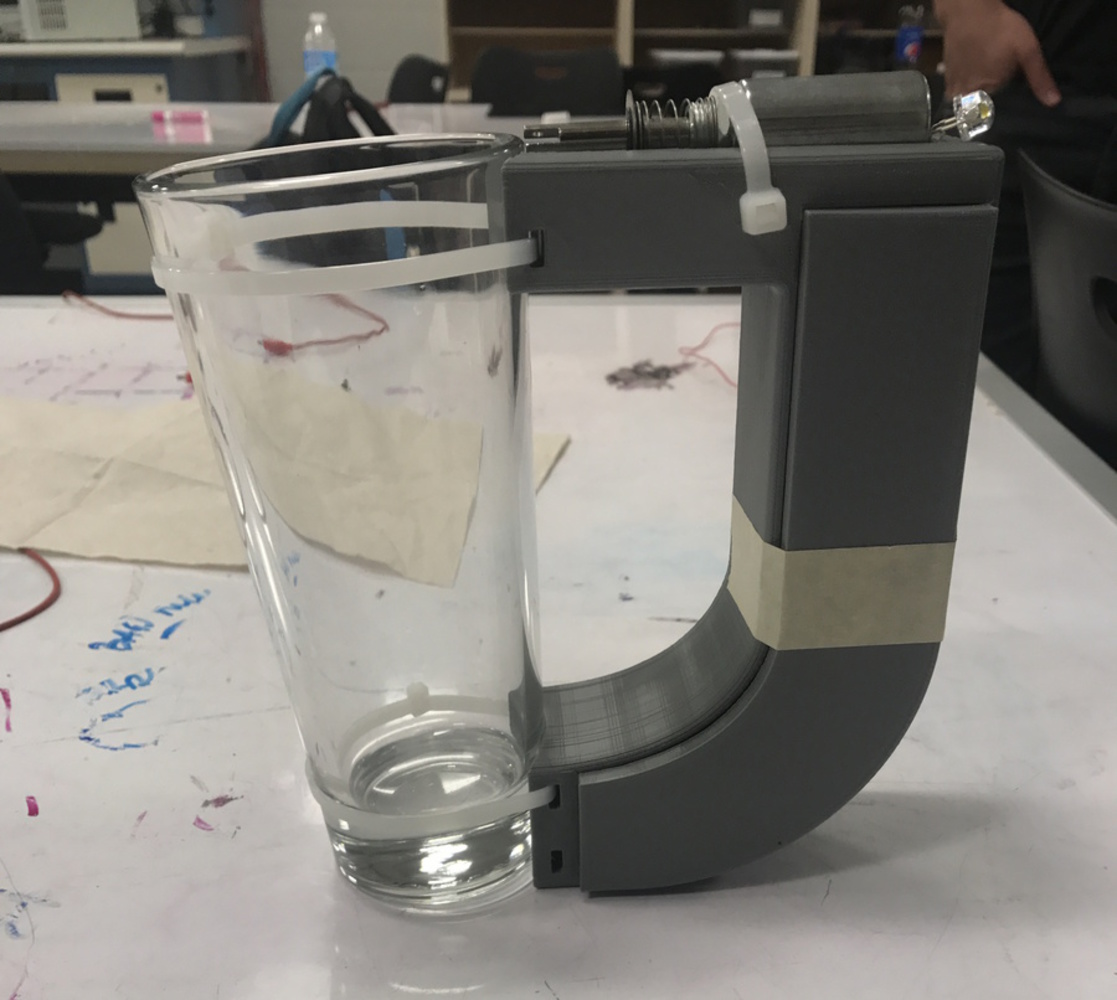
After deciding to focus on the experience of sharing a drink, we brainstormed some different forms that our product could take. Ideas ranged from building the whole drinking cup from scratch to building just a handle (all with embedded components). In the end, we decided to go with a handle that could be attached to any cup that was tall enough.

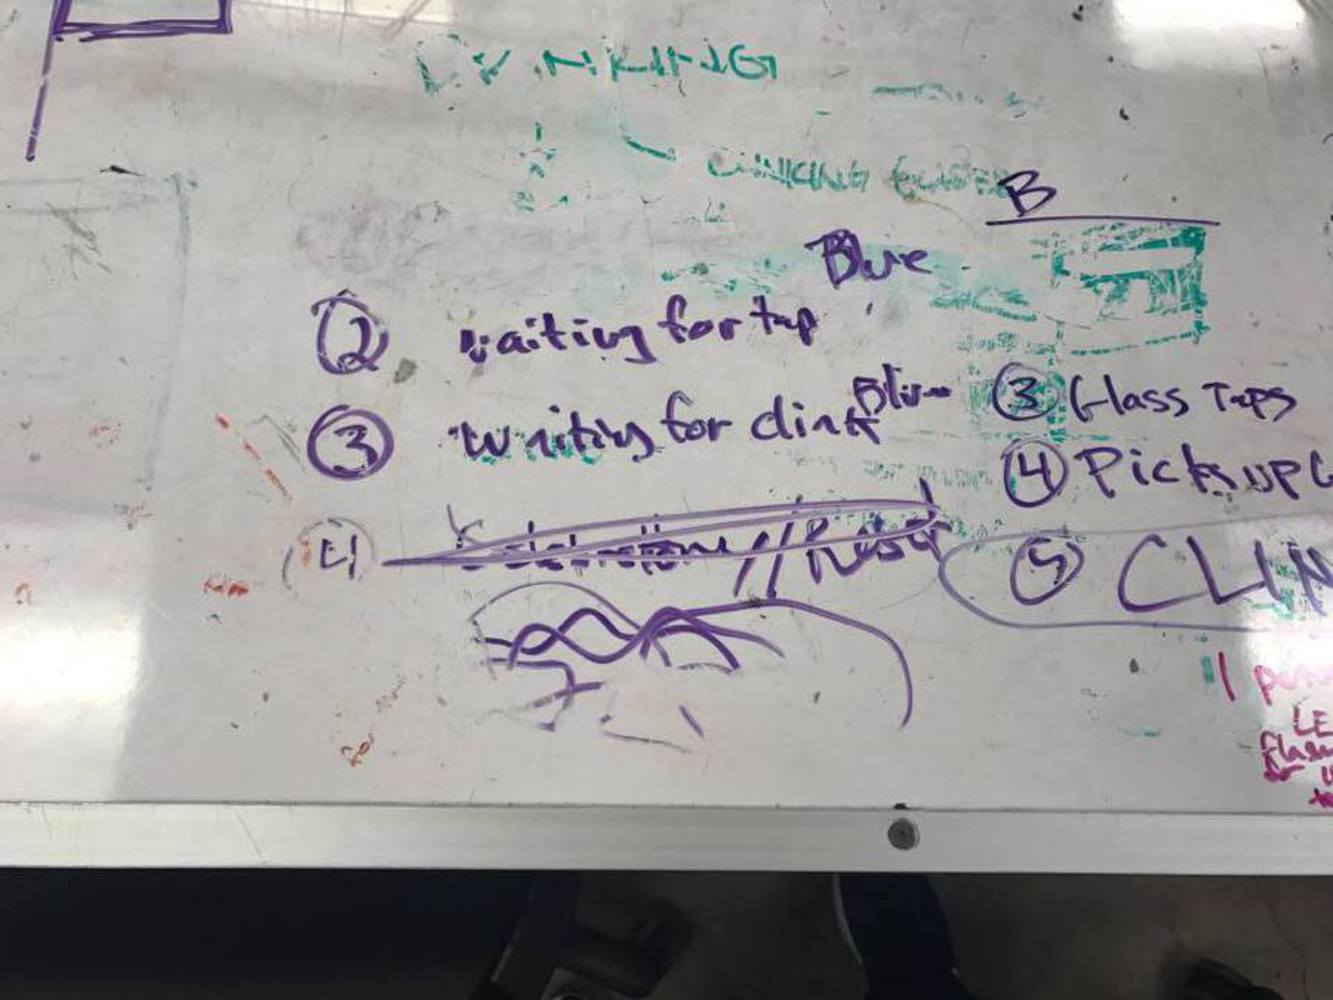
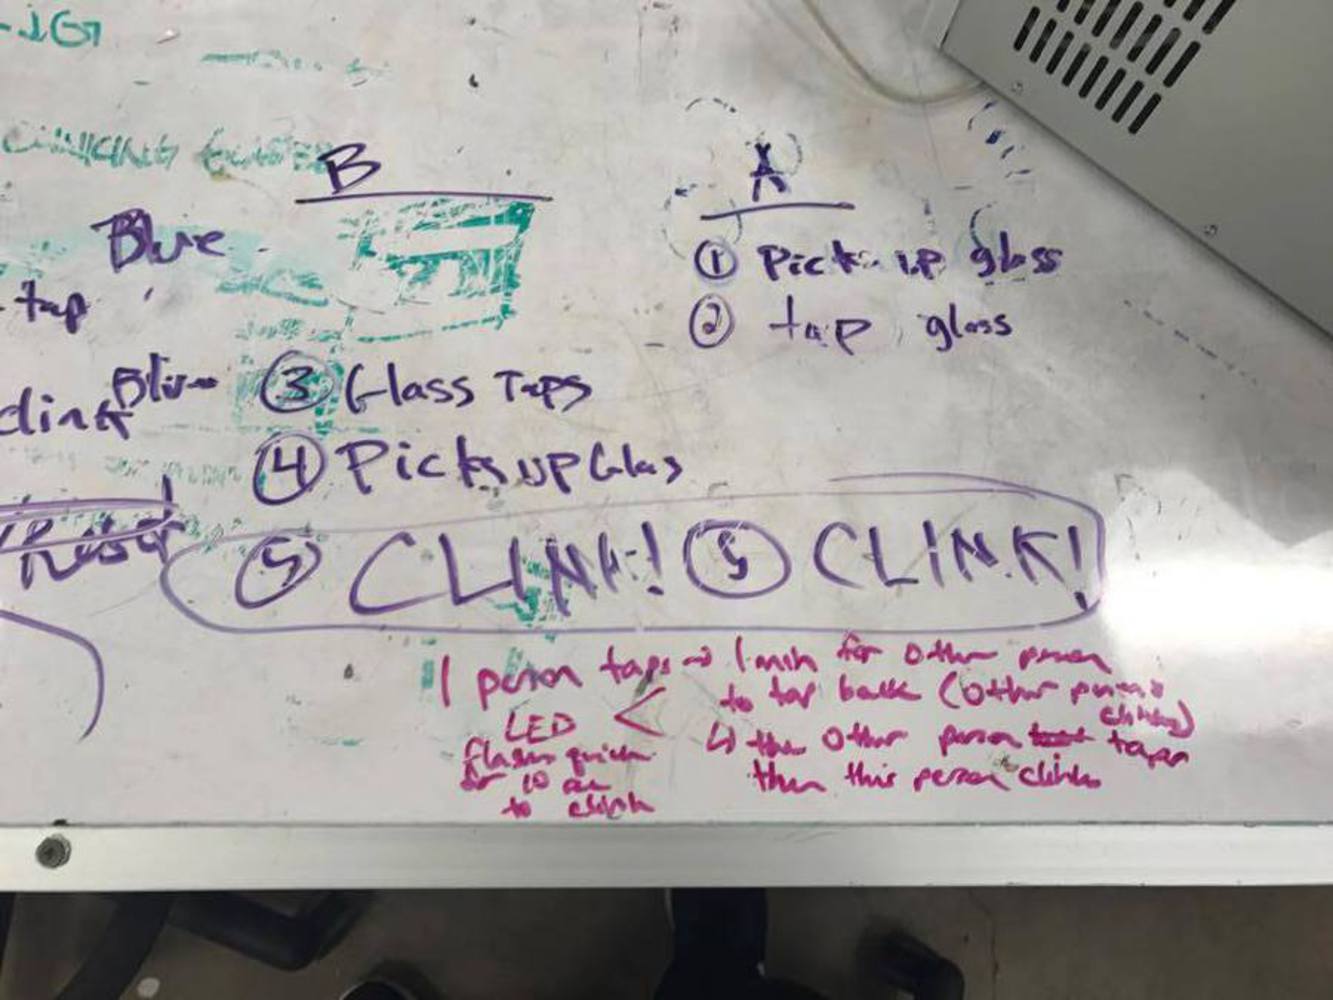
Then we detailed our interaction scenario. We wanted a person to be able to turn on their device, know if the other person was available, tap their glass to signal to the other person that they wanted to clink glasses, and to ultimately "clink" glasses. 

This interaction boiled down to the following 5 main states: device signals that other person is on, device is waiting for the other person to tap their glass, device signals when other person has tapped, device is waiting for other person to clink their glass, and finally, device clinks. 

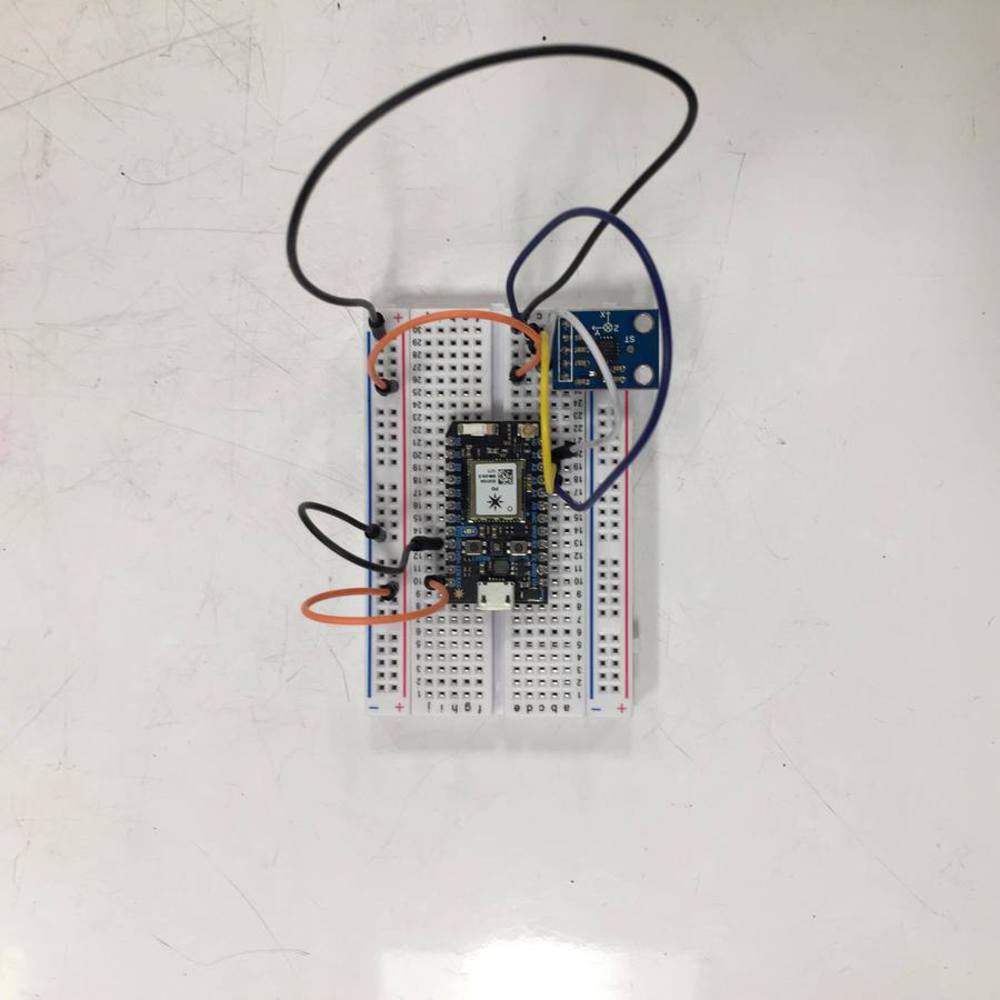
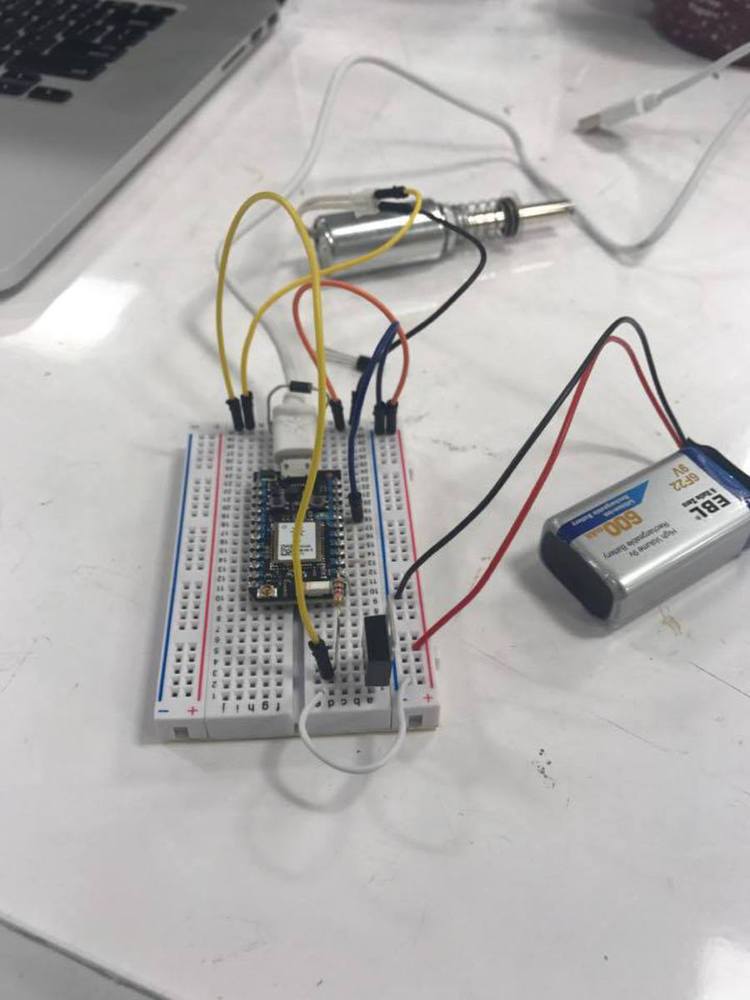
The main physical components that we used per handle were an accelerometer, a solenoid, and an LED. The accelerometer would measure when a person has tapped or made the clinking motion. The solenoid would emulate physical taps and clinks. The LED would be used as a signaling device.

The remainder of the process was split between software and hardware.

17105706 1570055896357750 363614215 n.thumb
Show Advanced Options
17101643 1570055886357751 944931363 n.thumb
Show Advanced Options
17036550 10208840869446702 91458756 o.thumb
Show Advanced Options
17092190 1570055863024420 1473247808 n.thumb
Show Advanced Options
17035921 10212823597330960 802227805 o.thumb
Show Advanced Options
Img 1092 2.jpg.thumb
Show Advanced Options
17036747 10212827669152753 46758986 o.thumb
Show Advanced Options

Software

Accelerometer - The main goal when initially coding with the accelerometer was to determine a good range to map the readings in order to get a clearer signal. To do this, we calculated the maximum and minimum reading from the accelerometer giving tapping movements and clinking movements.

Show Advanced Options

Solenoid - The solenoid was used to create the clinking of the glasses. We used the solenoid in two different spots, the first was 5 quick smaller clinks that indicated your partner had requested a clink. The second was one bigger clink and this was used to mimic an actual clinking of two glasses.

Show Advanced Options

Putting it all together - Finally we combined the two scripts so that when a user tapped three times, which is picked up by the accelerometer, they would emit an event to the other device saying the Person A wanted to clink. The receiving of this event would trigger the small taps of the solenoid for Person B and when Person B tapped their glasses three times the device would emit an event to Person A saying both parties were ready to clink. When both people raised their glasses the bigger solenoid clink would be triggered.

Show Advanced Options

Hardware

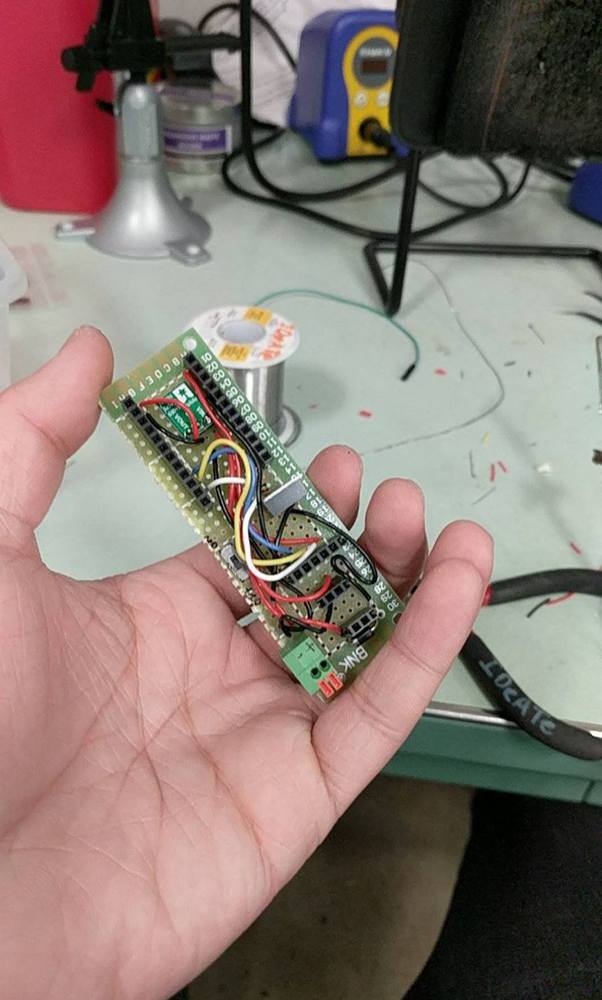
The following is a list of hardware used for the building of one cup:

1x  Photo Particle

1x Accelerometer

1x  Solenoid

1x MOSFET

1x Diode

1x Resister (10k)

1x Resister (320)

1x LED

1x 9v Battery

1x Pololu 5V Step-Down Voltage Regulator {VERY IMPORTANT, unlike an arduino, the particle can only take up to 6v while the arduino can take up to 12v. We kill a few particles ;(  }

1x SPDT Switch

A Tall Gall

Custom 3D Printed Housing

Zip Ties

Wires

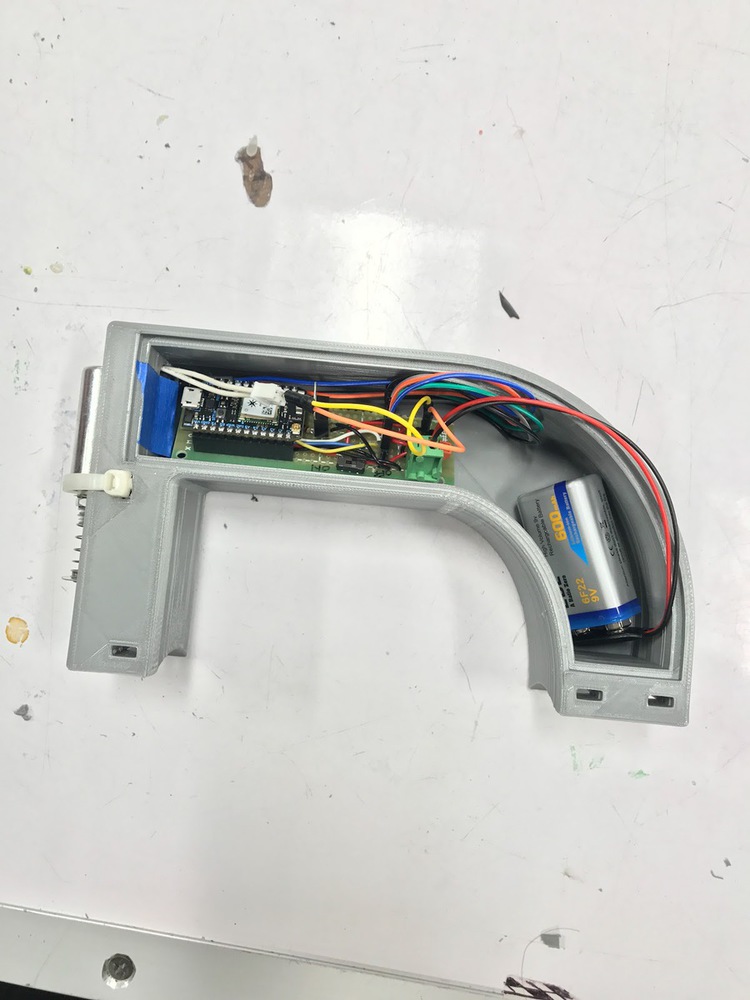
Here is a photo of a fully assembled cup with out electronic cover

Img 20170302 174325.thumb
Show Advanced Options

Outcome

The final product looks like this:

Final product.jpg.thumb
Show Advanced Options

The final interaction scenario is as follows:

Person A is sitting at home, taking a drink using a cup with a Clink! handle. Their LED light turns on which means that their friend, Person B, is also taking a drink at the same time. Person A decides that they want to do a cheers, so they tap their glass on the table (their LED starts slowly pulsing) and wait. Person B's solenoid taps on their glass. That lets them know Person A wants to clink. 

But, first, they have to let Person A know they're ready. So Person B taps their glass on the table. Person A's solenoid taps on their glass, and now both Person A's and Person B's LED is strobe-lighting. This means it's time to clink!

Person A raises their glass and Person B raises their glass, and CLINK! The solenoids on their glass make one resounding clink, and everything resets back to normal.

-----

To help visualize this better, we made the following video: (BELOW).

Show Advanced Options

The prototype is mostly complete. To improve the device, one thing we could do is add a contact microphone to the glass to better detect table taps. Currently the accelerator doesn't seem to be sensitive enough to table taps; this could be because of where it's situated in the handle or how people end up moving the handle.  

Reflection

Monisha: Through this process, I learned more about storyboarding and detailing an interaction scenario. I also learned about different aspects to consider when designing a physical product such as tactile feedback. If I could re-do this project, I would work on making sure all the hardware components were wired together as soon as possible before calibrating settings for any of the sensors. That way, it'd be easier to determine if a sensor was a good pick or not for a particular instance.

Brian: The process of this made me learn about how group dynamics work in a relativity small, and short project while working in a larger team. I personally think four people was a bit much for this project since there were times when team members had nothing to do while waiting on others as many task can only be completed by one person. 

Travis: The biggest lesson I learned from this project is to try to integrate all parts as soon as possible. We spent a lot of time getting the individual parts of the project to work correctly but when we went to combine all the different parts we ran into problems that we had not foreseen. A little more time spent on working with the parts all together would have been very helpful for this project.

Shaan: I learned a lot doing this project with a team. 3D printing the handle was difficult because the design took so long to print. And I learned the importance of recognizing the different data sets that we needed to collect as well. Because of the small time frame, we were not able to have all the components as connected as we would have liked, thus leading to a few technical difficulties on Thursday. If I had to add one thing about this product it would be a smaller handle which we could achieve if we used smaller parts and had a little extra time.

Drop files here or click to select

You can upload files of up to 20MB using this form.