Back to Parent

Outcome


Intention

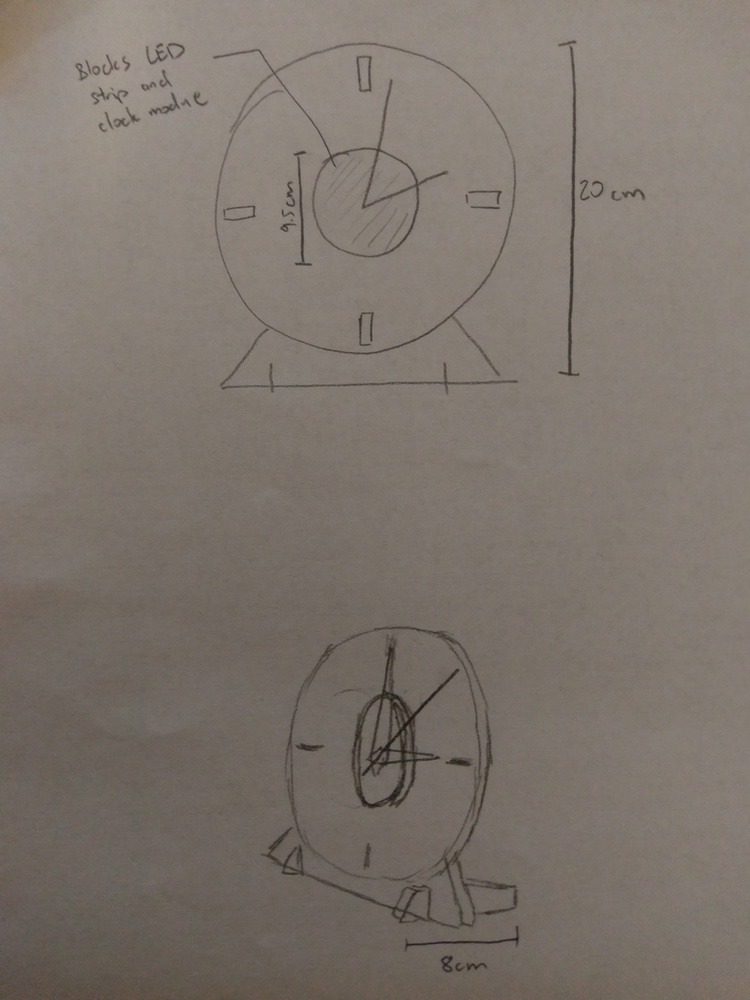
The goal is to make a clock that can be viewed easily from my bed both in the day and in the middle of the night, without being an annoying light source at night. The clock would be placed on the window ledge instead of hanging on a wall, since I don't want to make another hole in the wall that I'll have to fill later.

Context

Looking at my phone in the middle of the night to check the time is not pleasant, but sometimes I just need to know the time. I want to model my clock after simple clocks without overly extravagant designs. Edge lit acrylic panels are the inspiration, as they make the face readable while projecting light perpendicular, so the viewer won't be blinded by the light at night.


Map 3136 large display large preview featured 1 .thumb
Show Advanced Options

Process

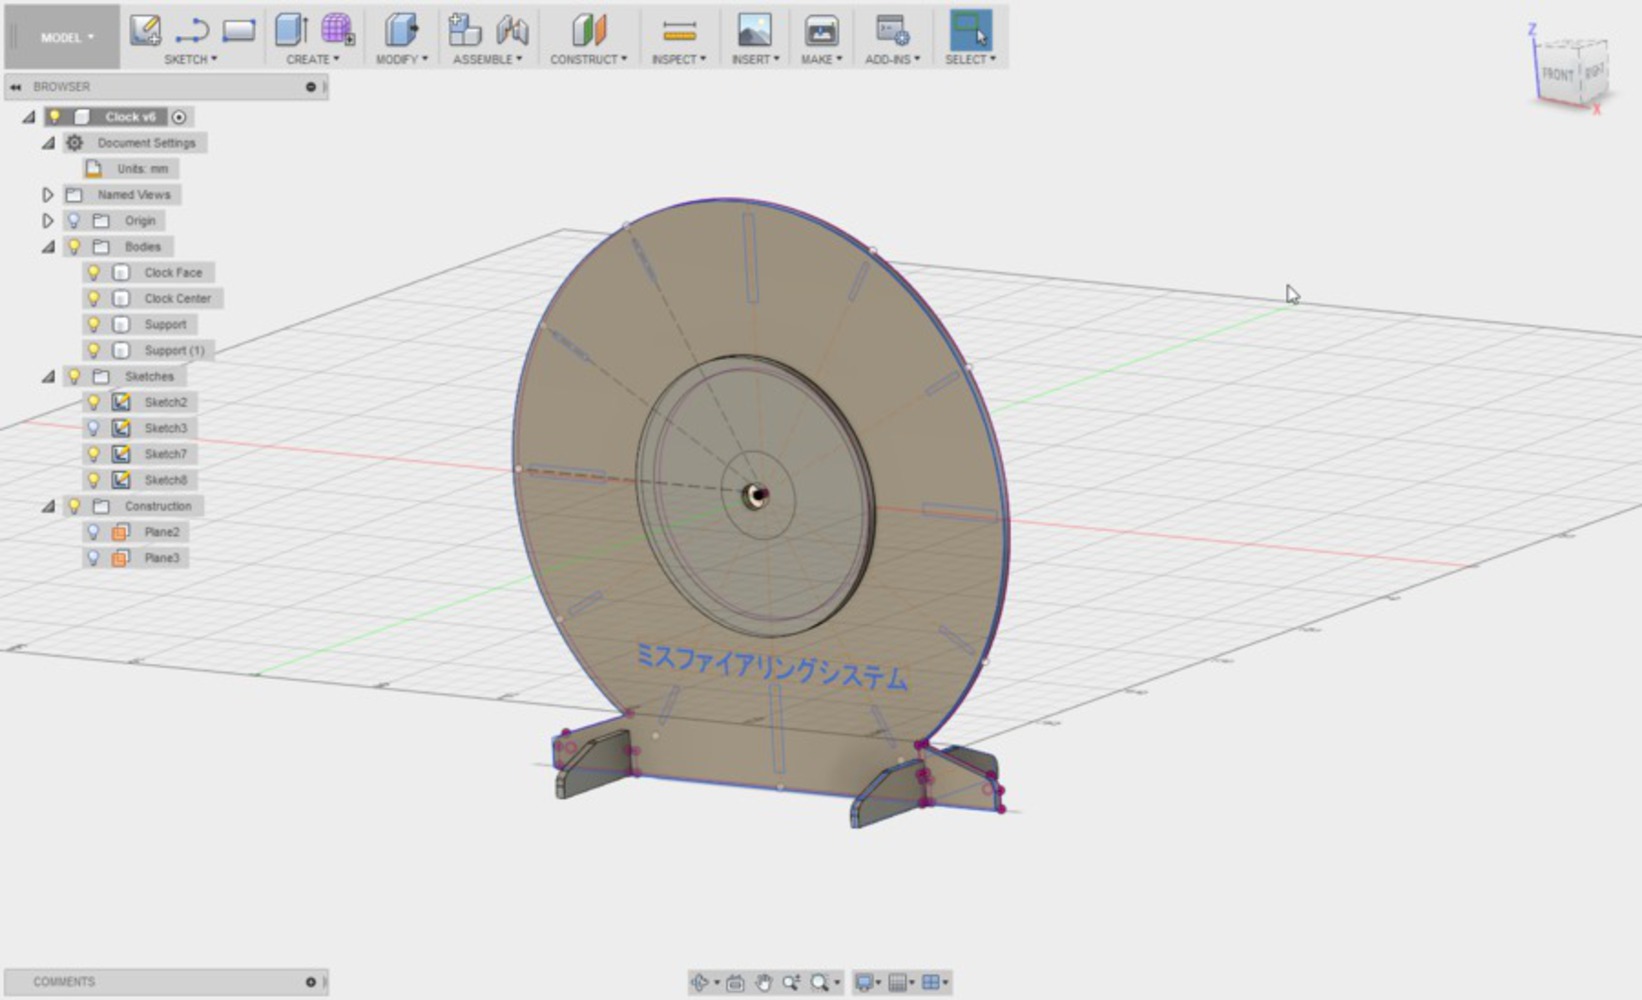
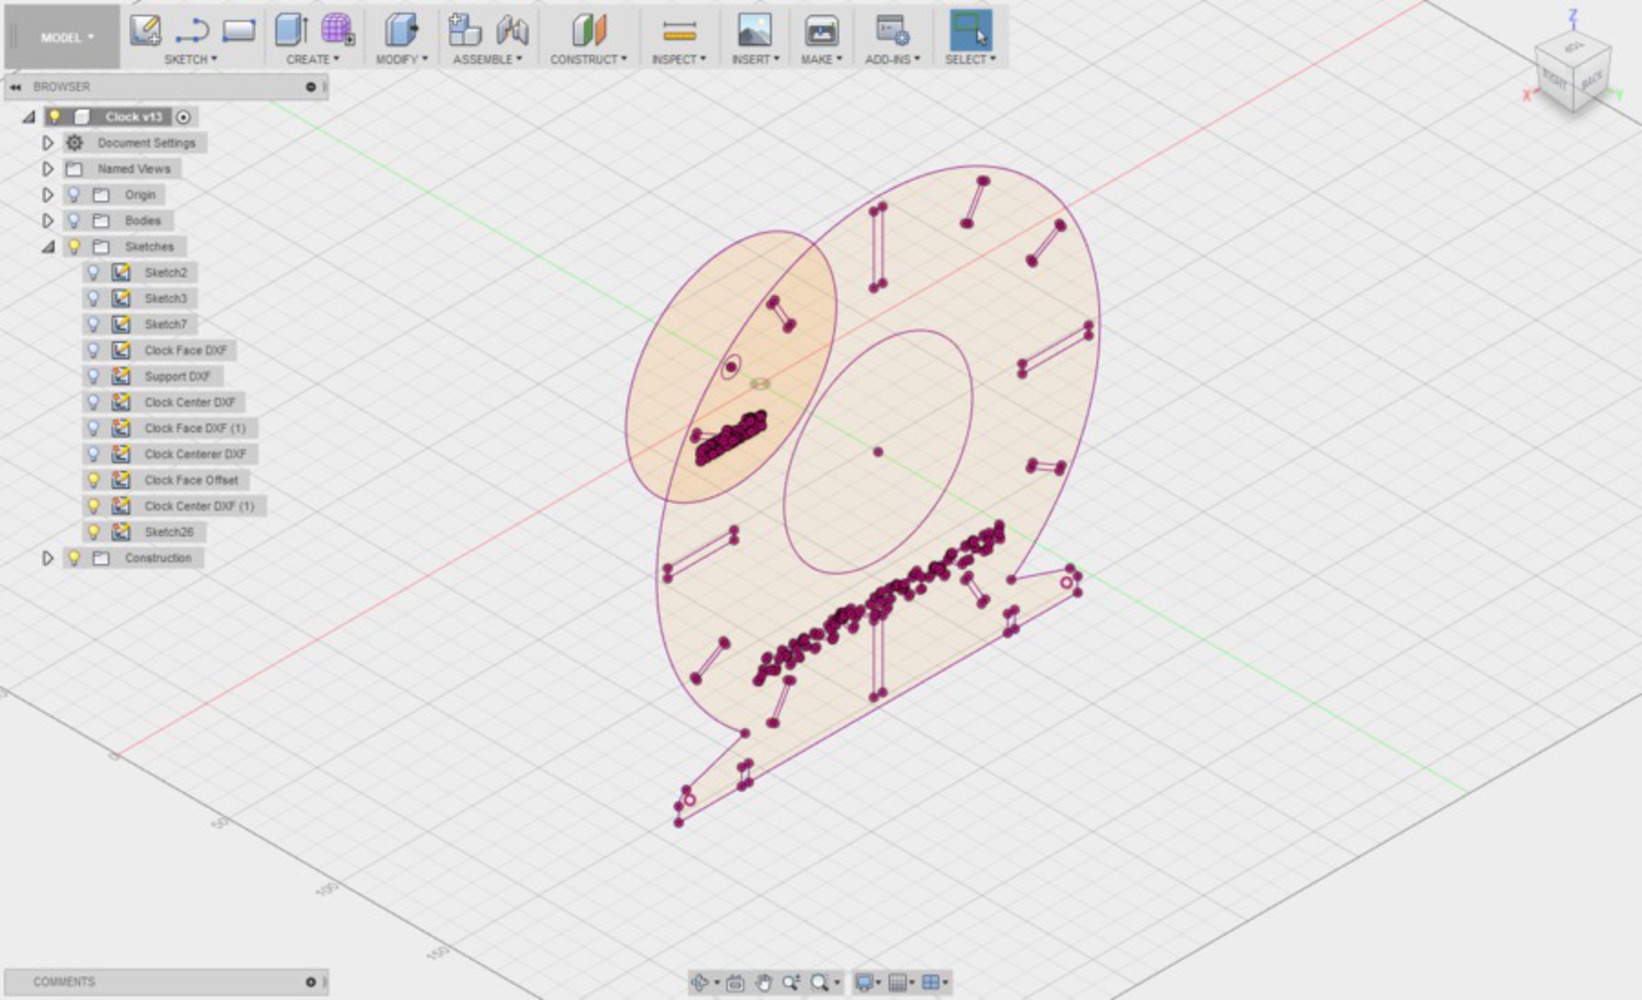
The goal was to have a simple design that is easy to read and shows off the lighting cleanly. The black center plate needed to be placed in front of the faceplate because LEDs need to be attached to the inner rim of the faceplate. To make sure the center plate is centered the cutout of the faceplate has the same hole cut out in the middle so I can align them together.

I added Japanese characters (they don't mean anything meaningful) to make it look a bit less boring. The clock face design was kept minimalist otherwise.

The feet of the clock was switched to be equal length on both sides in case the original design causes the clock to tip forward.


2017 10 16 23.13.41.thumb
Show Advanced Options
Fusion360 2017 10 15 23 14 35.thumb
Show Advanced Options
Fusion360 2017 10 16 23 27 55.thumb
Show Advanced Options

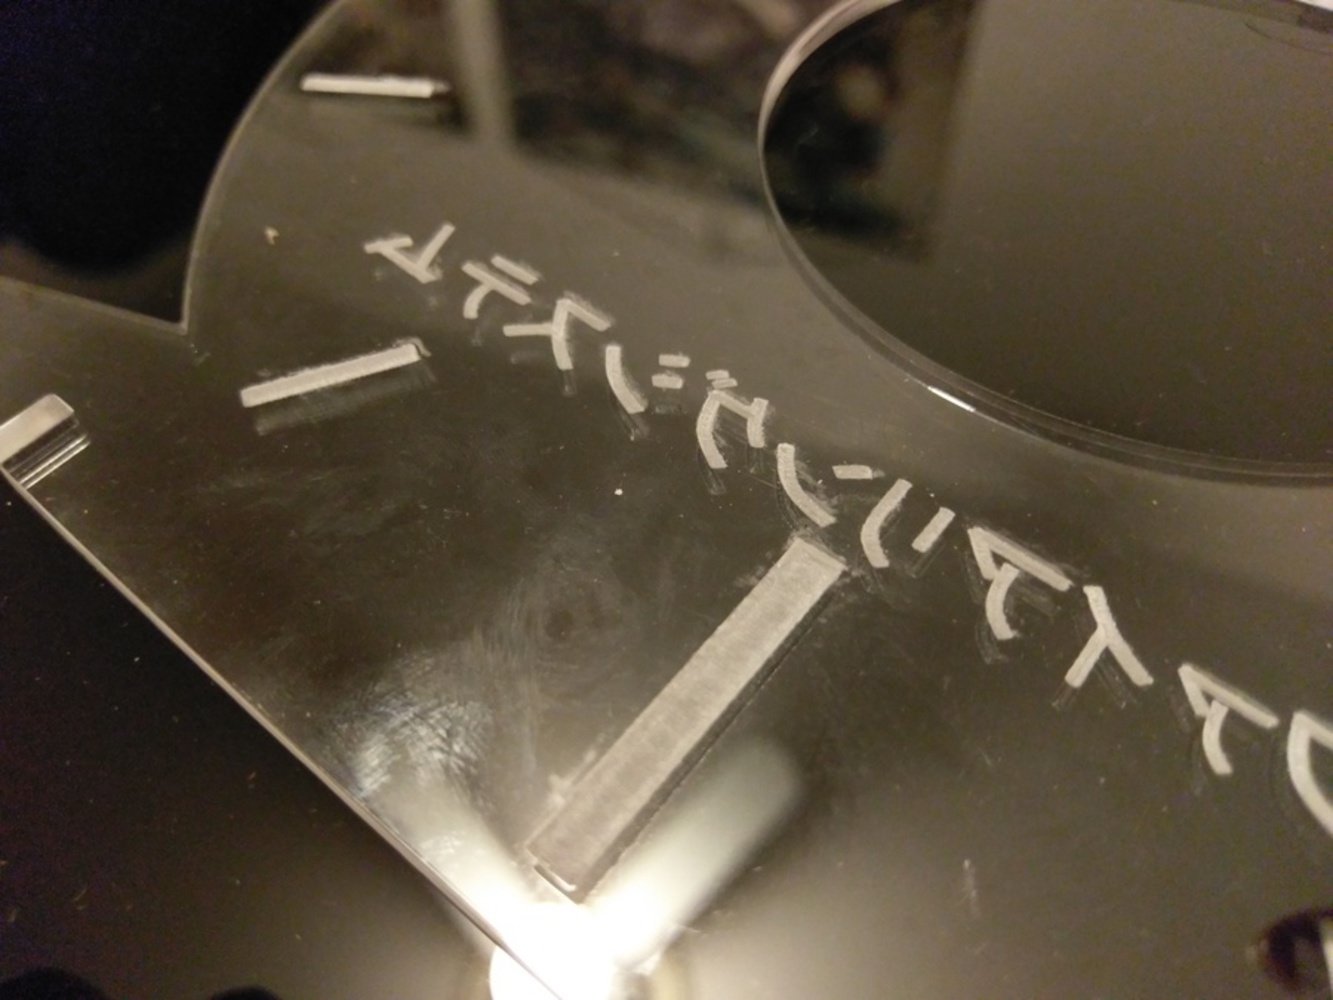
Light etching did not go too well so heavy etching was done instead. However the first version didn't clean up well so I decided to make another one and be more careful in removing the dust. The second version had heavy etching only on the character. The time markers were set between the light and heavy setting so that I could still score the outline and make it pop. The second version still was not perfect but it cleaned up much better.

2017 10 16 22.19.55.thumb
Show Advanced Options

Product

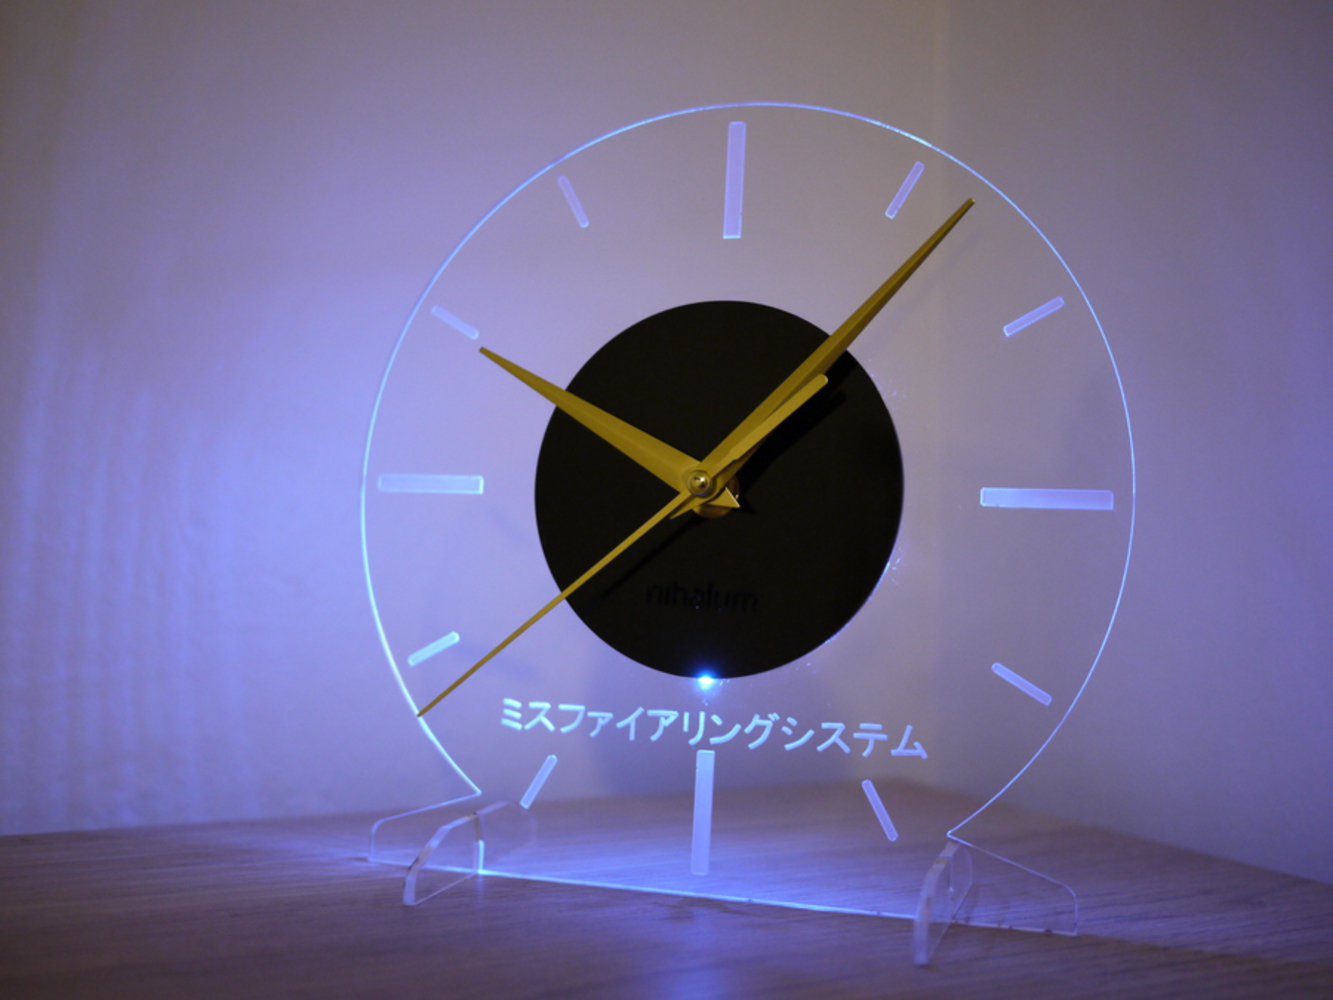
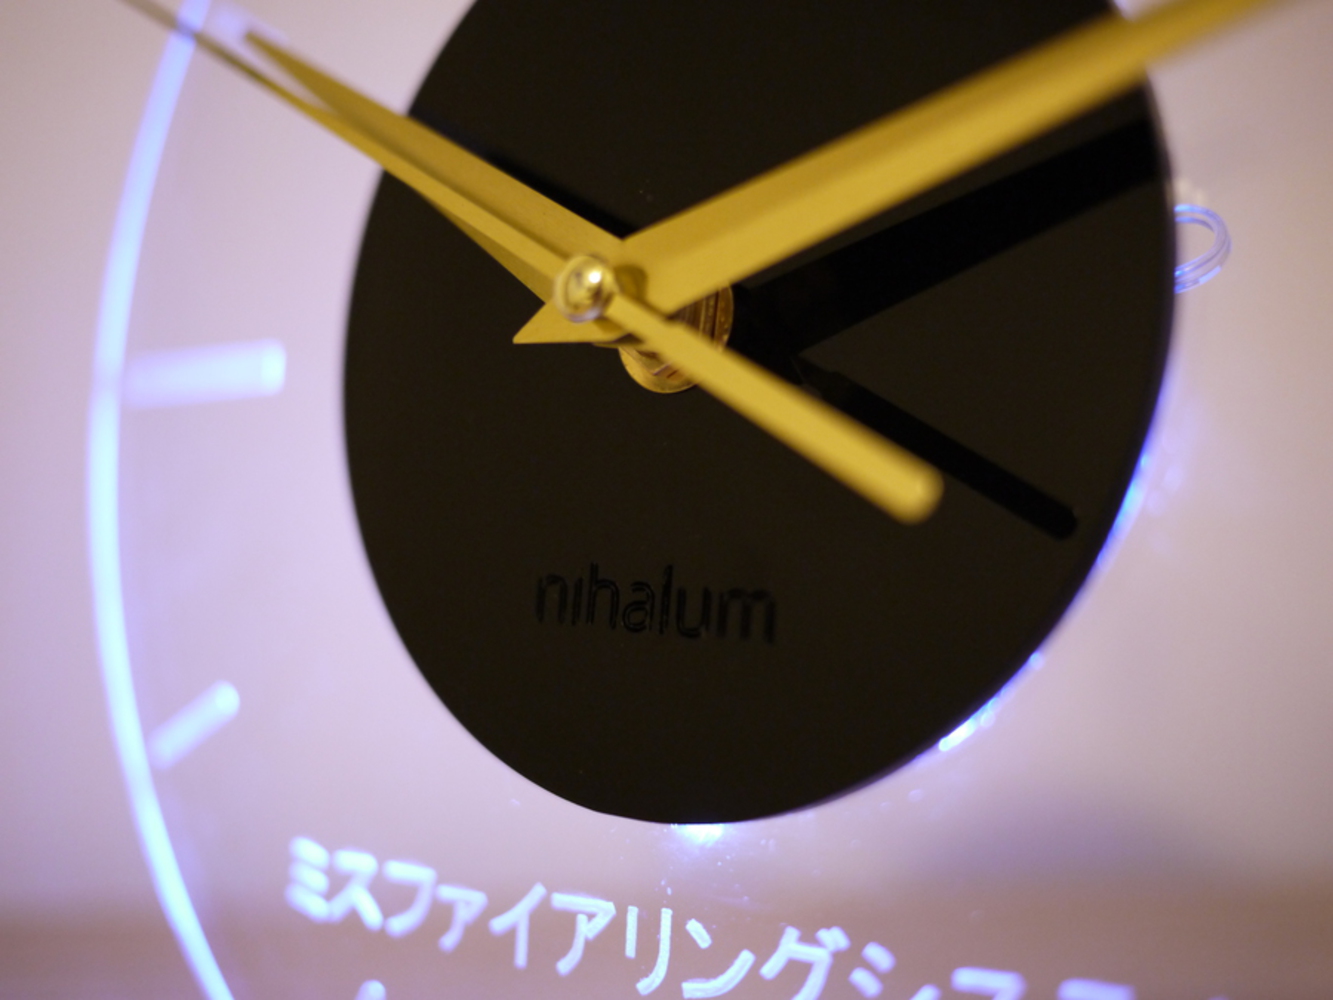
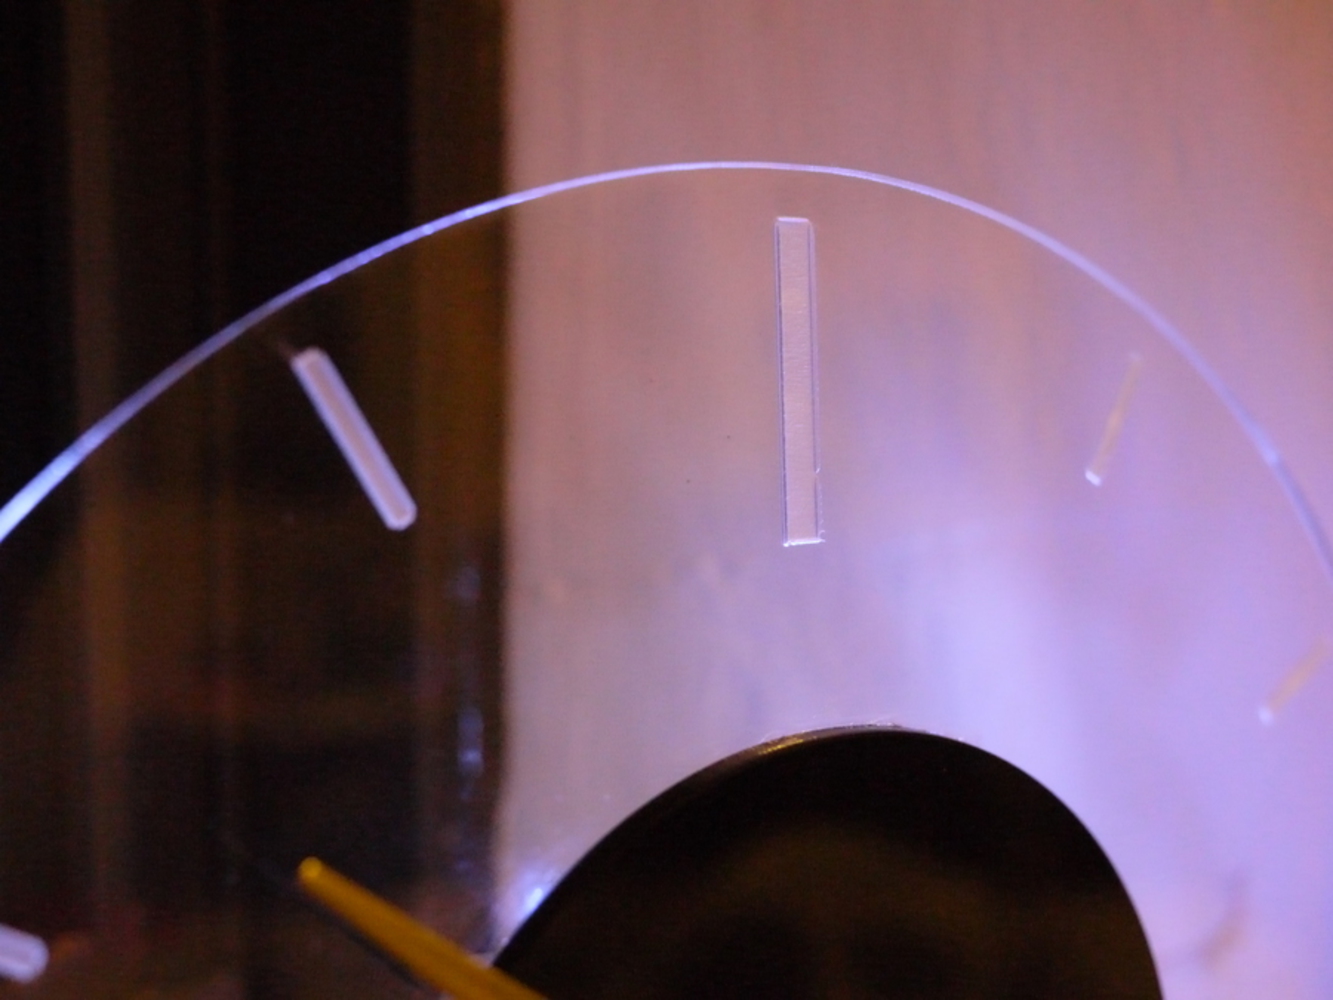
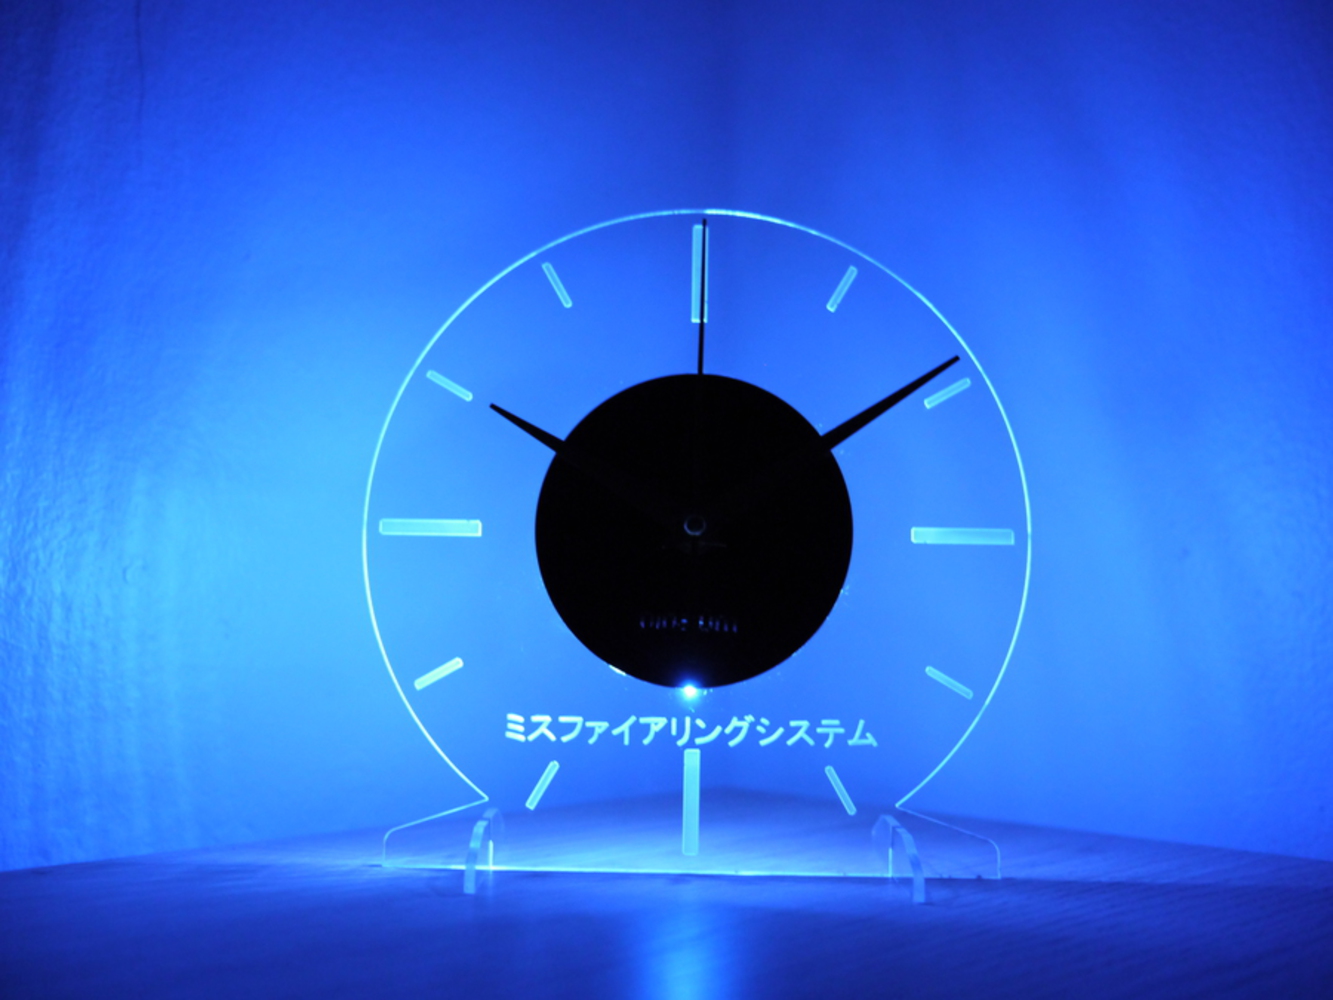
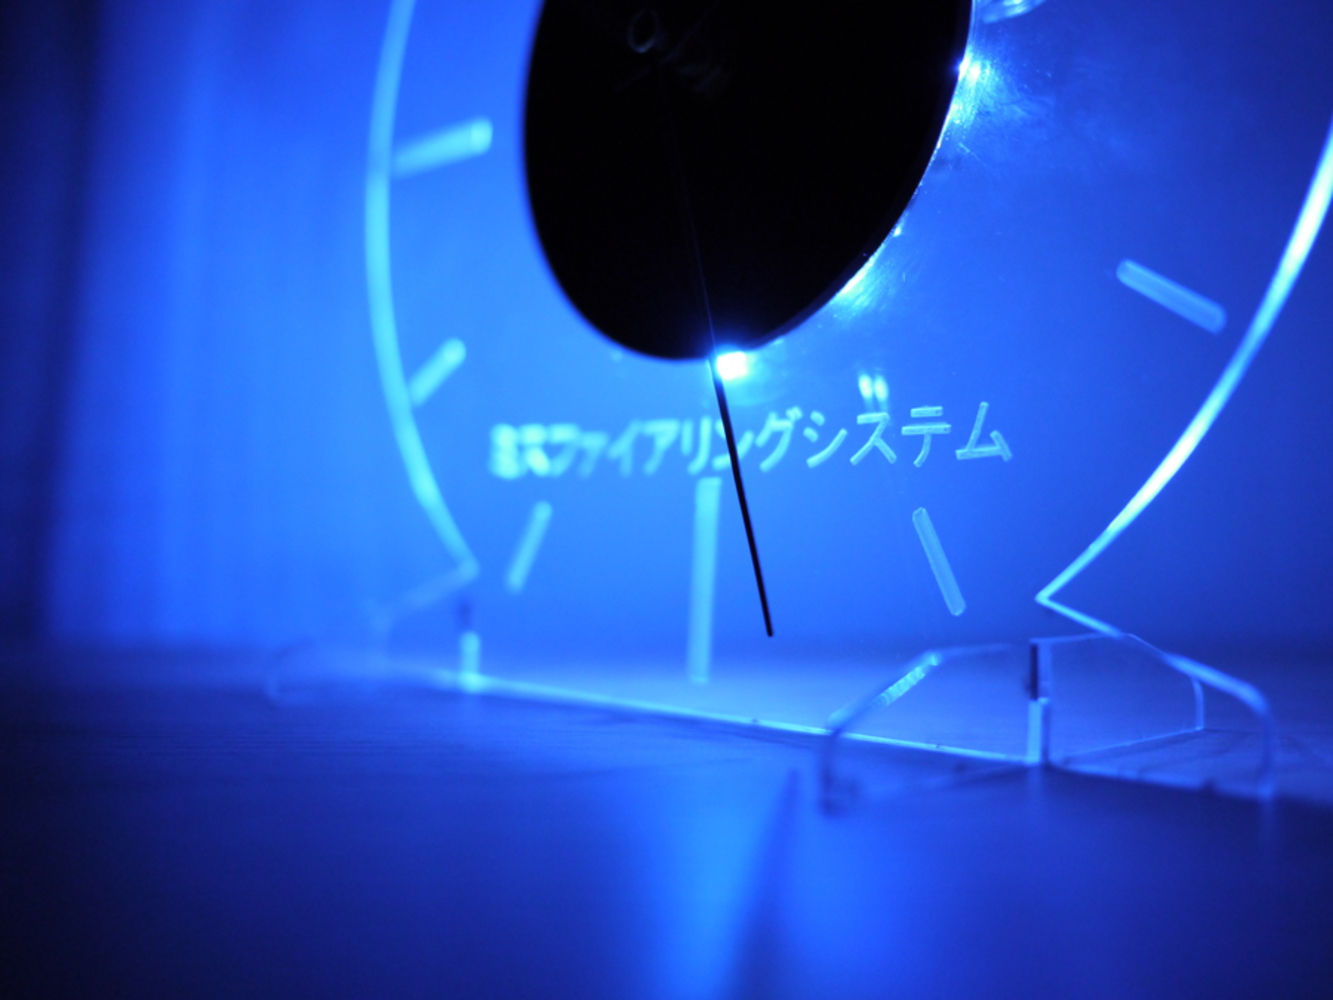
The clock is made by gluing two pieces of acrylic together. The clear faceplate is the main piece of the clock with details etched on the back side. The time markings are lightly etched then scored. The black center piece is glued on top to block the wiring and components behind, it also has text that has been scored at the bottom. Two feet are also made with clear acrylic to keep the clock upright.

P1020342.jpg.thumb
Show Advanced Options
P1020350.jpg.thumb
Show Advanced Options
P1020357.jpg.thumb
Show Advanced Options
P1020348.jpg.thumb
Show Advanced Options
P1020349.jpg.thumb
Show Advanced Options

Reflection

The clear acrylic is very hard to clean as the dust from all the etching is substantial. Lots of care has to be made to remove them from the surface without scratching. Having only paper towels did not help either. A deep clean with acetone and rubbing alcohol followed by polishing with a microfiber (instead of using paper towels) would help immensely.

Scoring text on the center piece was a last minute idea. In an attempt to have the edges connect I accidentally had some parts cut through the acrylic. The text also brought a new problem: Making sure the text is horizontal on the clock. The original mounting method only accounted for centering but no rotation. Next time a better method has to be used as I eyeballed it and it's now a bit off.

The center piece could also be bigger. There is not much space to glue the piece onto the faceplate. I tried to use as little glue as possible but it still spilled out onto the faceplate.

The face plate would also have been better if it was twice as thick. The LED wire I bought was difficult to keep in place with such little depth.

In the end though, I am happy with how this turned out for my very first attempt at a laser cutting project, and it will be on my window ledge until I get annoyed by the sound of the clock kit.
Collaboration or Attribution

Many thanks to Louise for helping me with many stages of making the design into reality

Drop files here or click to select

You can upload files of up to 20MB using this form.