Back to Parent

Outcome


Intention

The main goal of this project is to create something that holds, and although this is a simple idea - one object that holds that I still don't have is a pencil holder. So, because this fits the project goal and it is an item that I still don't physically own, I decided to 3D print a pencil holder. 

Context

Although I was going with a more simple idea of creating a pencil holder,  I wanted to make the holder fun and personalized. In terms of precedent projects, there is a pencil holder in the shape or form of pretty much anything you can imagine. Since a pencil holder is such a common and almost necessary object, people have pencil holders in any sort of design you can think of.  


In order to personalize my holder though, I pondered upon my interests and how they could fit into my design. I love games, particularly board games. So, I decided that it would be really fun to create a pencil holder in the shape of a dice - with the 6-side of the dice holding all my pens/pencils, and the other 5 sides just being in the design of a dice.  Below are some sketches of my design. 

Below is an inspiration I found for my product online. 

Wood dice pen holder walnut color pencil cup.thumb
Show Advanced Options

Process

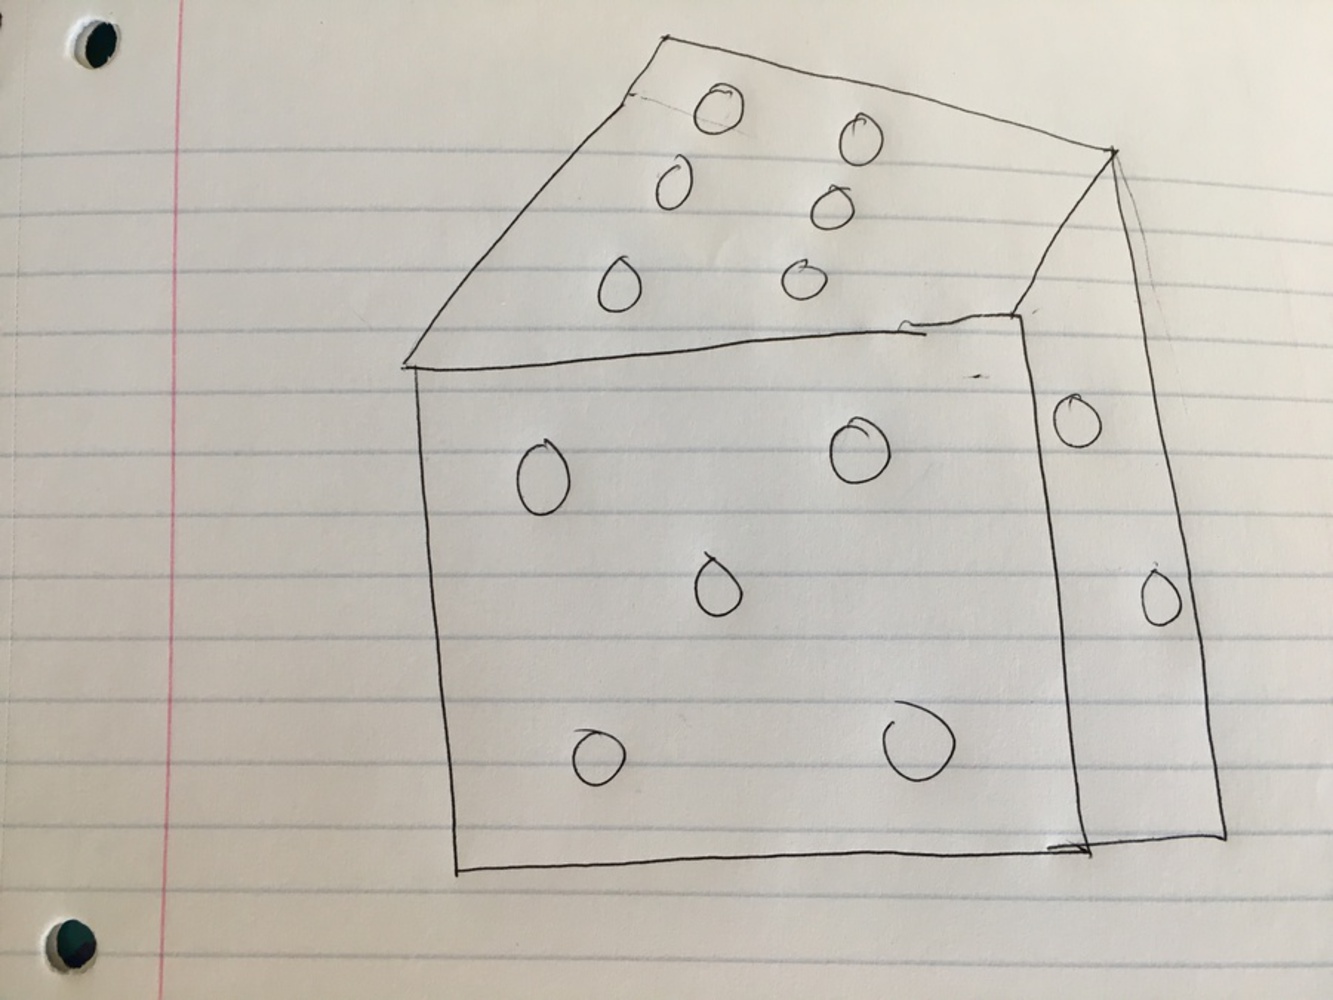
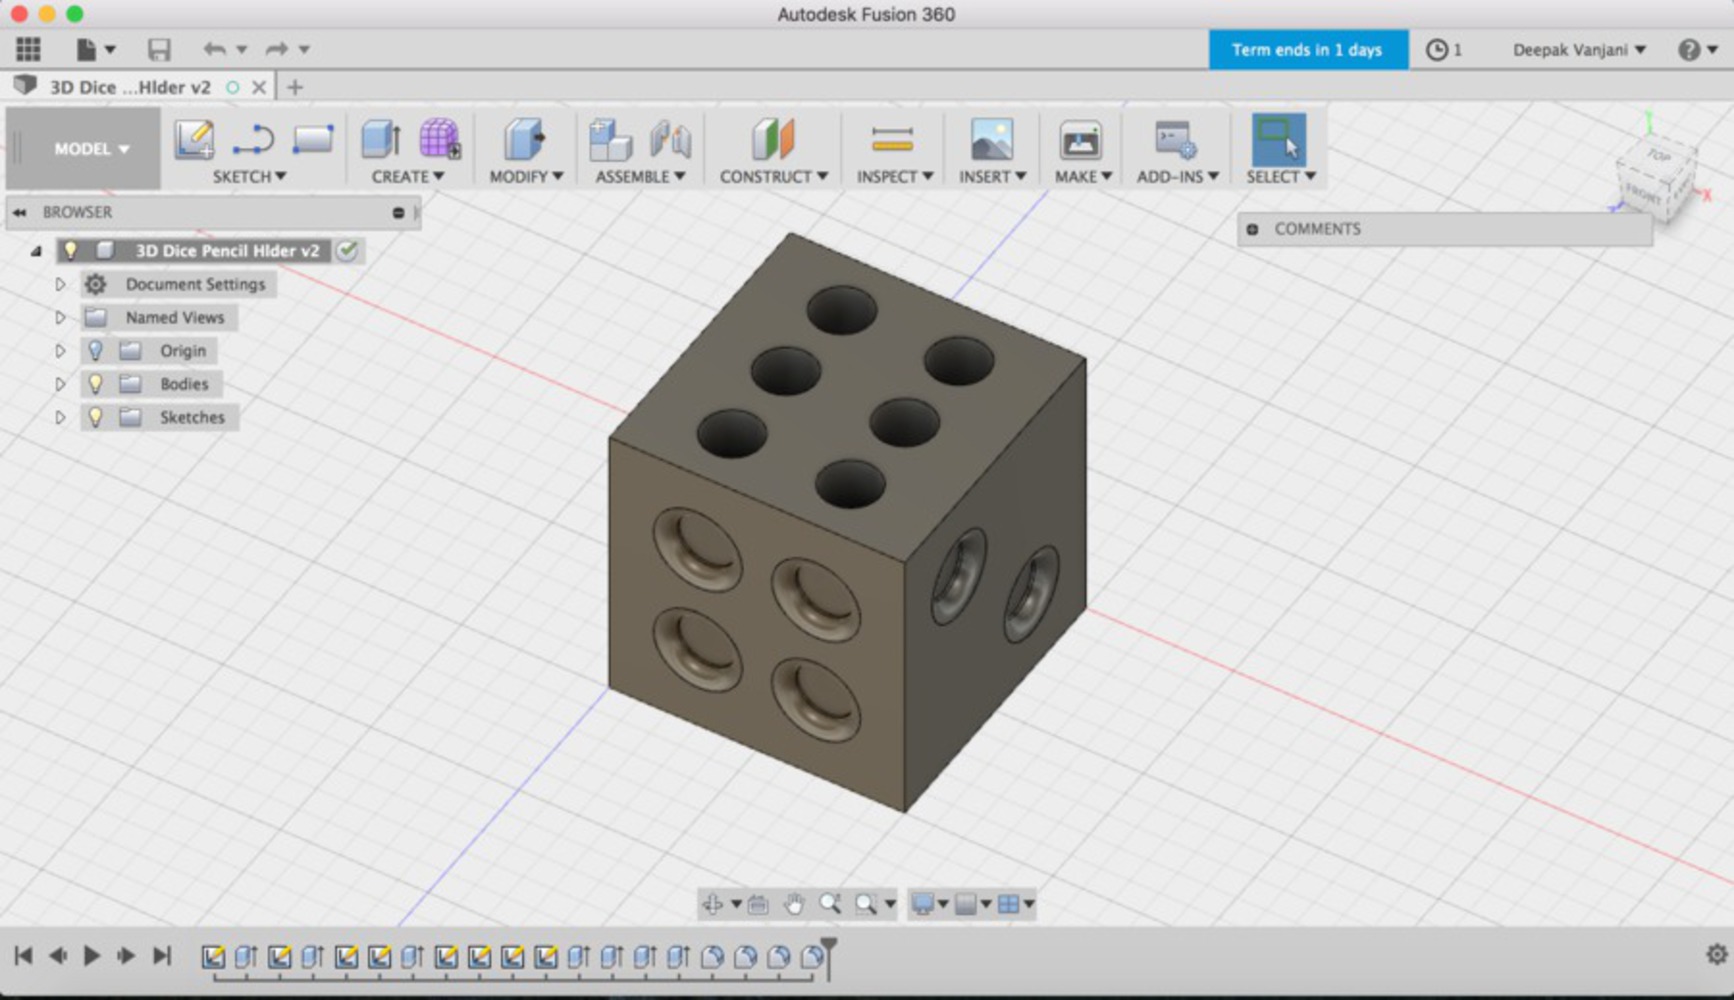
My process followed the basic design process. I started off by just brainstorming some ideas, and after coming to the conclusion that I wanted to create a dice-shaped pencil holder, I started sketching out my ideas. Below is a sketch of my idea. Then I carried over my design to Fusion360 - below are also some screenshots of my design.

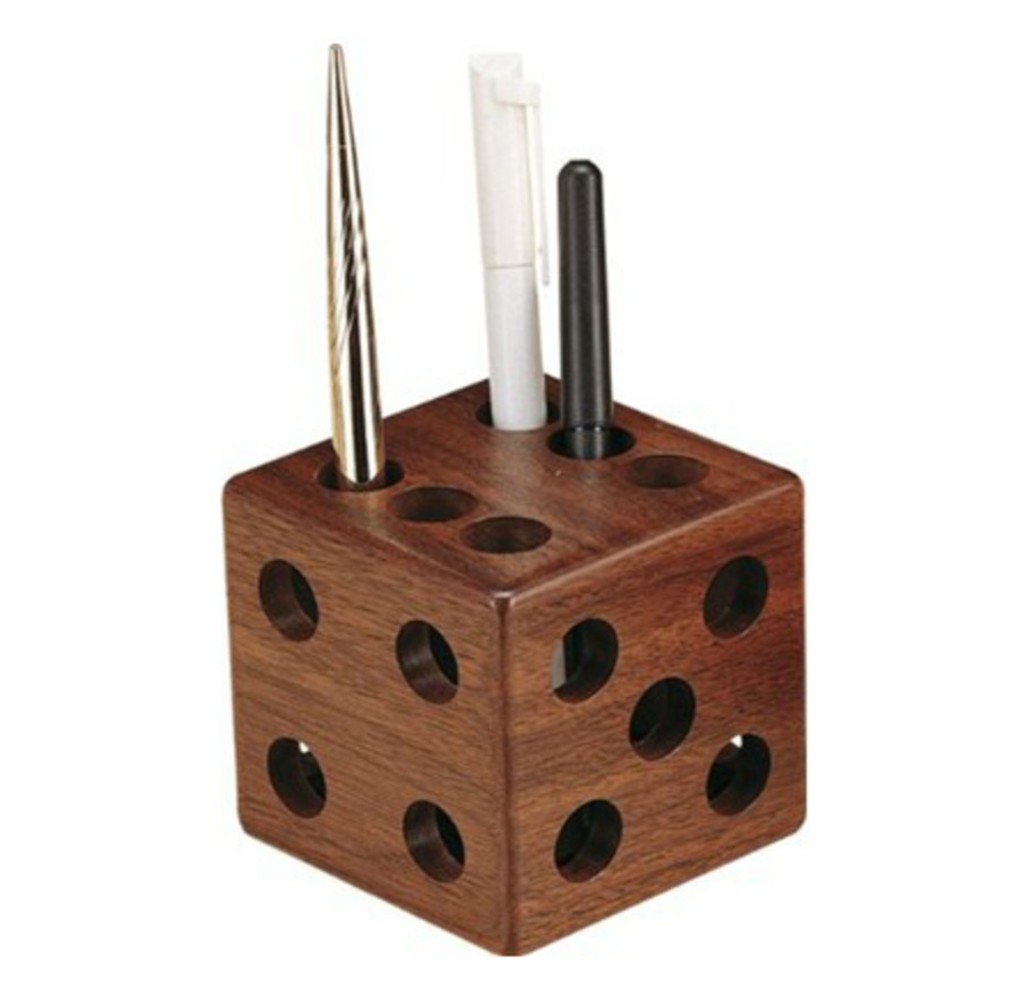
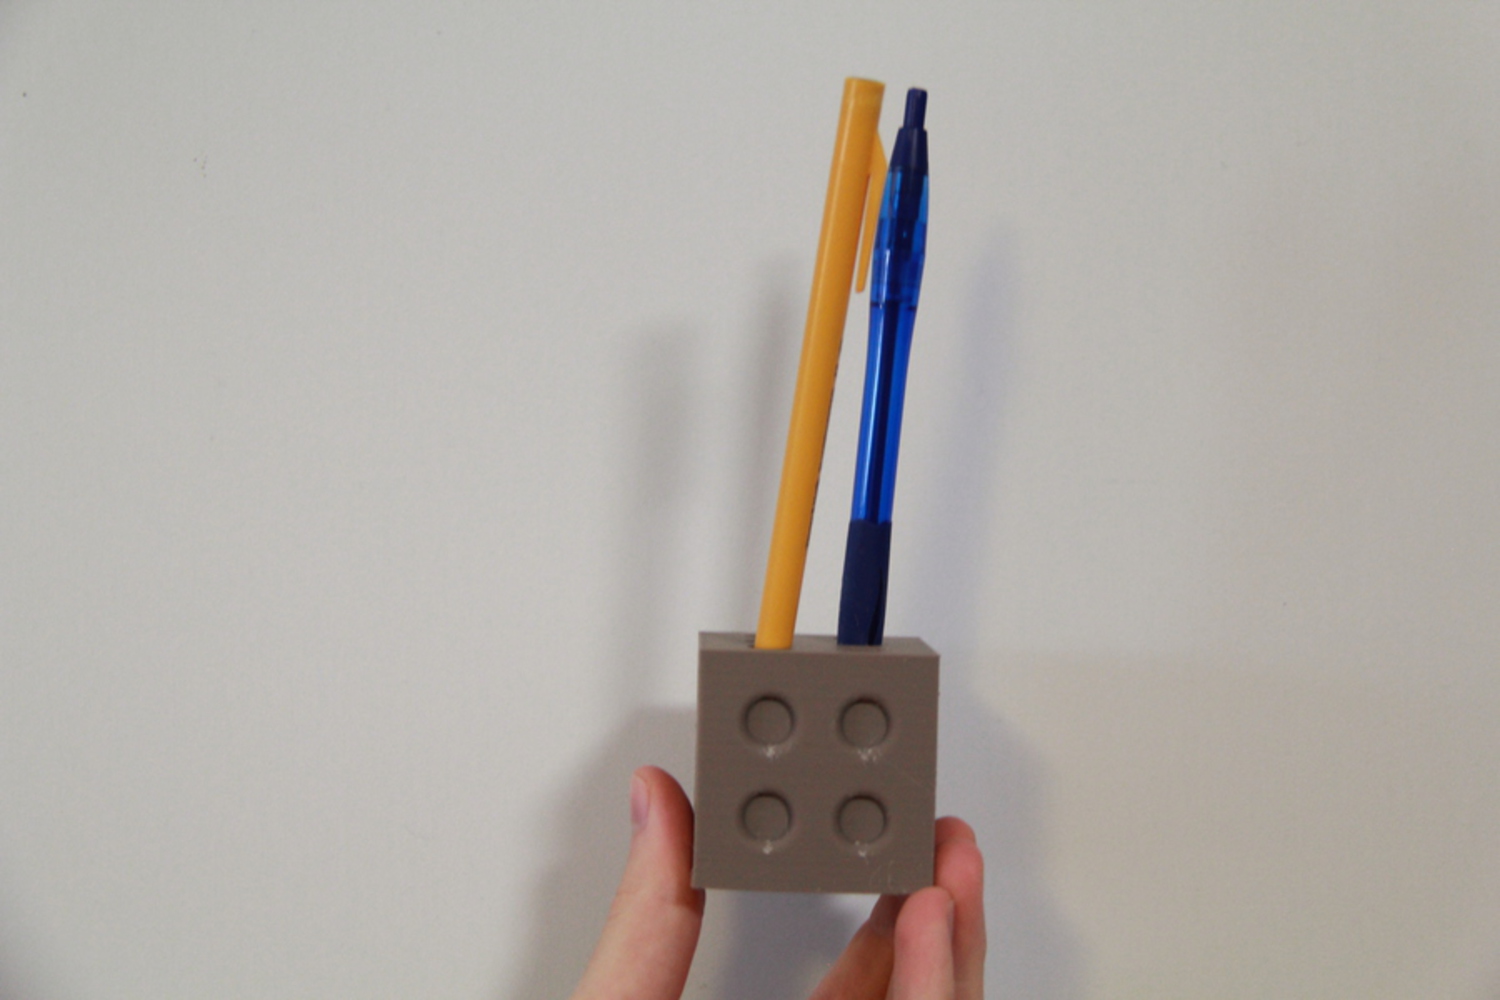
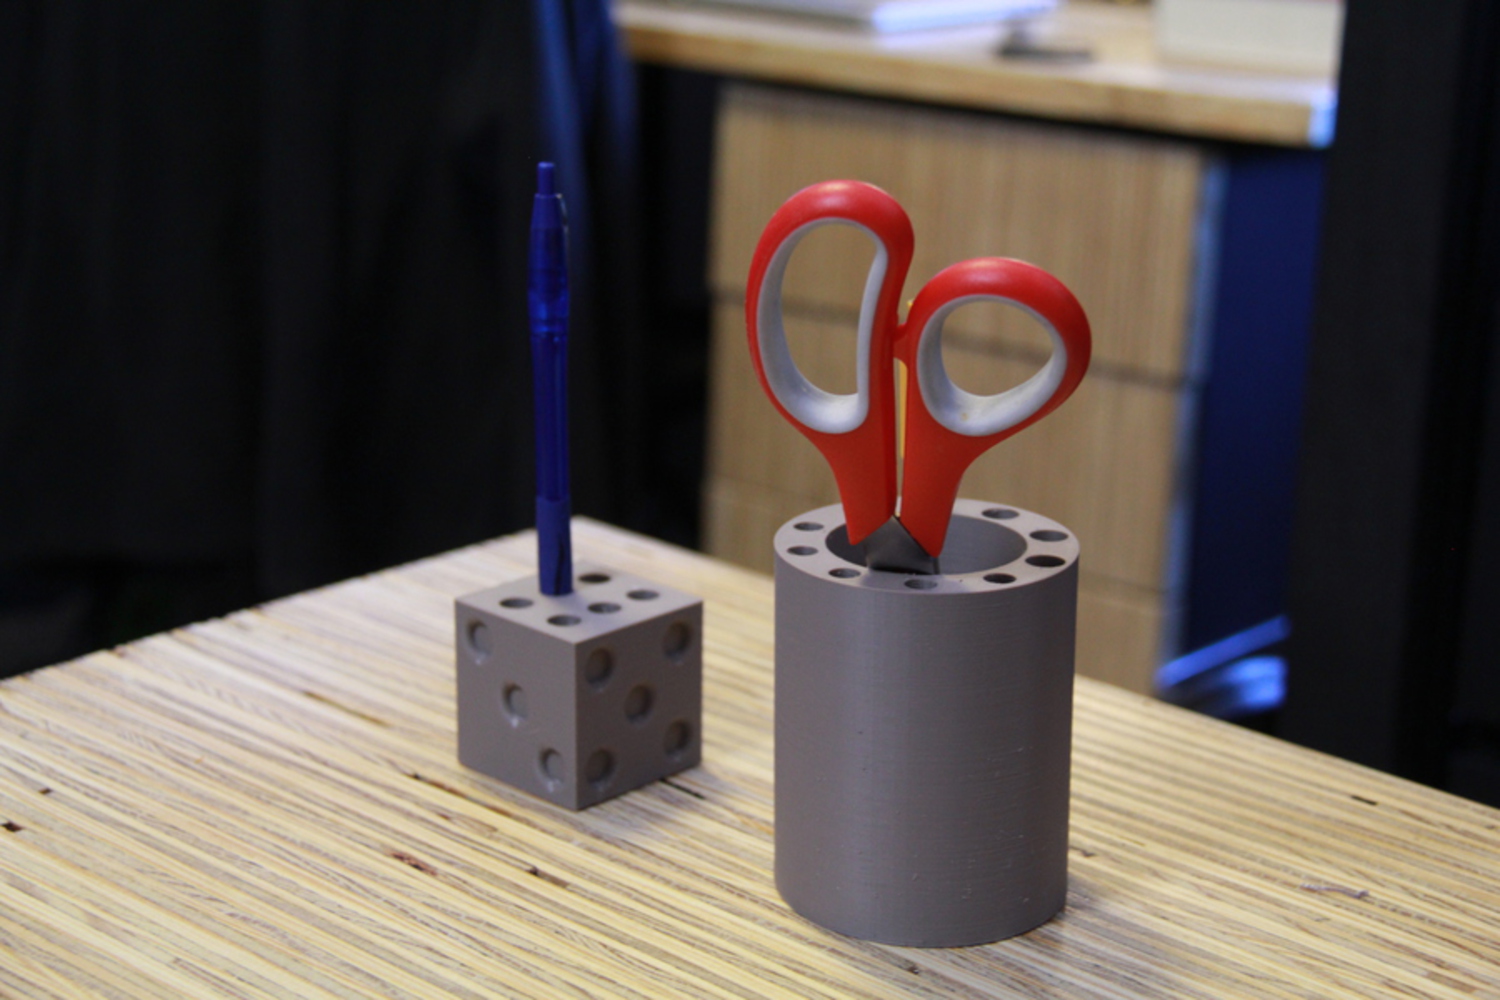
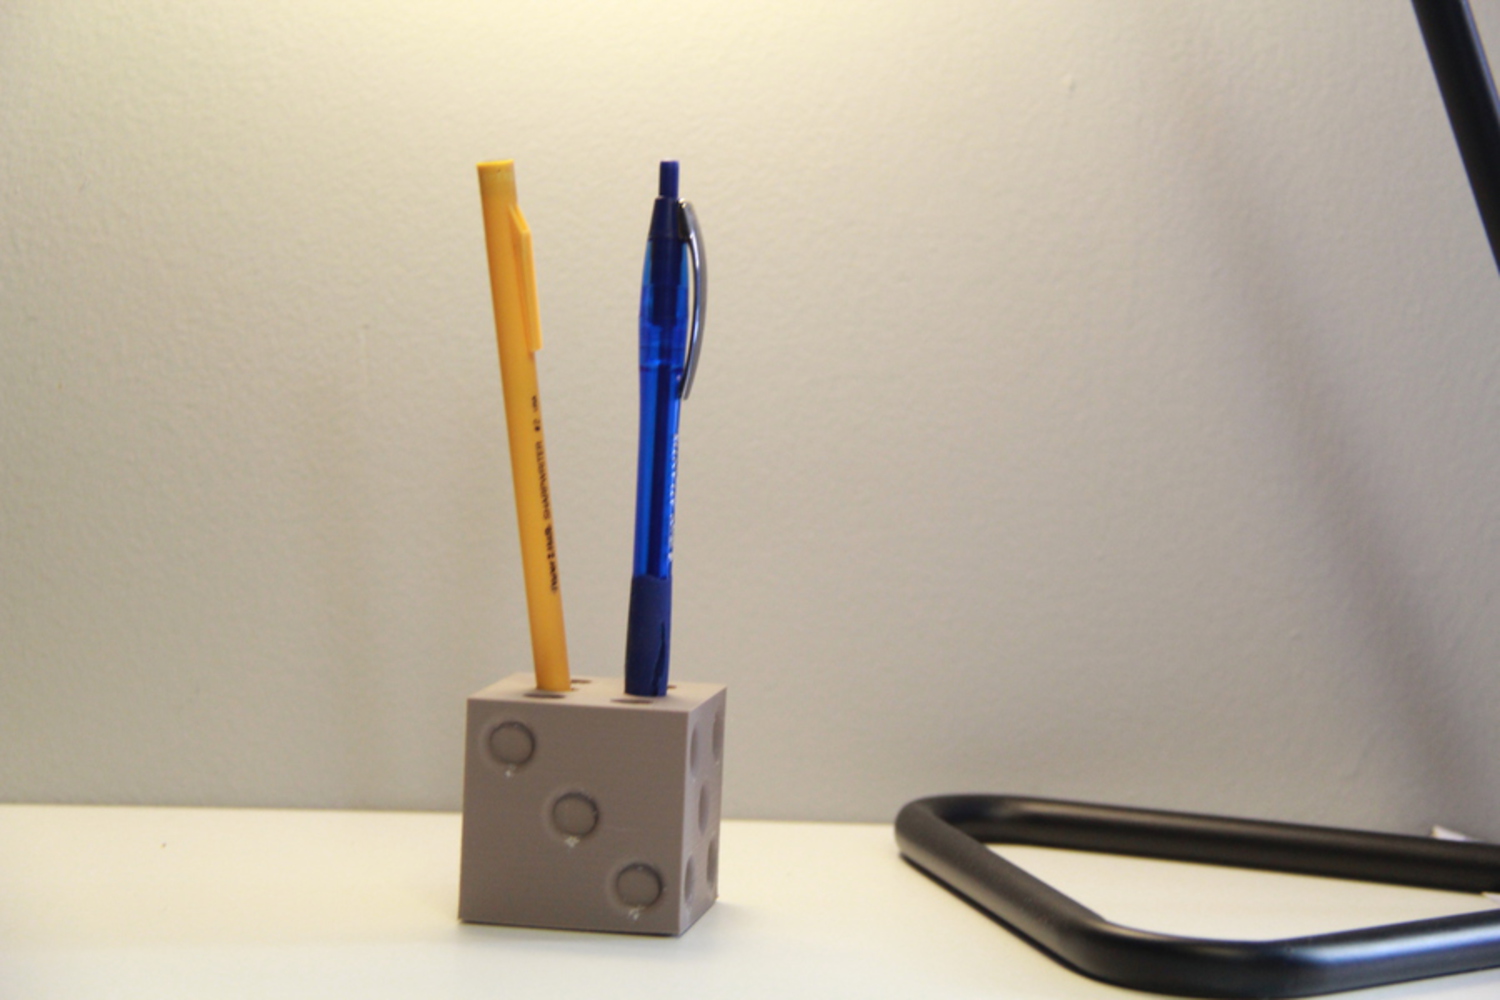
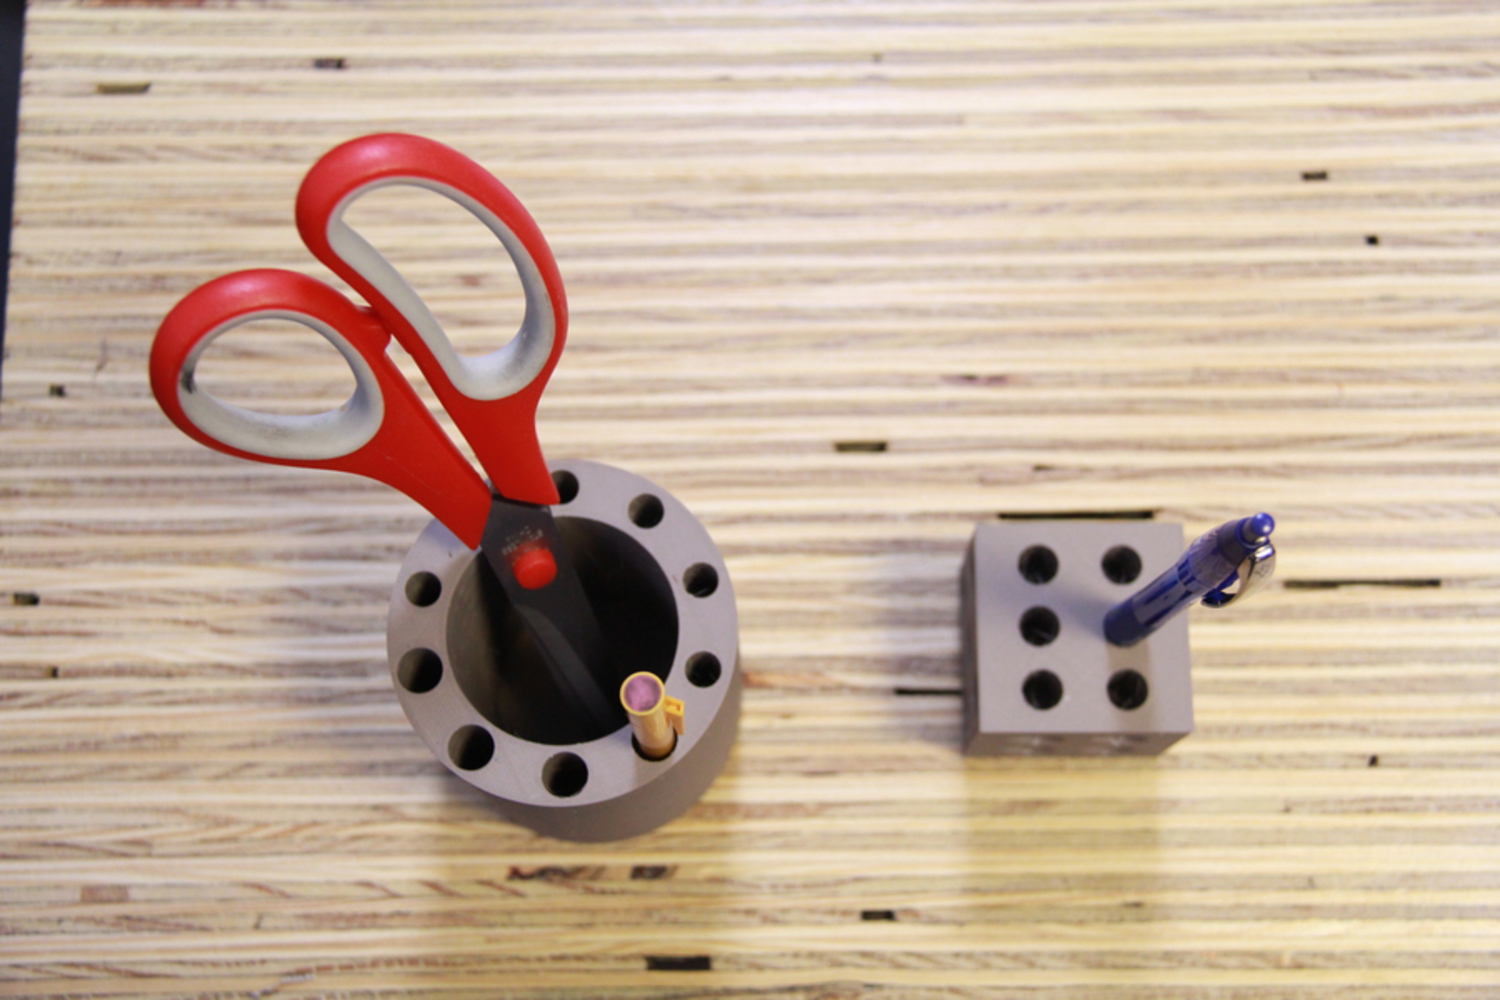
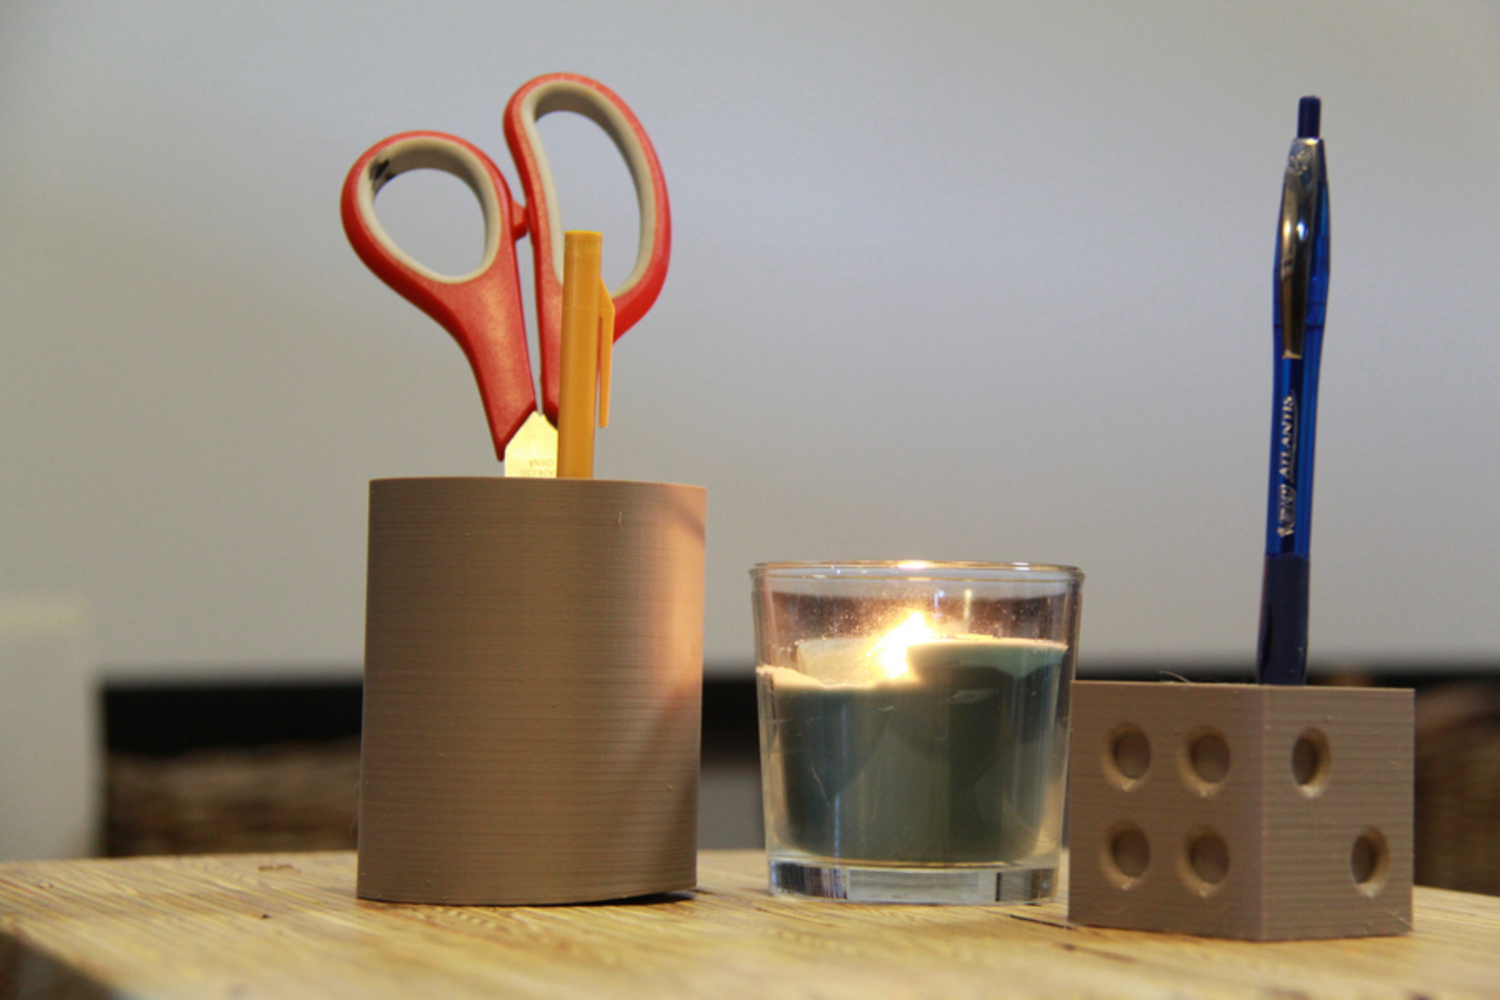
The design of the project was not too complicated, as I simply had to follow the concept I had thought of. I had the choice of following the design of my inspiration above, by cutting holes in all sides of the dice, or simply the 6 side. I decided with going with the latter, as I thought it would look a little more neat if I carved out a circular dent into the other sides but still kept the holes closed, as you can see in the screenshot below. I used detailed measurements to make sure my design was not too big for a 3D printing, that pens/pencils could fit in the holes, and that the circles were properly and evenly spaced from each other throughout the design. 

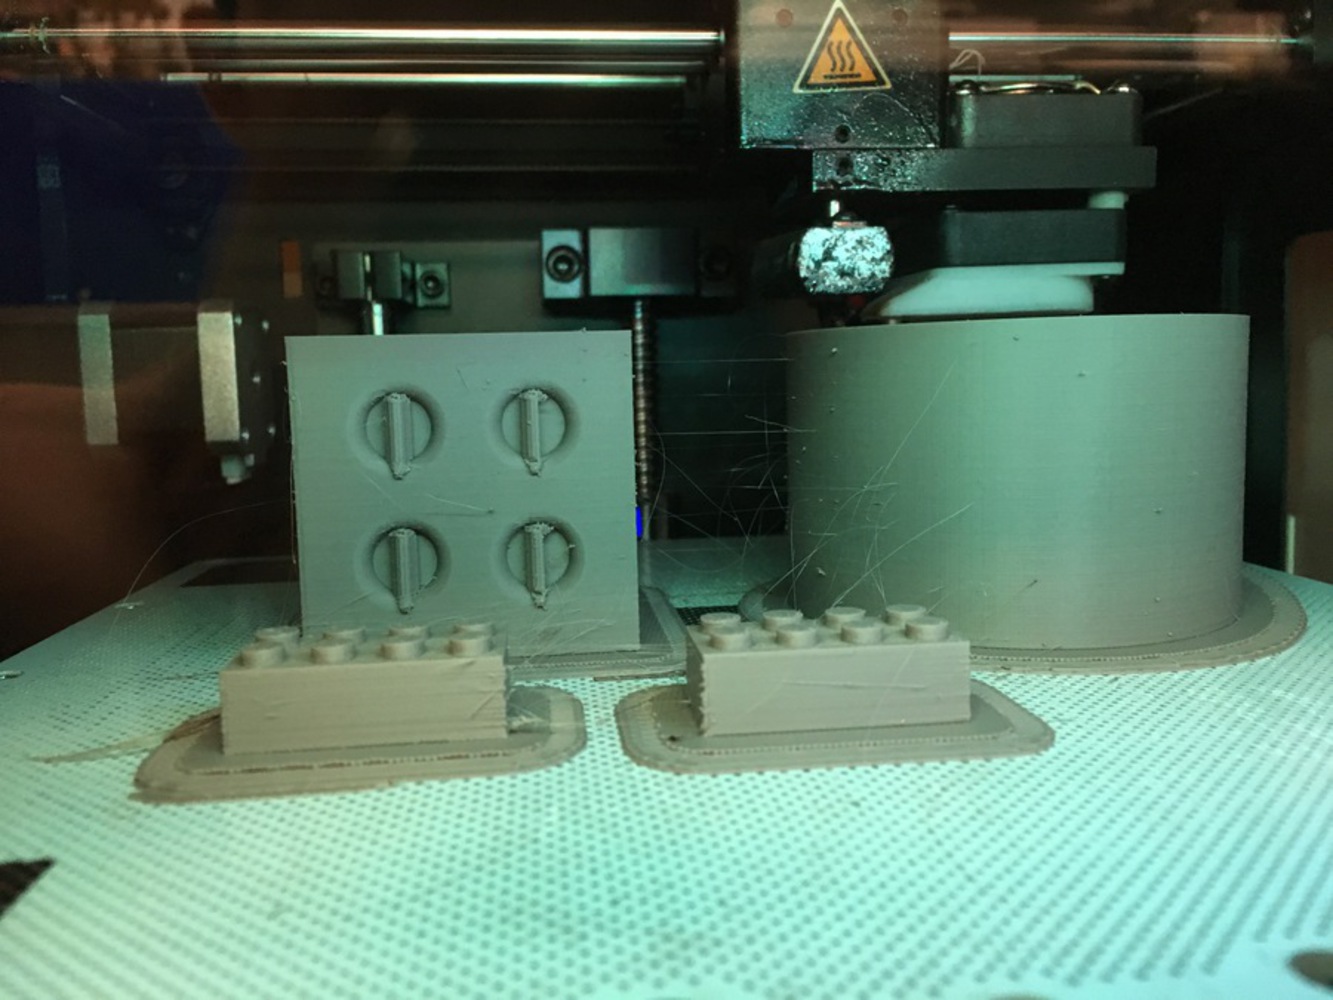
I then saved my Fusion360 design as a .STL file. Because the queue for Nvbots was quite long, my friend Wilson, who is also in the class, and I decided to use Zortrax to upload our STL files to the 3D printer. The print options chosen were medium infill and high quality. Wilson and I borrowed an SD card from the lending desk, exported the files to the SD card, and then printed the files on the Zortrax M200 machines. 


Img 6047.jpg.thumb
Show Advanced Options
Screen shot 2017 10 17 at 5.54.24 pm.thumb
Show Advanced Options

Product


The technologies used to make this product, as outlined earlier, were design software Fusion360 as well as a Zortrax M200 3D printer. The step by step process of arranging and printing the design are outlined in detail in the section above. 

Below is an image of my product being made in the 3D printer. 

Img 6038.jpg.thumb
Show Advanced Options

Reflection

Below are also 5 nice photos of my final holder, with some pencils in it! Through this project, I was able to use the design knowledge I have gained in this class and from Project 1 to digitally create a pencil holder, and then through this project specifically, I learned how to 3D print, which was a great experience, as this was one of the main things I wanted to get out of the class! Through the 3D printing process, I learned that it really is not that hard, if you have the resources and know how to use them properly. I also learned that 3D printing takes a long time. I really like how my project turned out - but two things I could have done differently were to make my cube a little bigger and taller, so that I could create bigger holes for wider pencils and also make the structure more sturdy - but the pencil holder functions just fine overall. Also, I would have started my print job a little earlier, as I did not realize how long it takes to print.

But, overall, I am very happy with my project and how much I have learned through it! 

Img 0930.jpg.thumb
Show Advanced Options
Img 0931.jpg.thumb
Show Advanced Options
Img 0928.jpg.thumb
Show Advanced Options
Img 0933.jpg.thumb
Show Advanced Options
Img 0934.jpg.thumb
Show Advanced Options
Drop files here or click to select

You can upload files of up to 20MB using this form.