Back to Parent

Outcome


Intention

I love animals! I want to turn my room into a zoo if I can. I have never purchased a clock for my dorm on campus and if I had one I would love it to be shaped like a cat or dog. Therefore, I designed a round clock with cat ears and tail. This cute clock will be a great compliment to my room. 

Context

I wanted my clock to be somewhat abstract. I have searched on google to see some of the existing cat clocks out there and most of them are more like cartoons. For my design, I have placed simplicity as a top importance because I want this clock to be more functional so I didn't include excessive and unnecessary features to the design. 

Process

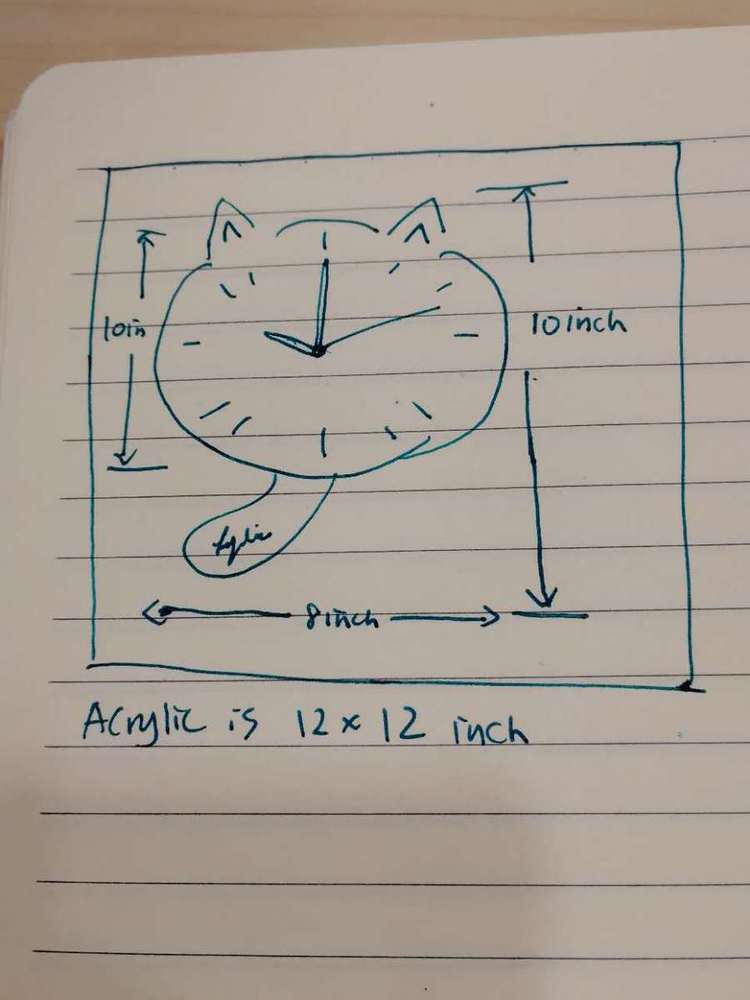
I first drew out a design on paper. Then after learning the size of the acrylic sheet, I sized my design appropriately so that the entire clock will fit on a 12 by 12 acrylic sheet of paper. I chose to use acrylic because it is shiny and stylish. 
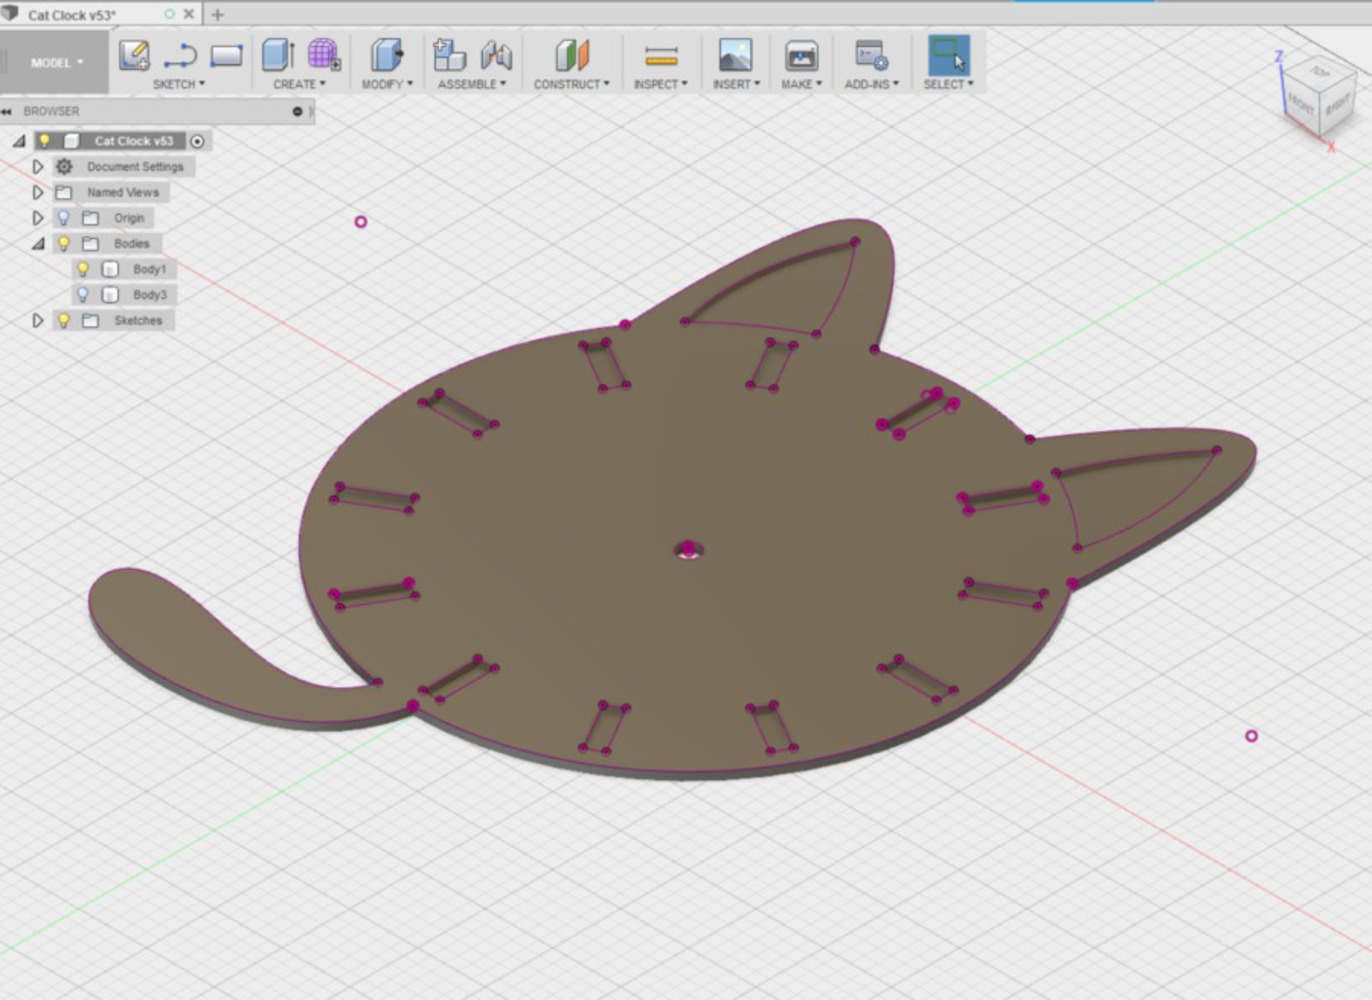
After that, I started creating the design in Fusion360. Then I saved the sketch as a DXF file and brought it over to the laser cutter. 
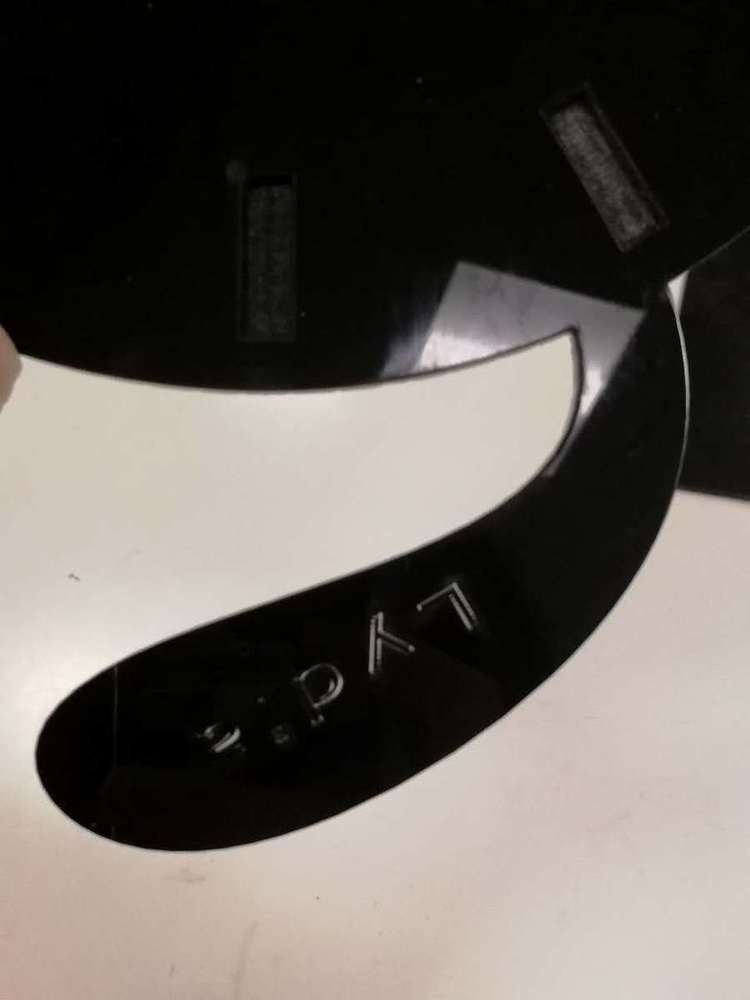
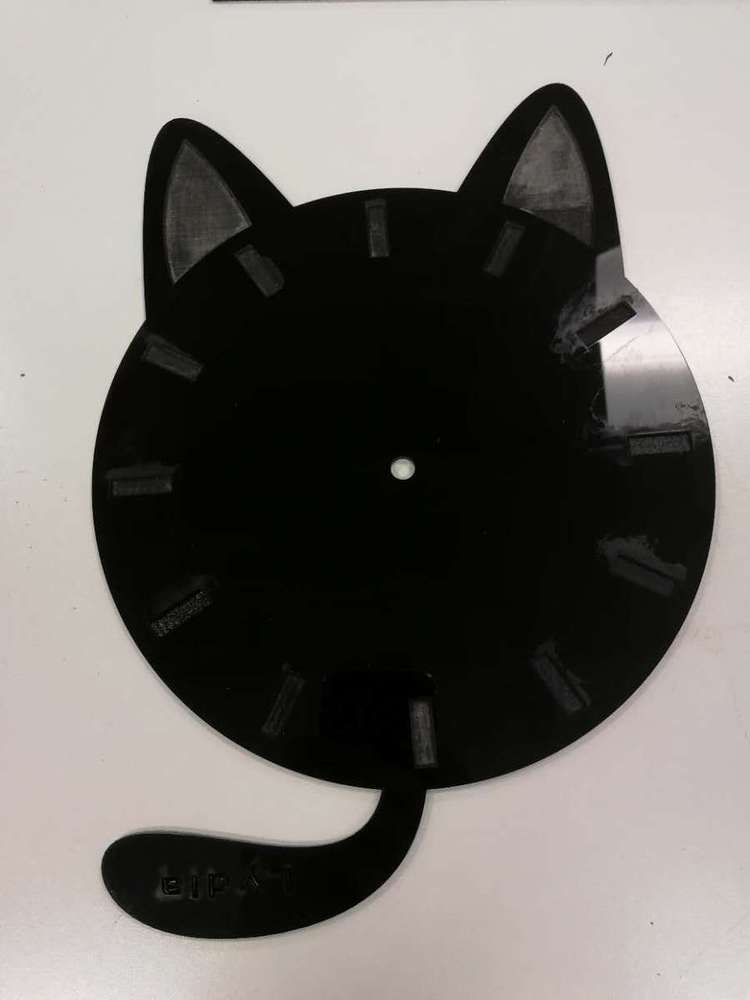
I first tried to cut the design on wood just to test if all the features show, but unfortunately, the time indicators wasn't cut and only the cat outline was cut out. So I went to the professor for help. Then finally I identified the problem: Fusion and LaserCut use two parameters (mm and inches) so that if the wrong parameters were used, some features would not be readable by the LaserCut software. In order to combat this issue, I first transported the DXF file into Illustrator, then saved it in mm and then transferred the file to LaserCut. Finally, everything showed up in LaserCut. I added my name on the tail in Lasercut by adding a text feature that says "Lydia". This is just to make sure people don't steal my cat design :)
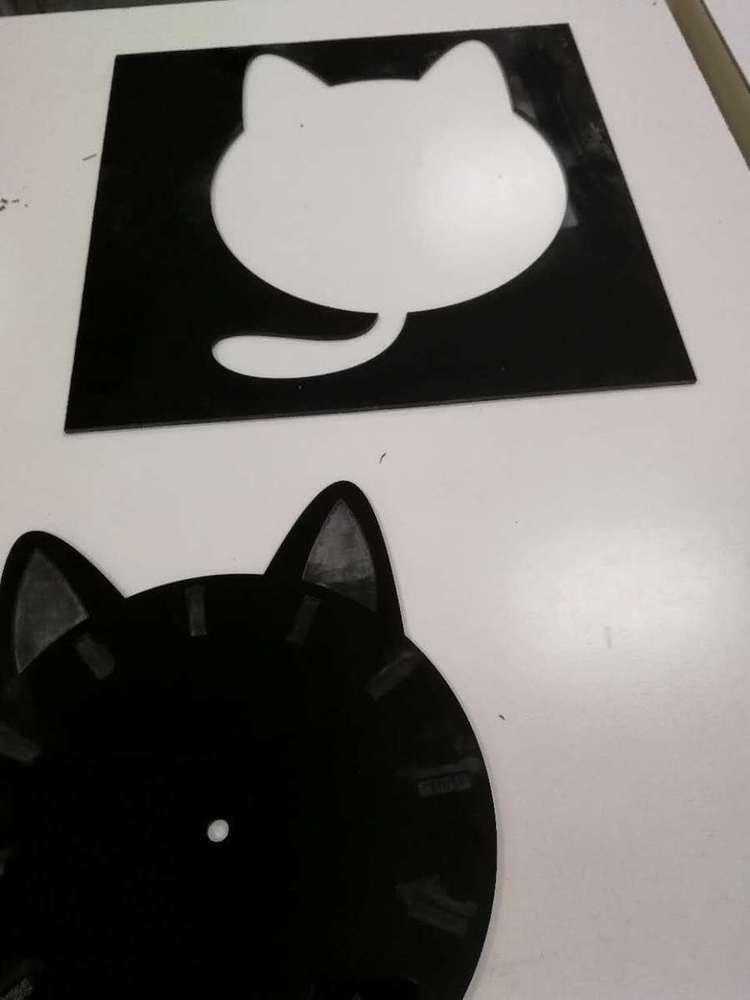
I color coded and assigned actions for the different parts in my clock in LaserCut: Cat shape and clock kit hole to be cut, time indicator and inner cat ear to be engraved, and my name to be scored. 

Then I tested the laser cutter and placed the acrylic sheet at the proper position and started the cutting.  
The clock took about half an hour to cut. I then cleaned up the surface using acetone. 
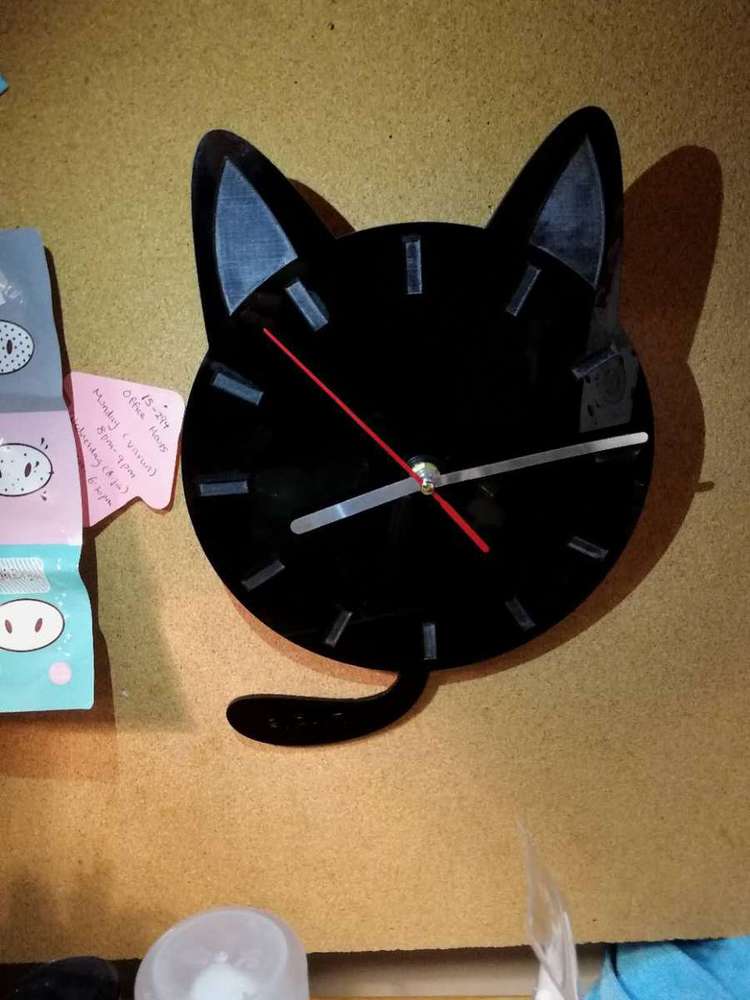
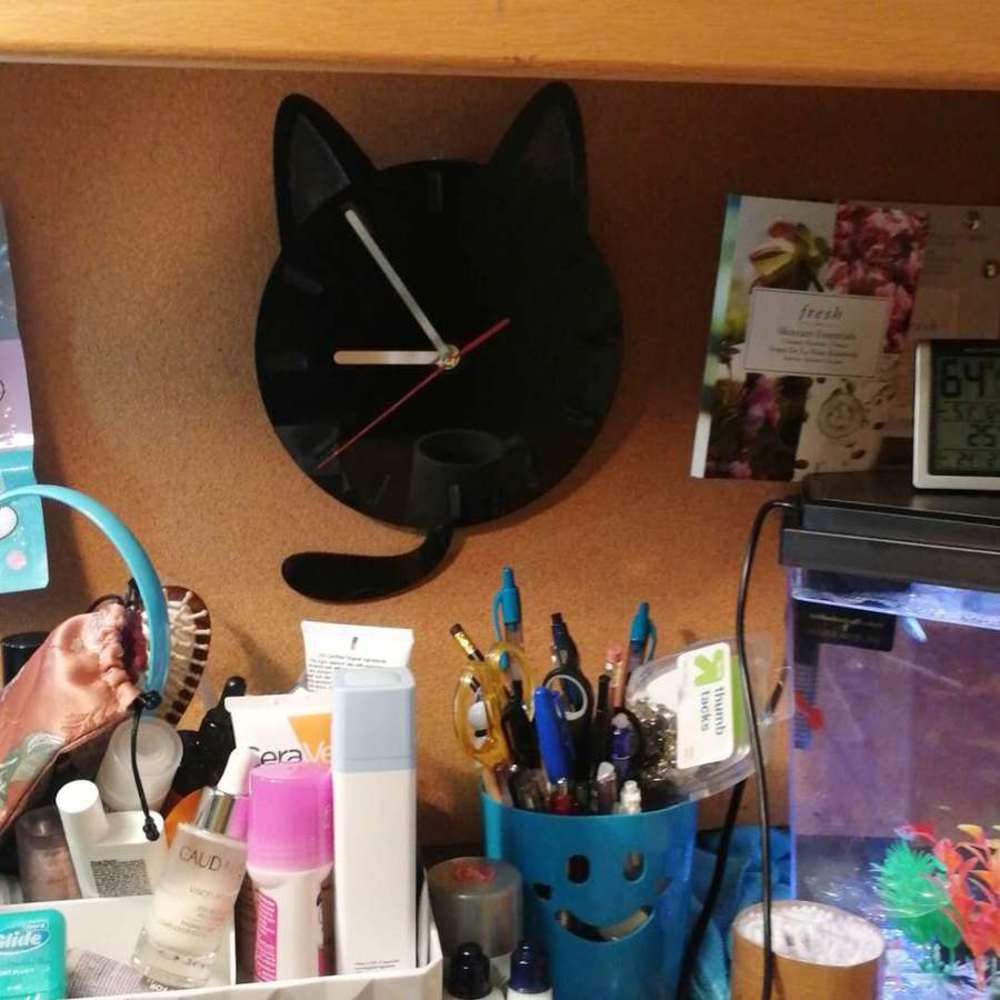
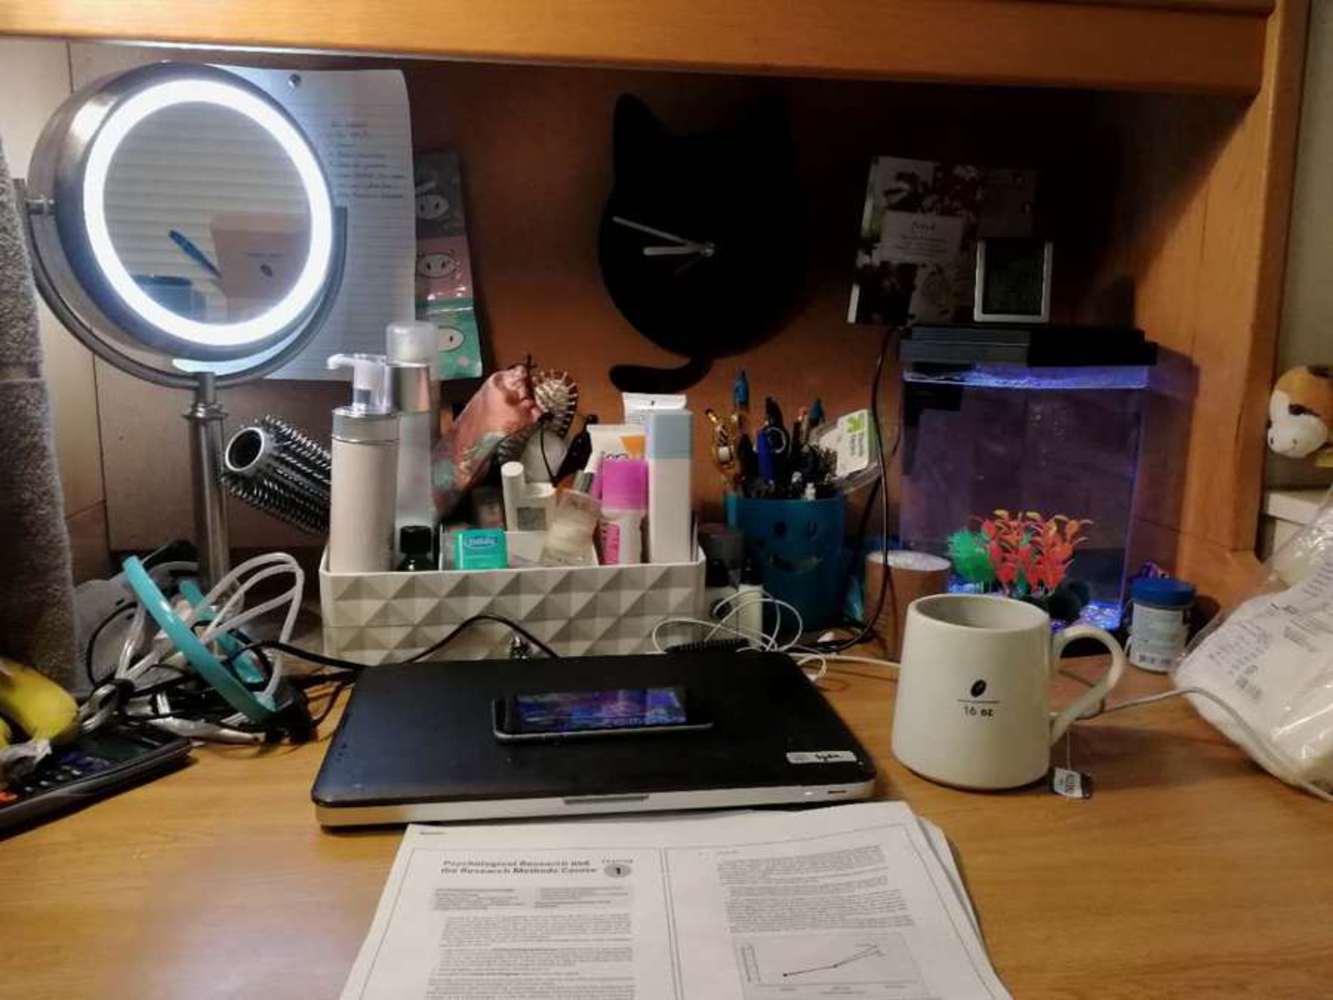
Finally, I assembled the clock kit and a battery to the cat clock and adjusted the time.

1433086691.thumb
Show Advanced Options
Catclockfusion.png.thumb
Show Advanced Options
1960119964.thumb
Show Advanced Options
614618867.thumb
Show Advanced Options
907788508.thumb
Show Advanced Options
1725006912.thumb
Show Advanced Options

Product

Software used: Fusion360, Illustrator, and Laser Cut. 
Website used: Sendery.com 

Technology used: Rabit Laser Cutter 

The end product is this cute, stylish and functional cat clock which I already hang up on my desk wall! I am really loving how this clock looks in my room. It is also convenient for me to watch the time when I study.

811342009.thumb
Show Advanced Options
928791174.thumb
Show Advanced Options
1109104943.thumb
Show Advanced Options

Reflection

I learned that it is very important to test out your design and make prototypes to identify problems and improve your design. I also learned that I need to be careful with units in Fusion360 so that it transfers properly to LaserCut. 

Collaboration or Attribution

Louise helped me a lot in finding out the problem with why the laser cutter doesn't cut all of my design features. I really appreciate her patience because I bombarded her with questions. Thanks so much!

Monica let me use her Illustrator to export the DXF file since I don't have Illustrator installed on my computer. 

Amy, Justin, and other classmates also helped me with testing the laser cutter. Thank you all!

Drop files here or click to select

You can upload files of up to 20MB using this form.