Intention
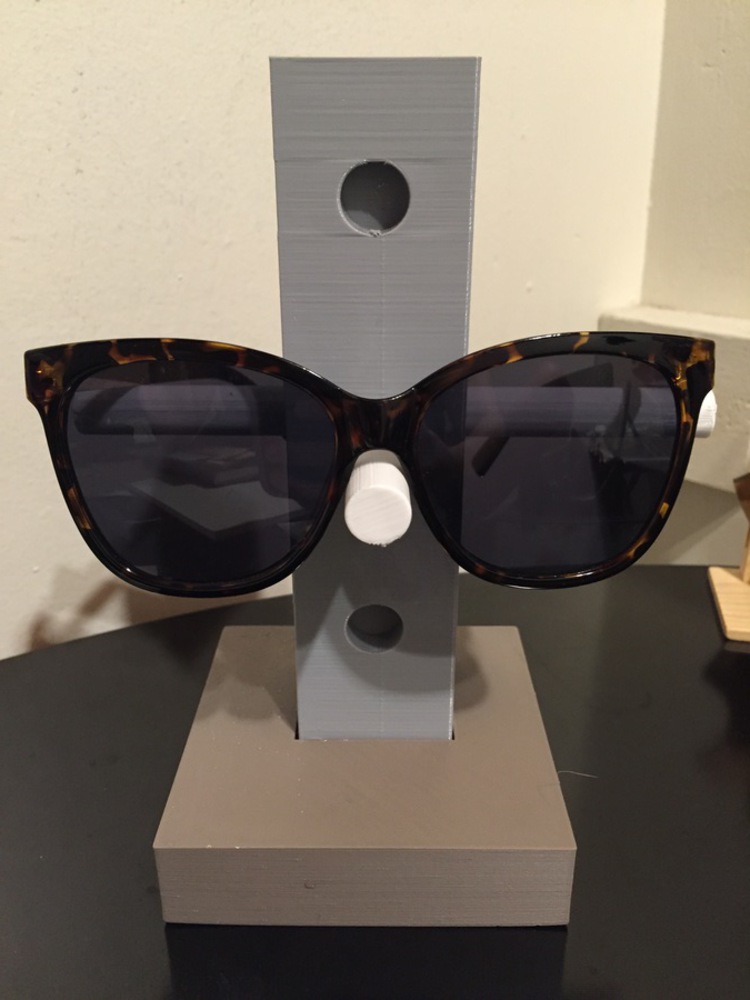
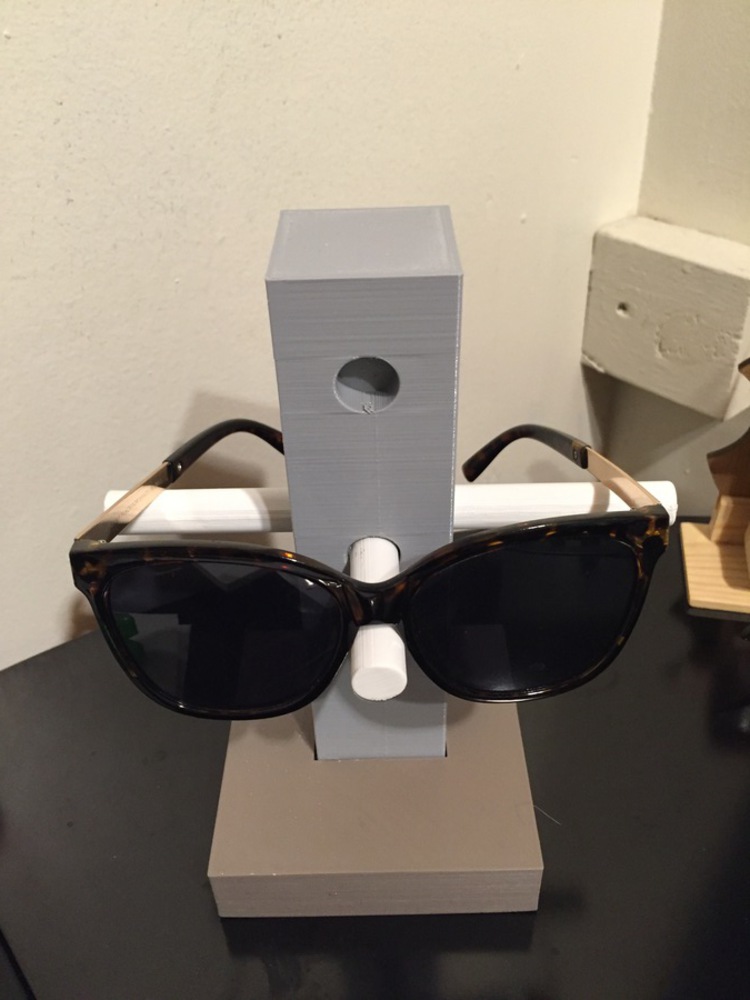
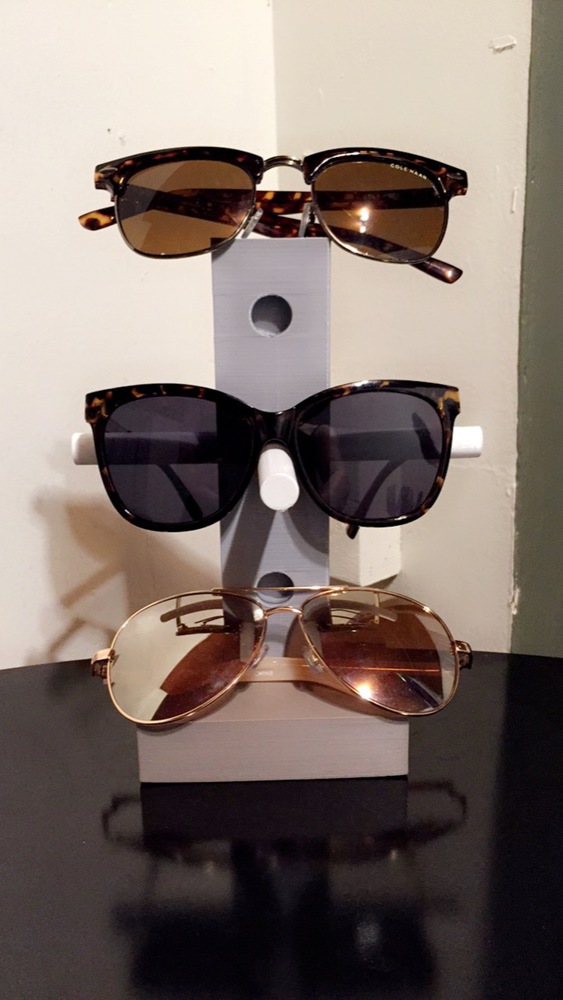
I wanted to create a rack to hold my sunglasses. They are currently just lying on my desk and I wanted to create a rack to organize them.
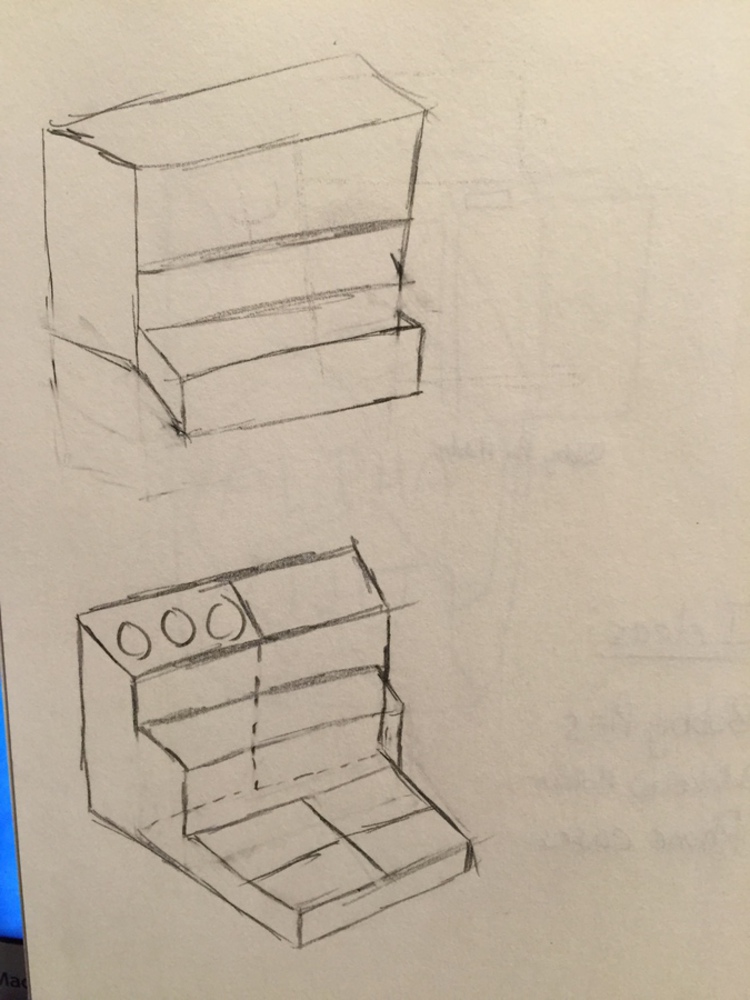
I first brainstormed ideas for my holder. I did that by observing my environment. I spent a lot of time observing my table in my room. There is a lot of stuff on my table and I thought it will be nice to 3D print something that I can use to help me organize the stuff on my desk. Initially, I wanted to make a drawer to hold miscellaneous items.
Here are some sketches I had to help make me hold miscellaneous items.
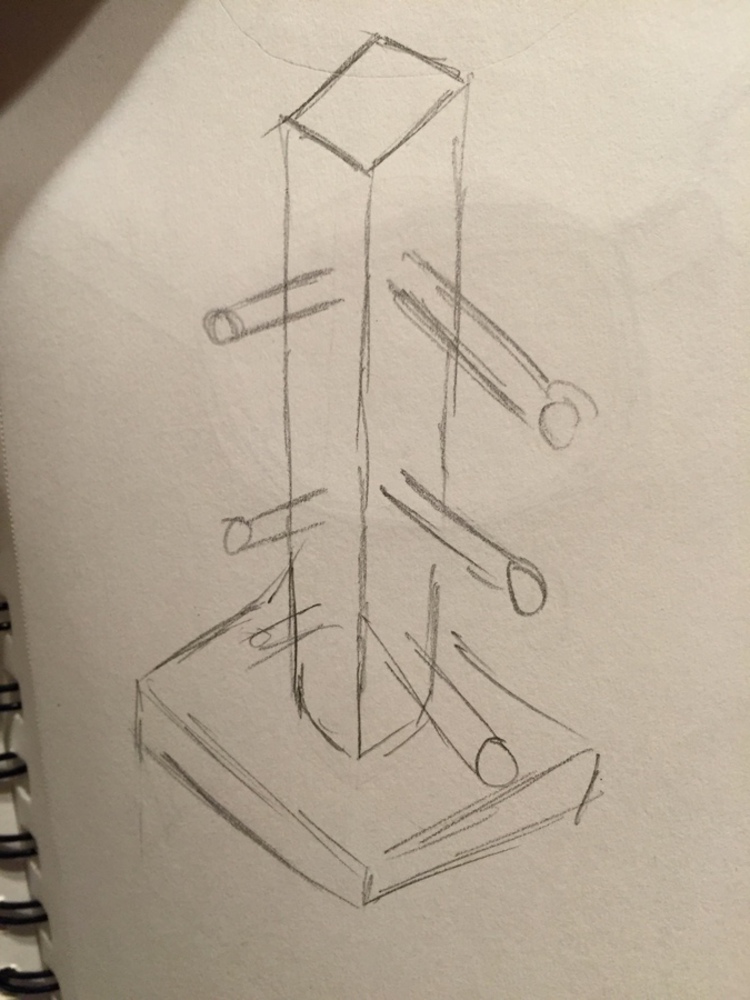
Here are my old sketches of the sunglasses rack:
I started sketching the sunglasses rack and was thinking about different ways to make it creative. I wanted to make the sunglasses rack be a part of a flower where the glasses were hanging off the vines. But then, I realized that it will be difficult to create in Fusion since it will involve a lot of specific details.
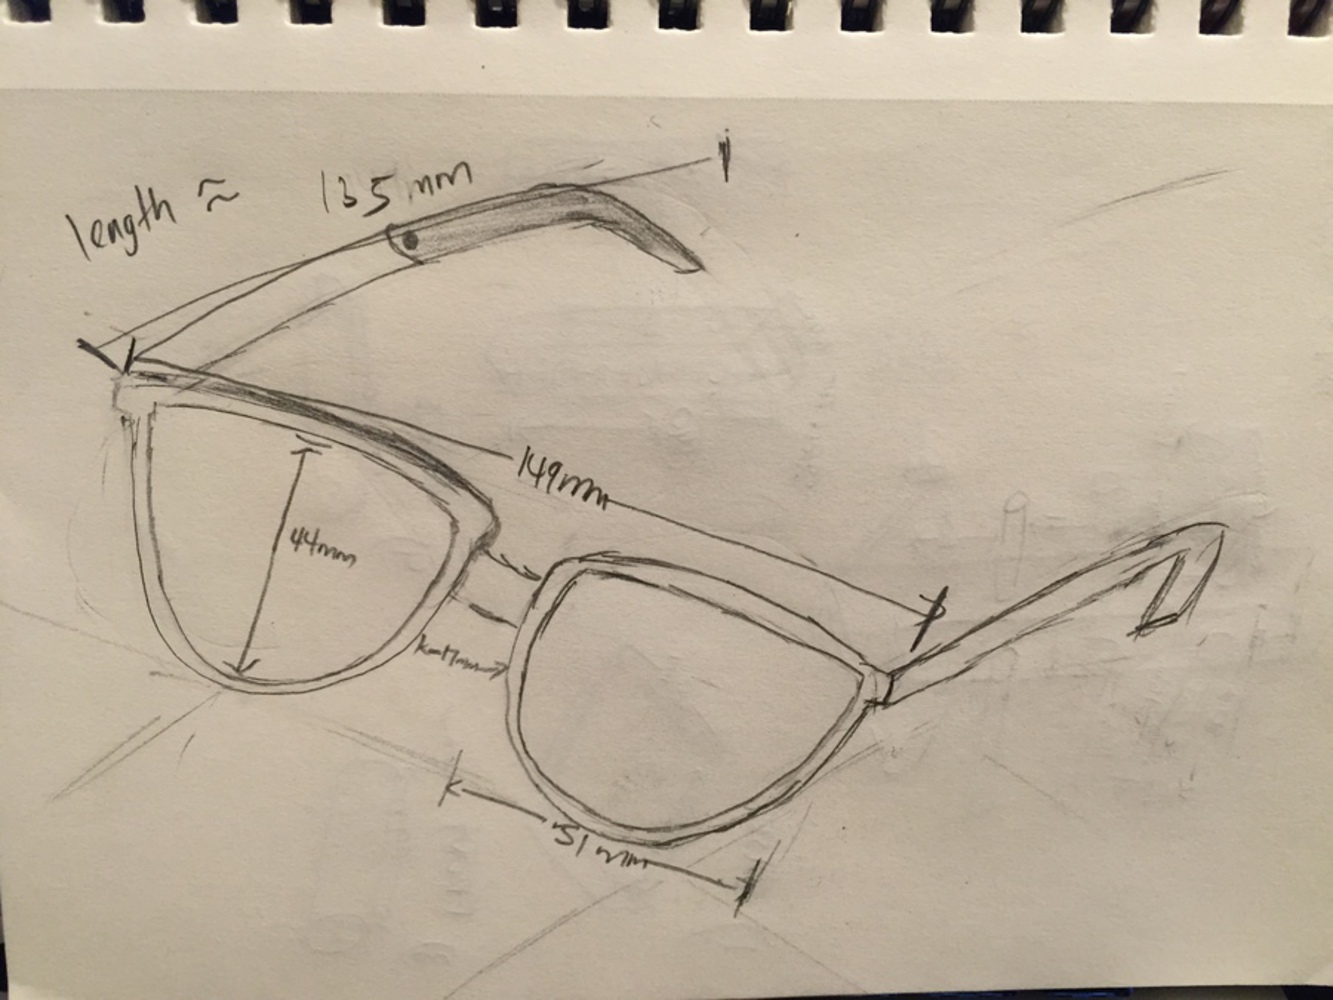
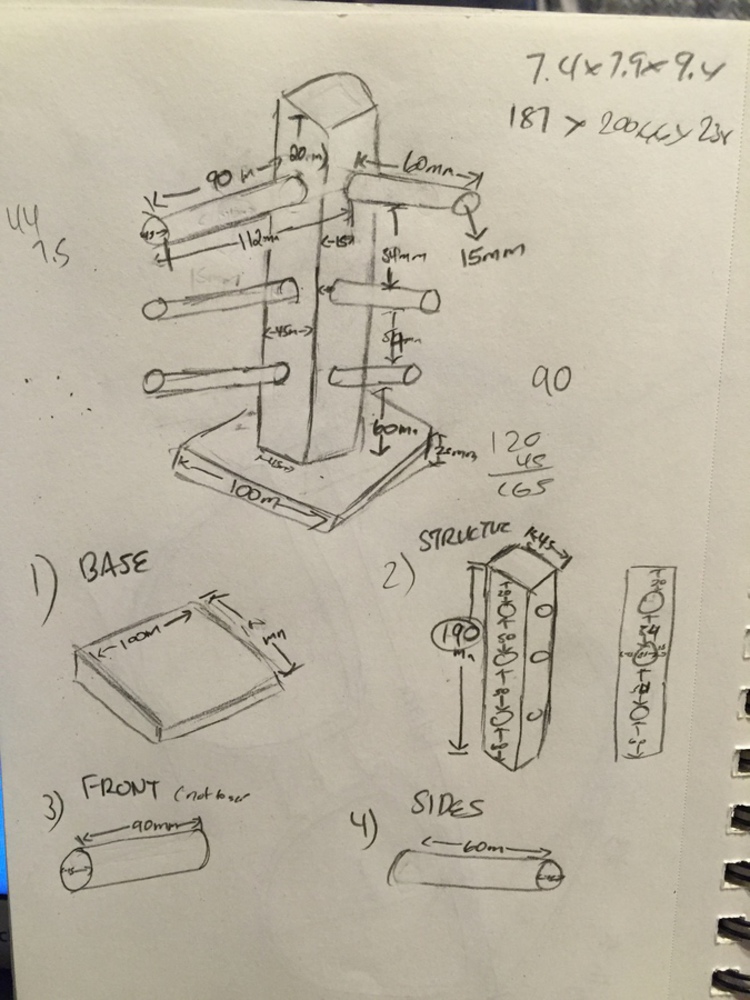
I made a standard rack that did not take up a lot of room. I first did a rough sketch and then I started using Fusion to create a model. However, it was not the best since I added the different parts at the wrong order and it made it more confusing. I did not know the exact measurement which made it hard to build in Fusion. As opposed to the previous project, the measurement here are important. I needed to create a rack where my sunglasses are about to fit on it. Therefore, I took a step back and started to sketch again. This time, it was with specific measurement.
Due to the my file being too large, I was using the Zolartiz 3D printer instead. It was a similar process but I need to transfer my file via a memory card and manually tell the 3D printer to print.
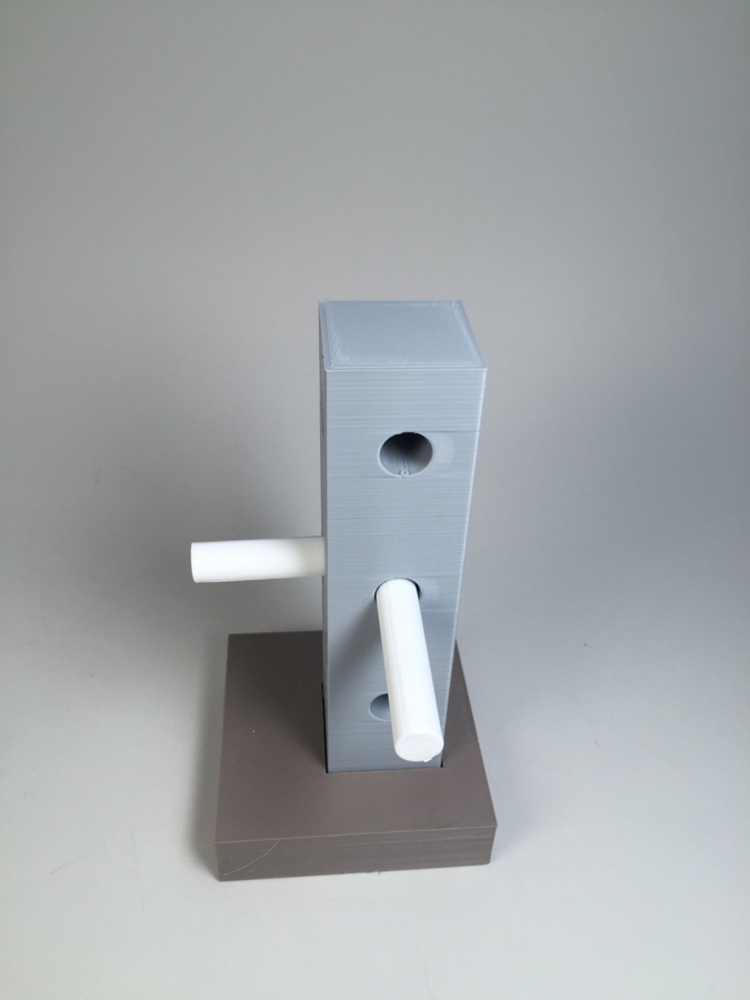
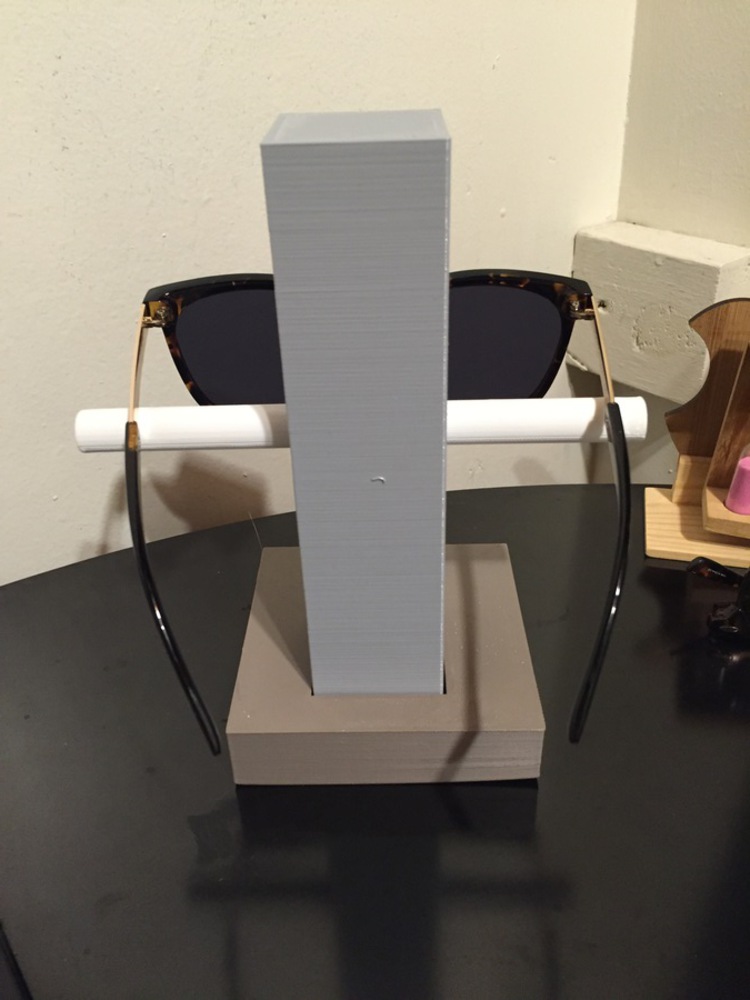
I also broke down my piece into different parts that I can assemble together. I need to go back to Fusion to layout the pieces to so they can print next to each other. I started to print the base of the structure and the rectangular structure using the Zolartiz printer. It took 23 hours. However, my structure did not print all the way.
For my original piece, the rectangular part did not print all the way and the dimensions were exactly the same as a base so it did not fit into the bottom of the base. I tried sanding it down but then I realized that it will not help since i will have to sand off a lot. So I decided to reprint the parts.
The cable and extruder of the Zolarix printer was broken so I had to revert back to using NVBots.
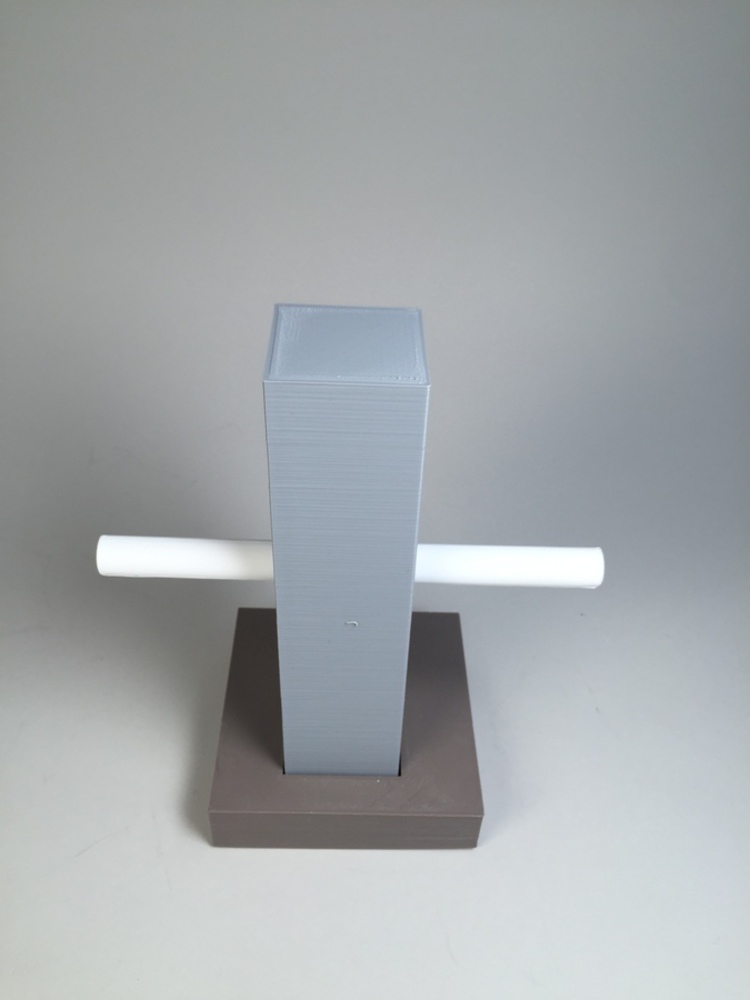
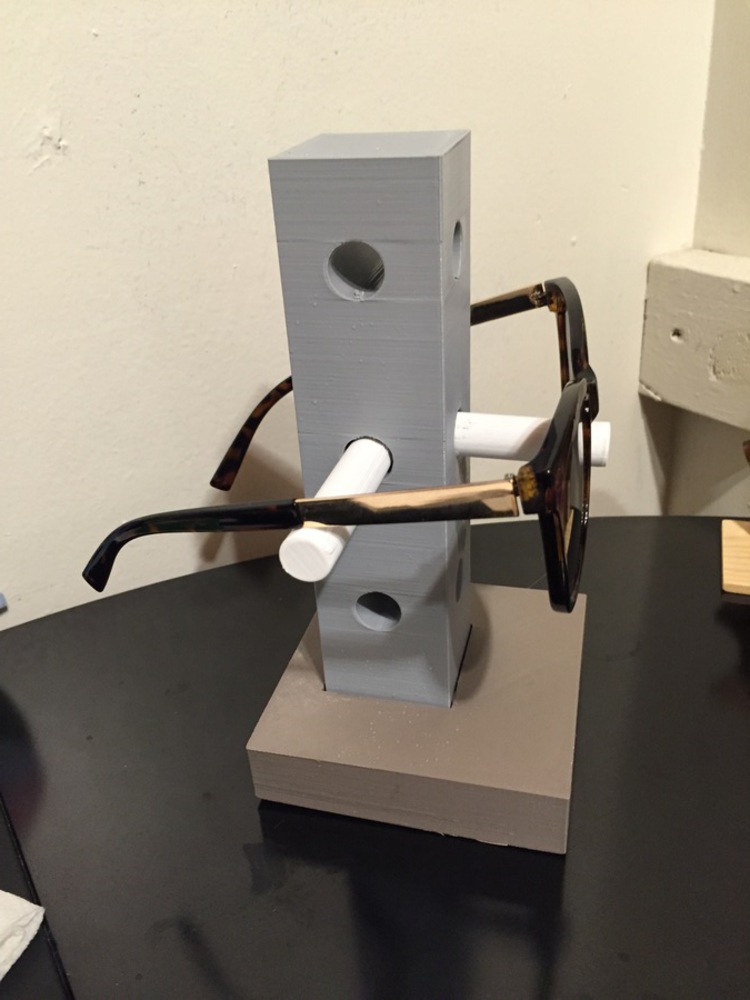
I was able to print my rectangular parts and a pair of the cylinder rods due to the time constraint. The cylinder rod in the front were a bit to long and I realized I did not need them that long. Therefore, I used a small saw to cut the rod in half. Then I glued together the pieces using acrylic glue.
From making this process, I realized that I should not be trying to print a lot of big things in the 3D printer because it can take a long time. I also realized that I do not need to print all the structure at once and I can print out parts and assemble them afterwards.
You can upload files of up to 20MB using this form.