Back to Parent

Outcome


Intention

I wanted to design a prototype joystick in cloth after learning about the properties of the material Velostat, as well as the example piece with a penny on a string that allowed a person to pick a particular LED to light up.  Initially, on the day it was introduced, I made a quick modular circuit to test those resistive properties.  From there, I thought of how it could be used for a variable button pressure button for a game controller, and while I knew that buttons were possible, I did not know if a joystick was, and as a result, I attempted to create one.

Process

I had initially decided to make the joystick circular; however I only had one single piece of Velostat cut to a circular shape, and thus the "joystick" became somewhat square.  I still wanted to maintain the modular nature of the joystick, in case I wanted to test other configurations of the joystick in the future.  I also wanted to make the power supply modular, in this case more because I wanted to have the power removable for safety reasons.

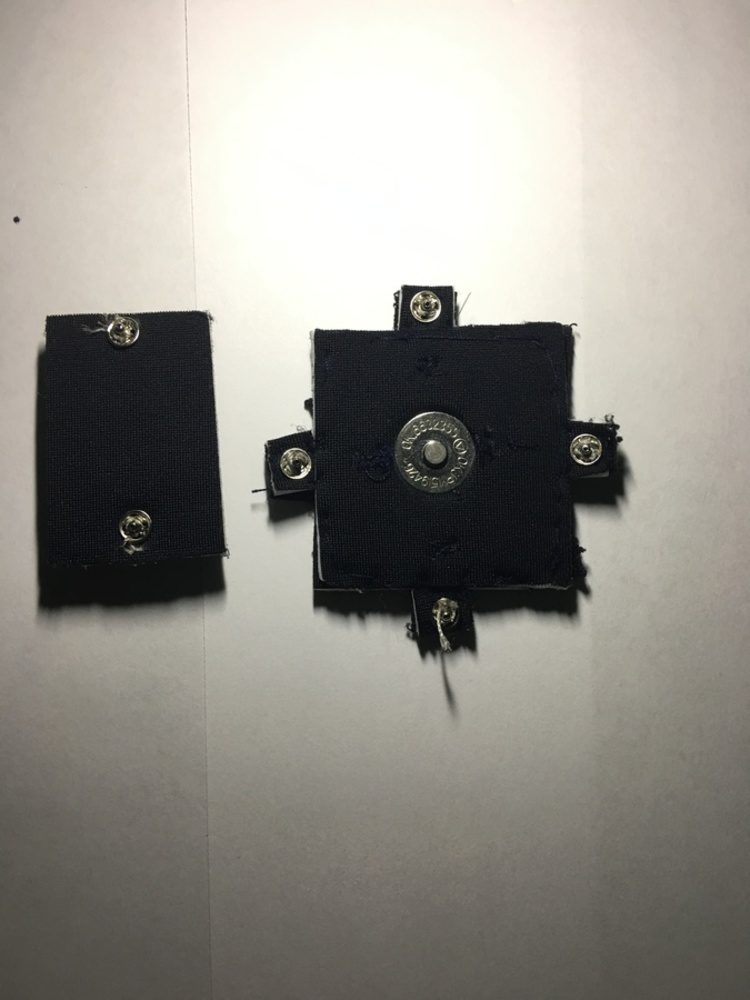
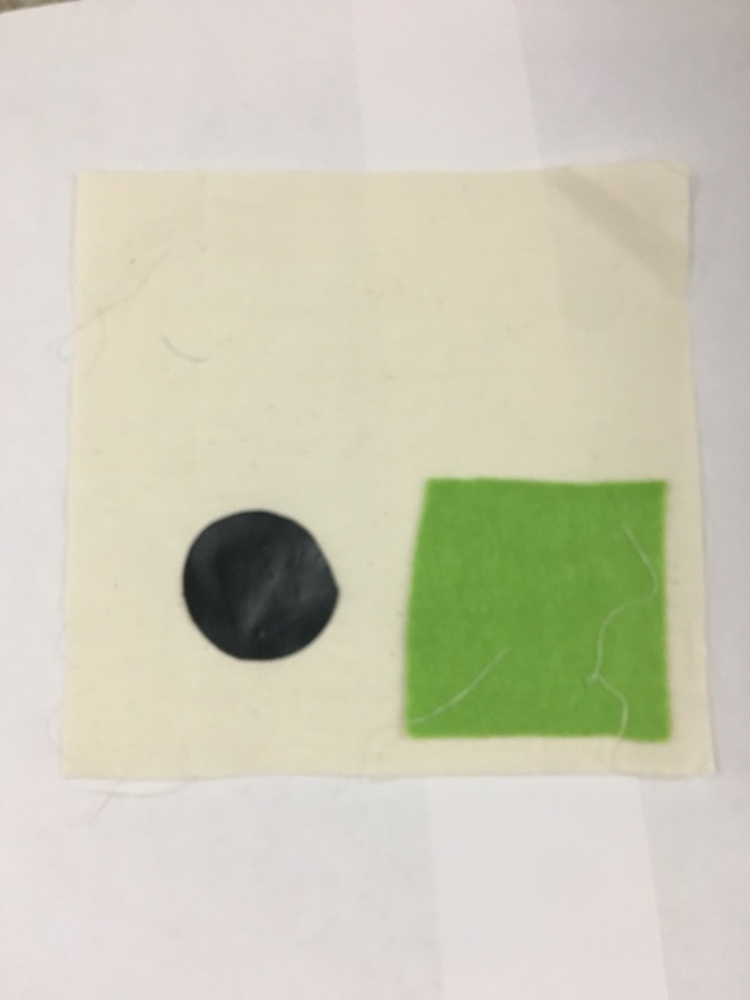
I first started by assembling the joystick, starting with a square of material and placing one half of a magnetic snap into it.  I then placed the laser cut Velostat disc on top and hand-sewed the two components together in order to ensure contact.

Right away, I realized a slight problem.  The Velostat goes down in resistivity with pressure, so by sewing it tightly to the magnetic snap, there would be regions of conduction in the material.  However, I thought the effect of this to be low, as I had done the same for the button circuit.

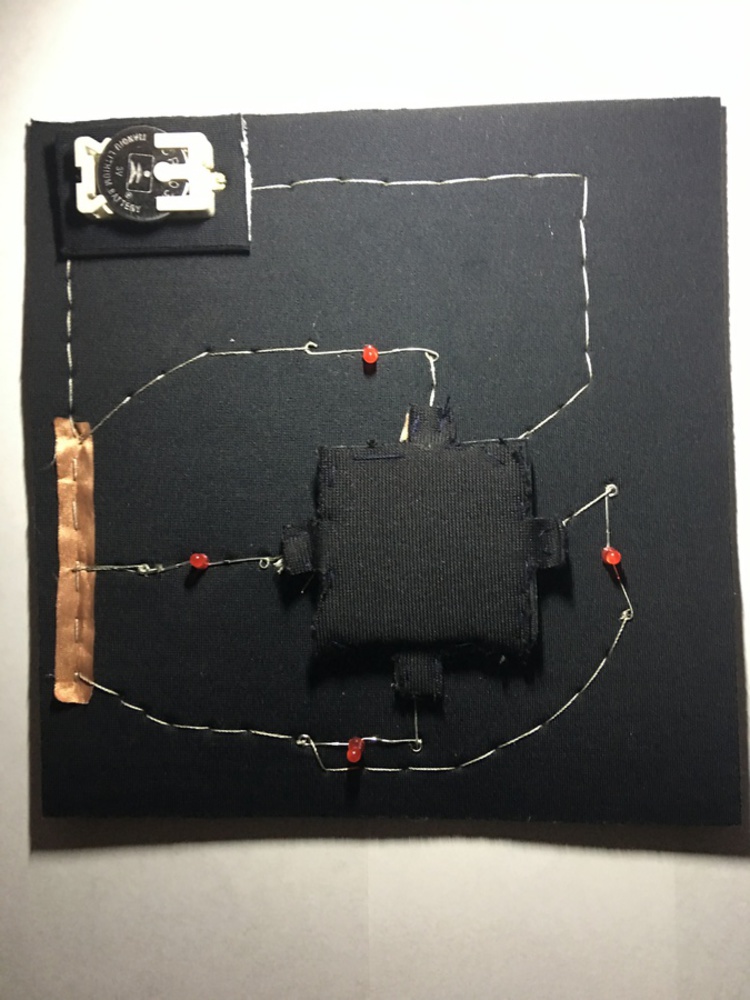
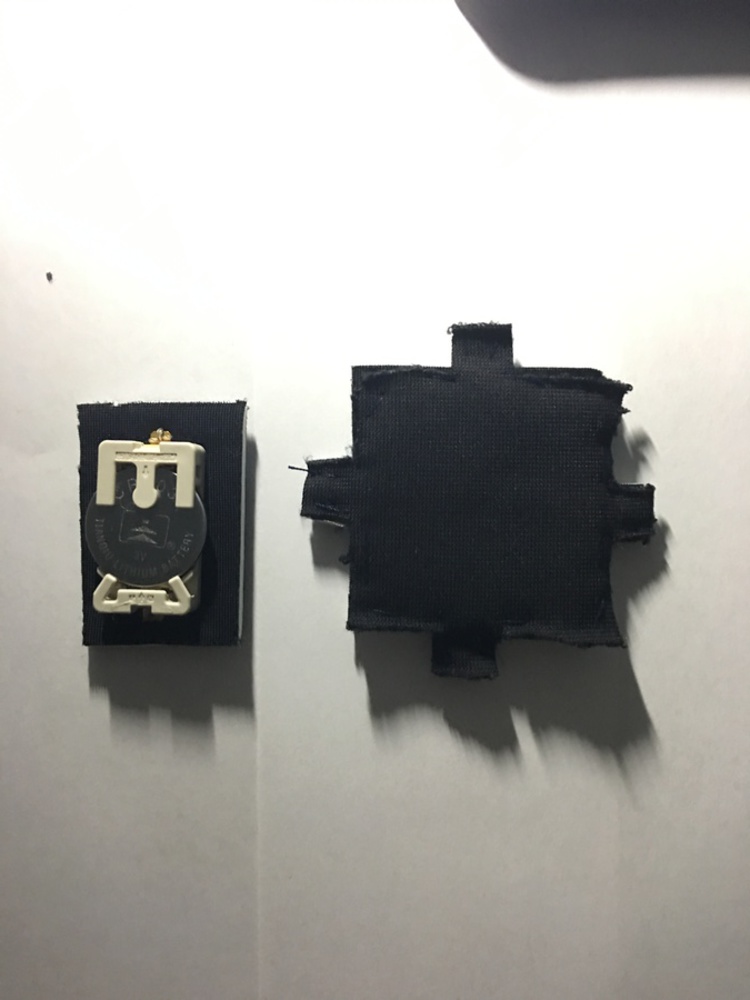
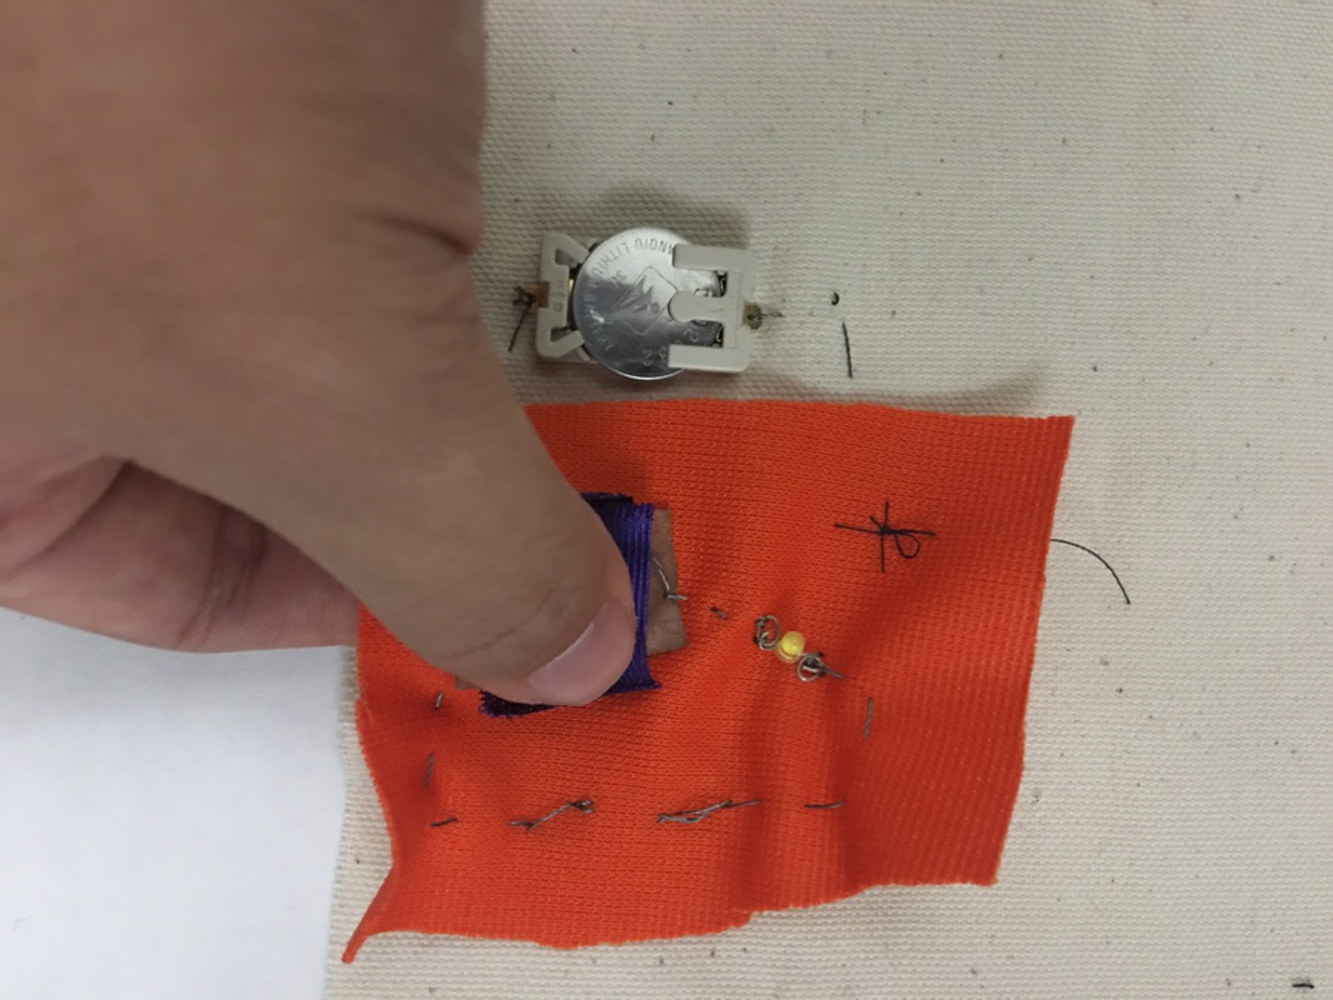
I then started to sew in strips of copper coated fabric as the four axes of the joystick.  Using some scraps of the base fabric, I made little tabs for smaller snaps that would lead into the LEDs.  Finally, I covered the mechanism with a square piece of the base fabric.

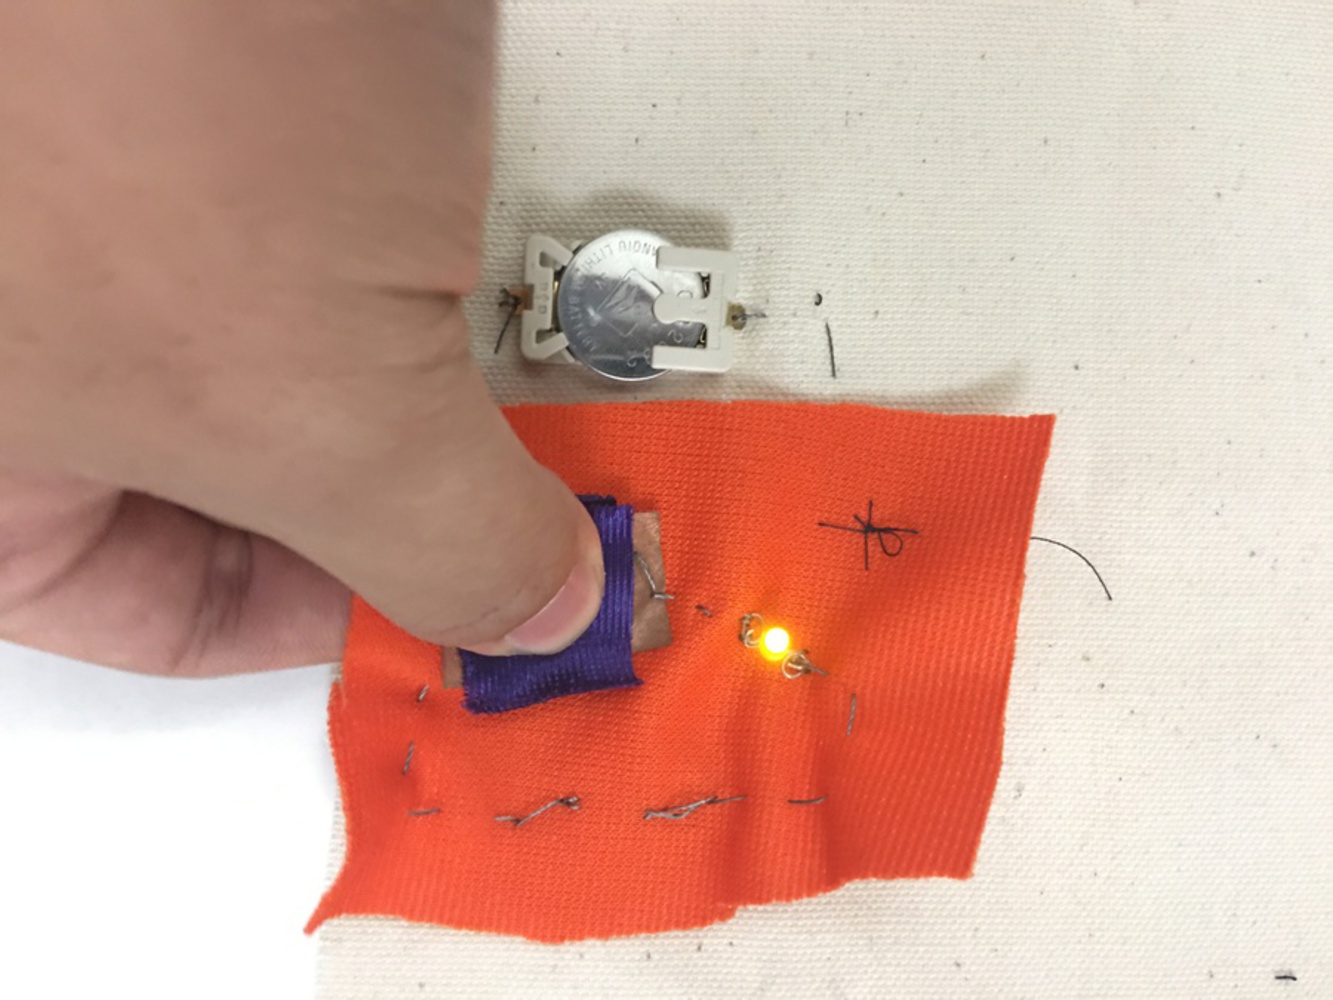
The battery piece was much simpler to fashion, as I just had to sew two small snaps to a piece of base material and have it connect to the battery.

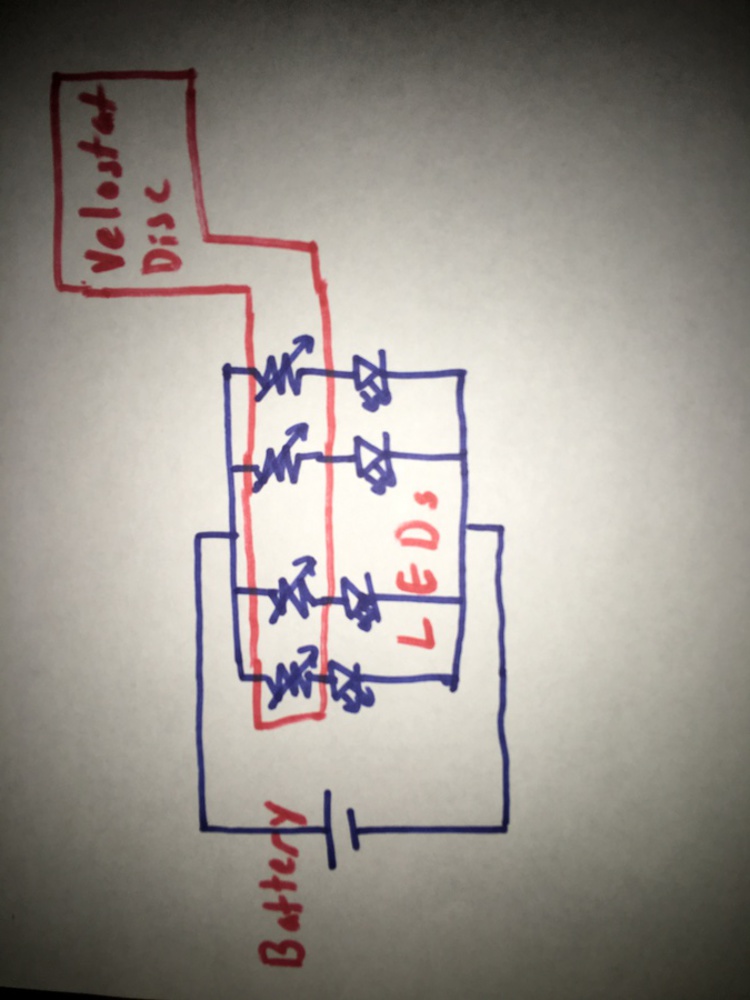
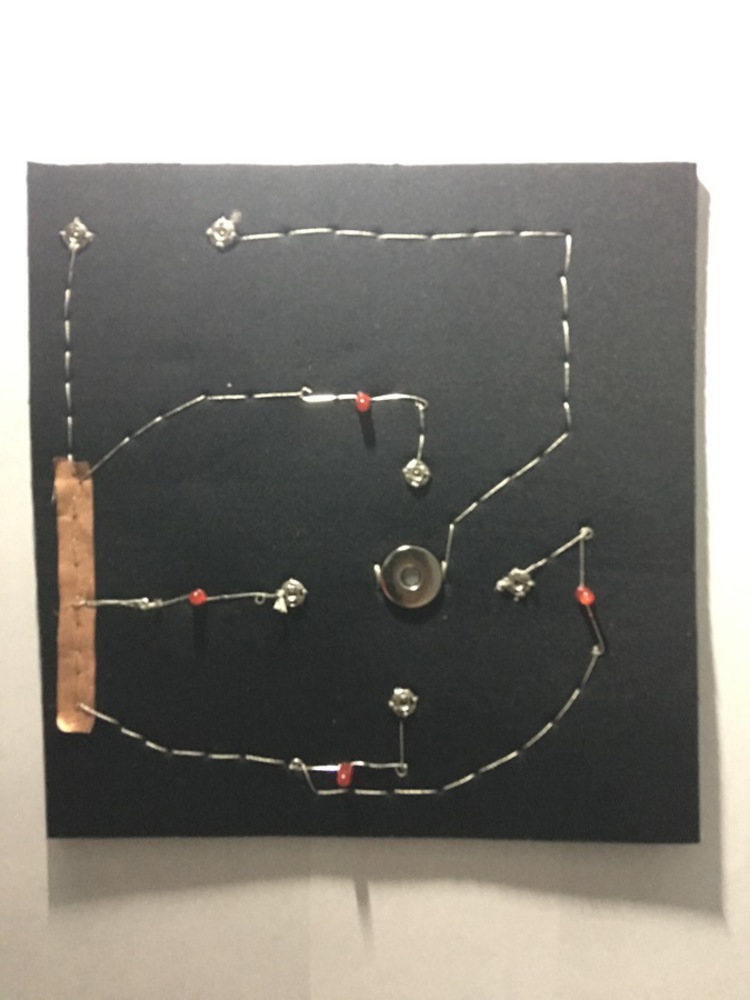
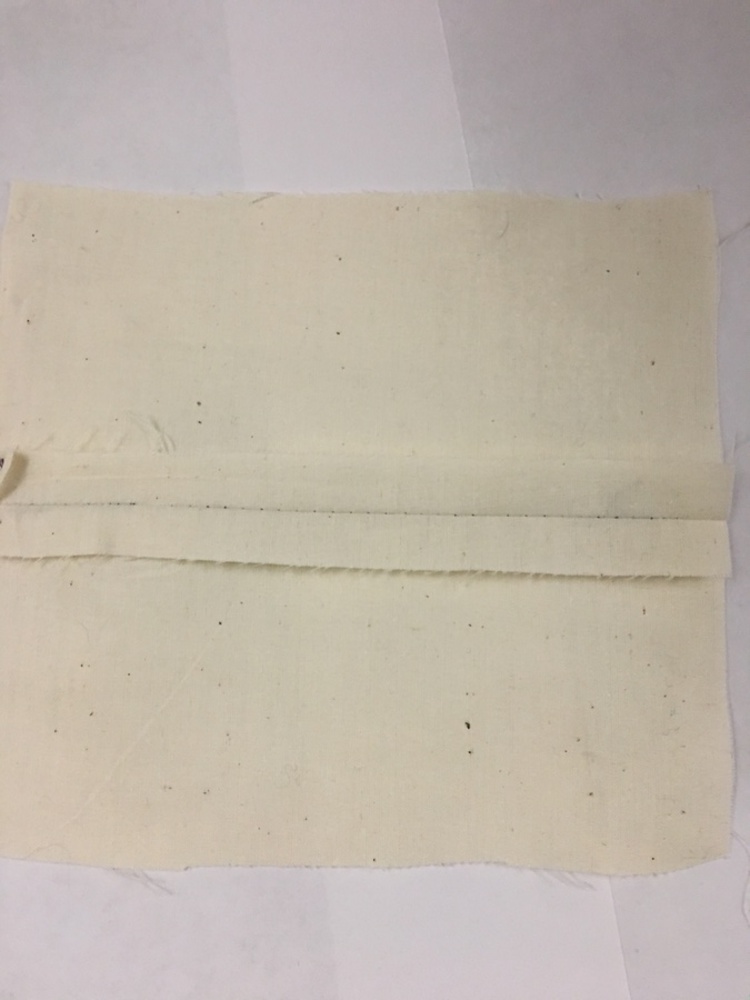
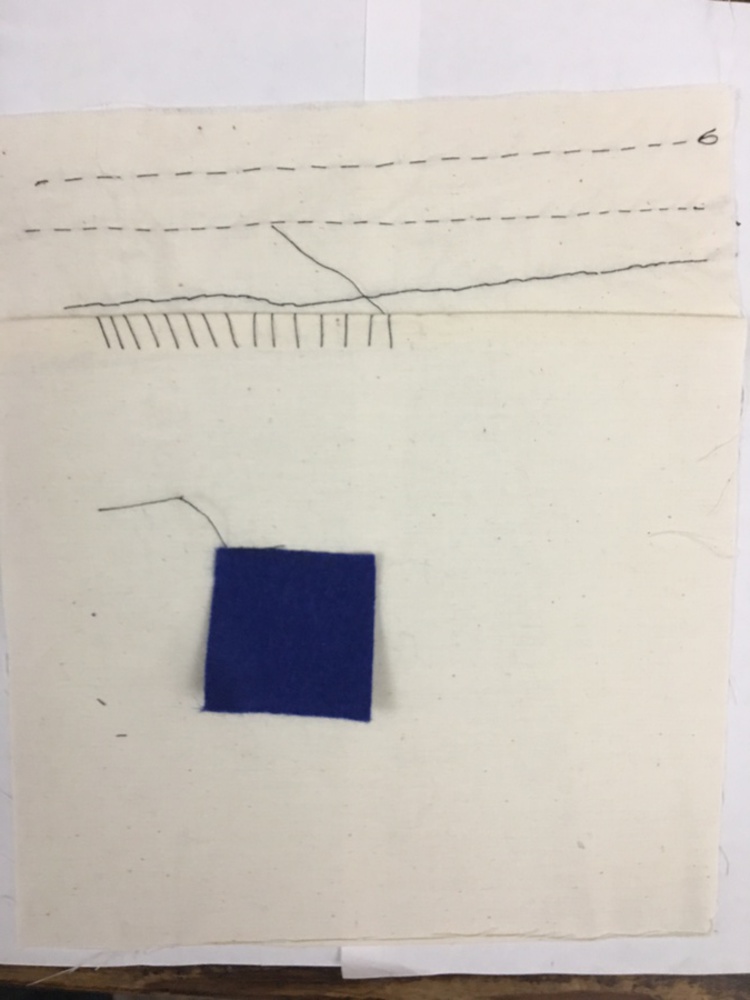
Finally, I fashioned the "circuitboard", hand sewing with a back stitch (for clarity) the "wires" that lead to the magnetic snap's other half, the LEDs and a copper strip as one end of a parallel sequence of wiring for the LEDs.

Img 0042.jpg.thumb
Show Advanced Options

Product

I used a combination of techniques from all three weeks.  For the wiring I used hand sewing and used the back stitch (I forgot the exact name) to create a clear looking wire.  I also used running stitches to combine the pieces in the joystick.

The entire piece was made out of materials and techniques taught in session two, specifically the cloth circuits.  I used conductive thread to wire together the components, connected to conductive clasps, mechanical and magnetic.  I also used fabric with conductive/resistive properties to create the joystick and the circuit wiring.

Finally, I researched and then laser cut Velostat in order to create a shape that I found workable for the final project.

The end result is a prototype pressure based joystick.  Unfortunately, due to the sewing through the velostat and the uneven hardness of the base of the joystick, all the LEDs will light up to some strength depending on where you press.  However, in regions of the Velostat unaffected by my errors, the directionals work just slightly.

Img 0031.jpg.thumb
Show Advanced Options
Img 0028.jpg.thumb
Show Advanced Options
Img 0029.jpg.thumb
Show Advanced Options
Img 0030.jpg.thumb
Show Advanced Options

Reflection

From this project I learned a lot of lessons with working with Velostat and cloth circuits.  With Velostat specifically, in order to use it optimally one needs to ensure that no conductive zones form due to pressure on the Velostat due to assembly.

In
my case, two situations occurred which caused these conductive zones.  First, it may be best to not have any thread or needle pass through the material.  By sewing on the Velostat these conductive zones form.

The second thing is that a combination of hard and soft surfaces behind the Velostat made some regions easier to conduct than others on pressure.  Ensuring constant hardness of the material surrounding the Velostat would have made for a more effective joystick.

I will definitely revisit this project in the near future, especially after completion of the Arduino Micro, but for now, this is just a first version prototype.

Sample Book

Included some images from sample book:

Show Advanced Options
Img 0038.jpg.thumb
Show Advanced Options
Img 0039.jpg.thumb
Show Advanced Options
Img 0036.jpg.thumb
Show Advanced Options
Img 0034.jpg.thumb
Show Advanced Options
Img 0035.jpg.thumb
Show Advanced Options
Img 0040.jpg.thumb
Show Advanced Options
Img 0037.jpg.thumb
Show Advanced Options
Drop files here or click to select

You can upload files of up to 20MB using this form.