Back to Parent

Outcome


Intention

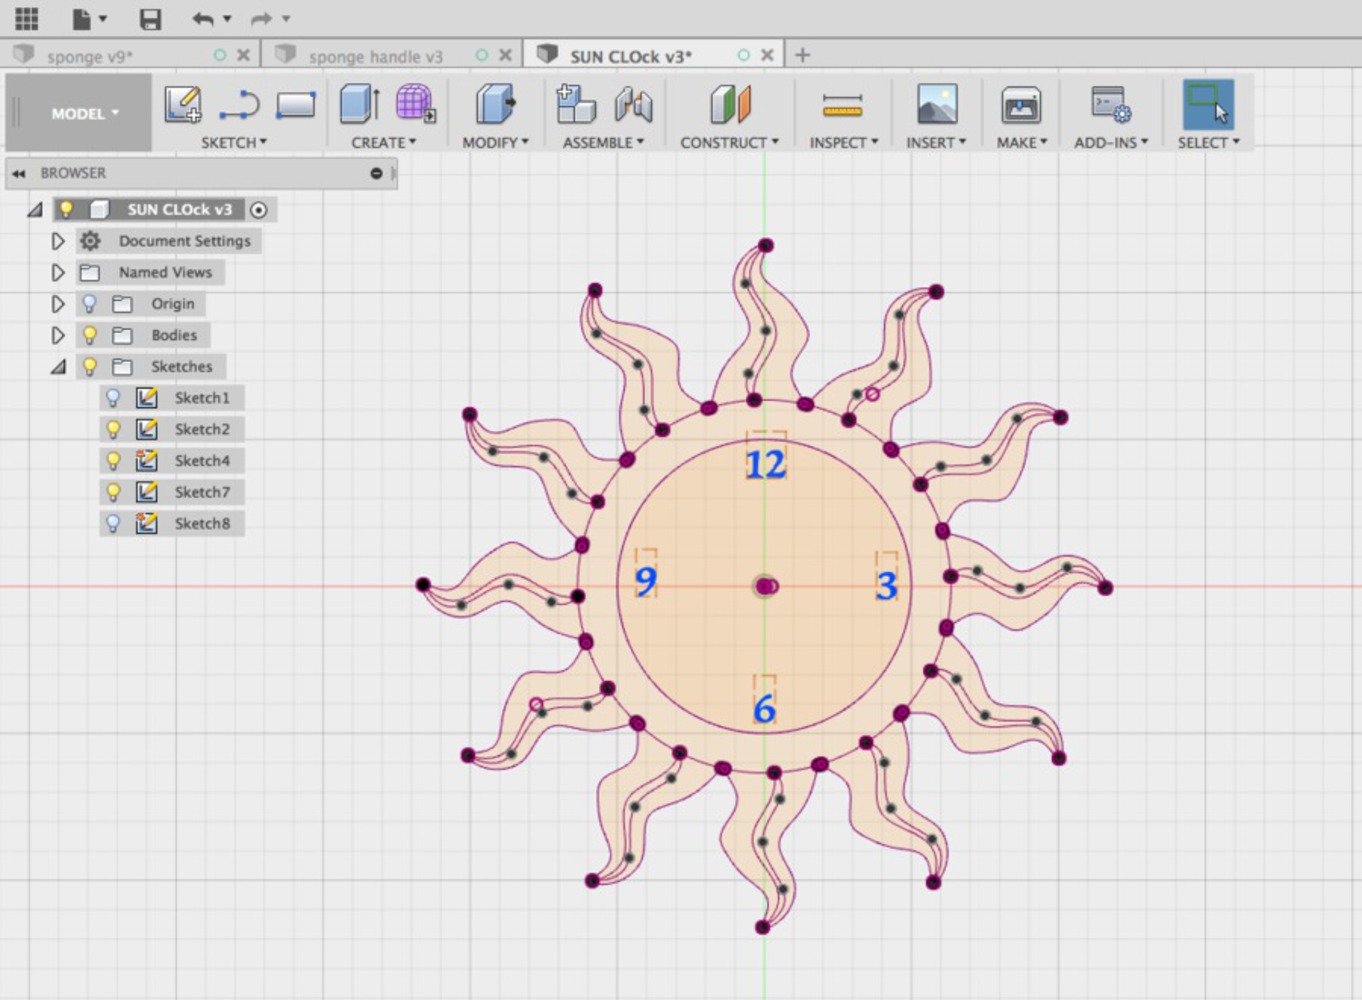
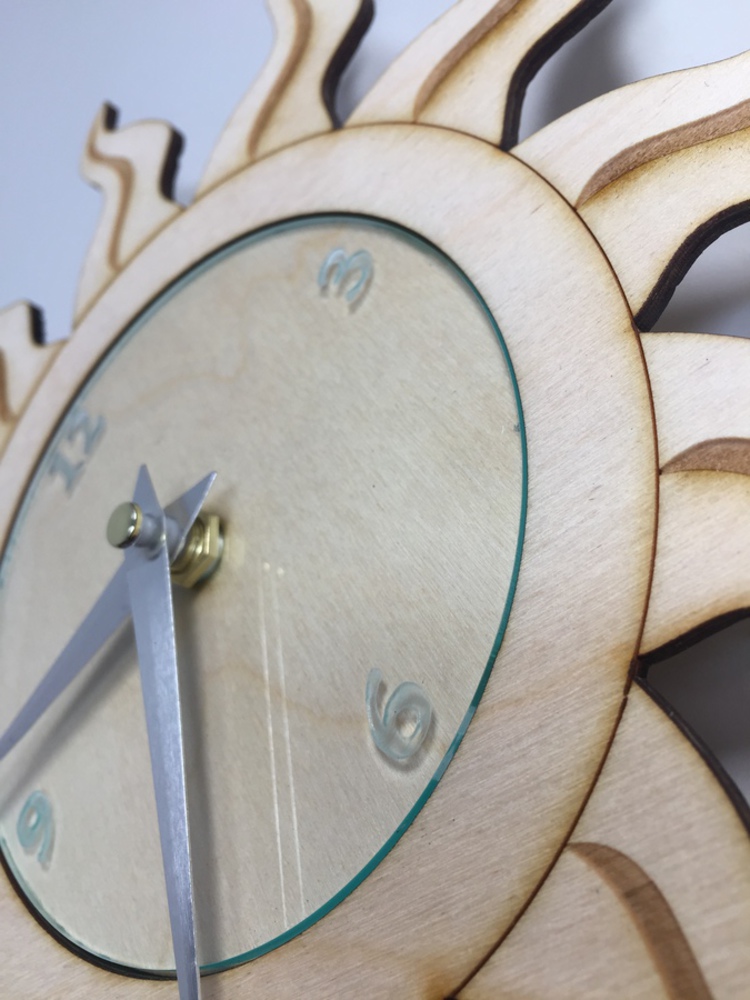
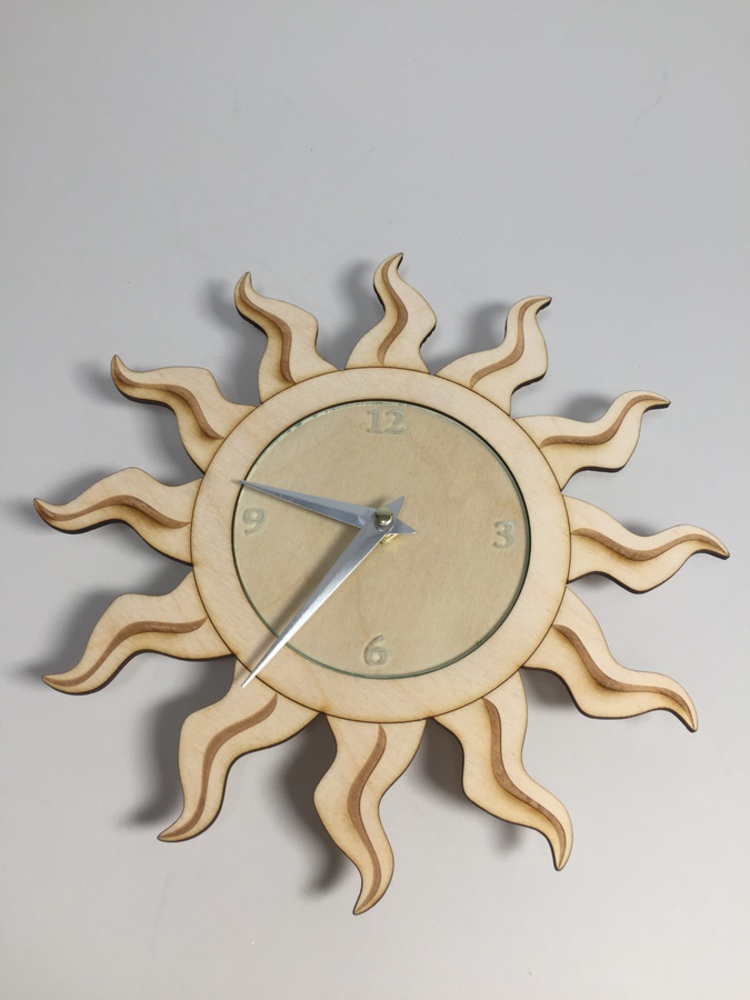
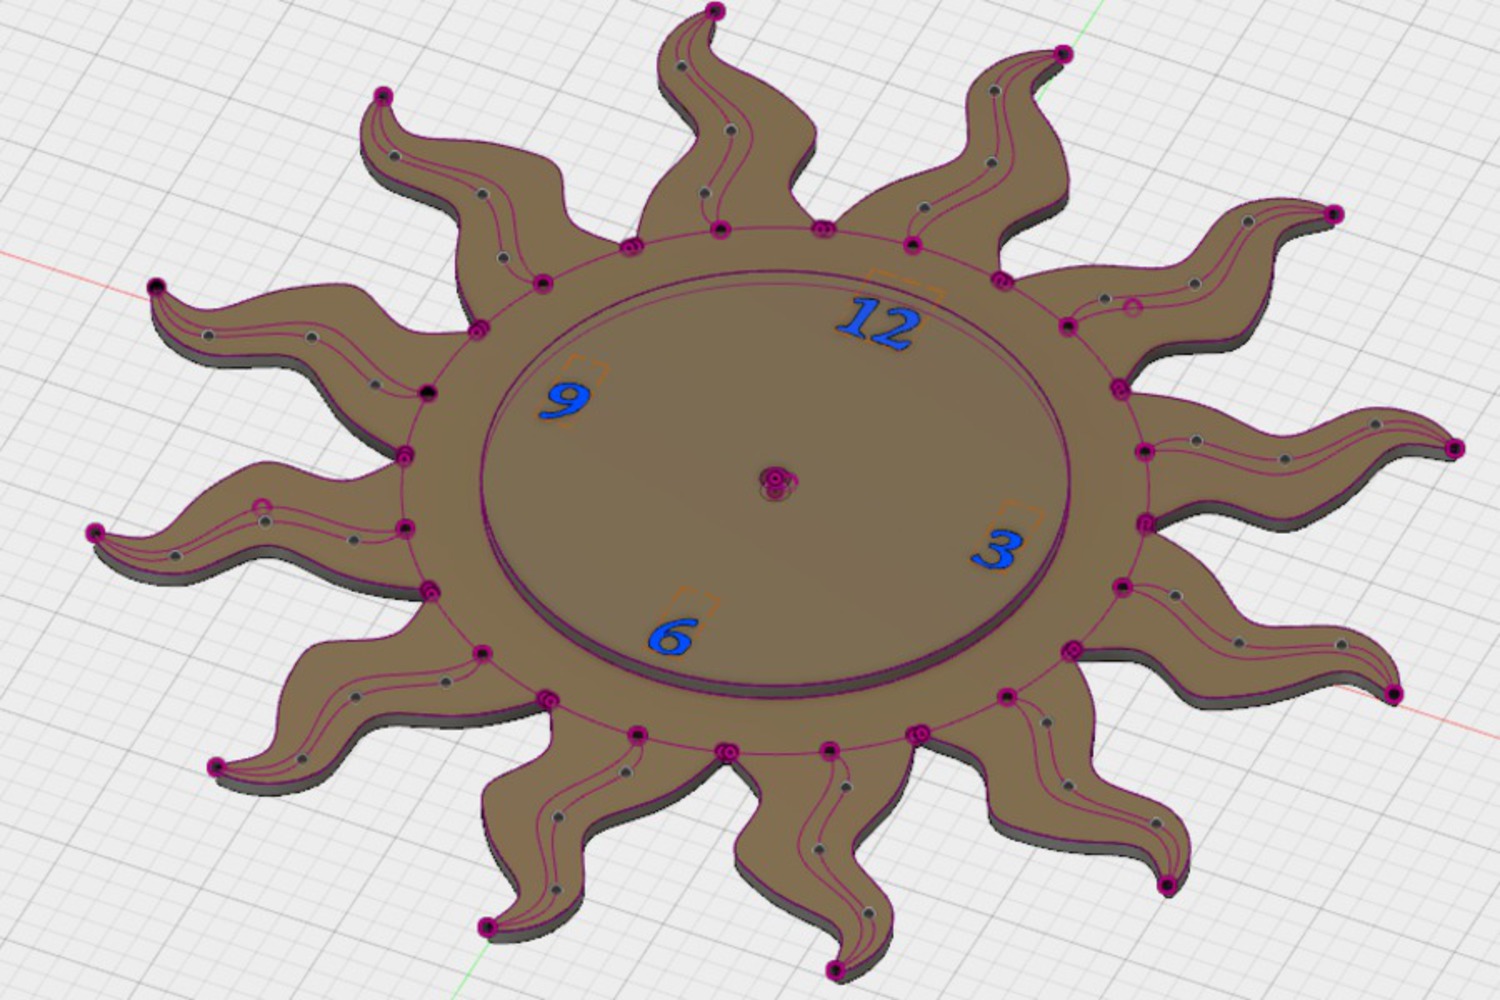
The goal was to design and cut a clock using the Rabbit Laser Cutter and wood and acrylic. I wanted to create a design which was simple yet eye-catching. I chose to do a sun design for my clock because sunny days always put me in a good mood, while checking the time is usually a stressful reminder of how little time I have left before deadlines... :(

Context

I like minimalist design, but clocks in this trend tend not to have all the numbers written explicitly. Instead, they are expressed as dots or only a few numbers (or none at all!) are shown. This seems a little bit impractical to me because it can be hard to judge what the angles and what time it is if there are no markings! To incorporate both minimalism and practicality, I used the idea of putting only a few key numbers in the clock face and then let twelve sun rays be a more specific indication of where the other numbers would lie. 

Process + Procedure

I started this project by creating a sketch in Fusion360. I mostly used the spline and circular pattern tools in Fusion. Then I exported my sketch as a DXF to the laser cutter. The sun rays were cut out of birch plywood and the clock face was cut out of acrylic. I had some trouble engraving the numbers on the clock face and had to laser cut the clock face itself a few times before getting it right. 

Screen shot 2017 12 08 at 10.33.46 pm.thumb
Show Advanced Options
Img 6319.jpg.thumb
Show Advanced Options

Product

My clock consists of 2 main visible parts: the face (cut out of green glass acrylic) and the outer clock decoration (cut out of birch plywood). I also cut a circle out of leftover wood, which I put behind the acrylic face and used to hold the sun rays to the clock face, and to hide the black box of the clock kit from being visible through the acrylic. 

Img 6318.jpg.thumb
Show Advanced Options

Reflection

After doing this project, I feel that I learned a lot about troubleshooting at the laser cutter. When sending my files from the computer, I got some errors such as data/output overlap and engrave polylines were not closed. Even though everything on the screen looked fine to me, I figured out how to find some of the less obvious data overlaps that were causing errors. 

Attribution

Thank you to Louise for teaching me how to design in a CAD environment and use the laser cutter. Thank you to CMU IDeATe for providing me with the technology to be able to do this project. 

Screen shot 2017 12 08 at 10.34.22 pm.thumb
Show Advanced Options
Drop files here or click to select

You can upload files of up to 20MB using this form.