Back to Parent

Outcome


Clock side.thumb
Show Advanced Options

Intention

The prompt for this project is to create a clock. In examining my own life, I find I have one particularly unique clock problem: telling time on the moon. You see, as an employee in the Robotics Institute, I'm a lead for Carnegie Mellon's NASA subcontract to create the next lunar rover. Time, in essence sun position, on the moon is a complex--and more important, unintuitive--thing for many people on my team. I've decided to use the project as a chance to construct a simple, elegant clock that makes this challenge more intuitive (it need not be precisely scientifically accurate).

Zzzzdsc07986.jpg.thumb
Show Advanced Options

Context

Time considerations on the moon are a highly technical and complex context that need not be detailed here at length. The basics are that a lunar day (e.g. a rotation, sunrise to sunrise) lasts approximately 27-28 days. This means that daylight at a given landing site lasts approximately 14 days, and time from sunrise to high noon is approximately 7. For various thermal and navigational reasons, our estimated landing time for the 2019 launch is in the morning around Day 4-5. It's unlikely that a rover our size will operate through the heat of noon, but even if it did, the afternoon would be symmetric for these purposes. As such, my clock need only cover three 24-hour Earth days.

The key factor we care about--and the key one I want to make intuitive--for planning lunar rover missions is the position of the sun overhead on the moon with respect to our time on Earth. As such, I've decided that my clock will show the position of the sun (or the portions of dark and light) throughout this morning-to-noon timeframe and relate it to a 24-hour Earth day.

Showing the continuous position of the sun throughout three 24-hour Earth days amounts to a spiral shape around the clock face. I've decided to buy a 24-hour clock kit from Amazon at my own expense as this simplifies both the physical clock face and the intuition for fellow scientists reading it. The sketch below shows my basic concept, which includes four parts. The clock face itself has no numbers, as this would only confuse the issue of extraterrestrial time. The spiral is constructed actually of two different spirals, a dark one and a light one (the latter representing the sun), and the ratio between them shifts from mostly dark to 50/50 as the spiral continues outward. The clock hand, of which there is only one (minutes and seconds don't matter much in this case), includes three windows through which to view the spiral. If you're on Mission Day 1, you check the first window, for Day 2, the second, etc. This allows quick comparison between Earth days as is important for developing lunar intuition. Providing four windows would be more accurate to our mission profile, but three is an innately absorbable number for humans to view.

Process + Procedure

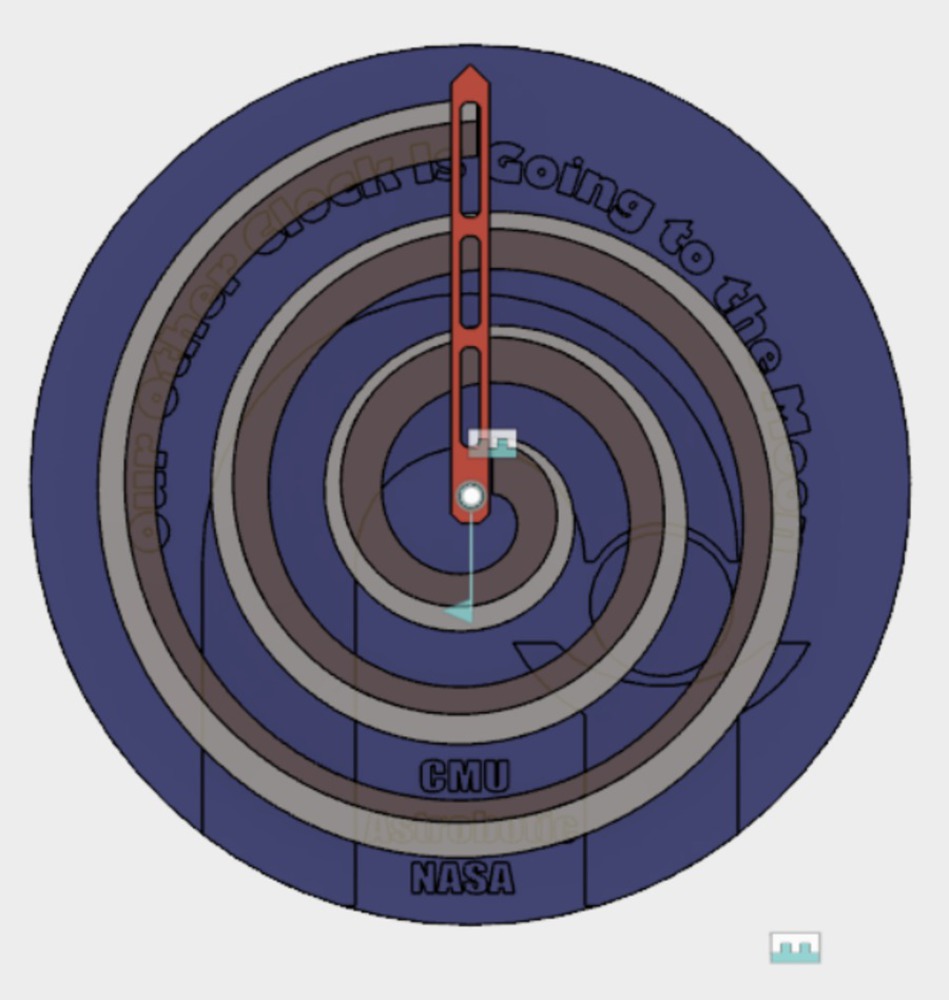
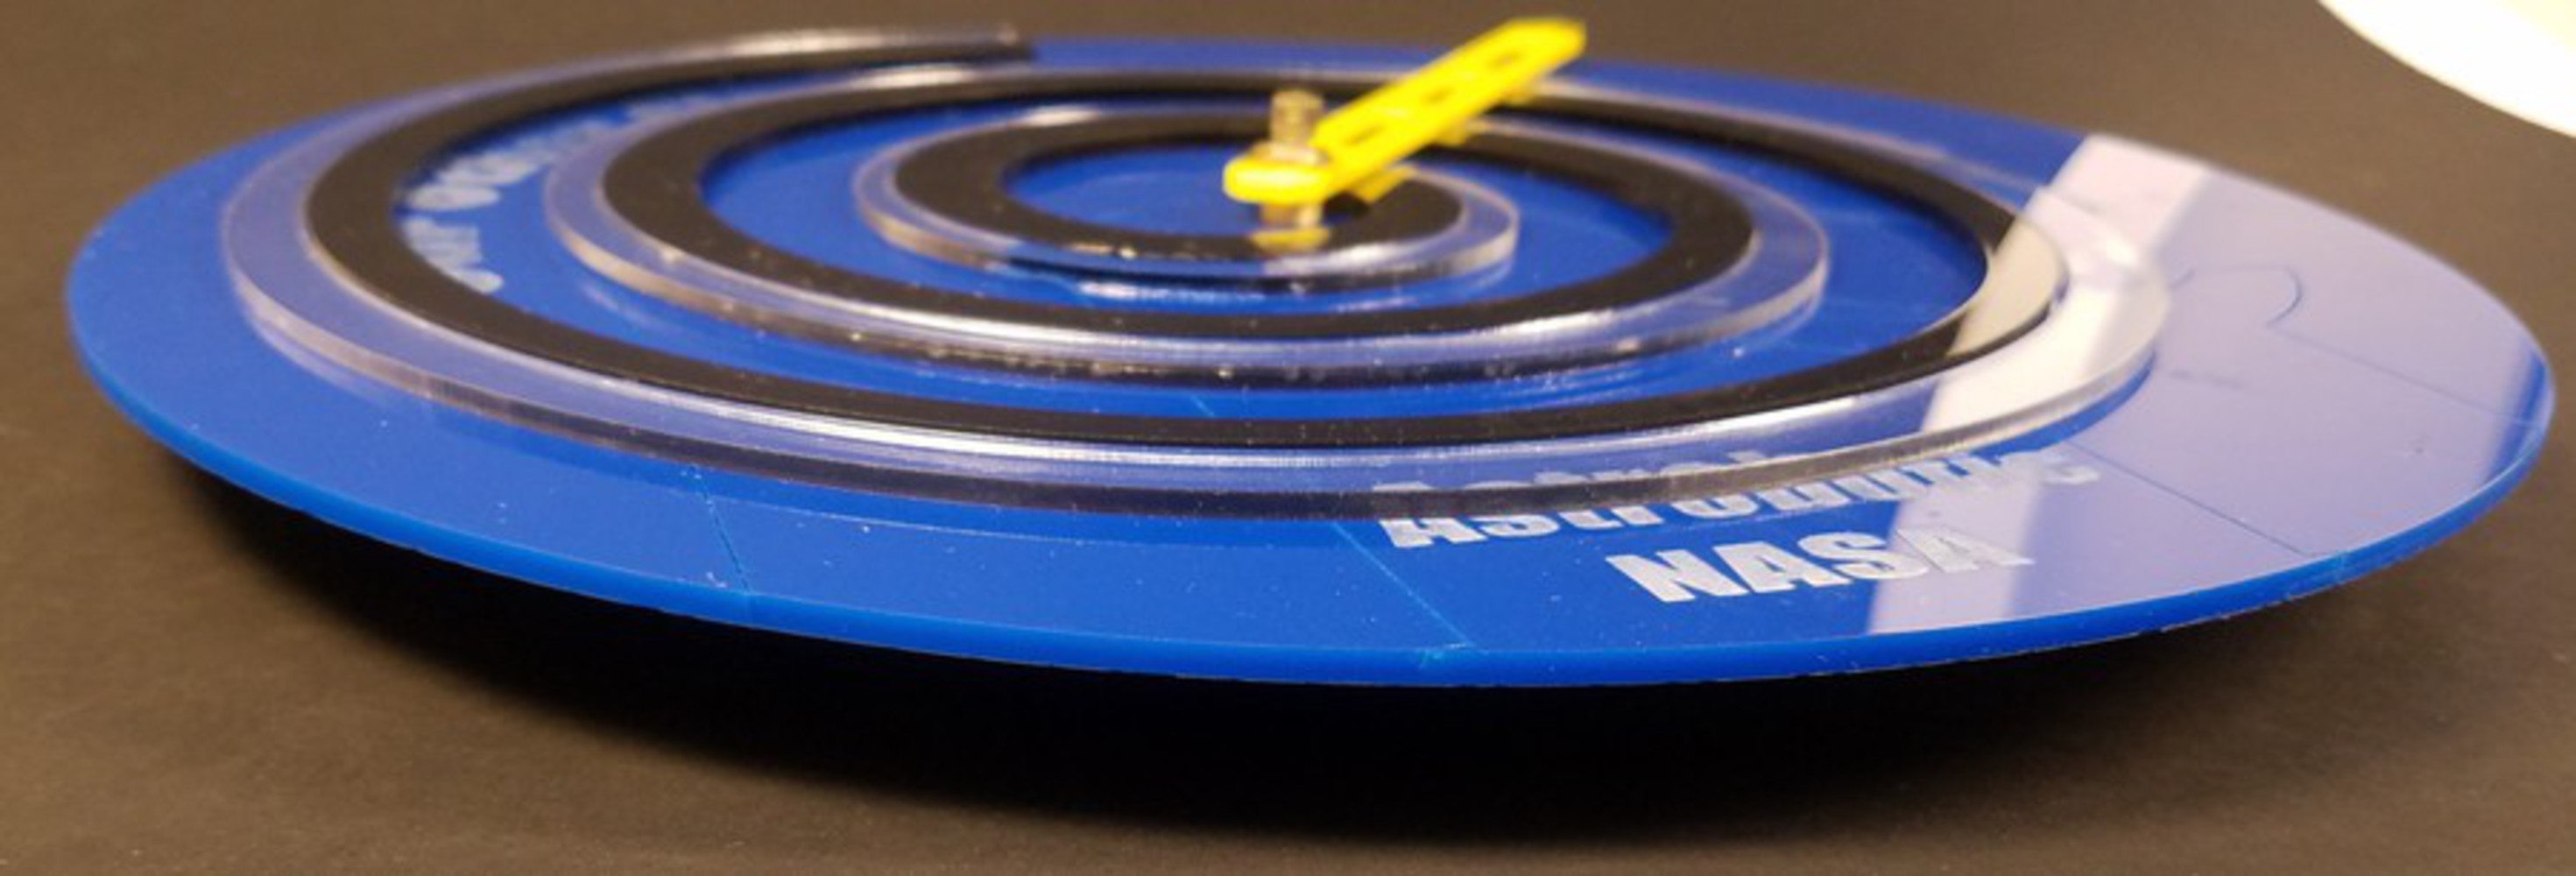
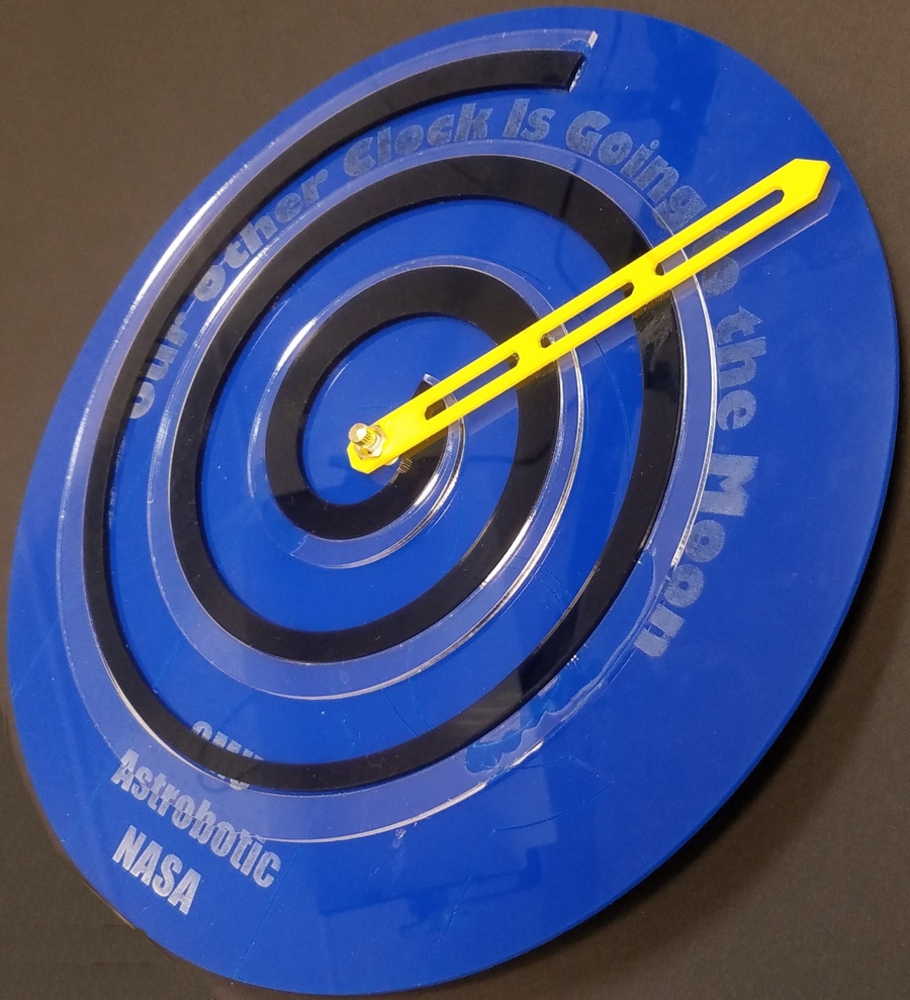
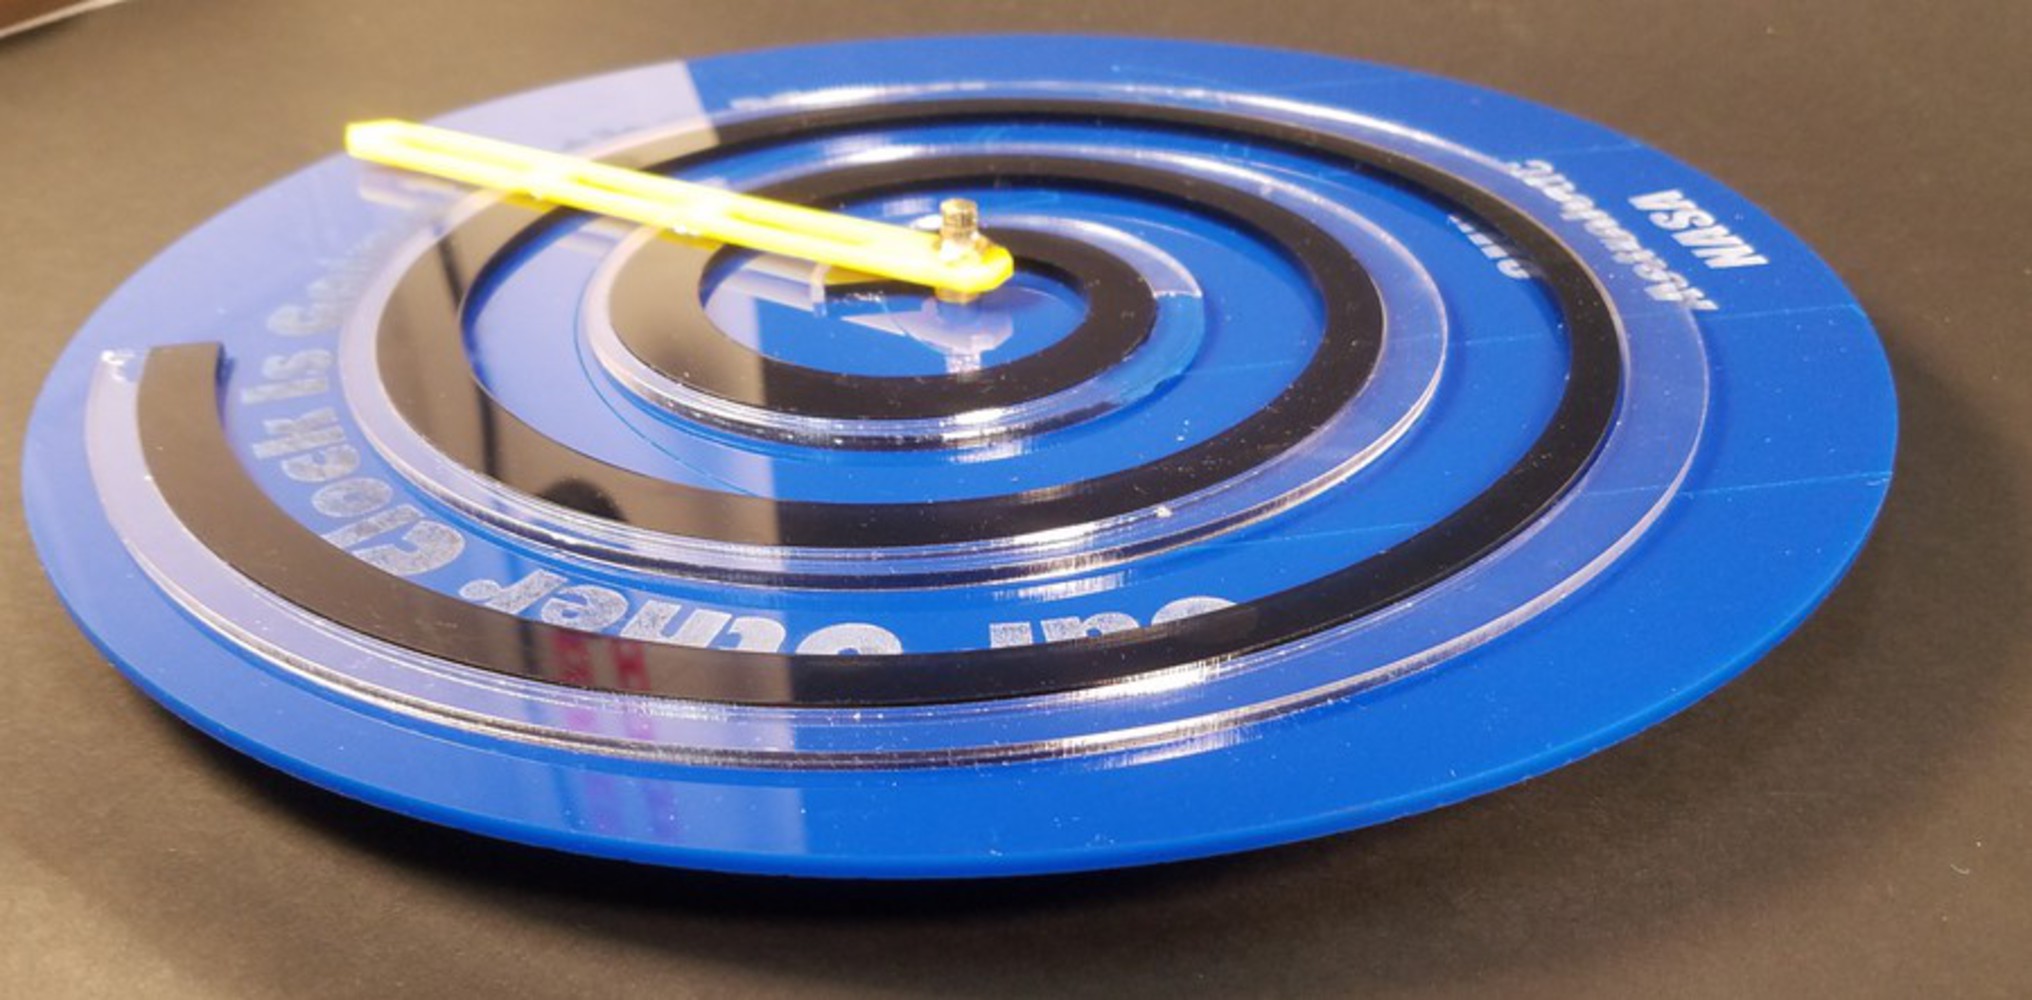
Though I don't intend this to be a scientific instrument, I want a bit more fidelity than I can do from scratch with Fusion 360 tools. I've laid out the clock in SolidWorks first to have more control of the spiral shapes. I also then learned that Fusion 360 isn't very nice about setting guide curves for curving text. There are a number of ways to get around this, and since I already had the SolidWorks of the clock face, I learned how to import sldprts into Fusion and used that for the clock face component.

The spirals in Fusion take some hacking. I've figured out how to use the coil function, set the parameters to mimic my SolidWorks spirals, and create the coil body. Then I projected the coil body onto a plane and extruded to projection. I did this again to create the other spiral, and then used cutting modifications to create the actual parts.

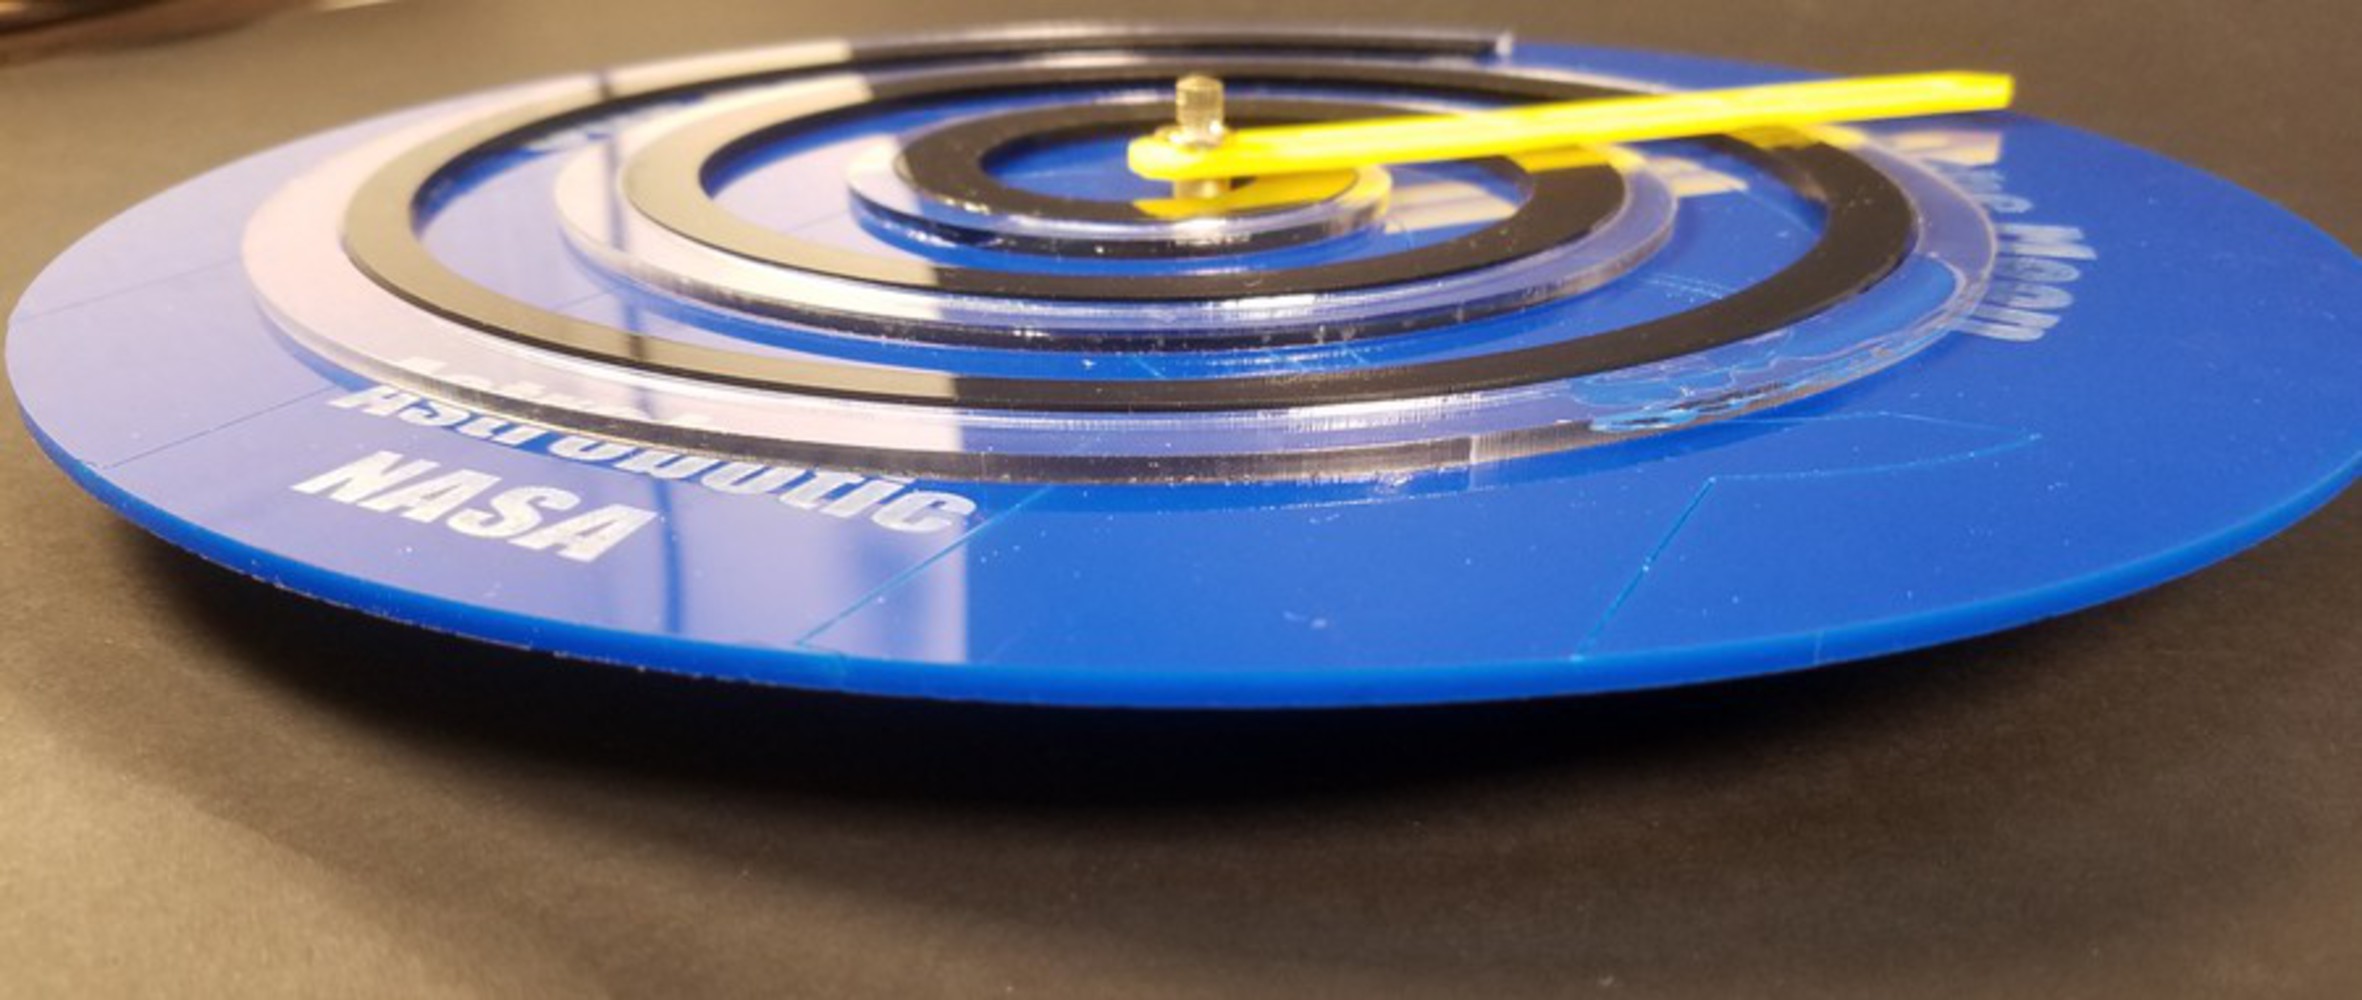
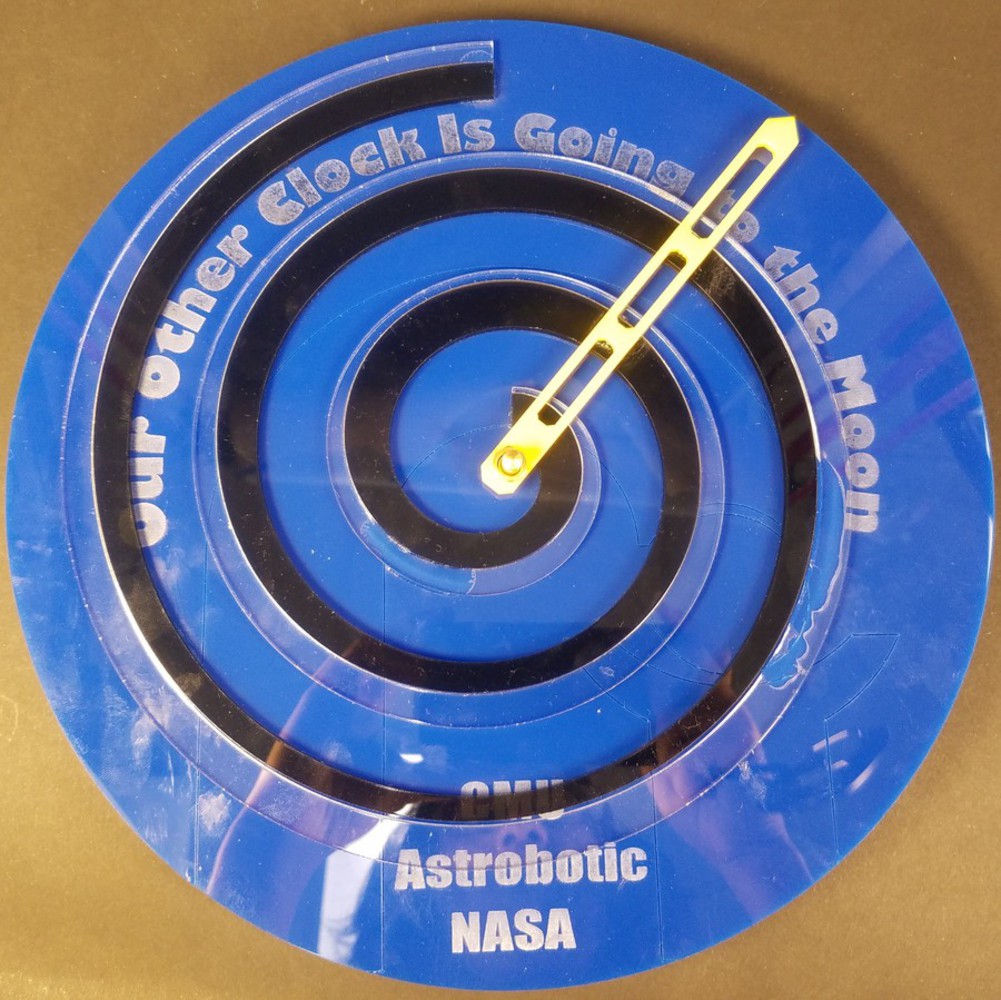
I CADed the clock hand from scratch in Fusion using the window positions I worked out with SolidWorks. This was a simple chamfer and extrude component, and I used a revolve joint to let the hand turn. Most of the other joints in the assembly are as-builts.

Now that I finally have the assembly finished in Fusion, I used sketch projections to create and export DXFs of each part. This took some post-processing in DraftSight when I realized I missed a few aspects. I did my DXF conversion to 2002-2004 compatibility using DraftSight on the Rabbit Laser computer.

Once I had the DXFs imported into LaserCut, I united the lines and created layers for cutting, engraving and scoring using IDeATE's recommended laser cut settings generator. I ran several test cuts (some unintentionally) and then cut the final pieces.

Fusion clock.png.thumb
Show Advanced Options

I made two changes on the fly during fabrication. First, I'd CADed the clock arm in red to resemble the NASA logo, but decided on site that yellow "popped" better. It also matches the colors of the high school robotics team I coach, and I think they'll like that. I also opted to only score instead of engrave the RI logo. because I wanted it to be more of a "background" feature compared to the engraving on the text.  

Nasa logo.thumb
Show Advanced Options
Sabotage.thumb
Show Advanced Options
Clock flat3.thumb
Show Advanced Options

Product

Software: Fusion360, SolidWorks, DraftSight LaserCut

Tools: 80W Rabbit Laser

Materials: black smoky cast acrylic, clear cast acrylic, blue opaque acrylic, yellow opaque acrylic (all 3mm), Amazon 24-hour clock kit.

Finishing: cleaning acrylic, gluing, assembling 

Clock side2.thumb
Show Advanced Options
Clock upright angle.thumb
Show Advanced Options

Reflection

In general, I like the way this project turned out. The biggest thing I'd change is that opting to buy my own clock kit made integrating it more of an unknown--it didn't come in until the day before I did my assembly and I'm not sure how to hang it up with the different form factor on the back.

Also If I did this again, I think I'd try a version of the clock face that did engrave the RI logo but maybe with different settings, as it's a little too "backgrounded" at this point. I might also raise the spirals off the clock face or change the engraving settings, as I thought the text would shine through the smoke acrylic more than it is.

I'd also experiment with the engraving settings for text or maybe raise the spiral off the clock face slightly. I moved the spiral off center a bit more than it should be in order to more clearly see the text. I'm not sure how to balance that and preserve the intent, but it's an interesting future problem.

I also want to work on how to keep acrylic from looking so smudgy, though it looks worse under the lights for the photos than it does in position as a clock. 

20171202 105525.thumb
Show Advanced Options

Thanks

Thanks to IDeATe and Professor Larson for this class and to the Robotics Institute and my lunar rover team for this opportunity. Also thanks to NASA and Astrobotic for sending us to the moon!  

Drop files here or click to select

You can upload files of up to 20MB using this form.