Back to Parent

Outcome


Intention

I wanted to create a clock for my bedroom. My goal was to incorporate something I loved into a mid-century style so that it looked interesting while also brightening my day when I looked at it. Disney with a mix of a modern style seemed like a good way to go.

Context

I was inspired by the shapes used in mid-century modern art and the idea of a silhouette shape from a more modern style of art. My favorite Disney movie is the old Robin Hood and so I found a nice silhouette of him to use.

Images 1.thumb
Show Advanced Options
5eb610b4e4ef4371966aab874e261117  disneys robin hood disney movie posters.thumb
Show Advanced Options
4d8a43872ce3fb14f76fa46539a0be87.thumb
Show Advanced Options

Process + Procedure

Materials: wood, acrylic, wood stain (for the head), super glue

Here are the steps I took to create this clock:

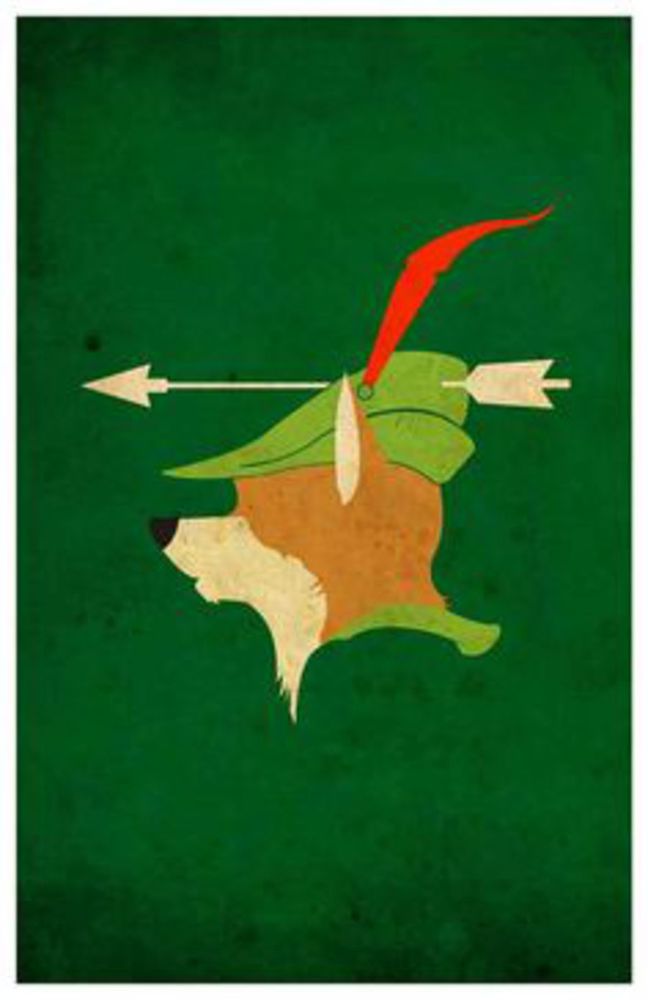
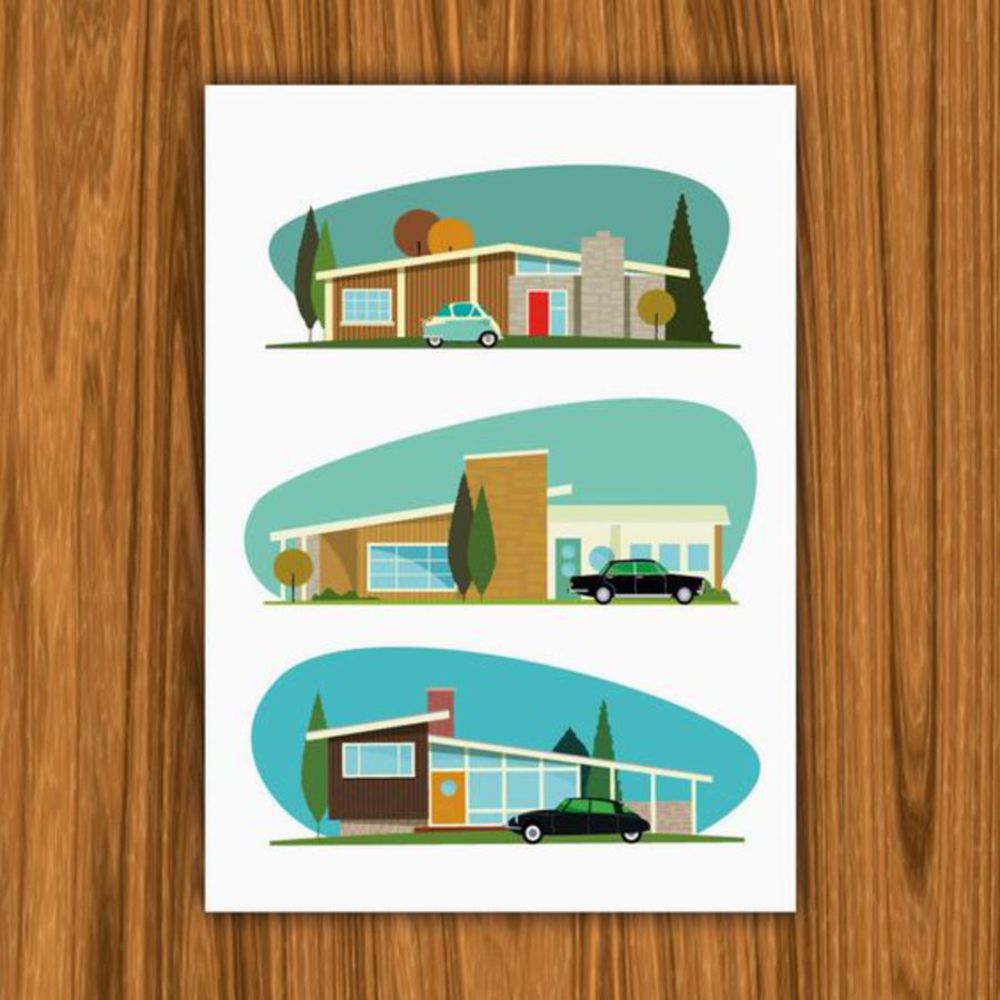
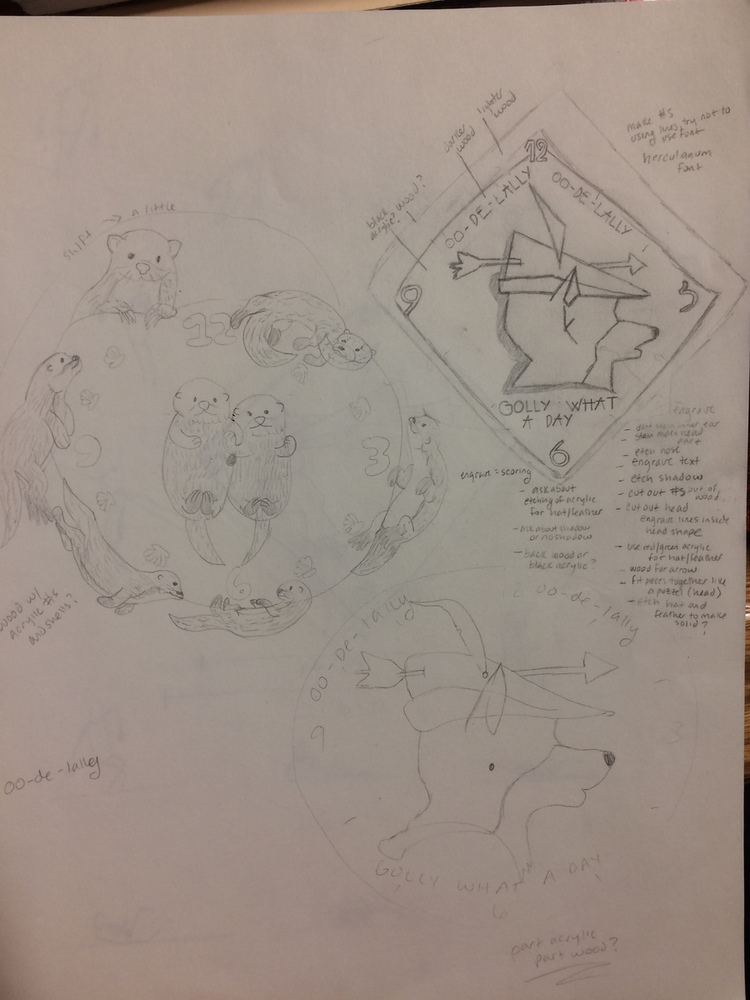
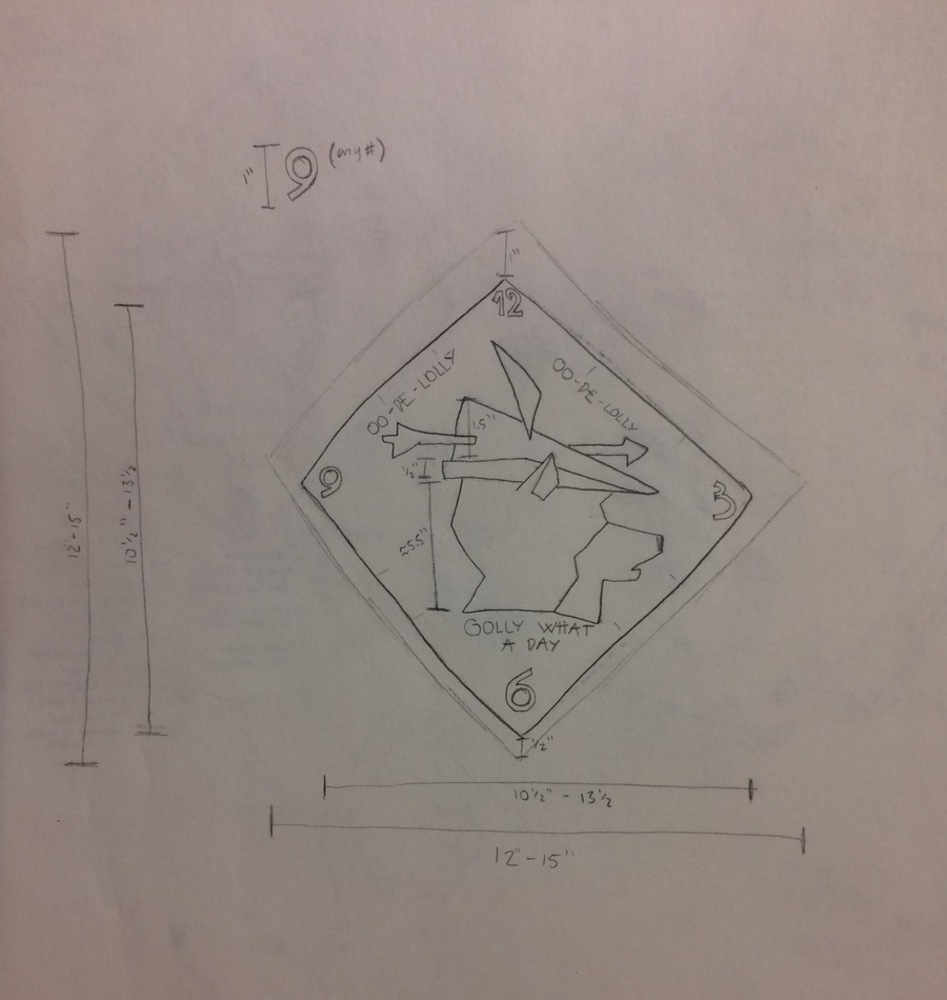
1) I sketched the basic idea of the design I wanted to incorporate and then adjusted the style so that it was more mid-century. Once I got the sketch I wanted, I tried to estimate what sizes I would want for the pieces of the clock.

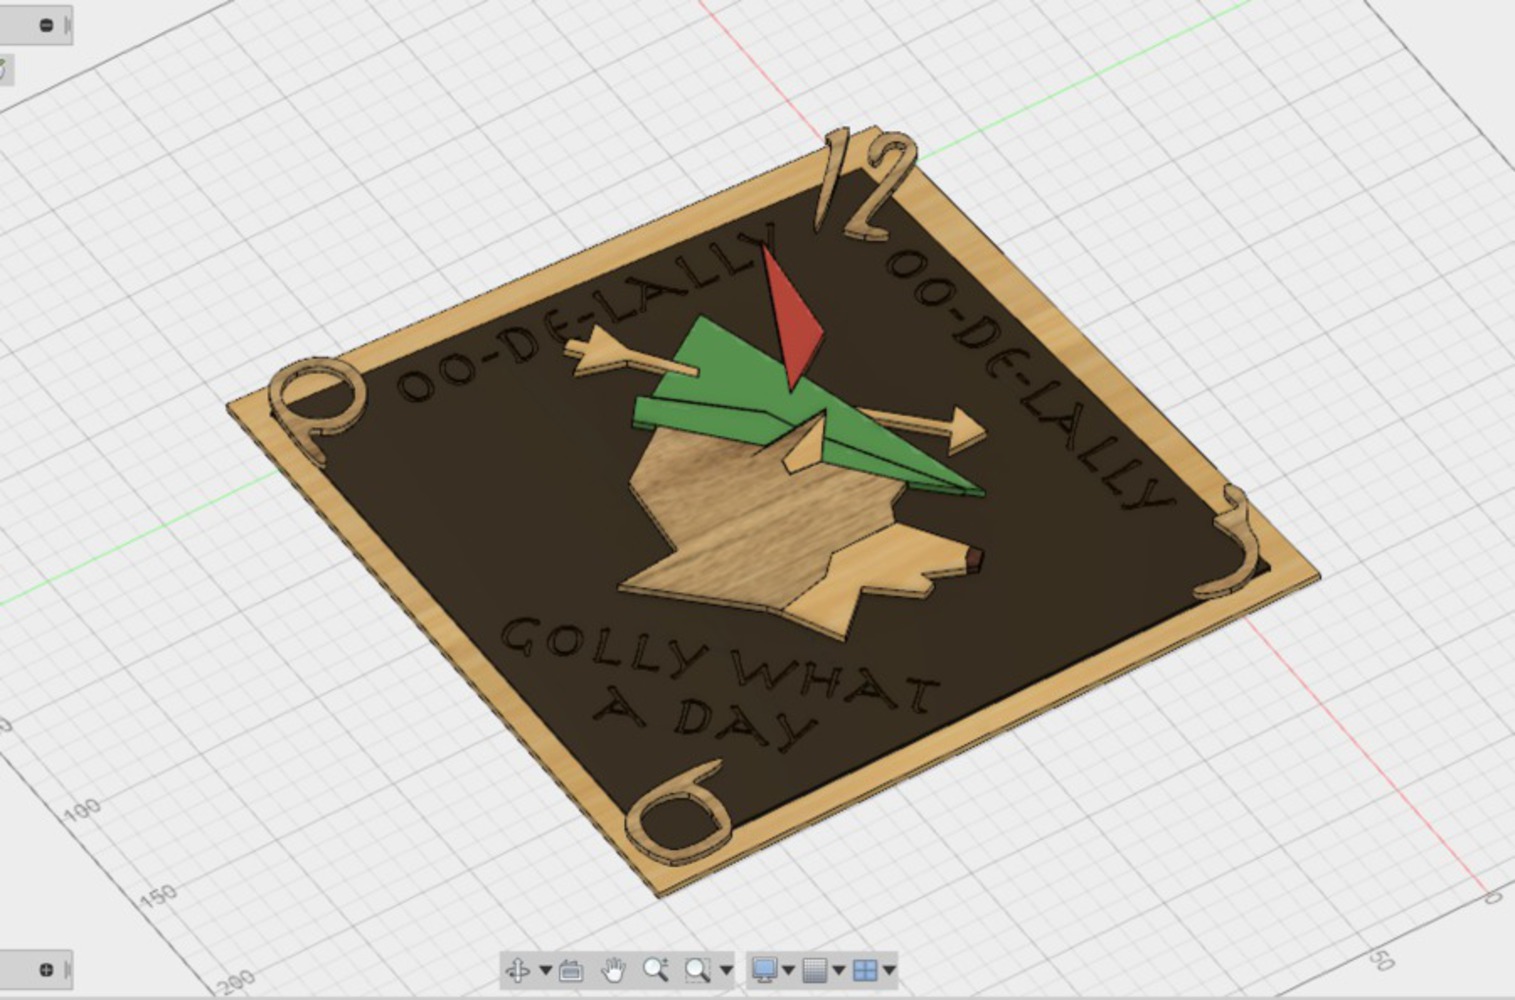
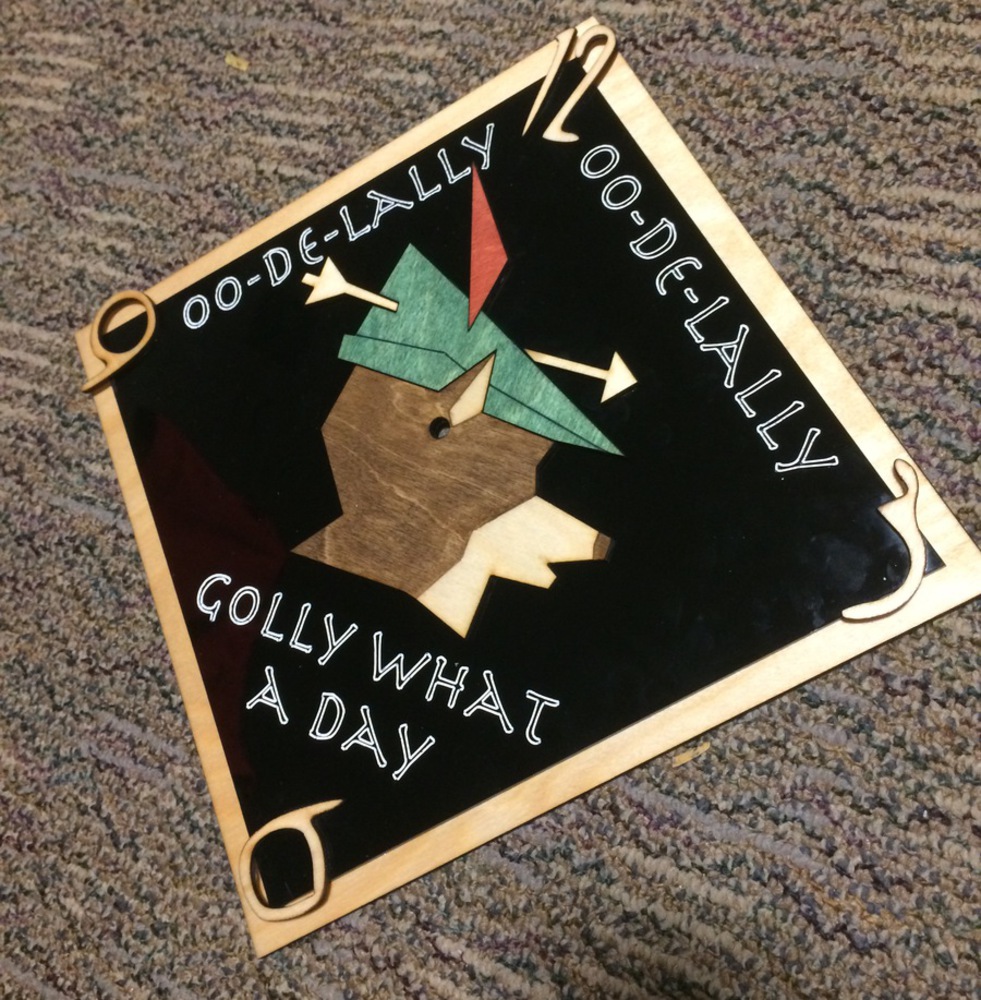
2) Once I had some rough dimensions, I brought the design into Fusion360 and modeled the clock. I had to measure the pieces of the clock kit to adjust the sizes so that the center hole was big enough and the scale of the silhouette was right. I was able to bring in a vector image for the head shape and numbers and had to use lines to create the diamond shapes of the back pieces since the top lines were longer than the bottom, making it a bit oblong. 

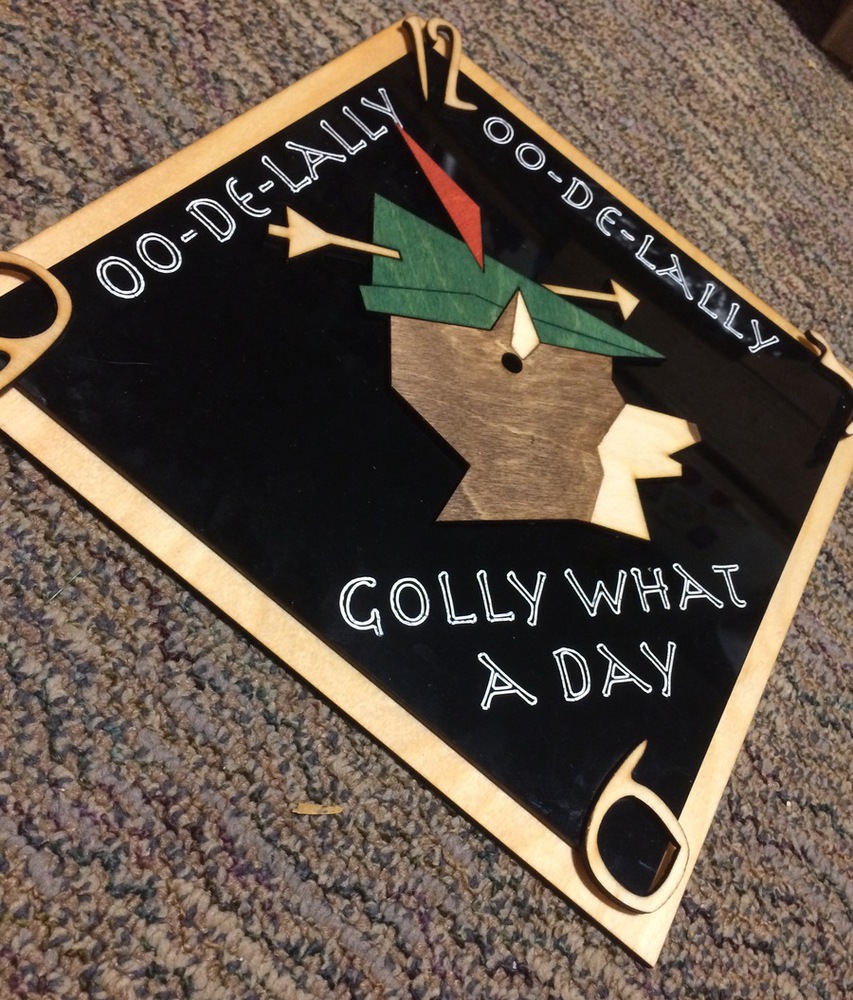
3) Once I was happy with the things in Fusion, I was able to download DXFs and cut them in the laser cutter. I decided to etch the outlines of the letters and engrave the nose because it was a small part that needed to be dark. I didn't engrave the head itself because I figured stain would take less time and would look nicer.

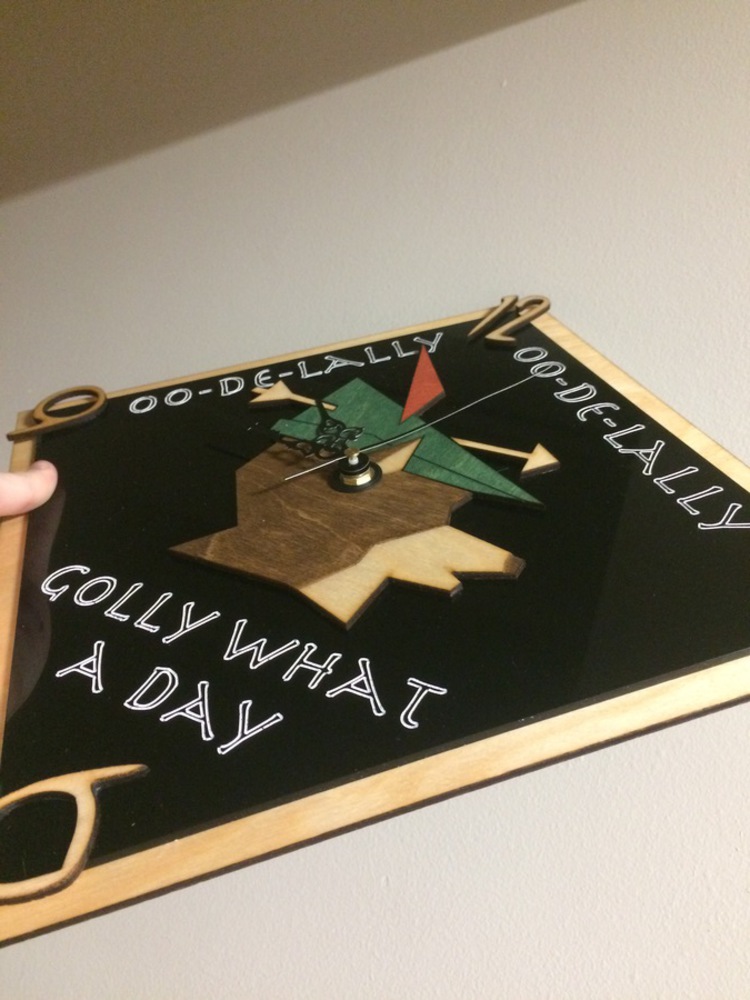
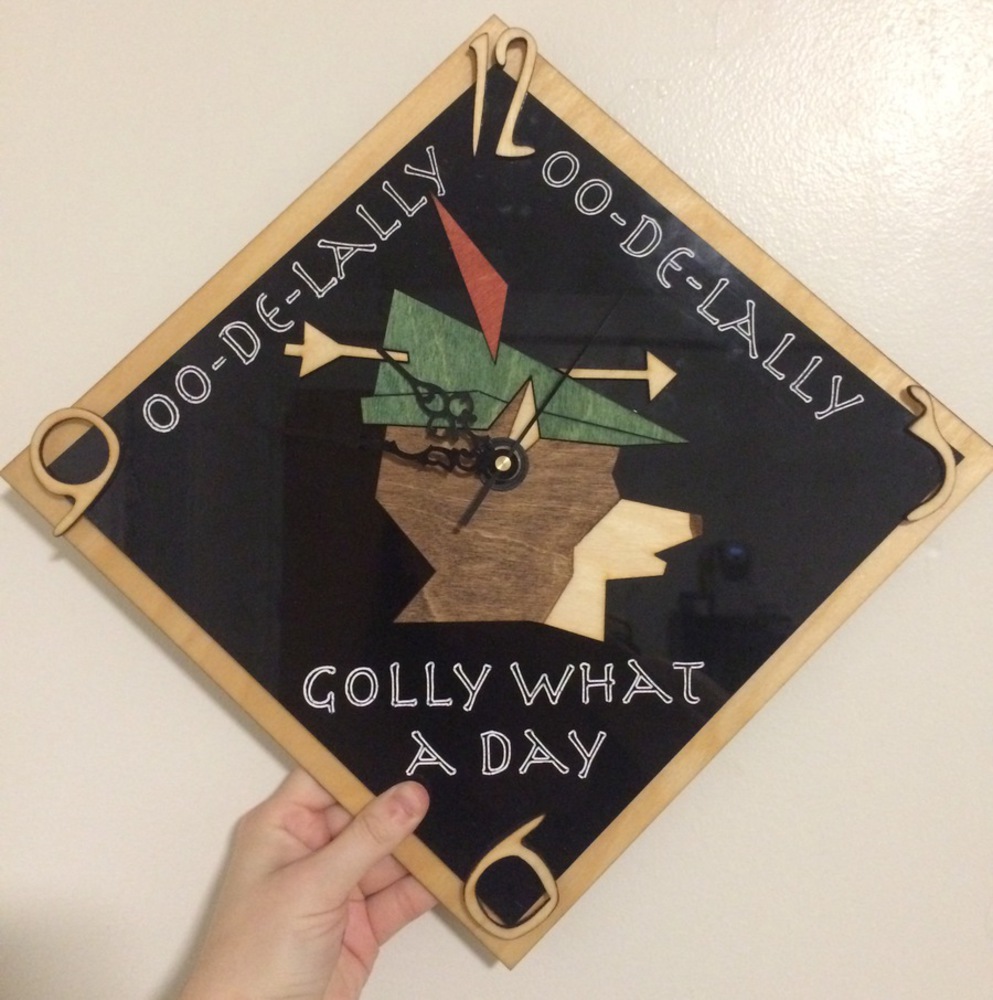
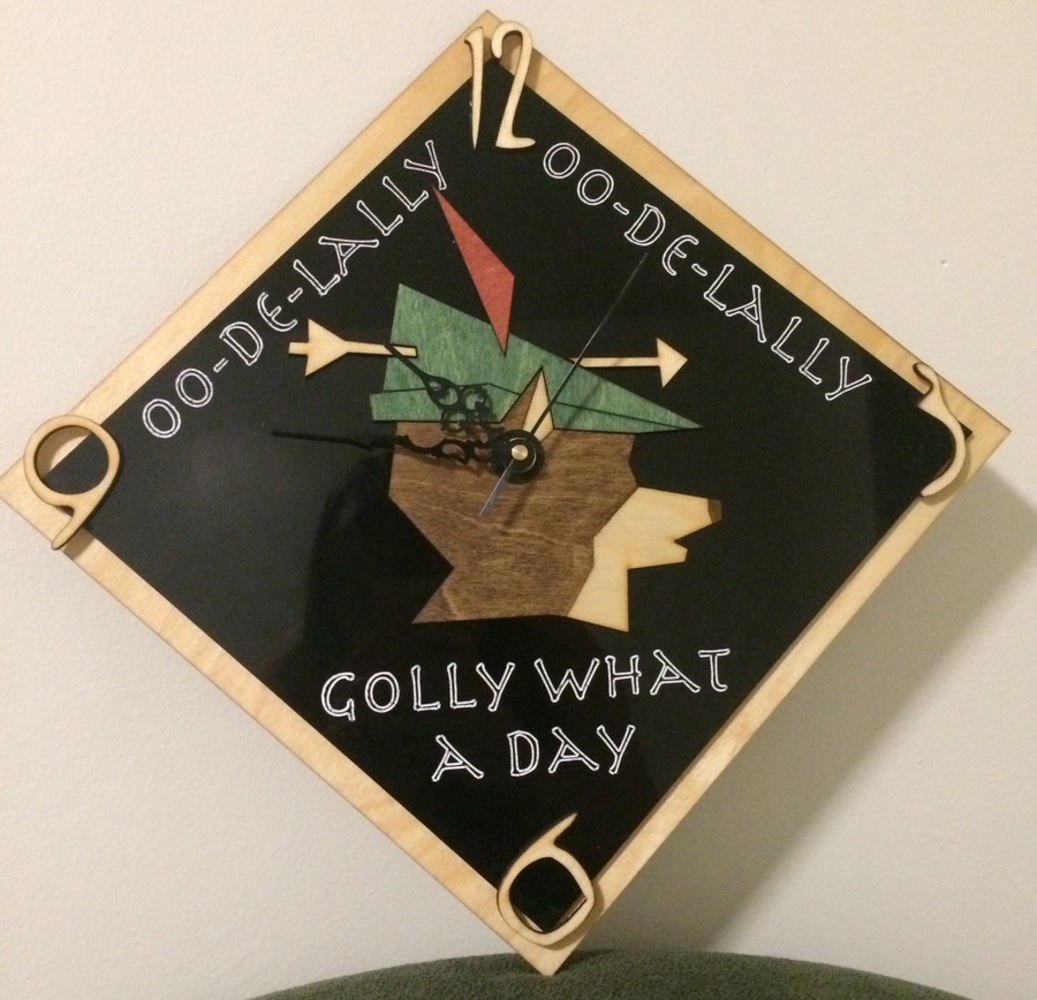
4) I stained the hat and feather their respective colors and then stained the head darker. Then I added white paint to the scored letters of the quote on the acrylic to make them have white outlines. I put blobs of paint over the letters then wiped the paint to get it into the grooves and off of the other parts of the acrylic. To finish it off I put wood sealer on all of the appropriate parts.

5) I glued the pieces together using the super glue


Img 3208.jpg.thumb
Show Advanced Options
Fullsizerender 7.54.50 pm.thumb
Show Advanced Options
Screen shot 2017 12 06 at 2.43.30 pm.thumb
Show Advanced Options

Product

The product really turned out exactly like I pictured. Originally I had green and red acrylic for the hat and feather but once I stained part of the head darker, colorfully stained wood looked better and so I went with that.

Software: Fusion360, LaserCut

Tools: Rabbit Laser

Materials: Birch plywood, black acrylic, clock kit

Finishing: sealing wood, cleaning acrylic, gluing, assembling

Img 3215.jpg.thumb
Show Advanced Options
Fullsizerender 1.thumb
Show Advanced Options
Fullsizerender 2.thumb
Show Advanced Options
Fullsizerender 8.thumb
Show Advanced Options
Fullsizerender 7.thumb
Show Advanced Options

Reflection

This project did take longer than I realized so in the future if I was going to laser cut another project I would probably overestimate the time I would need to take. The next time I try to use paint to fill the score lines of letters, I think I would either try to keep the cover on the acrylic when I cut it or use a very small brush and dab the paint into the grooves to eliminate the smudging around the letters that occurred. 


Having the dimensions handy in Fusion along with the model was really helpful with figuring out the size and what the product might look like with certain materials.


I think I should've thought of the materials of the clock itself before getting the clock kit so that the colors of each wouldn't blend as they do. Black hands against a black acrylic background was not a good choice so I may decide to paint the hands a different color later.

Collaboration or Attribution

Thanks to my mom who helped me with the idea and stylization and my professor who helped answer all of my questions.

Drop files here or click to select

You can upload files of up to 20MB using this form.