Back to Parent

Outcome


Intention

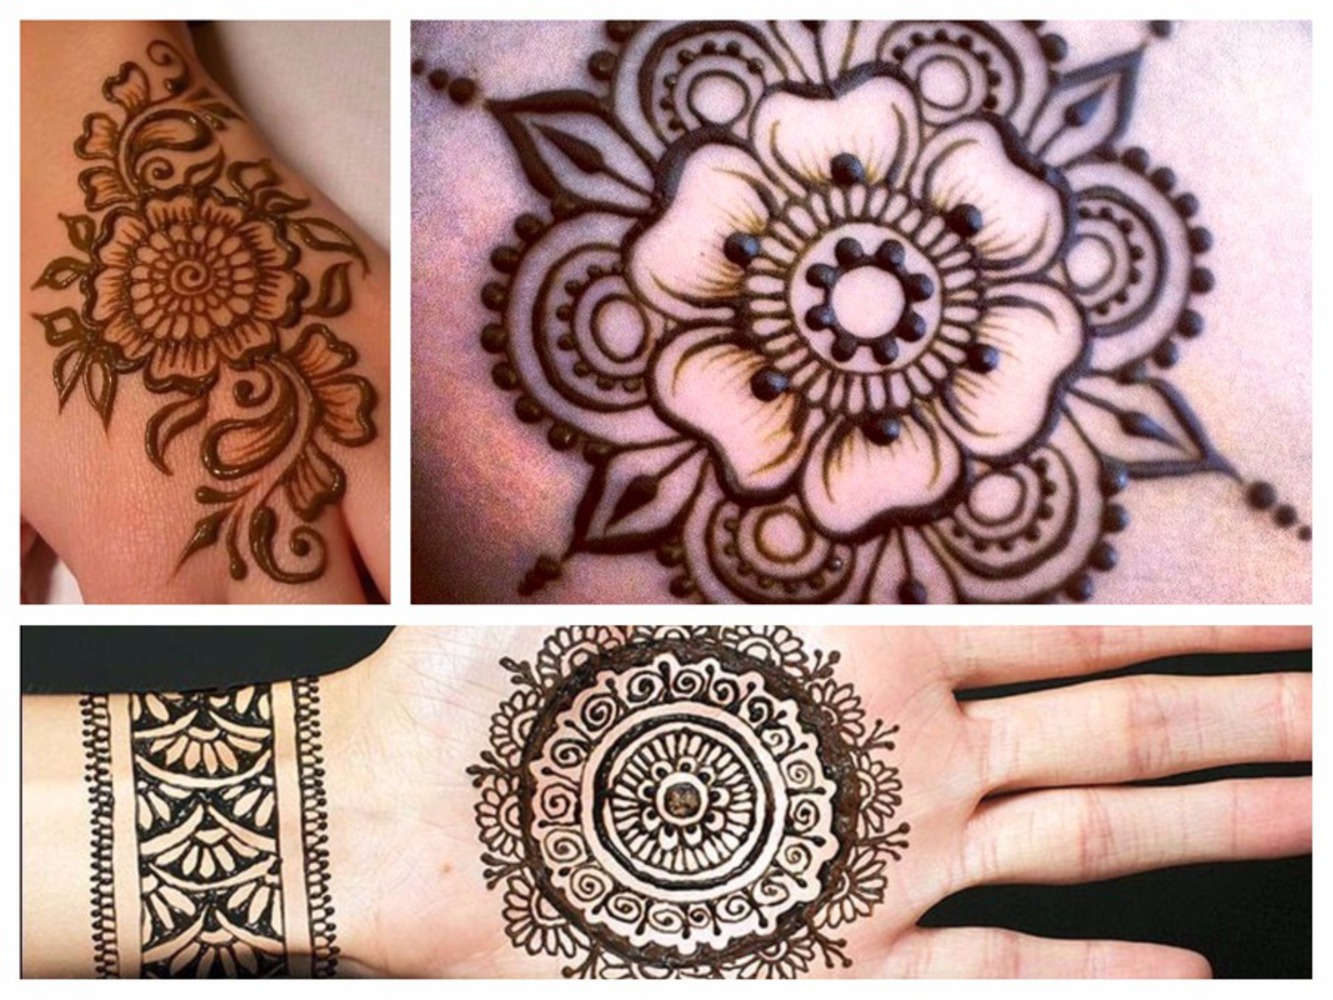
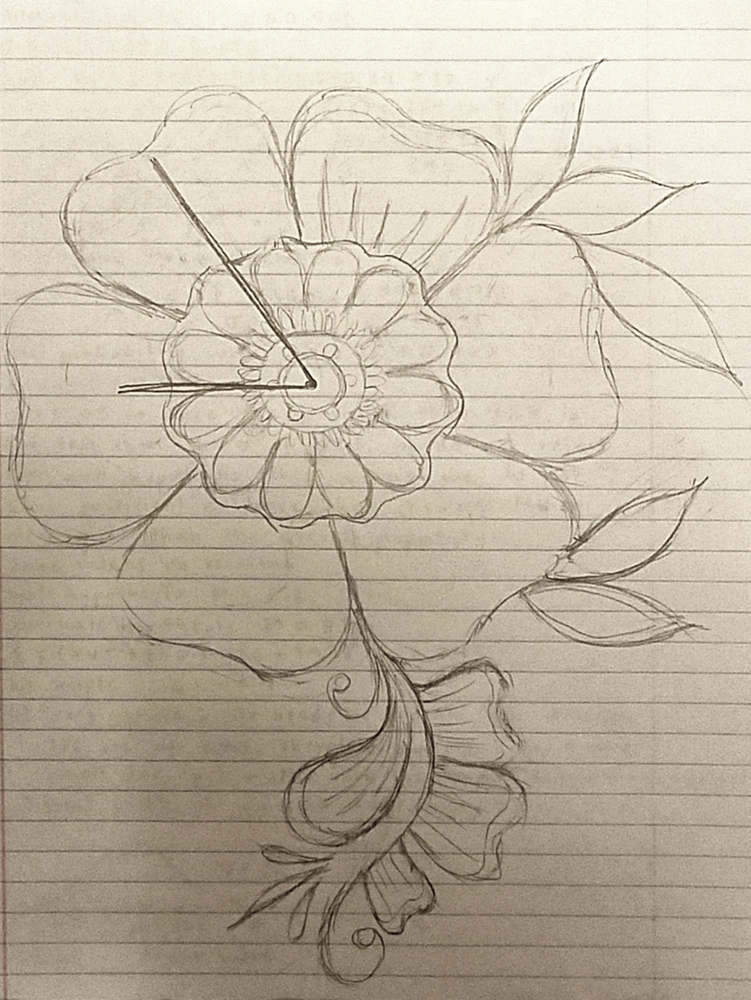
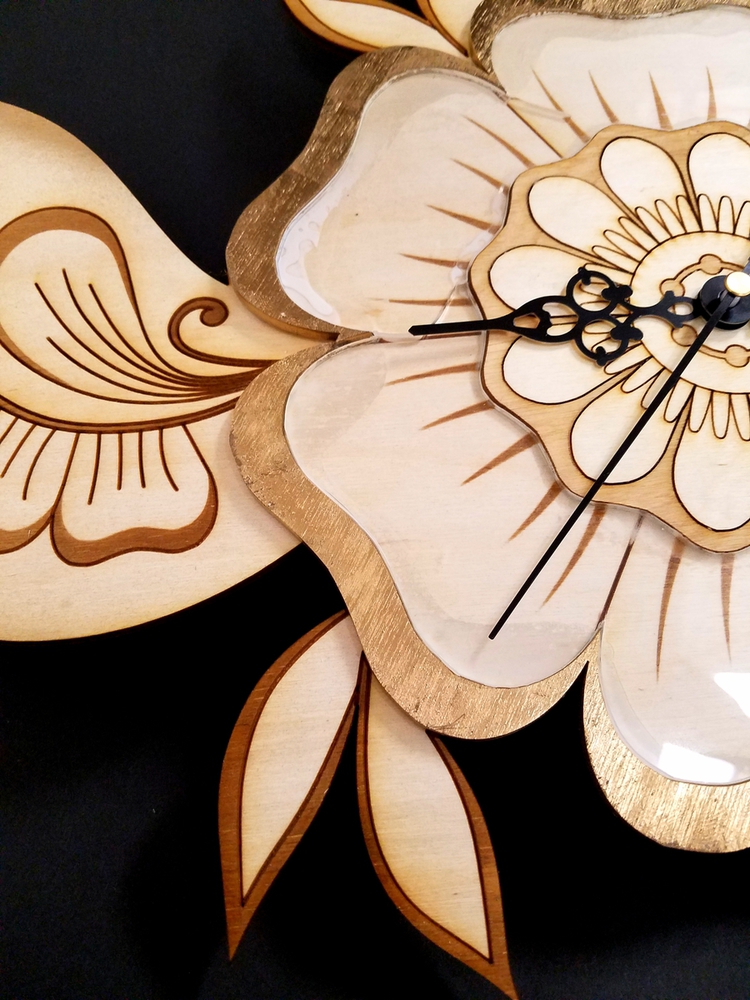
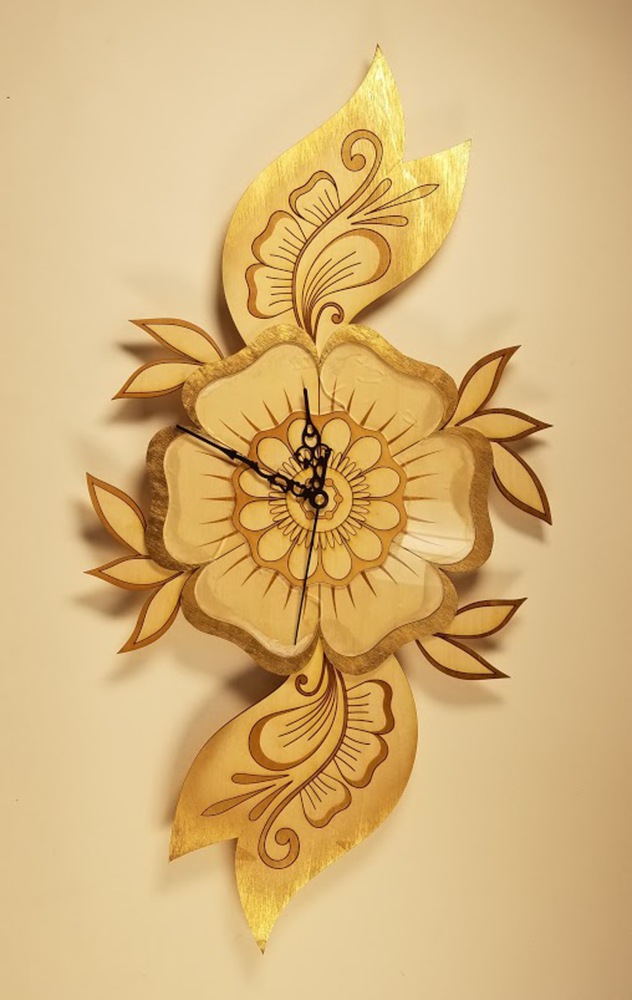
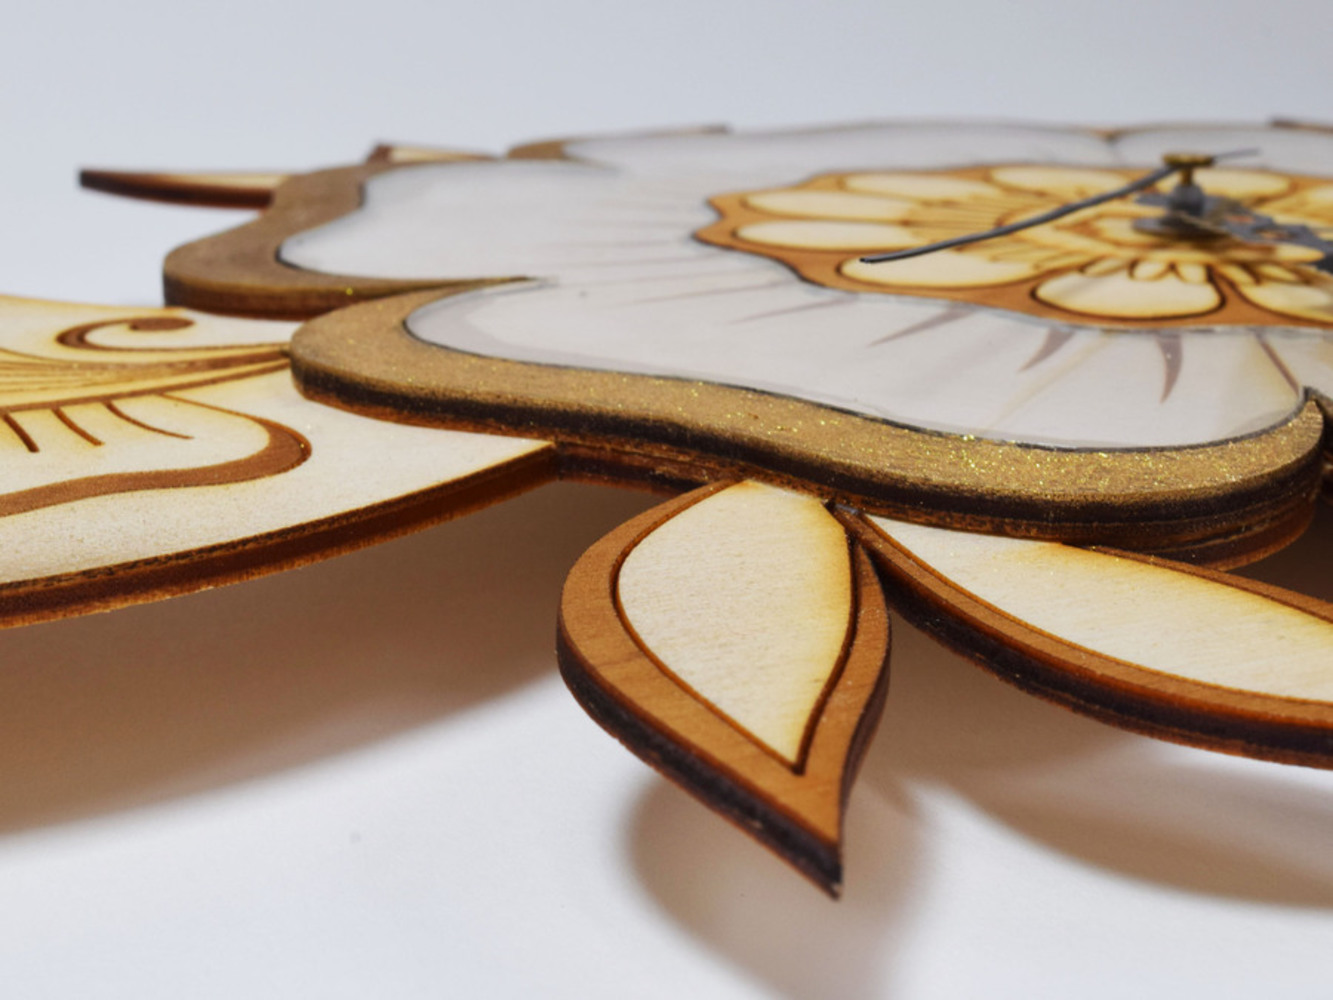
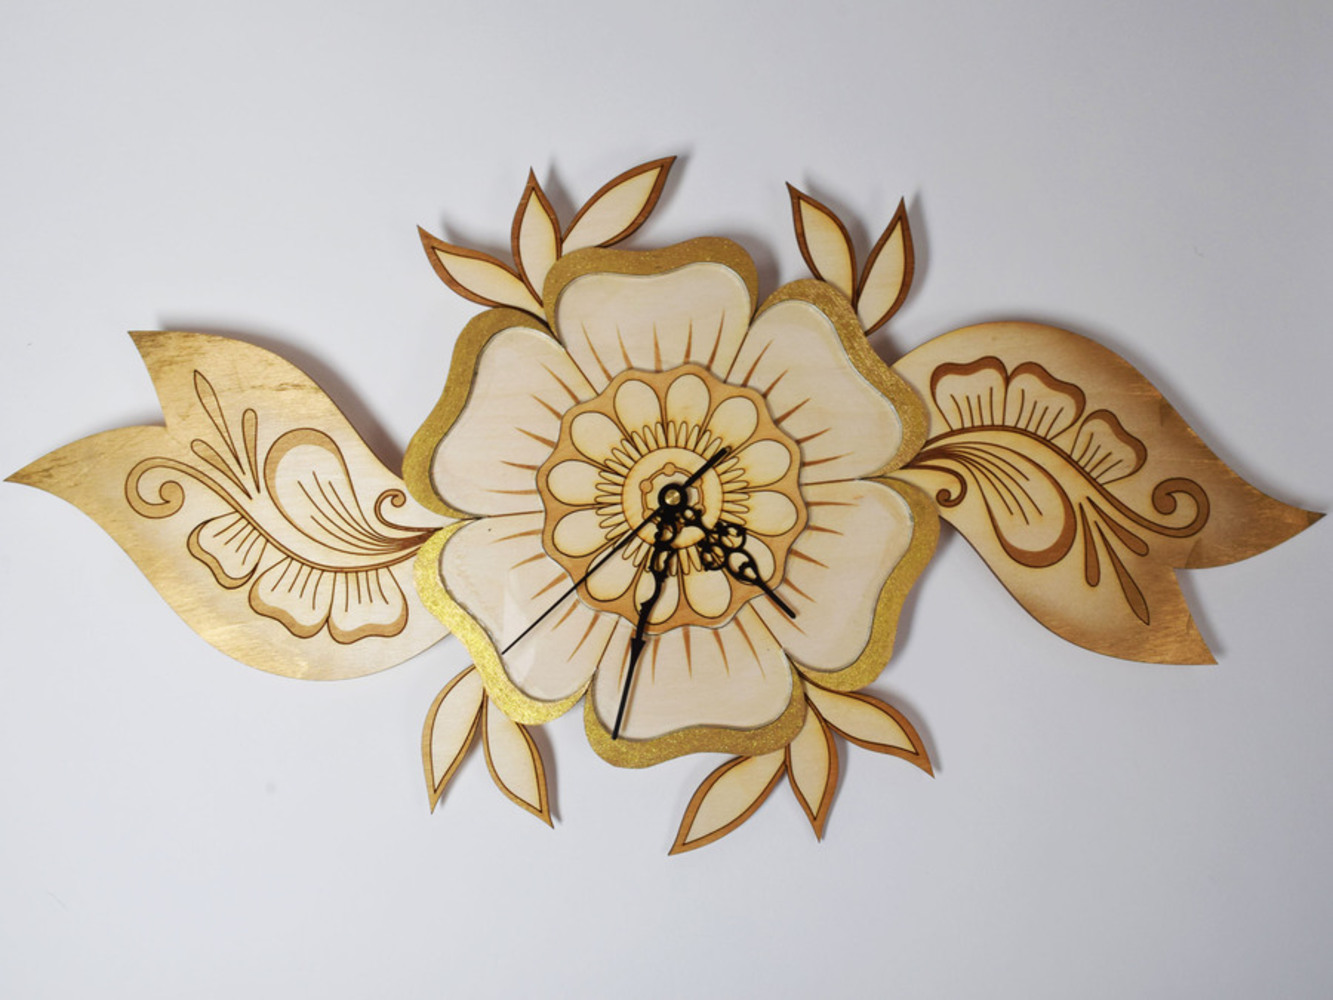
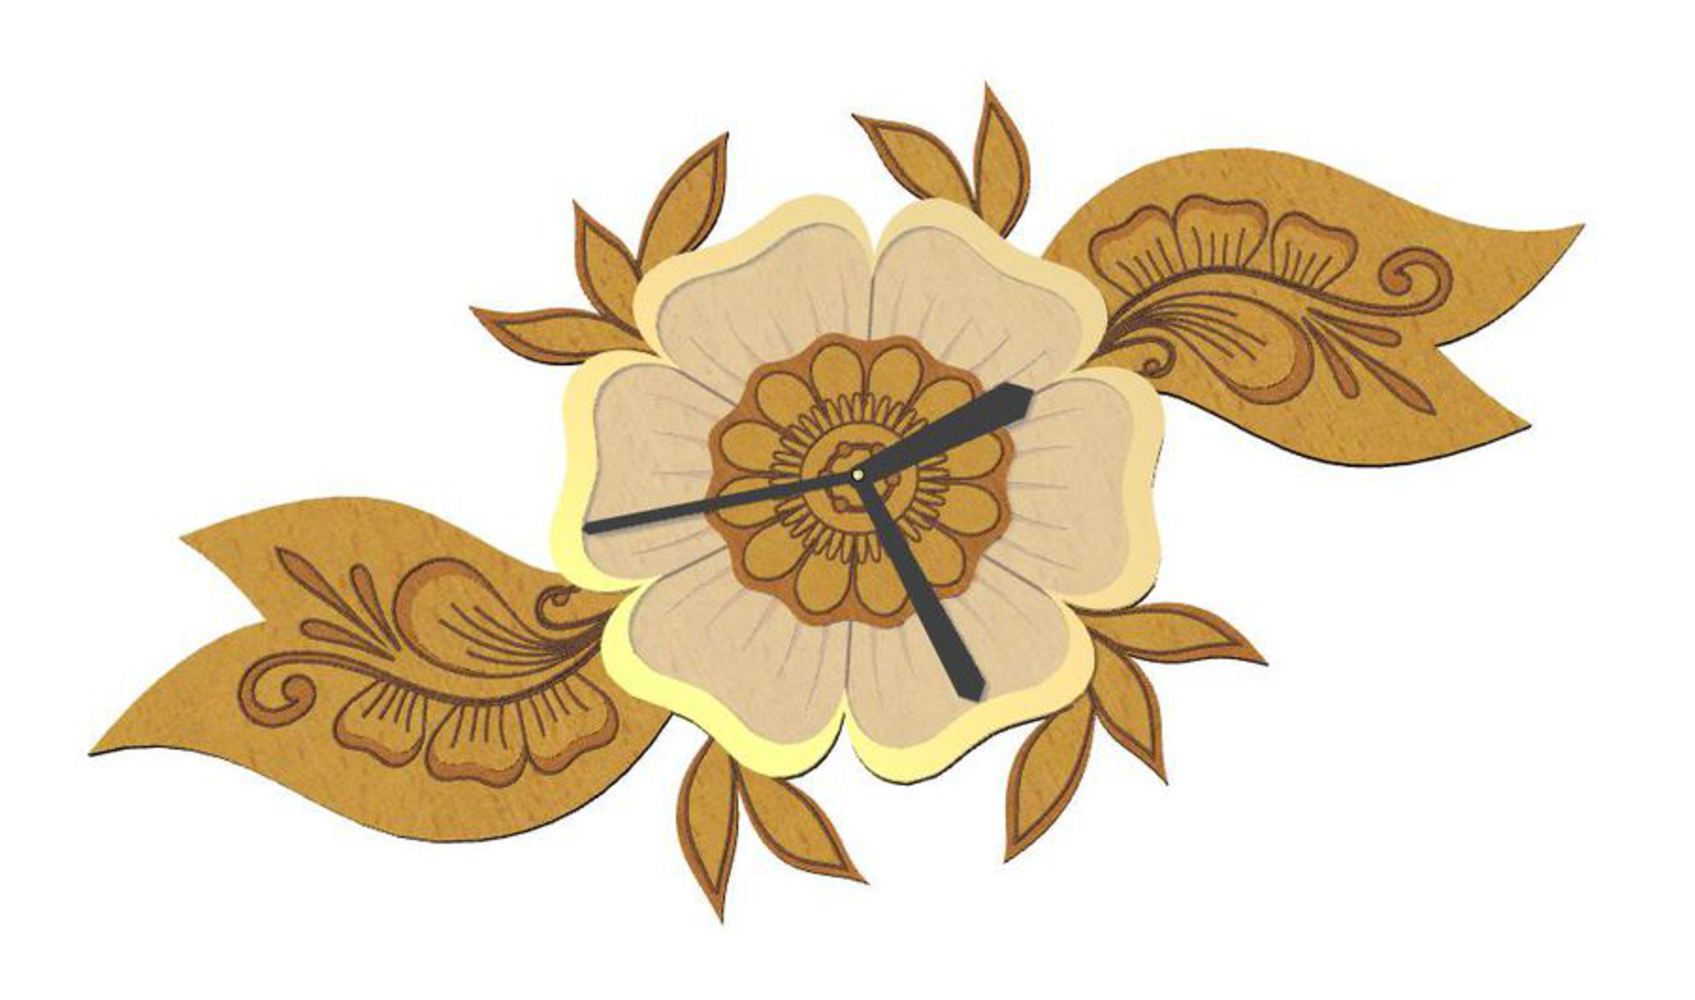
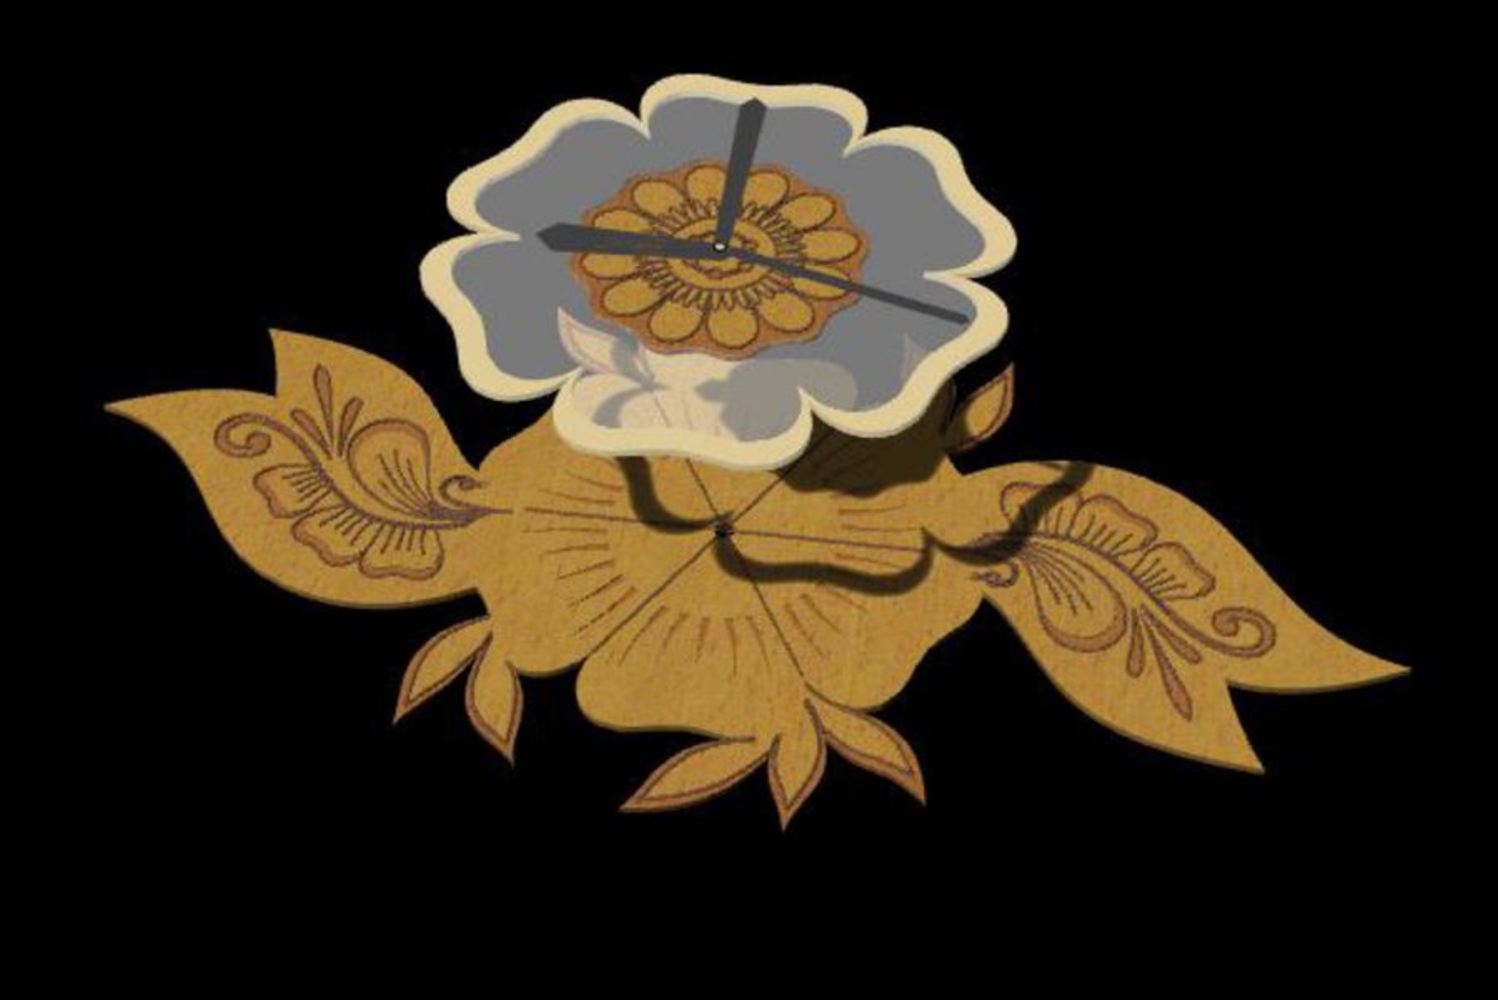
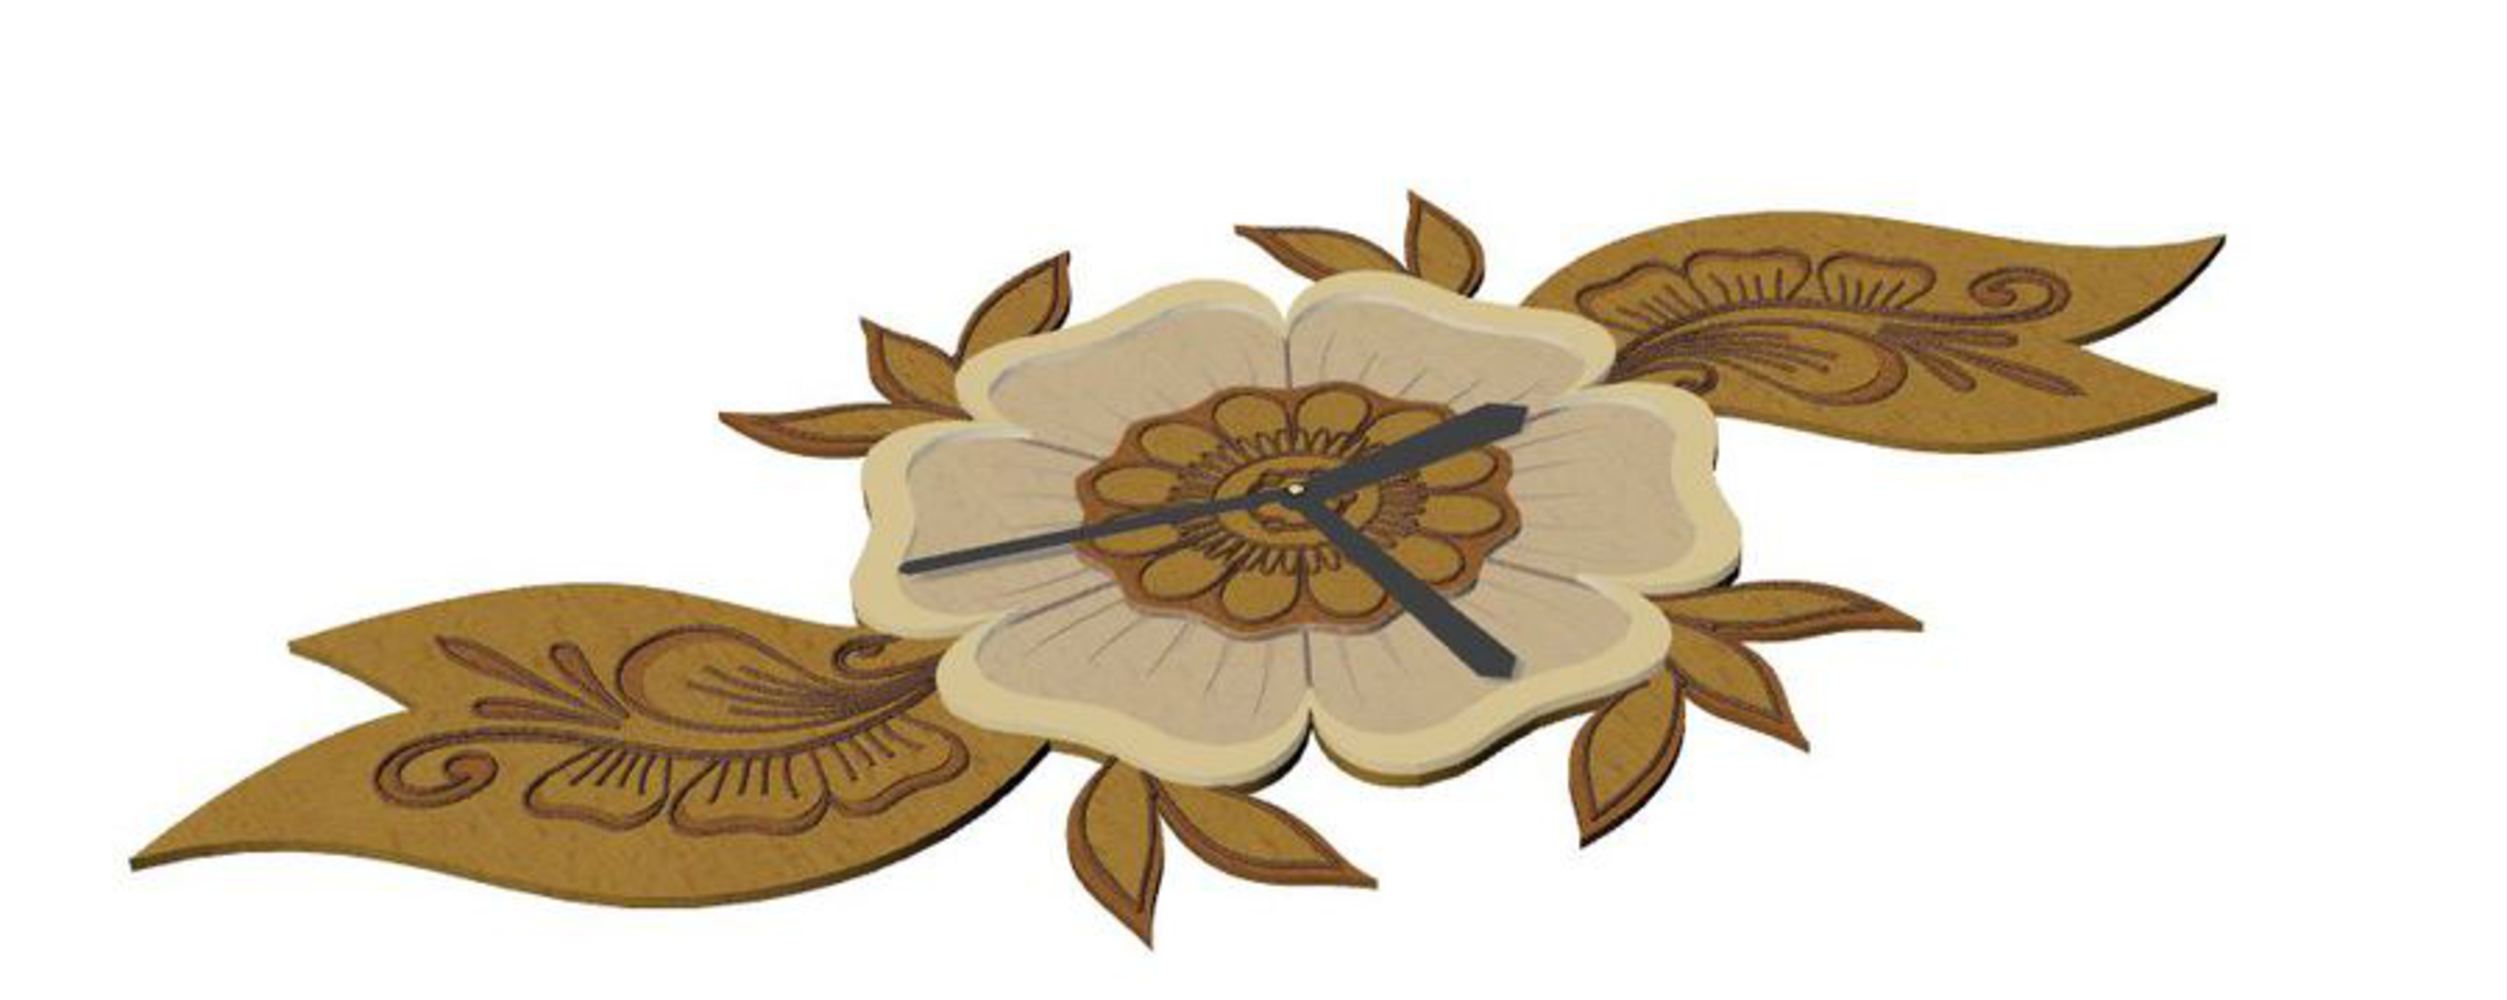
Growing up in an Indian family, I participated in the fun tradition of getting henna applied in intricate designs on my hands every marriage I attended and annual Diwali celebration. The wonderful thing about henna is it is always done freehand. The shapes commonly used in henna designs include forms influenced by nature: dots, leaves, flowers, and swirls. To add dimension to these lines, henna artists often add shading within the leaves and flower petals. I thought that this form of art would be a really interesting concept to laser cut, since I would be able to utilize the 3 major laser cutting techniques: cutting, scoring, and engraving. The scoring would serve as the fine lines found in henna, and the engraving would serve as the shading found in henna. In addition to being able to practice different laser cutting techniques, I also was inspired by henna because I find the designs very aesthetically pleasing and nostalgic. 

Context

Henna often incorporates symmetry into its designs. I thought making my henna inspired design hexagonally symmetrical would ensure that my clock would be easy to read in any orientation, since it would be easy to tell which hour the hour hand of the clock was pointing to based on its location on any of the six petals of the outer flower. I am very interested in creating things that are customizable to users, and I thought that making sure the design has 6 petals and is hexagonally symmetrical in the main center flower would allow a user to hang up the clock in any direction they so desired (horizontally, vertically, or diagonally on any 30 degree interval). 

Henna collage1.thumb
Show Advanced Options

Sketch of design.

Dimensions:

  1. Outer Flower Diameter: 8"
  2. Inner Flower Diameter: 4"
  3. Length of Small Leaves: 1.5"
  4. Length of Large Leaves: 6"
Sketch.thumb
Show Advanced Options

Process + Procedure

To create this henna clock, I followed these steps:

  1. Created the line work for the clock in Rhinoceros 3D
  2. Assigned the lines to cut (in black) and score (in gray) in different layers
  3. Assigned the hatch (in red) in a different layer
  4. Extruded the cut lines for the rendering in Rhinoceros 3D to show the different materials (gold, acrylic, and wood)
  5. Used the MakeHole function to engrave the wood in the rendering like the engraving of the laser cut machine
  6. Cut, scored, and engraved the black, gray, and red layers respectively on basswood using the Epilog laser cut machine
  7. Cut out a piece of clear acrylic to put in between the outer ring and inner flower on the top clock layer
  8. Spray painted the outer ring of the top clock layer and the edges of the large leaves of the base clock layer gold
  9. Glued all the pieces together
  10. Drilled a 5/8" diameter hole in the center of the clock in woodshop
  11. Inserted the clock kit into the drilled hole and added on the hour, minute, and second hands


Some problems I encountered while assembling this clock can be seen in this close up photograph. The acrylic cracked in a few places while I was snapping it into place, and one of the inner edges of the outer ring broke while I was removing it from the piece of wood it was cut out from. However, the glue was able to hold everything in place just fine, so these were only aesthetic imperfections and not structural flaws.

I decided to go back and recut the acrylic and wood that had cracked, so the project would look better aesthetically.

Clock2.thumb
Show Advanced Options

Product

For my henna clock, I created the line work for the cutting, scoring, and engraving in different line type layers on Rhinoceros 3D. I proceeded to laser cut the rhino 3dm file on the Epilog laser cutting machine. 

Software: Rhinoceros 3D, LaserCut

Tools: Epilog Laser, woodshop drill press

Materials: 1/8" plywood, clear acrylic, clock kit, gold spray paint

Finishing: spray painting, assembling, gluing, drilling

Newclock1.thumb
Show Advanced Options
Clock1.thumb
Show Advanced Options
Newclock3.thumb
Show Advanced Options
Clock5.thumb
Show Advanced Options
Newclock2.thumb
Show Advanced Options
Linework and render.jpg.thumb
Show Advanced Options
Render2.jpg.thumb
Show Advanced Options
Render3.jpg.thumb
Show Advanced Options
Render1.jpg.thumb
Show Advanced Options

Reflection

This project was really satisfying to complete, but did require a lot more steps and time than I anticipated. The cutting and scoring of the laser cutting happened relatively quickly (within 30 minutes for both), but the engraving took almost a whole hour to complete. Going forward I will make sure to set aside ample time when I need to make a project that requires engraving. 

Additionally, I will also make sure to take more caution in assembly so that cracking of acrylic or thin wood does not occur.

Drop files here or click to select

You can upload files of up to 20MB using this form.