Back to Parent

Outcome


Intention

The idea behind my project was to evoke a visual image that was reminiscent of the world as seen from space at night. I often feel that the nighttime is the time in which the world is most at peace. The fights between individuals, the tension between nations, it all seems to fade at night. I wanted the clock I was assigned to make to evoke this feeling so that I could put it in my room and be reminded of this when I looked at it.

Sketch of design.

See below for a sketch of my design.

Context

My idea for a world based clock came while thinking about what to make and feeling the calmness of walking outside back from the library one night. I always knew that I liked having a clock that was round, mostly for the sake of comfort and familiarity, so the earth felt like a strong direction to work towards. I hadn't actually looked up other globe/world-clocks before working on mine. I'm sure that they're out there, but I haven't seen anything laser cut or a clock based on the world/earth before.

I did use images to base my modeling and digital sketching off of. I used one view of the earth to trace the land that my clock has on it.

Supporting Context Materials

See below for images that inspired my design. The first photo was used to sketch the land in my design while the second photo points to a darker aesthetic that I like. The third photo describes the world at night, which was the original inspiration.

Globe png52.thumb
Show Advanced Options
World.thumb
Show Advanced Options
World night.thumb
Show Advanced Options

Process + Procedure

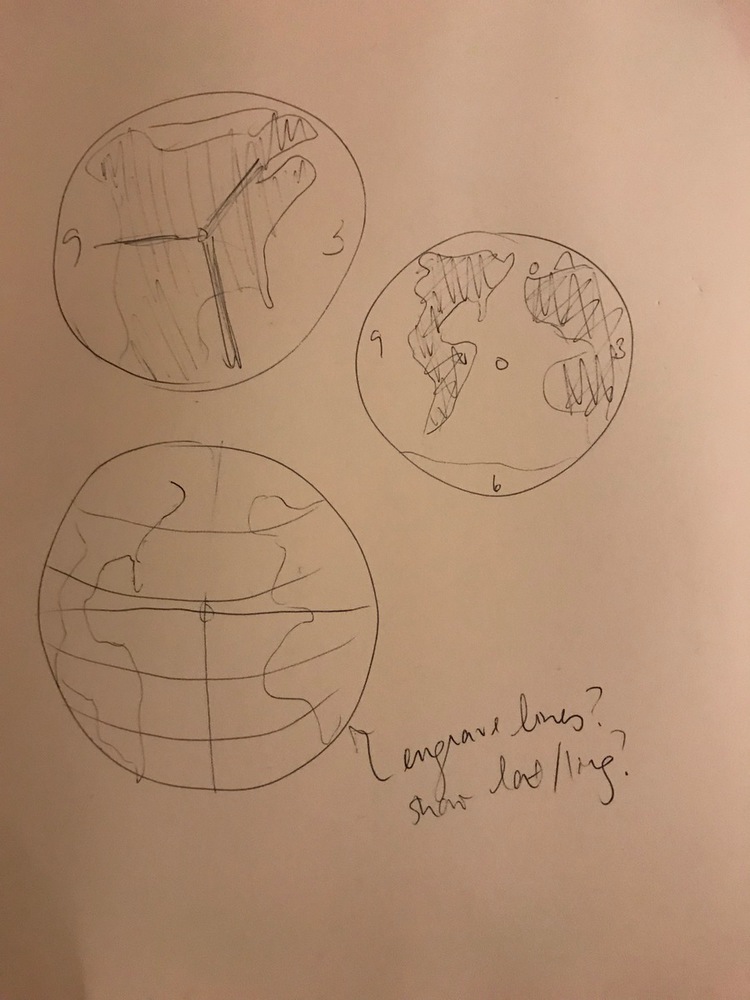
I first drew out a few different views of the earth by hand. These were very rough and not very descriptive of the aesthetic that I was going for.

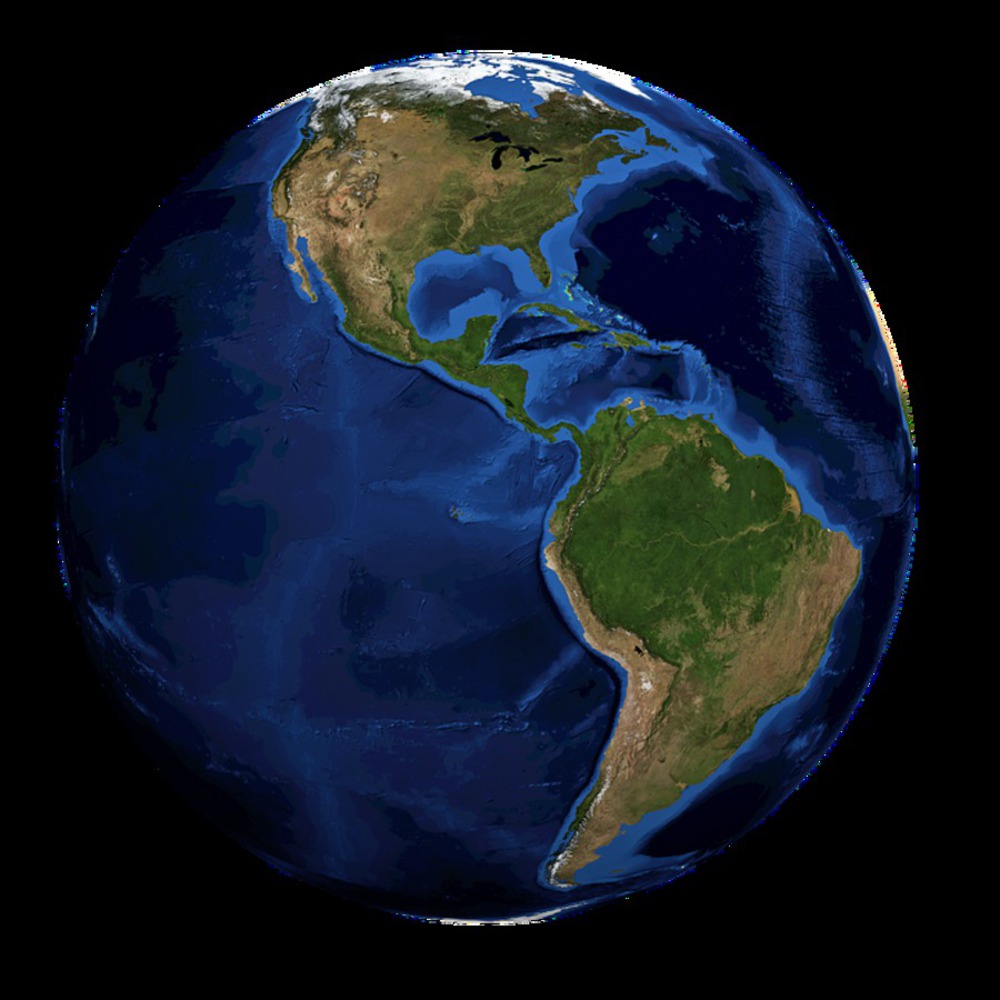
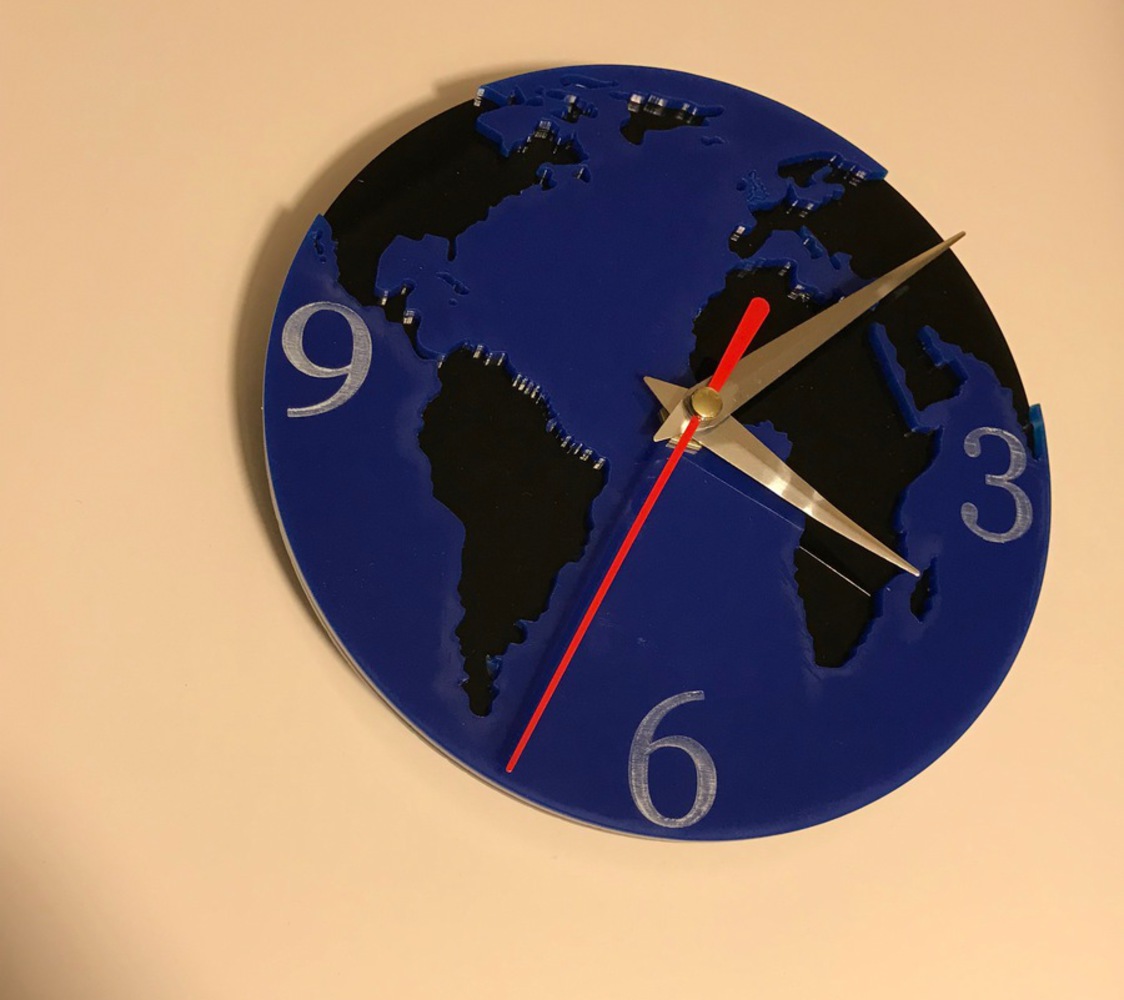
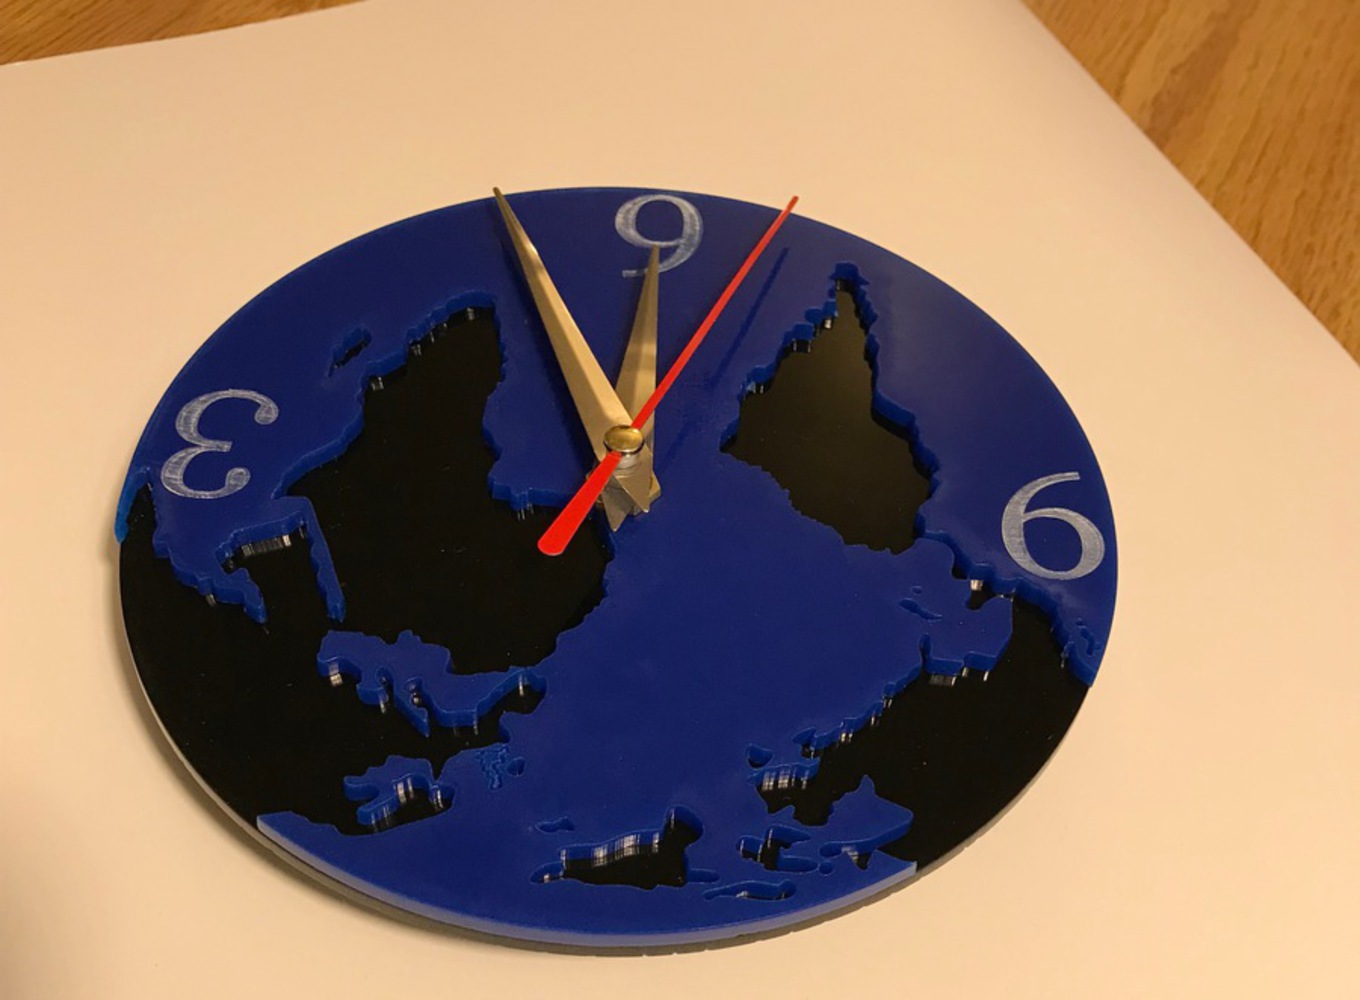
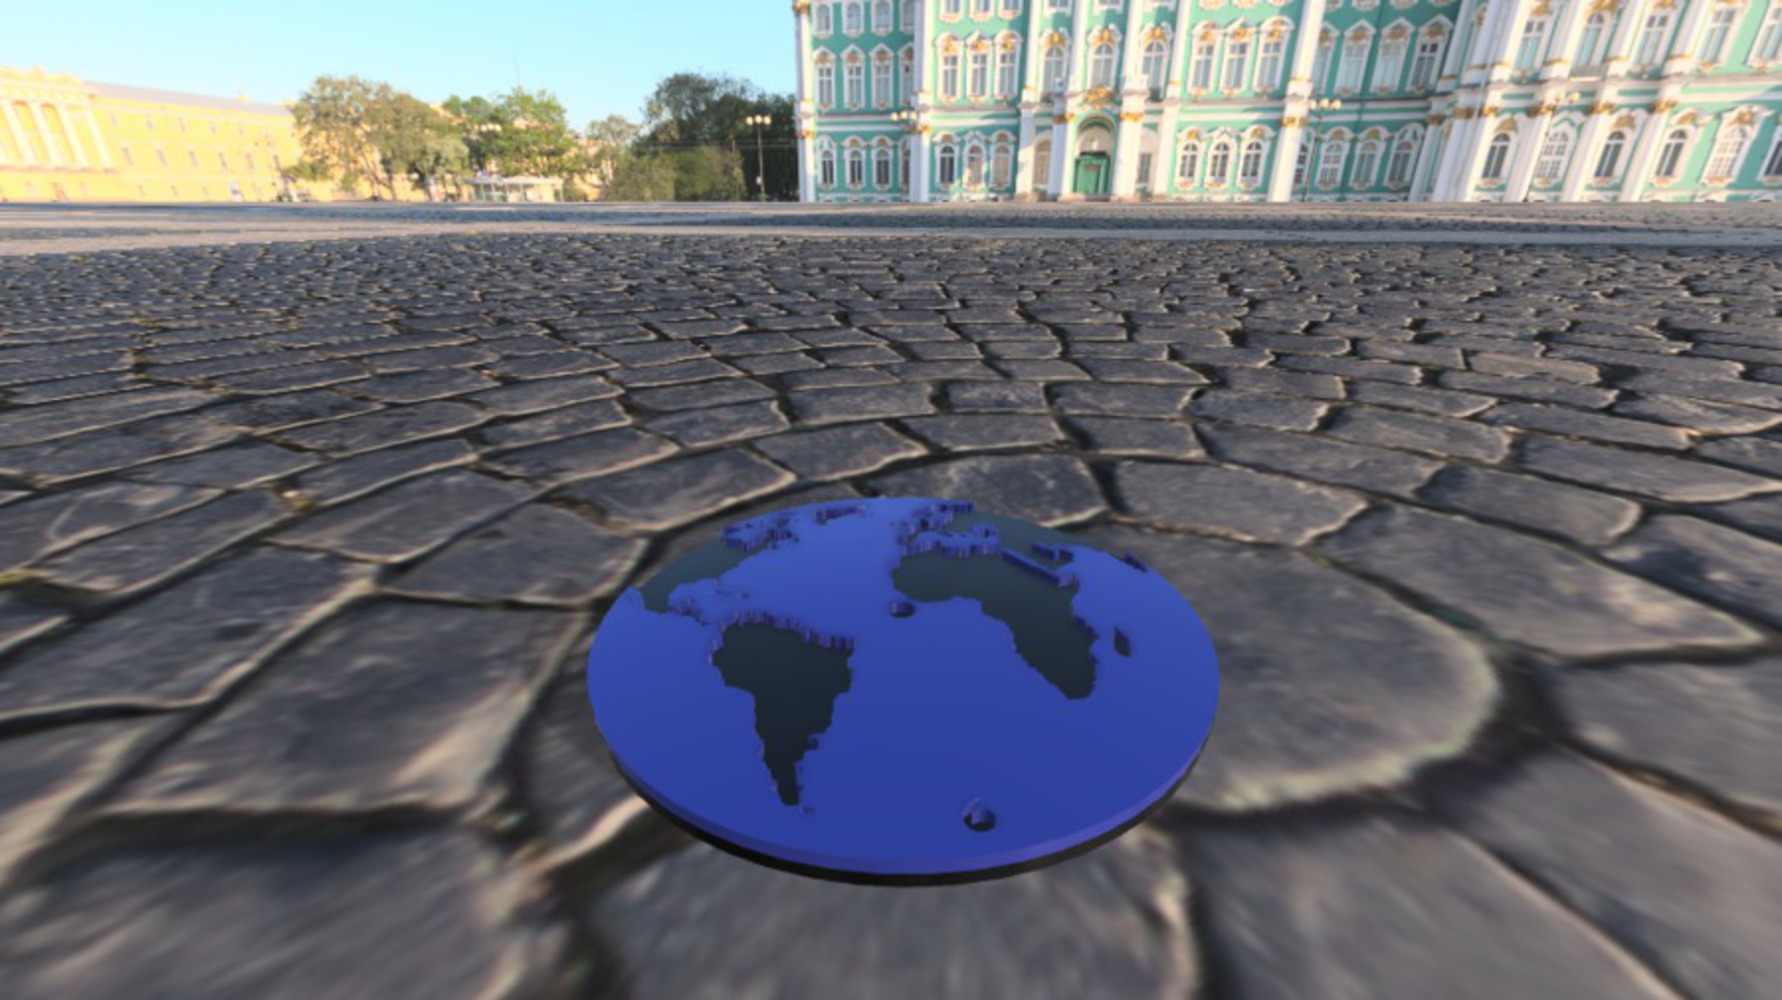
Next I imported an image canvas to Autodesk Fusion 360 and used that image to trace out the world within a circle. I measured out the second hand of the clock kit that I received and used that length as my radius. I liked the idea of the hands reaching to the edge of the clock. I feel that up close, it makes the clock seem fuller. I used the spline tool to do most of my tracing and rendered the clock to get an idea of what the final product would look like.

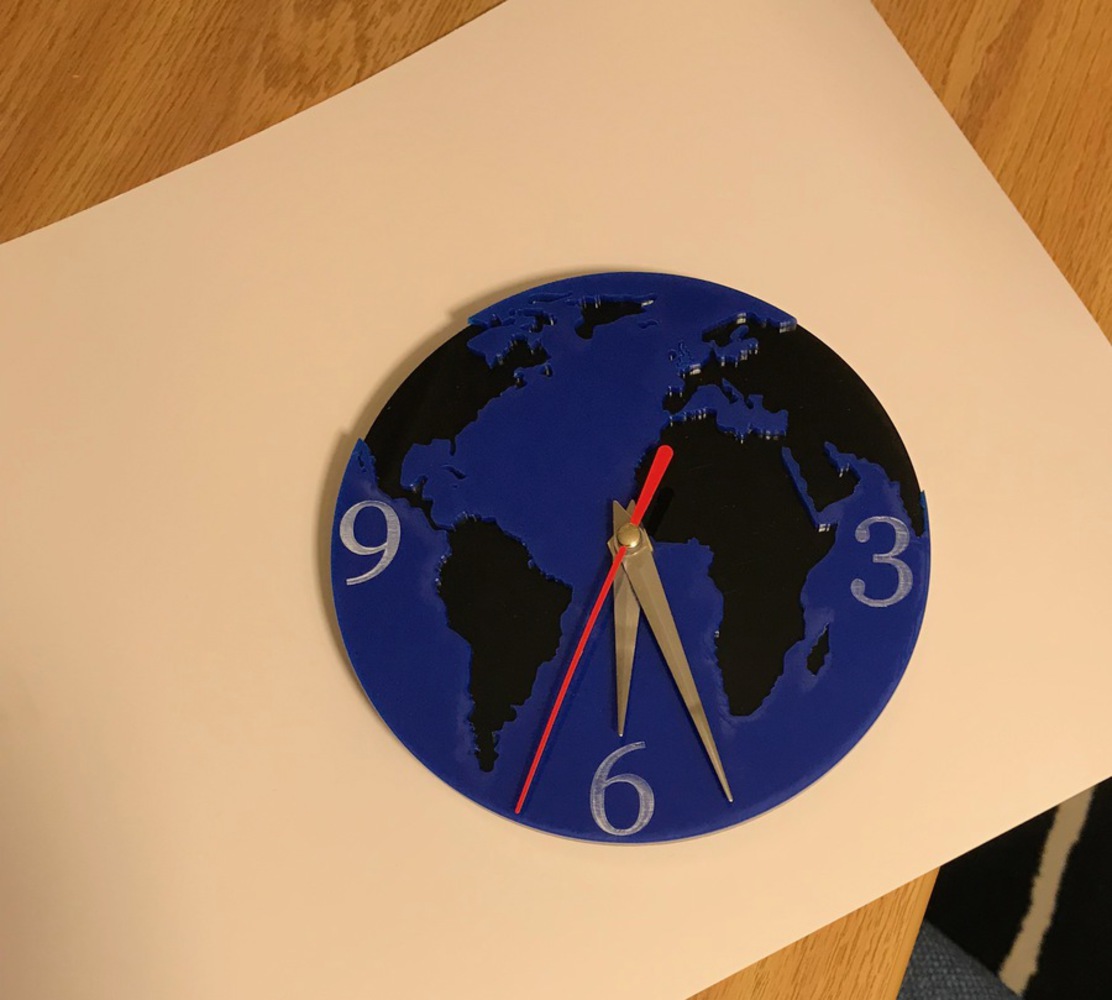
After taking my digital sketch and converting it to a DXF file, I began to cut the clock. I first used a scaled down version of my design and tested it on cardboard. After liking how it looked, I moved onto acrylic, where I failed to make a full cut twice before finally cutting and etching my clock on blue acrylic. I was able to cut the black base of the clock on my first try.

Unfortunately, I lost the acrylic with the failed cuts on them before I was able to take a picture :( I didn't realize at the time that it would be a valuable part of my documentation process.

Img 1276.thumb
Show Advanced Options

Product

Exactly what I created was a clock that had two layers of acrylic: one opaque black base and a more complex-cut second opaque blue layer. The diameter is 150mm and each acrylic layer is 3mm thick. I used a laser cutter to make my cuts and used a heavy engraving for the three numbers that I included on my clock. To make my cuts, I performed two complete passes over all of the cut edges in order to ensure that the cuts were cleanly made.

See below for photos of the final product.

Five semi-professional photos

Img 1258.thumb
Show Advanced Options
Img 1257.thumb
Show Advanced Options
Img 1261.thumb
Show Advanced Options
Img 1259.thumb
Show Advanced Options
Img 1260.thumb
Show Advanced Options

Reflection

This was my first project where I was able to laser cut reasonably complex elements. I would pay more attention to the thickness of cut pieces, as some where so thin that they broke off and I had to glue them onto the final piece.

This clock would look really nice in a series, perhaps if there were multiple clocks, one for each time zone, and in each clock the time zone was highlighted. Altogether those pieces could look really nice, I think!

I definitely enjoyed the process and will be excited to engage in more laser cutting projects in the future.

Collaboration or Attribution

Thank you to E. Louise Larson for teaching me how to use Autodesk 360 Fusion, the laser cutters, and was a huge source of aid throughout the entire process! Digitools has been an awesome and empowering class.

Final DXF files

The website will not let me upload my DXF file. I can provide it upon email request. See below for a digital rendering!

World v6.thumb
Show Advanced Options
Drop files here or click to select

You can upload files of up to 20MB using this form.