Process + Procedure
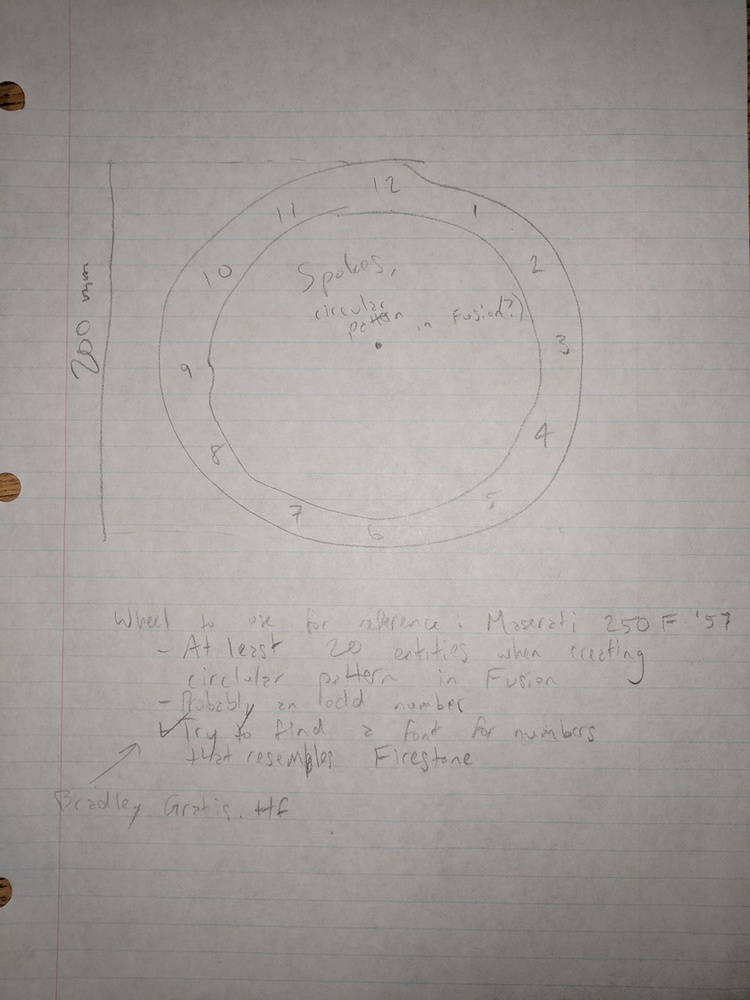
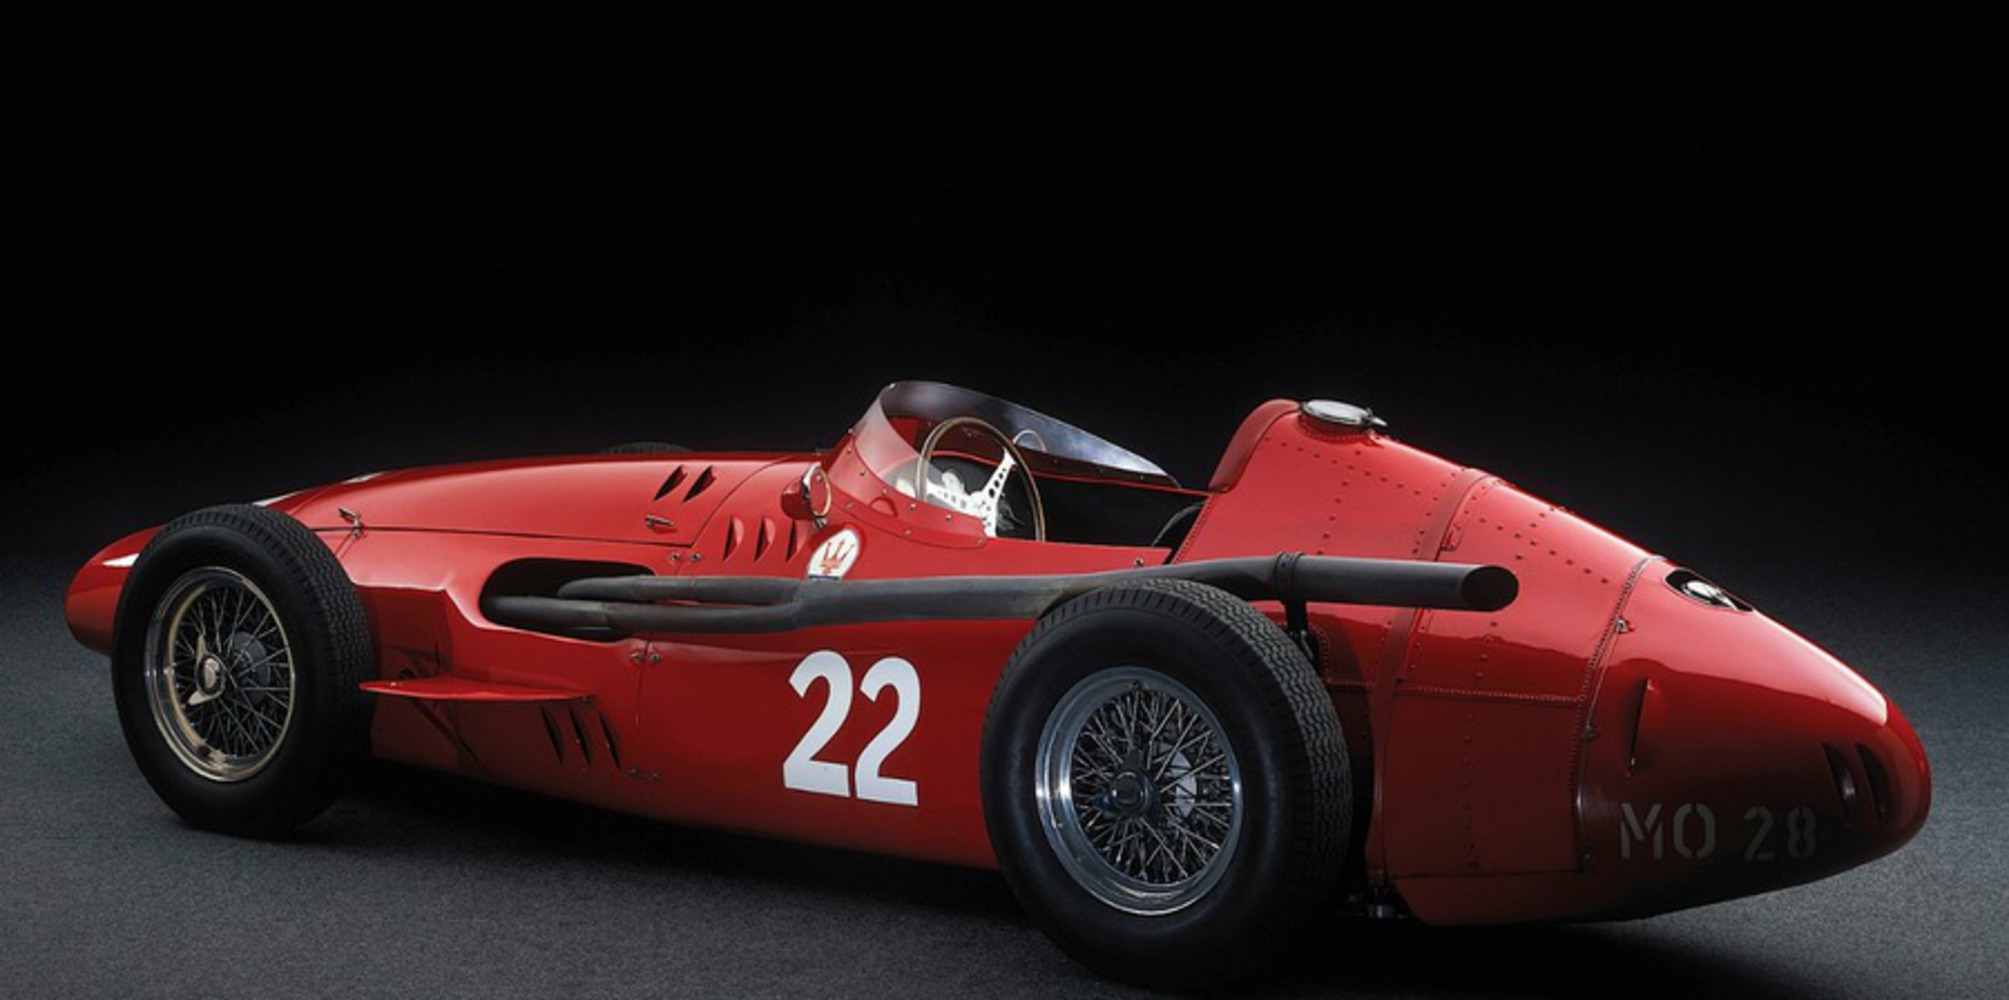
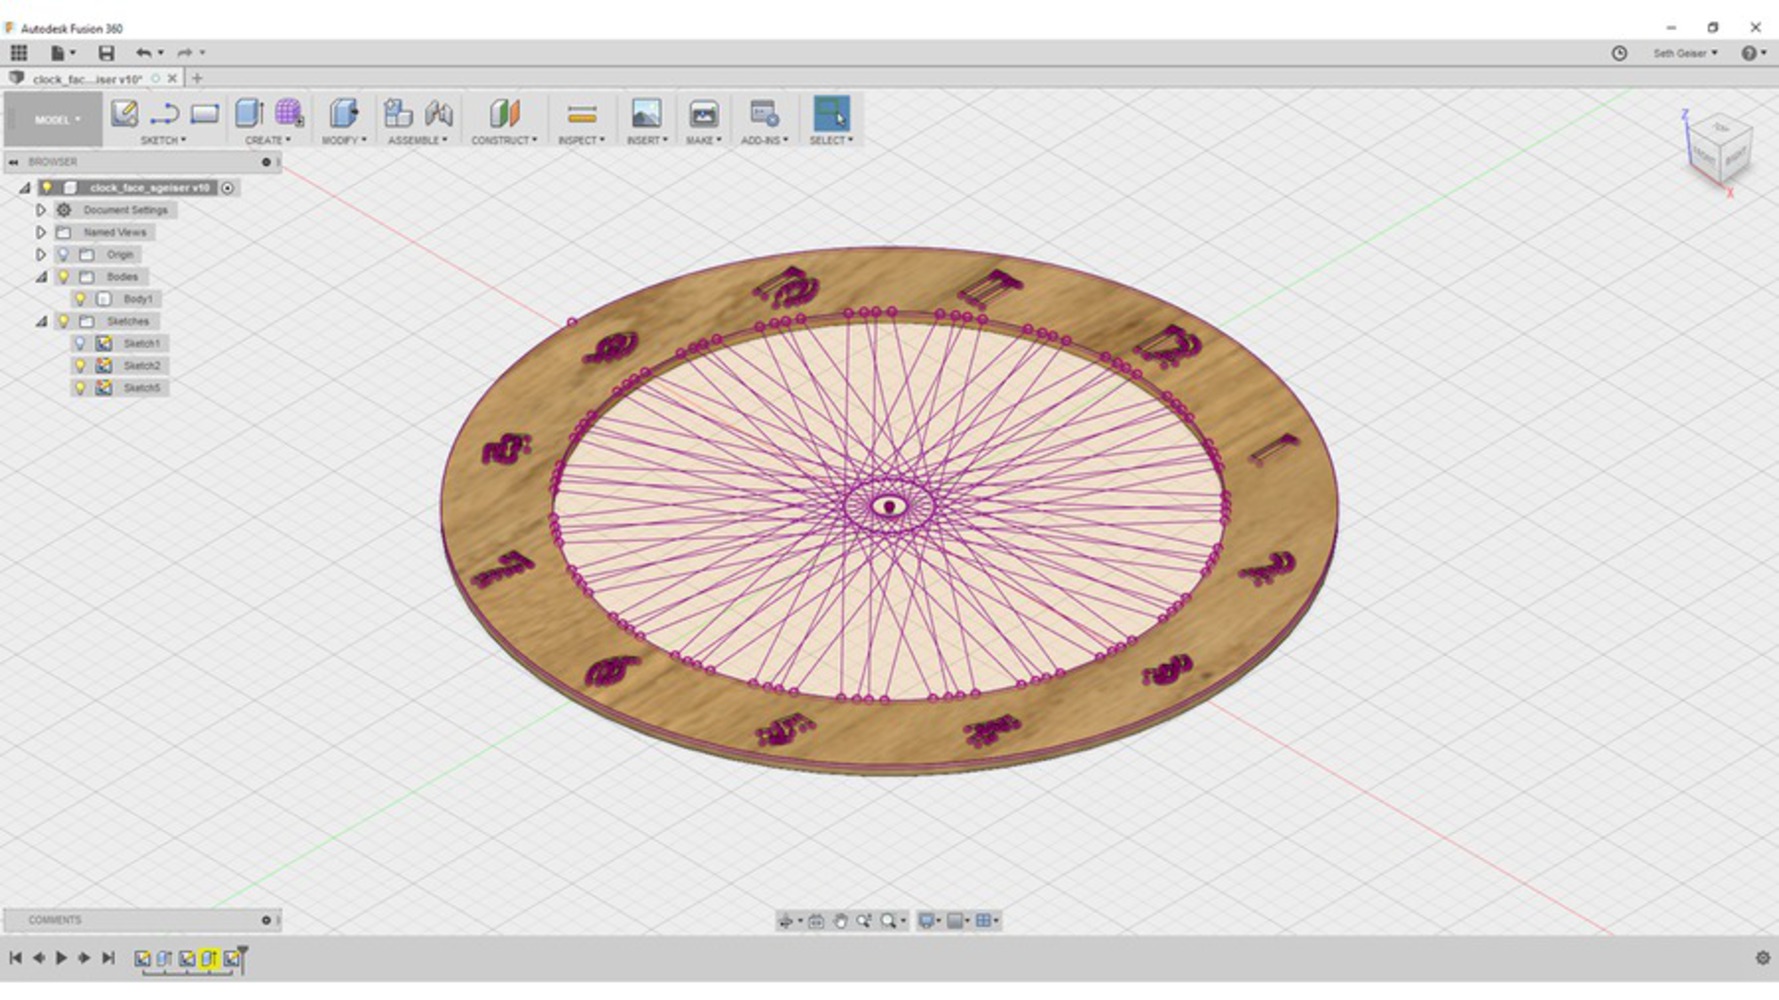
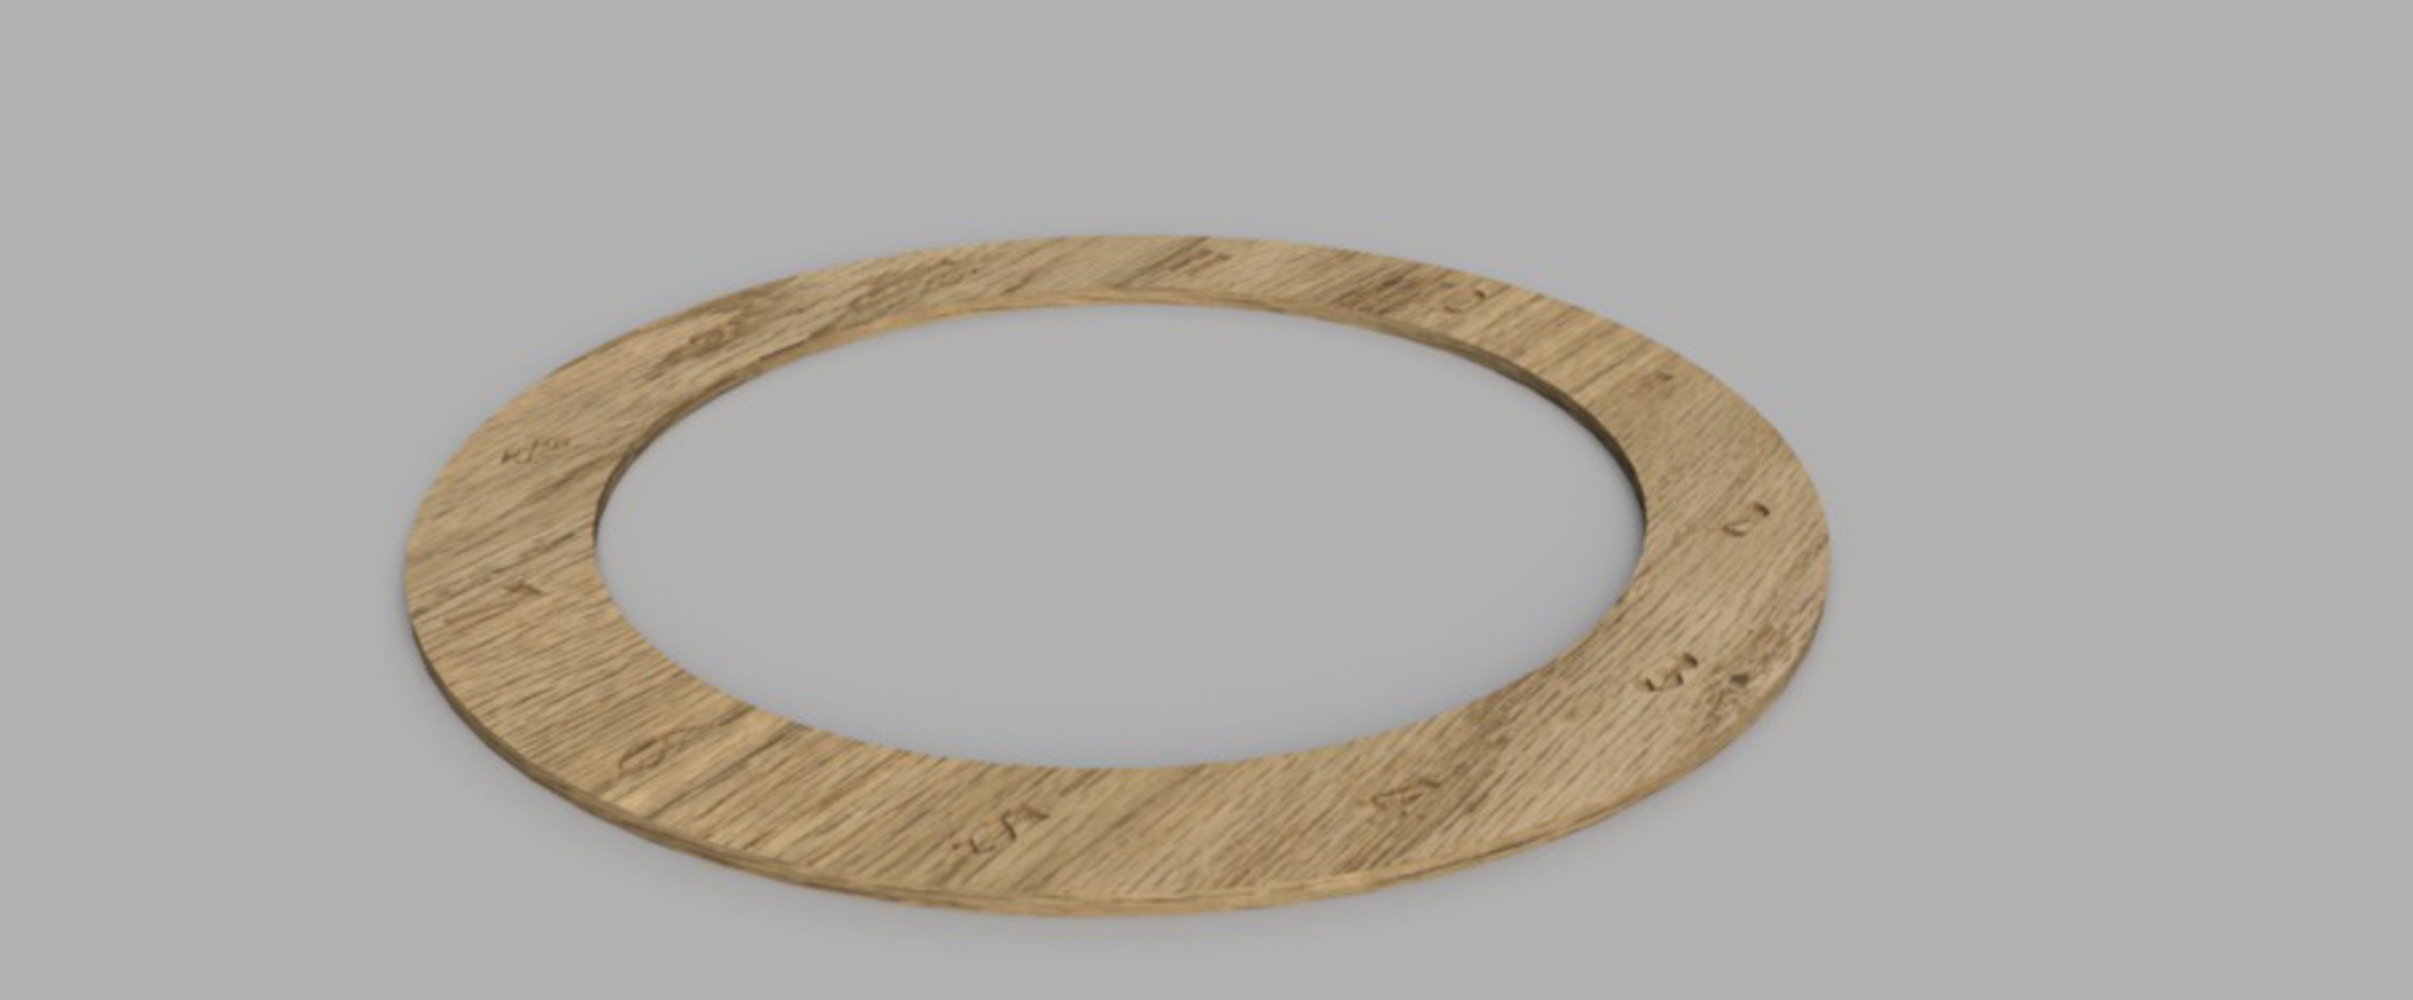
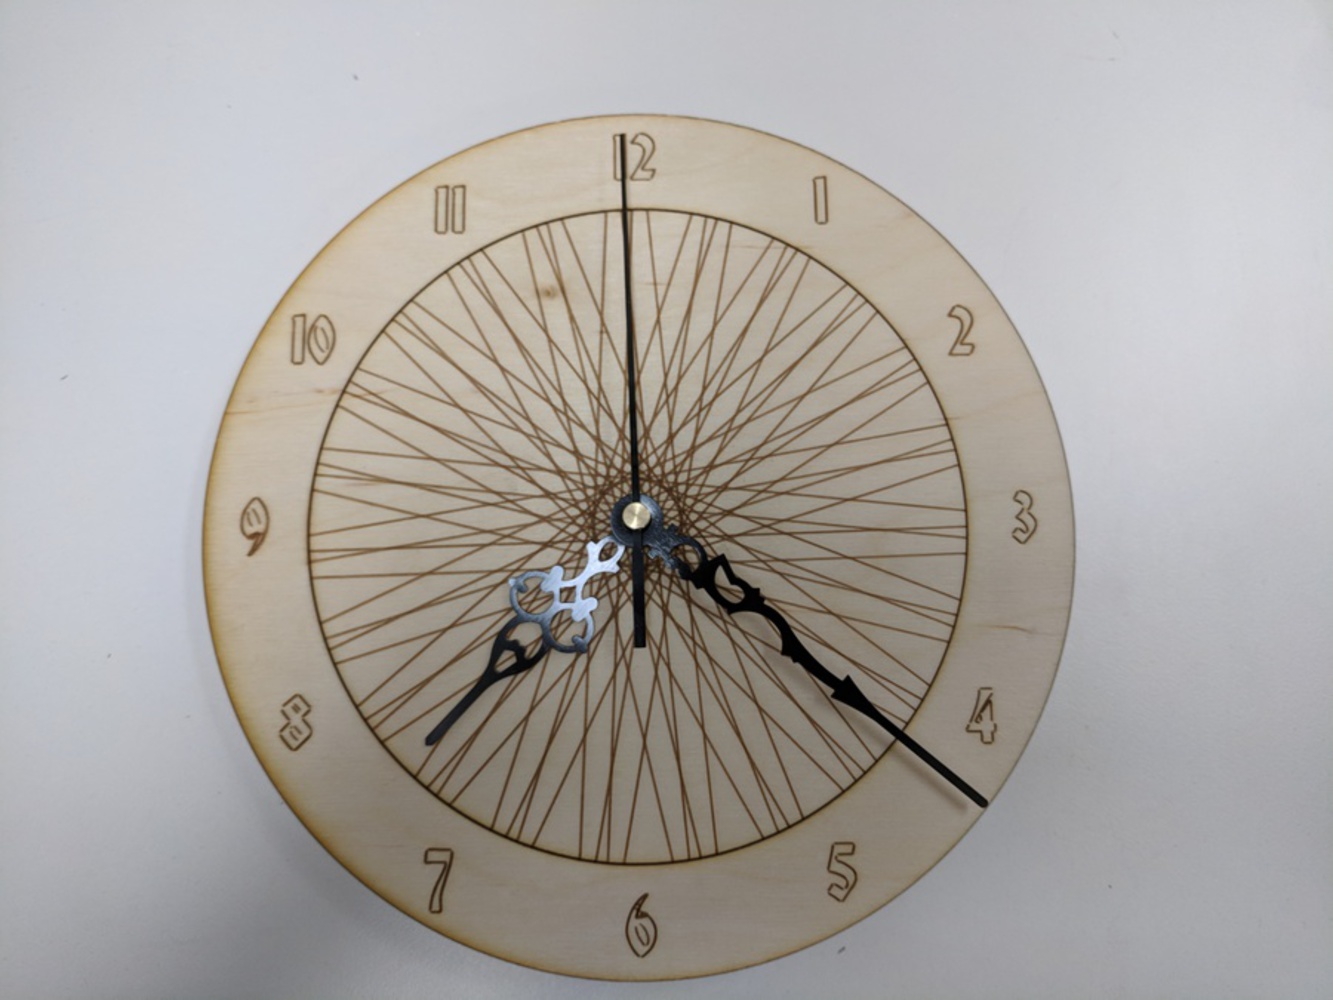
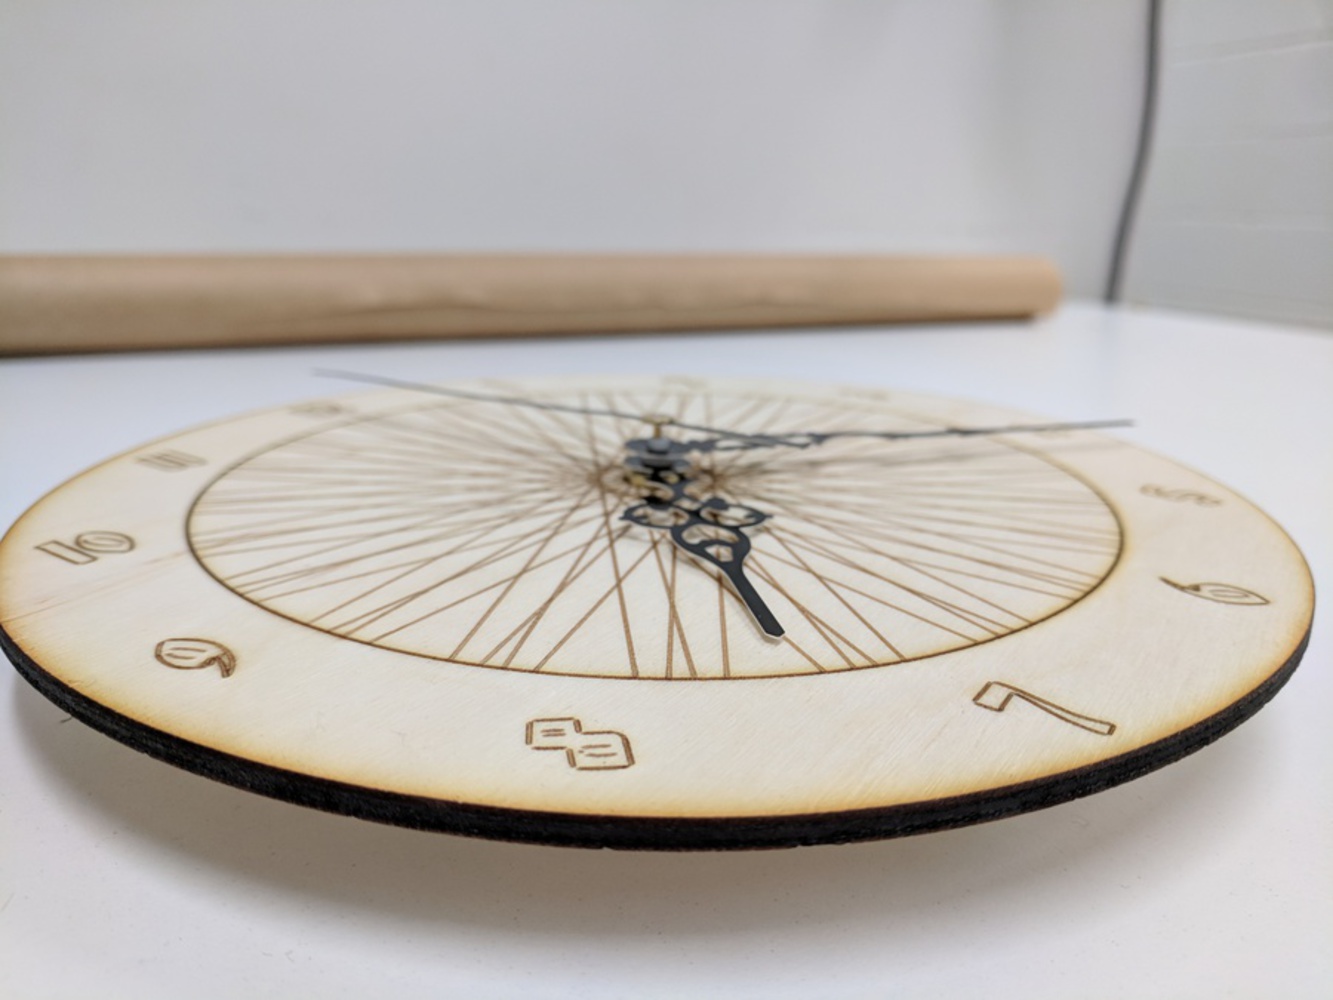
The modeling process was relatively straightforward. I decided that the outer diameter of the clock would be 200mm, so I simply drew a center-diameter circle of 200mm, and then another one of 150mm. I then drew 2 parallel lines and then used the circular pattern tool to duplicate them in a way that resembles the spokes on the wheel. After that, I added the lettering (font used was Bradley Gratis), extruded the outer circle, recessed the lettering, and then made necessary projections to create the .dxf file that would be used with the Rabbit Laser. Inkscape was used to re-save the .dxf so it would play nicer with the laser cutter.
I thought of engraving the spokes and lettering, but even after uniting the lines in the Rabbit Lasercut software, I still got errors when trying to download to the laser cutter. Ultimately, I decided to cut the outer circle and score the rest of the lines. While the engraving would have probably looked cooler, I did not leave myself enough time to diagnose the errors I was getting, so I was stuck with scoring. I first cut the design out of cardboard, and then once I verified that everything was as I wanted, I made the final cut out of 1/8" birch plywood.
Pictured below is the extruded outer ring, along with all the projections that were made for the .dxf file.
