Back to Parent

Outcome


Intention

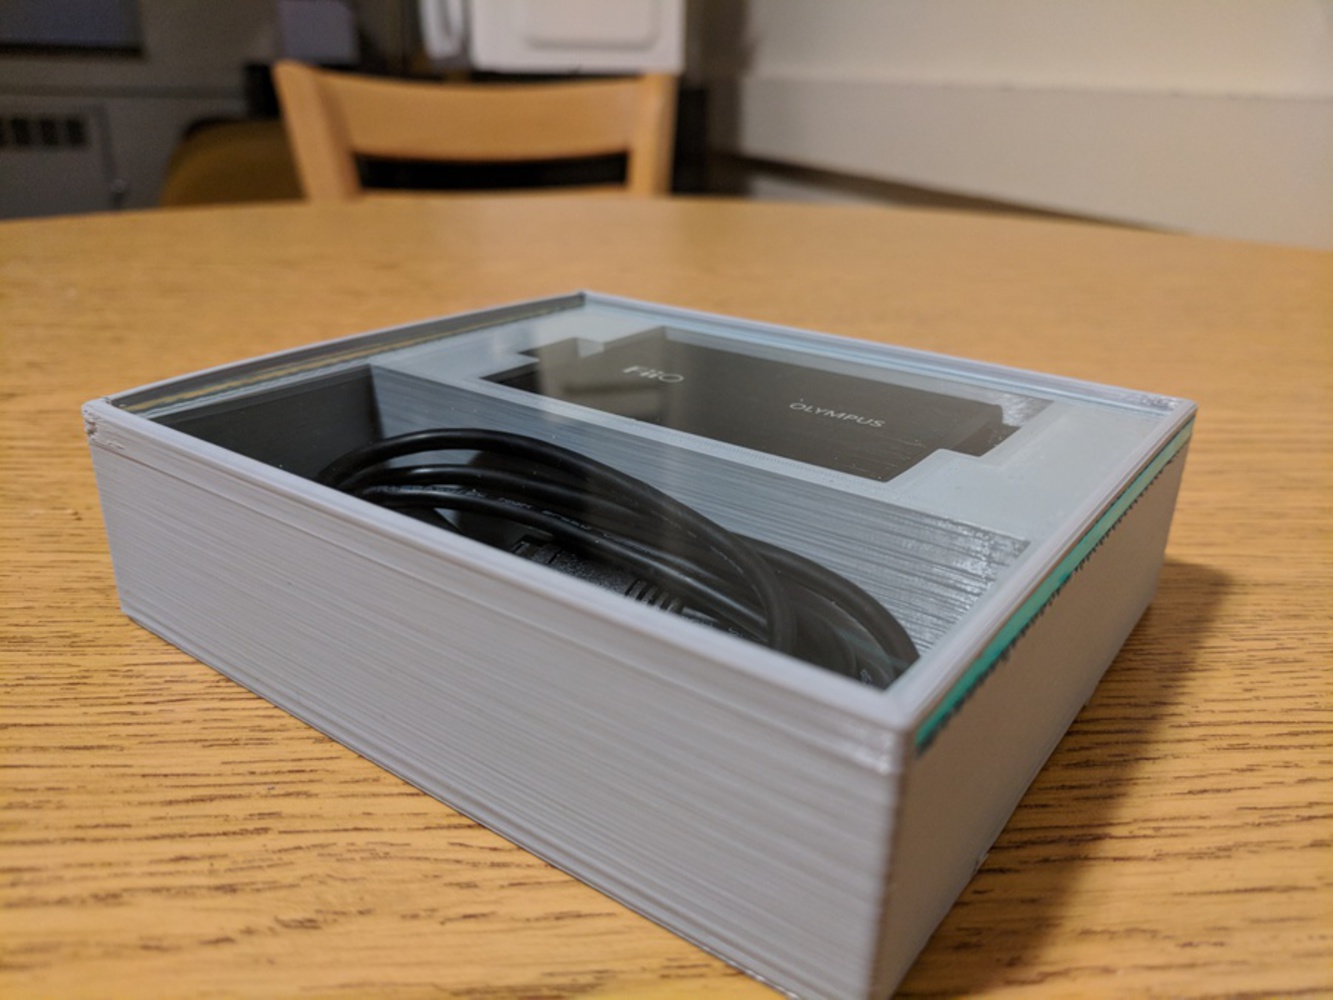
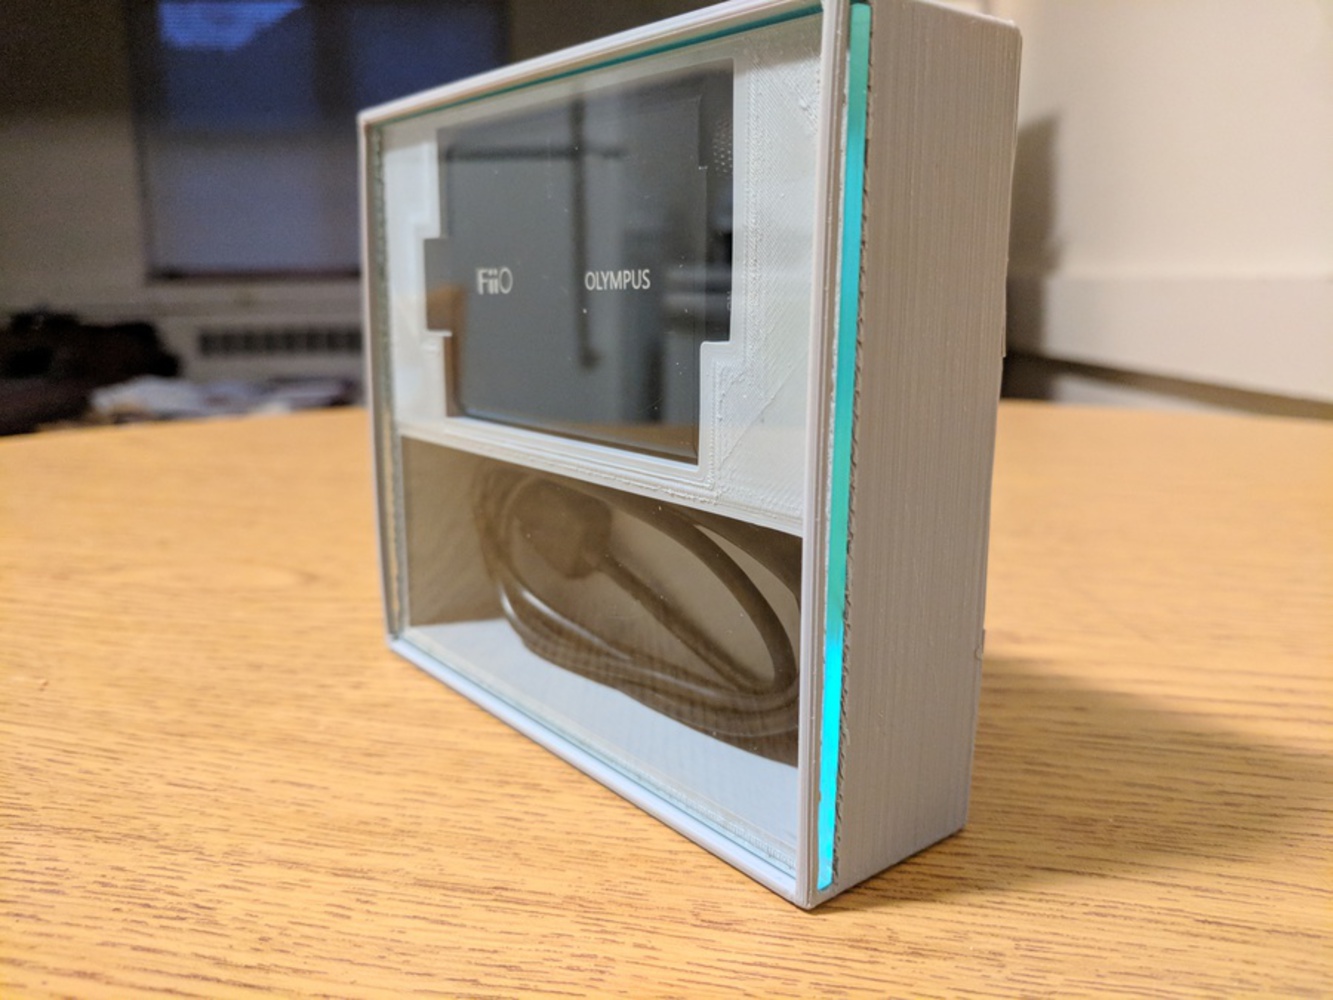
When I first got my headphone amplifier for driving high-end headphones, I used the product packaging as a carrying case. This worked to an extent, but after just a few weeks, the insert in the packaging was starting to tear and just generally fall apart. After getting a new one (just an updated model), I used the product packaging from that one, but it had the same problem--neither were designed to be reused as a holder for the amp itself and the cable. Thus, I set out to create a more permanent solution.
Context

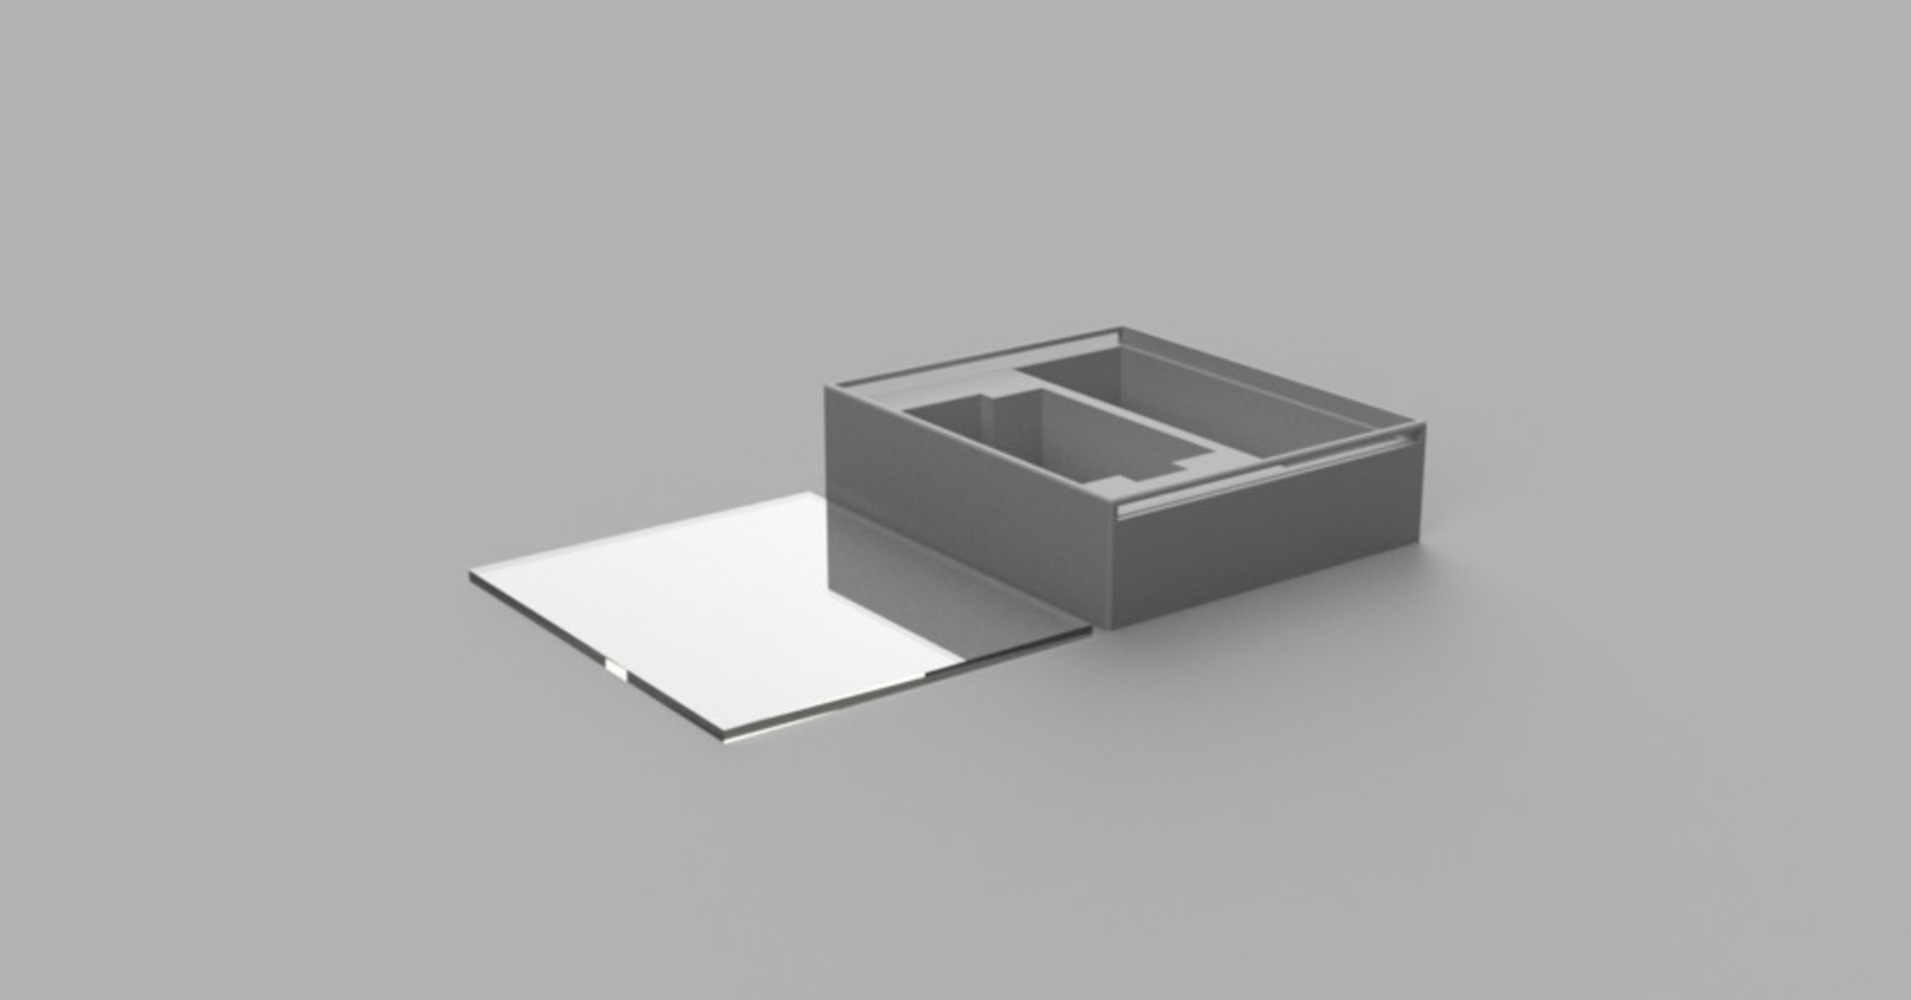
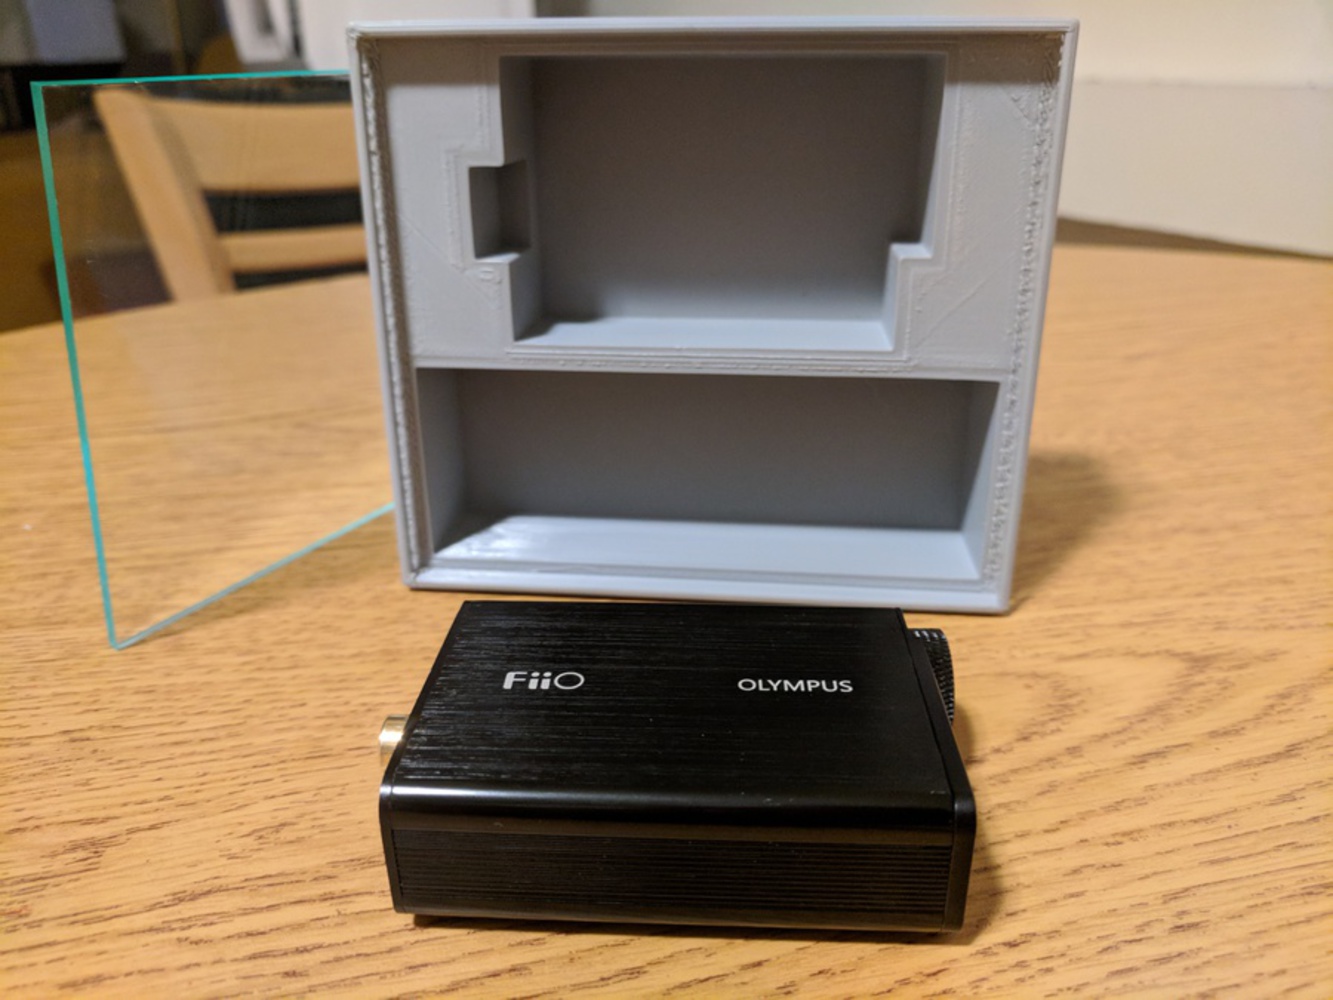
The first decision I had to make was which version of the amp's packaging dimensions I wanted to mimic. The first version would have been narrower and more compact, but more difficult to incorporate the cable into. Thus, I ended up mimicking the second version's dimensions. That meant placing the compartments side-by-side, rather than creating a channel to wrap the cable around the main compartment. I also needed to decide how to make the top piece. I ultimately decided to do something simple and laser cut a piece of acrylic to slot into a channel I made.

As far as I can tell, there weren't/aren't any precedent projects that led to this one (I could be wrong).

Process + Procedure

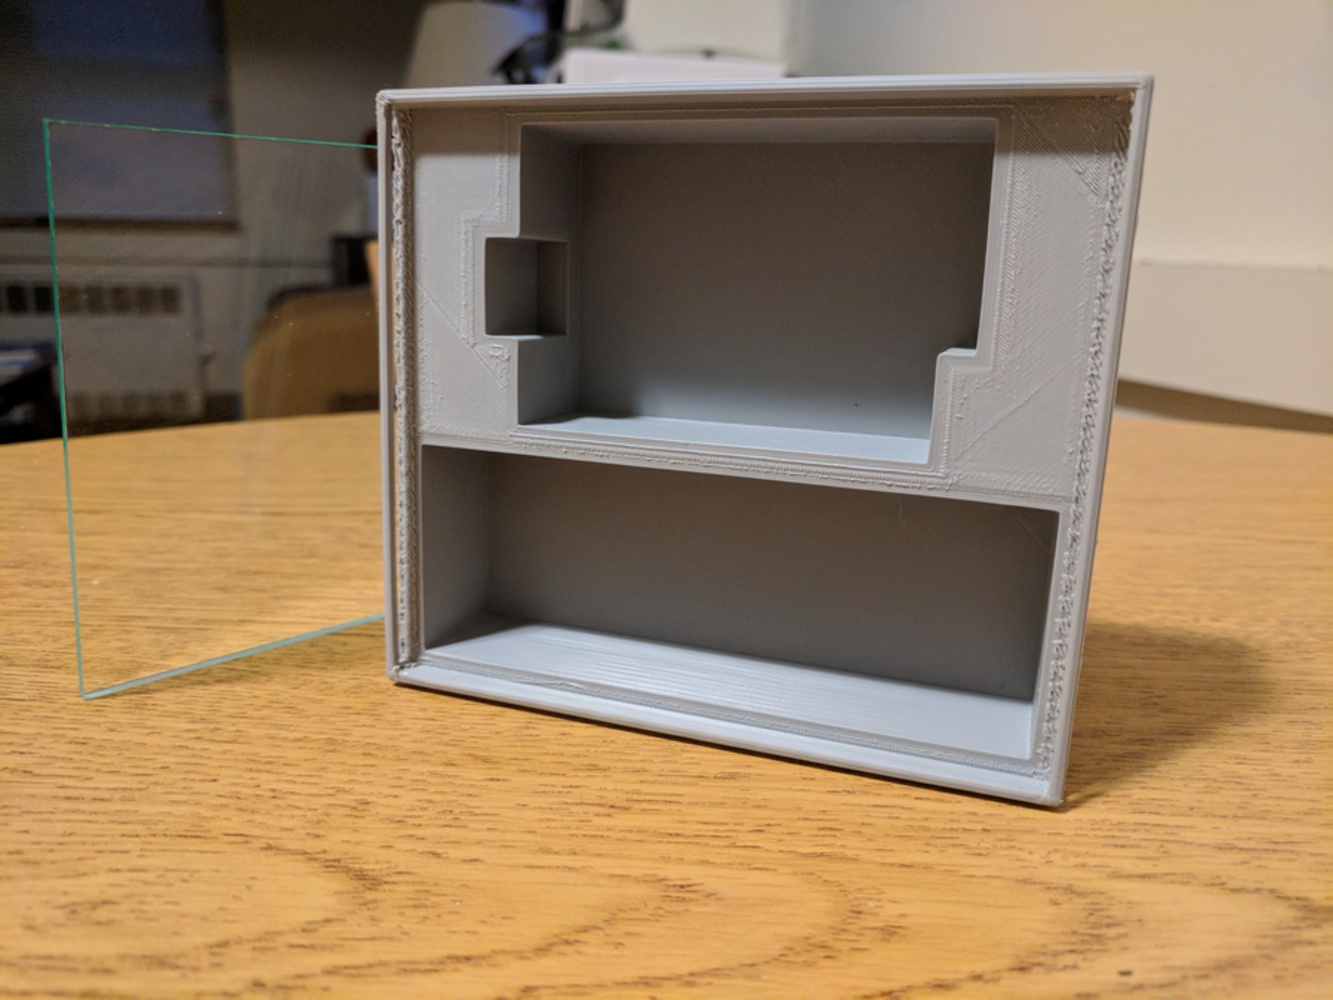
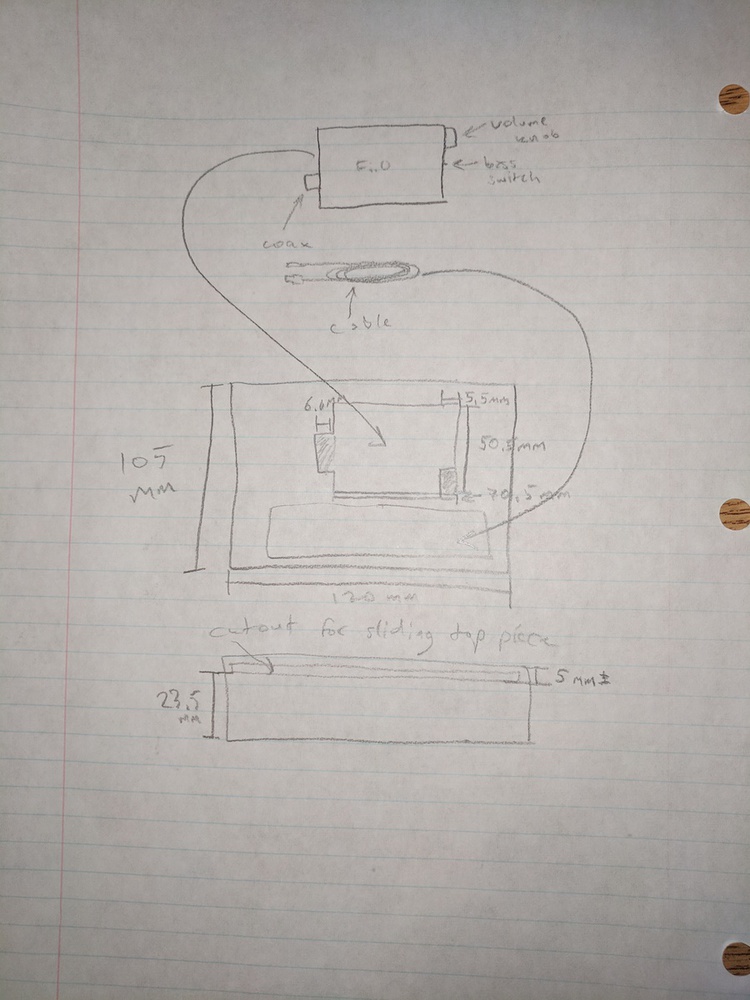
The most difficult part of the design process was designing the compartments to the correct specification. The compartment for the device had to be of the right dimensions, and it had to have necessary recesses for the coaxial port on the back, and the bass boost switch and volume knob on the front.

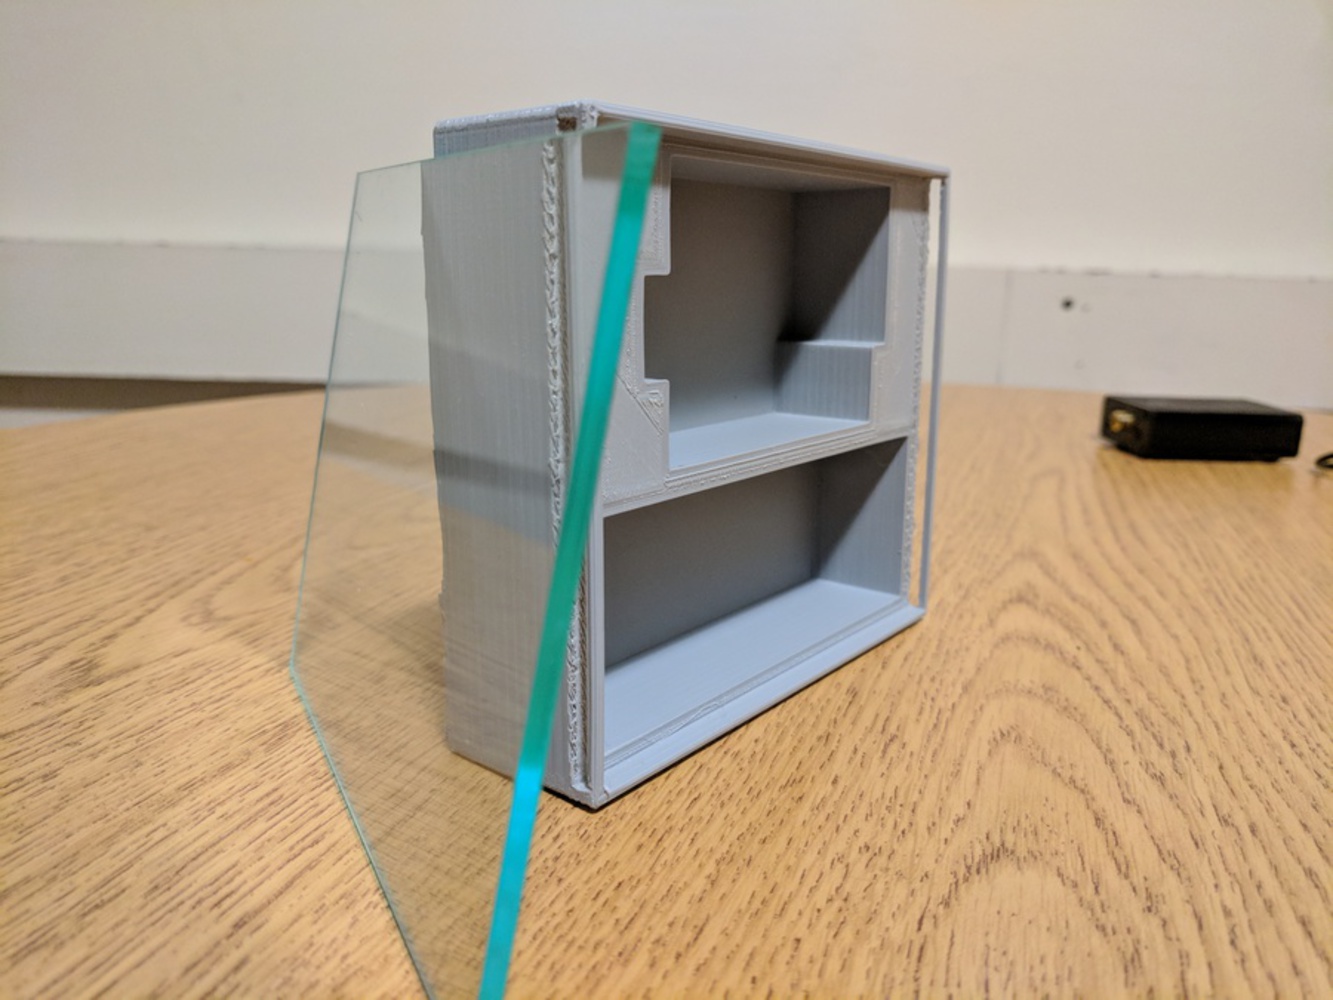
Once that was done, the next most difficult part was designing the sliding top piece. I decided to laser cut a piece of acrylic for the top after failing to properly design and hinge and latch. While the sliding top piece wasn't as difficult to design, it still took some thought. Only after manufacturing the part did I realize that my solution was definitely not the best--more on that later.

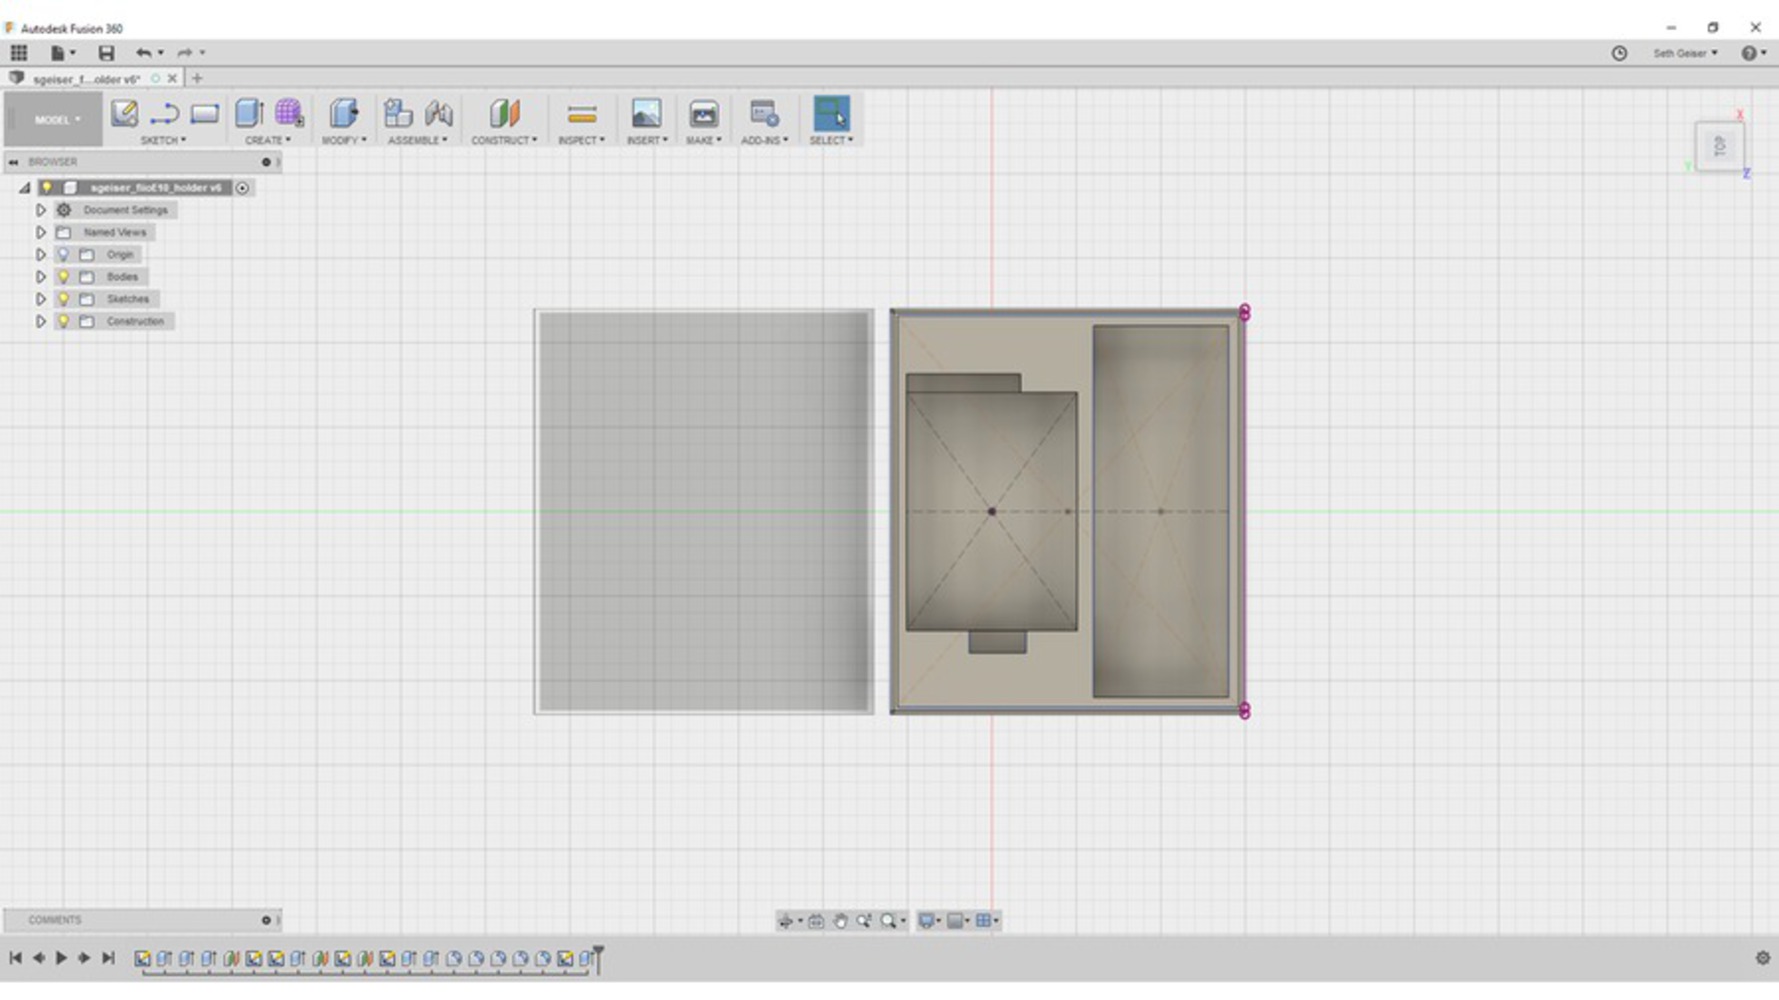
All sketching and modeling was done using Autodesk Fusion 360, and then the resulting .stl file was uploaded to NVBots for slicing and eventual manufacturing.

Finalized plans and sketch pictured below...

Sketch.thumb
Show Advanced Options

Product

Detail what you created. What methods or techniques did you use? What tools and technologies were involved? Include images, code or video.

The final main piece was 3D-printed out of gray PLA on an NVBots 3D printer, and the top piece was laser cut out of a scrap piece of acrylic I found on the table in the fabrication lab, using a Rabbit Laser Cutter.

The result was a far more elegant, robust, and more long-term solution to the problem of storing and transporting my headphone amp.

Below are the model itself and a render, both from Fusion 360.

Fiioe10 render.thumb
Show Advanced Options
Sgeiser fiioe10 holder render.thumb
Show Advanced Options

Reflection

As I decided to use slightly more infill for this model, the print took quite some time (then again, most 3D prints take hours). In the end, the extra infill was more just for the sake of adding a little bit of heft. One thing I learned is that when modeling for the purpose of 3D printing, some degree of tolerance is needed (I used about 0.3-0.5mm tolerance in my model. I also learned that PLA is quite brittle (when I broke a support off, a piece flew into my eye, so that was fun). If I could do this again, I would probably design the "rail" for the sliding top piece a bit differently. Rather than using crossbars (they appear to be quite fragile), I would probably use something similar to the nubs that hold old CD covers in place in jewel cases. That would likely decrease the need for support quite drastically, making the process of cleaning up the print much easier in the end. I would also consider using ABS instead of PLA and then treating the print with acetone vapors to smooth off the edges While that can be more time consuming than the sanding and sealing using with PLA prints, it can get closer to the quality of injection-molded prints in my experience.

Collaboration or Attribution

Professor Larson helped me finalize the general design of the holder by suggesting that I laser cut the top piece, rather than trying to design and hinge and latch. This made the overall process much less painful.

Holder04.thumb
Show Advanced Options
Holder02.thumb
Show Advanced Options
Holder01.thumb
Show Advanced Options
Holder03.thumb
Show Advanced Options
Holder05.thumb
Show Advanced Options
Drop files here or click to select

You can upload files of up to 20MB using this form.