Back to Parent

Outcome


Intention

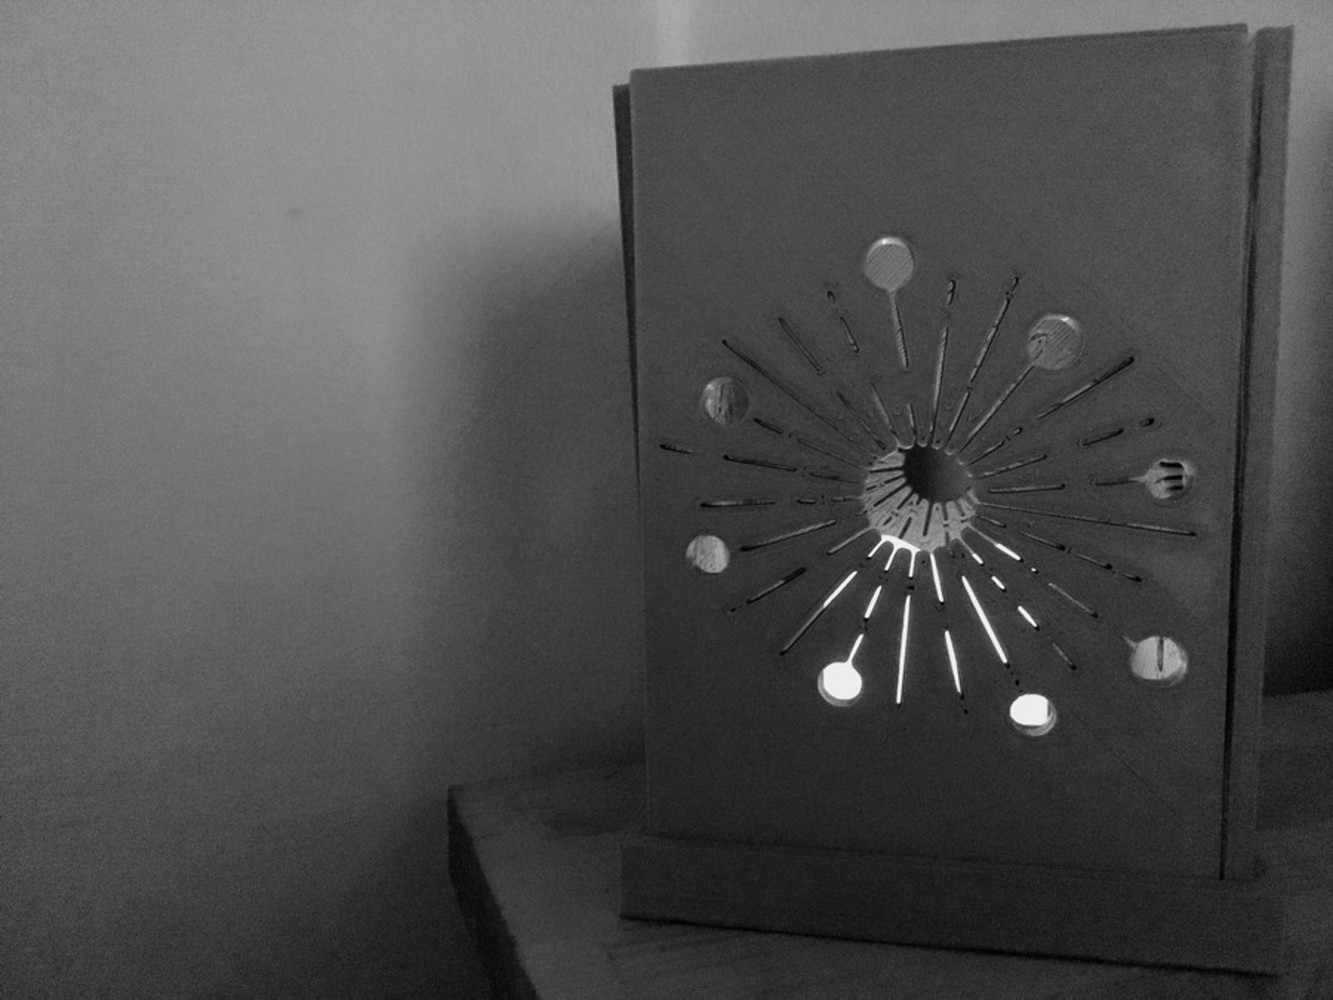
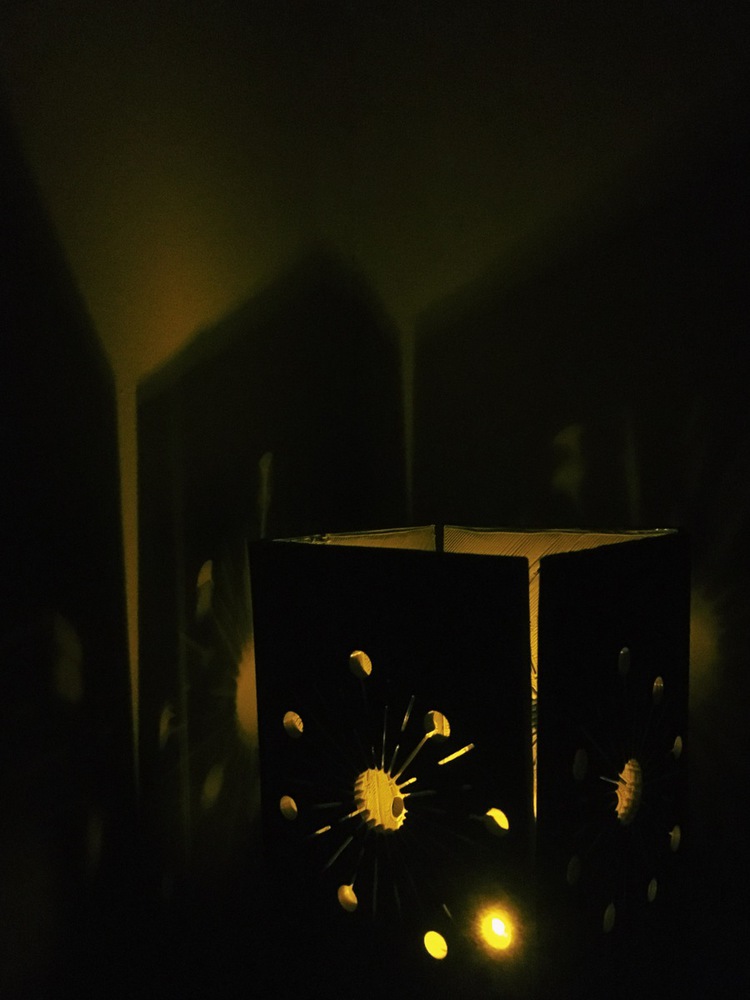
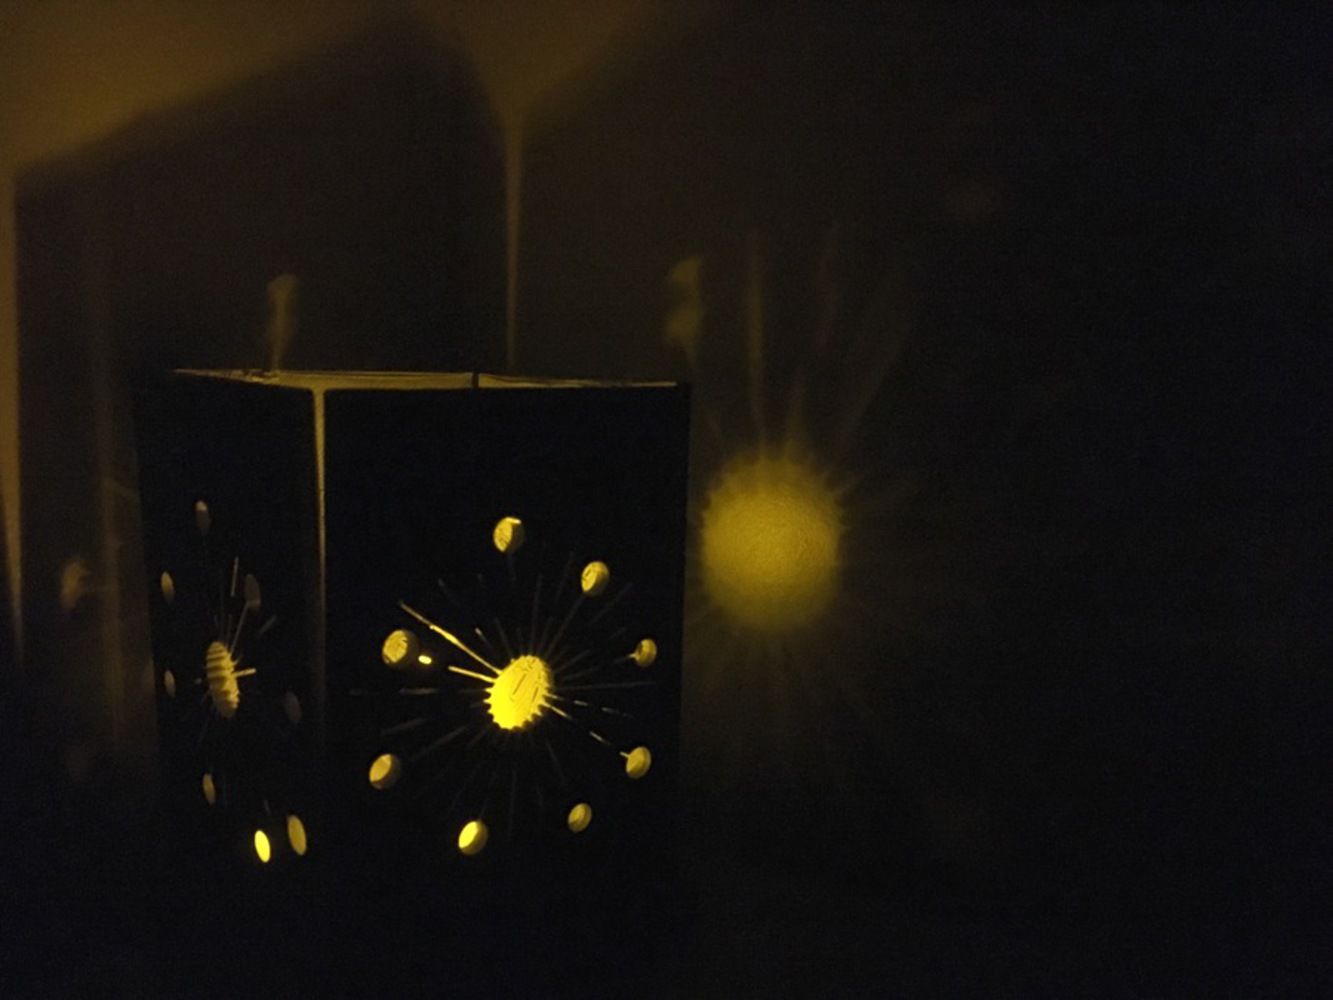
Back in December, my roommate and I had gone to the Christmas market downtown, where we saw some really nice candle holders with patterns of all sorts. There, I found a few "shadow" candle holders that had cutouts on the sides of the holders, through which light from the candle would project onto whatever surface was behind it. I thought those were beautiful, but none of the candle holders there had a pattern that really stuck with me, so I ended up not buying any. When I was given the task to make a holder of some sort, though, I decided this would be my chance to make a shadow candle holder with a pattern that I did like.

Research + Context

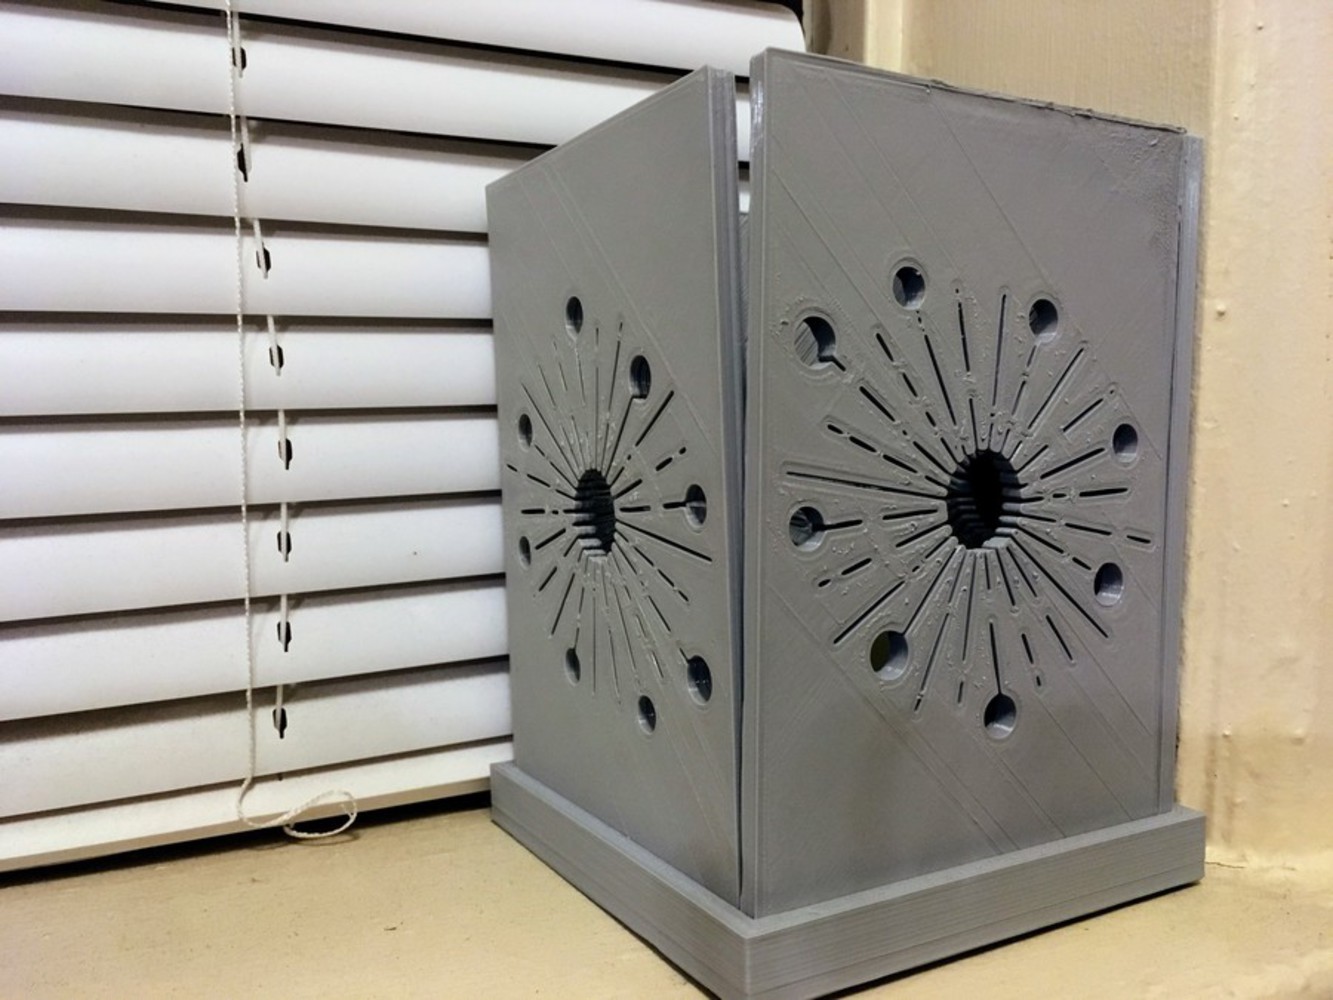
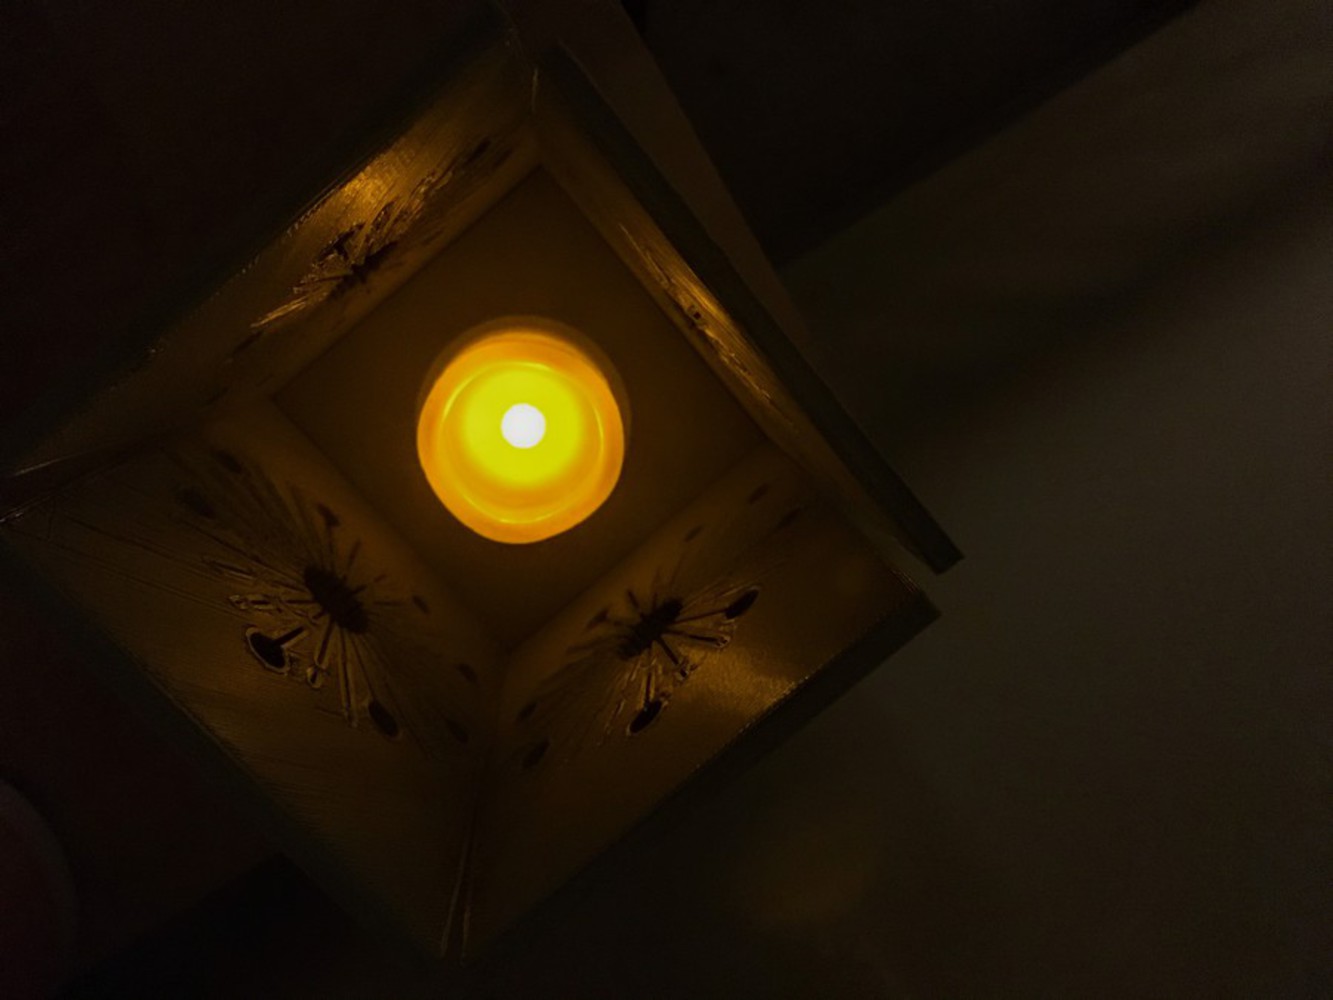
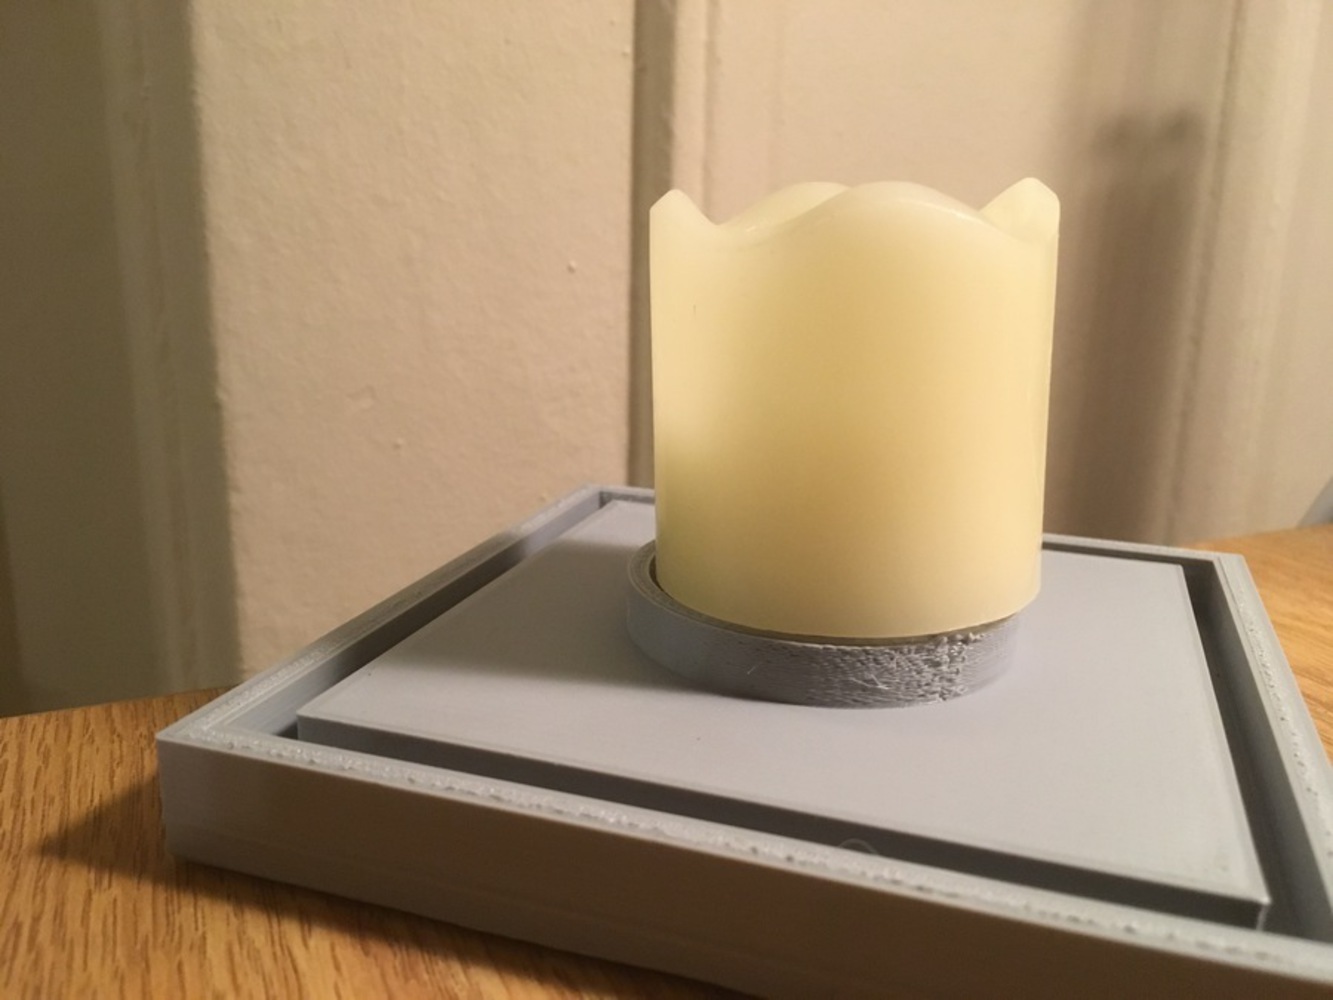
My candle holder is similar to other ones in that it can contain a candle in a decorative holder. Like other shadow candle holders, it has cutouts on its walls that allow the light to shine through, creating a shadow behind the holder. While looking at other candle holders, I also liked the idea of having a base inside the holder that would keep a smaller candle in place. For my candle holder, I created a circular ring just large enough to fit the candle I had, so it would not shift around in the holder when being transported. 

Aesthetic + Inspiration

The design for my candle holder came from a number of sources: first, the idea came from the shadow candle holders that I had seen at the Christmas market. Then, when I was actually looking to design the candle holder, I searched on Google for other types, and decided that I wanted a box-shaped candle holder. Then, for the cutout, I drew my inspiration from the musical "Natasha, Pierre, and the Great Comet of 1812." I am a huge fan of musicals, particularly this one, and had just been blown away by the set design when I went to see it. Hanging from the ceiling in the theater were over 20 of these giant starburst chandeliers that became somewhat symbolic of the show, and I wanted to design the light projection for my candle holder around those chandeliers.

Process + Procedure

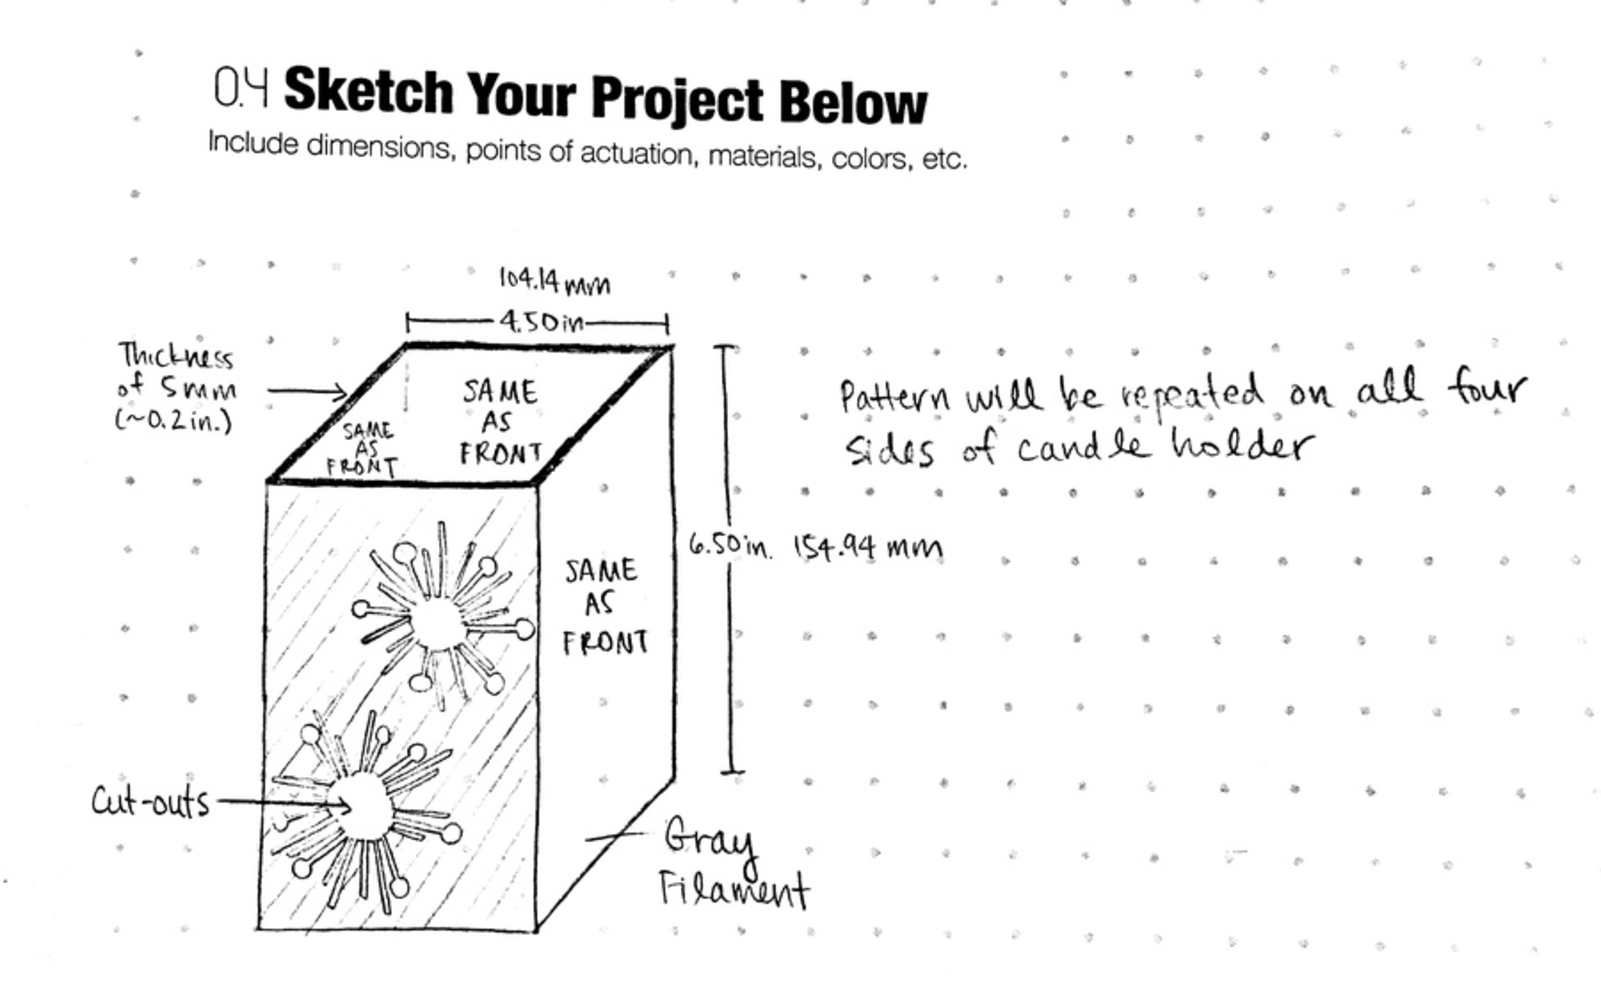
After deciding on a box-shaped candle holder, I looked up a few measurements of candles and decided to make my box about 4 inches wide and 6 inches tall, since many candles were either this size or smaller. I then made an initial sketch of what I imagined my candle holder to look like (shown below in "Sketches" section). 

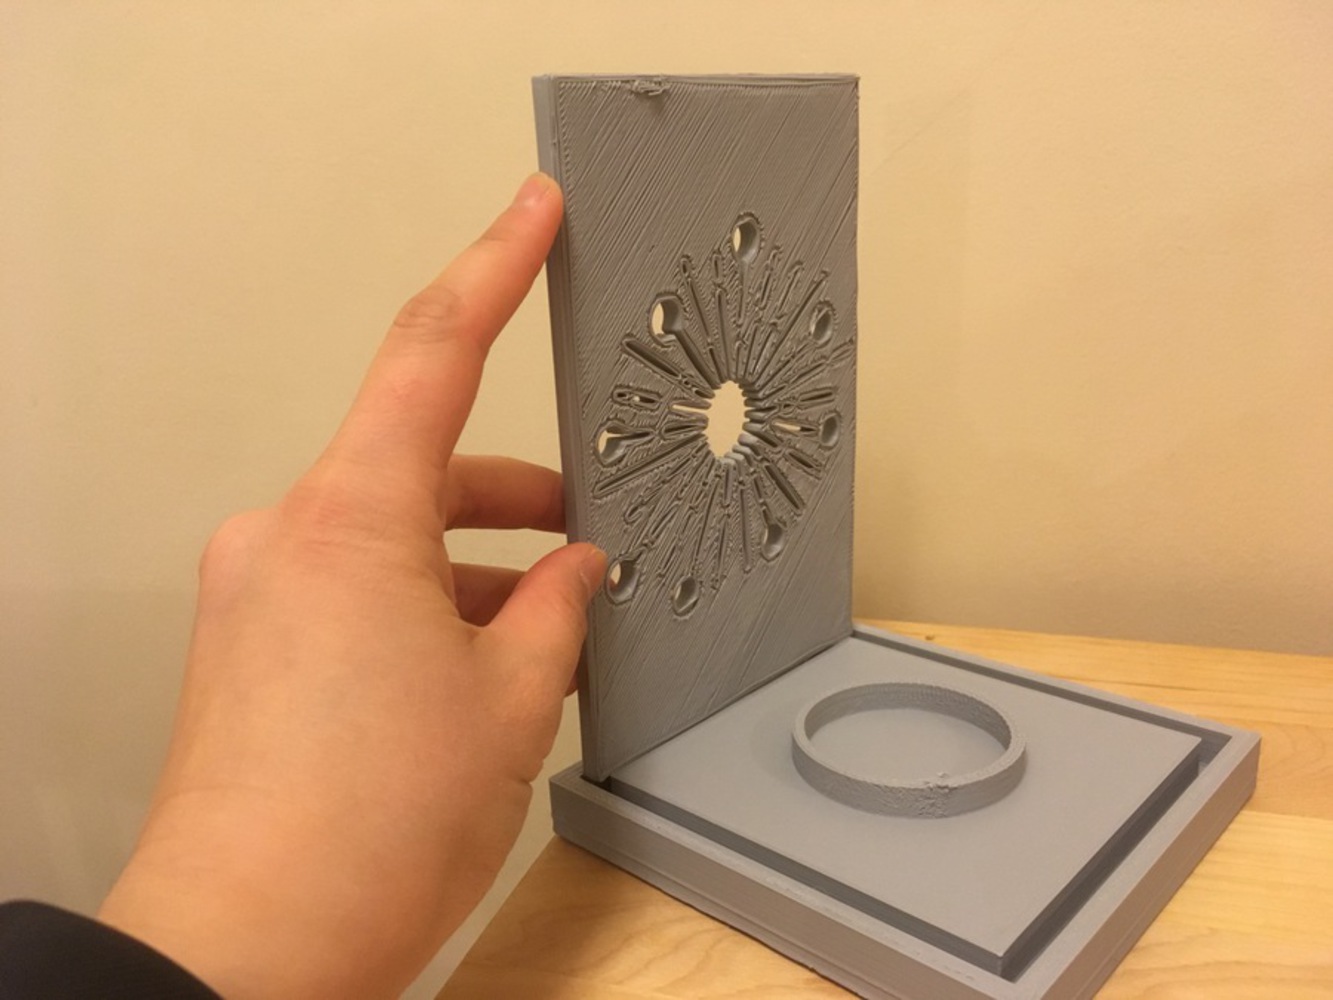
I began modeling this sketch on Fusion360, which is when I ran into a bit of trouble. First off, I realized that having two starburst designs on one face was not a good idea, as they would have been extremely small and the printer probably would not have been able to create the holes for the starburst cutouts, due to tolerance levels. I had also been trying to freehand a starburst by myself, which did not work, so I ended up finding a file using The Noun Project and modifying it a bit. After creating the starburst I wanted and making four walls that lined up with each other, I then came upon a different issue. I realized that if I just printed my holder as one piece, with the walls standing up, the cutouts probably would not have turned out nicely. Since the cutouts were so small, there probably would not be enough room for supports, or the supports would have just filled in all of the gaps and been impossible to take out, so I decided to print all four walls as separate pieces that would lay horizontally. Having decided this, I also created a base with a track that the four walls could click into so they would be able to stand up vertically on the base. 

My first task was to print one of the walls by itself before printing the other ones. I was a bit unsure of whether the starburst design would work or not, since the lines were so thin, so this was my test trial to determine whether I could proceed with this design, or I would have to change it. Luckily, it worked, and I then went on to print the other three walls with no trouble.

Printing the base, though, is where I did run into trouble. When creating the base on Fusion360, I had fitted it around the four walls, and built in a tolerance of 0.4 mm, as suggested. However, upon retrieving the printed walls and base, I found that my walls would not fit into the track I had designed for the base. I then widened the track by 1 mm in hopes that it would be enough space for the walls to fit inside, and that new base is currently waiting to be printed. Likewise, the circle I had made for the candle to rest in was not wide enough for the candle, and this had to be adjusted similarly.
Img 8988.jpg.thumb
Show Advanced Options
Img 9274.jpg.thumb
Show Advanced Options

Reflection

In the process of making this project, I learned the importance of planning and prototyping productively. I had never tested out the tolerance of the printer myself, and was confident that I would have no trouble with my walls fitting into my base. However, this was not the case, and if I had printed out smaller strips to test the tolerance of the printer and how wide I needed to make the track on my base, that would have saved me time. 

From this project, I also learned the importance of communication when using shared spaces or materials. Since I had four identical walls to print, a few of my submissions to the NVBots queue had been denied, which resulted in me waiting longer than I had planned to for the prints of my walls. If I had communicated about my duplicate prints earlier, I might have been able to print everything out a bit earlier, which could have allowed me to see that the walls did not fit with the base sooner than Saturday morning (the day before the project was due). 

Img 6621 %281%29.jpg.thumb
Show Advanced Options
Img 9519 %281%29.jpg.thumb
Show Advanced Options
Img 5682 %281%29.jpg.thumb
Show Advanced Options
Cb8fccbe 7a1e 4cf2 8ea9 5cccf240c30a.jpg.thumb
Show Advanced Options
2d77bfa4 5278 47a7 8685 9dc2acb4f66d.jpg.thumb
Show Advanced Options
Doc feb 10  2018 at 10 22 am.thumb
Show Advanced Options
Drop files here or click to select

You can upload files of up to 20MB using this form.