Back to Parent

Outcome


Img002.thumb
Show Advanced Options

Intention

  The highlight of my last trip to Disney World was seeing the newest fireworks show at the Magic Kingdom, Happily Ever After. I was blown away by the story, the score, and most of all intricacy and complexity of the fireworks themselves. I wanted to create some sort of memento/souvenir that recreated some of the best moments from the show. A tapestry was a great way to make it portable, while applying skills I learned in Soft Fabrication skills.


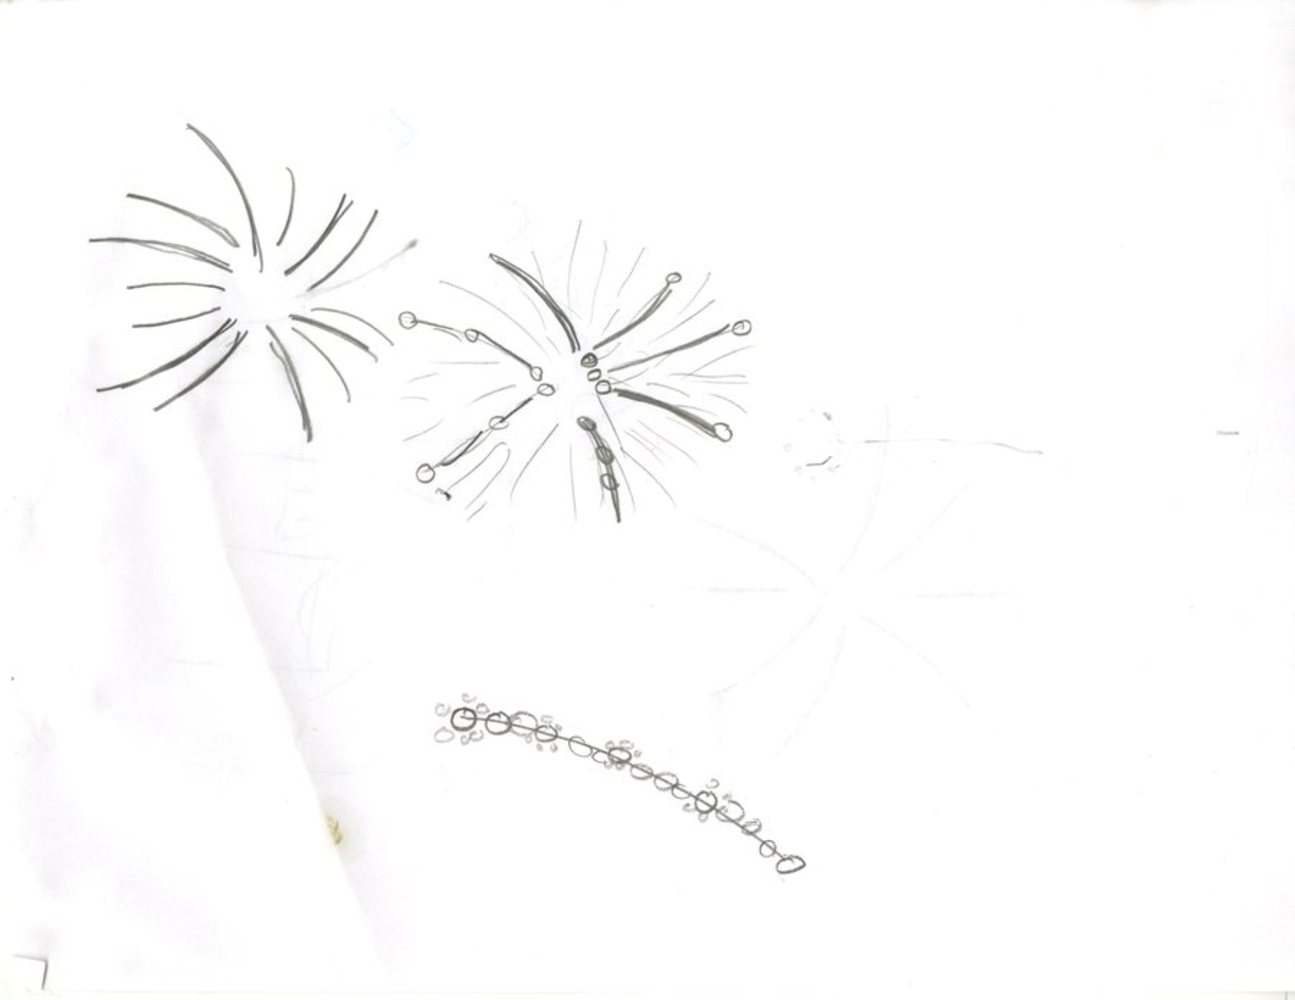
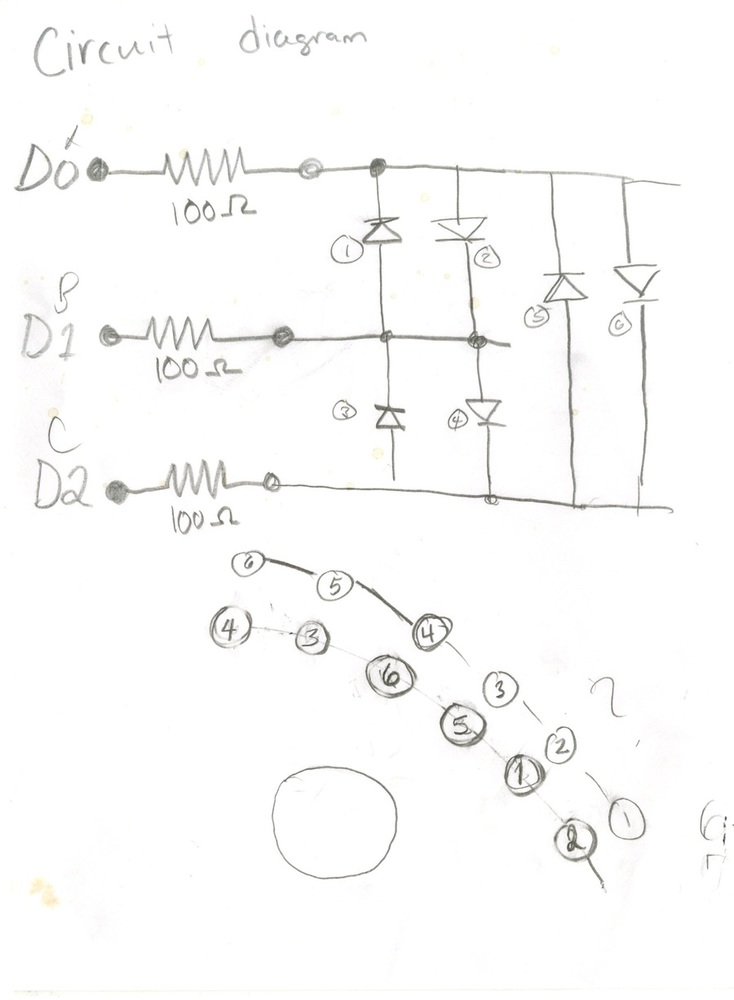
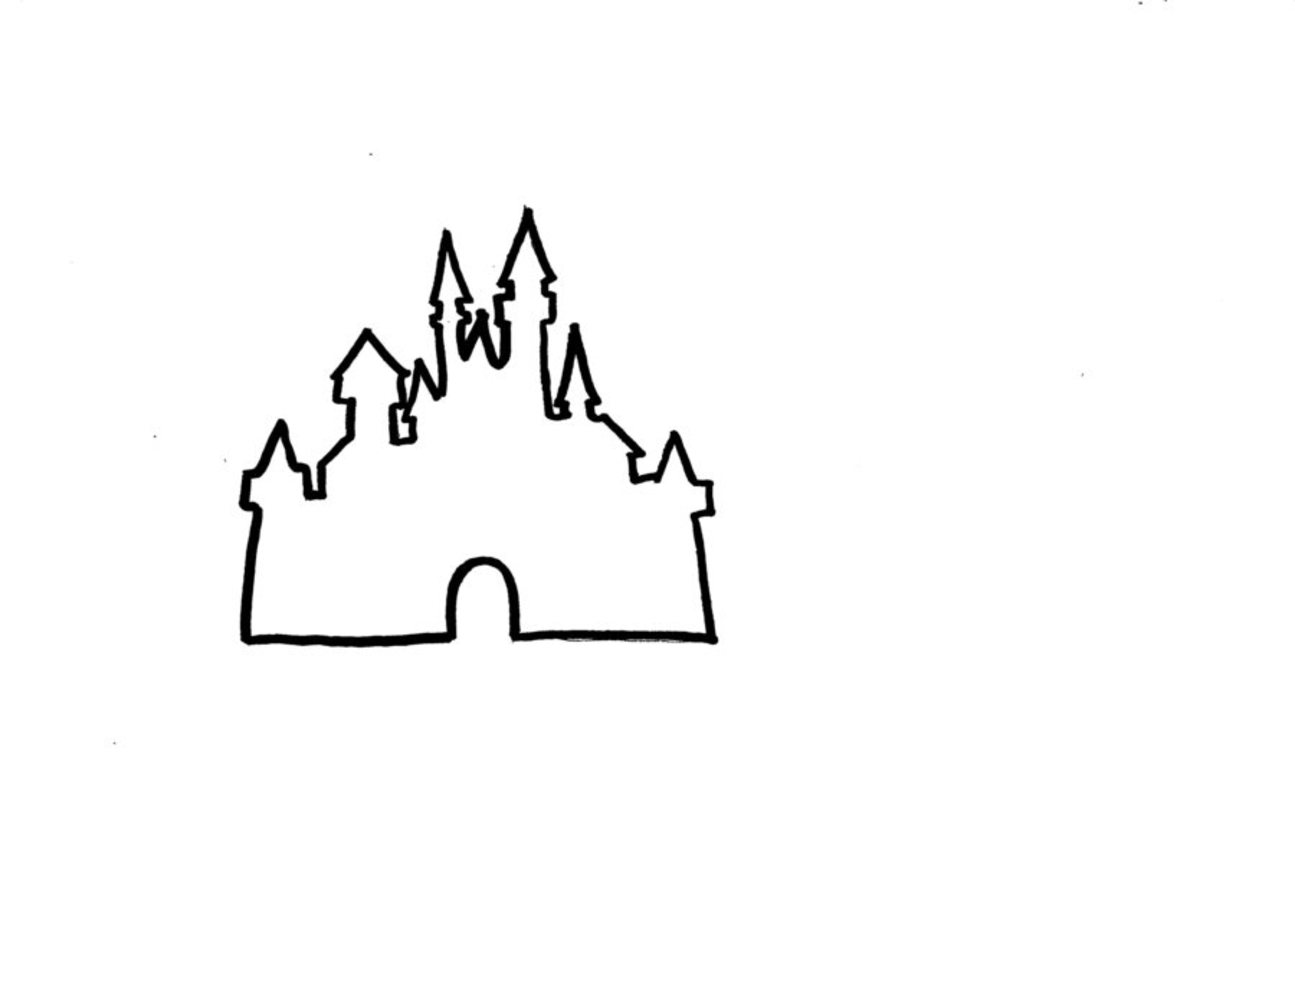
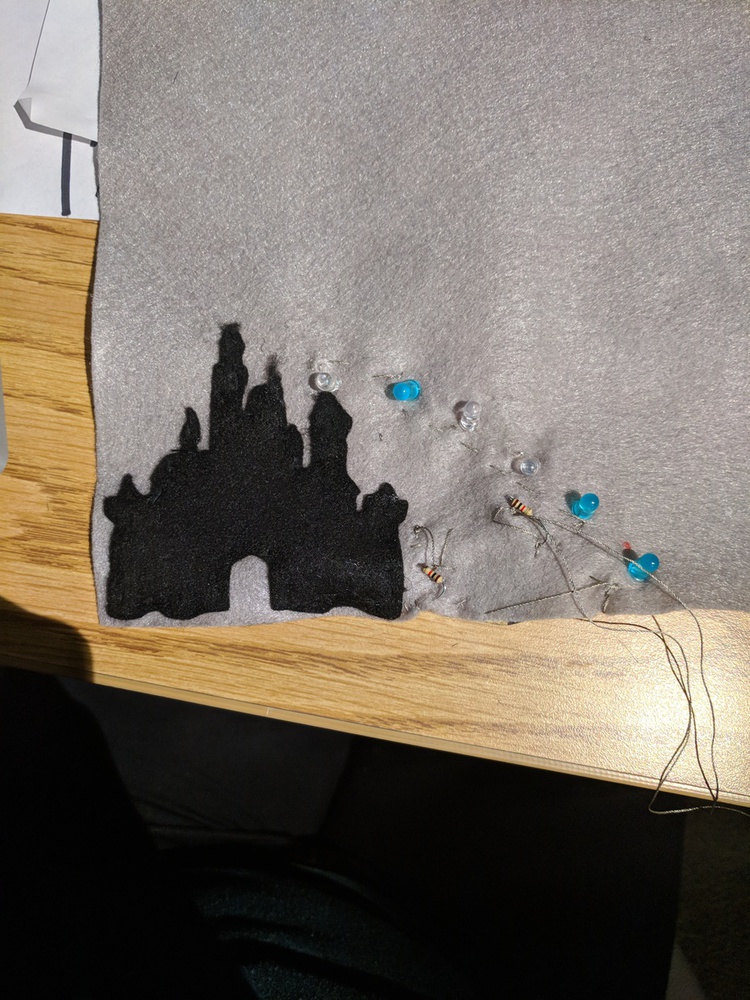
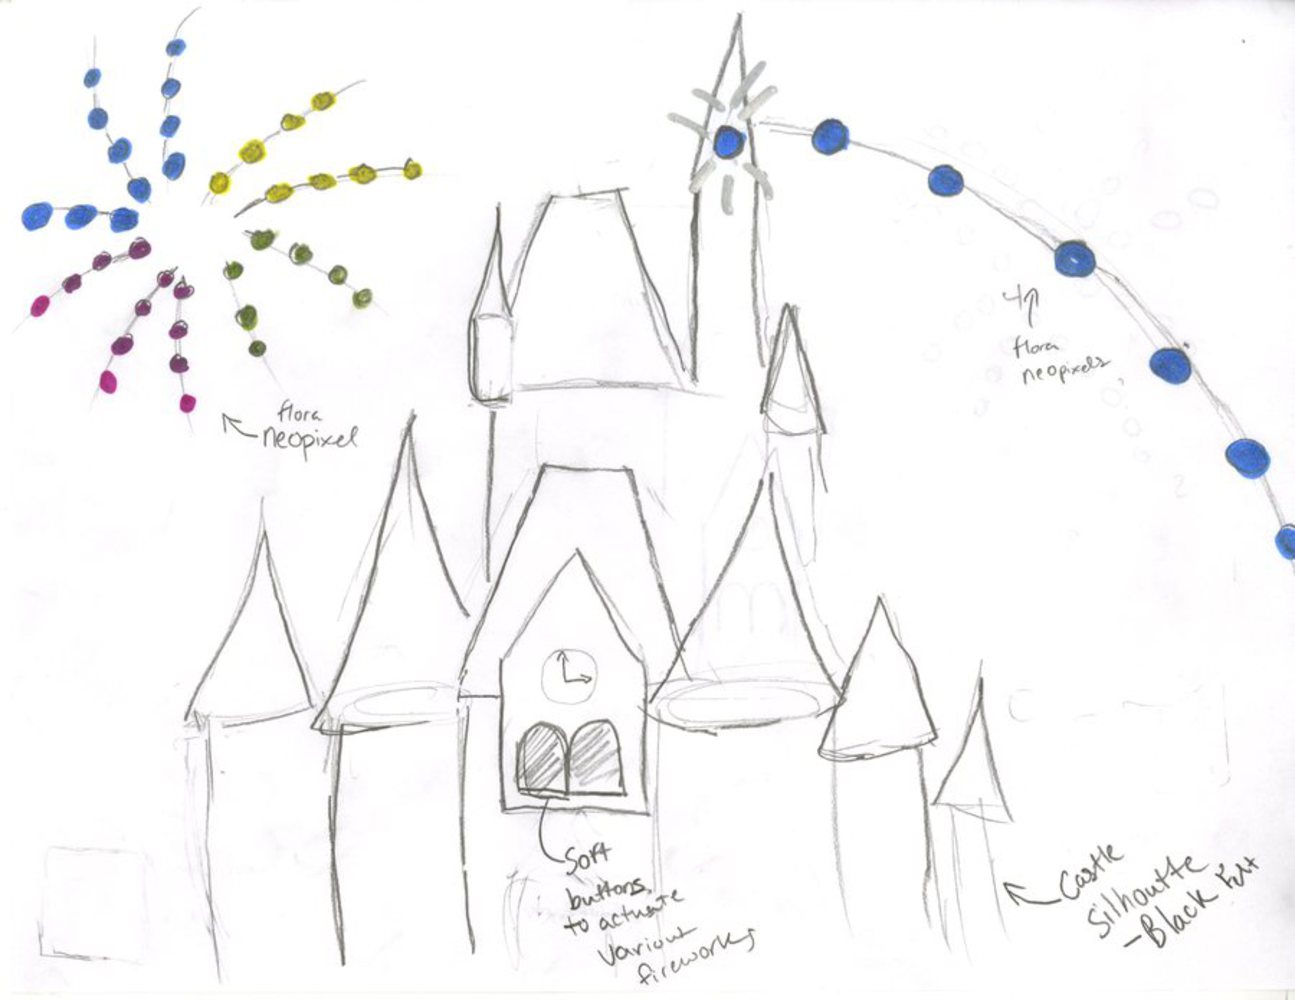
The tapestry would have Cinderella's Castle up front. Hidden in various elements of the castle would be several soft buttons that would actuate different fireworks. Several LEDs would make be placed into firework like shapes above it, and would "burst" when the soft buttons were pressed.


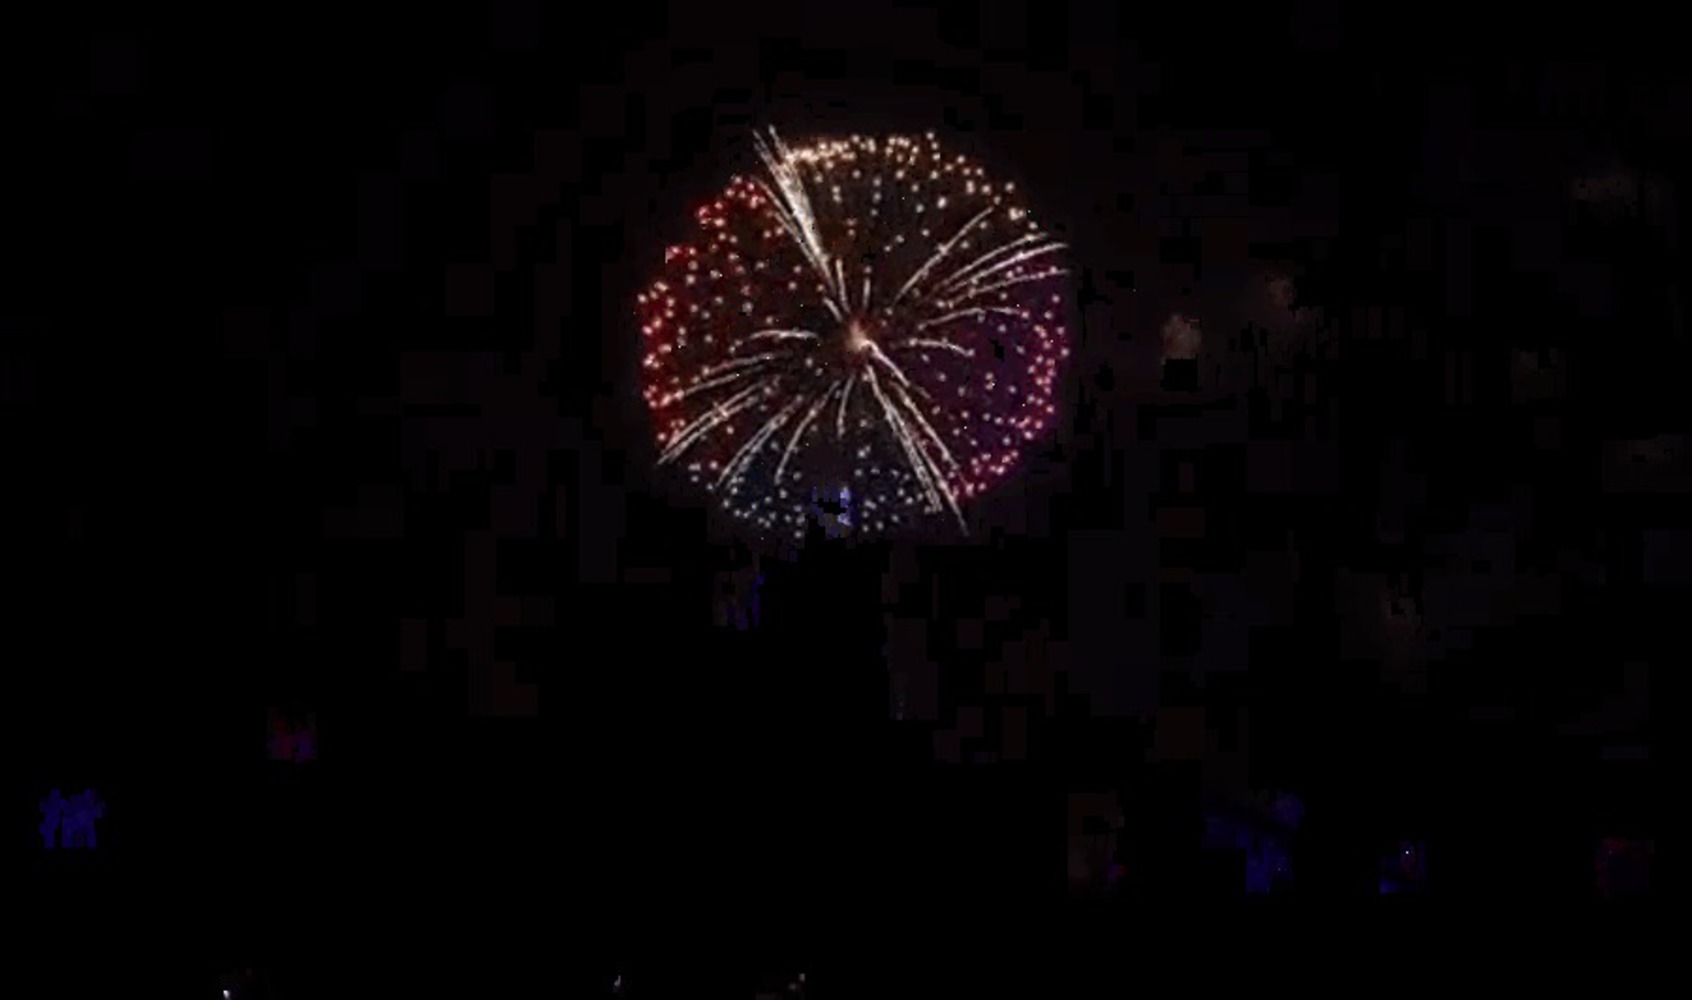
For the purposes of this proposal, I focused on two of the iconic fireworks in the show.
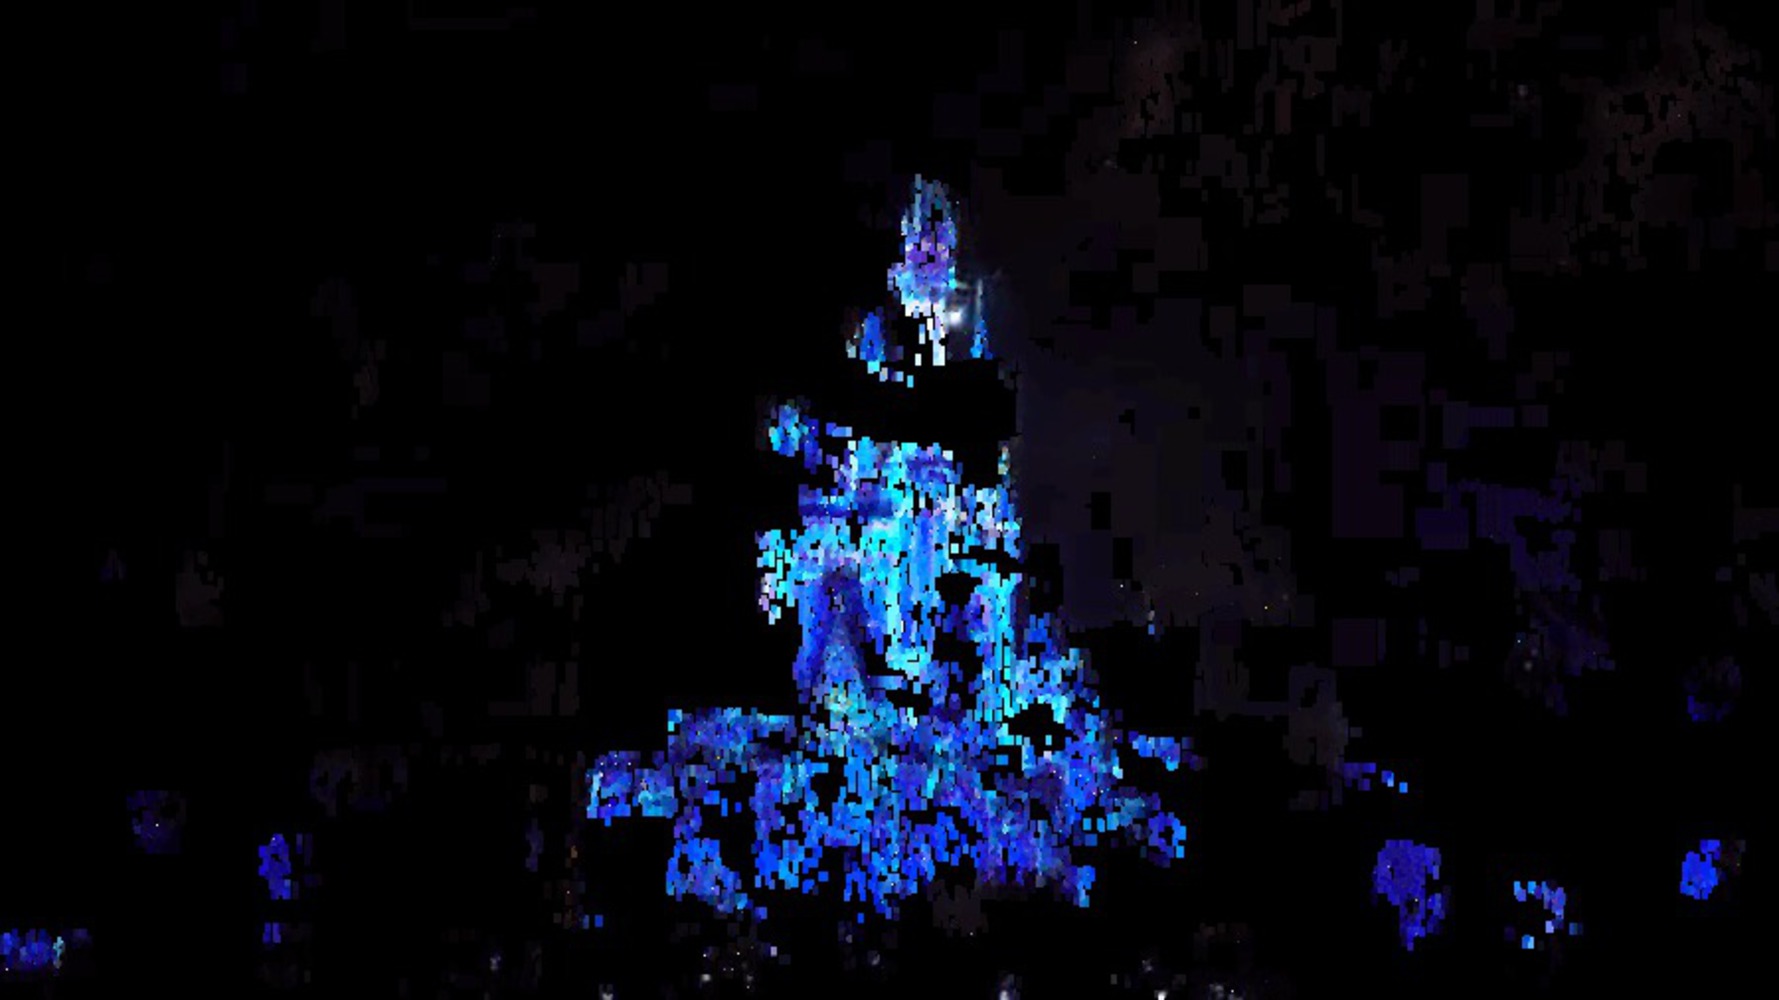
The star going over Cinderellas Castle  

Gif.thumb
Show Advanced Options

  And the multicolored "flower that blooms in adversity"  

Gif %281%29.thumb
Show Advanced Options

Materials

50-60 Flora-Neopixel LEDS- These are sewable RGB LEDS that would be used to create the fireworks bursts. The individual LEDS are important because I don't want the shapes of fireworks to be confined to a grid or circular layout, and would allow me to model complex behaviors more accurately.
Felt- To create the castle silhouette and top off the soft buttons
Conductive Fabric- To create the soft buttons
Conductive Thread- To sew it all together
Canvas fabric- For the background of the tapestry
Arduino LilyPad- as the microcontroller  
A power source

Process

I first watched the fireworks for a while and drew sketches of them.  Then I tried to place LEDS in meaningful locations that would model a firework.  This is when I realized the shear amount of LEDs needed to really do the complex shapes possible.  

Then I drew a silhouette of the Castle and cut it on the Cricut Machine and worked to create a small prototype of the "Star Firework" 

Img004.thumb
Show Advanced Options

  I then looked into possible solutions for controlling the LEDs with limited digital ports. After some research, I found a solution called Charlieplexing(http://www.instructables.com/id/Charlieplexing-the-Arduino/).   I drew out the circuit diagram for the first star firework using 6 LEDS and 3 digital ports and created a working demo with my own Arduino.

Img003.thumb
Show Advanced Options

  Then I drew a silhouette of the Castle and cut it on the Cricut Machine and worked to create a small prototype of the "Star Firework"   

Img001.thumb
Show Advanced Options

Product

While I attempted to create a small prototype of the firework, the charlieplexing circuit was too difficult to replicate by hand on such a small scale.  I also chose to use standard LEDs because I didn't want to worry about programming the color of the LEDS.  However, adding the required resistors for standard  only added to the complexity of the circuit.  In the end, too many wires crossed eachother and I made a short circuit.  Below is the image of the result.

Img 20180218 000505.thumb
Show Advanced Options

Reflection

As someone who has a lot of experience in physical computing and electrical engineering, I didn't realize how much more thought goes into the planning of the circuit when it needs to be sewn.  Creating the circuit on my breadboard was much easier to debug than the circuit on the fabric.  In the future, I'd probably draw a lot more circuit diagrams to scale and plan the paths much more carefully when creating this complex of the circuit

Sample Book

Here are photos from my sample book!

Img 20180218 001838.thumb
Show Advanced Options
Img 20180218 001805.thumb
Show Advanced Options
Img 20180218 001745.thumb
Show Advanced Options
Img 20180218 001732.thumb
Show Advanced Options
Drop files here or click to select

You can upload files of up to 20MB using this form.