Back to Parent

Outcome


Intention

The main idea behind my project was to solve a problem that I, as a desk user was facing. My desk is often very cluttered with all sorts of things, including a large array of jewelry. I wanted to solve this problem through a 3D printed prototype solution. 

It would also have to be shaped in a way that would have to work better than my current jewelry holder, which is a small dish. The main reason the small dish doesn't work as well is because of its shallow shape. Thus, my solution would have to have thinker walls. 

Research & Context

For the design of my prototype, I wanted to make something was simple yet classy. This was so that it would fit the general mood of something that would match well with jewelry. 

While browsing the web, I was inspired by the columns in older architectural designs (such as Greek and Roman). I thought it would be interesting to make a prototype that would be firmly based on similar column styles instead or the normal smooth surfaces of cup molds. 

Screen shot 2018 03 06 at 7.47.17 pm.thumb
Show Advanced Options

Process & Procedure

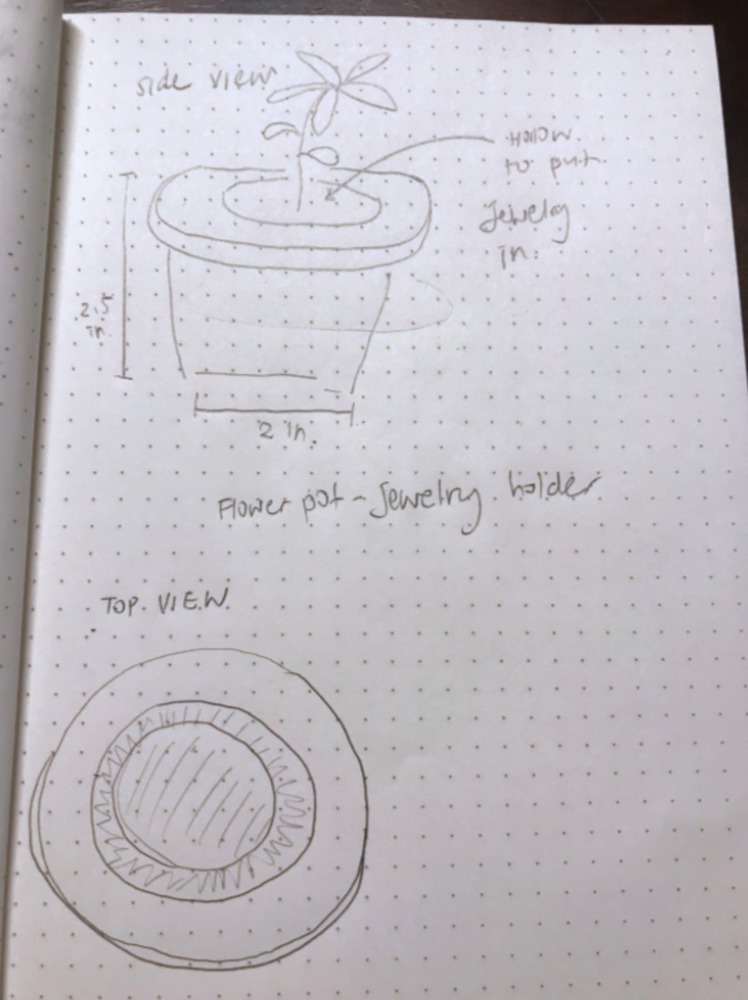
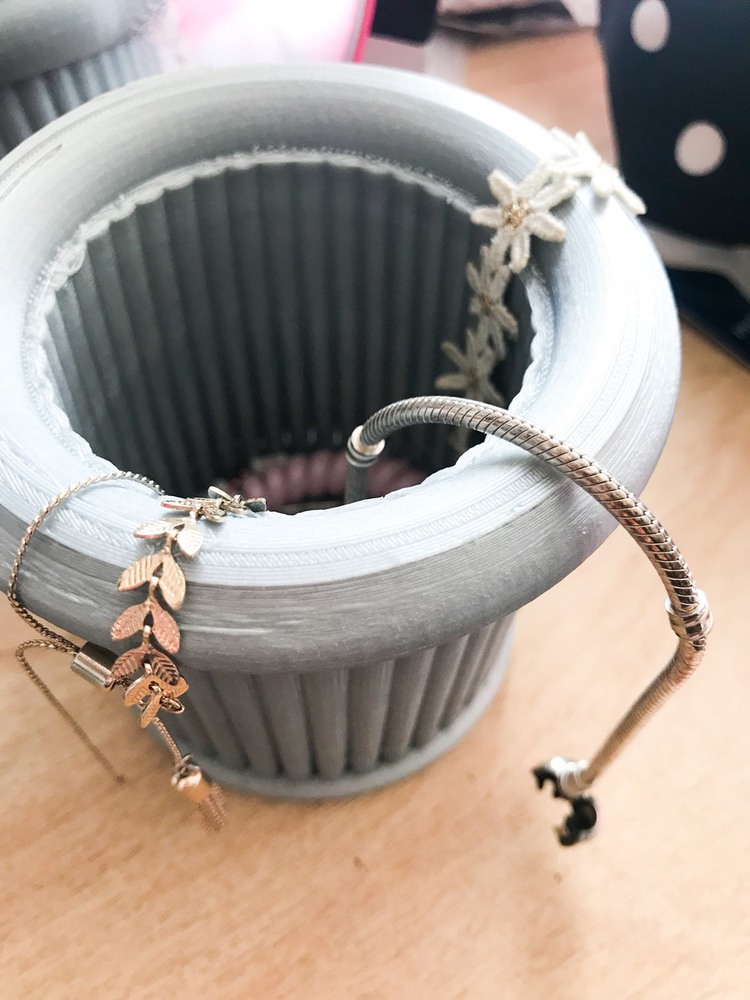
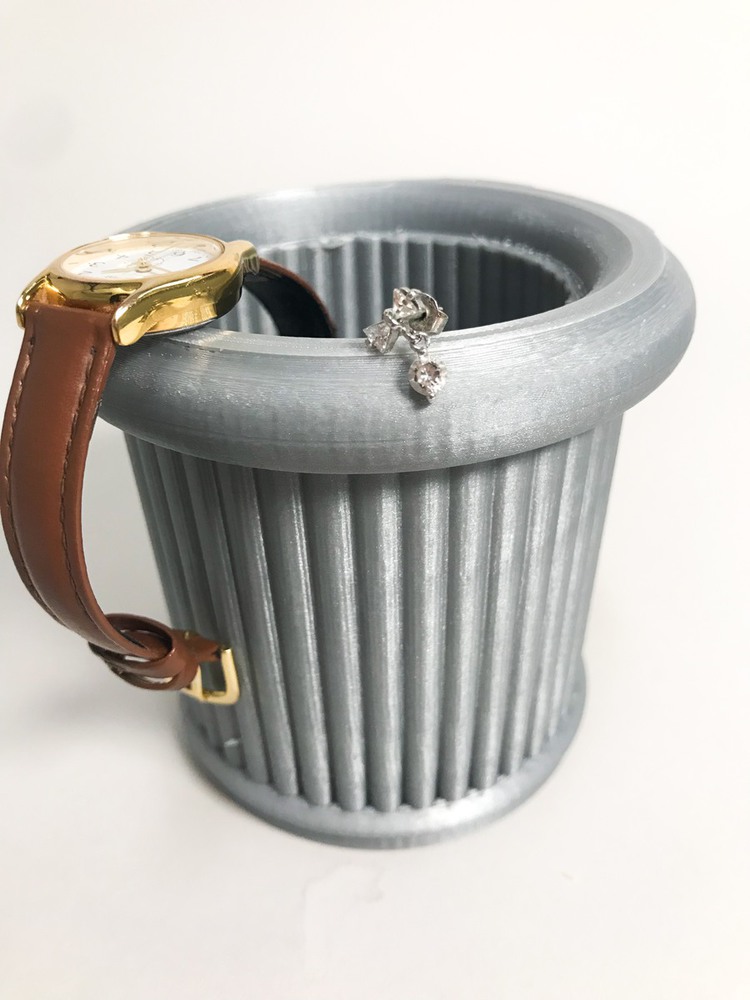
Originally, I wanted to add another element of elegance in my prototype: a flower hanger. However, while designing on CAD, I realized how difficult it would be to design and successfully print a flower design along with my original holder idea. 

I was also inspired to make use of the different creating tools we learned in class, such as the torus tool which I had never even heard of before. 

This helped define a simple, yet elegant design. However, I then started to face various difficulties in the 3-D printing of my final prototype. Our class was instructed to send our print jobs to NVBots, which would then make the final 3-D print job. My first attempt at printing ended up failing after printing a portion of the way through. I then saw that someone (TA)  had sent my original print job to another NVBot printer. However, while I was watching this second 3-D print being done, I was alarmed to find that the machine was "air-printing." Essentially, the machine was going through all the motions of printing and thought it was printing. However, it was actually not, and was in fact printing in the air. 

Cody Soska who happened to be fixing a machine in the Ideate Lab, helped look over my design. However, after going through various programs, we determined that there was nothing particularly faulty with the design. 

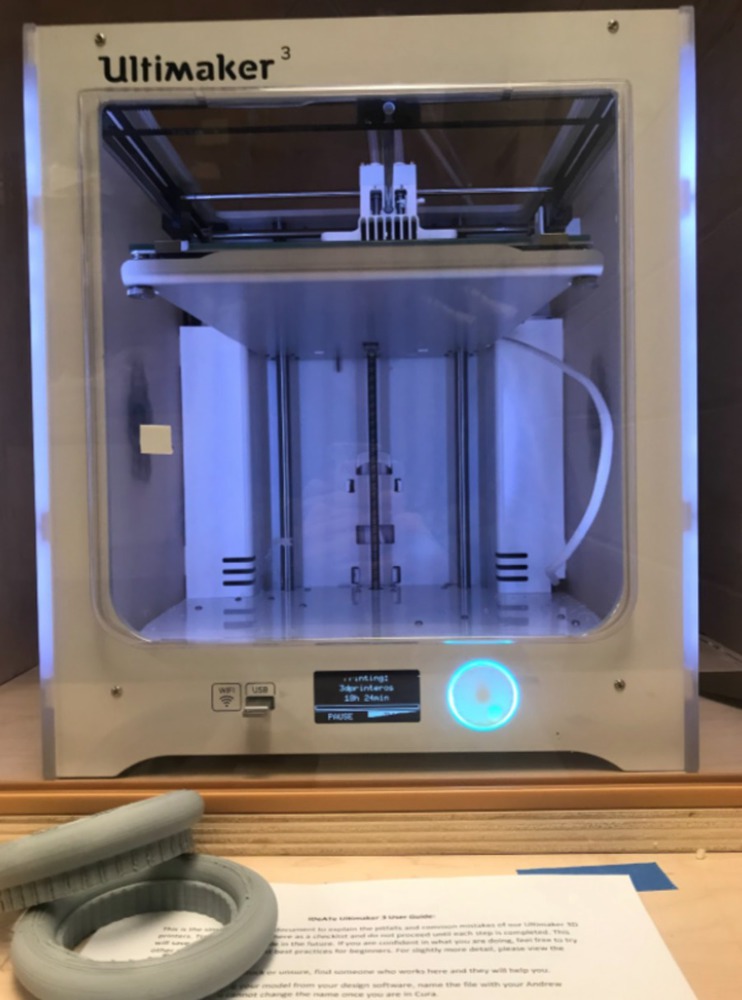
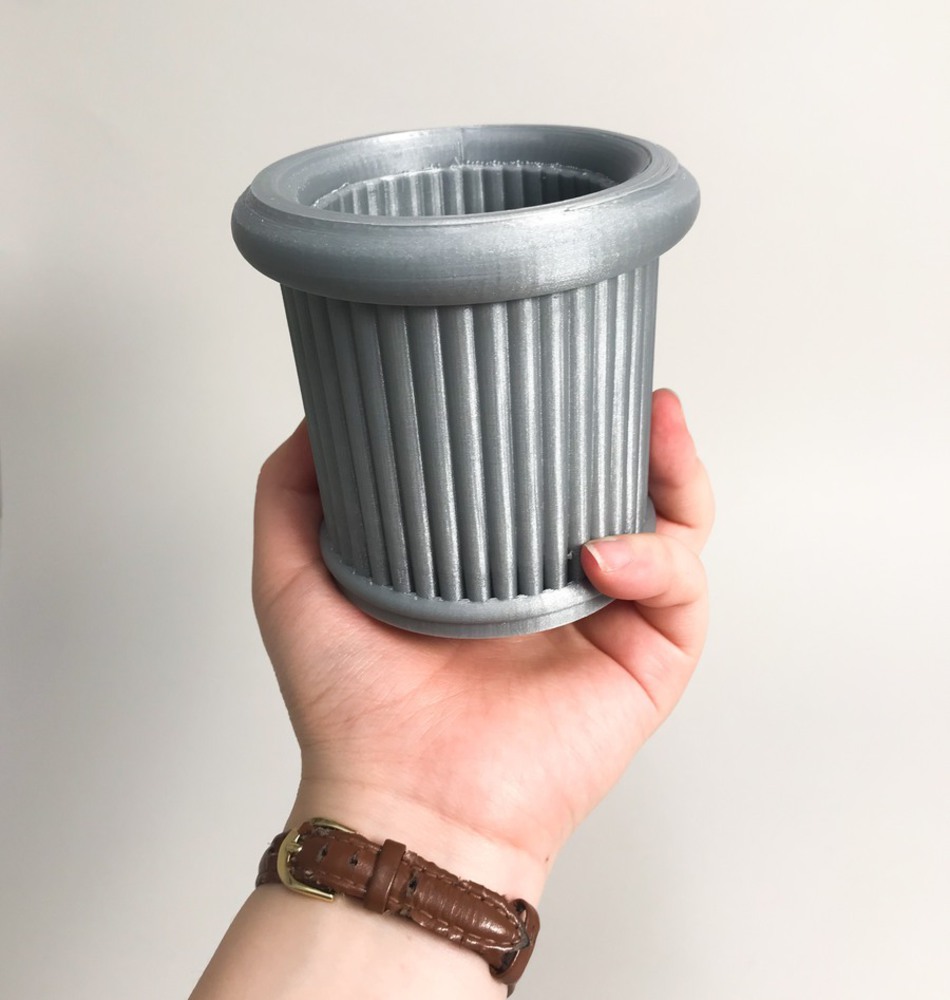
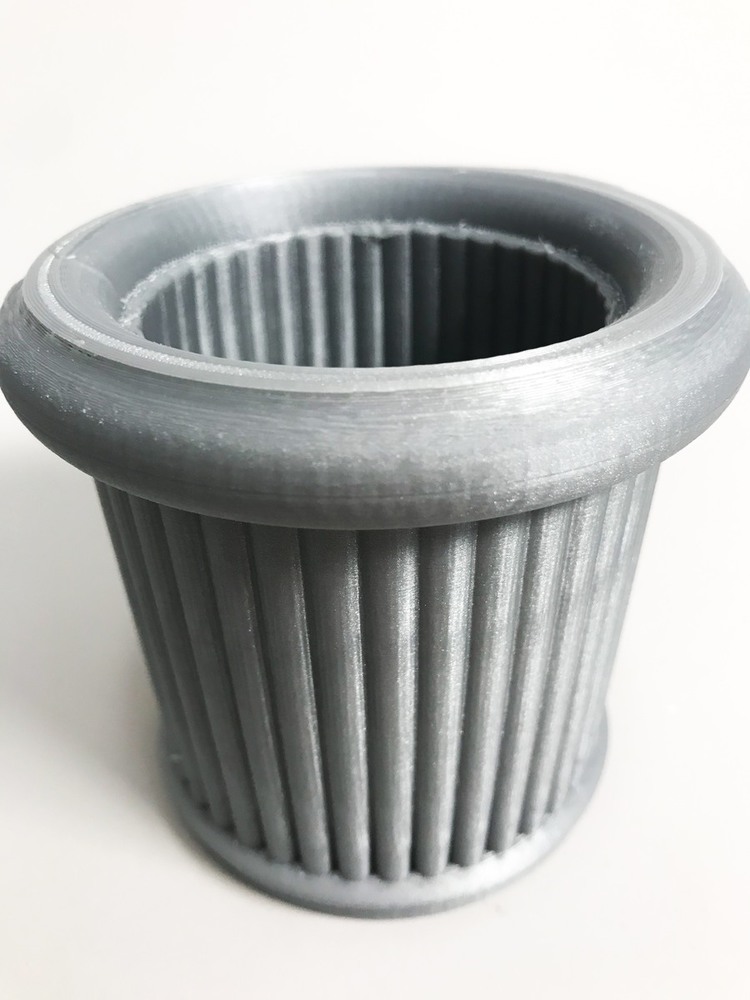
Cody then sent the print job to another machine called Ultimaker (pictured below along with my two failed prototypes). After a print job that took about 18 hours, my final prototype was finally printed. 

Screen shot 2018 03 06 at 7.54.09 pm.thumb
Show Advanced Options
Screen shot 2018 03 06 at 7.53.08 pm.thumb
Show Advanced Options

Product

I was able to achieve my original vision of having a column-inspired jewelry holder. I was able to create these columns through the circular pattern tool under sketch option in Autodesk Fusion 360. When extruding the columns, I also added a special element of some slope, to create a slight cone effect. 

Img 4568.thumb
Show Advanced Options
Img 4572.thumb
Show Advanced Options
Img 4571.thumb
Show Advanced Options
Img 4570.thumb
Show Advanced Options
Img 4569.thumb
Show Advanced Options

Reflection

I was satisfied with my final product. However, if I were to change only one thing, I would attempt to make the special flower design piece I ended up giving up on making. I was also surprisingly satisfied with the silvery/grey finish of the product's color. It fit well with the design. 

Overall, I learned that no matter the design, I should still prepare for any problems from the printers. These kind of problems are unpredictable. One thing I would try to do differently would be to add more personalized designs. For example, this could have been simple, such as prints of my name or initials.

Show Advanced Options
Drop files here or click to select

You can upload files of up to 20MB using this form.