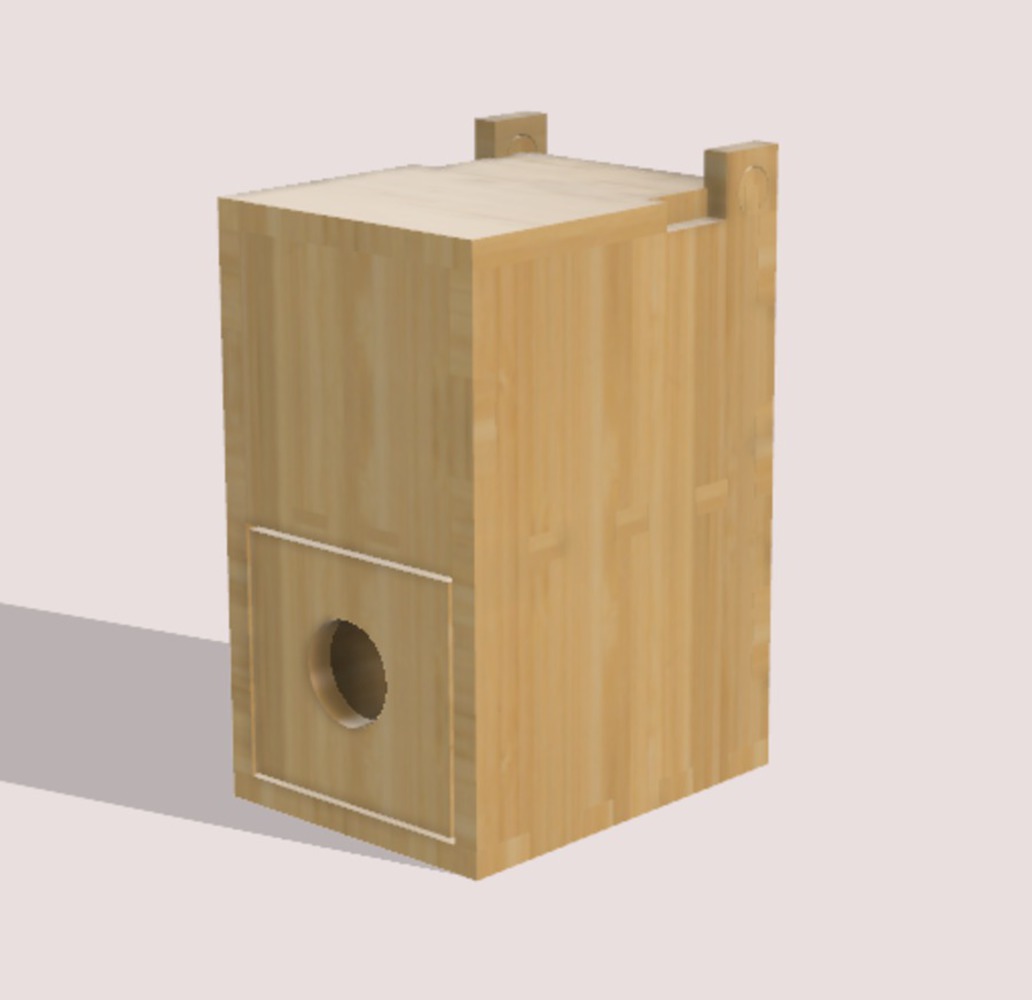
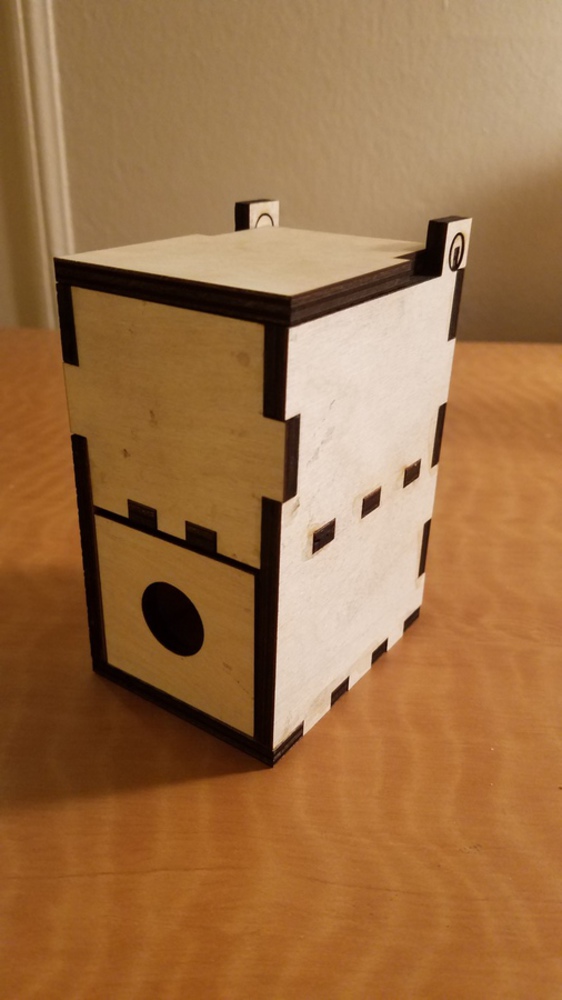
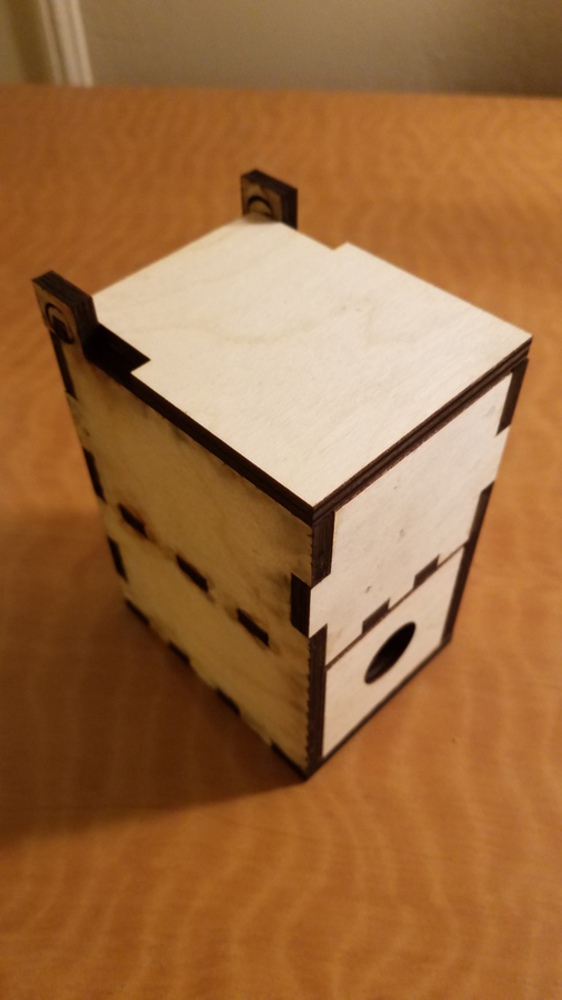
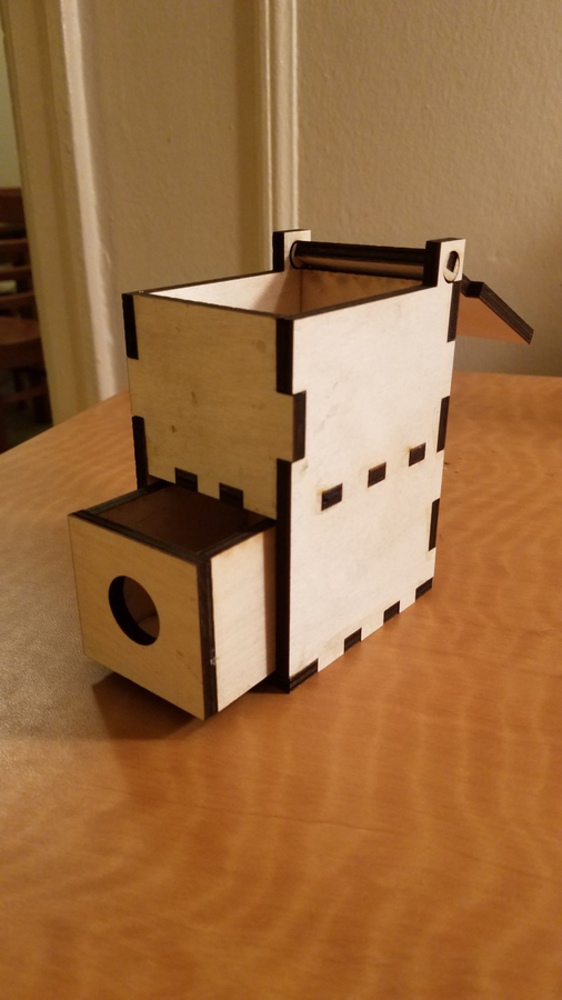
Back to Parent

Outcome


Intention

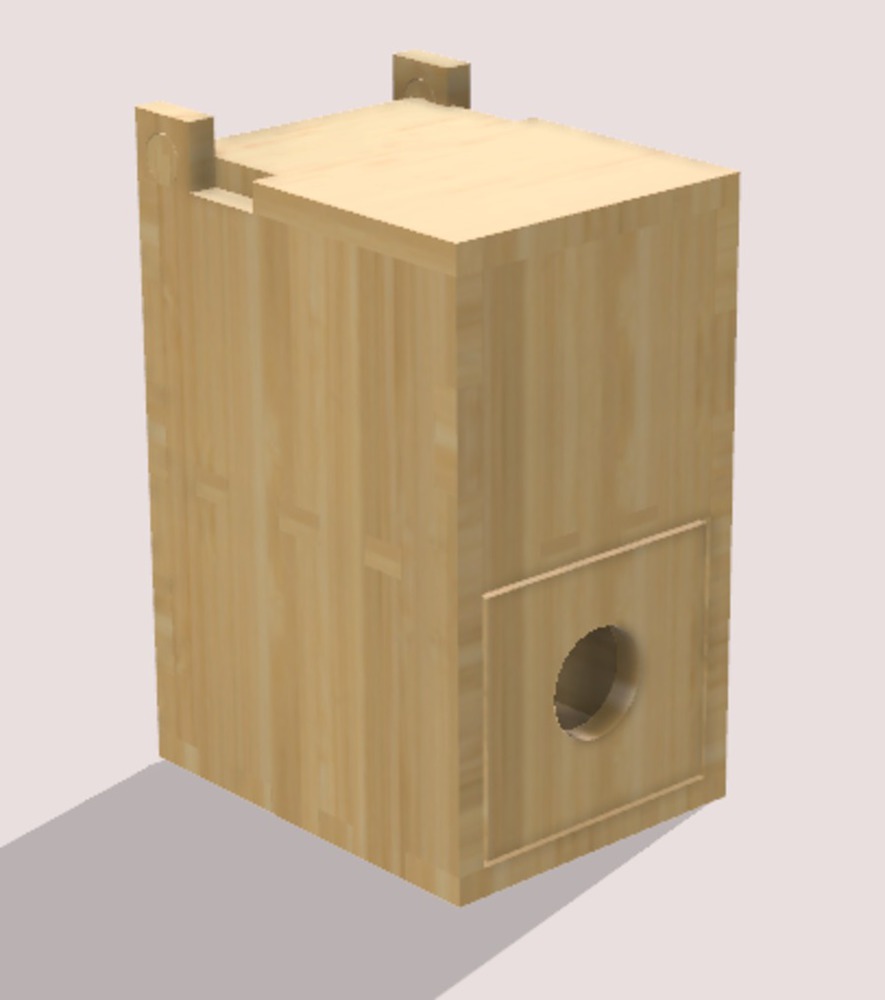
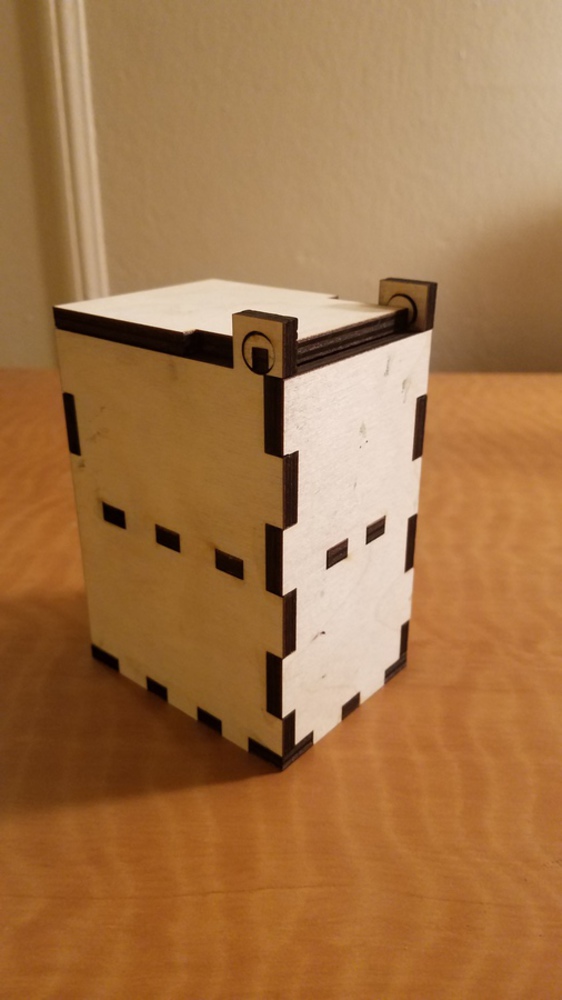
My intention going into this was to create something movable with either 3D-printing or laser cutting! With all that was going on in my week I thought 3D-printing would make my life easier, cause all I would have to do was send it off to print. But then I realized that with laser cutting I could end up with a nicer, more polished product, and that I would probably have more fun doing it. I decided to do something box-ish, cause I knew I could laser cut that. I thought about how I have a bunch of rings and earrings that I basically keep in a plastic bag, and thought it would be neat to give them a nicer home. 


Research and Context

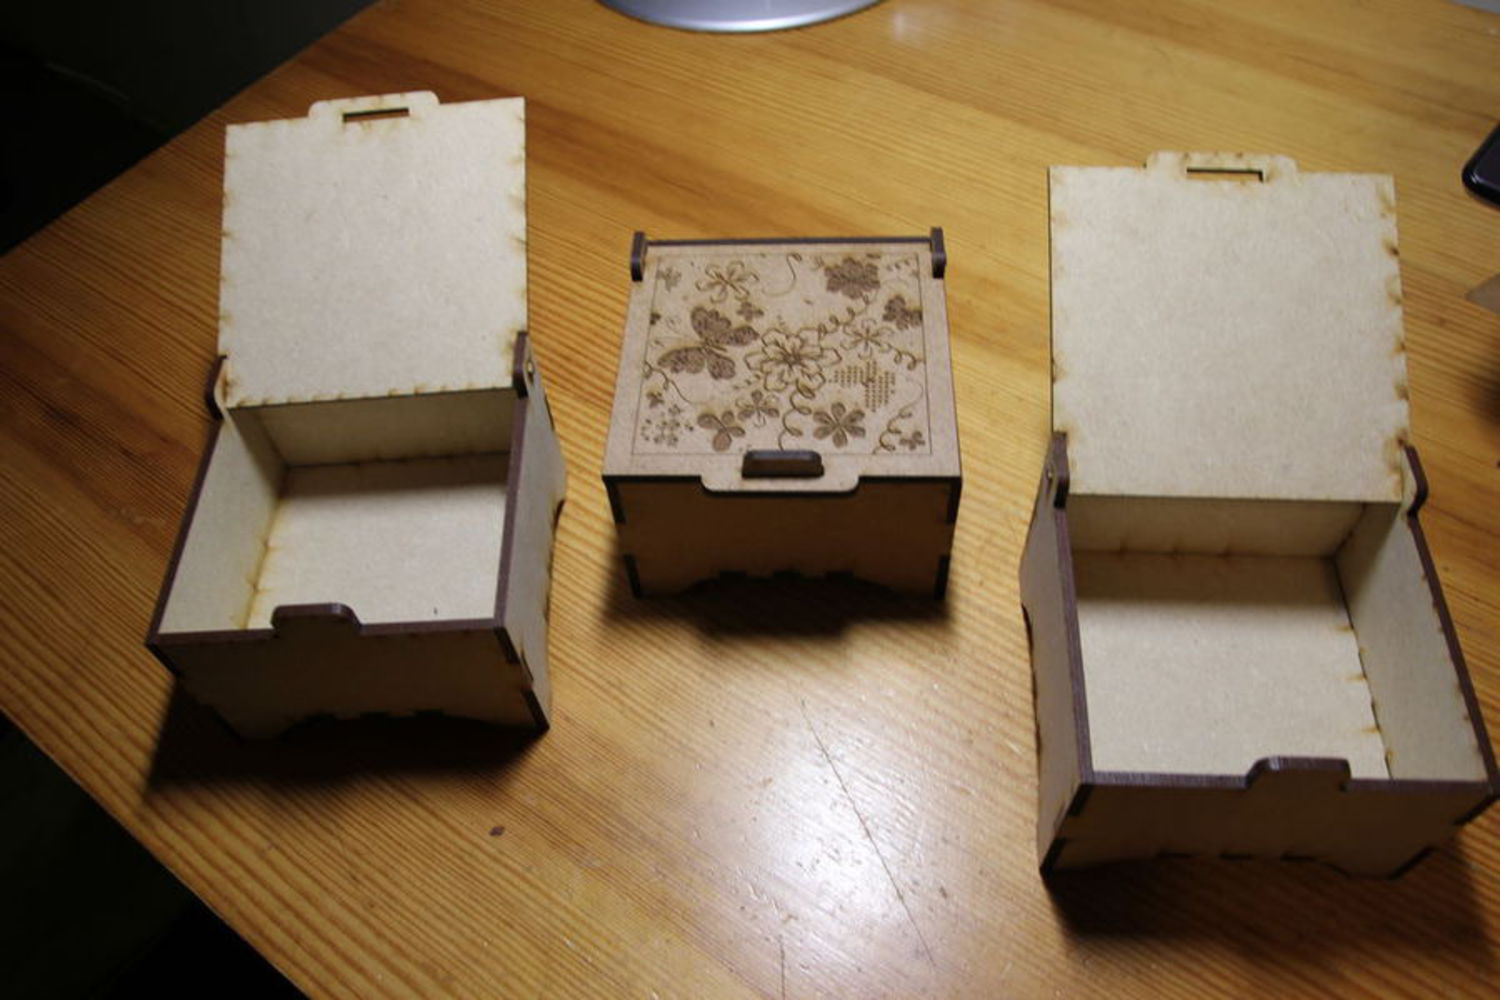
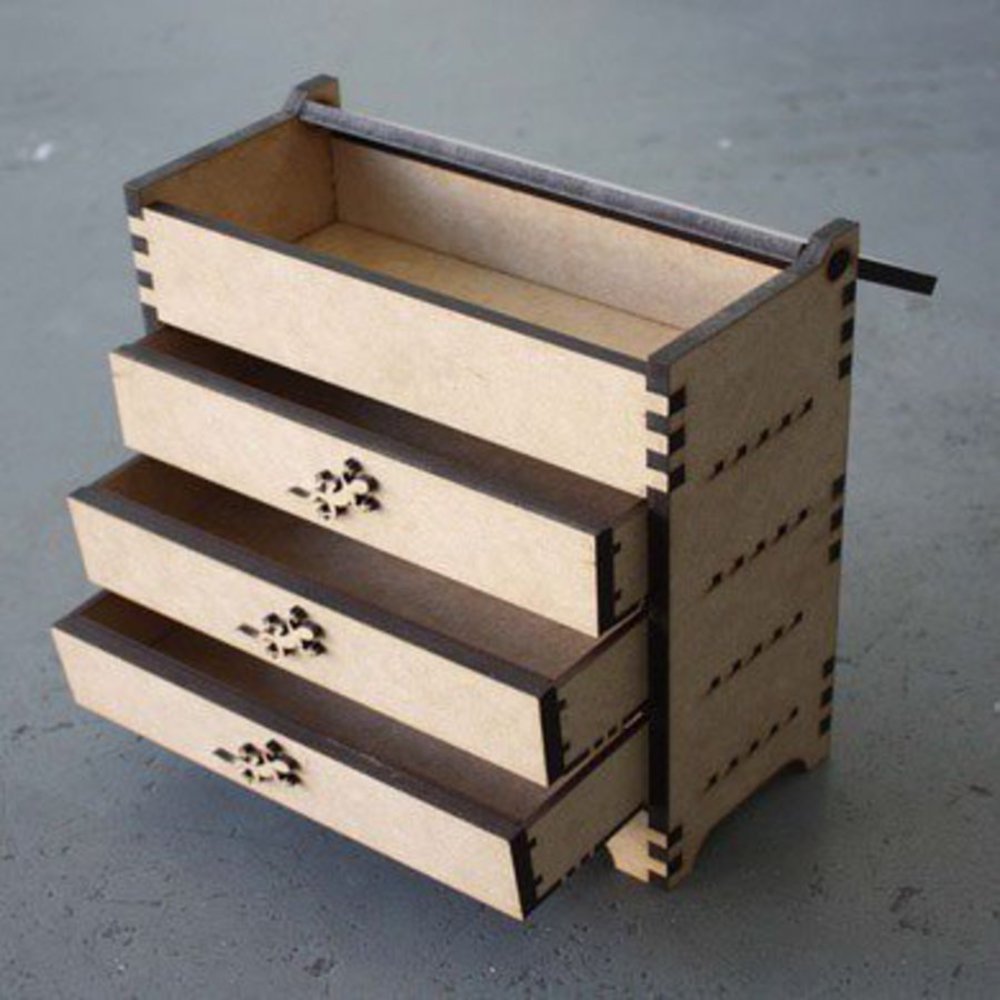
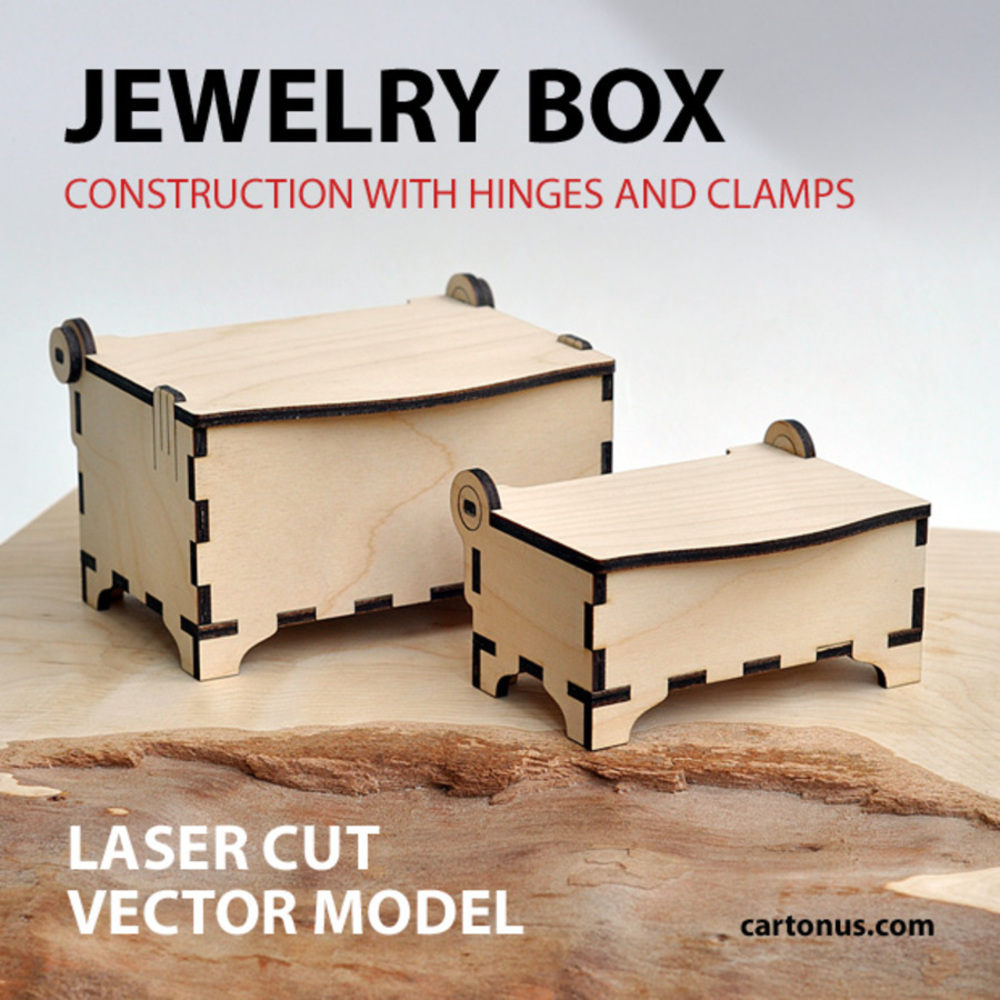
With the wonderful help of Elizabeth Larson I found many sources of inspiration (shown below). She spoke to me about the cool ways you join side of boxes, using almost a puzzle methodology (which I found pretty satisfying to actually implement). With a rough idea in my head of how large I wanted the box to be, knowing I wanted one shelf with a lid on top and one drawer,  went straight to Fusion.

Fzkpuuzhi3ts3ee.large.thumb
Show Advanced Options
8527161ec039b35ce4f46b157ff6cb3b.thumb
Show Advanced Options
Cartonus jewelry box hinges clamps 2 boxes.thumb
Show Advanced Options

Process and Procedure

My process was essentially creating the the two sides, back, front, bottom, drawer, then lid, in that order, in Fusion 360. I used a lot of the combine and cut tool in order to make the puzzle like structure to join the various sides, and I used a lot of mirroring, so that I wouldn't have to do overly repetitive steps. When it came to laser cutting, I actually had to make some test cuts on my 6 mm plywood because I found that the settings written near the laser cutter weren't doing it for the plywood. I also had to redo the lid, because I found that my initial design had it so that the back of the lid wasn't allowing for the lid to open all of the way. I also had to create some circular pieces to fit around the edges of the places where the lid would turn, so that they could turn more easily.


Two Renderings

Render2.png.thumb
Show Advanced Options
Render1.png.thumb
Show Advanced Options
20180308 200006.thumb
Show Advanced Options

5 Semi-Professional Photos

20180308 195959.thumb
Show Advanced Options
20180308 195815.thumb
Show Advanced Options
20180308 195910.thumb
Show Advanced Options
20180308 200023.thumb
Show Advanced Options

Reflection

Overall all I really like how it turned out. I love how the edges of the plywood are kind of this burnt color, and how the pieces fit together so well--it makes it so fun to just look at and assemble. If I had more time I certainly would have added more artistic flair to it, especially now that I am confident that I can pull off the basics. I would also find a way to secure the drawer more (which can just be pulled out) and so that the lid doesn't go all the way back. I'm really glad I joined this class, and this project in particular was a bright spot in a very terrible week. It's also a cute place to put jewelry in!

Drop files here or click to select

You can upload files of up to 20MB using this form.