Back to Parent

Outcome


Intention

My goal was to learn the process of working with thicker, natural textiles (i.e. fur, leather, etc).  Included in this was proper scaling of  the template, cutting the hide, machine sewing the thicker material, and using a sewing awl

Process

I decided to use shearling mainly because of its affordability. However, it is also thinner and more pliable than many other fur hides, making it a good entry level material. 

Product

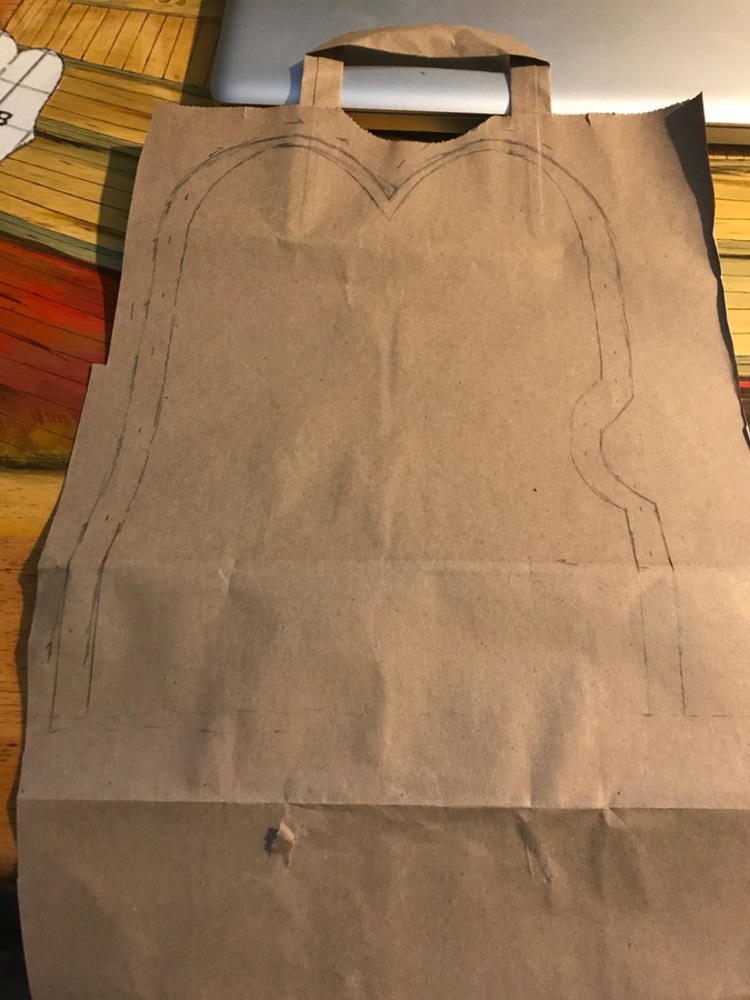
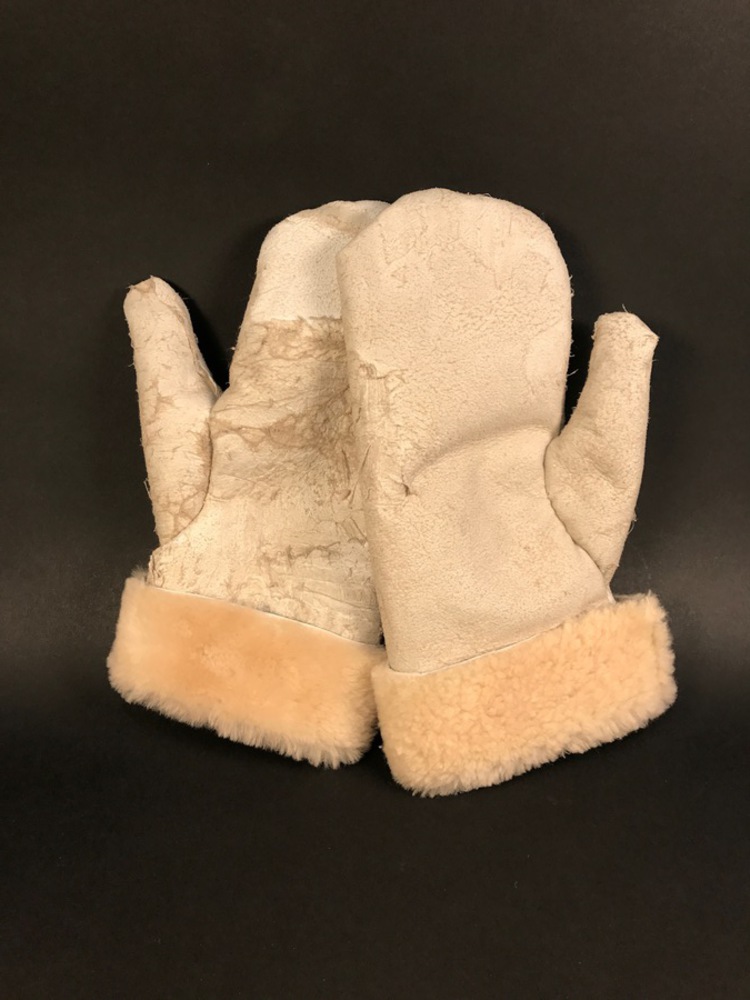
I decided to make a pair of mittens with the shearling. I chose to make them, as I thought this was a good entry-level garment given its simplicity and small size. I started by printing a template and increasing its based on the size of my own hand. It took a few iterations of drawing and cutting the template out of paper, "trying-on" each iteration for size. 

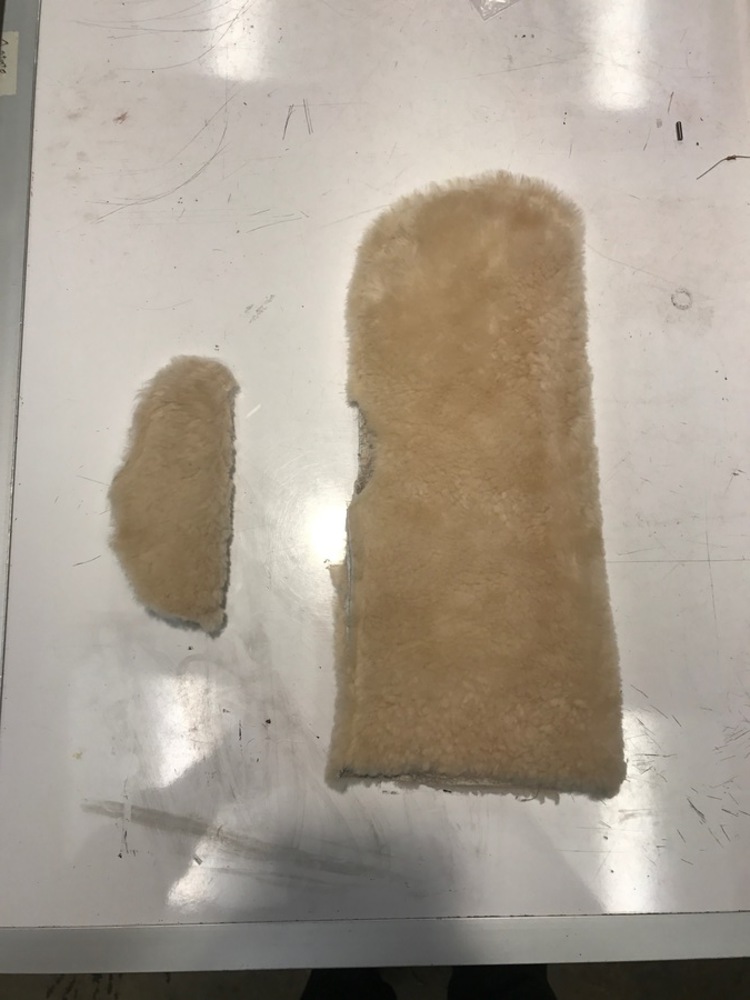
Once I was happy with the template size I traced the pattern onto the back of the fur using textile chalk. I then cut the pattern using a sharp razor. This helps prevent cutting the actual fur on the other side of the hide. 

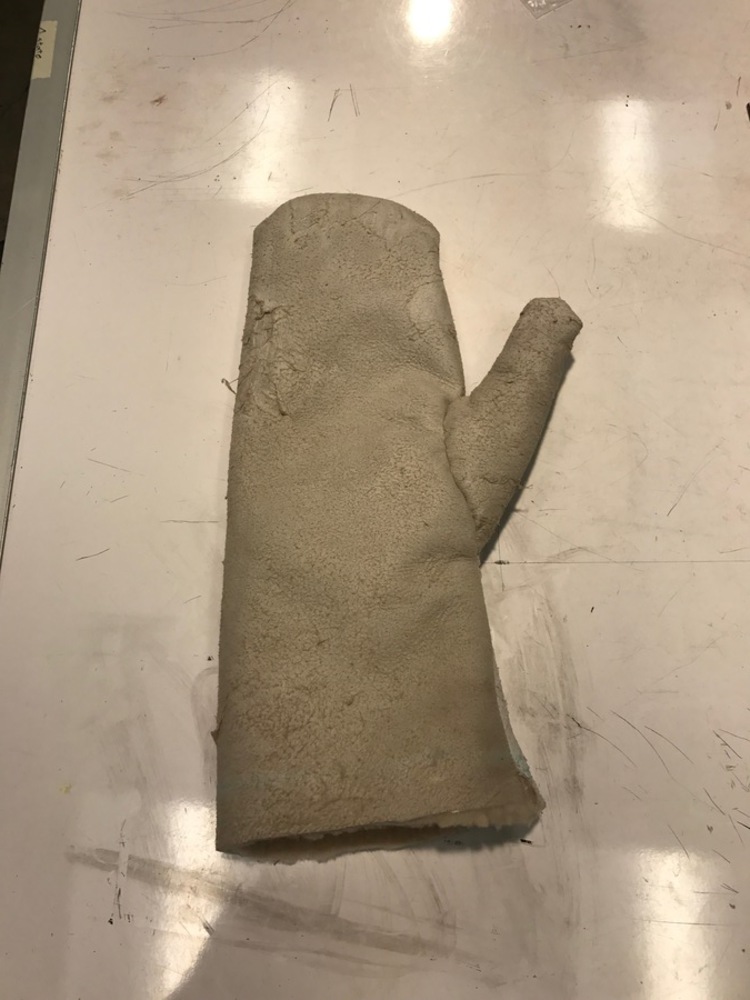
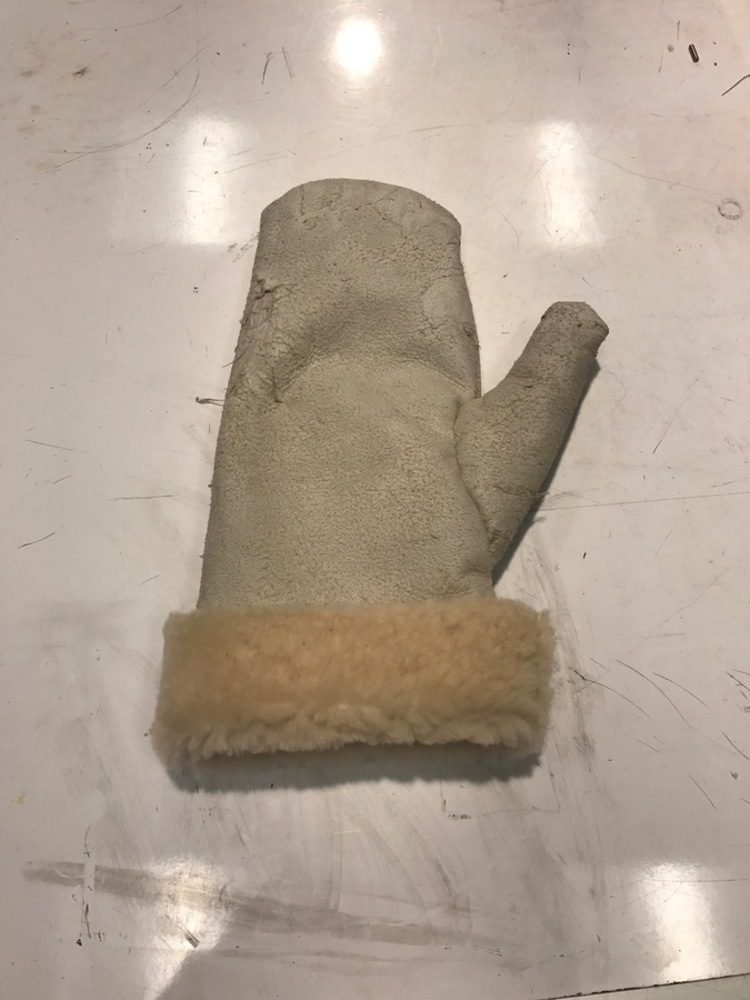
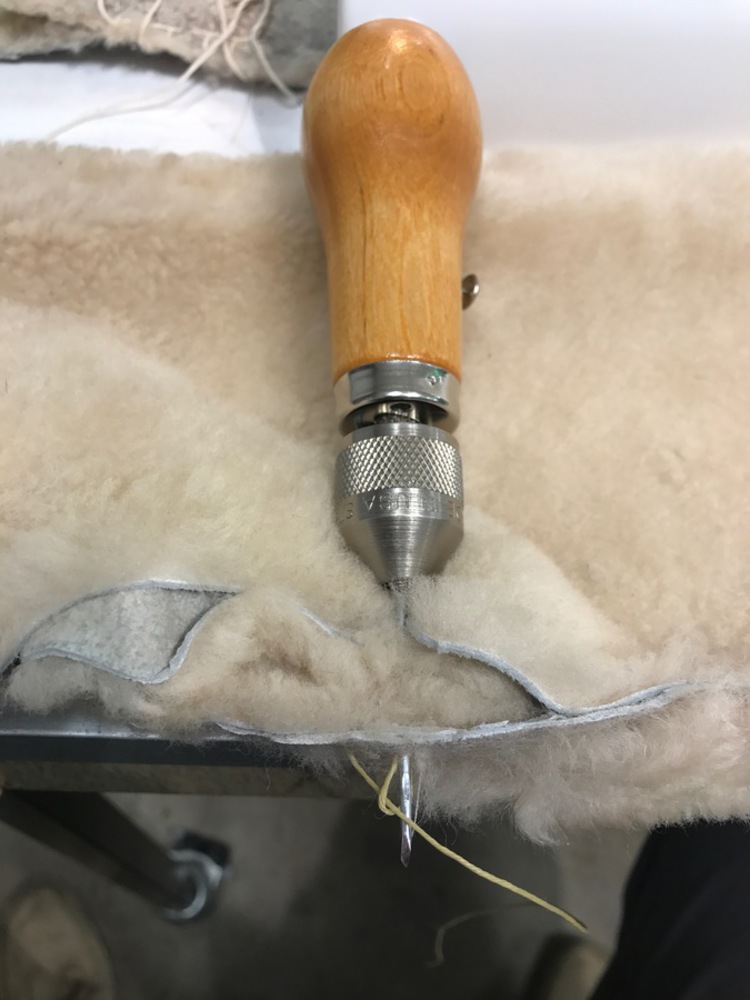
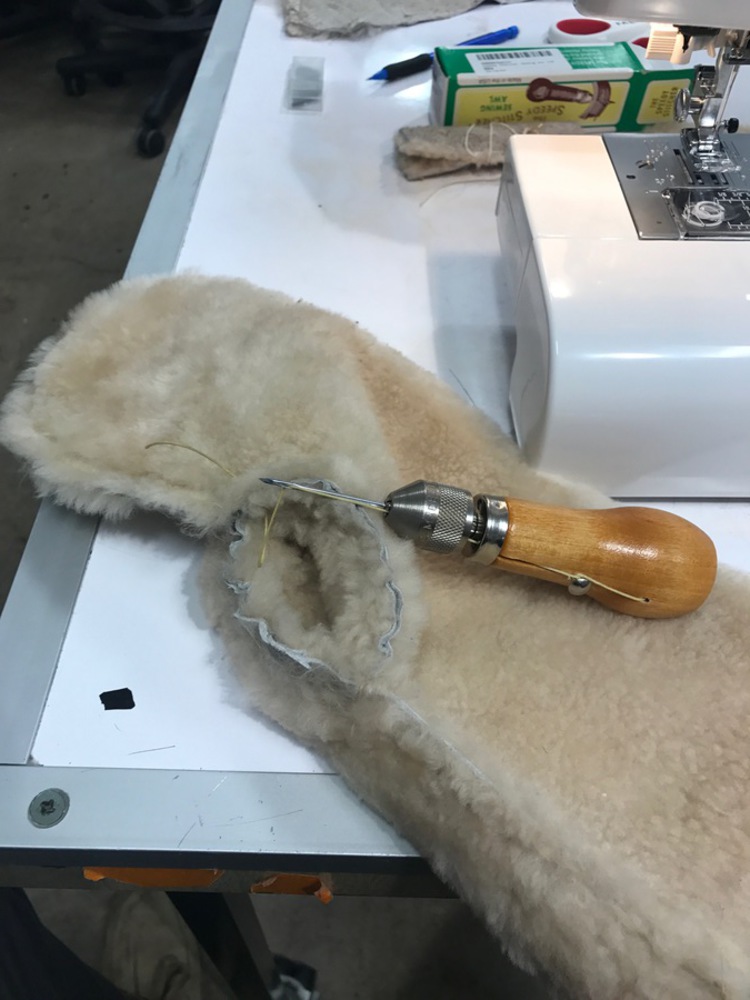
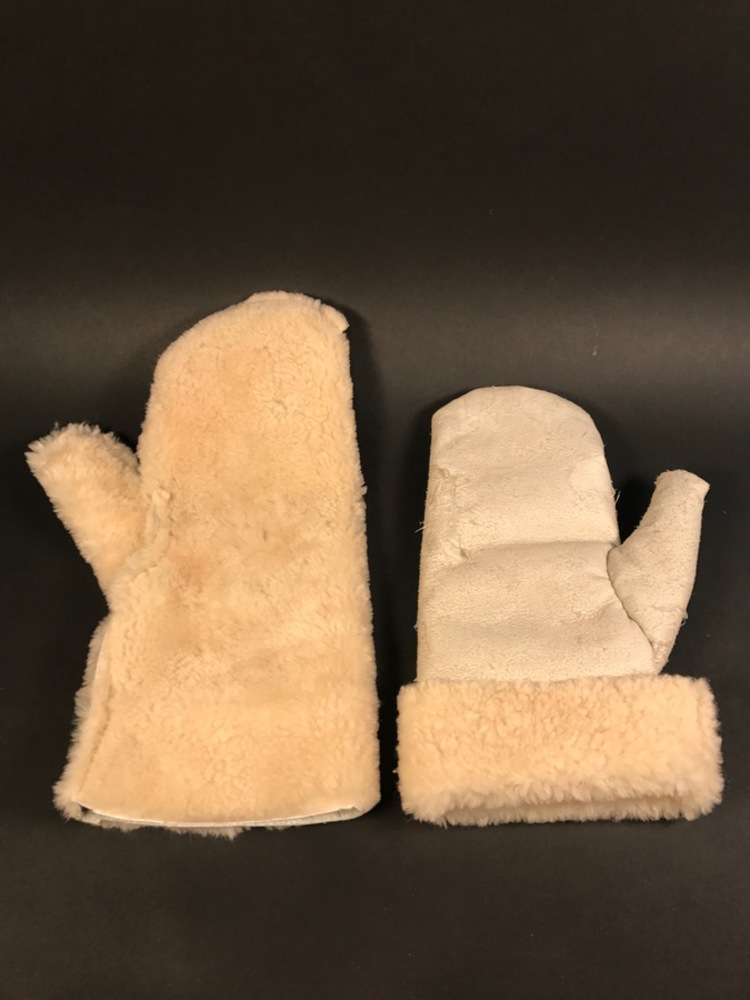
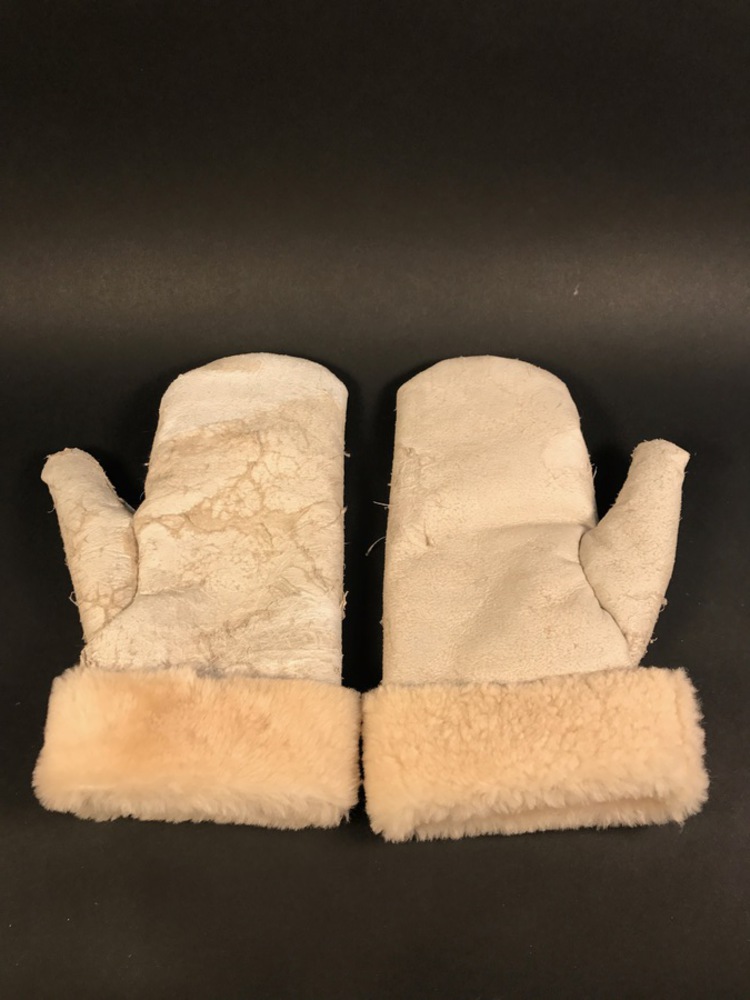
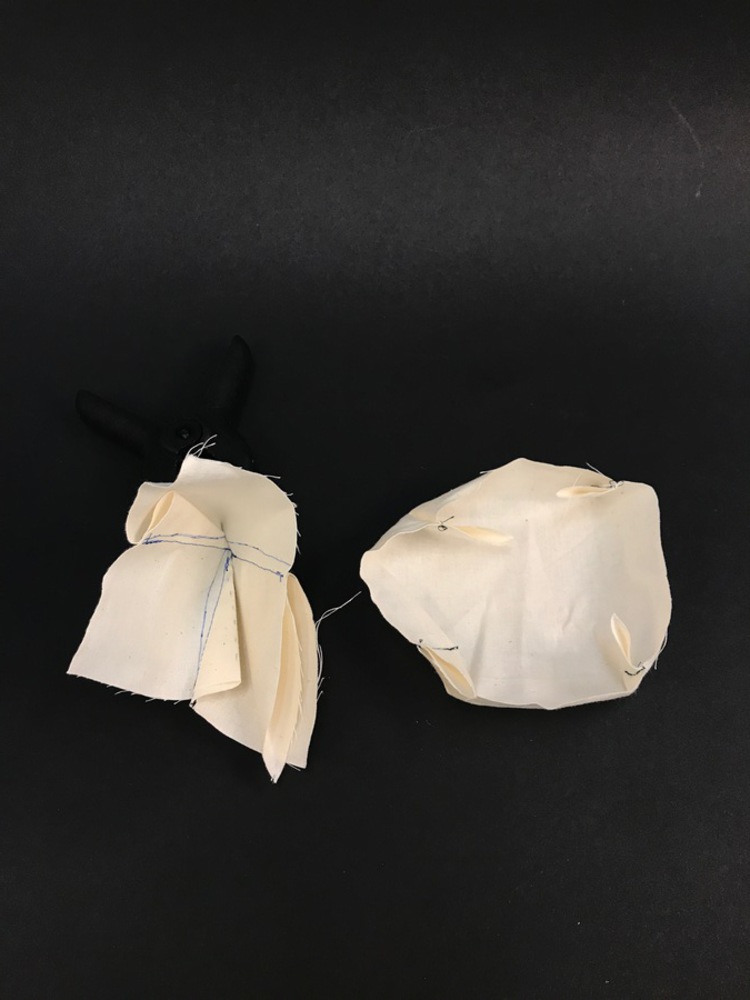
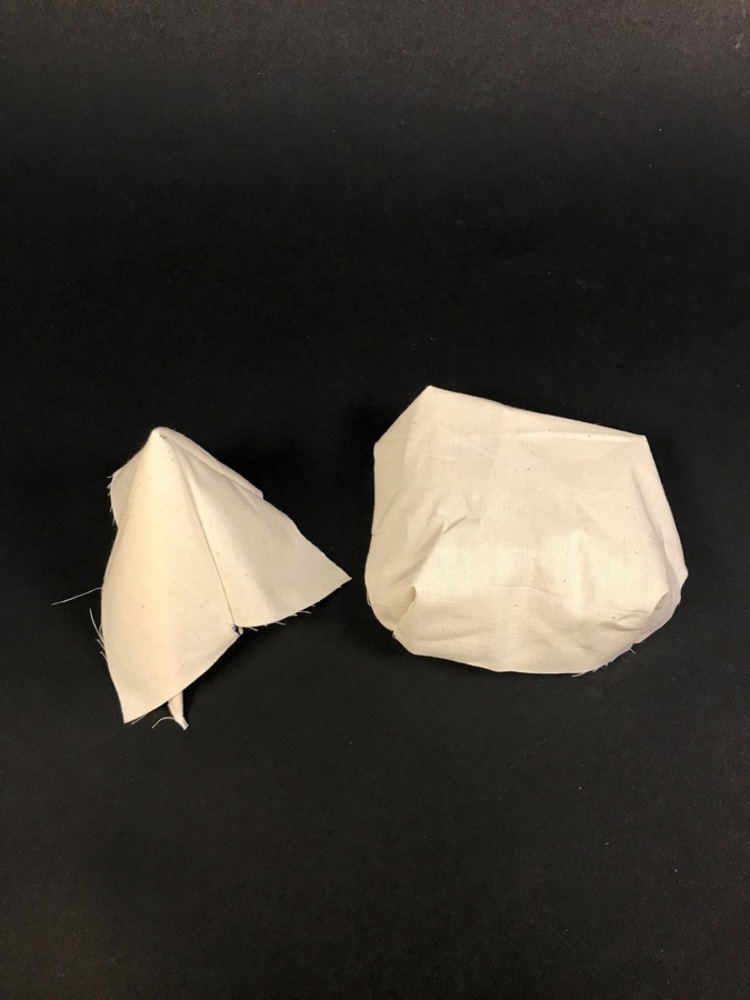
After the hide was cut, the thumb and main pieces were each separately machine sewn. The thumb could then be flipped right-side-out and inserted into the mitt. It was hand-sewn on using the sewing awl as pictured. After all the sewing was finished, the entire mitt was flipped right-side-out resulting in the pictured final product.

E92255c8 9e1a 4069 89c1 228da6583185.jpg.thumb
Show Advanced Options
A7791abf ee8a 4a97 80bc 1378def211e3.jpg.thumb
Show Advanced Options
67e168ab 86e4 4dec aad5 bdd699a9ec1d.jpg.thumb
Show Advanced Options
7b84a04f 65a7 42b7 bc43 afbd8814af34.jpg.thumb
Show Advanced Options
7337b404 6b3b 4ccd 88d4 6e4f8af14d37.jpg.thumb
Show Advanced Options
B3a2d0b3 ac5b 4181 84d9 6a900f9a3f1f.jpg.thumb
Show Advanced Options
97af82ca 536e 4f27 a48f c684d060abf6.jpg.thumb
Show Advanced Options
56b944cb 7785 4abc a67f 82e6daeafd5b 1.jpg.thumb
Show Advanced Options
72dce722 b9a4 4e61 8a53 1890f5dd1e8a 1.jpg.thumb
Show Advanced Options
0e97a3a7 ad7b 4b77 aedc ca7ef239626c 1.jpg.thumb
Show Advanced Options
6aaf5a36 b40a 4bb5 aff7 f19d1c8a6627.jpg.thumb
Show Advanced Options

Reflection

Throughout the project I gained experiencing machine sewing thicker, natural textiles. I also learned how to do a interlocking stitch using a leather awl. If I were to have more time, I would have liked to blanket stitch the entire mitt by hand with a thicker thread for added strength. 

Sample Book

Here are photos documenting the samples made during the class. This includes examples of different stickers, e-textiles, crochet, using a laser cutter and a plotter to cut textiles, and use of darts. 

8ad83446 3117 41f7 a1c4 2576484aa752.jpg.thumb
Show Advanced Options
072f9c58 97bf 4f64 aa06 eab9273bb691.jpg.thumb
Show Advanced Options
C9443a2b ed8c 4949 9d4f ea10ae541a1f.jpg.thumb
Show Advanced Options
1359397a 9a6c 4c54 9c71 9557233607bd.jpg.thumb
Show Advanced Options
8dcf5f6a 4403 477c b005 6f24d1f26f9a.jpg.thumb
Show Advanced Options
46c4d429 21aa 4245 8bf3 11823bced149.jpg.thumb
Show Advanced Options
77e8f804 ca59 4d93 b52a 2c6b9155a3e4.jpg.thumb
Show Advanced Options
6d892ac7 1643 4648 ab81 ecaf30614aa4.jpg.thumb
Show Advanced Options
Drop files here or click to select

You can upload files of up to 20MB using this form.