The process:
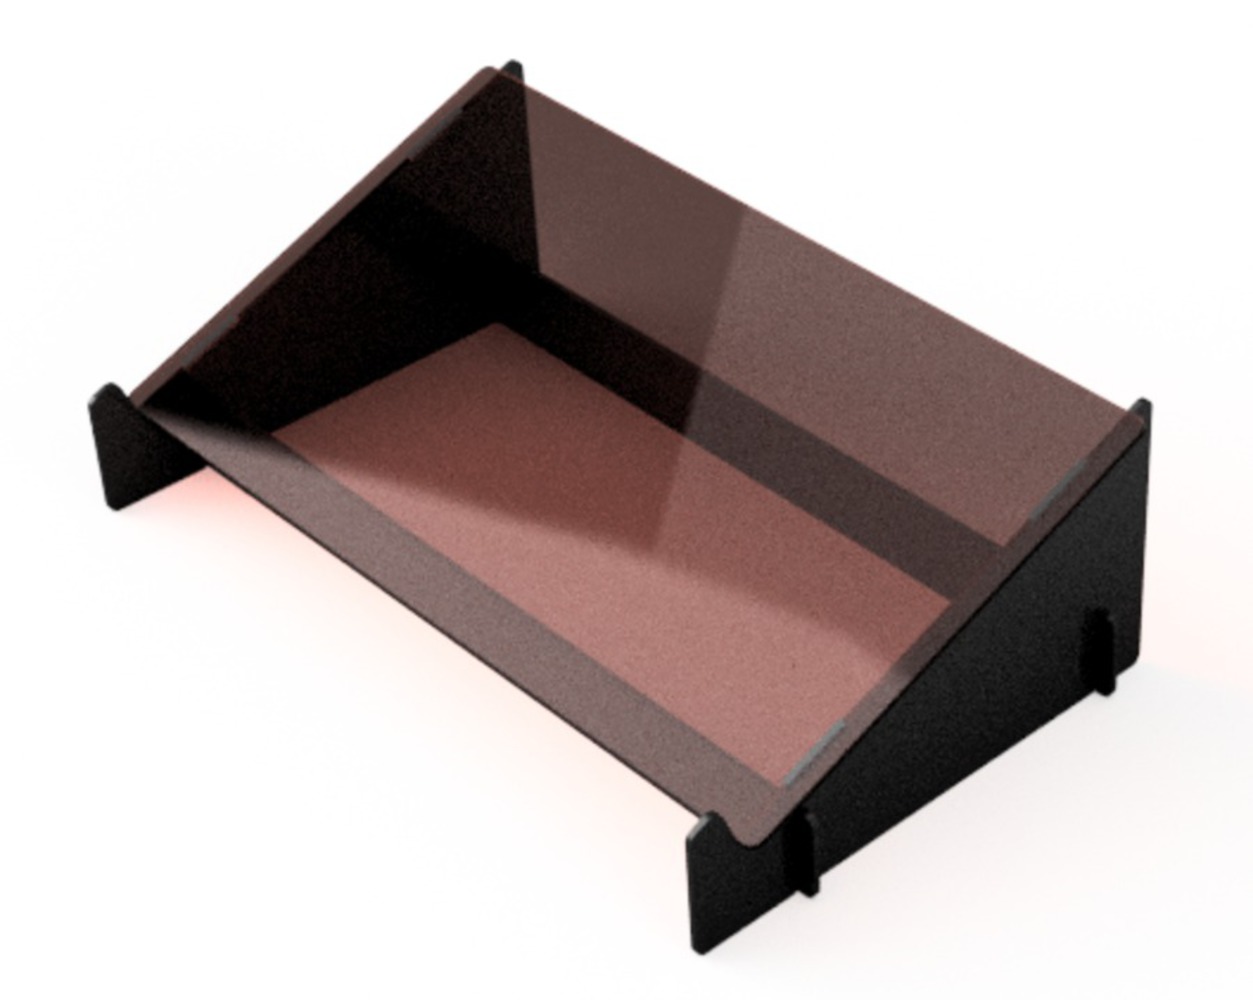
I first used fusion360 and followed the tutorial of modeling the holder. Starting from 2 side feet of the hold, then the top cover and lastly the stable strips on the bottom, the modeling process mainly used sketch tools and modify tools to draw and adjust the shapes, sizes, and positions of each piece. After finishing the model, project tool helps to create cuttable faces. They can be exported to dxf files which can be recognized by the laser cut machine.
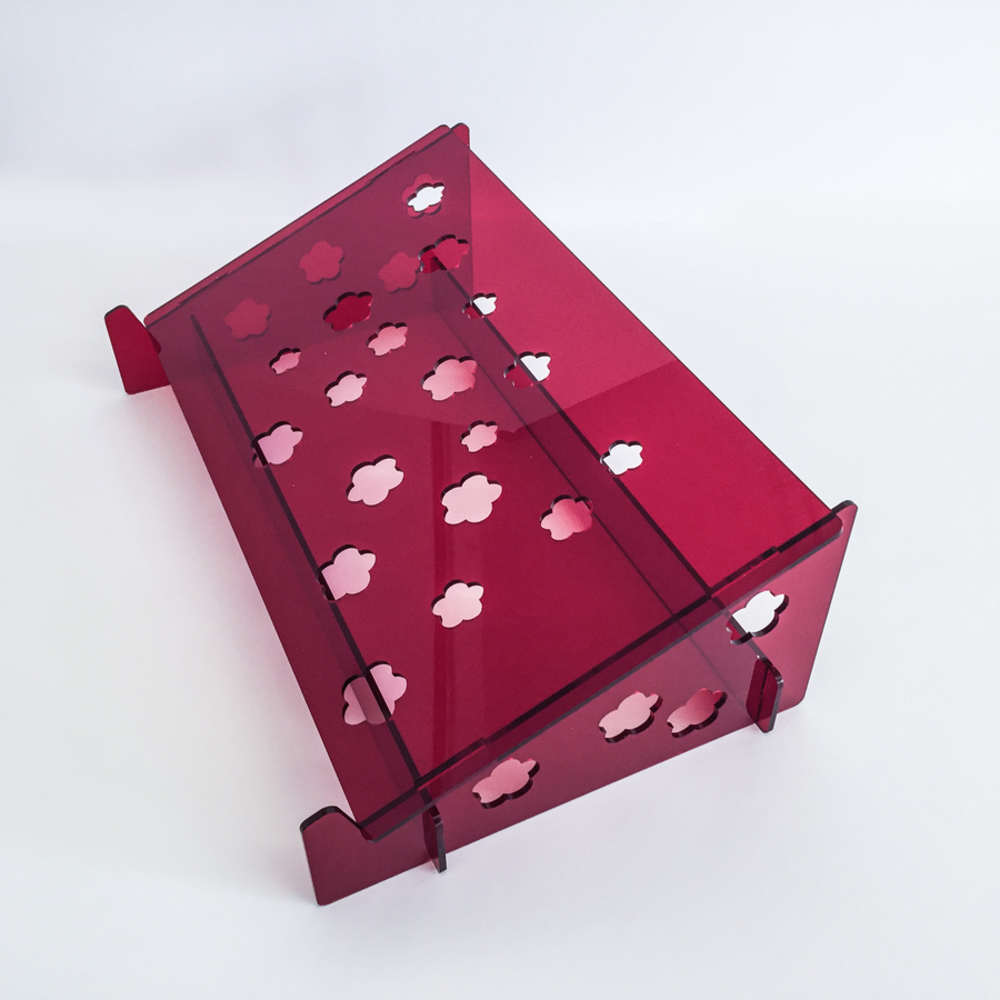
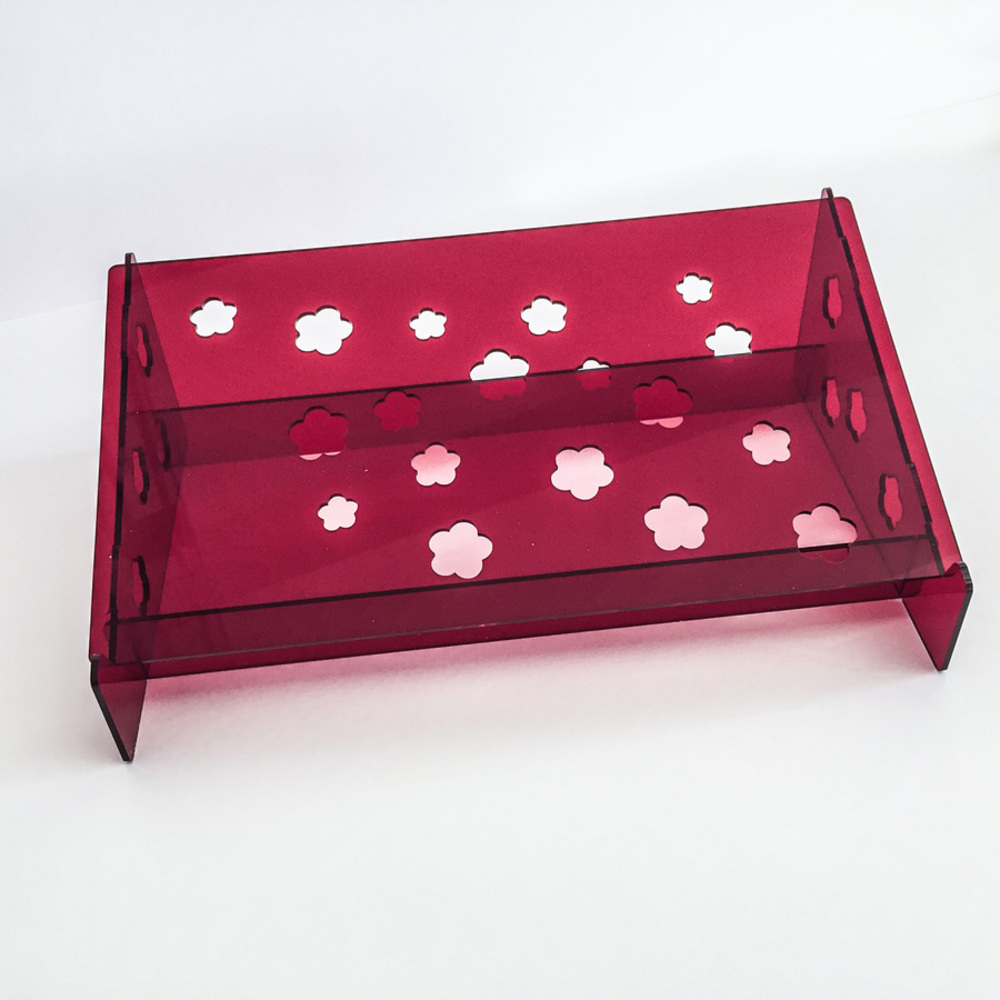
I bought a 2'by2' piece of red acrylic from IDeATe. I opened the dxf files in AutoCAD and arranged them to best fit on the acrylic piece. At this point, I also wanted to create a little bit personalization of the holder. Because of the clock project I've been working on lately, I just took the pattern from it and randomly placed the flowers on the holder's surface.
When both the dxf file and material were ready, I opened laser cut software on the PC connected to the laser cut machine. Through the interface, I was able to change the speed and power of the laser blend. The normal cutting settings were clearly written in the IDeATe manual. After running several tests to place the acrylic at the right spot, I hit the start button and the machine would do the work for me.
Finally, I just needed to move out the piece, peel out the parts of the holder and assemble them together.