Process & Procedure
[Outline your approach to the project. What steps did you take to design, model, sketch, and prototype this projects? What ideas did you generate and how did you refine or reject them? How did you use cutting, etching, scoring? What challenges were encountered and how did you resolve them? Include photos of prototypes, redesigned sketches, design worksheets, and failed trails.]
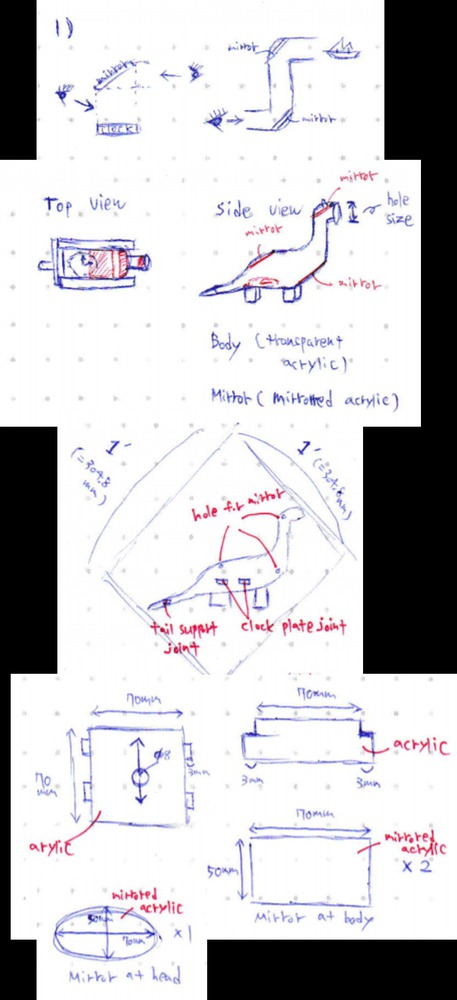
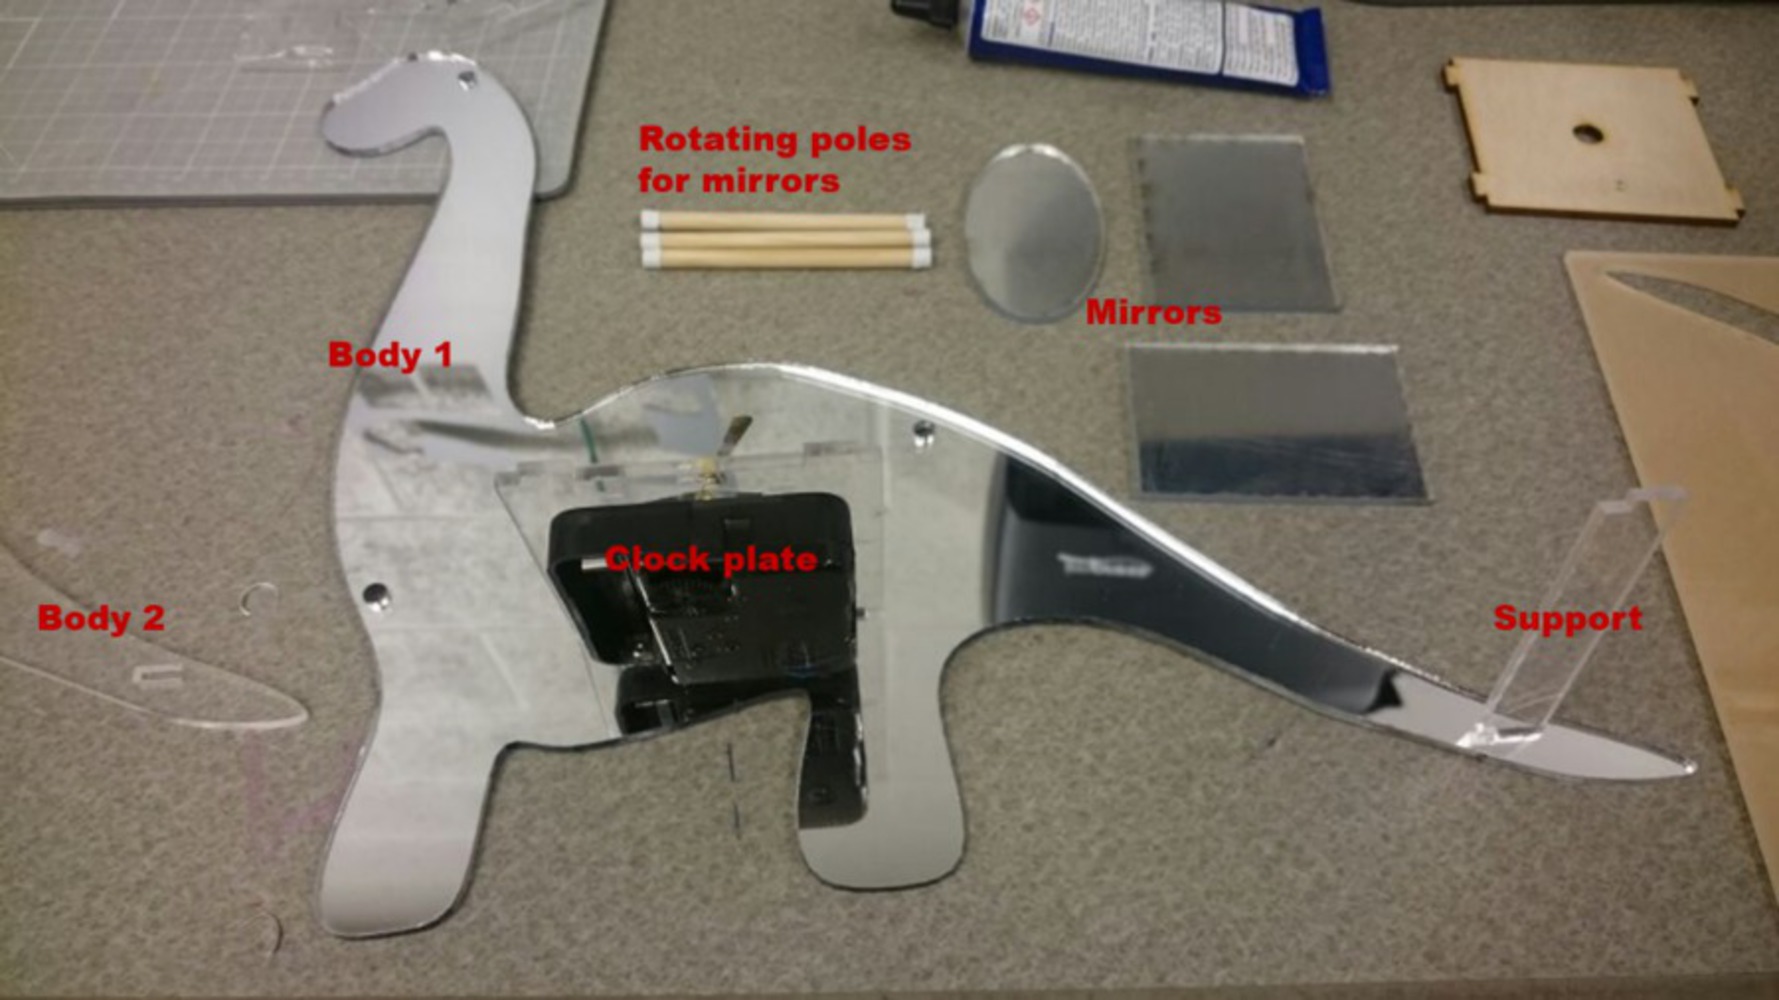
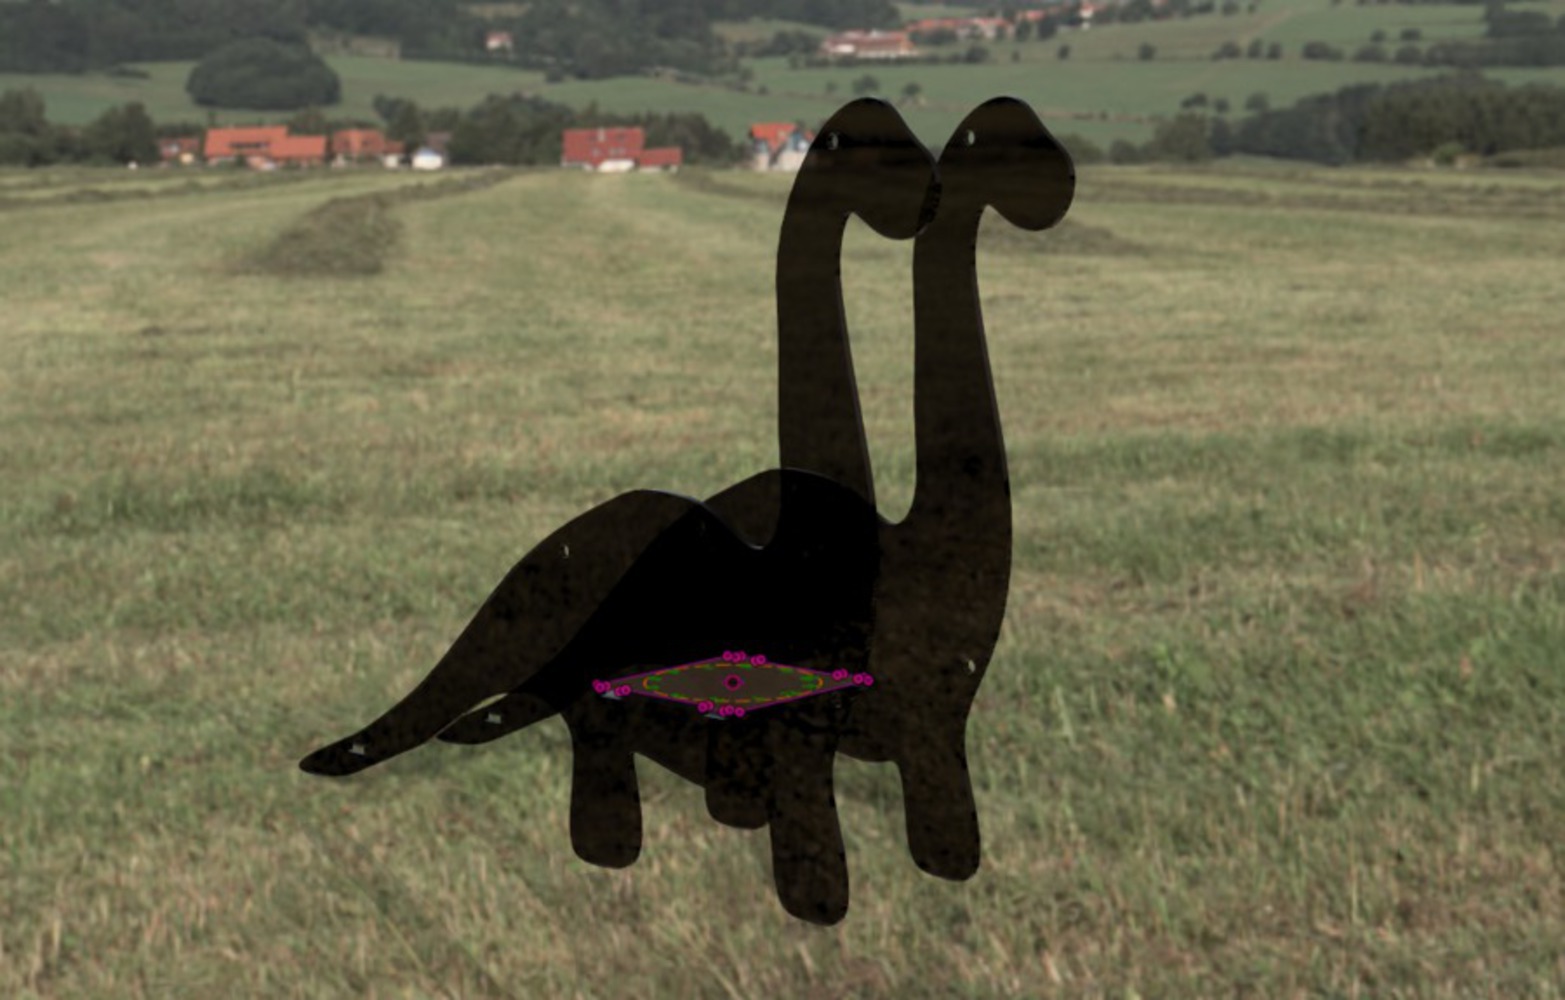
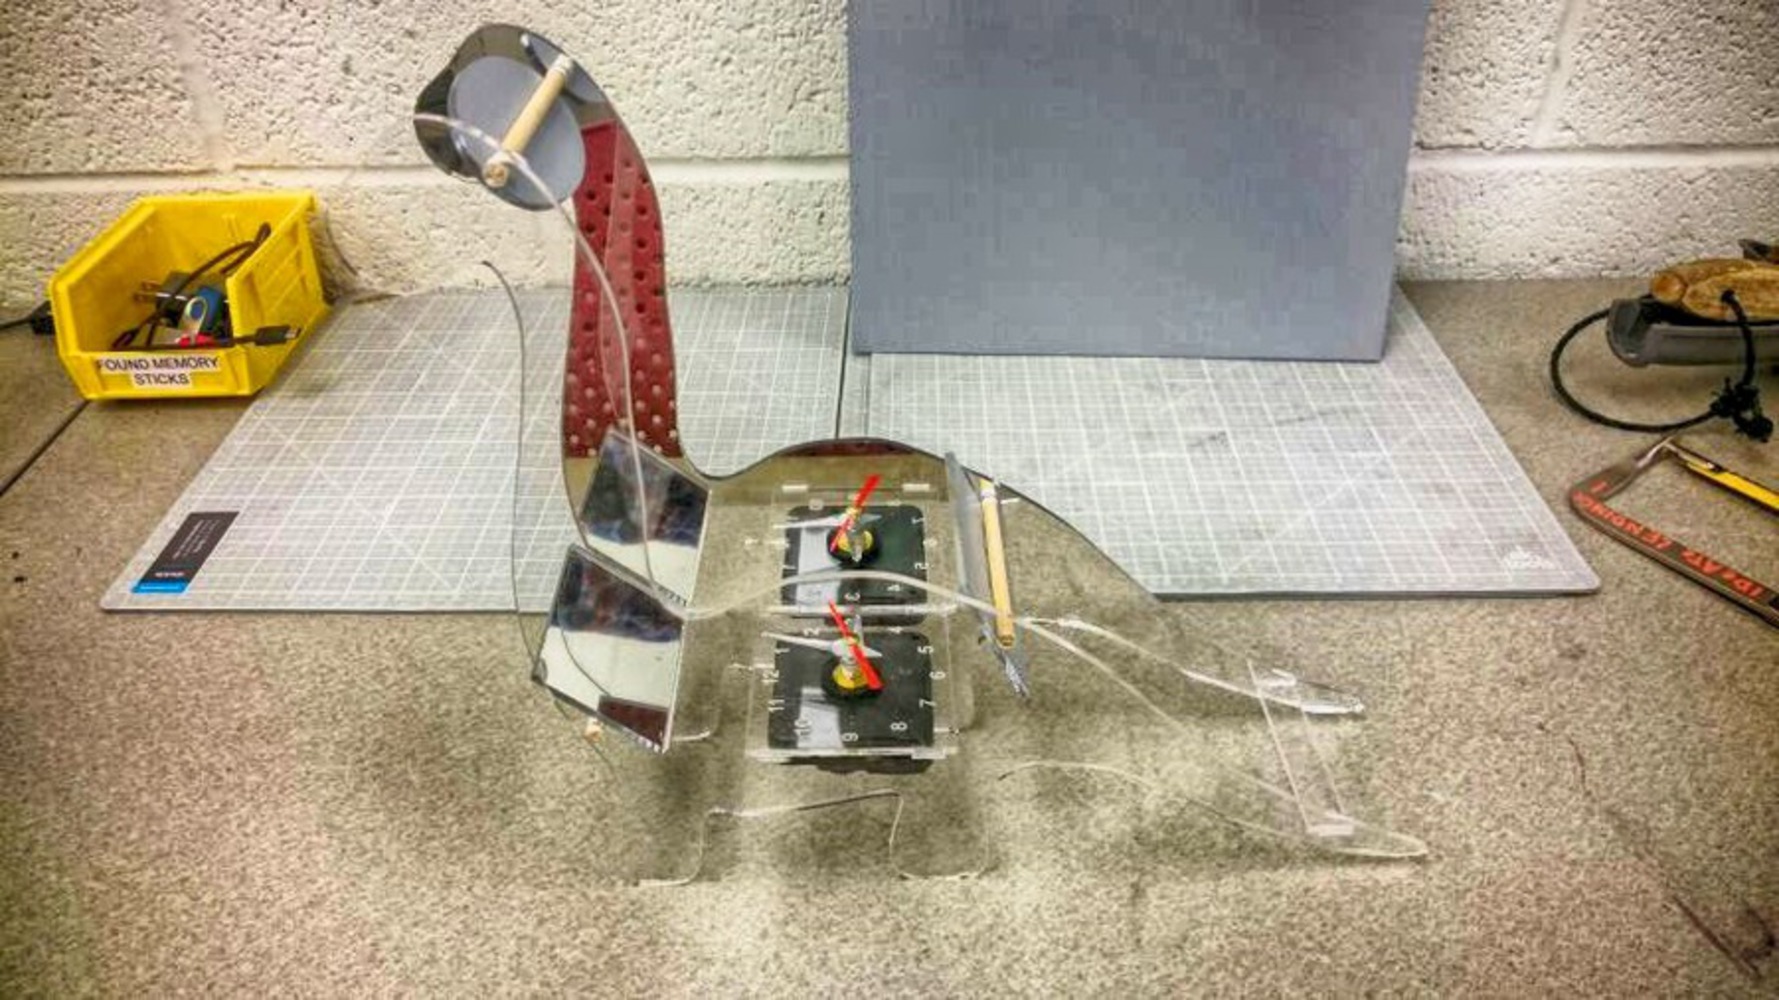
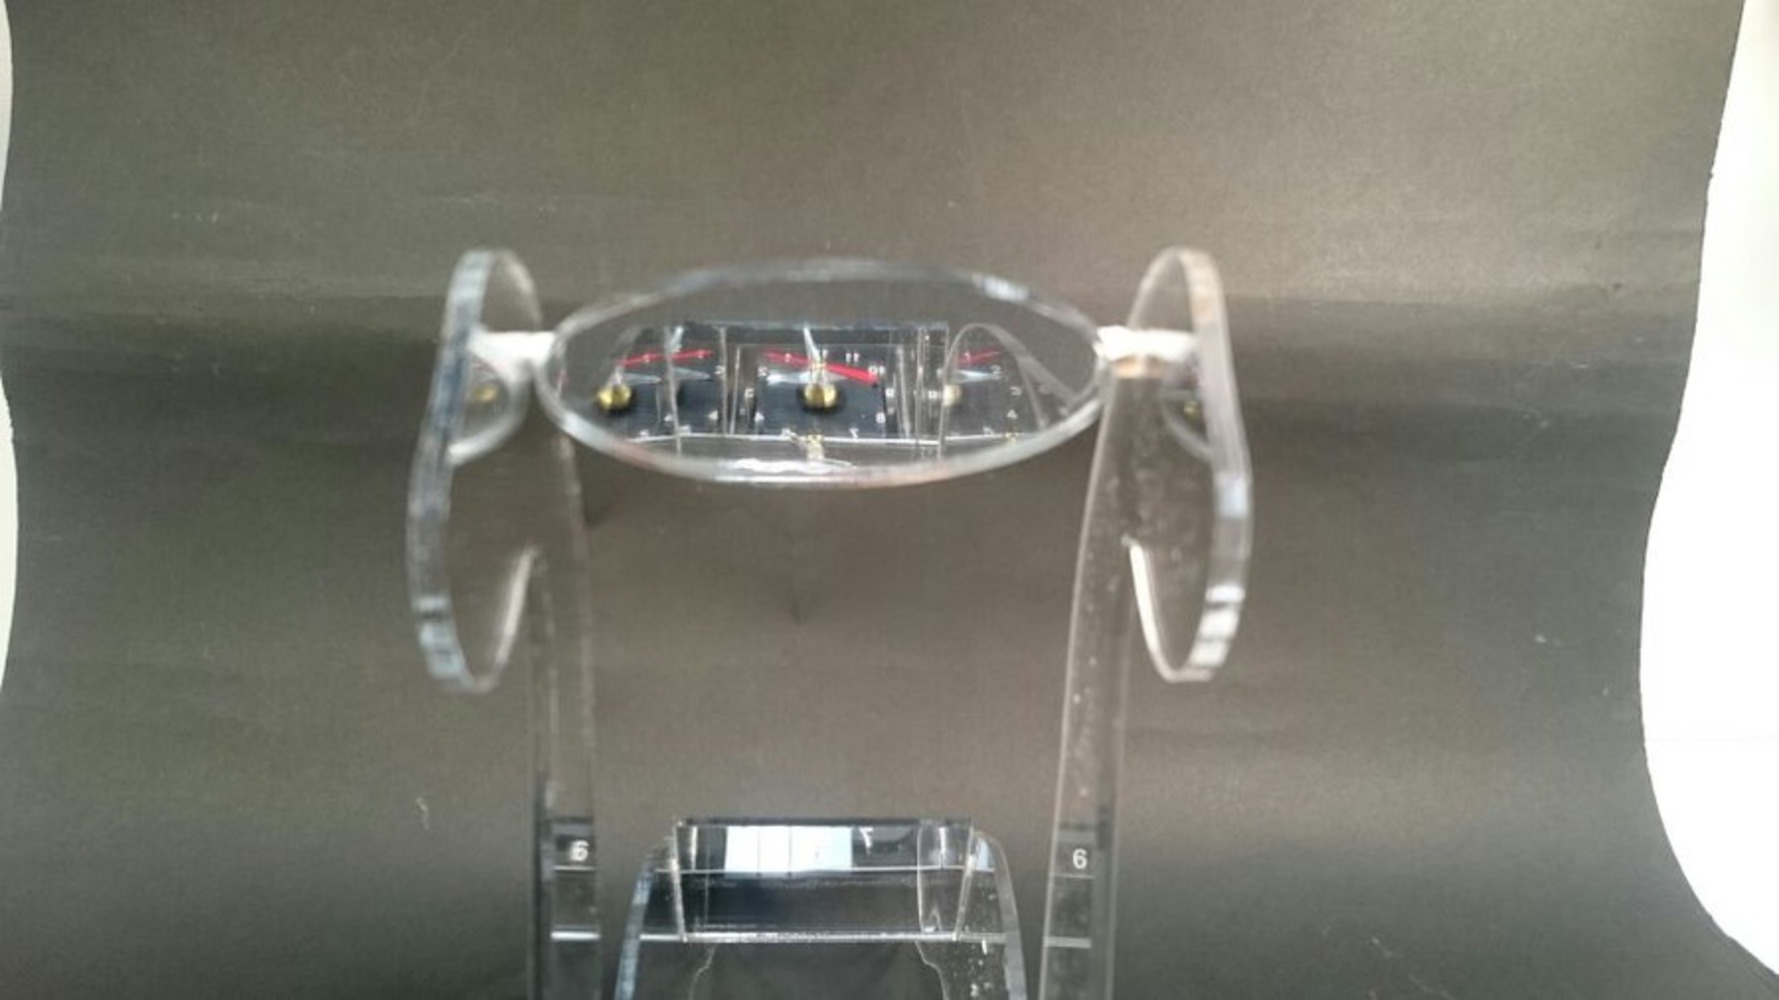
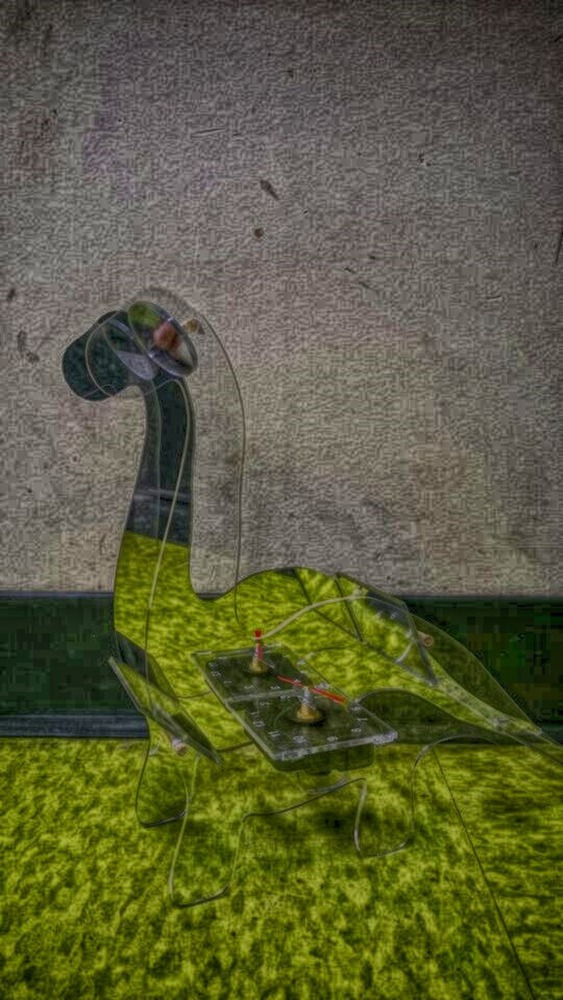
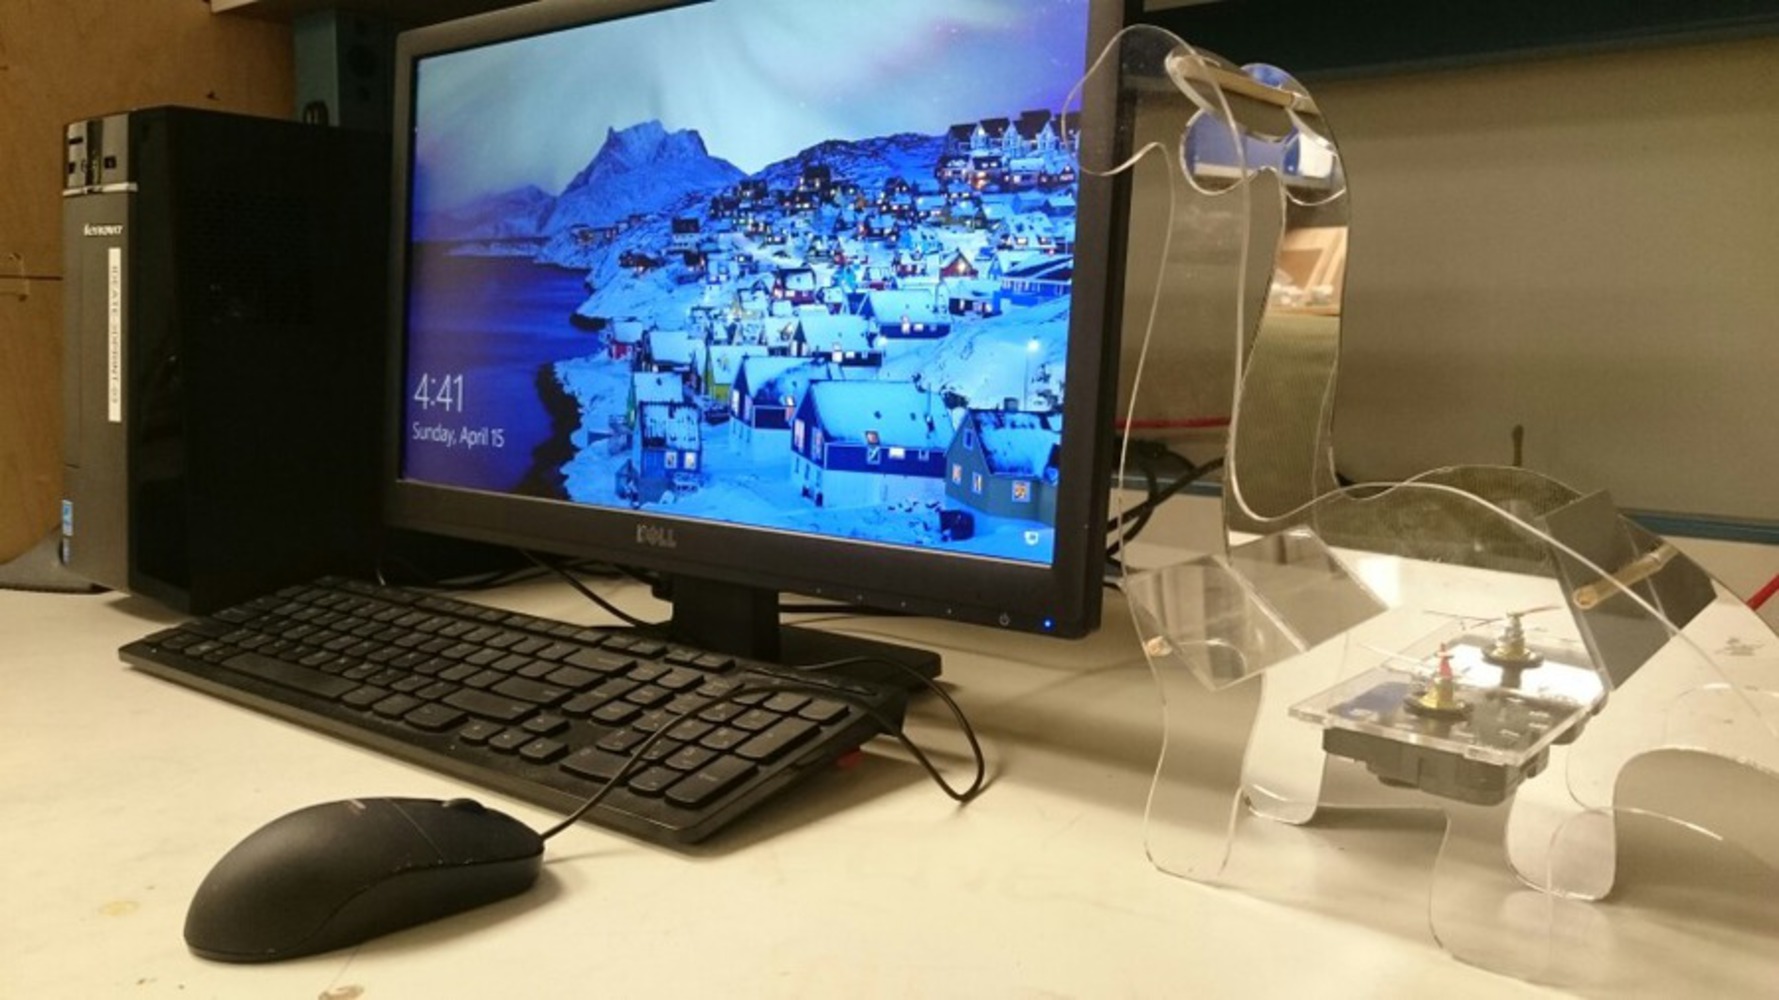
Overview : My first idea making the clock was to create a dinosaur body having volume. But, as I went through a laptop holder project, I figured out that the laser cutter was not a tool for making a body having volume. I moved to my second plan to make two body plates that were going to offer room for the clock and the mirrors. I decided to place the clock on the belly of the dinosaur, and to insert rotating poles holding the angle-adjustable mirrors to reflect the clock toward different directions.
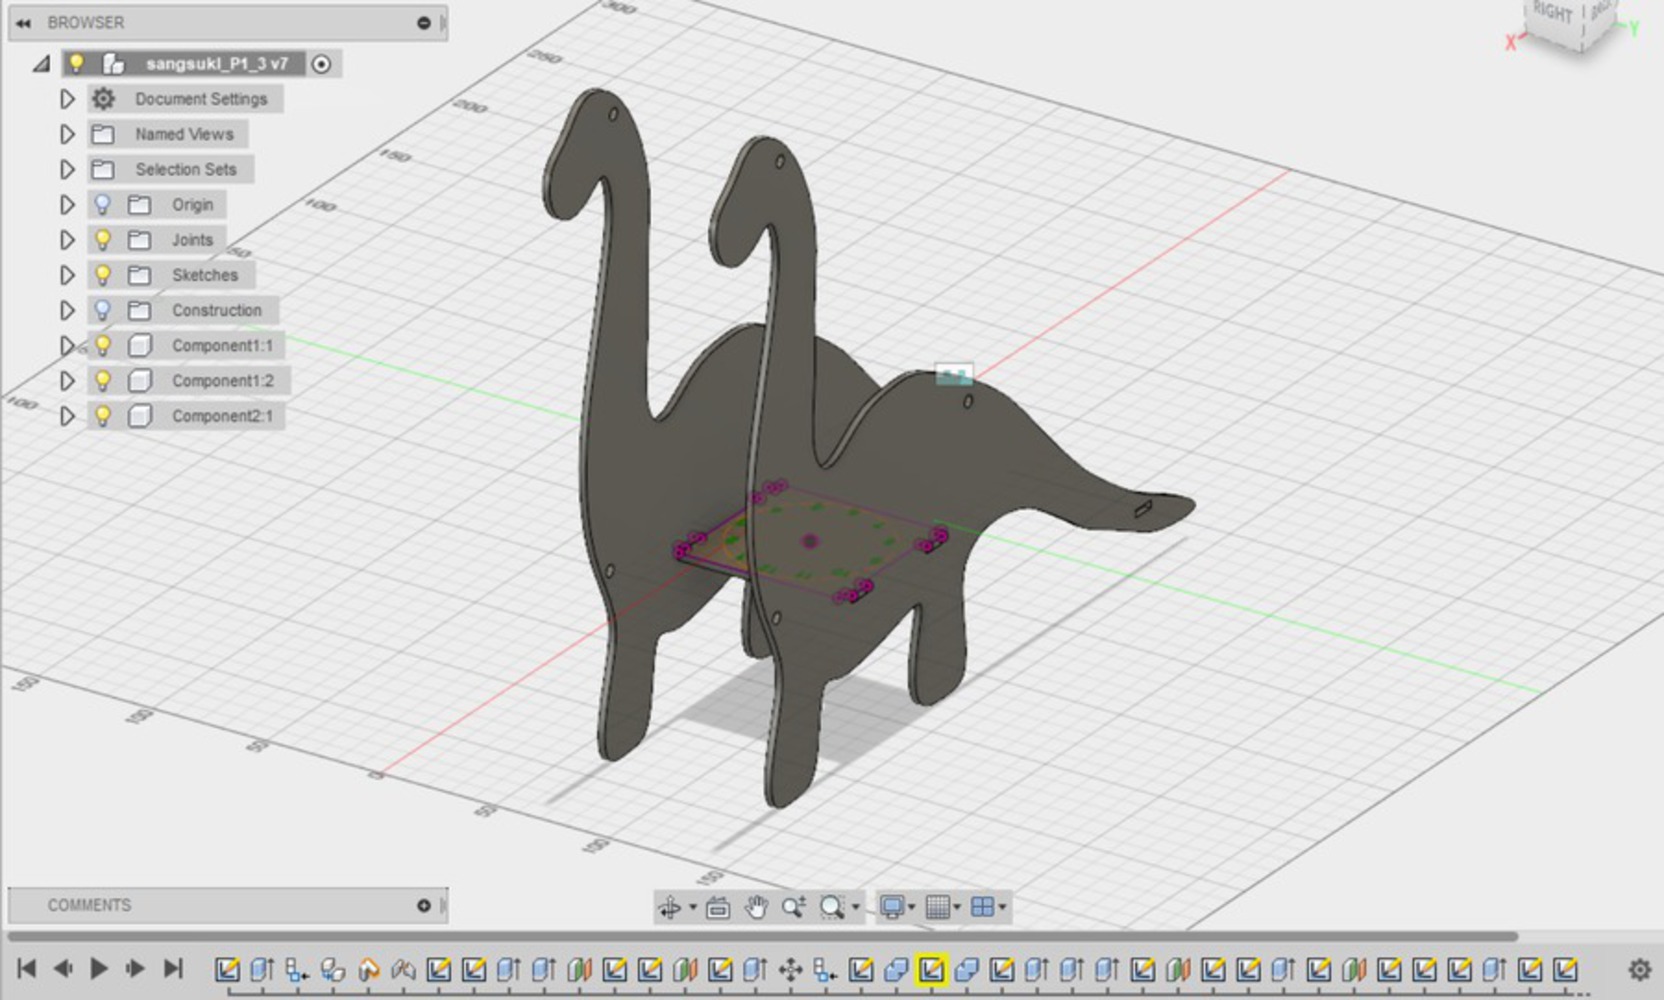
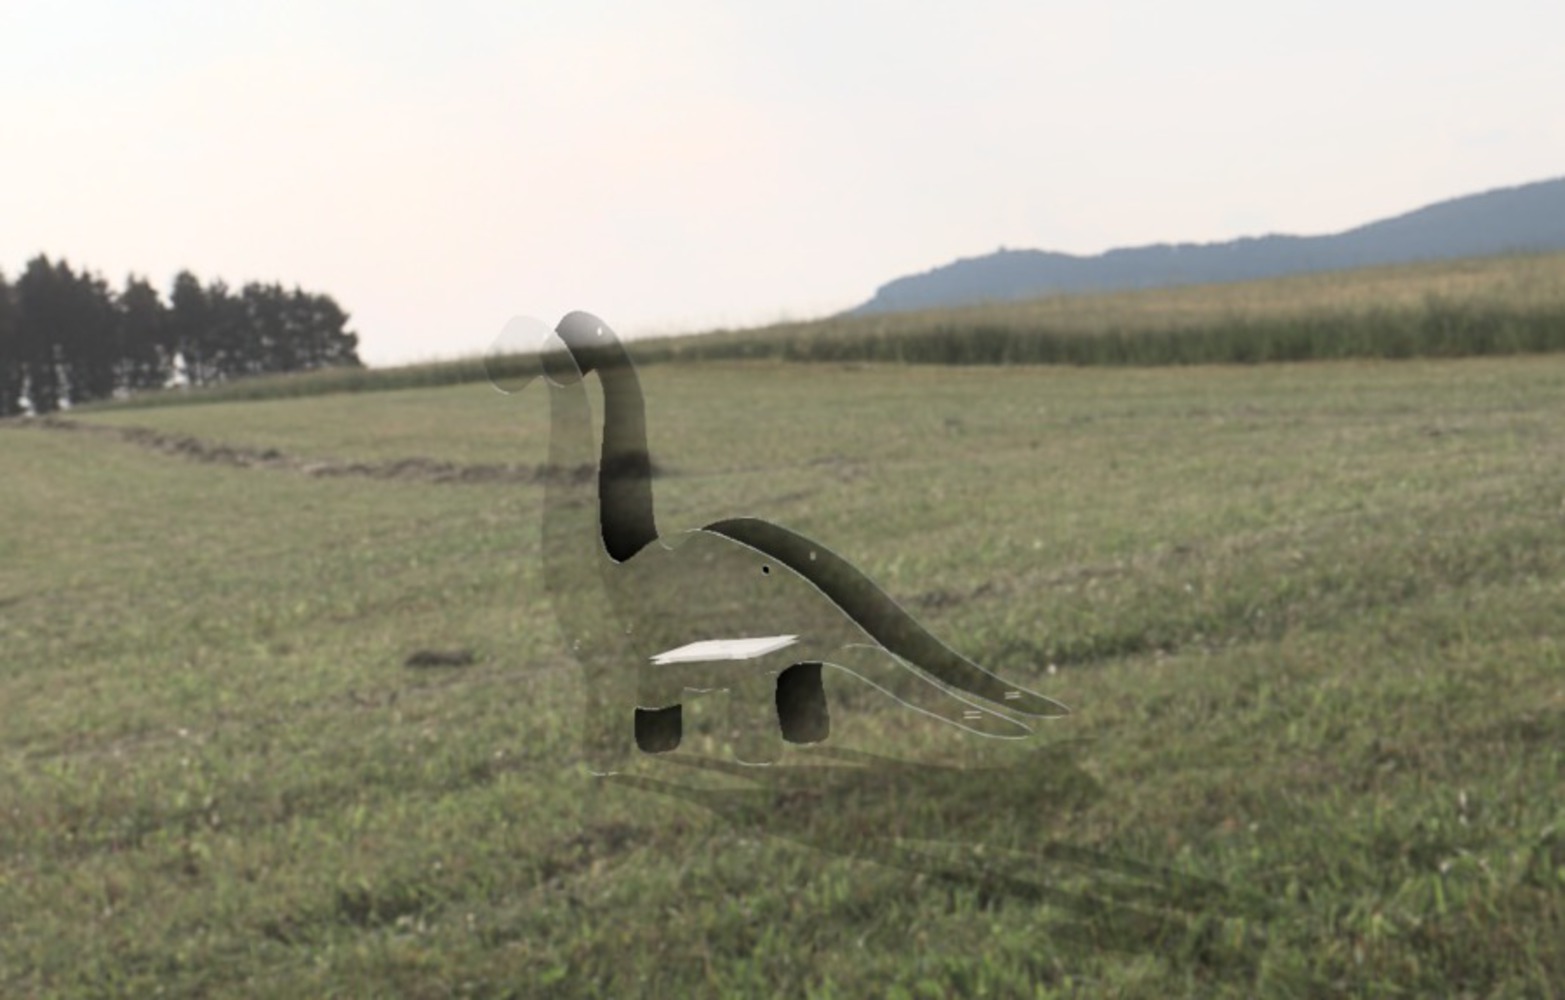
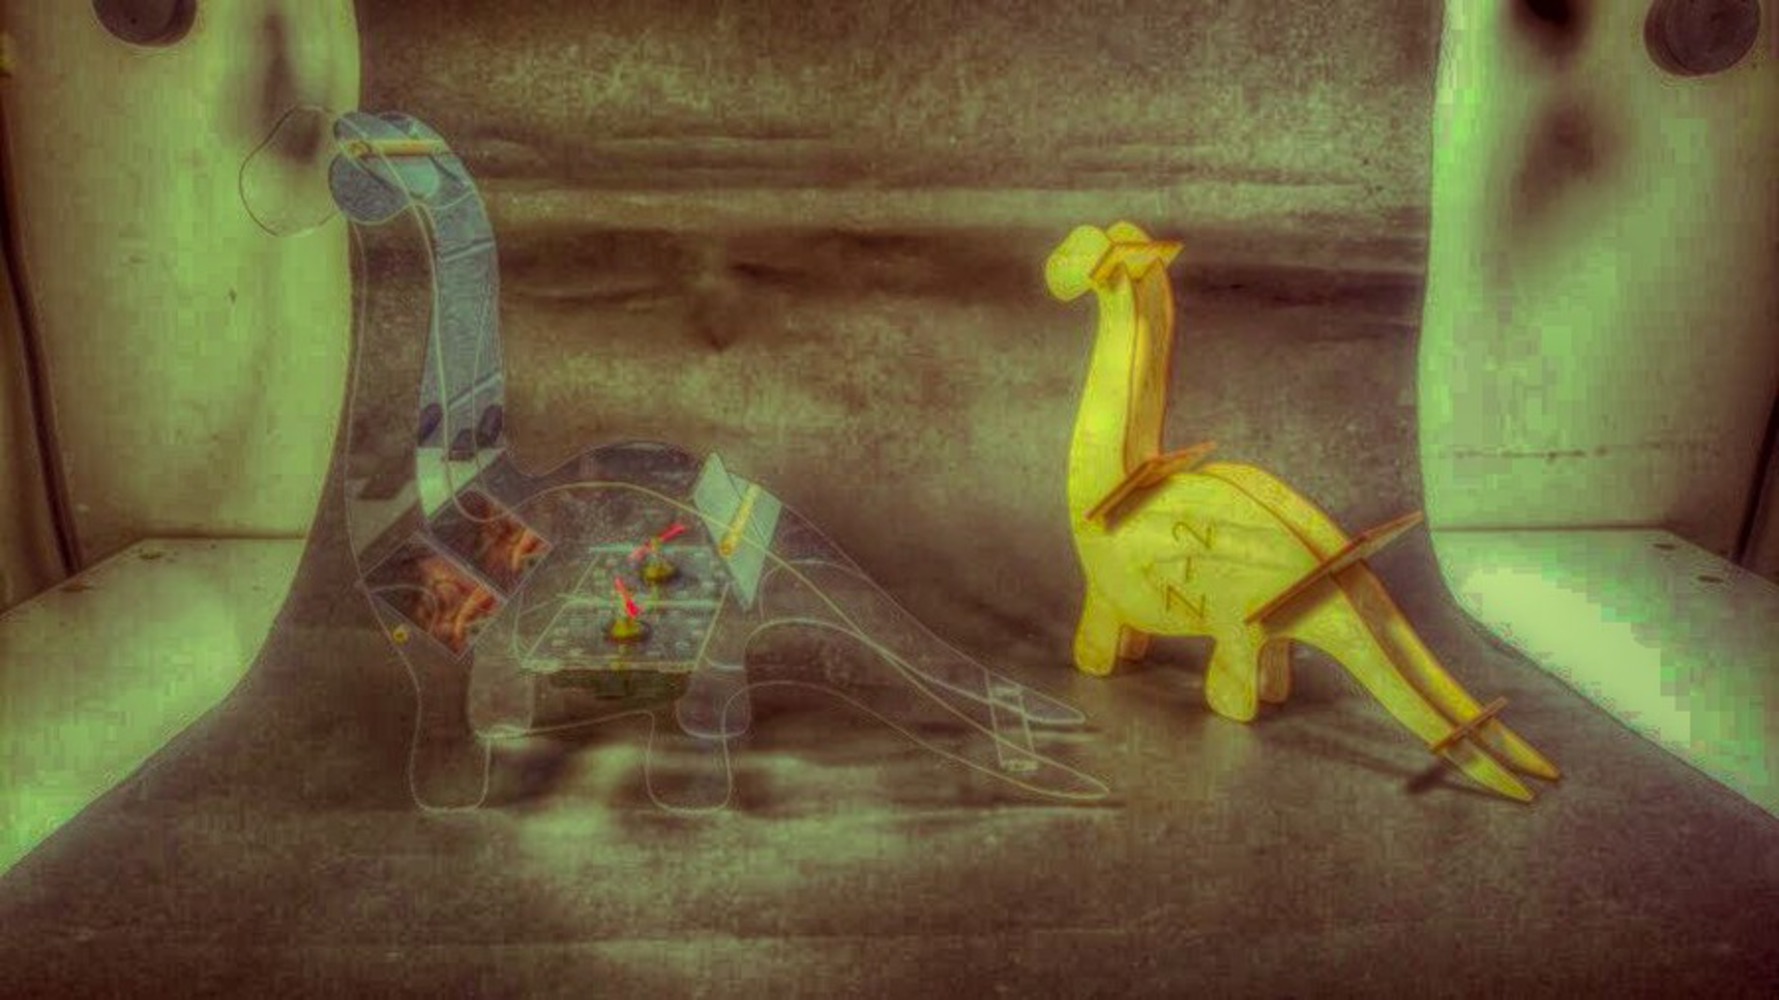
Body : I used the spline function to project the body of the dinosaur. During modeling in the Fusion 360, it was not easy for me to handle the software, so I rejected some details. Also, I tried to introduce the Slicer application for my design. I even created a prototype body with Slicer, however, I rejected it in the middle of the process because it did not provide enough space for the clock between layers. In terms of materials, at first, I was planning to use wood-boards for my bodies, but I chose a mirrored acrylic and a transparent acrylic for my body plates to make the clock visible and get aesthetic.
Hole&Joint : I selected round-shaped poles because I wanted to adjust the angles of the mirrors freely. I drilled three holes for the poles and carved joints for the clock plate and a support pillar in the tail end. Each joint and hole are glued by an acrylic adhesive.
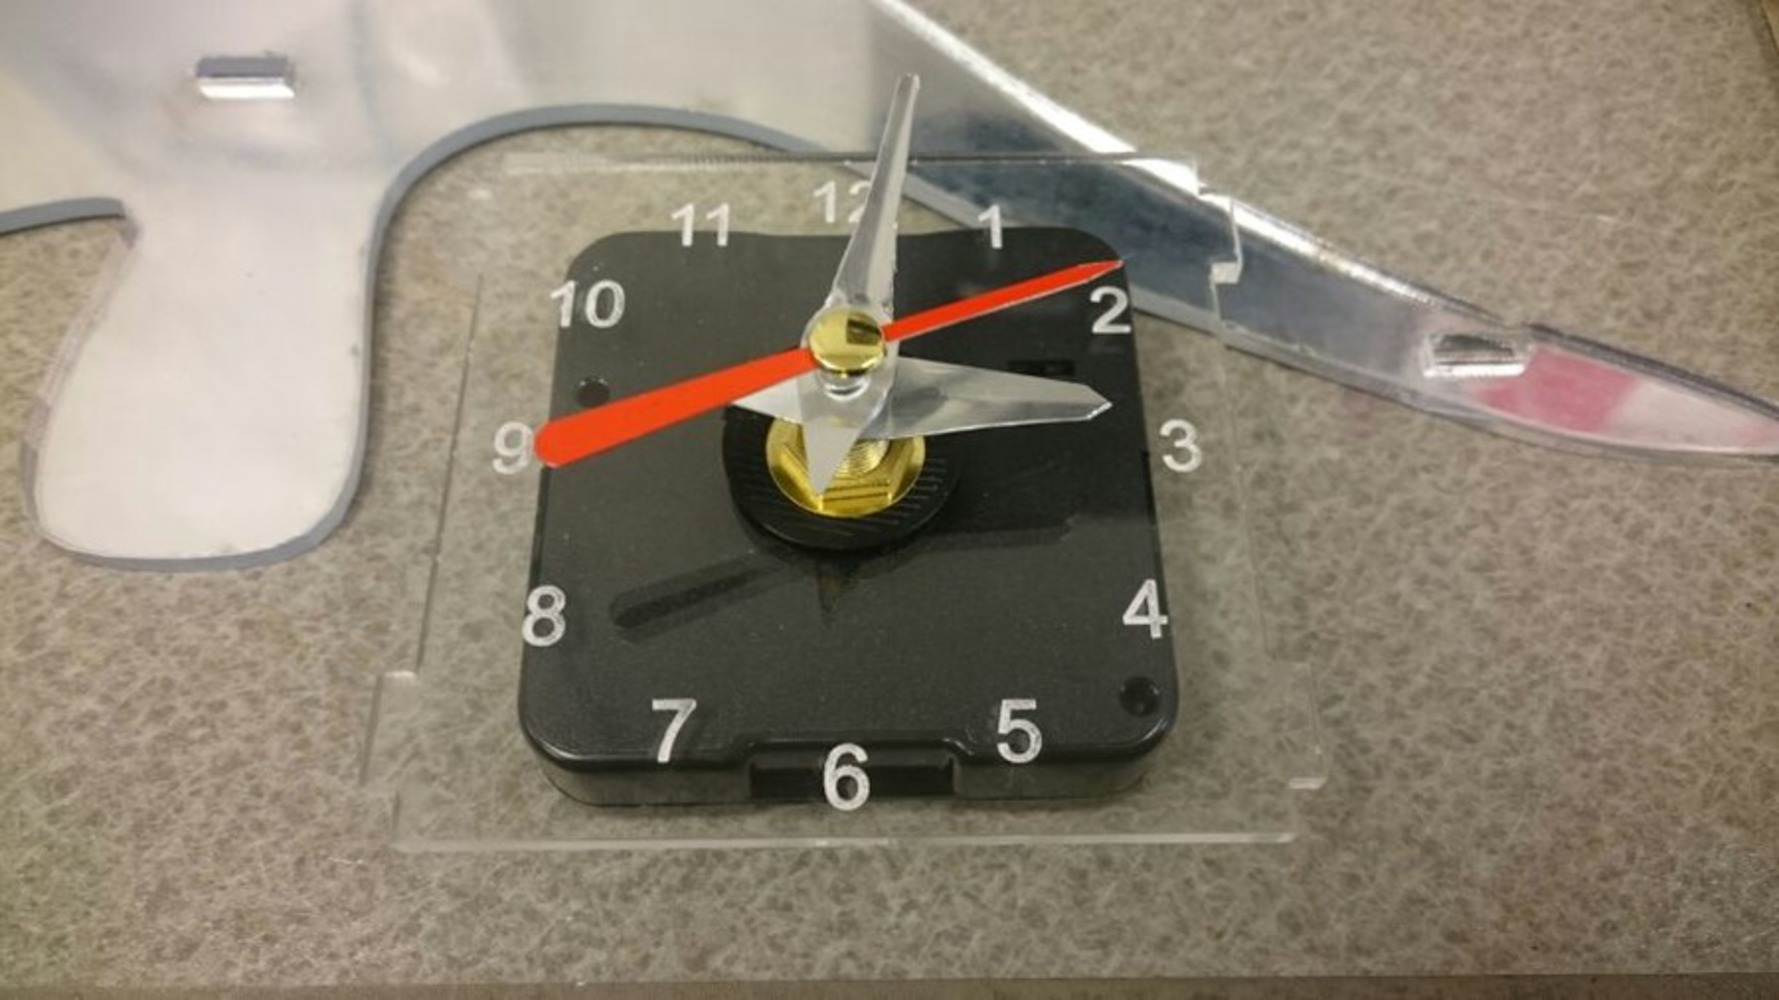
Clock plate : I got the dimension of the plate according to the length of clock hands, and I made a hole at center after measuring the diameter of the clock kit tip. I utilized engraving function when I made the numbers on the clock. I outlined the numbers with the engrave mode.
