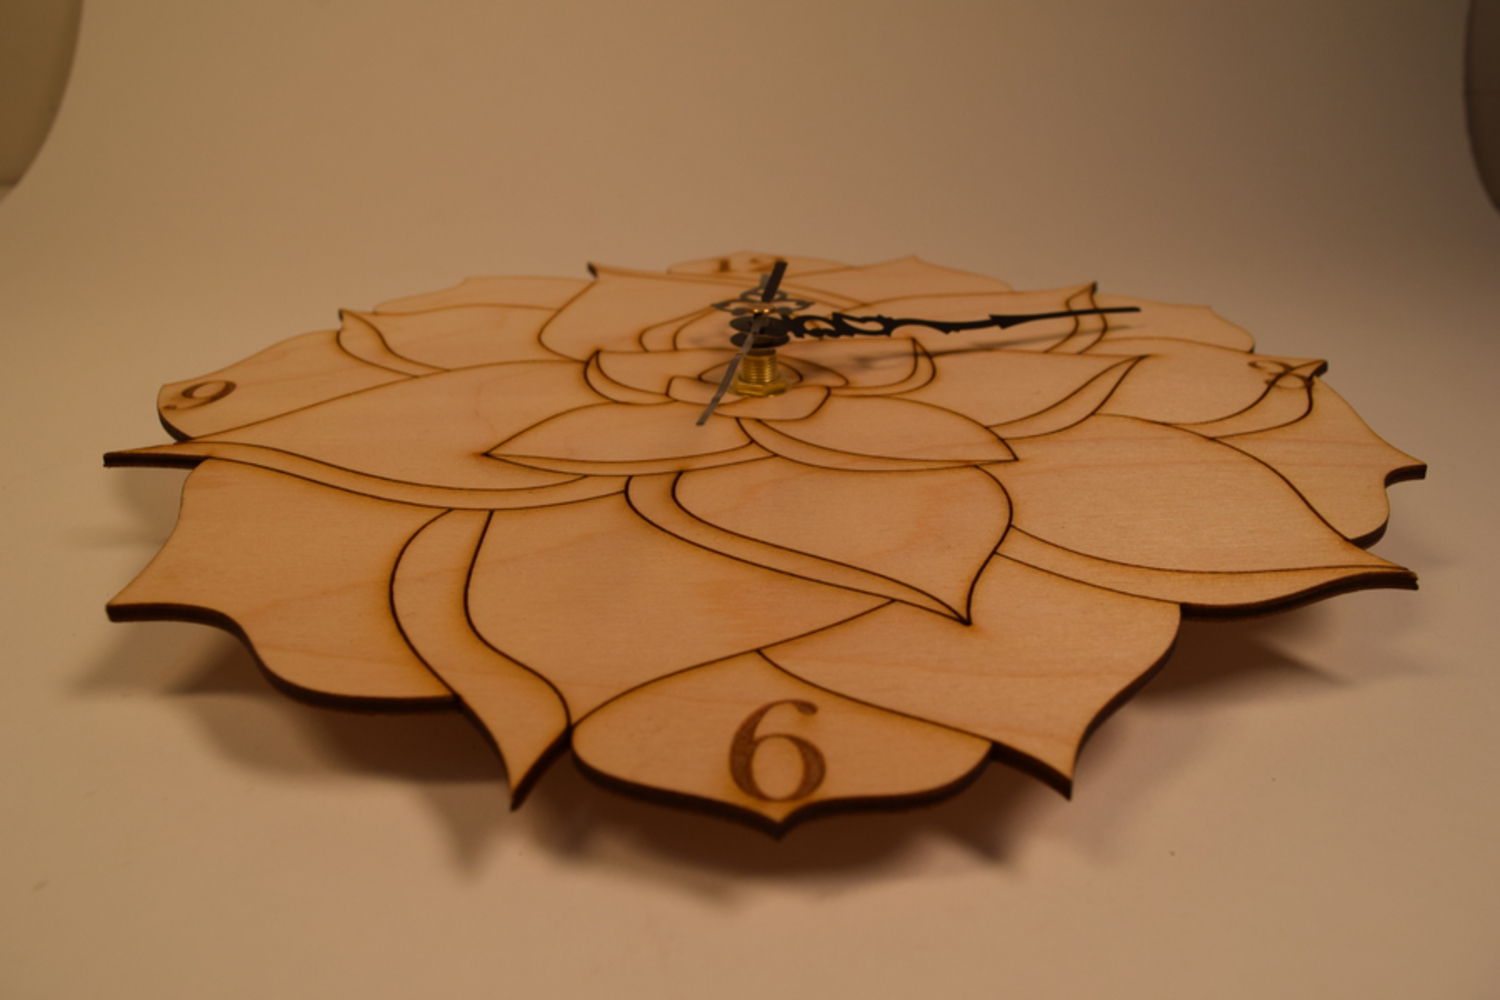
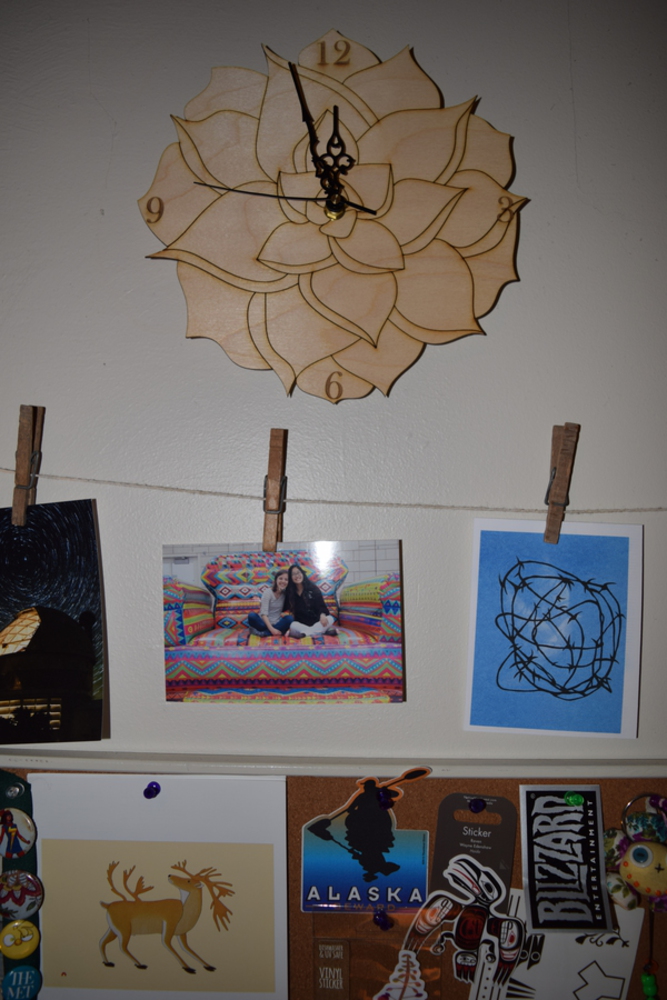
Back to Parent

Outcome


Intention

The goal of this project was to create an analog clock using 3D CAD and laser cutting. I wanted to create a clock that was roughly circular in shape and I would like to have hanging on the wall of my room. I love plants and organic materials, so I knew I wanted to make my clock out of wood with a plant-like design. I considered a clock in the shape of a flower, but decided on making one that looks like a succulent plant--I'm from Texas, and I miss seeing these kinds of desert plants around.

Research & Context

Flower-shaped clocks have already been done, but a succulent-shaped clock is unique--a search for a succulent clock only returns clocks with succulent pictures painted on (and a single clock made out of an actual plant). And unlike many flower clock designs, I decided to make my clock non-symmetric, which gives it a more organic look.

Aesthetic & Inspiration

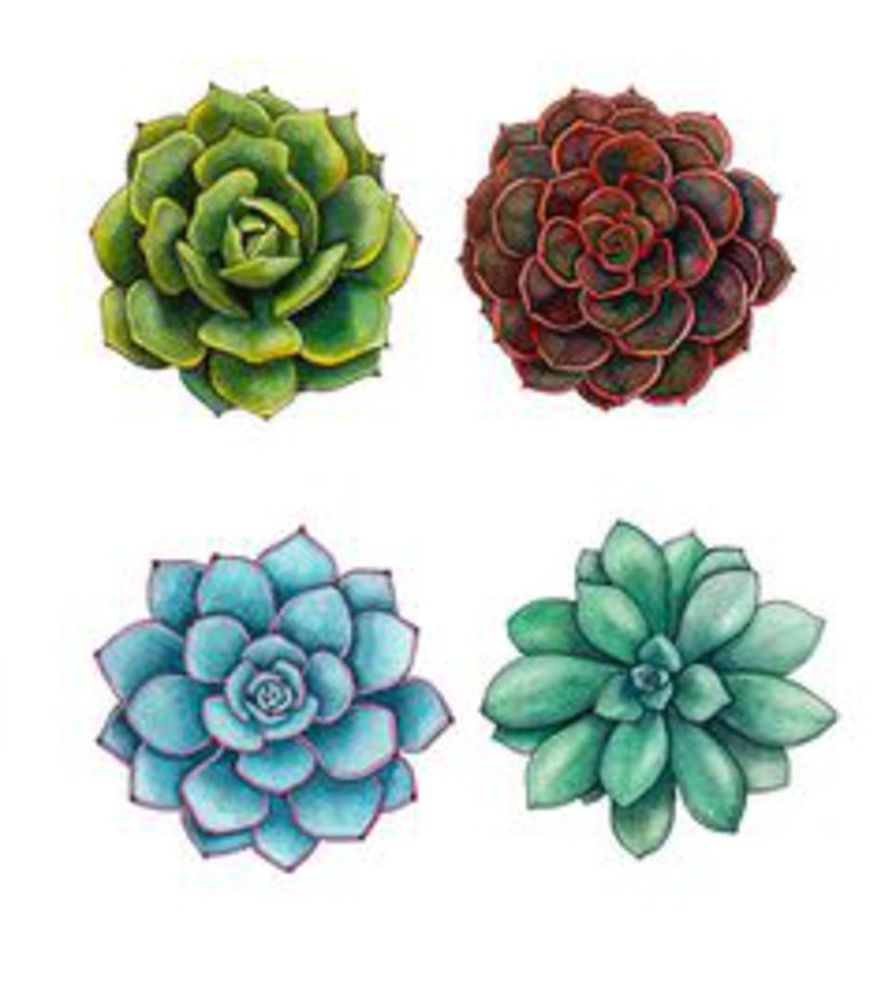
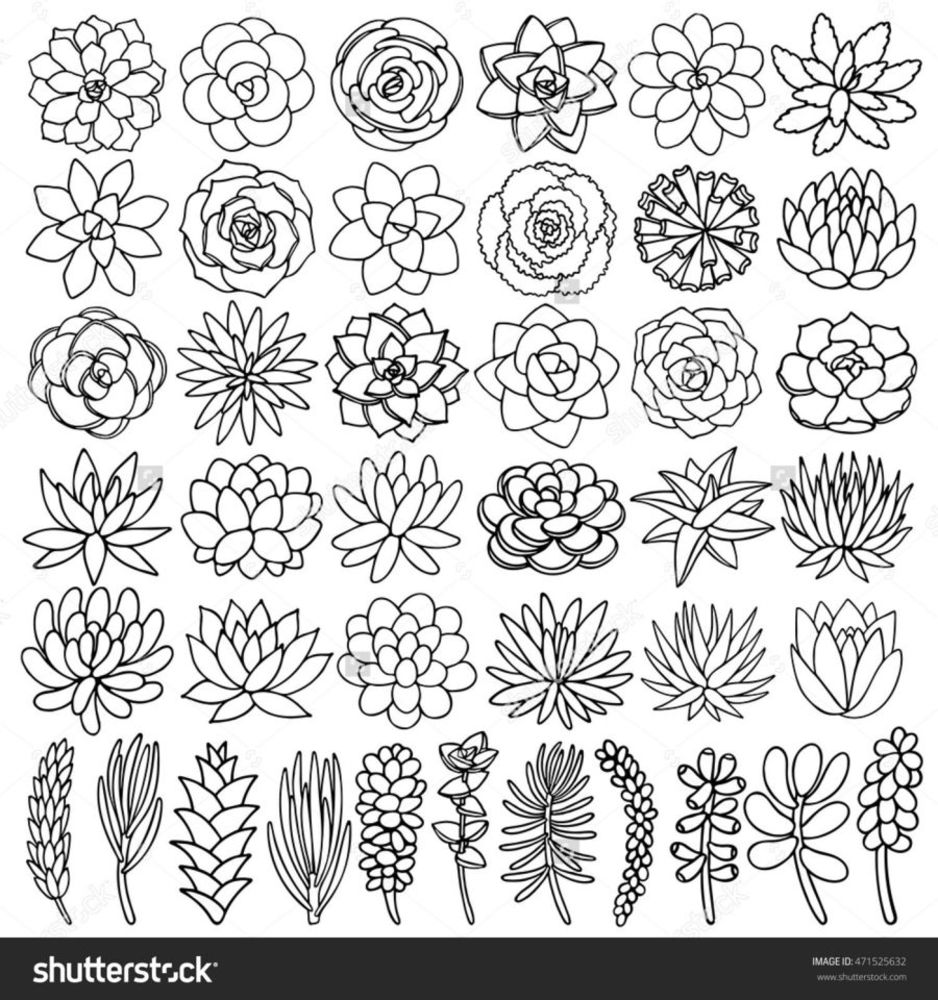
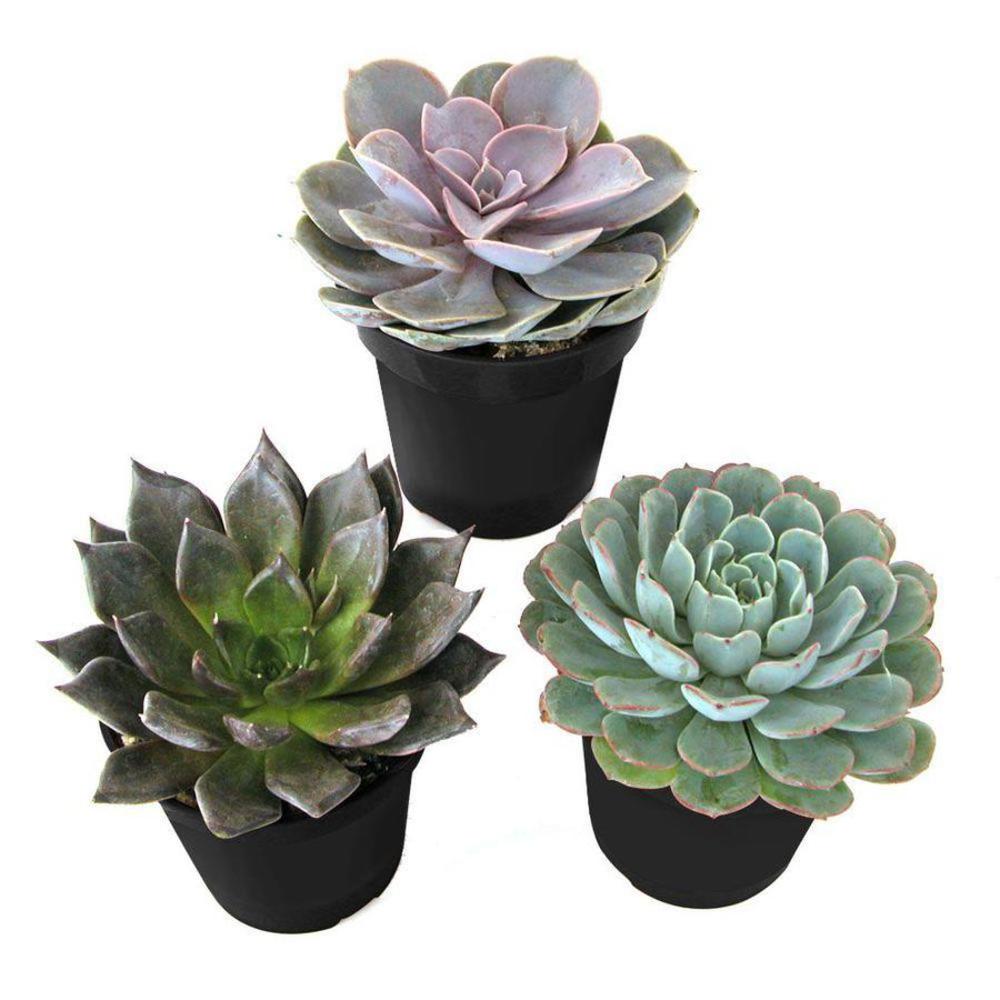
I looked up many different pictures of not only real succulents, but other people's line drawings of succulent, to get an idea of how best to simplify the shape of a succulent into something I could recreate in Fusion360 and then laser cut. There are a variety of different succulents, most notably with differing leaves, and I had to decide which one I liked the look of best. I also liked the repeated, fractal-like look of the overlapping leaves, and knew I wanted to recreate that.

Succulents1.thumb
Show Advanced Options
Succulent drawings2.thumb
Show Advanced Options
Succulent drawings.thumb
Show Advanced Options

Sketch

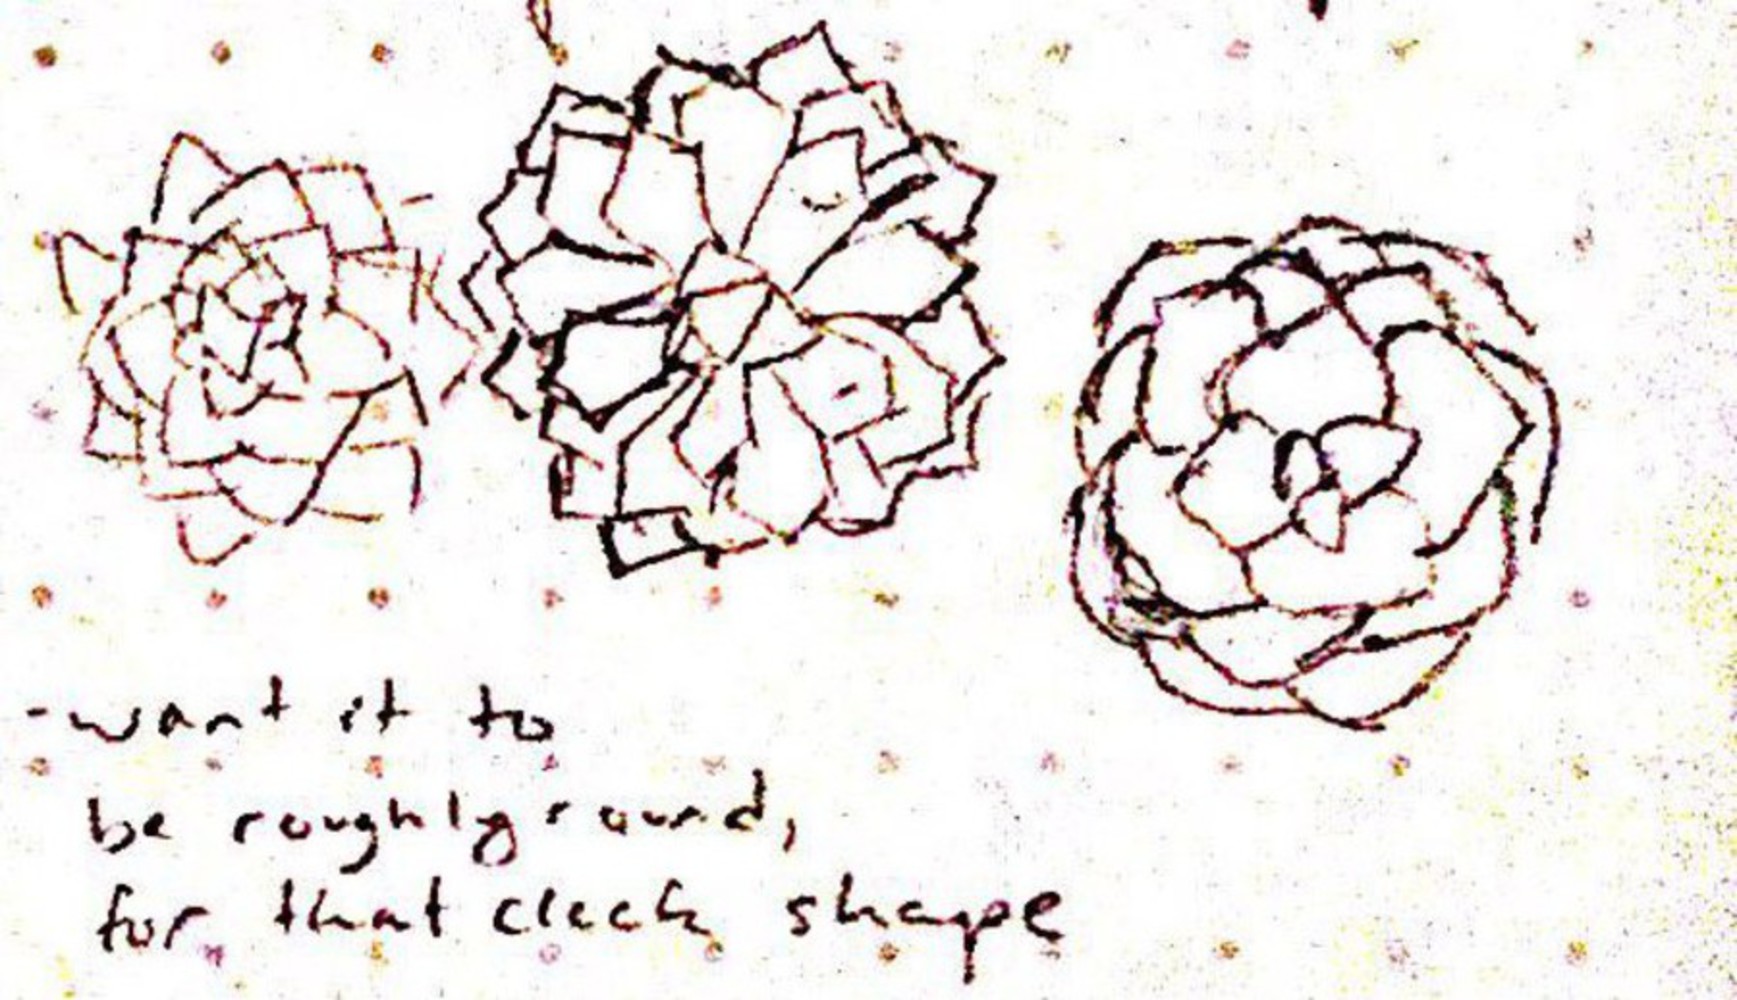
I sketched several possibilities for the clock shape, including more than just the ones pictured below. The common shape between all of them, I learned quickly, was the layering of smaller leaves in the middle growing bigger as you moved towards the edge. I could begin to see easily where I could put a hole for the clock hands in the center of the plant.

Clock sketches small.thumb
Show Advanced Options

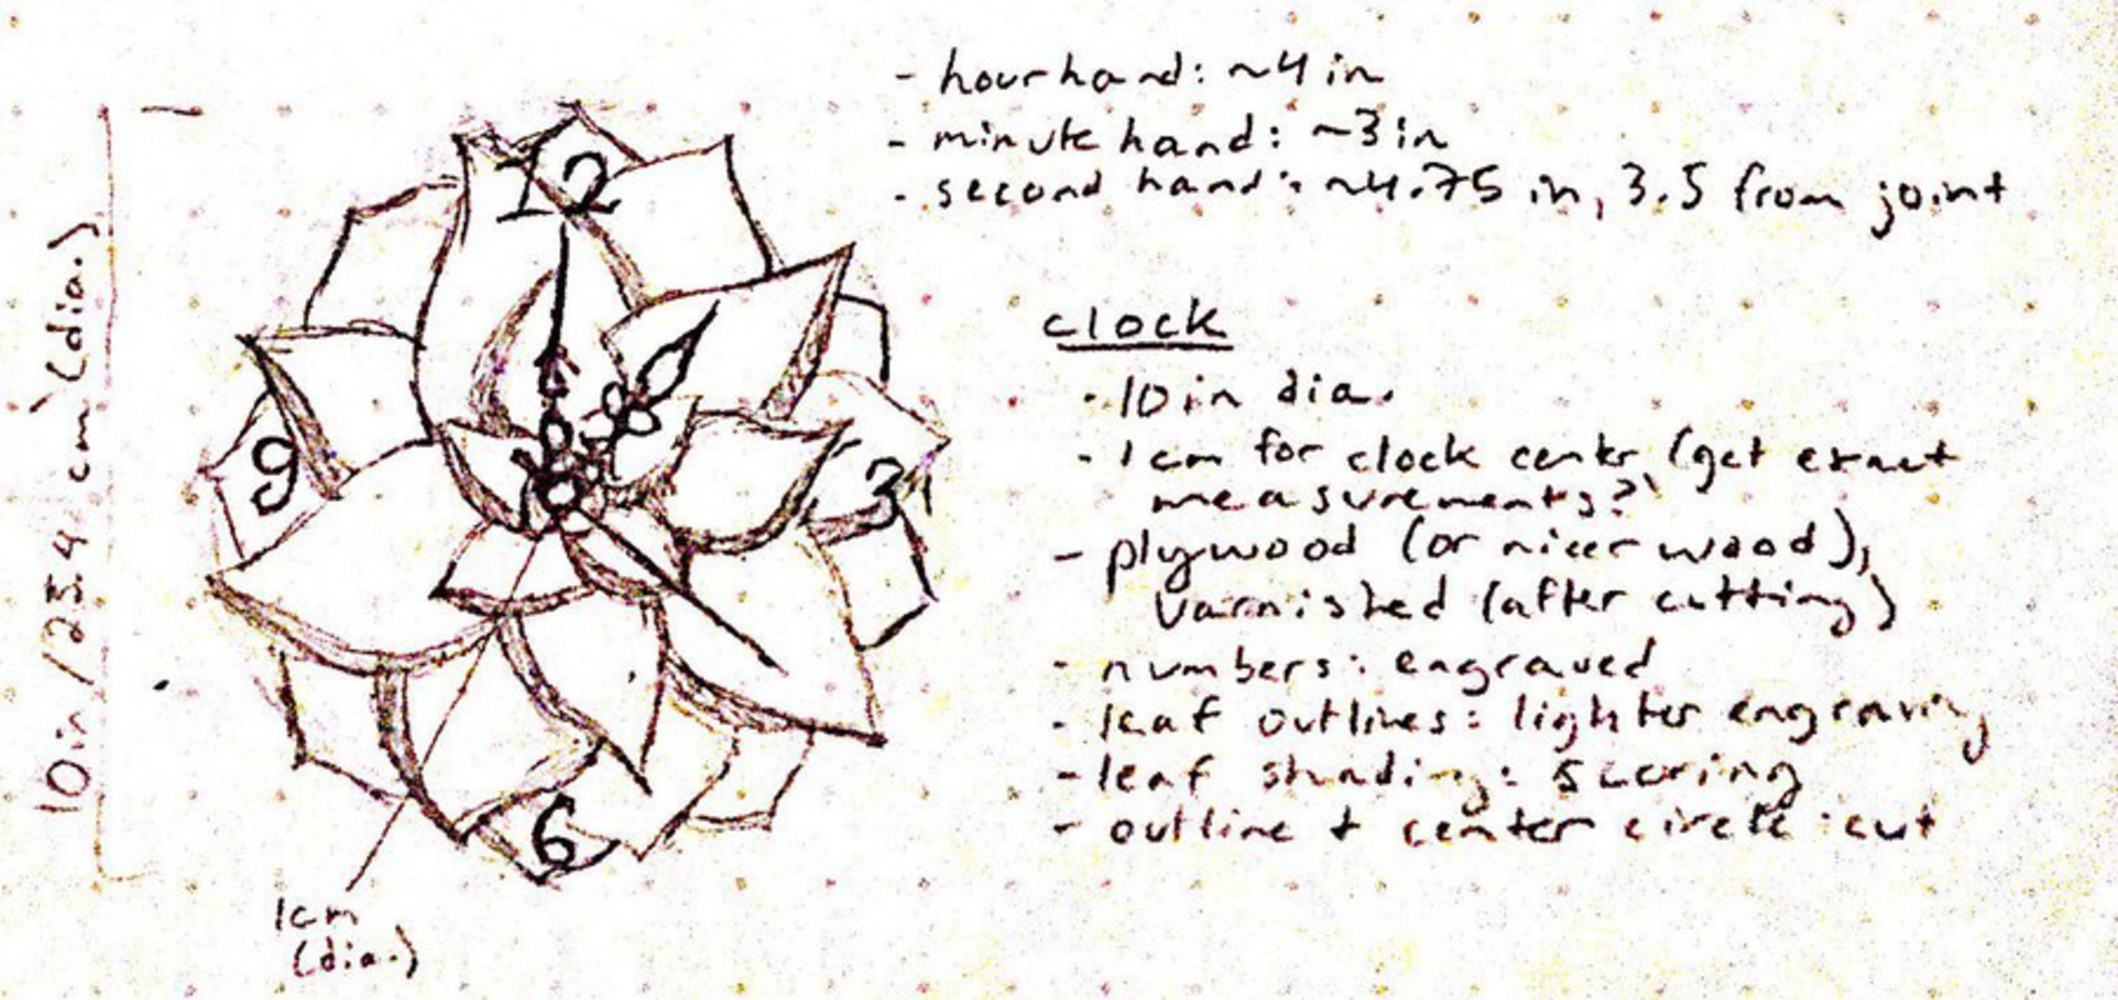
After several sketches, I decided that I liked the combination of rounded edges and pointed tips of the design on the right the most. I also liked the drawings in the Shutterstock photo above that added depth to the leaves, rather than portraying them all flat. I based my final design off of the succulent drawing three down and three across from the upper-left corner of the Shutterstock drawing, but changed the size of a few of the leaves to make it better fit the round clock shape without adding more leaf layers.  

Clock sketch detailed.thumb
Show Advanced Options

I measured the hands that came in the clock kit to figure out the minimum diameter for my clock. I thought a foot-wide clock would be too long, but an eight-inch one would be too short, since that would make the minute hand reach all the way to the edge and I needed room for the numbers. I compromised with a ten-inch diameter clock, giving an inch of space for numbers at the edges.  

Process & Procedure

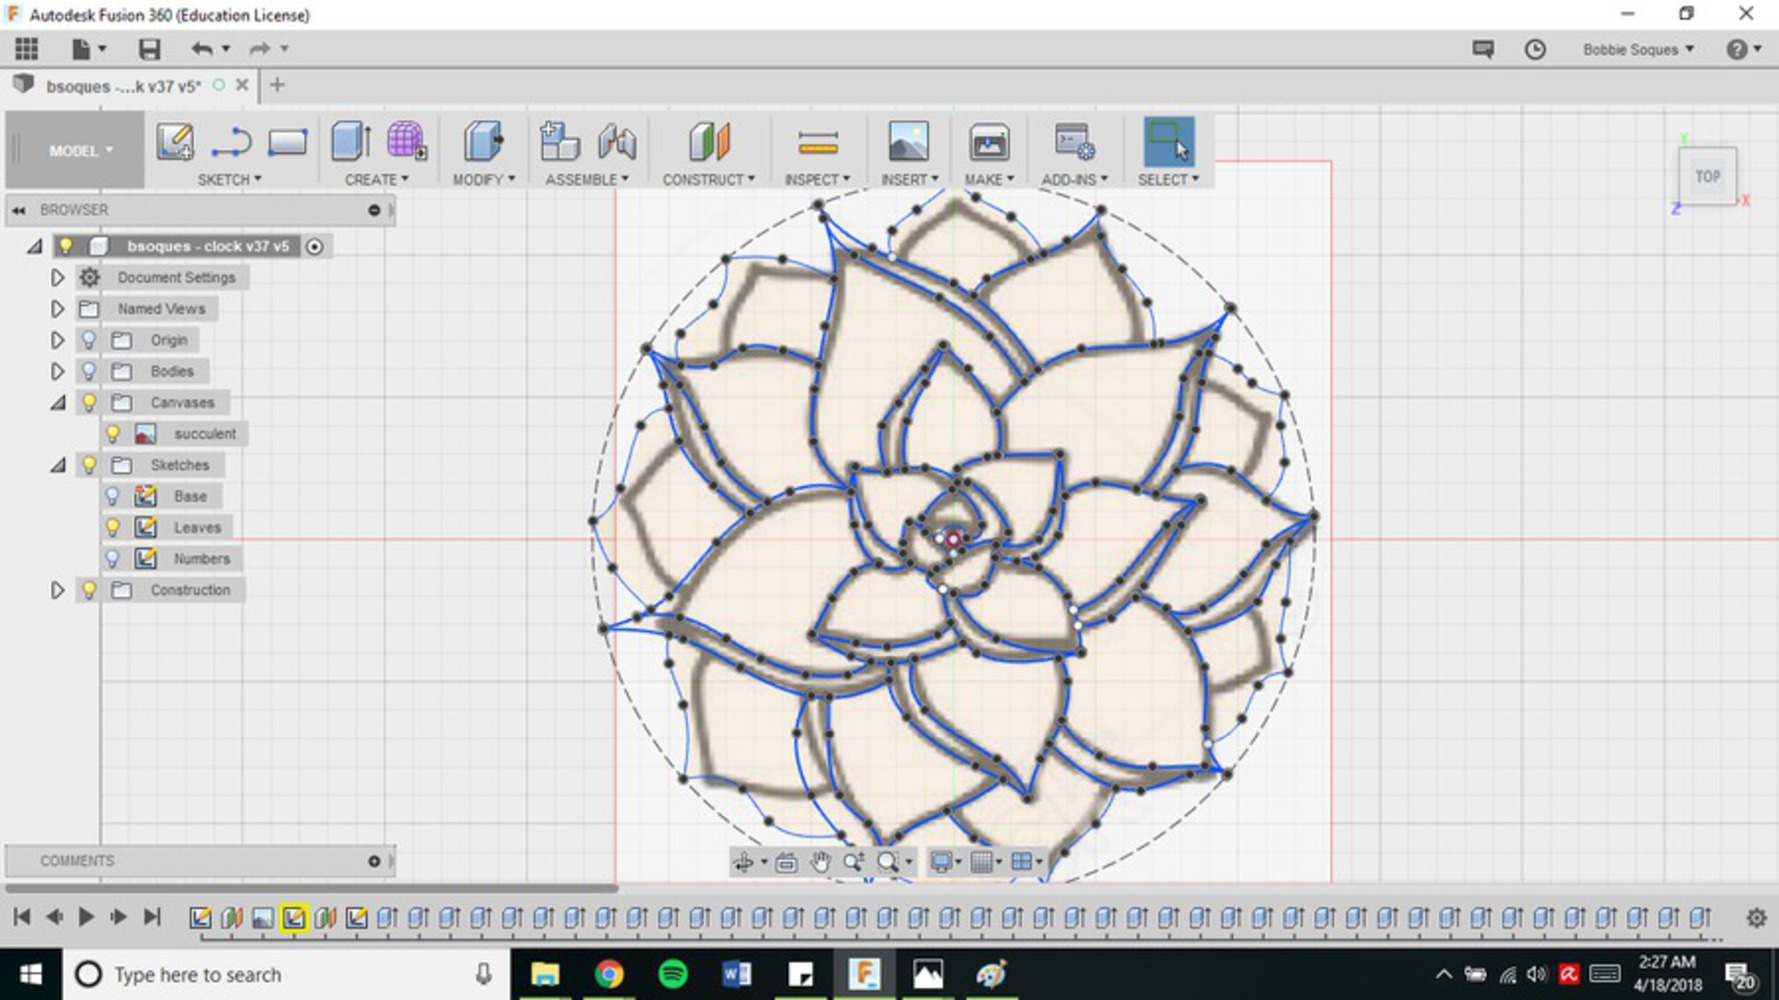
After sketching my final design on paper, I transferred it to Fusion. To do this, I uploaded the drawing my design is based on into Fusion as a Canvas. Then I created a 10-in diameter circle to act as an outer guide, a 1-cm diameter circle to show where the clock hands would be inserted, and made splines to outline the leaves, starting from the center and working my way outward.

Clock fusion canvas.thumb
Show Advanced Options

After that, I dropped the numbers on top of the leaves in the appropriate places and extruded the whole piece. Originally, I wanted the shading on the leaves to be engraved--more lightly than the numbers--so my model reflected that.

When I converted this drawing to a DXF and went to test cut it, I encountered my first problem--I couldn't cut out the outer shape of the clock, since the laser cut software processed each spline as something to be cut continuously. So, I went back to Illustrator, and began the tedious process of splitting each spline that was part of an outer leaf, so that the splines that made up the outer edge were separate from the inner splines.

During this process, I encountered a lot of overlapping lines--two line segments in the same place--that I had to delete. If the laser cut software processed these, it would cut (or engrave) twice over in the same place, which would cause problems with the design (like accidentally cutting all the way through in places where I wanted to score). I don't know where they all came from, since each spline was a single entity in Fusion, but I caught as many of them as I could in both Illustrator and in the laser cut software.

Another fallout of this drawing was that the software didn't treat each leaf or leaf shading as a complete entity--meaning that I couldn't engrave the shading on the leaves, since they weren't closed shapes. The software only treated each spline as an individual entity, and to change that I'd have to go back and change the construction of my entire drawing. So, I changed my design to simply score each line, and engrave the numbers only.

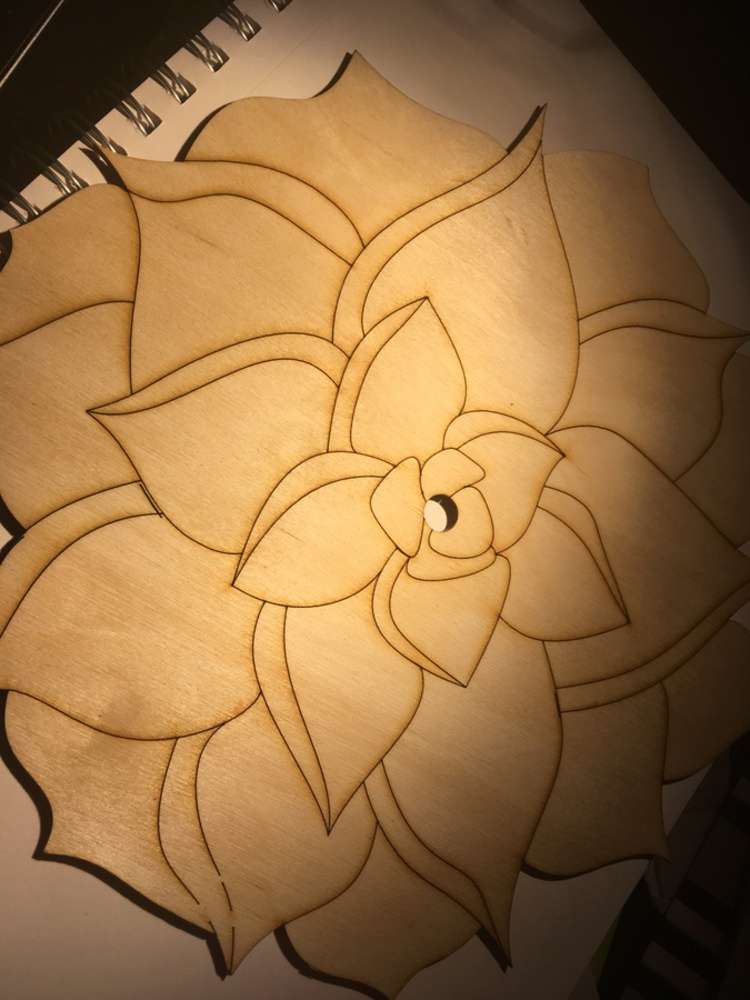
On my first successful pass, I didn't unite the lines in the laser cut software--doing that united the lines that made up the outer leaves, meaning I couldn't select the outline of the clock as separate from the inner lines. Unfortunately, that meant that the software didn't treat the numbers as complete objects, so they weren't engraved. On my next pass, I went back and united the lines after I set the outline to be cut (and deleted yet another overlapping line on the 12), which fixed the problem with engraving the numbers.  
Img 5019.jpg.thumb
Show Advanced Options

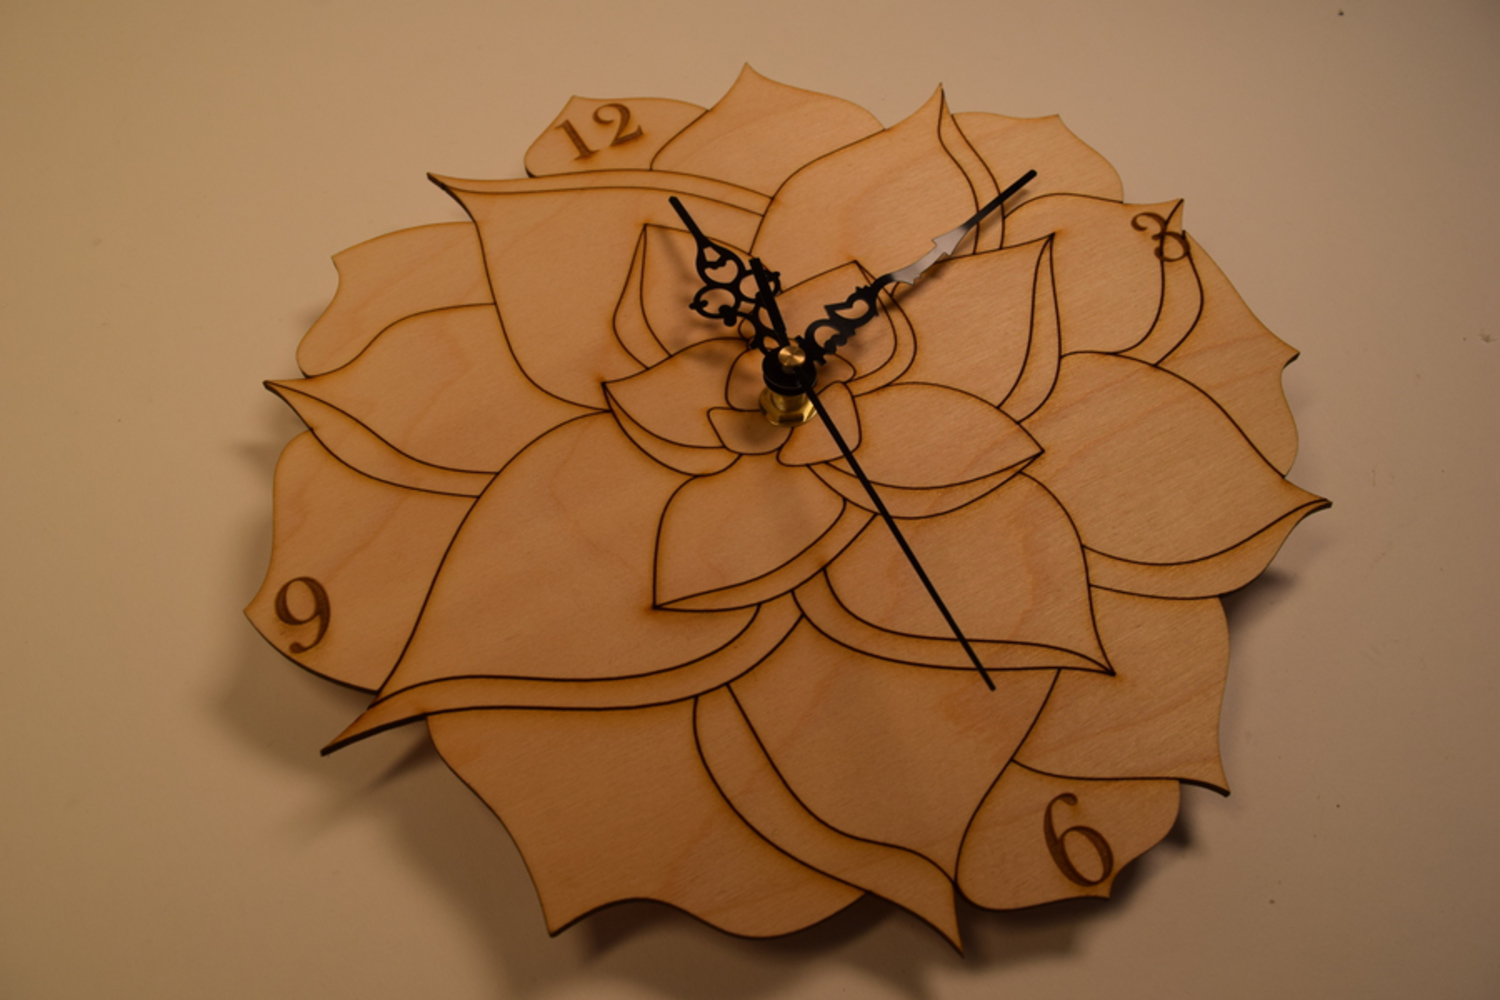
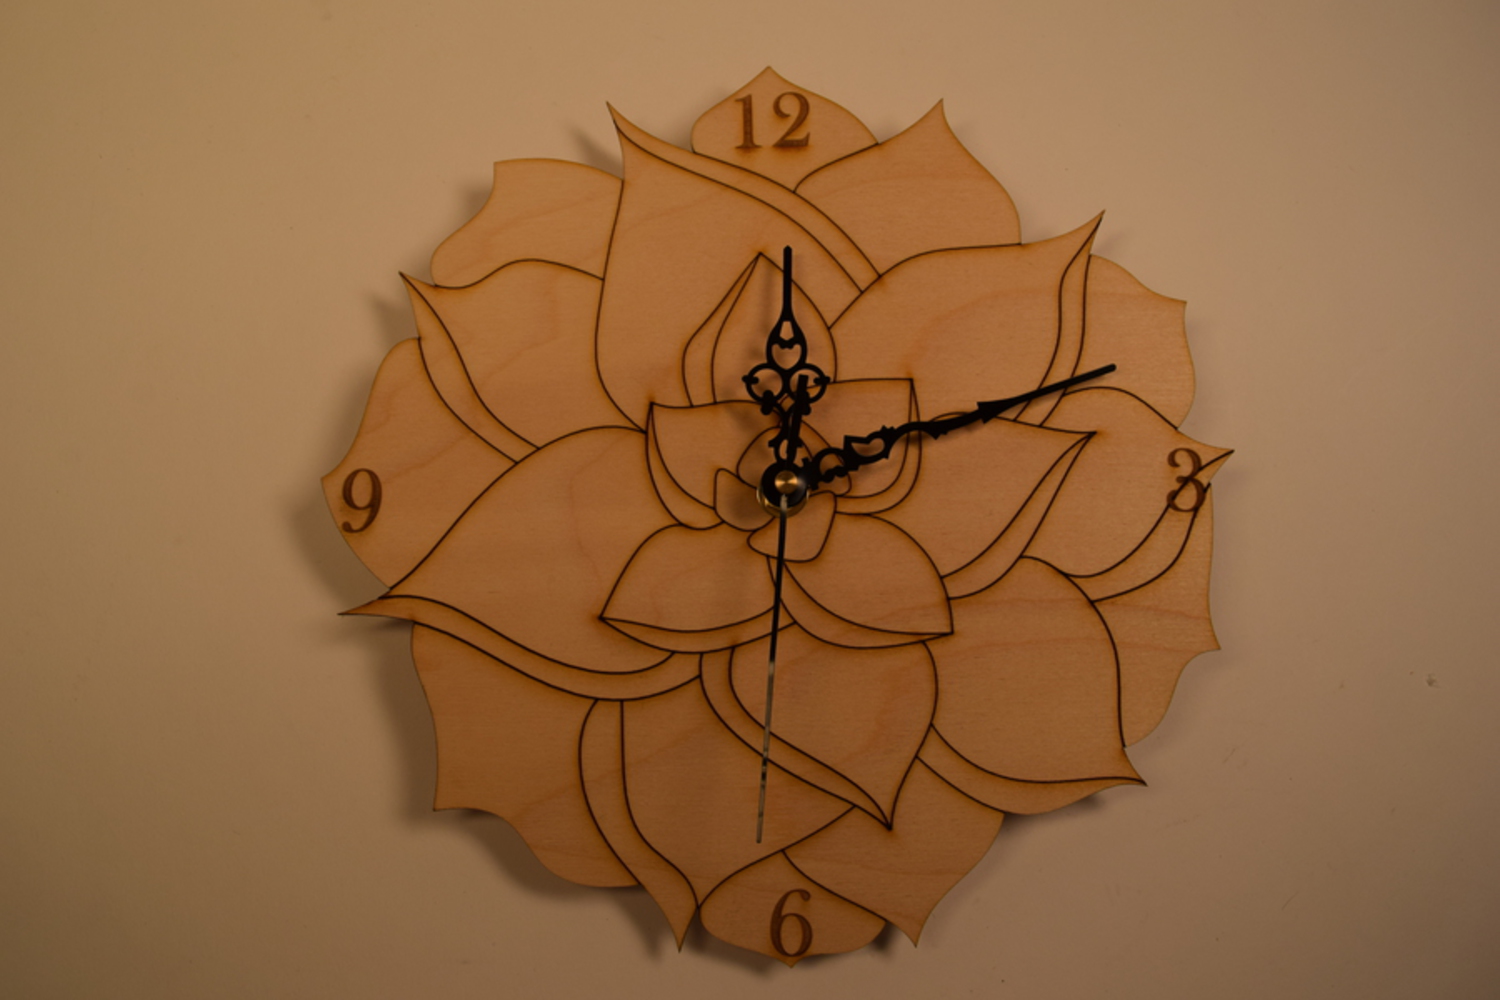
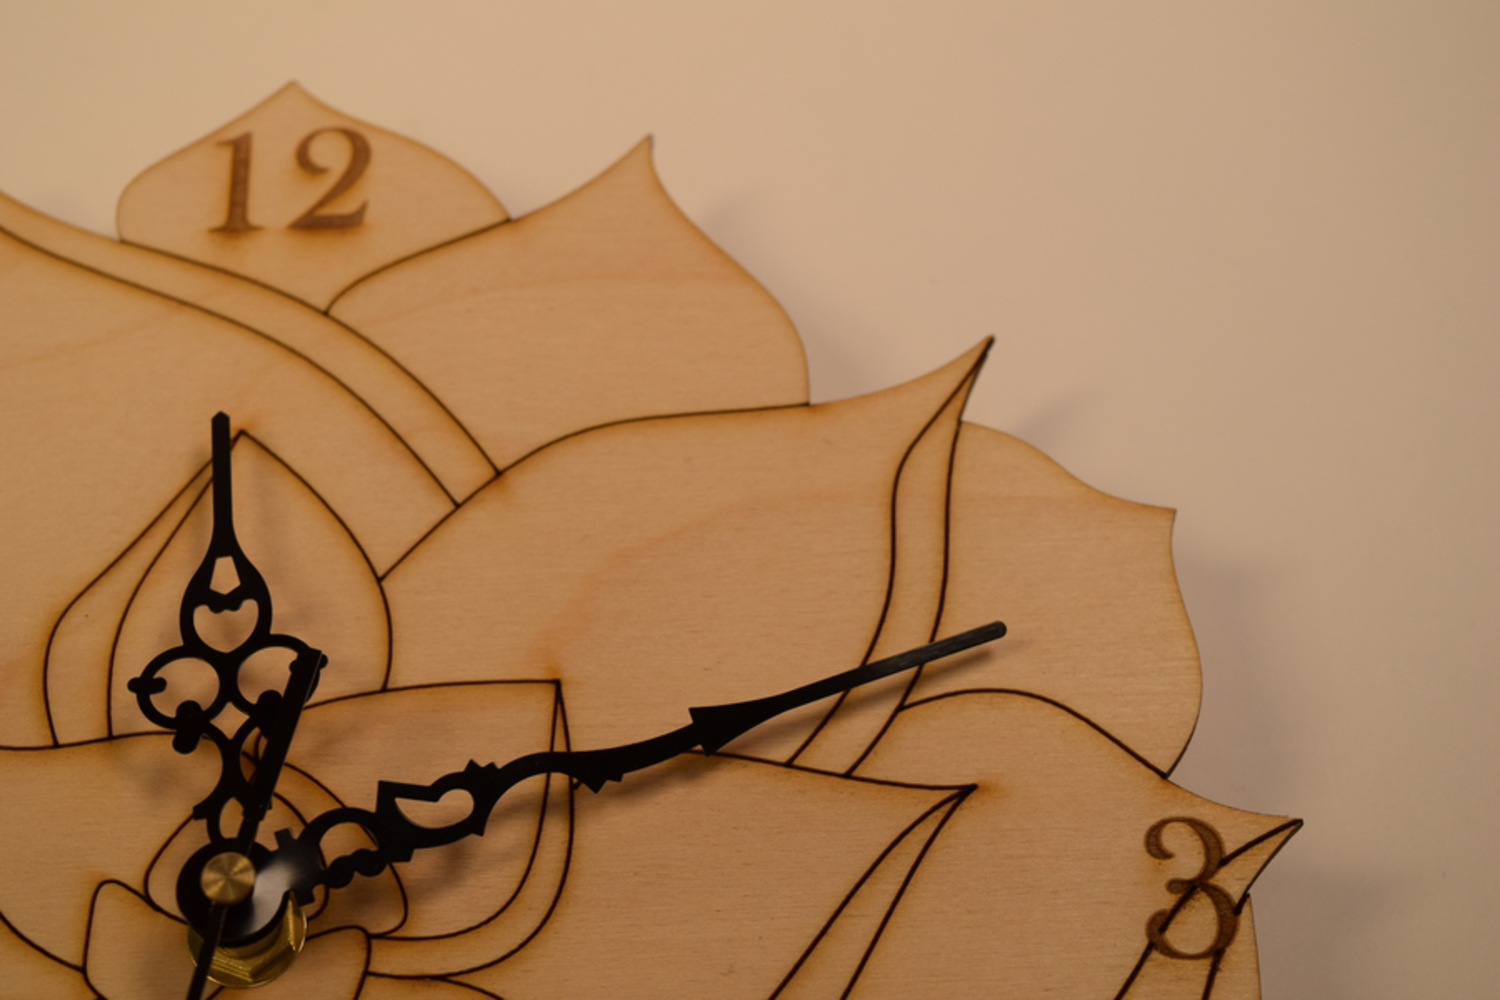
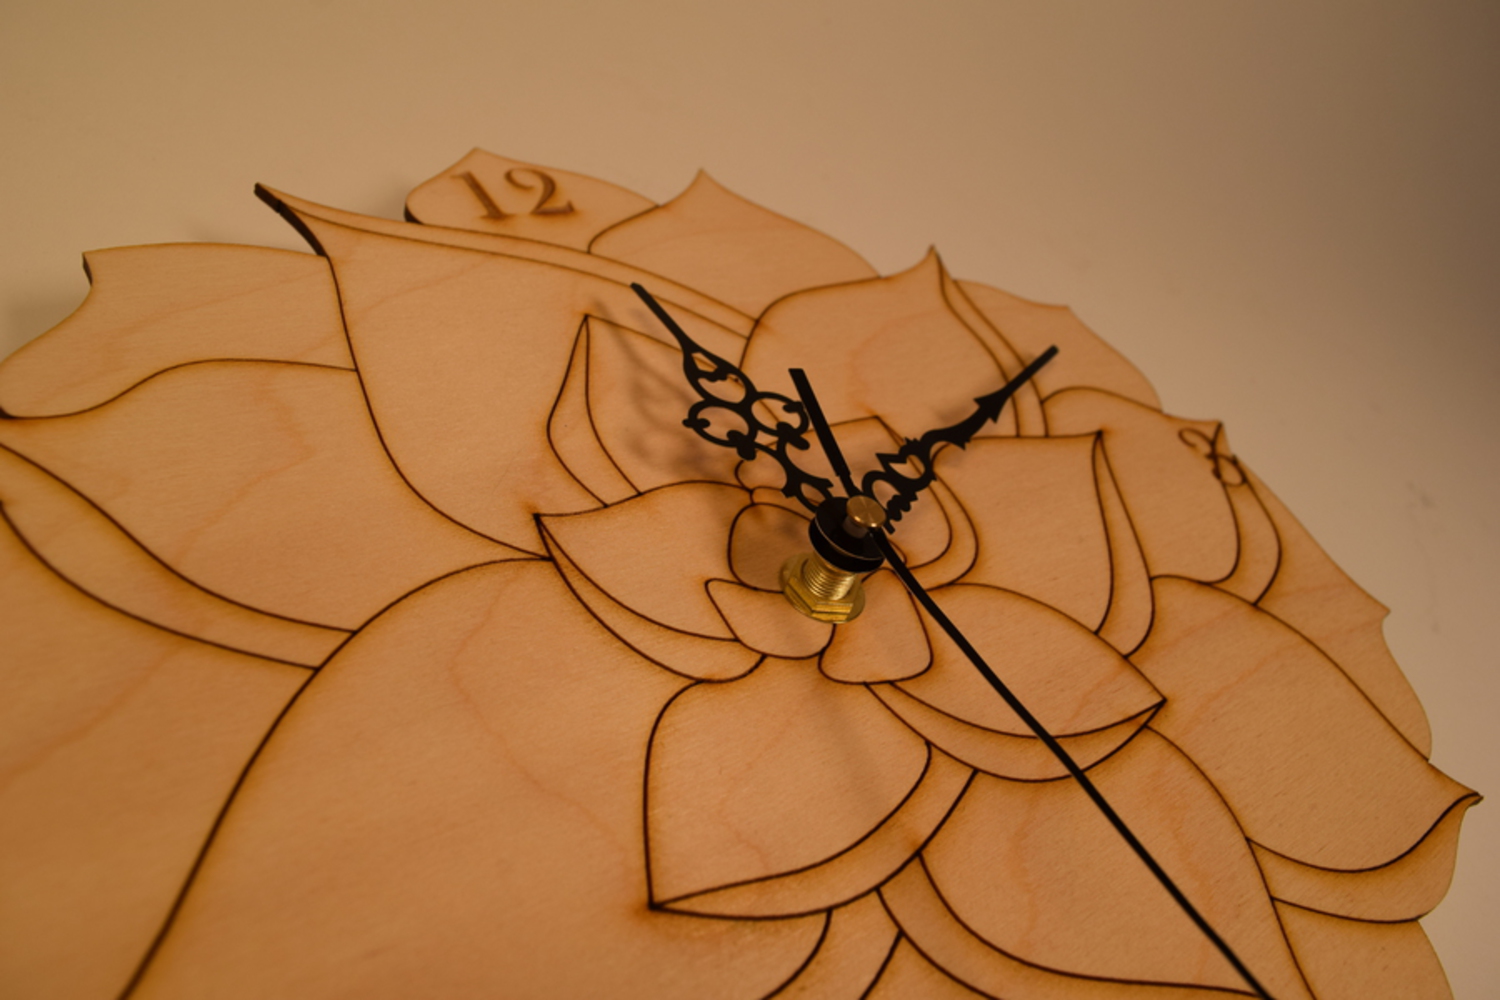
So, in my final clock, I:

  • Cut the outer shape of the clock
  • Scored the outlines of the leaves
  • Engraved the numbers
Clock angled.jpg.thumb
Show Advanced Options
Two Renderings

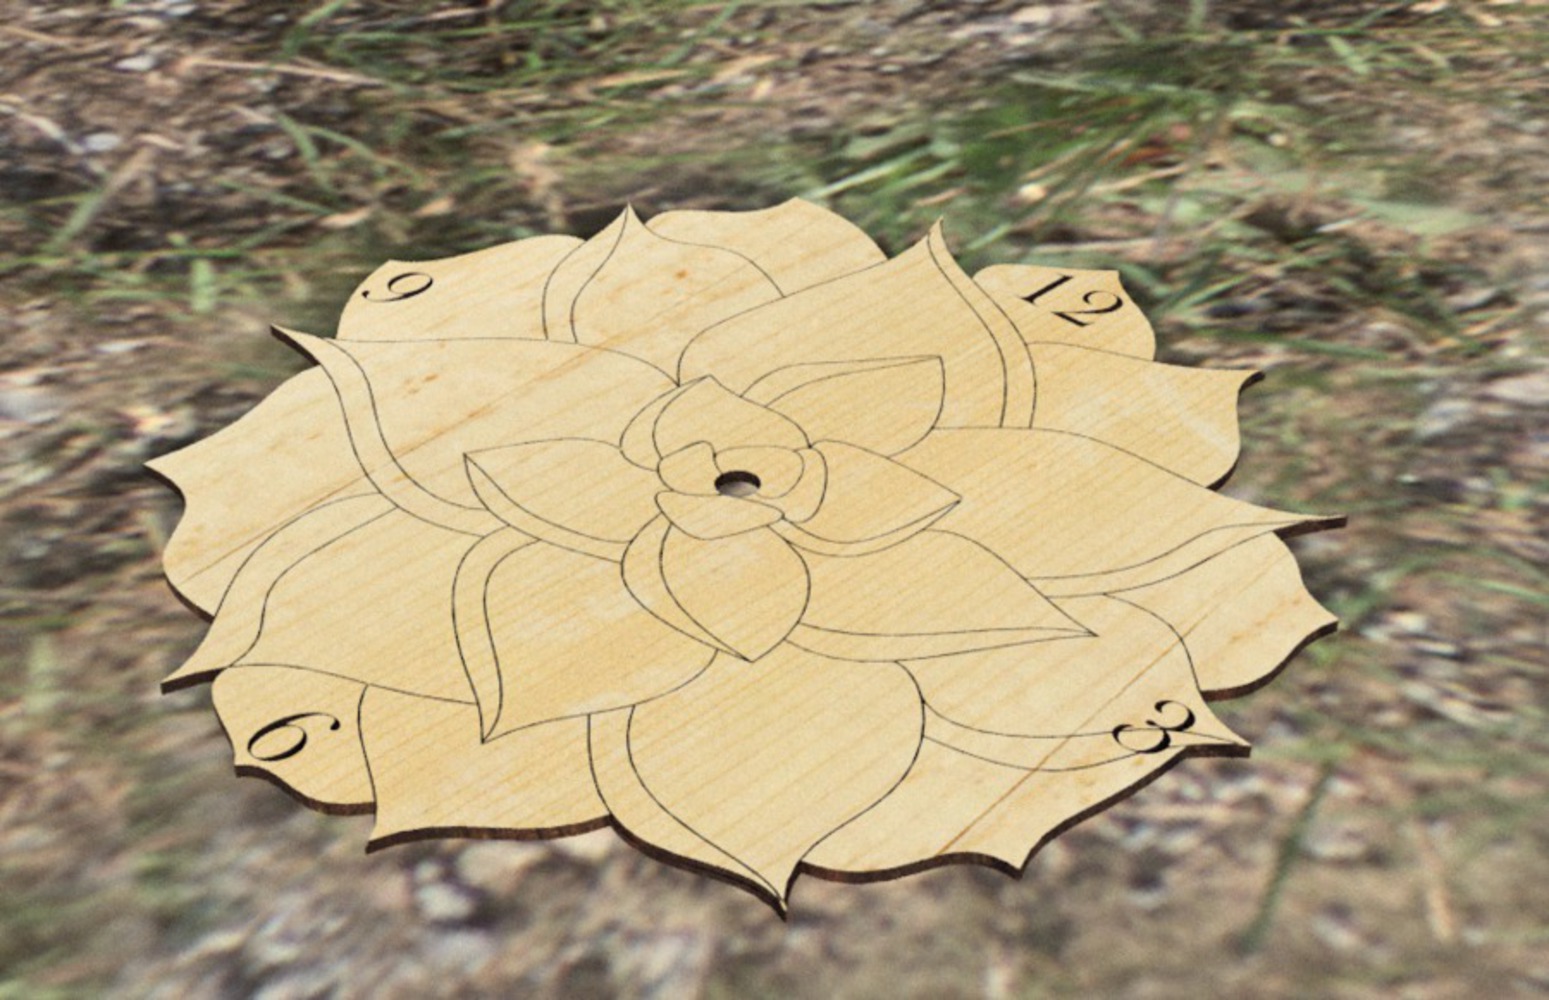
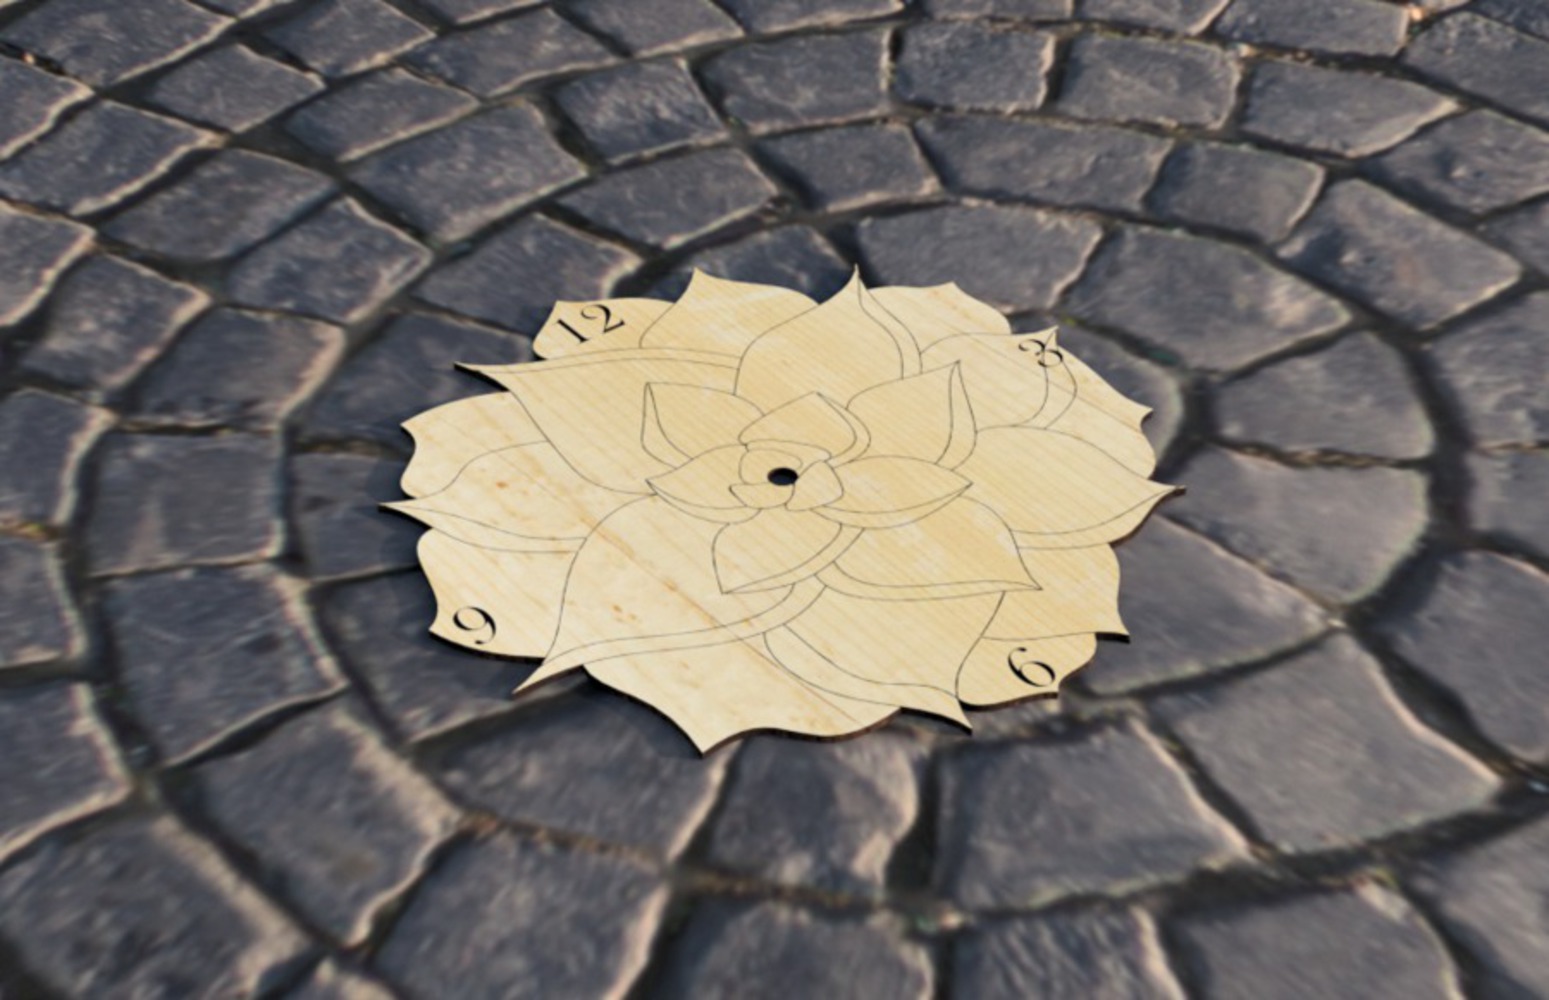
I rendered my clock in a grass-and-dirt environment, to give more of that organic aesthetic I was going for. I also rendered it on a cobblestone plaza to help give a sense of depth and scale.

I had to use a few tricks to get Fusion to render the scored lines (since it doesn't have an option to engrave or score simple lines).

Clock render grassybg.thumb
Show Advanced Options
Bsoques   clock   cobble bg.thumb
Show Advanced Options
Five semi-pro photos
Clock full.jpg.thumb
Show Advanced Options
Clock closeup1.jpg.thumb
Show Advanced Options
Clock closeup angled.jpg.thumb
Show Advanced Options
Clock low.jpg.thumb
Show Advanced Options
Clock context.jpg.thumb
Show Advanced Options
Reflection

When I started the actual process of creating the clock, I thought I could just design it in Fusion and send it straight to be cut, and that any problems I'd encounter would be with cut settings and the material. Obviously, I was wrong--trying to fix all the problems with the lines in Illustrator and Fusion took up a huge amount of time, and I didn't even get to make my final version the way I envisioned it. The next time I work on a project like this, I need to give more time for designing and dealing with problems in the software, instead of assuming all my problems will be during the physical construction.

I originally thought the wood itself would be a pleasant enough texture, but now that it's finished, I think the clock looks a little boring. If I had time to make further prototypes, I would try different ways of coloring it--perhaps by varnishing the wood green before I cut it, or painting it by hand.

I also considered changing the construction entirely and making each leaf a separate piece, which could be colored on its own and then glued together like a jigsaw puzzle in the shape of the final design. Although that would probably end up looking the best out of all these possibilities, it would also be very time consuming--not just the painting and cutting, but changing the drawing and DXFs to allow each piece to be cut individually.

In the end, I like my clock design and it satisfies the requirements of this project, and I probably wouldn't do much more than varnish or paint it--any other improvements would take too much time.

Drop files here or click to select

You can upload files of up to 20MB using this form.