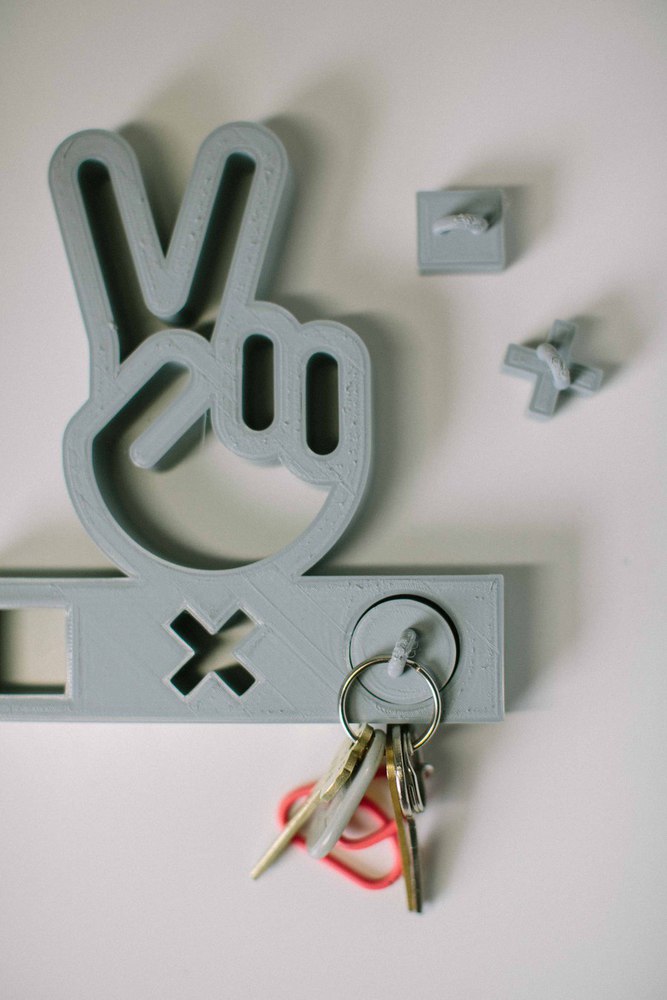
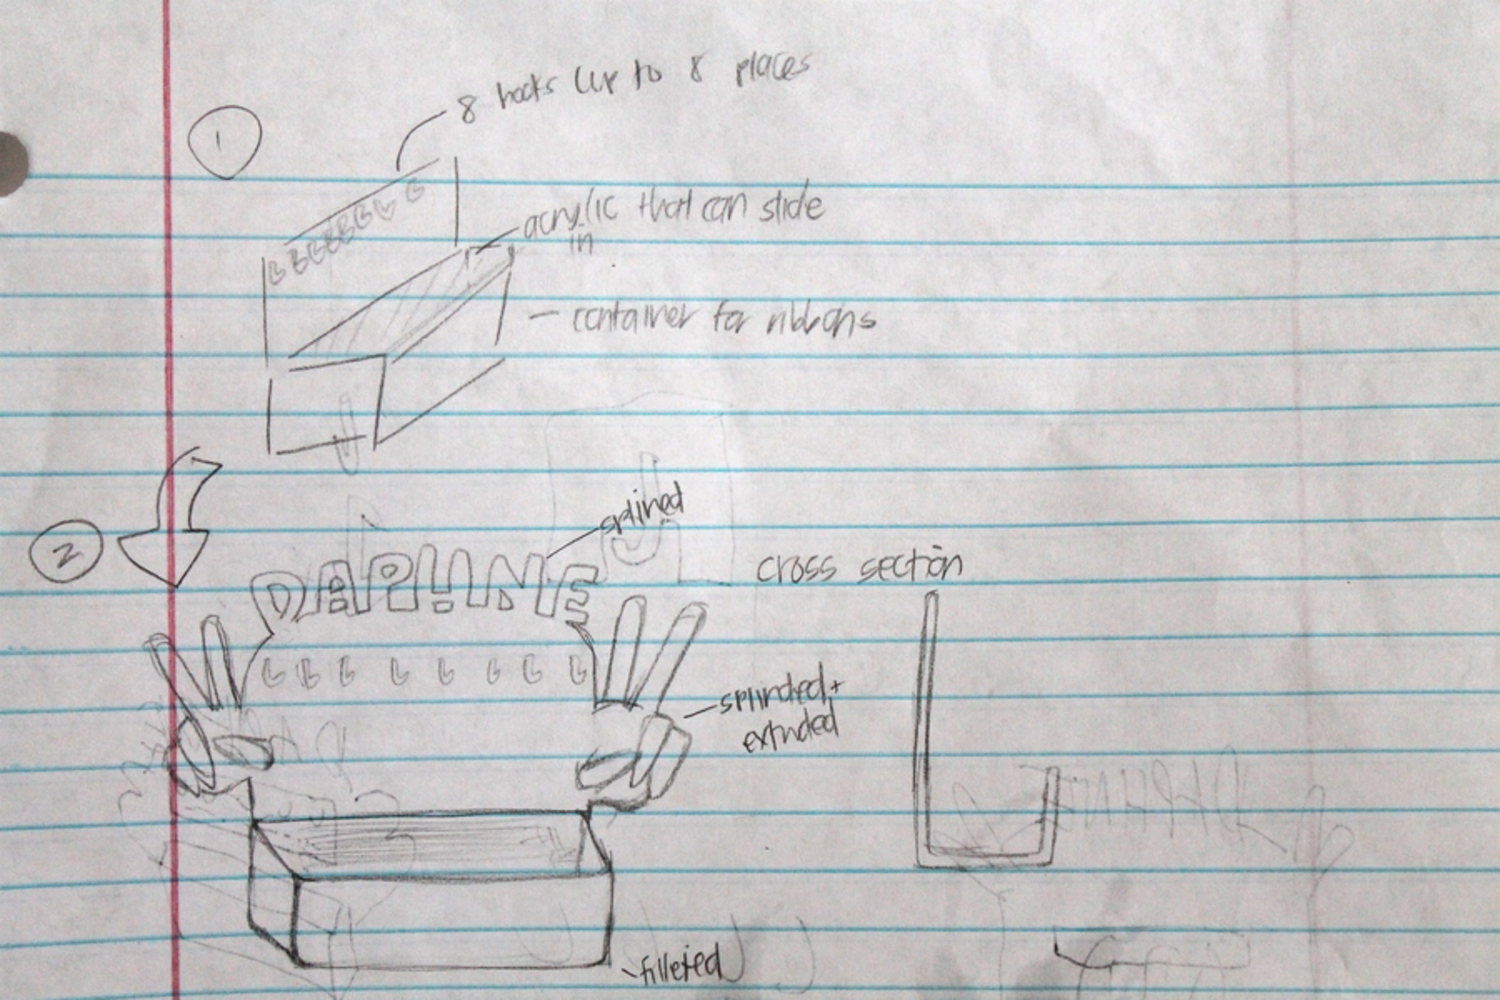
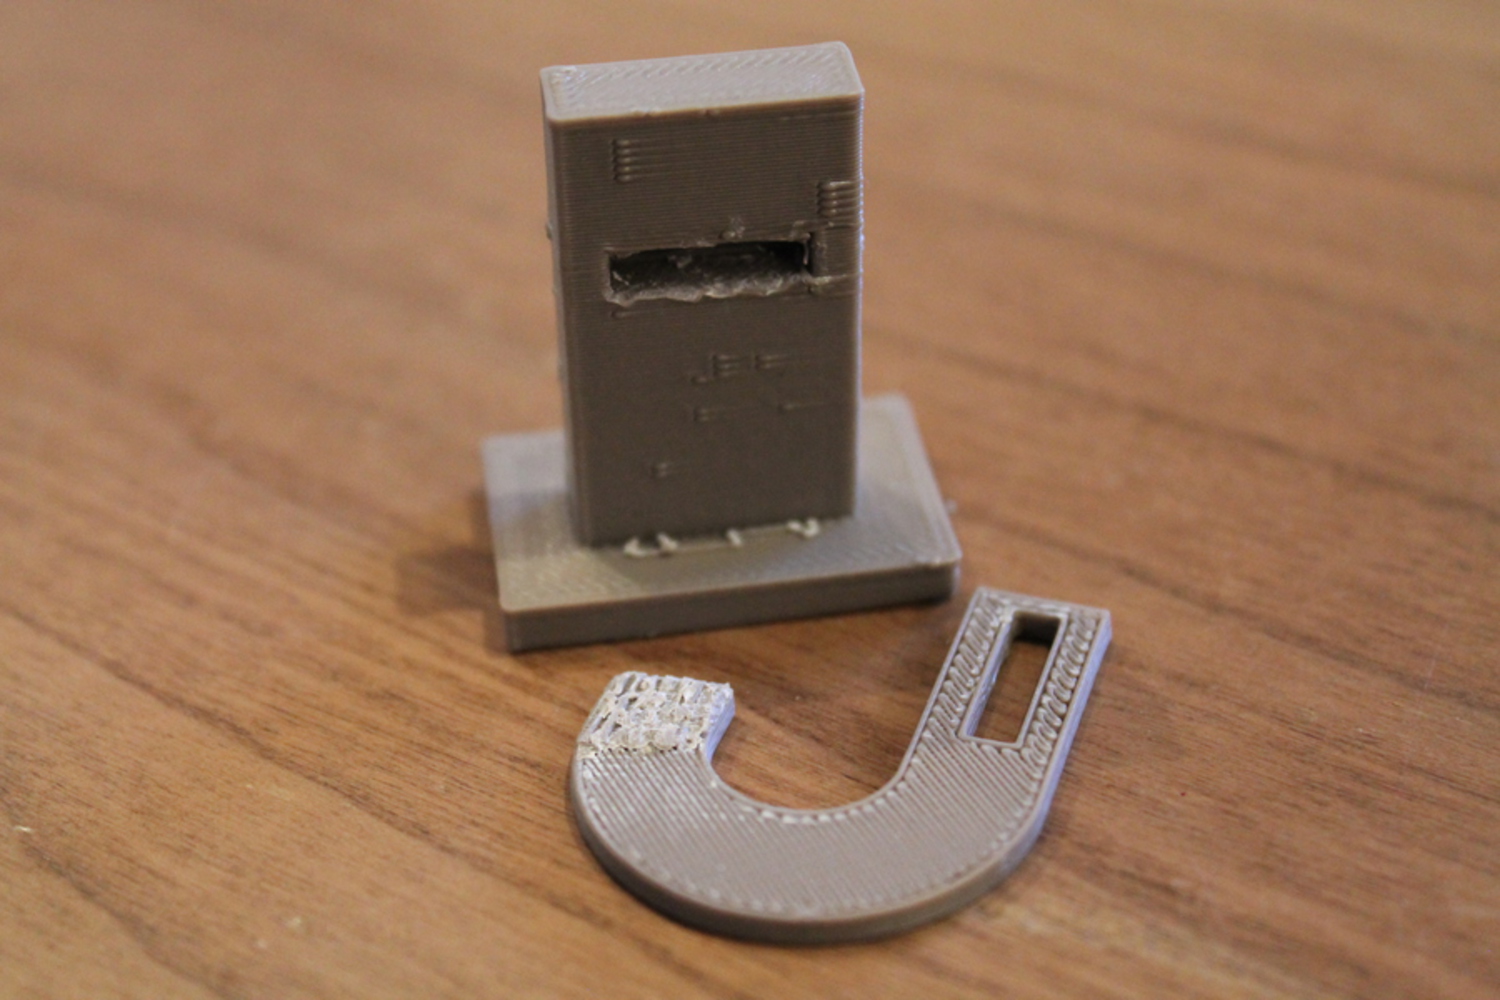
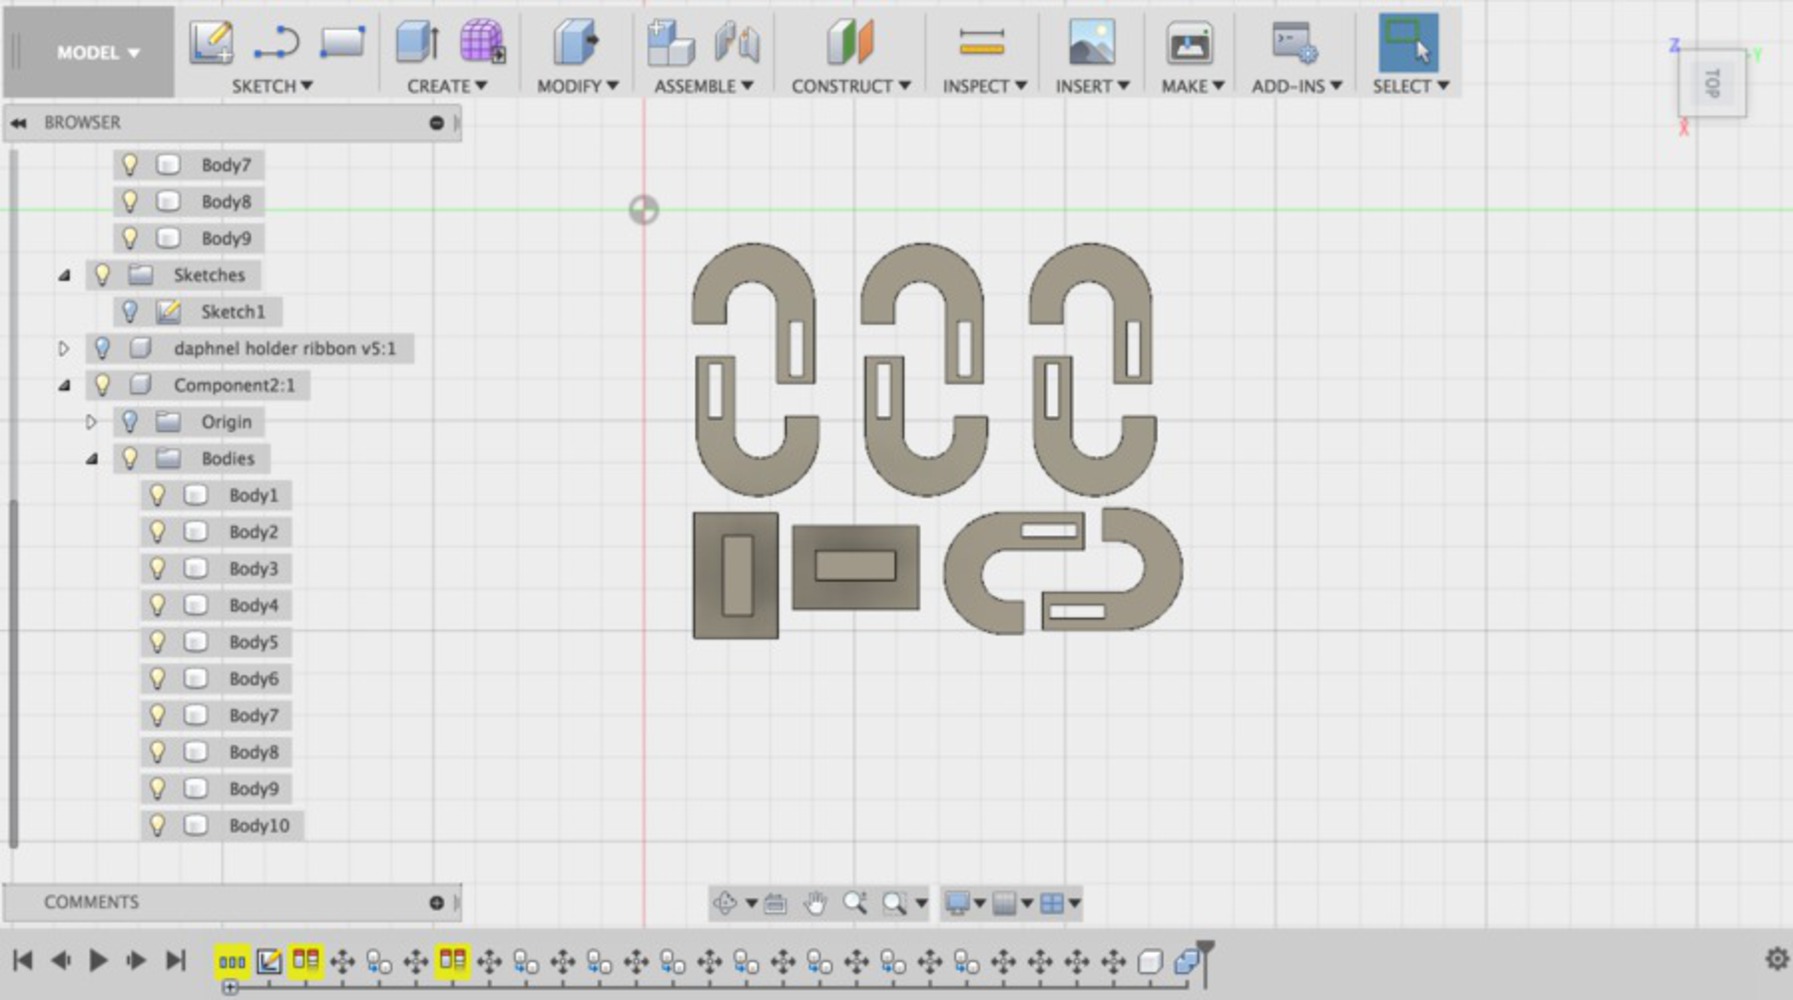
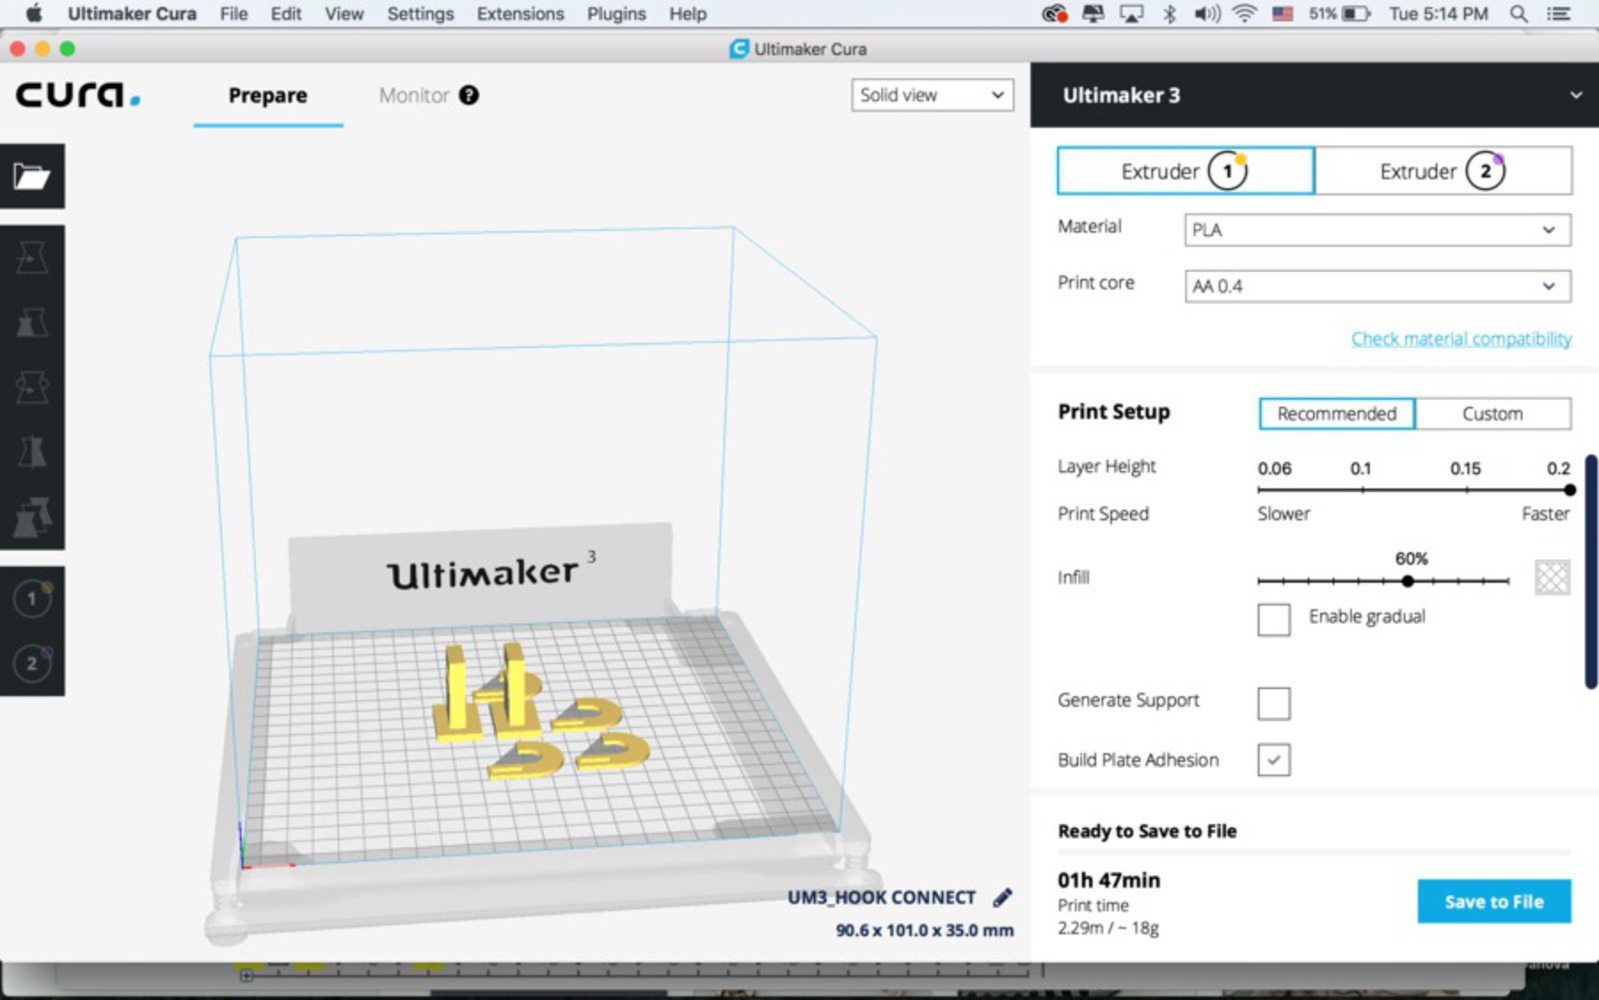
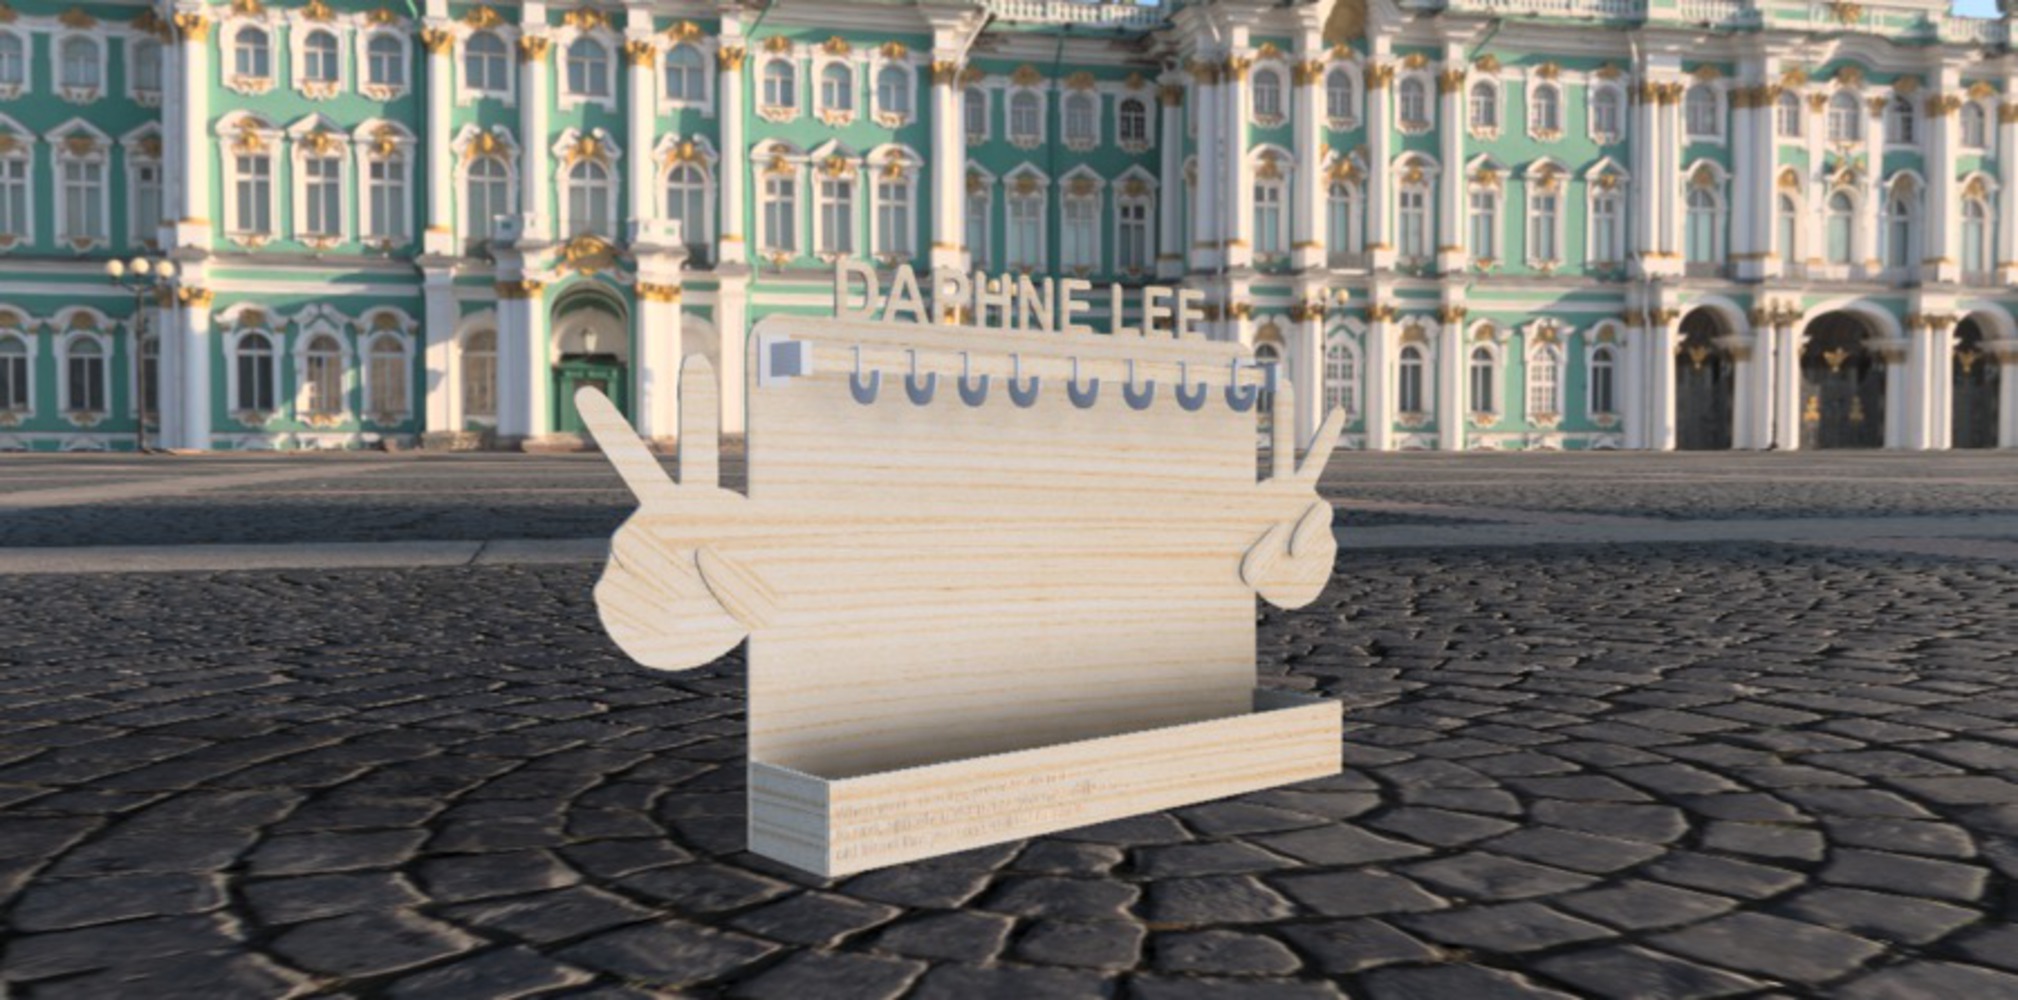
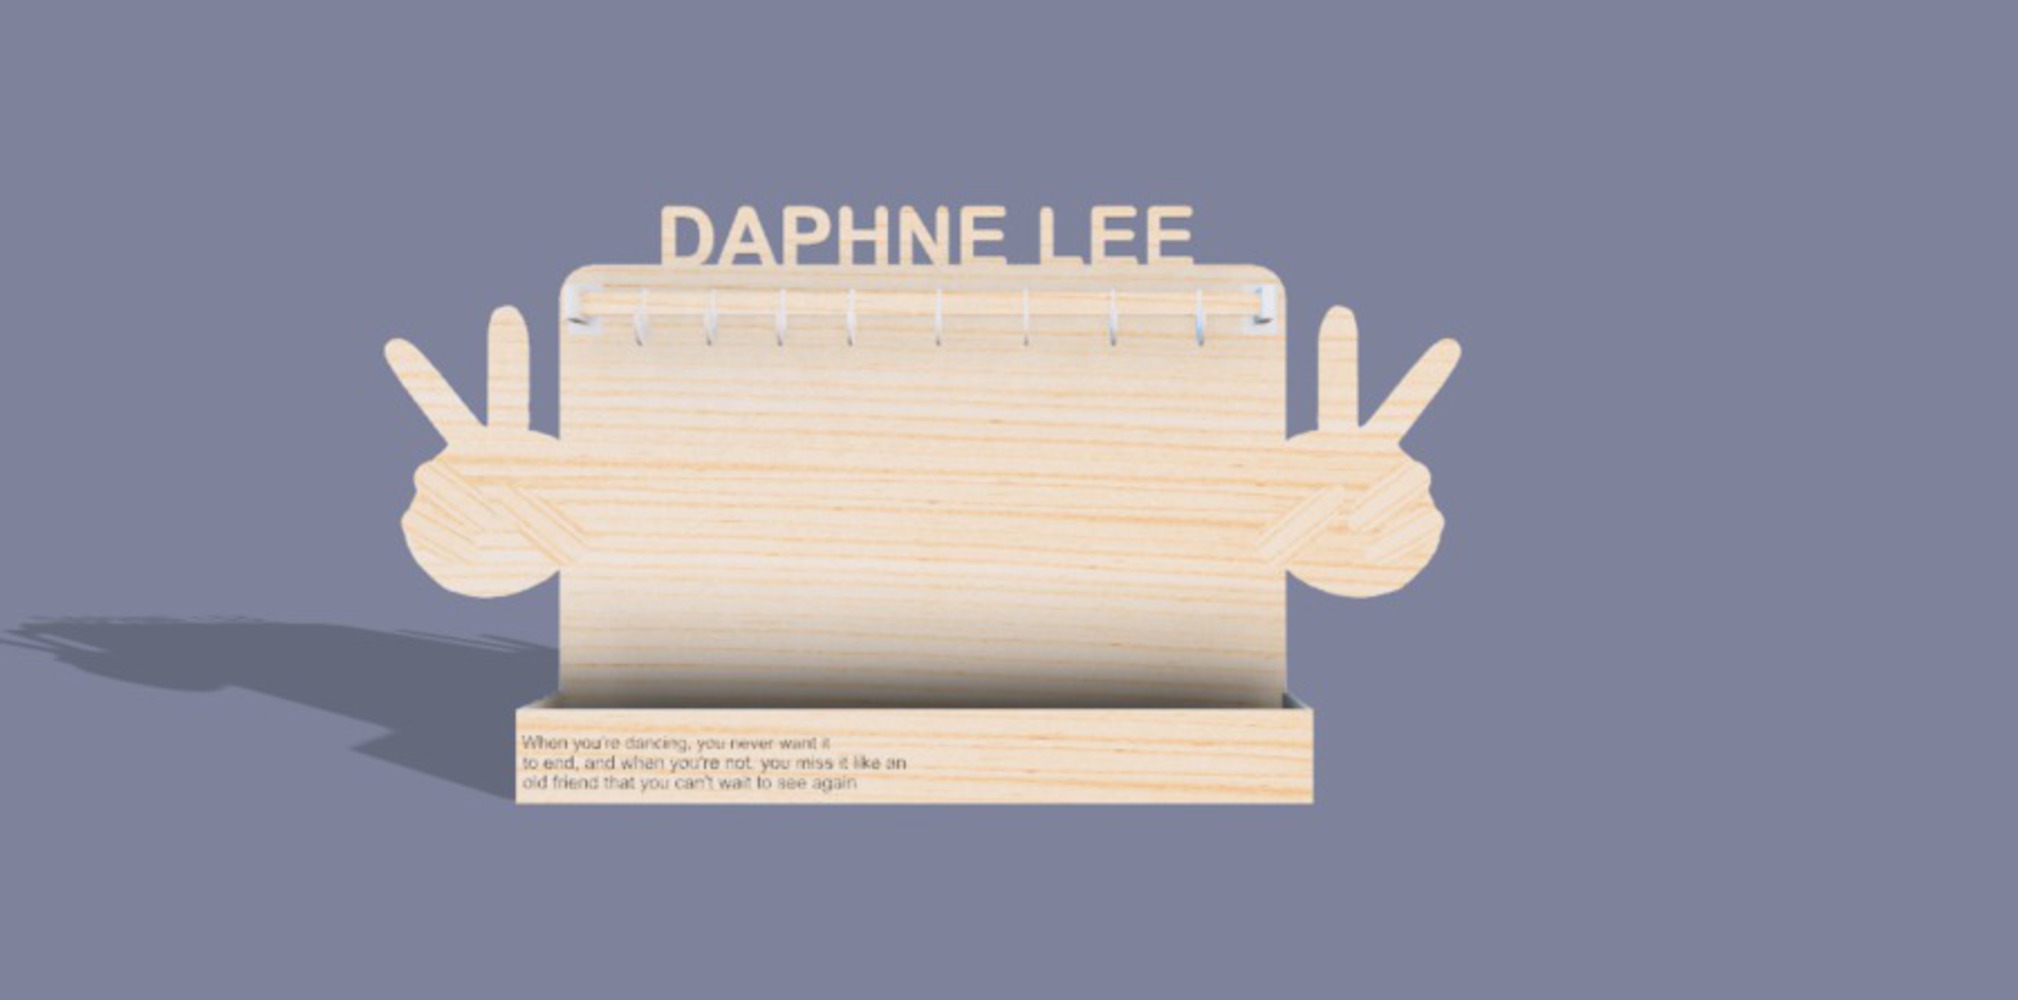
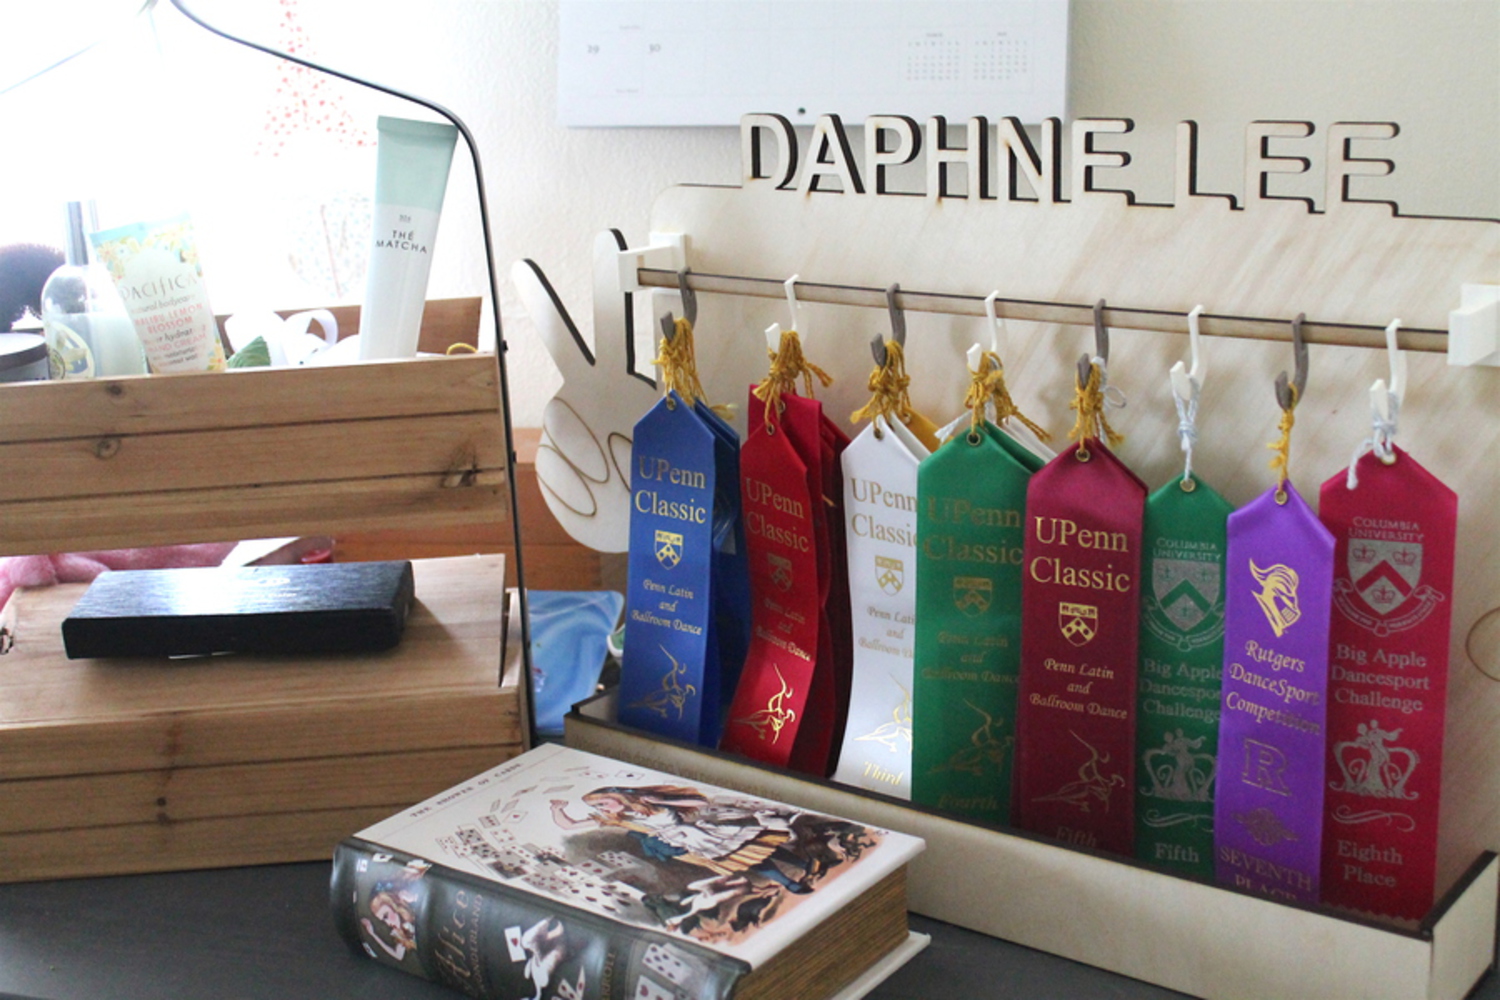
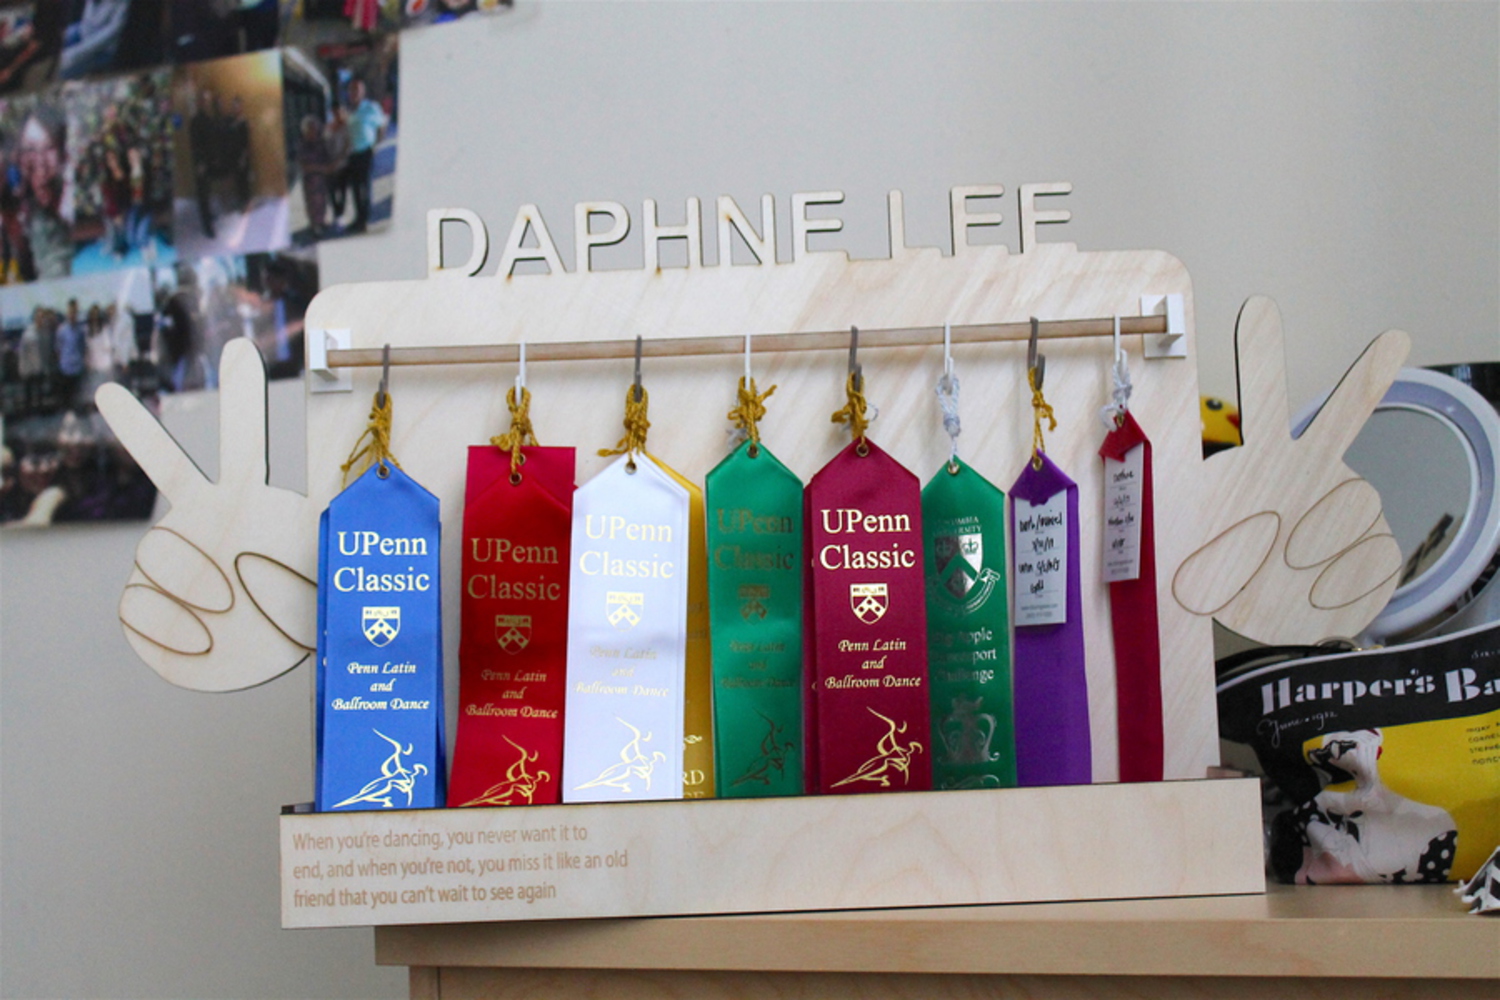
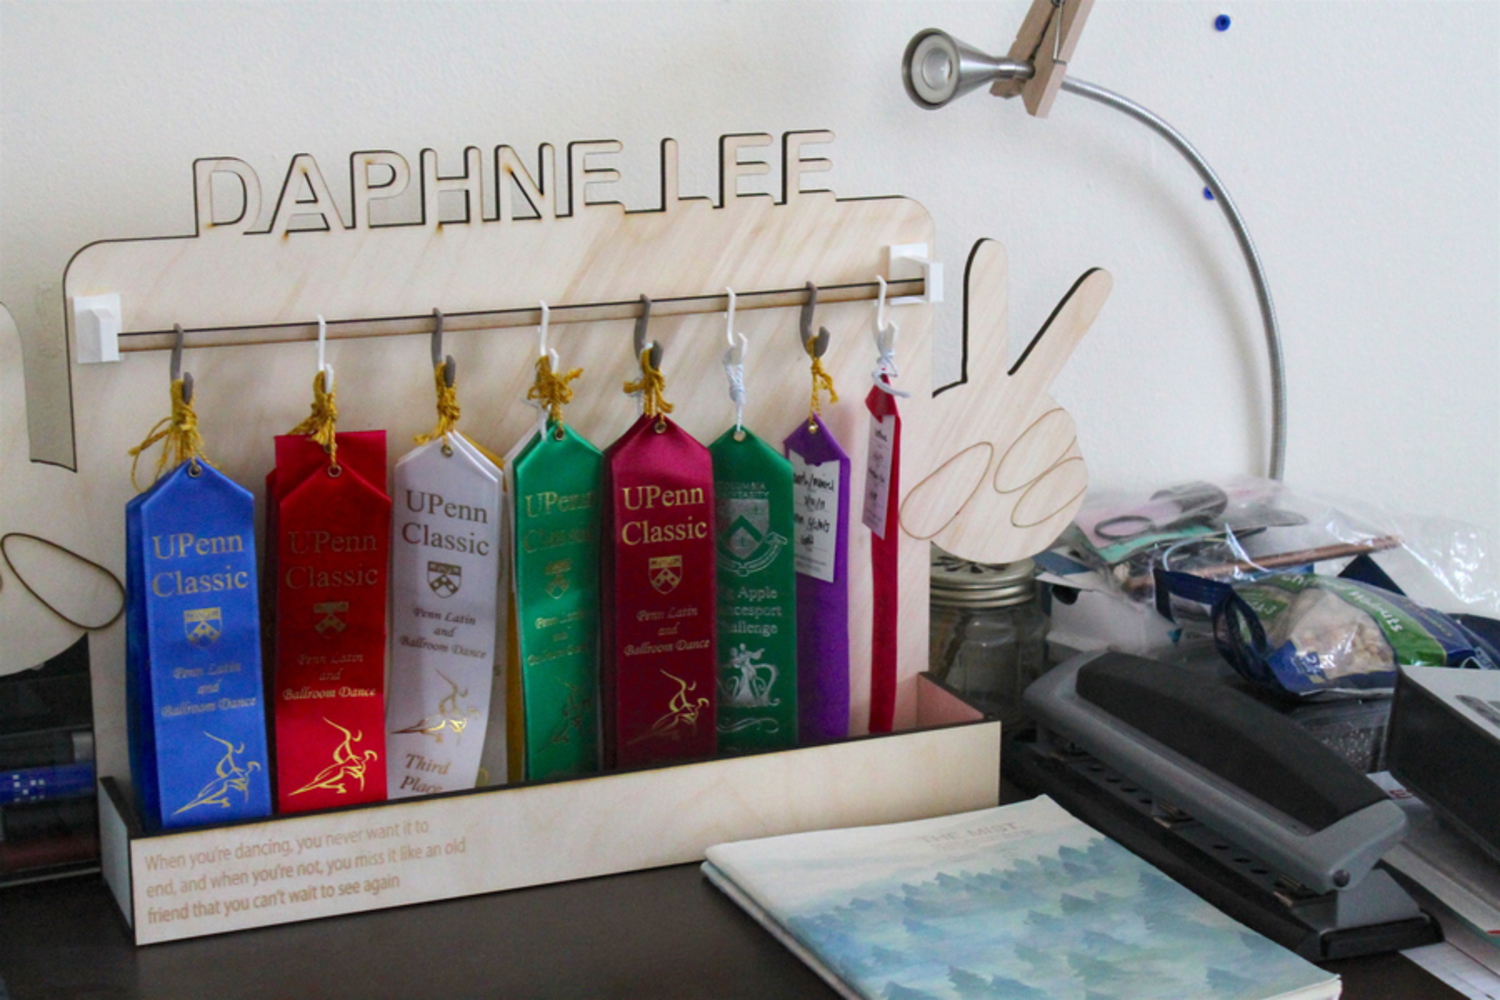
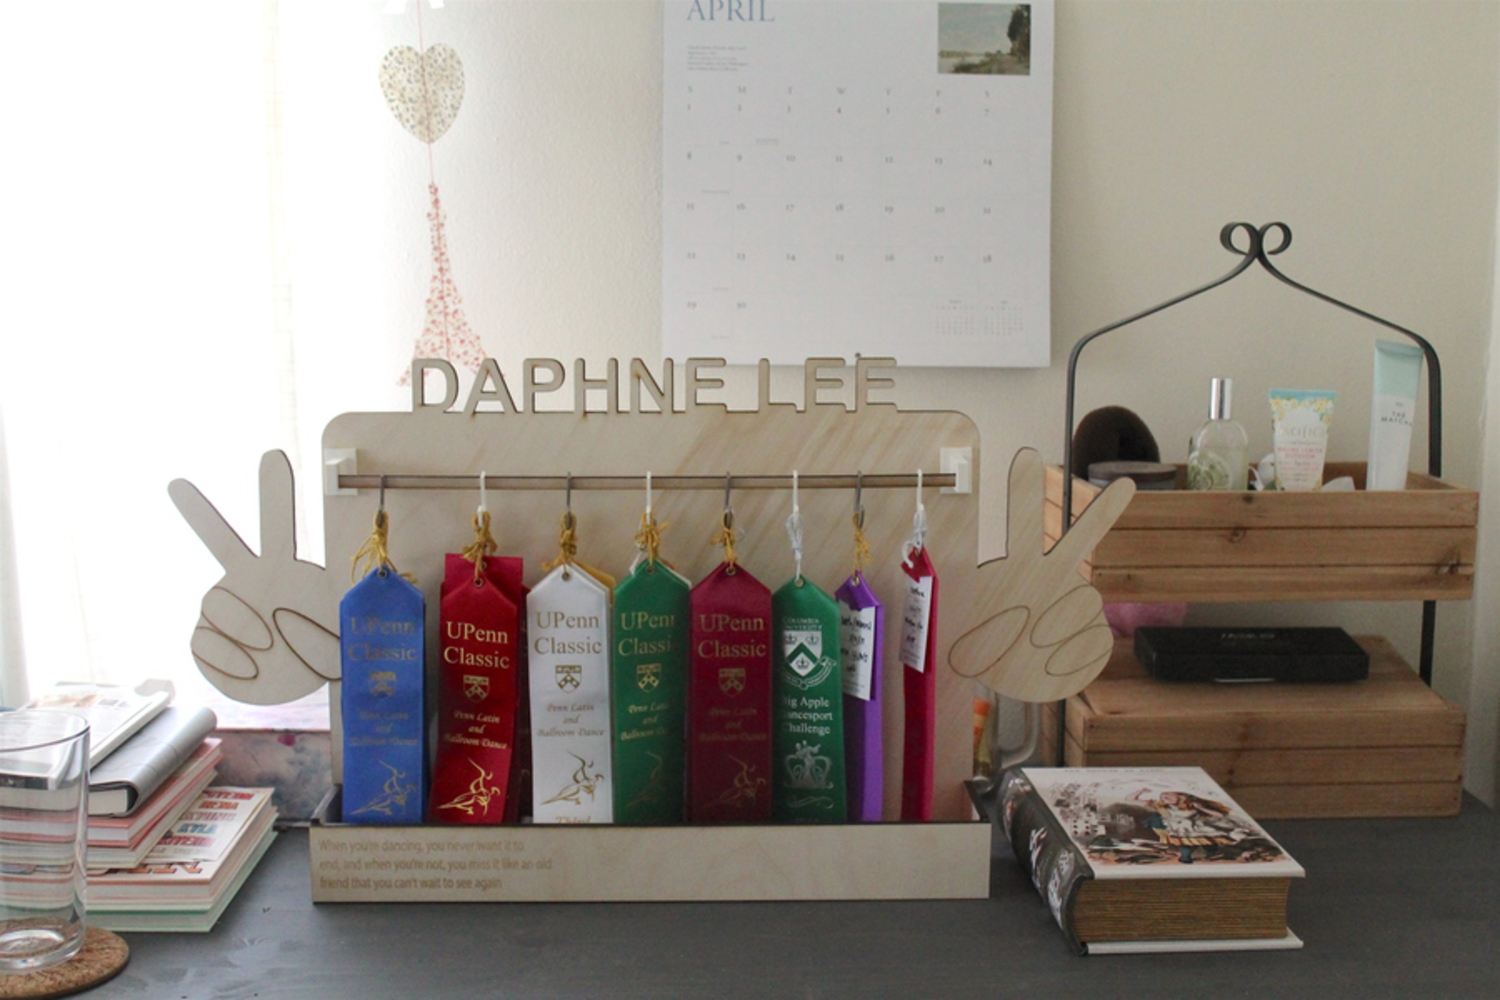
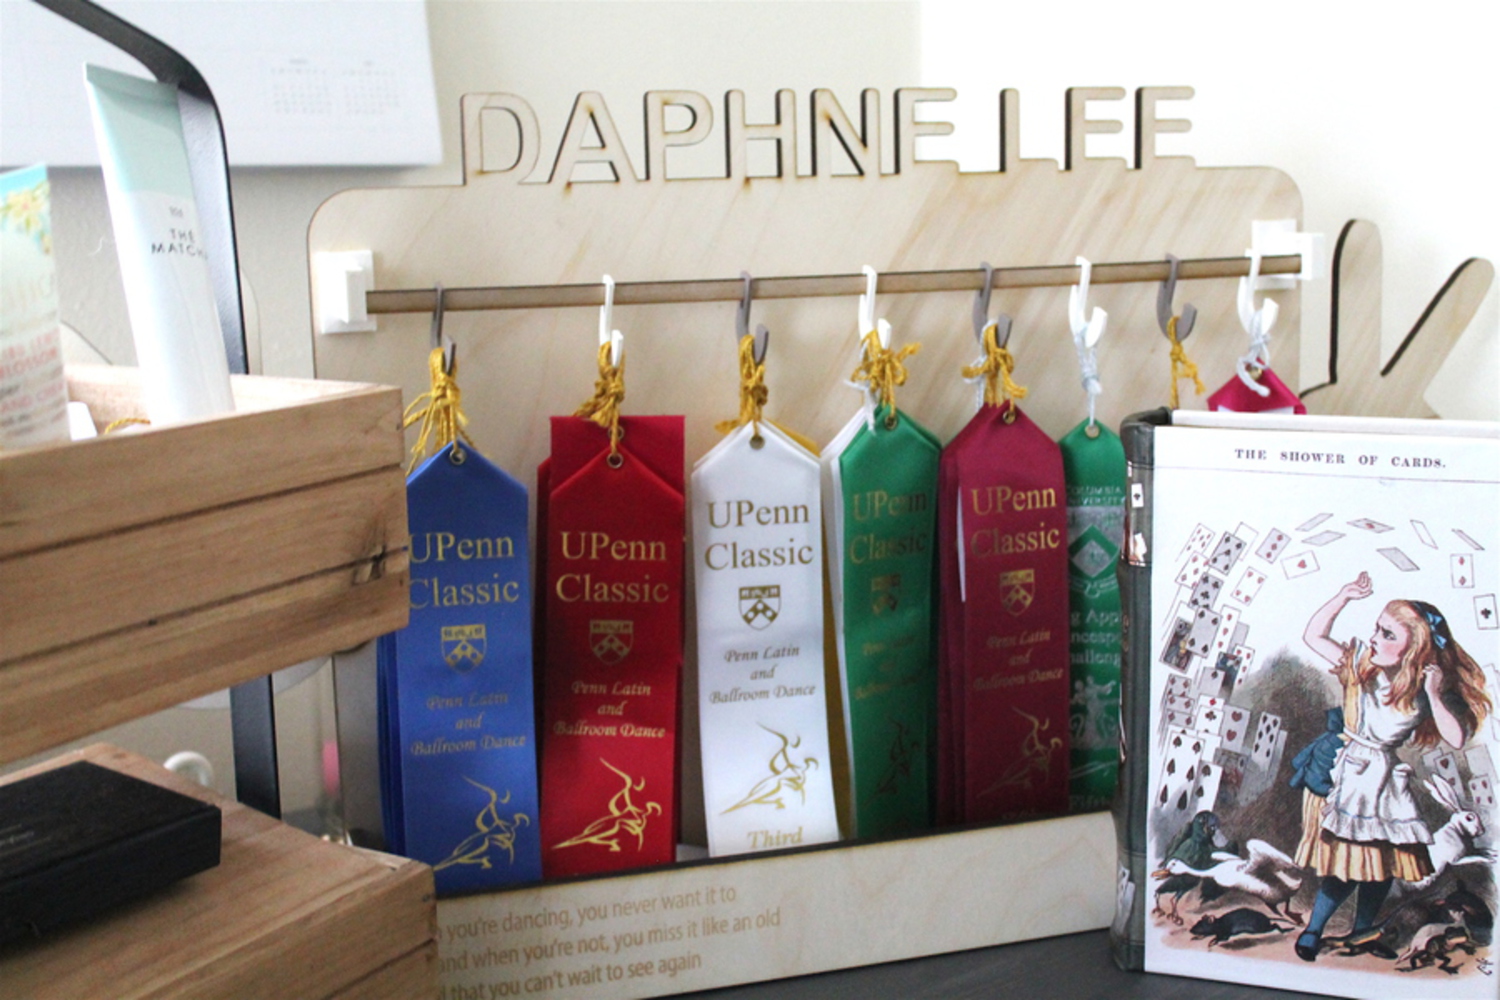
Back to Parent

Outcome


Intention

The main problem I wanted to solve was my issue of losing my award ribbons. I joined a dance team during my freshman fall and we usually go to at least 6 competitions a year. Throughout those competitions, I have gathered a numerous amount of ribbons that I have sometimes lost or misplaced. These ribbons are special to me because they remind me of how far I have come and how I did during the level I was in during that time. My goal was to create some sort of holder that could not holy hold and display all of my ribbons properly but also aesthetically.

Research & Context

How does your outcome relate to other work in the field? What makes it similar or different to other objects of the same genre? How have other objects failed to solve the problem you have identified?

Many people just pin their ribbons onto a bulletin board or stuff them inside a box, but I wanted to find a method to properly display them so they are more neatly organized. I looked at a lot of other holders and projects created from other students in previous years to find inspiration and I decided to incorporate the peace sign onto my project.

Sketch

I used 0.25 in thick birch plywood for the majority of this project. The rod was made of 0.125 in plywood and the hooks and support structures were made from the plastic from the 3D Printers.

Img 2203.jpg.thumb
Show Advanced Options

Aesthetic & Inspiration

 I got bits and pieces of inspiration for my design from different places. I decided to use the peace sign as an aesthetic point after seeing one of the previous students in this class make the key holder shown below. I thought the idea was really cute and creative and I based my design slightly off of that project. Another influence is the current way I hold my ribbons. I stuck on wall hangers onto my wall a couple months ago and those hangers are used to hold a variety of things like my necklaces, jackets, hair ties and so forth. One of the items they held were my ribbons. Since I was already holding some of my ribbons on a hook, I decided to make multiple hooks on my final design to signify the ranking of each ribbon.

Keys.thumb
Show Advanced Options

Process & Procedure

I had less time than I expected to model my project. I focused a lot of my project through trial and error and trying to work around the long queue for the NVBots and the Ultimakers. My first design was relatively basic and was more like a laser cuttable design. My second design incorporated some more aesthetic points such as the peace signs and my name. I thought it would be nice to have 8 hooks since there are usually up to eight places at most competitions. I 3D printed my hooks and the support structure that could be seen in the 3rd design, which can be seen in my sketch above, that I ultimately used and I laser cut the rest of the project. I scored part of the fingers and etched in a dance quote on the front of my box. I also etched my signature and date on the back of the project. 

Img 2069.jpg.thumb
Show Advanced Options

Since the 3D printers were in such high demand and the deadline was in two days, I decided to use the Zortrax, one of the 3D printers in the Maker space that is now rarely used due to its finicky elements and it is not as high quality as the other 3D printers. The support piece and hook below were created from the Zortrax. I printed a total of 8 hooks and 2 support pieces that took approximately 5 hours to print. However, the support filaments were extremely hard to tear off and as a result, the support structures and hooks did not look very aesthetically pleasing. I could not get all of the support filament out of the hole of the support structure and it ended up looking like a disaster. I also had the problem of being unable to fit the wooden rod into the support structure due to sizing. 

Img 2068.jpg.thumb
Show Advanced Options

There are 3 types of 3D printers in the Maker space: NVBots, Ultimaker and Zortrax. For both the NVBots and Zortrax, I had to create a separate file to properly place the bodies down in a certain position so they could be printed in the right orientation. This took a long process and required me to get a lot of assistance from Professor Larson, who I really thank for helping me get through a lot of the difficult modeling parts of this project.

Screen shot 2018 05 01 at 6.58.09 pm.thumb
Show Advanced Options

After getting such sad results from the Zortrax, I staked out by the Ultimaker and eventually ended up trying to recreate half of my hooks and the two support structures. I edited the sizing of the support structures to make sure that the wooden rod would be able to properly fit in the hole and printed the pieces.

Screen shot 2018 05 01 at 5.14.35 pm.thumb
Show Advanced Options

Two Renderings

[Two renderings on complete project styled with finished background, lighting, positioning, reflection]'

Daphnel holder ribbon render.thumb
Show Advanced Options
Daphnel holder ribbon render again.thumb
Show Advanced Options

Five semi-pro photos

[Five semi-professional photos with care given to context, lighting, staging, scene]

Img 2033.jpg.thumb
Show Advanced Options
Img 2009.jpg.thumb
Show Advanced Options
Img 2039.jpg.thumb
Show Advanced Options
Img 2024.jpg.thumb
Show Advanced Options
Img 2030.jpg.thumb
Show Advanced Options

Reflection

[Reflect on the process of making this project. What did you learn? What would you do differently?]

I learned that 3D printing is a really long process that requires more time than one would think. I would try to start my projects at least a week before the deadline in order to work with time constraints and put slightly less pressure on myself. I learned how to properly format and model objects in order to be the objects to be properly set in the right orientation for the printers. If I had more time, I would try to remake the rod and the support structure because they do not fit very well with each other. I would have also liked to make the height of the back board longer by around 5 inches. I forgot to account for the length of the strings on the ribbons so I had to make loops on the strings before putting them on the hooks. Overall, I think the project looked aesthetically pleasing and I am quite satisfied with the results. 

Drop files here or click to select

You can upload files of up to 20MB using this form.