Back to Parent

Outcome


Intention

Figuring out what kind of holder to make was simple for me. I own over 30 pairs of glasses (would be more, but I lost a bunch). My current holder for them is a jewelry hanger that resides in my closet. Most times 5-6 pairs of glasses are scattered around my room and sometimes I do not find the correct pair for days. Having a holder to organize a few pairs and keep them safe and on display would solve a lot of the hassle.

Research & Context

Most people do not own as many glasses as I do, so most glasses holders are for commercial use which can make them either too big or not cohesive to the space I have available in my bedroom. The current holder that I have, because it's pockets are meant for jewelry, is too small for most of my frames, so my frames fall out of the holder often. A similar problem is had with traditional glasses holders that slide the frames in while open because they frames can be knocked off the rack easily.

Using this information, I wanted to adapt into my design a security to keep the glasses in place without fear of being knock out or falling, as well as still keep the design decorative where the glasses are easily visible for my selection.

New doc 2018 05 02 08.40.30 10.thumb
Show Advanced Options
Glassesinspo.thumb
Show Advanced Options

Aesthetic & Inspiration

I looked at a few glasses holders and stacked holders of other varieties to get and idea of the shape. Glasses holders that stack were a big inspiration, but wanted to move away from the frames being open. Paper holders stack like stairs, and hold paper easily and securely. Combining these concepts moved me to select a design with deep cups, but still stacked.

Trigem jewelry stand
Show Advanced Options
Glassesinsp.thumb
Show Advanced Options

Process & Procedure

I initially thought of styles similar to jewelry holders. I wanted to create a glasses tree where the glasses would hang over the branches similar to how necklaces hang on jewelry holders. After I researched a few examples of glasses and jewelry holders, I began by sketching out similar shapes. I struggled with figuring out a shape for the tree I wanted and accidentally sketched a staircase. Although not on purpose, it became my design.

I started out by determining the number of glasses I would like the holder to support. My initial number was at least 8. I sketched a staircase holder with 8 steps where the steps acted as cups for the glasses. The cup size was determined by measuring my widest frames. Based on class discussion and feedback, I wanted to add a mirror to my design. I sketched into the drawing a slot for a mirror above a jewelry tray, and ultimately added another staircase for symmetry.

New doc 2018 05 02 08.40.30 5.thumb
Show Advanced Options
New doc 2018 05 02 08.40.30 6.thumb
Show Advanced Options
Slessingholder 2018 may 02 12 54 06pm 000 customizedview14584653363 jpg.thumb
Show Advanced Options

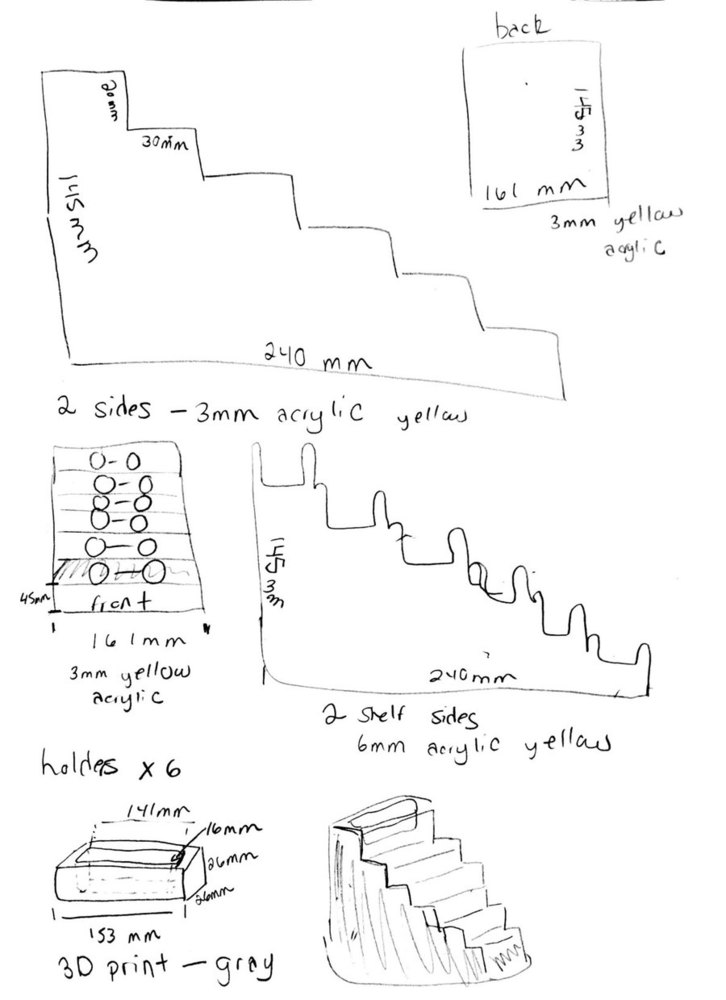
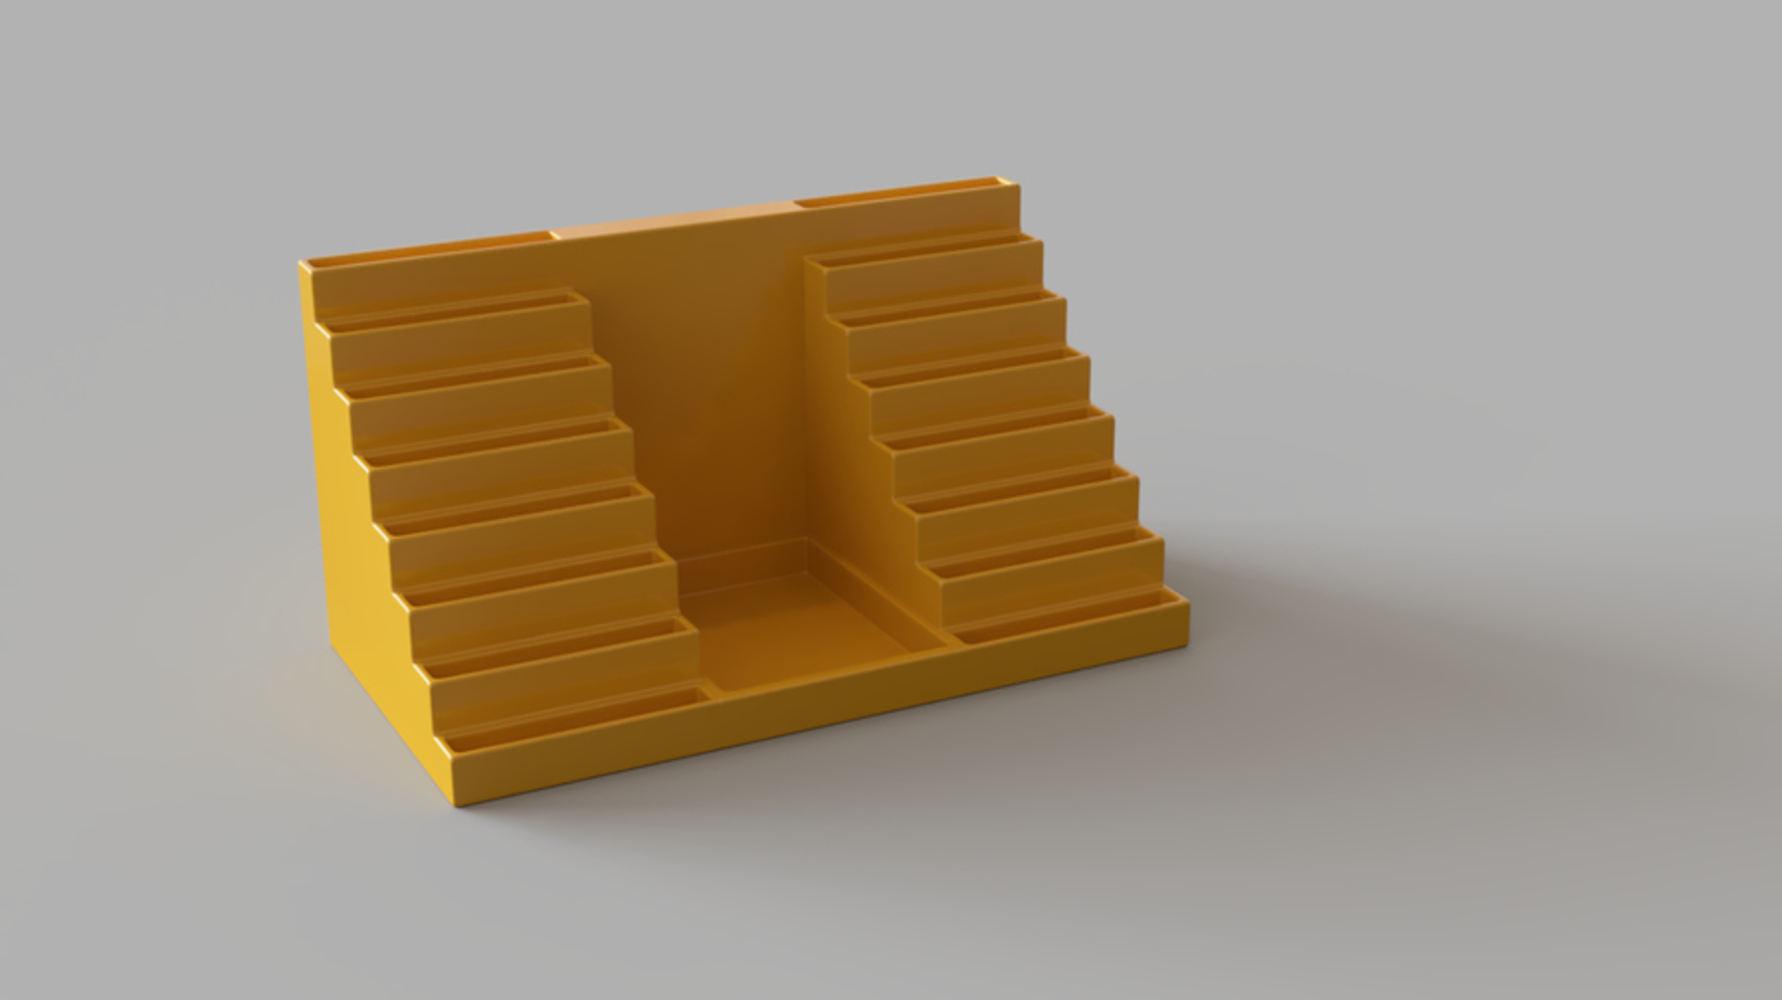
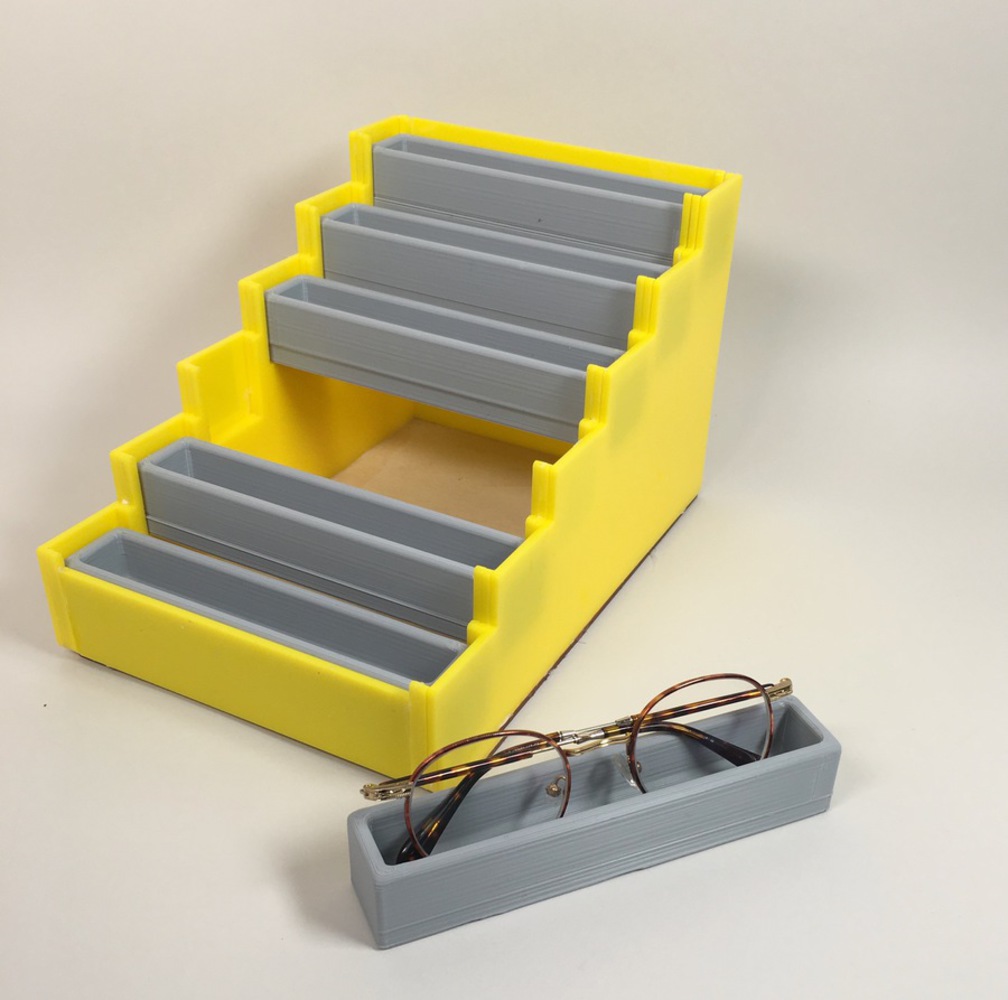
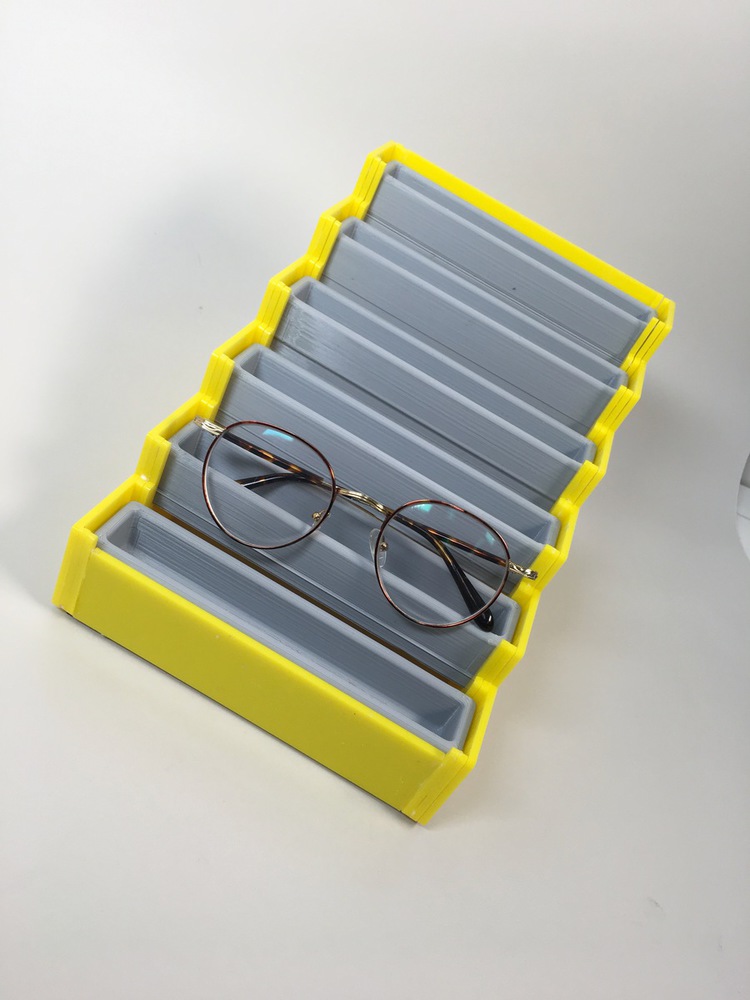
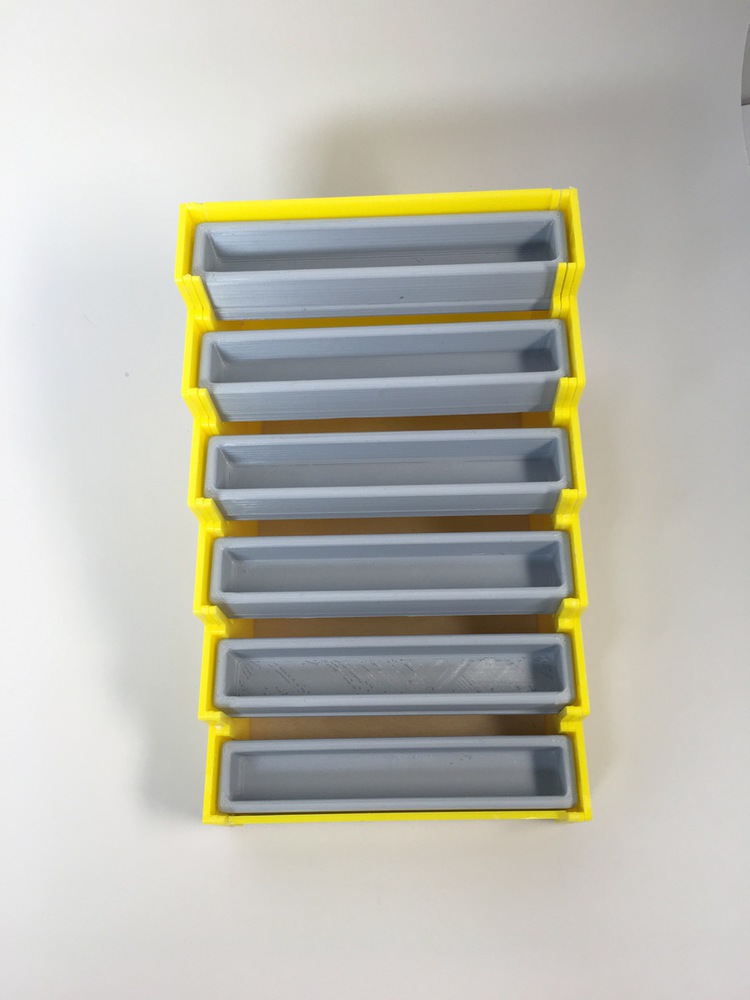
My initial holder, however, was too large for the printer to do in one print. After splitting the design into three parts (two staircases, and the middle section), it was still too timely to create. In order to solve this problem, I changed my design to only print out the cups for the glasses. Switching to removable cups for the glasses also gives the holder more applications as the cups can be moved anywhere to hold a pair glasses or other items. I printed out 8 cups while I worked on recreating the frame through laser cutting.

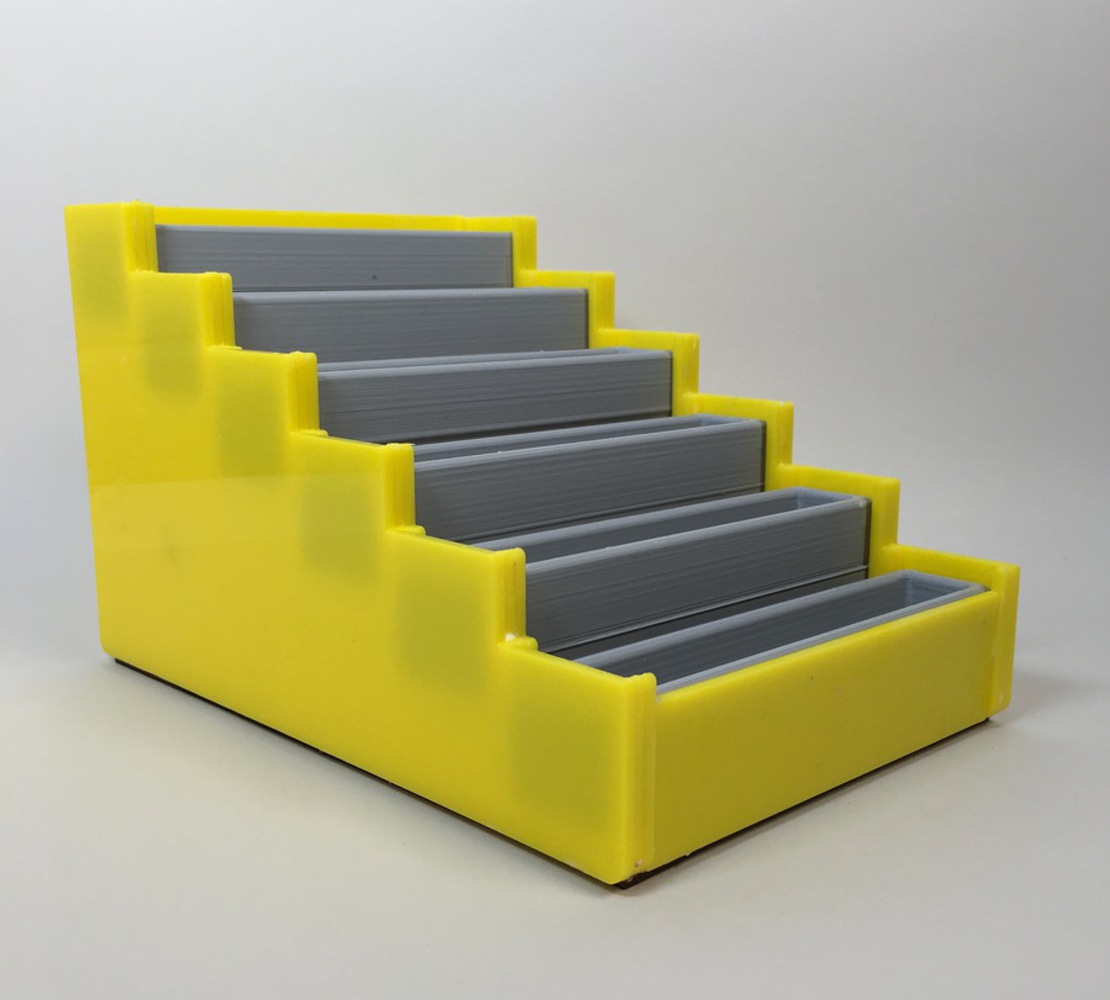
While creating the frame, I changed my design to only 6 glasses to reduce the amount of space the holder would take up. Within Fusion360, I split the holder into five parts: front, back, sides, cups, and cutout sides. The cutout sides allow for the cups to sit neatly inside without having to create shelves for support.

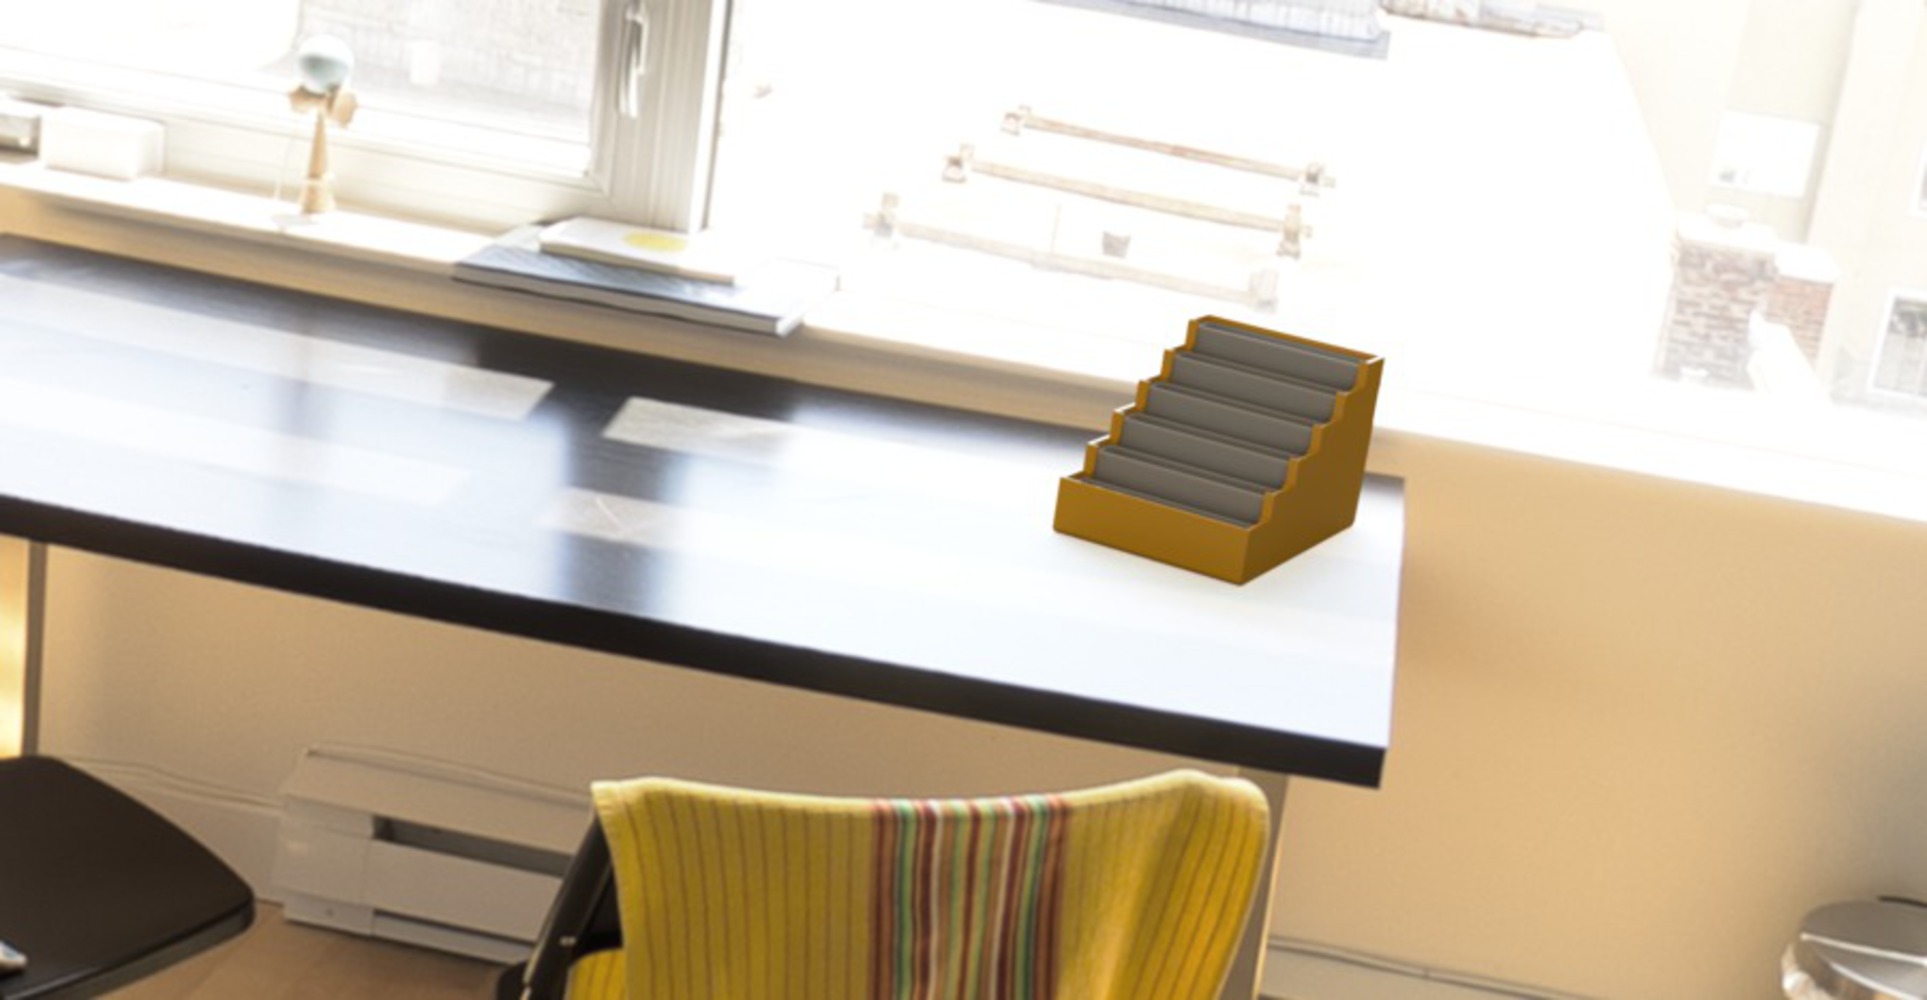
After everything was printed out, I glued the pieces together, but discovered that gluing acrylic is not fun, and the weight of the cups was too much to keep the sides up by themselves. Since the yellow acrylic only came in 3mm thickness, and the design requires 6mm, I glued two cutouts together on each side. I had an extra piece of plywood, and used it to create a bottom support for the design.

Screen shot 2018 05 02 at 7.24.20 pm.thumb
Show Advanced Options
Slessingholder 2018 may 02 03 51 47am 000 customizedview34392184674 png.thumb
Show Advanced Options
Slessingholder v3.thumb
Show Advanced Options

Five semi-pro photos

Holder1.thumb
Show Advanced Options
Holder6.thumb
Show Advanced Options
Holder5.thumb
Show Advanced Options
Holder3.thumb
Show Advanced Options
Holder2.thumb
Show Advanced Options
Img 9843.jpg.thumb
Show Advanced Options

Reflection

Initially when I was changing my design I just wanted to redo the holder to only holder 4 frames as that would decrease the time on the printer. I kind of wish I went ahead and did that because messing with the glue was a nostalgic feeling that I did not miss. However, creating the cutouts and the frame allowed me to learn more about the Fusion software and thinking about assembling things in 3d. 

If I had to do it over again, I would definitely use wood instead of acrylic. Wood bonds much easier and would have looked much nicer with the 3d gray than the yellow acrylic. I would also keep my design of 8 shelves, and just make the design thinner and taller.

Drop files here or click to select

You can upload files of up to 20MB using this form.