Back to Parent

Outcome


Intention

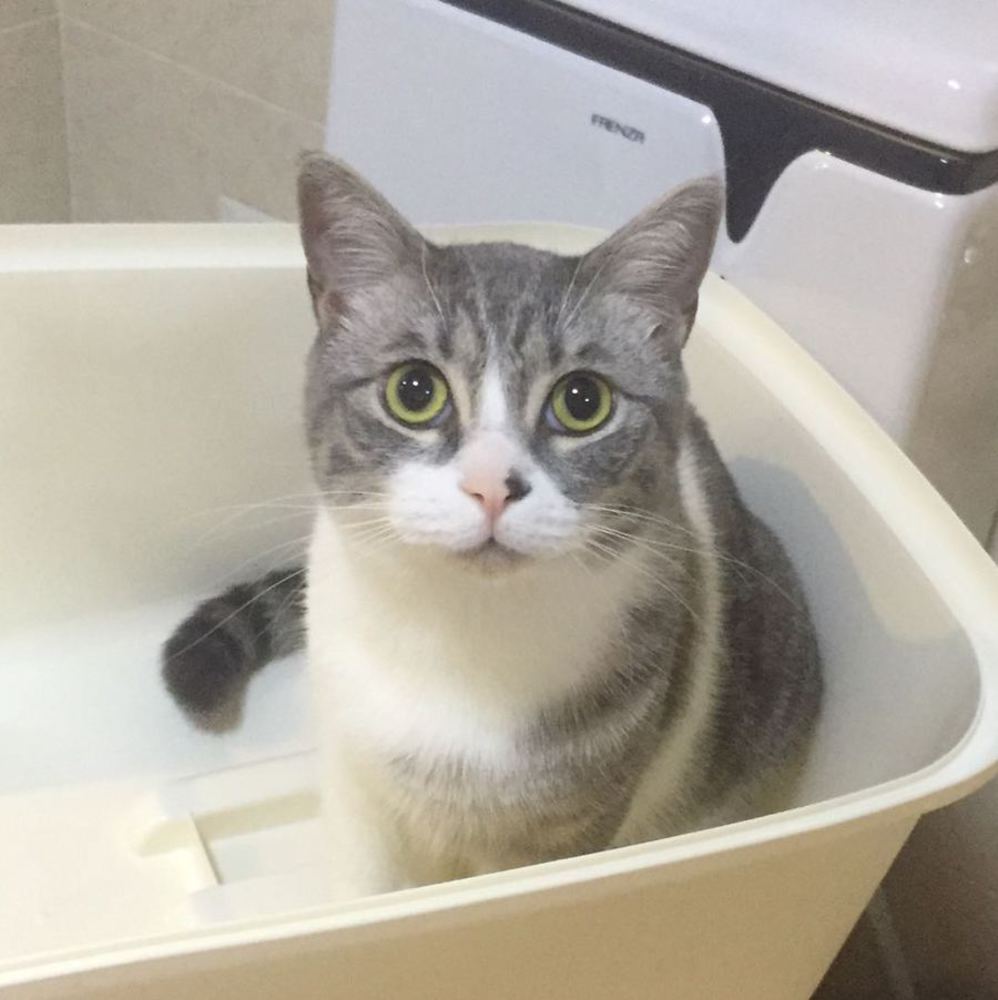
I dug out a felt pin materials kit I had. I got this kit because I wanted to make something that reminds me of my cat Brooklyn when I'm away from home. 

By taking this class I realized felting is easier and less dangerous (I thought felting needles would be flying around) than I thought it was. So I finally made this pin.

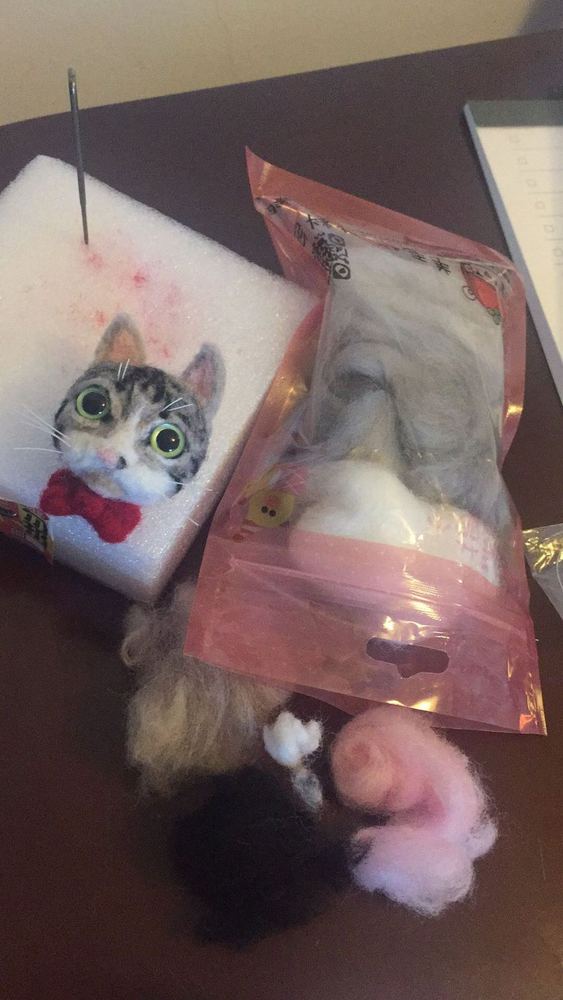
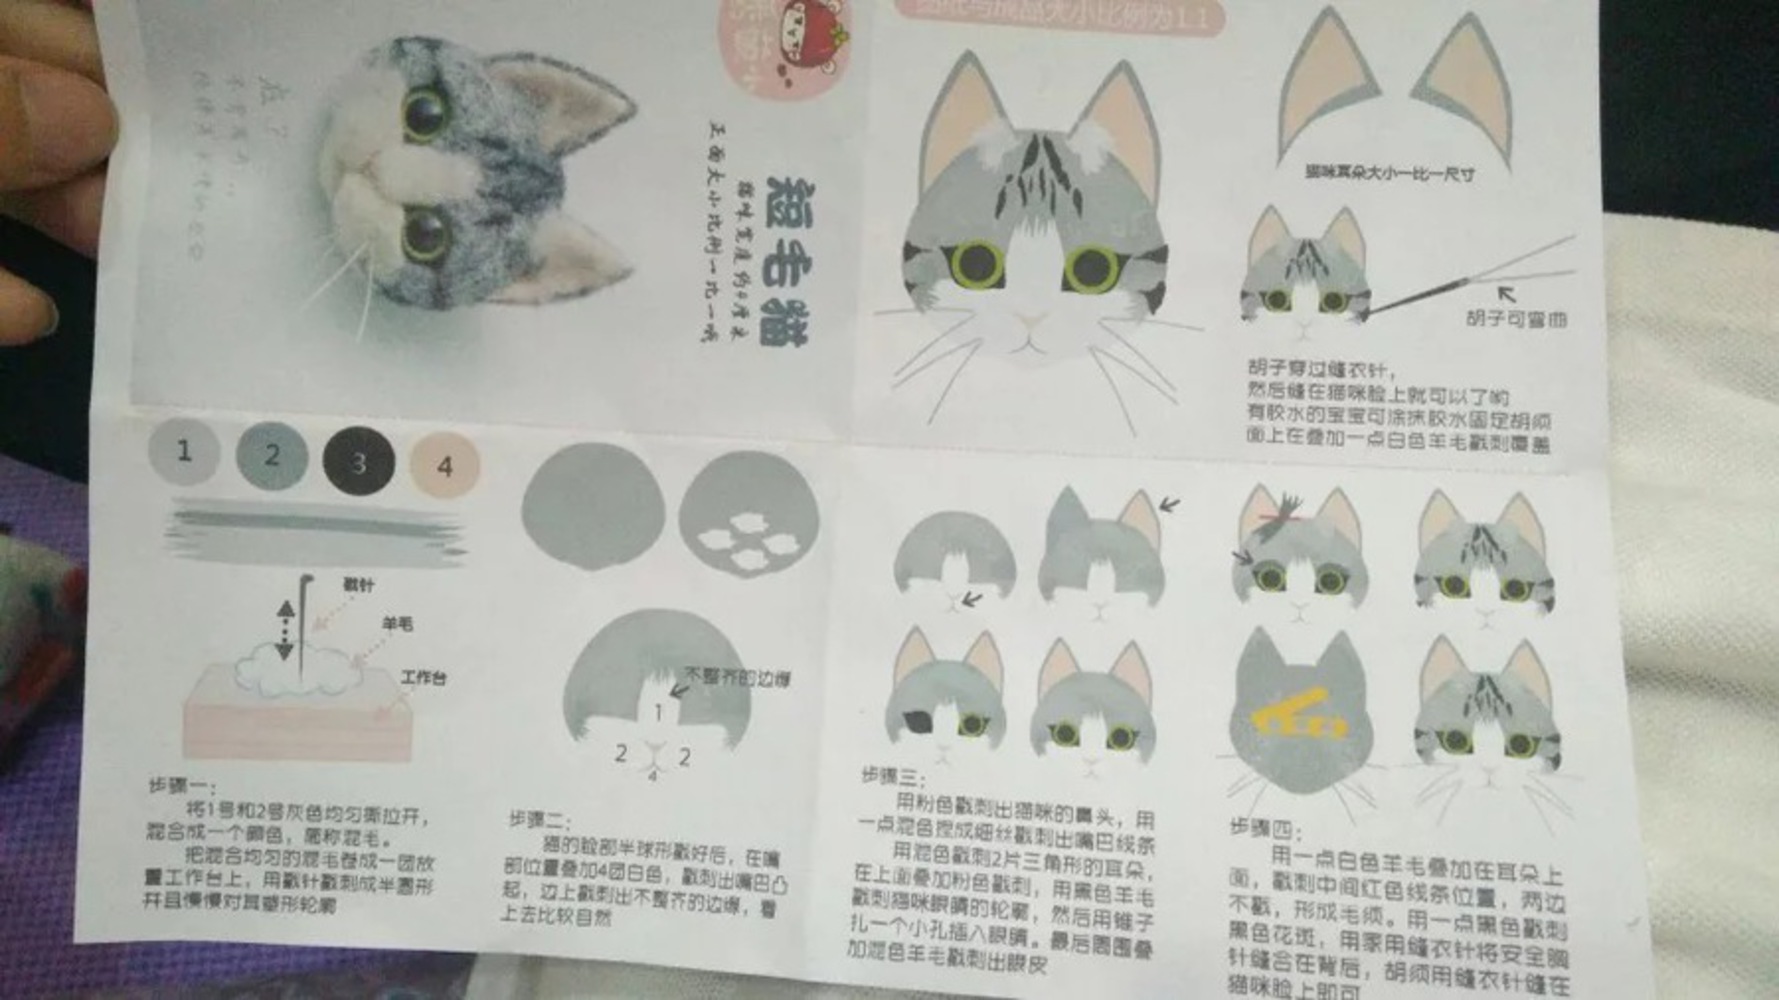
The kit is a very simple kit for a grey shorthair cat felt pin. I got some brown colored wool to make it look more like my cat.

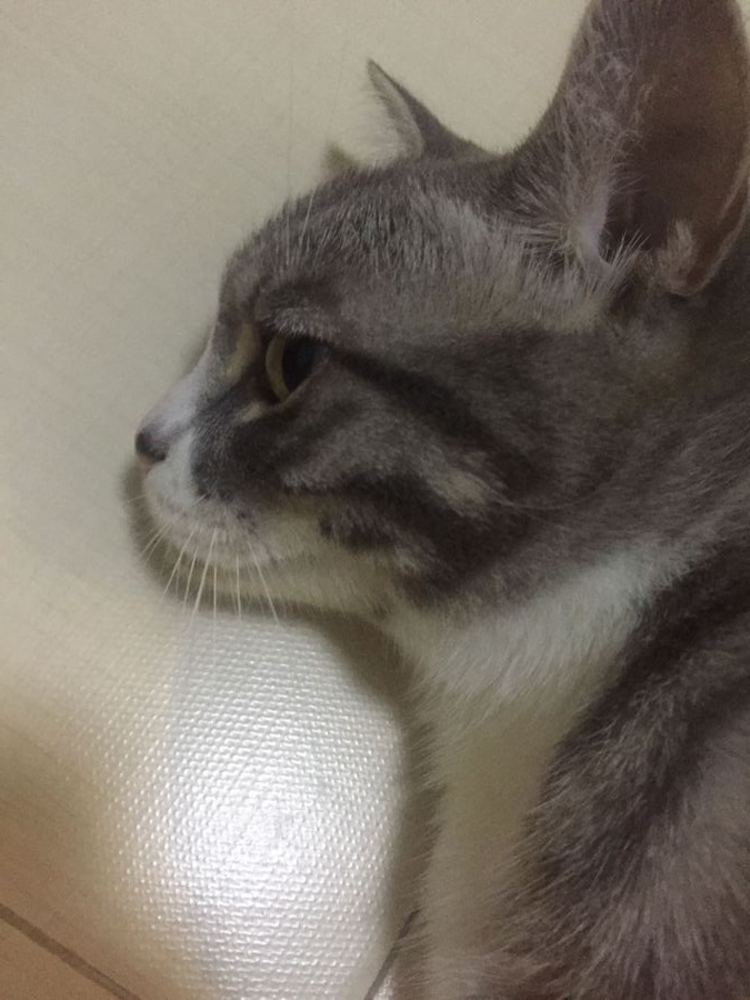
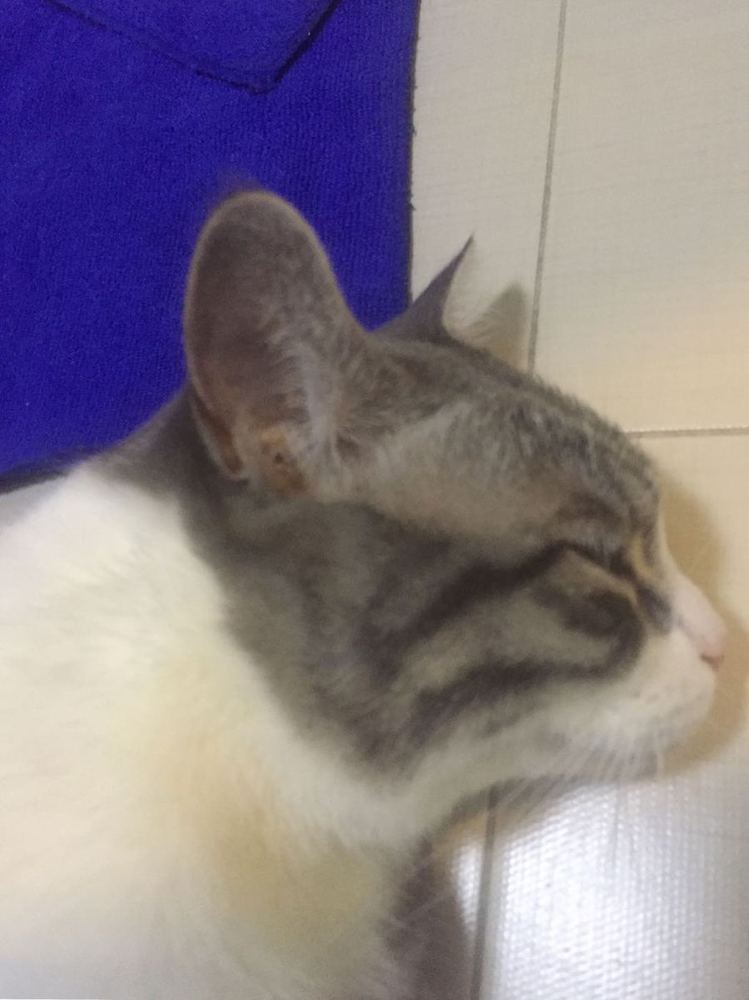
Here is my inspiration Brooklyn and some photos of the kit itself:
571538852819 .pic.thumb
Show Advanced Options
581538852819 .pic.thumb
Show Advanced Options

Process

I followed the steps of the manual and realized that the manual is way to simple and 2D, but the cat that I'm making requires much more detail and 3D depth. After making the simple circular cat face according to the manual, I explored with making small blobs of felt and throwing it onto the face and combining them.

I knew the kit wouldn't have all the colors for Brooklyn so I bought more brown colored wool to mix in. Many parts (the entire grey-ish region) required mixing different colored wool by pulling apart everything, which was tiring for bare hands, but it was doable.

The eyes were surprisingly hard to install. I stabbed through the head with a penknife to make room to push in the eyes. I put in some superglue so it would stay.

I enjoyed giving the side details to my project, and I even made my mom take side profiles for Brooklynn.

Img 1984.jpg.thumb
Show Advanced Options
601538861608 .pic.thumb
Show Advanced Options
611538861608 .pic.thumb
Show Advanced Options

Product

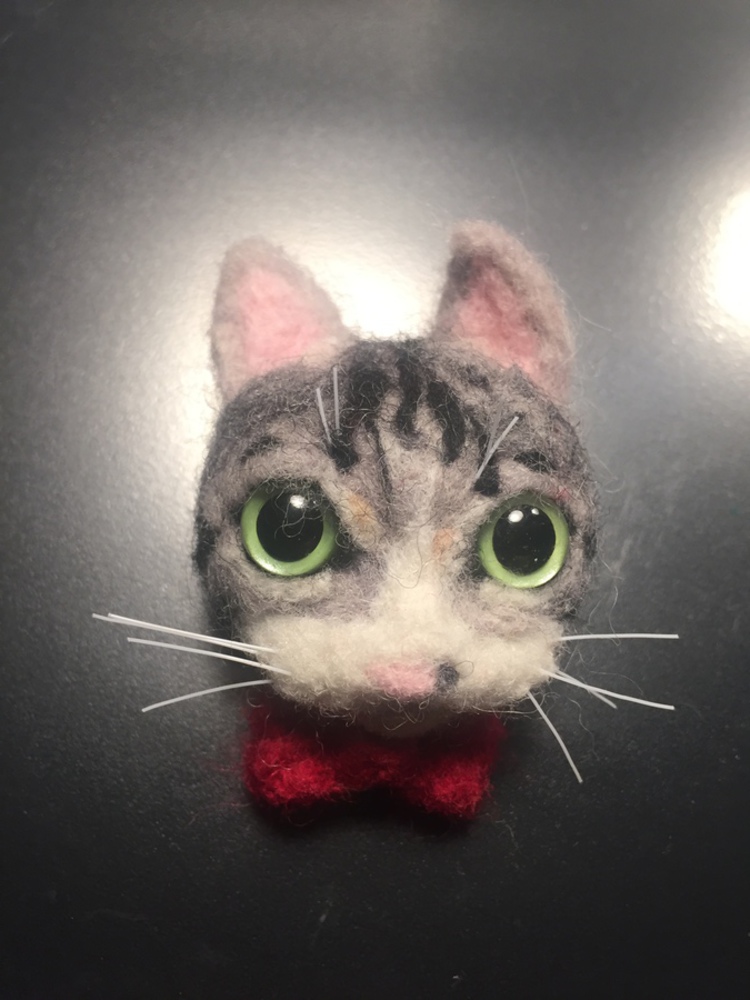
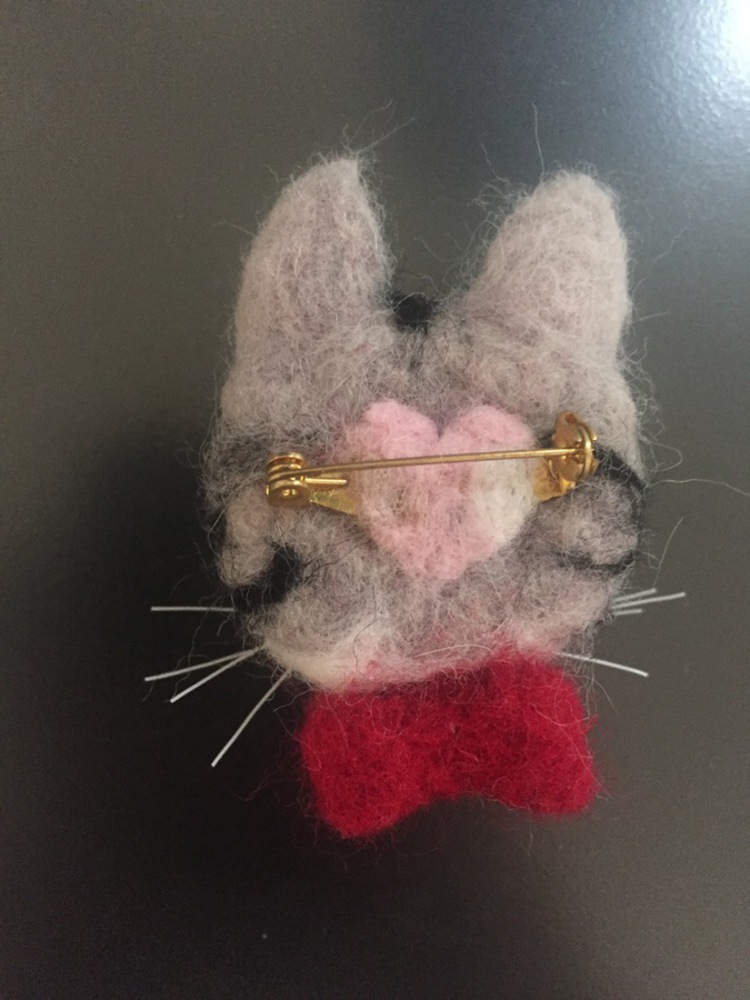
I created this felt pin and added some extra red wool I got to make a bow to add some colors to the pin. The kit had some parts including: eyes, the whiskers where long plastic strings which required cutting, and a diy back pin.

I used felting needles and a foam block to do the felting. I used a penknife so I could get the eyes in, a regular sewing needle to make space for the whiskers, and superglue to make sure the non-felt objects (eyes, whiskers, pin) stay put. I did an overlay for the back pin for reinforcement.

I enjoyed doing my best to get the patterns of my cat's face onto the felt. I loved how the black imperfection on my cat's nose turned out on the pin.

Img 1991.jpg.thumb
Show Advanced Options
Img 1992.jpg.thumb
Show Advanced Options

Reflection

I learned that it is very hard to control the 3D shapes you get out of felting. The "stabbing" process really just forever shrinks the piece in a very random fashion. The cat face could've been more defined and realistic if I put much more time into it.

It wasn't until I got to felting that I realized how strong of a bond can animal hair such as wool make with each other just by rubbing together their cuticles. I now see how felting could be a serious problem for sweaters.

If I were to do this again, I would probably purchase tools for wool mixing so that I can do it better and faster. Also, I might consider getting one of those combined felt needles so that felting also becomes faster.

Sample Book

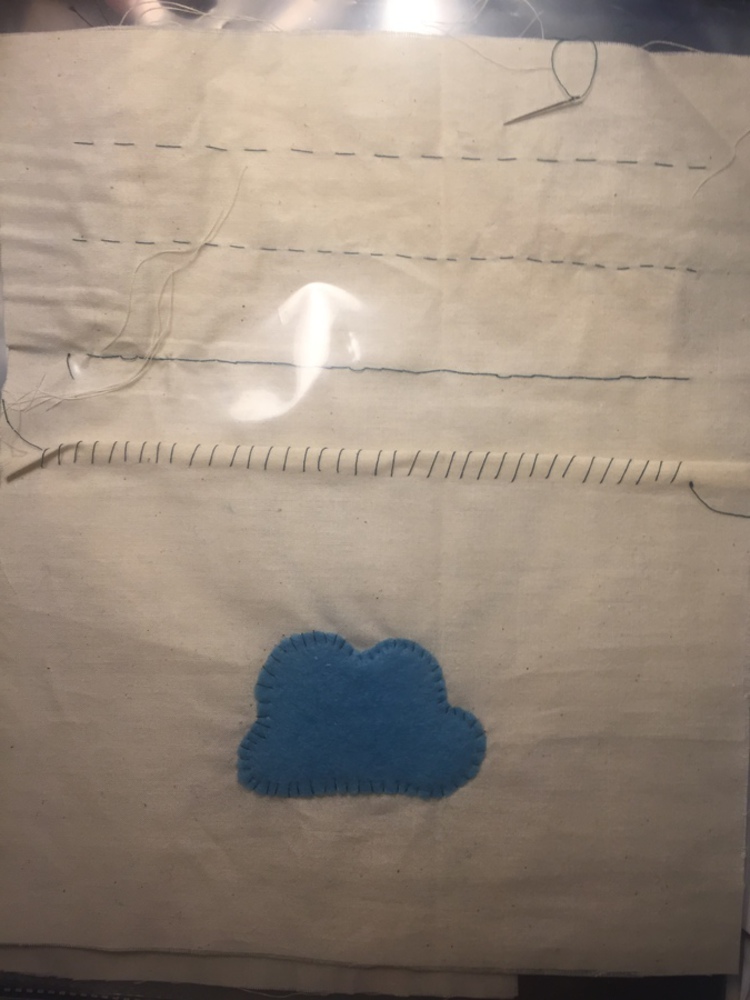
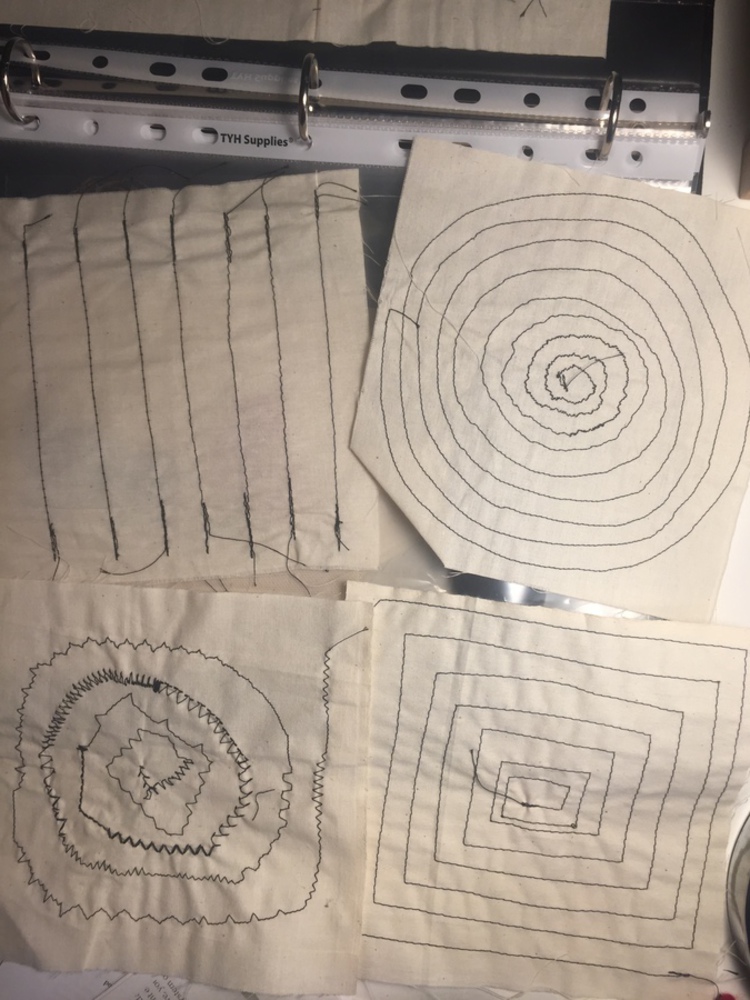
My samples from this class:

Img 1989.jpg.thumb
Show Advanced Options
Img 1988.jpg.thumb
Show Advanced Options
Img 1985.jpg.thumb
Show Advanced Options
Img 1986.jpg.thumb
Show Advanced Options
Drop files here or click to select

You can upload files of up to 20MB using this form.