Back to Parent

Outcome


Intention:

Ever since I moved to Pittsburgh, I have been procrastinating to buy myself a dental kit stand that can hold my toothbrush, toothpaste and tongue cleaner. I don't like to keep them bundled within a pouch and the washroom cabinet at my house doesn't have the facility to hold these items. So I decided to make a dental kit holder which would have the functionality to cater to my needs in addition to representing my interests.

Research + Context:

I looked at different kinds of holders on the internet for this purpose. I saw a lot of quirky and simple designs, but that they mainly required screws to support them against the wall. I prefer not to have my toothbrush touching the walls of the cabinet (lest some dirt sticks to the bristles) and like them spaced out. I preferred not to make a a simple cylindrical structure, but instead shape it to incorporate some of my personal interests.

Aesthetic Inspiration:

Deathly hallows lamp.thumb
Show Advanced Options
Aesthetic inspiration.thumb
Show Advanced Options
Sketch2.thumb
Show Advanced Options
Sketch1.thumb
Show Advanced Options

Process and Procedure:

I believe in the philosophy of having a good state of mind at the start and the end of the day, to be productive with my work. As I take care of my dental hygiene the first thing in the morning and just before I hit the bed at night, I wanted to create something that would make me smile or leave me happy. As a huge Harry Potter(HP) fan, I decided to go with a HP themed holder.

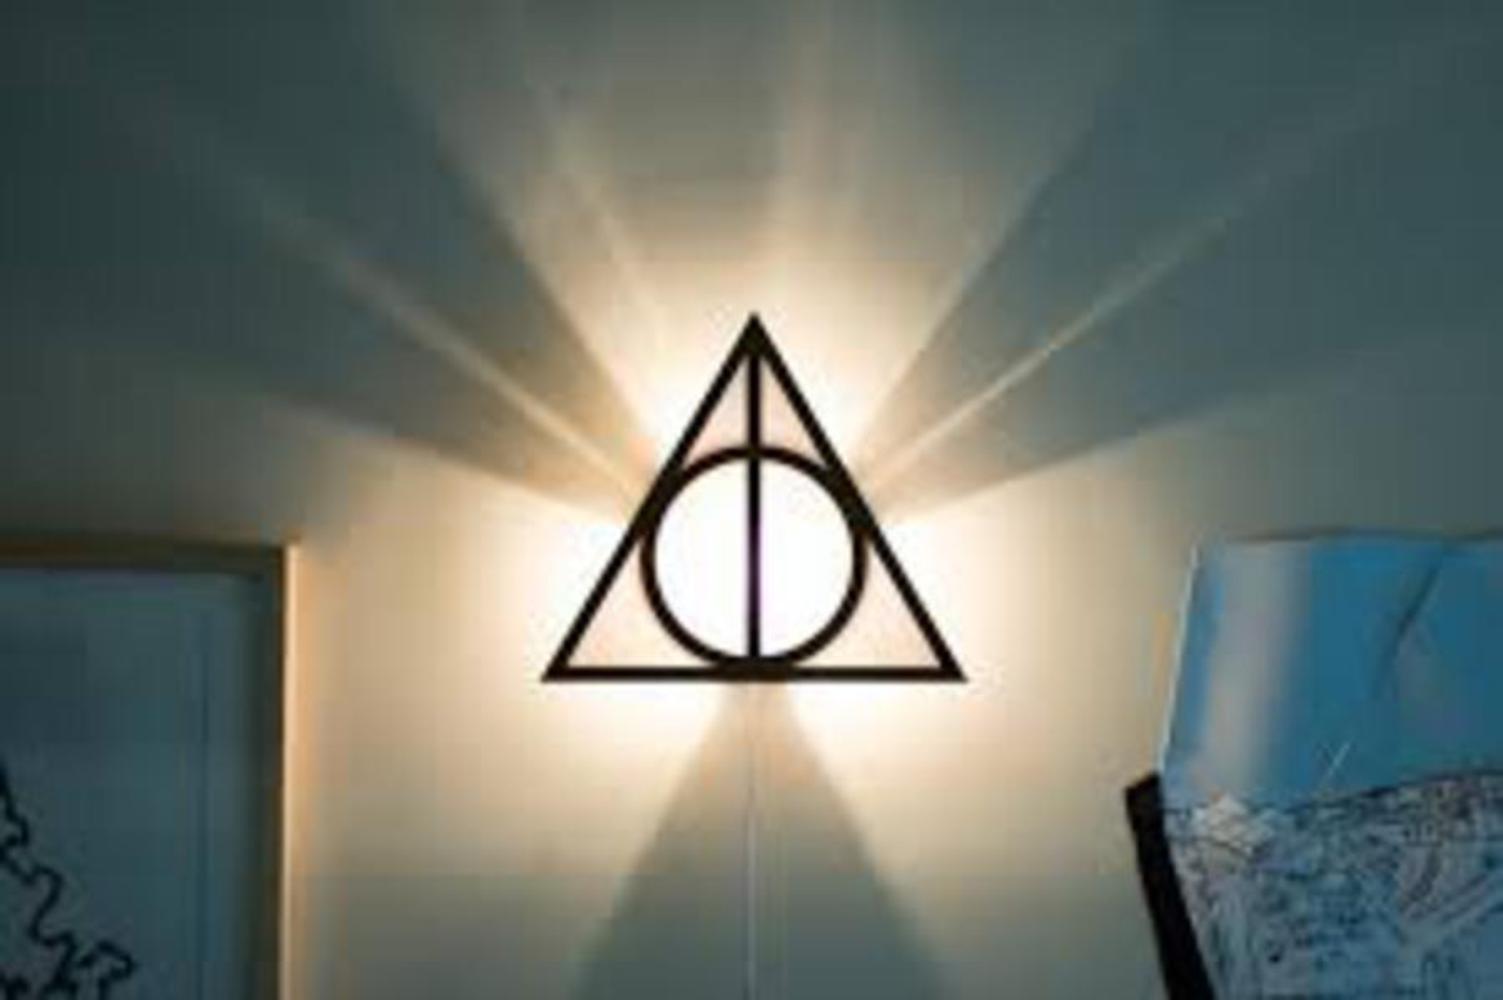
I wanted to use the concept creatively to model a holder which would do justice to my requirements while ensuring that it looks aesthetically nice. Upon browsing, I figured that the Deathly Hallows symbol would be a perfect kind of symmetry that would allow me to segregate my dental kit as well as remind me of my favorite series.

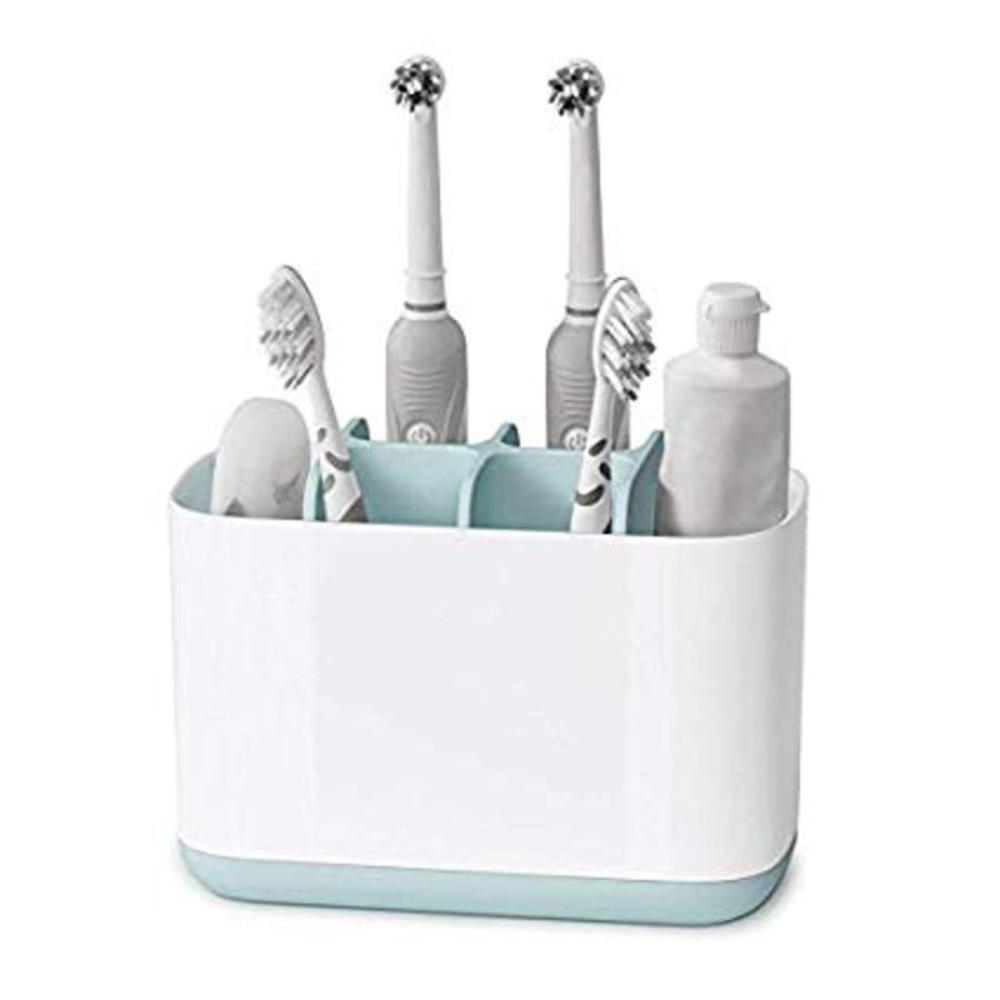
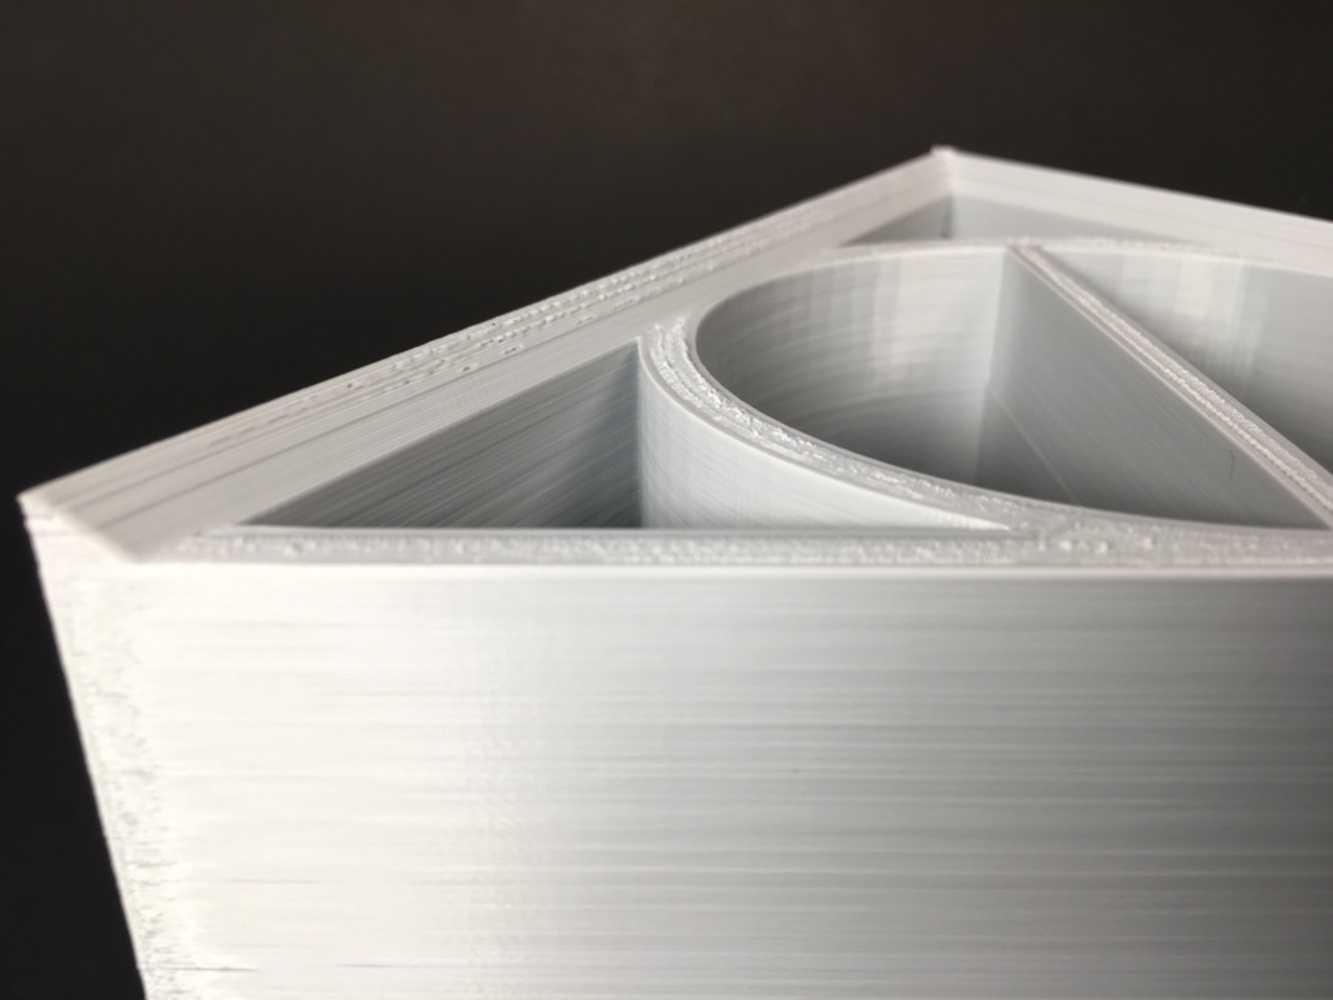
The Deathly Hallows symbol consists of a circle inscribed within a triangle, with a line passing through the apex of the triangle to its base.   The idea is for the cylinder to hold  toothpaste tube whereas the other spaces would be used for holding toothbrushes.

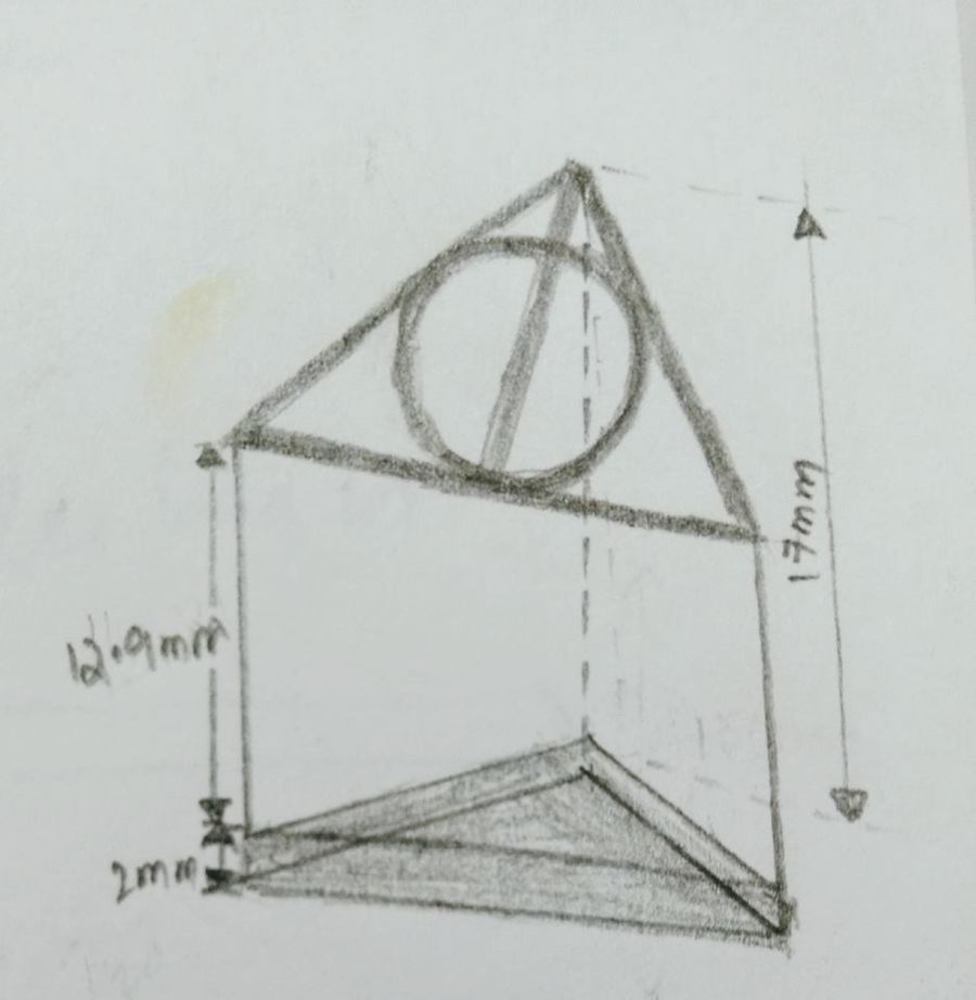
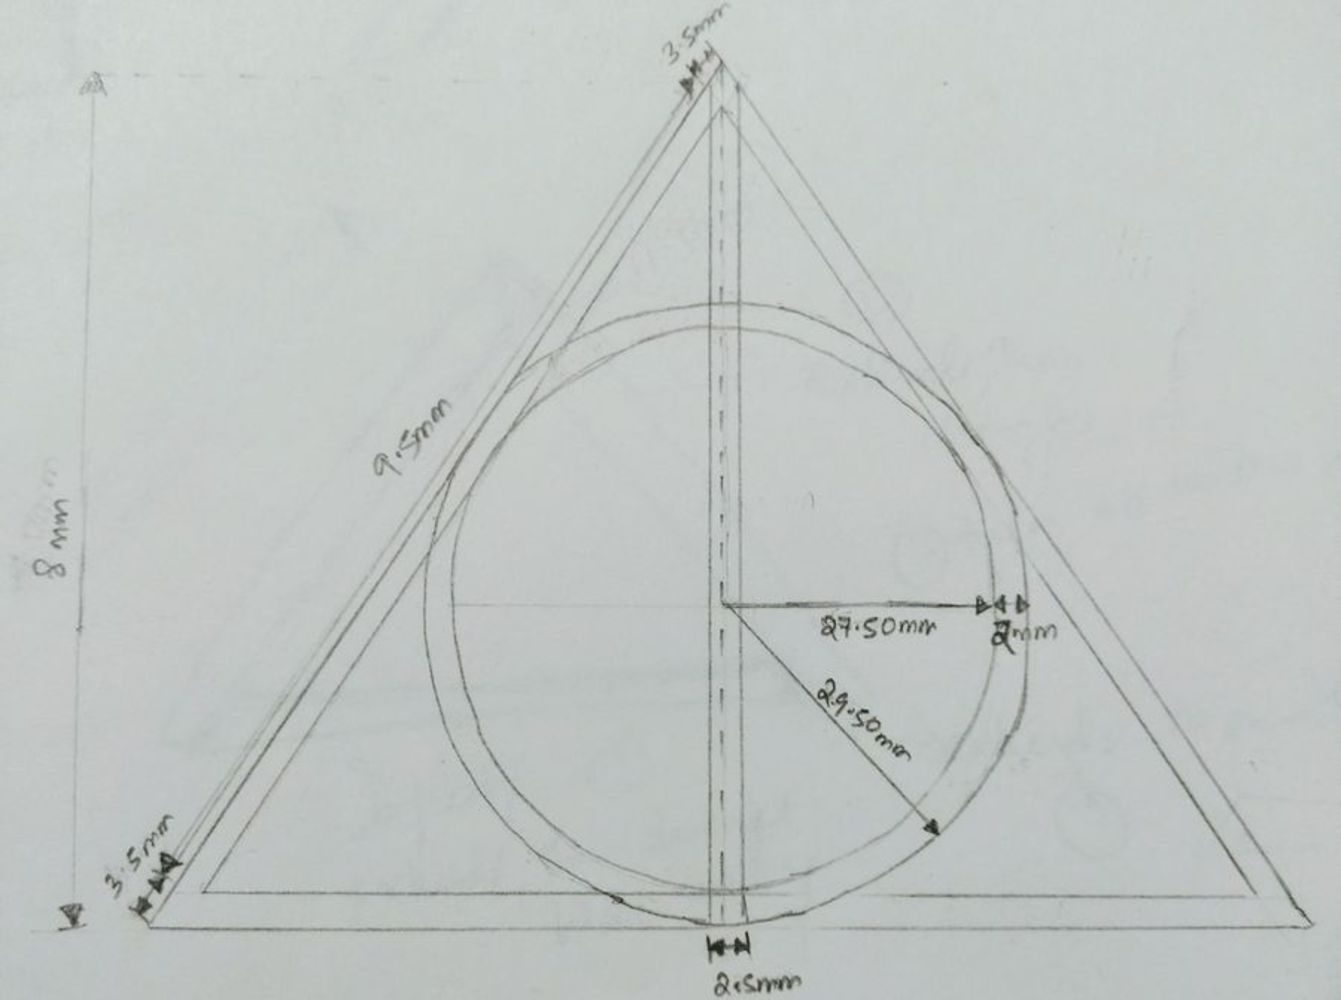
While modelling in AutoCAD Fusion 360, I build a 2cm deep solid triangular base, and then had a hollow fill for the rest of the body. I used the draft tool to raise the apex of the upper face so that the design is clearly visible. Furthermore, I modified the edges of the circle, the base, the triangle and the line using the Fillet and Chamfer modification tools.

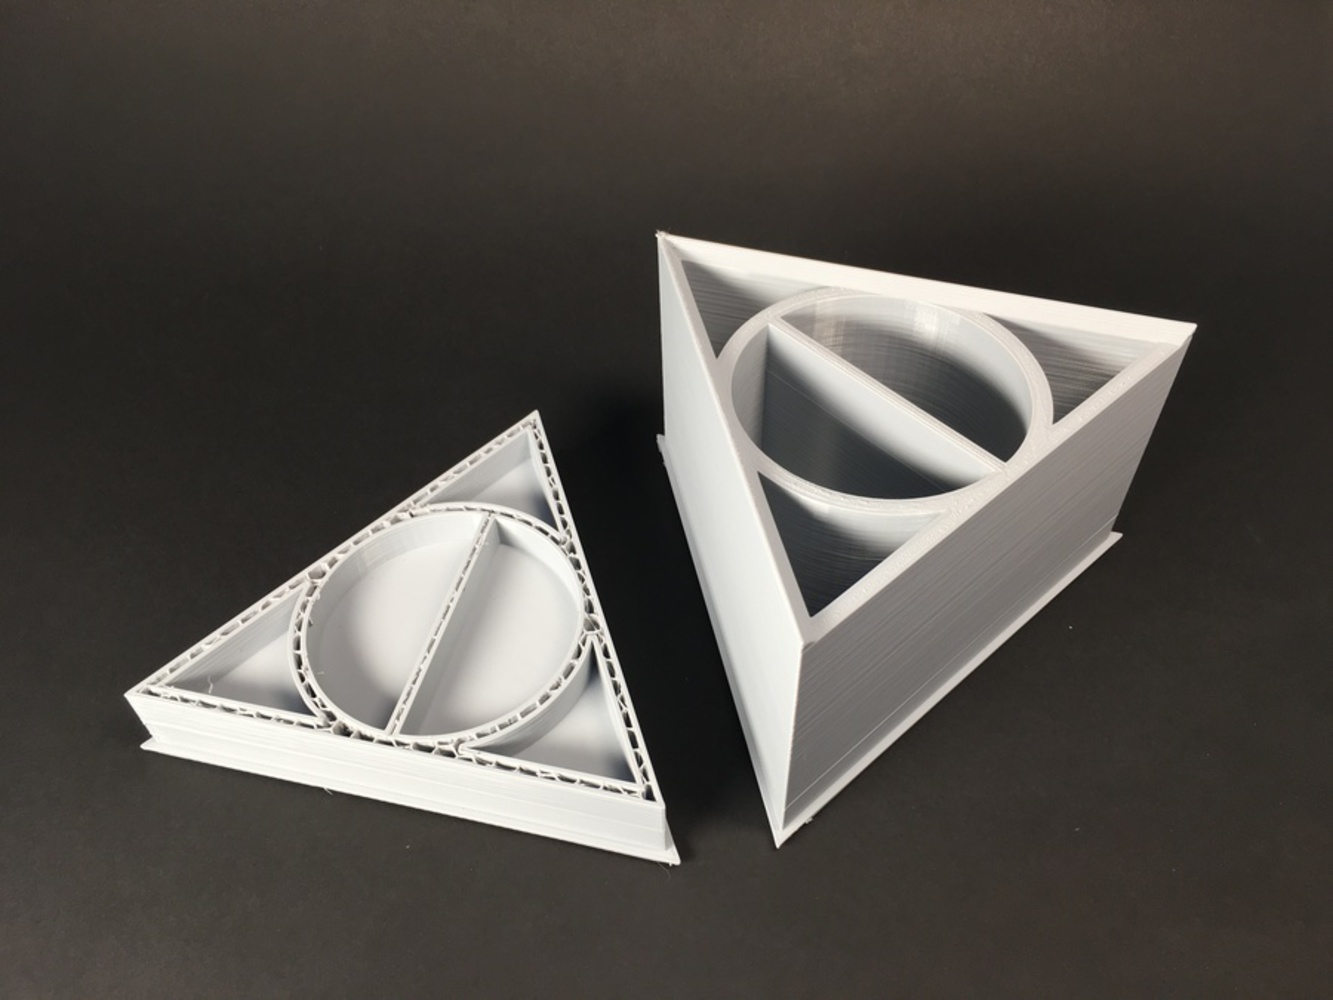
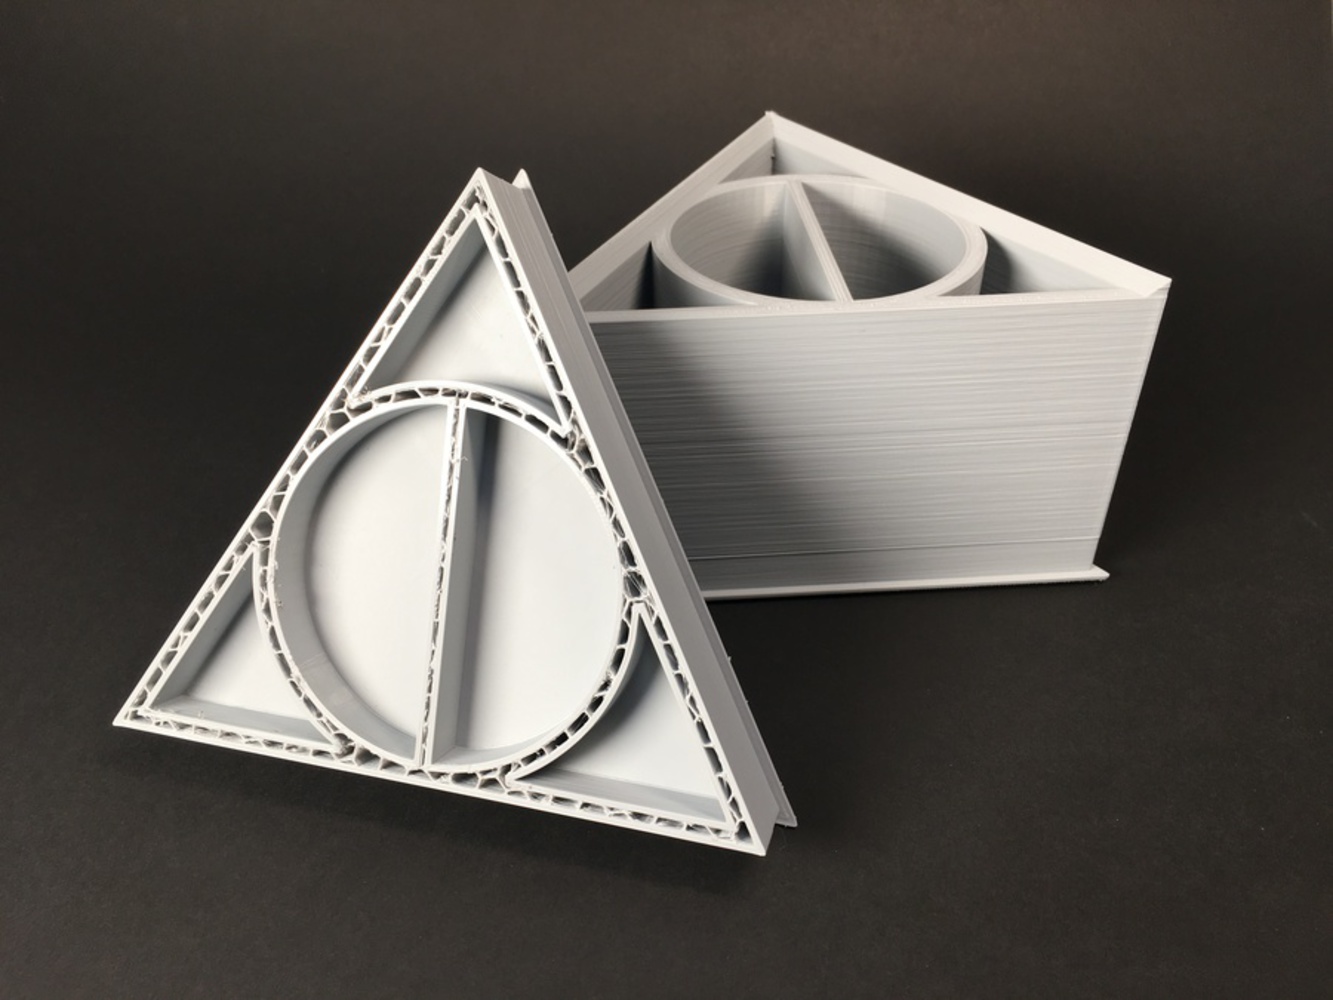
The smaller stand in the picture is the result of a stalled printing job due to a maintenance problem encountered in the 3D printing machine (NVBot). The full stand is the prototype that I had designed.

Show Advanced Options
Img 3601.jpg.thumb
Show Advanced Options
Img 3609.jpg.thumb
Show Advanced Options
Img 3611.jpg.thumb
Show Advanced Options

My thoughts:

My first experience with AutoCAD was actually very interesting, though it took me more time than expected to go about the software. It is a wonderful way to visualize most of the concepts and objects around us and model them ourselves. I learn how to use the chamfer technique for objects that overlap with one another, along with other functionalities that the software offers. I had couple of important things to learn during this process. First, printing a model can take up a lot of time and thus, one needs to be careful about the proportions and size of the model before printing it. Second, one must be careful about the supports that might be created during the printing process, especially if the model has text in it. If I have the time to further this model, I would like to design a small drawer at the bottom of the stand.

Drop files here or click to select

You can upload files of up to 20MB using this form.