Back to Parent

Outcome


Picture1.thumb
Show Advanced Options

Intention

My goal was to create a holder of momentum. I wanted to use the form of a Yo-Yo, a weighted object on the end of a string, but simplify the functionality.

The purpose of a yo-yo is to reverse the momentum of a cylinder at the bottom of its length and have it defy gravity. The purpose of the yo-yo is to be cool, to feel like you're defying the laws of physics. That's too complicated, and unnecessary to play with momentum. I wanted to simplify the "object on the end of a string" as much as possible and make it durable. But most of all, I wanted it to simply be fun, and pleasing to play with.

Research and Context

To this end, I designed a simple ball, with a string running through it.

If the string were secured through the ball end to end, through the diameter, it would leave an unpleasing bump of tied string at the end, and the ball would be able to slip along it.

If the string were secured via being balled-up on the inside, there is a chance it could compress or squeeze out.

Creating a simple, internal loop through one end of the ball seemed like the only feasible way to make the ball connected strongly to the string, while still being easily replaceable, and not interrupting the smoothness of the outside.

Picture1.thumb
Show Advanced Options

Process

I started with the simplest, lightest version I could, and created the first prototype out of cardboard to get the lightest possible weight. Below you can see the form of this prototype.

I constructed it, the sizing turned out perfectly, and it fit very neatly in my hand. I strung it with a cord, and after swinging it around, I was very happy with how it turned out.

The next step was to build it out of a material that was more dense, to test the weight aspect and how that would change how the object felt.

Img 7743.thumb
Show Advanced Options

This render I decided to complete in plastic, because the final prototype was going to be plastic printed.

Render 4.thumb
Show Advanced Options
Render 1.thumb
Show Advanced Options

The final rendering is what I hope to be the final result of the molding done outside of class. A simple metal ball, as structurally sound as possible.

Render 3.thumb
Show Advanced Options
Render 2.thumb
Show Advanced Options

I cut the exact same cuts out of acrylic, and it ended up flatter than I expected. Because the acrylic was thinner than the cardboard, I made a mistake, and the ball ended up coming out like an ellipsoid. Regardless, I secured the slices together, tied it with another cord, and the weight felt very pleasing.

Swinging it around created the momentum effect exactly as I had hoped, but the form was a bit strange and difficult to manage.

My next prototype, I wanted to 3D print, because it would allow me to create the form perfectly, and it would have more weight than the cardboard model.

Inspiration

Most of my inspiration came from the Yo-Yo, but a few other figures from nature and old tools inspired me as well.

The Bola, which is an ancient hunting weapon that uses momentum to tangle opponents.

And finally, bullwhip seaweed, because I had swung it around for fun when I was younger, and I liked the control of momentum it gave me.

Each of these, clearly, are simply heavier points of momentum, connected to long strings, but each is too complicated in its use or purpose or form. Hence, I did my best to simplify it.

Img 7745.thumb
Show Advanced Options

I used the same 3D model from the laser cutter and simply saved it as a different file type to send to the printer. I didn't personally send it to the NVBots, I sent it to the CMU helpline, and had them print it on the Stratasys.

I printed it in two pieces because I wasn't able to print the full-scale object all at once.

The pieces printed very neatly, and I used hot glue to secure them together.

I tied a loop into one end and secured the ball to the cord on the other end through the same type of loop. The 3D print was clearly of a high quality, and therefore it felt good and comfortable in my hand.

There was still a lot of adjusting I had to do with the cord, but the print came out nice enough that I didn't have to reprint anything.

Pic 1.thumb
Show Advanced Options
Pic 3.thumb
Show Advanced Options
Img 7742.thumb
Show Advanced Options
Pic 2.thumb
Show Advanced Options
Pic 4.thumb
Show Advanced Options

Unexpected Challenges

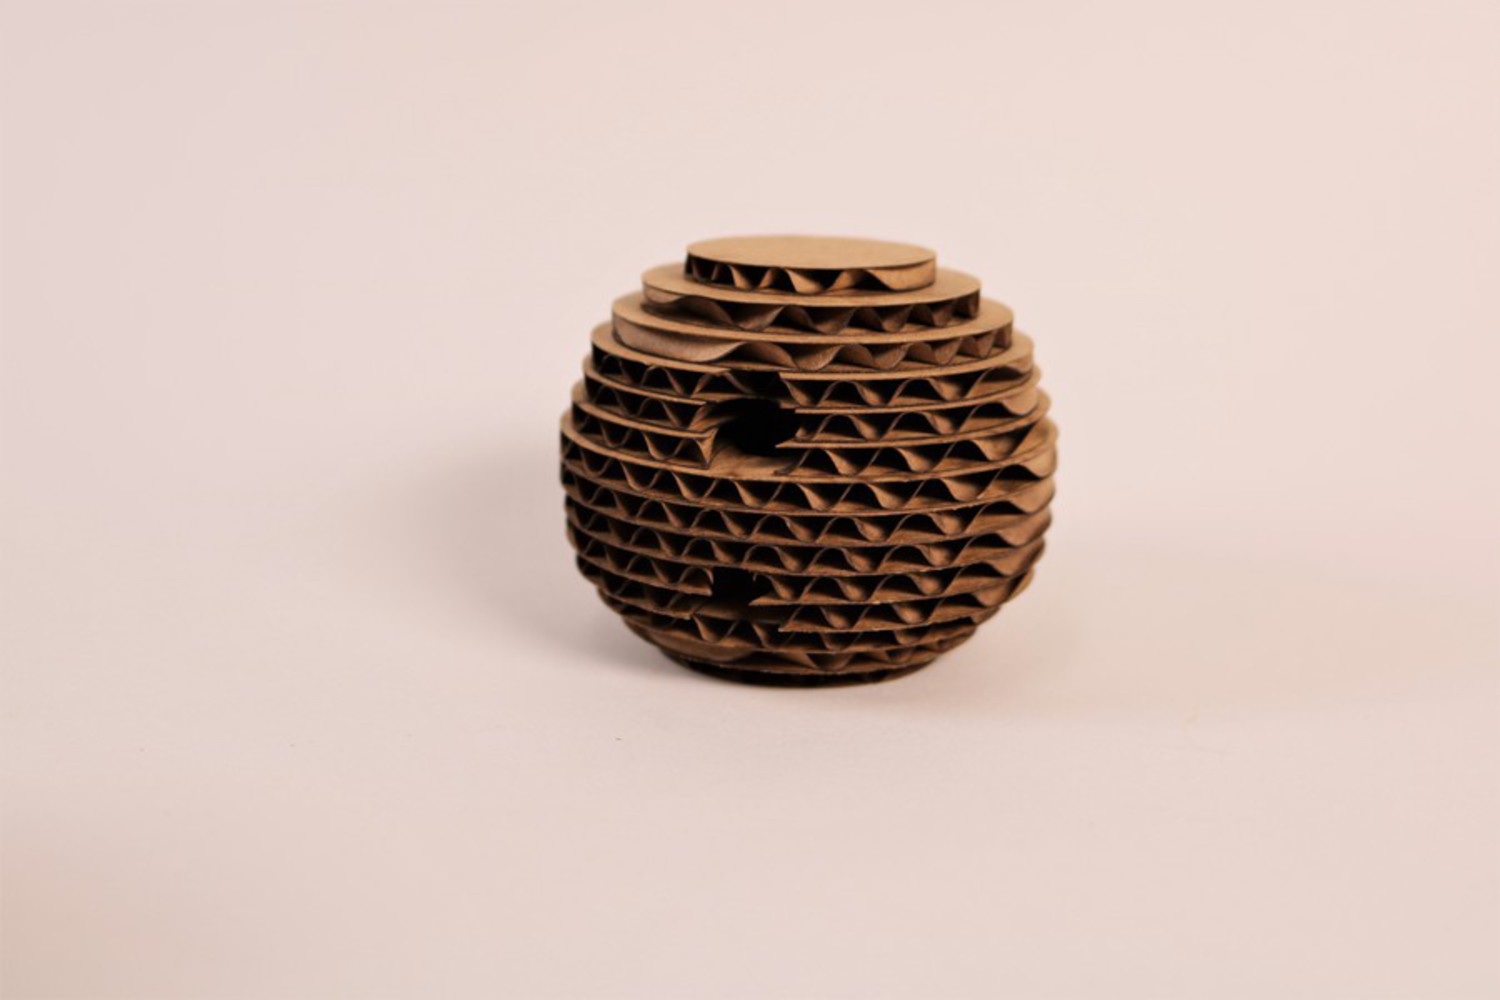
Initially, for my first two prototypes, I attempted to use Slicer through Fusion 360 to create a hollow form with cross-sections, but the program wasn't able to deal with the curvature of the hole I created, and instead suggested I cut it into vertically stacked circles.

It also took a surprising amount of time to glue each slice together, and it was difficult to get them all lined up correctly.

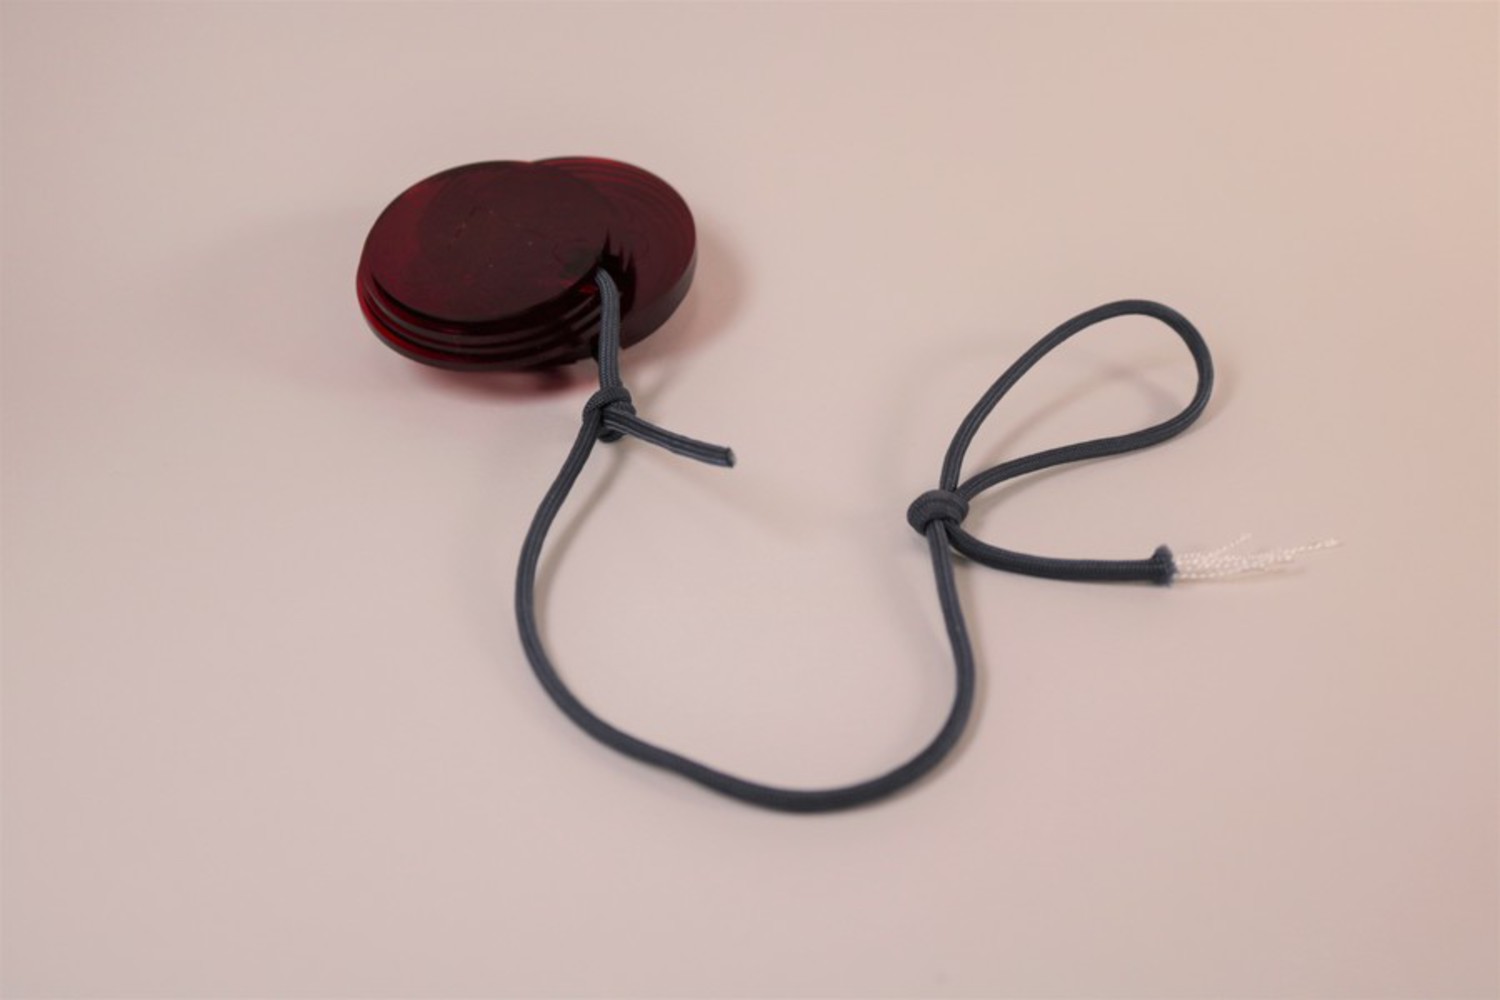
In addition, the second prototype, made of acrylic, disintegrated the second it bumped into anything at all. Hot glue was not the correct adhesive to use, and it fell apart easily. As you can see in the process pictures, the acrylic slices had fallen apart, and both ends of the sphere were missing pieces. It was unstable when I expected that prototype to be the most structurally sound.

The acrylic prototype was also a bit squashed in its form, as I thought it was the same thickness as cardboard, but was mistaken, so when I modeled it after cardboard width it ended up looking more like an ovoid after being assembled.

Finally, there were some worrisome moments with the availability of the 3D printers, but in the end, I was able to find time to print my project.

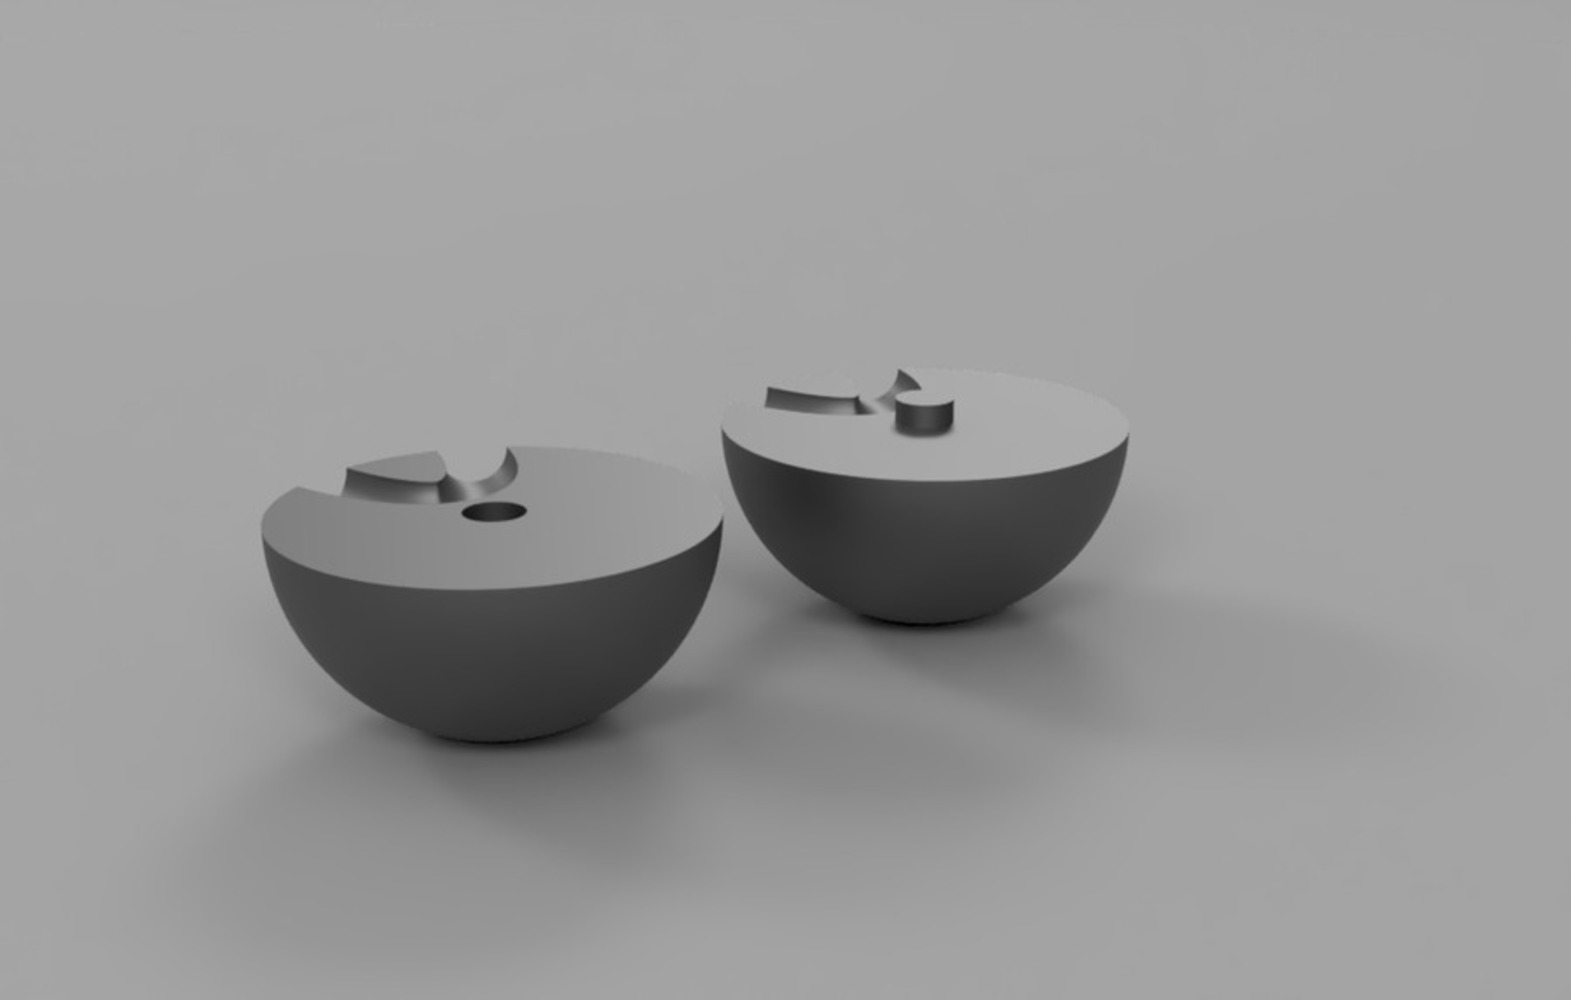
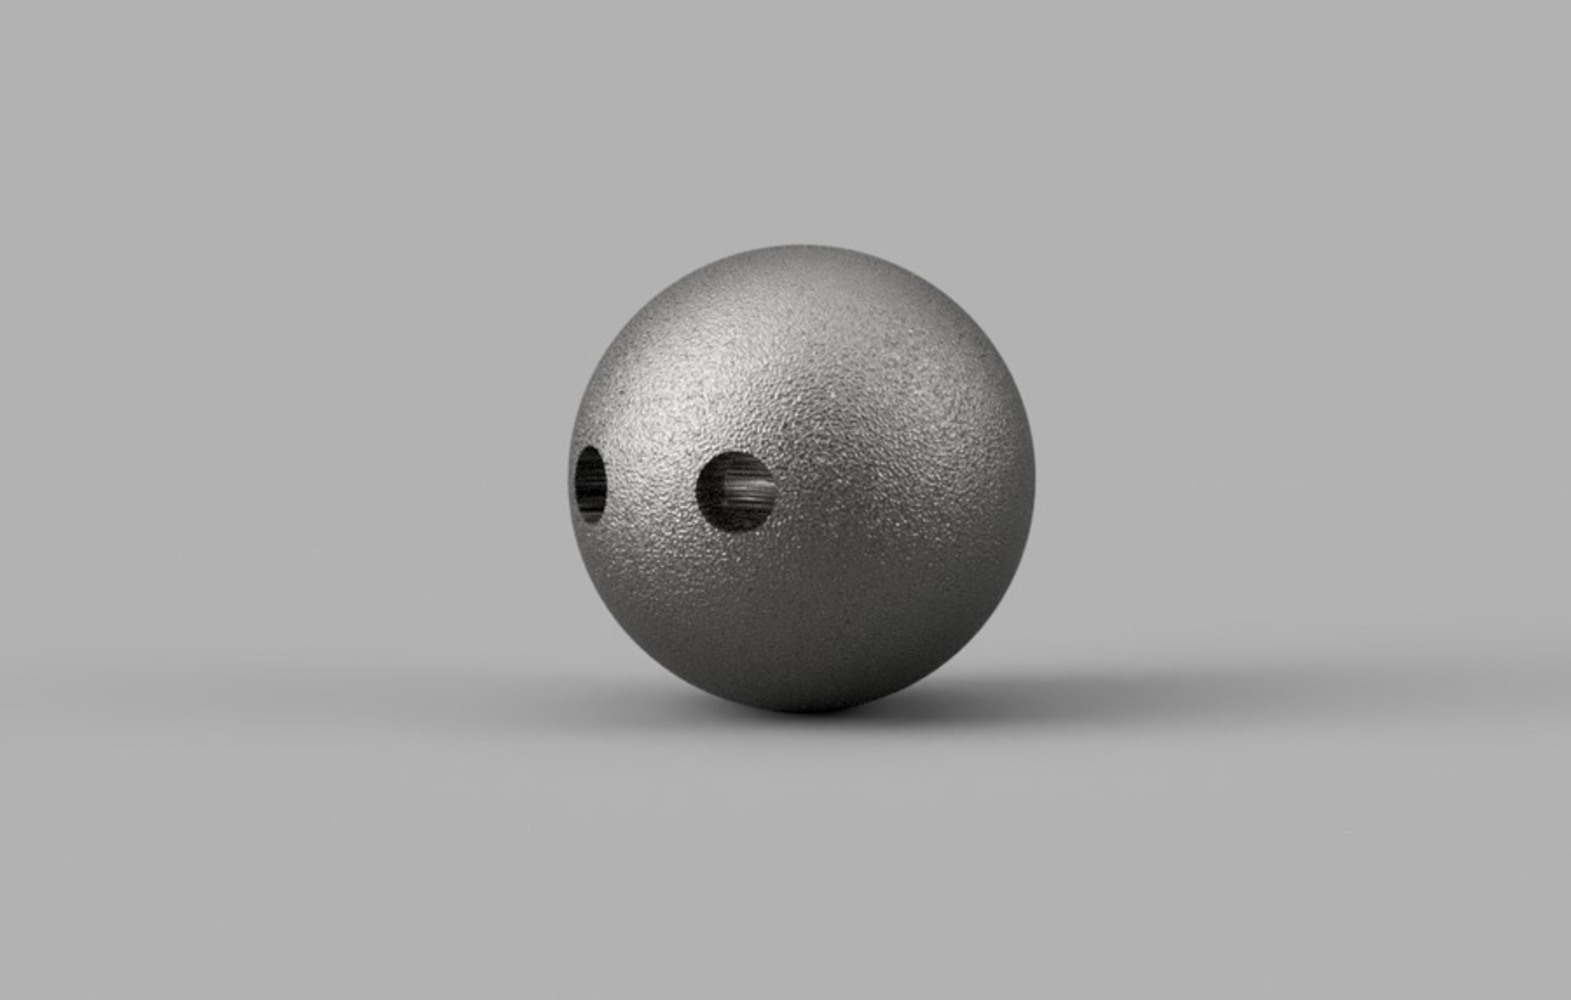
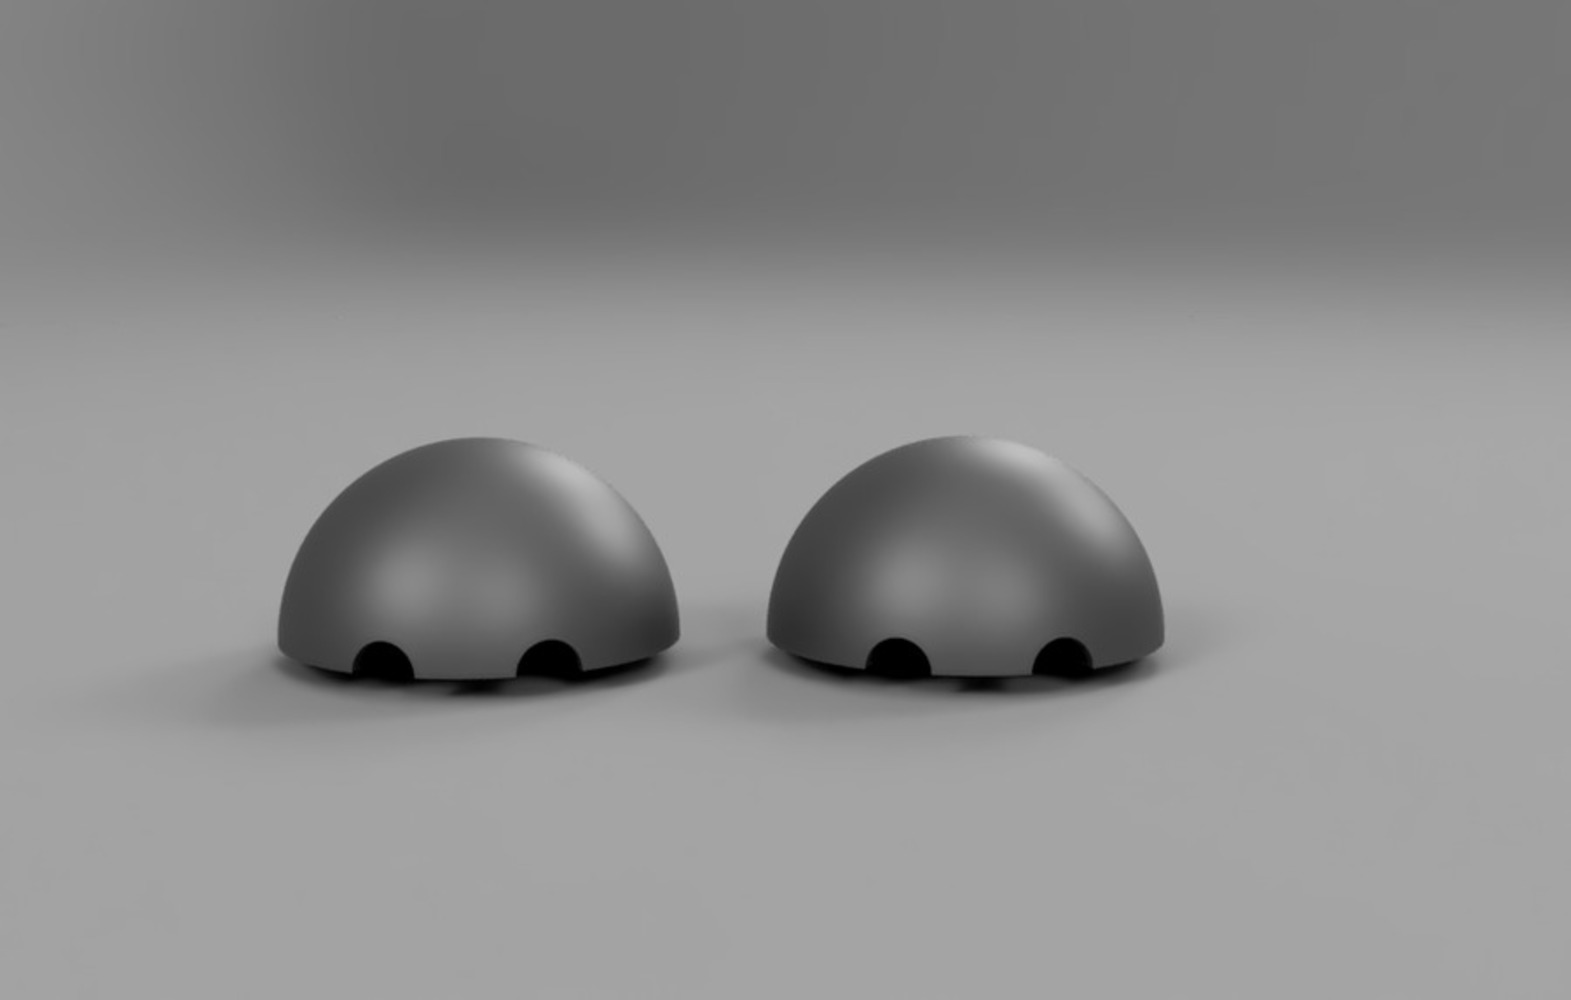
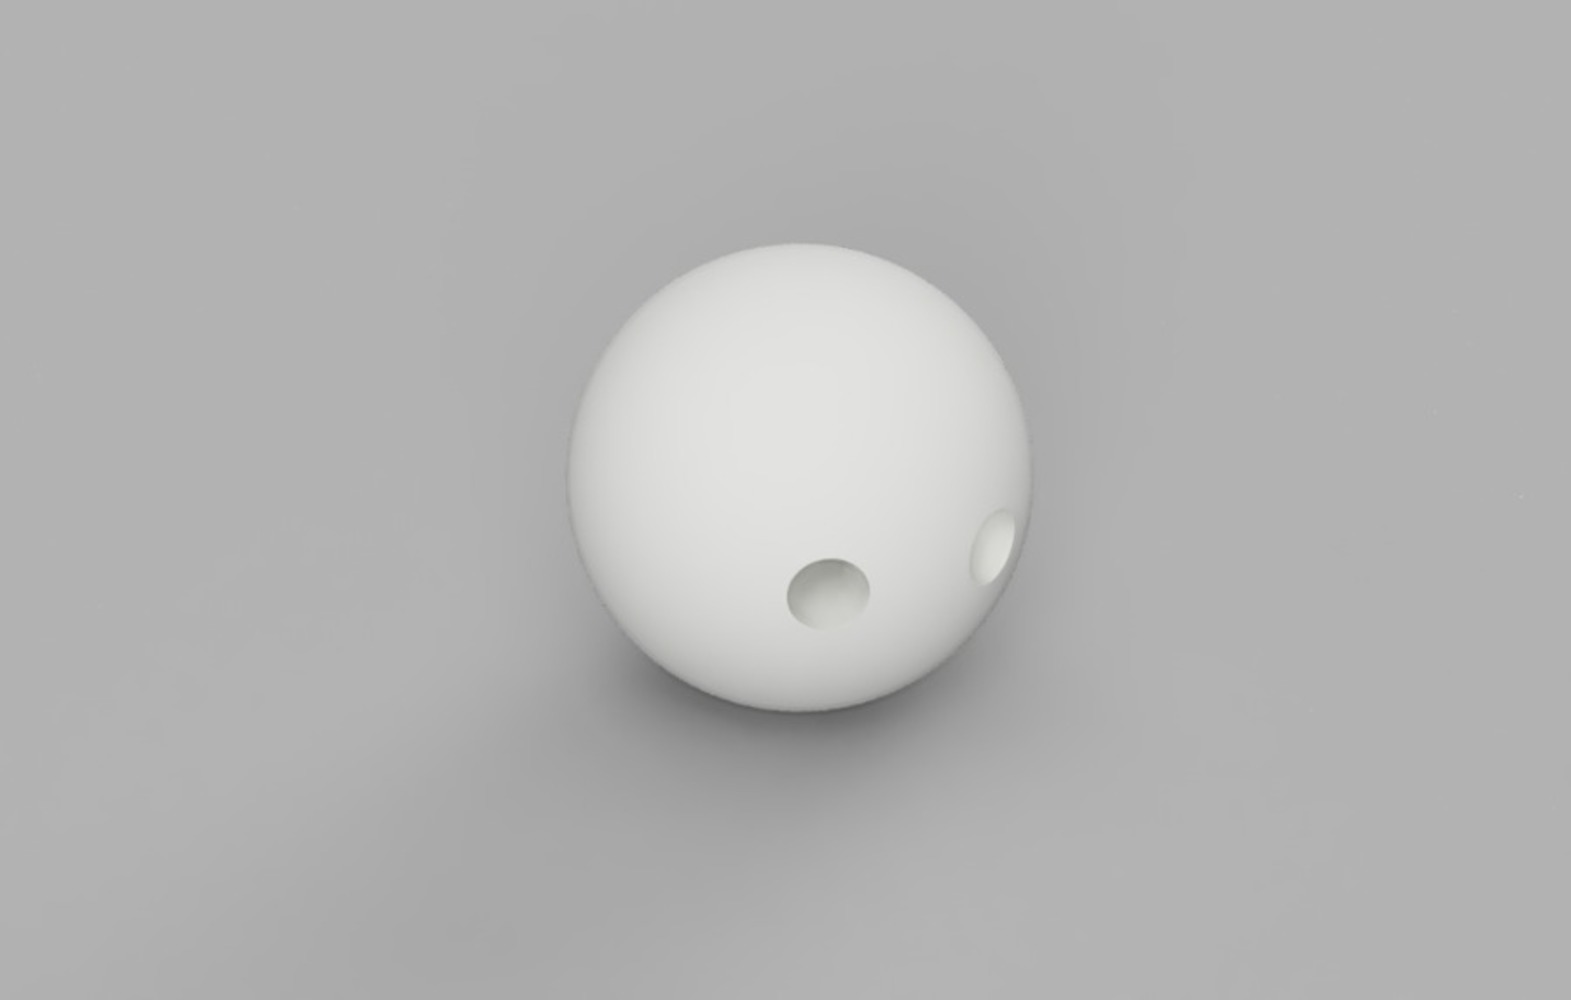
As a side note, for some reason, I didn't have any environments downloaded into Fusion 360, and I was unable to position my renderings in any way with them, but the renderings came out nicely and still describe the form perfectly well.

Here is my final presentation:

https://docs.google.com/presentation/d/1gW_mLmEv36P3jafrwLMLJyNYuzuh4s1uuD6frueymn0/edit?usp=sharing

Final Notes

I'm extremely happy with the outcome, and I couldn't have asked for it to function better. It fits perfectly in my palm, the overall swinging motion is very satisfying and versatile, and the durability is surprising.

I've played with the object, which I've named the Yola, for almost an entire week straight, and it's allowed me to enjoy myself while training coordination on my left hand.

The simple ability to swing a neat, compact, secure ball around is extremely physically pleasing, and I know I succeeded in my mission because I've created something I use regularly.

However, this project is only the first part. After a discussion with my professor, we decided that each of these three, even the final 3D printed version, would all be prototypes. I initially wanted to cast this ball in metal, and while the resources at CMU are not substantial enough to cut or mold metal, there are some local maker spaces whos resources are substantial enough.

Therefore, I will use the 3D printed final version as a way to make a mold to create a metal ball. I will then secure it with a stronger cord, and test to see how it feels.

My project is not yet over, but within the bounds of DigiTool, it has come to an end. I learned a great deal about how to prototype, and I look forward to continued work on it.

Drop files here or click to select

You can upload files of up to 20MB using this form.