Headphone Holder — digiTOOL F18 A1
DXF: https://drive.google.com/file/d/1wzXfd8kG3m2CA-ddjXtGnM26wD3blPdg/view?usp=sharing
Presentation: https://docs.google.com/presentation/d/16m-sN7fiCmOzJ3_YkTDmYHr2CVv6vRcbPtpwL3psAPA/edit?usp=sharing
Intention
My close friend is an avid headphone collector and user. He would like to display his favorite ones on his desk but is finding that ones currently offered on the market are not friendly for student budgets. Products that are in his price range are not durable and have fallen apart after a short period of time. In addition, they are difficult to transport/pack.
He told me how he started this hobby with his dad as a young child and values the memories and lessons he has learned from collecting over the years. This was one of the reasons why it was important to him to keep these headphones in pristine condition.
My goal is to create a headphone stand that is somehow collapsible and durable enough to endure travel and time. In addition, I would like to add a feature that allows him to store the headphone cords to help create an organized system.
Research + Context
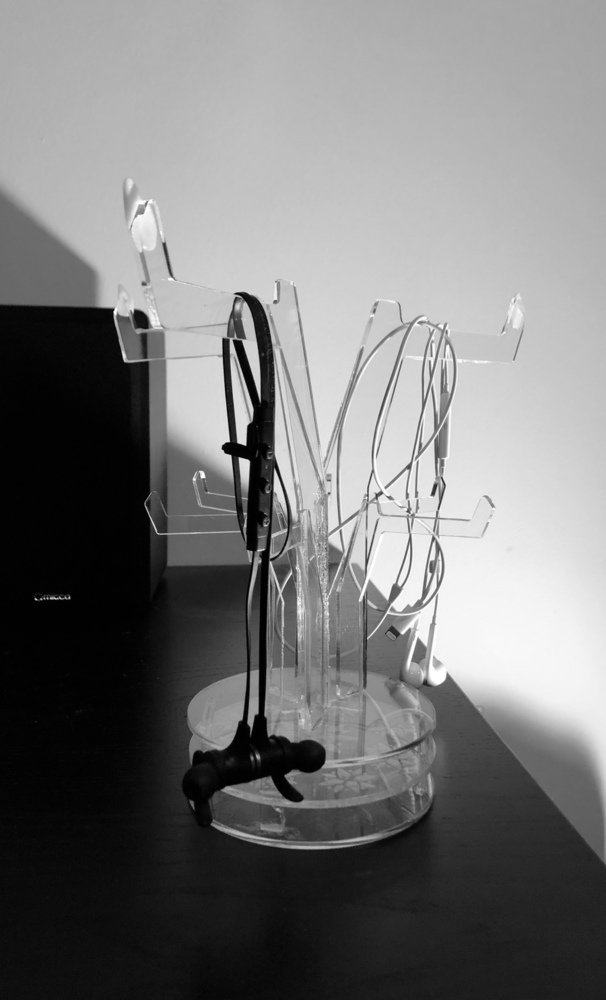
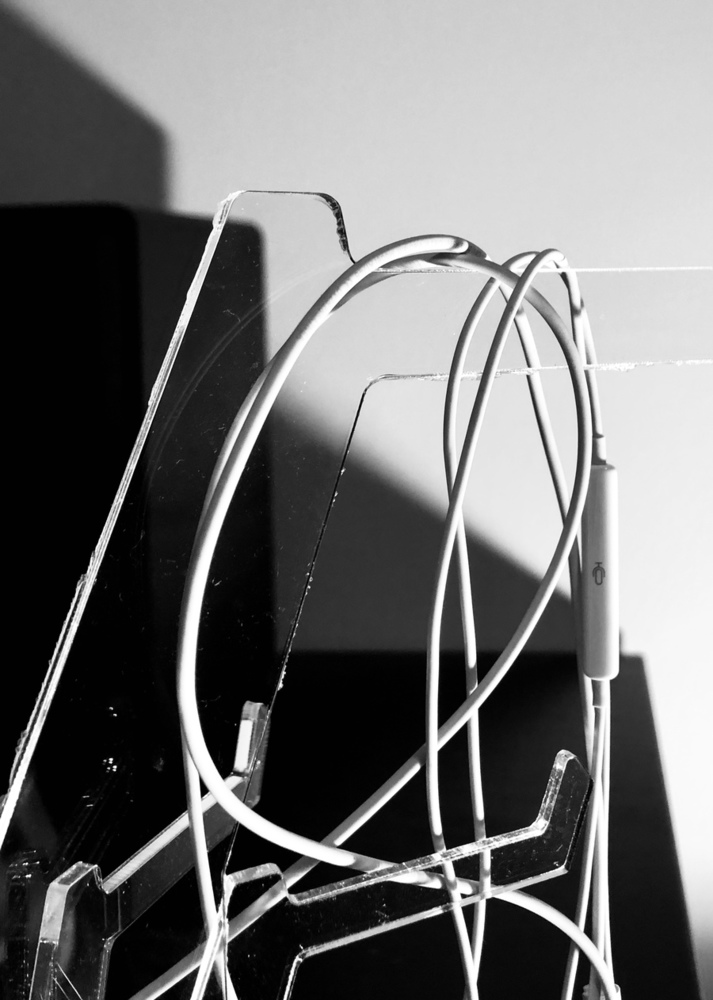
There are many options available however, there are very few that house multiple pairs of headphones at once. Most stands max out at two pairs and he would like to have one that holds 3–4 pairs. Most stands are made of one single piece and aren’t conducive to frequent moves and travel. In addition, they often lack an organization system for wires and adapters that are needed to use the headphones.
Aesthetic + Inspiration
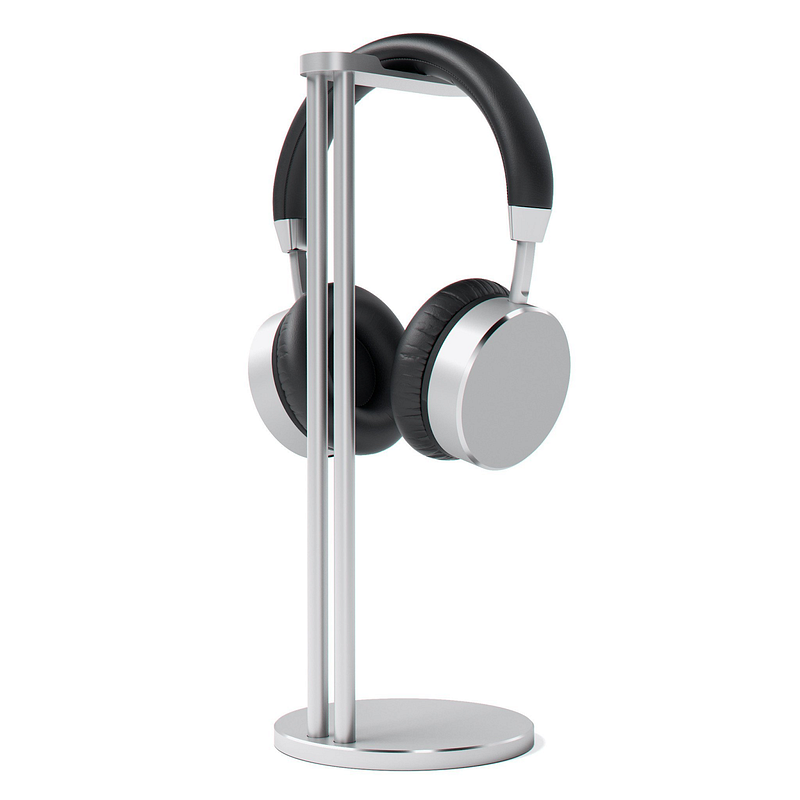
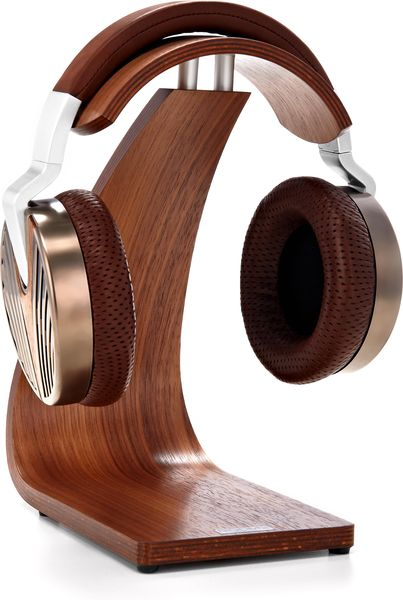
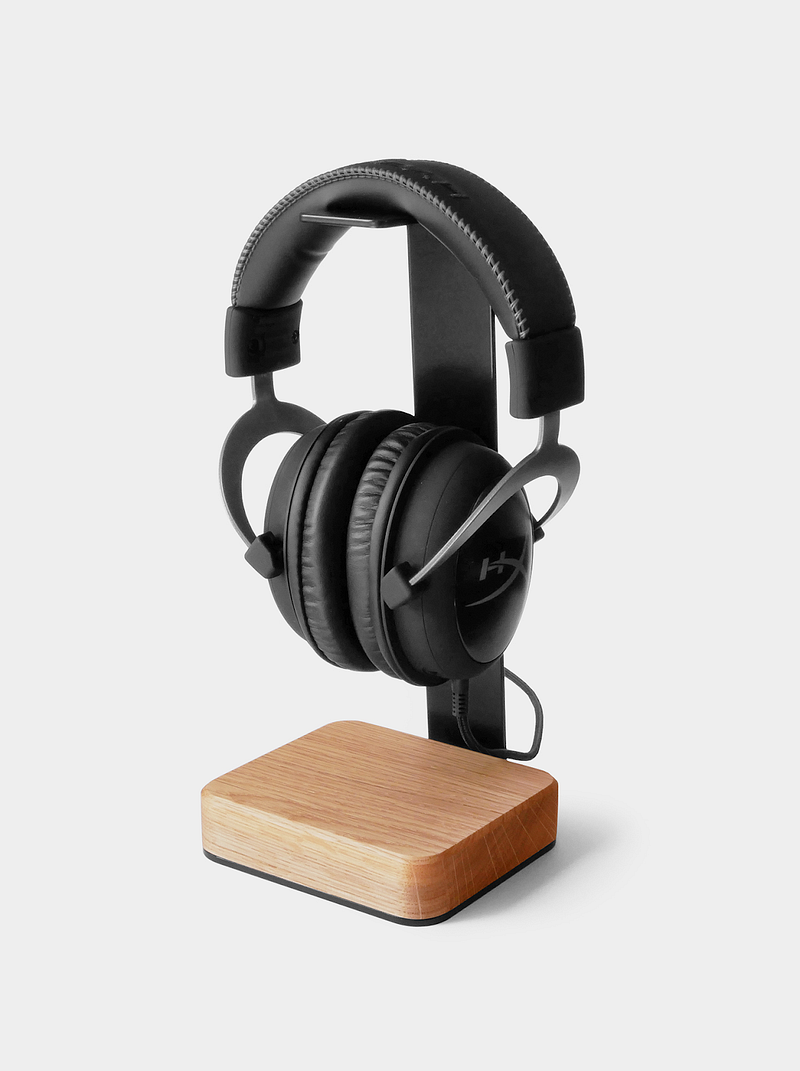
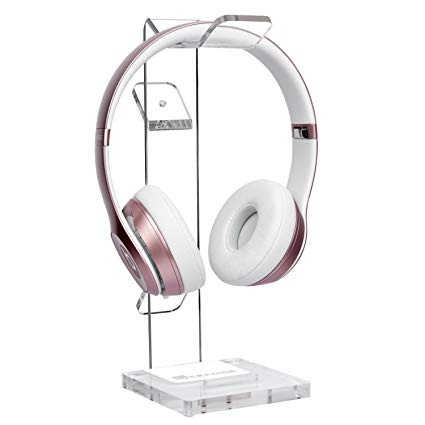
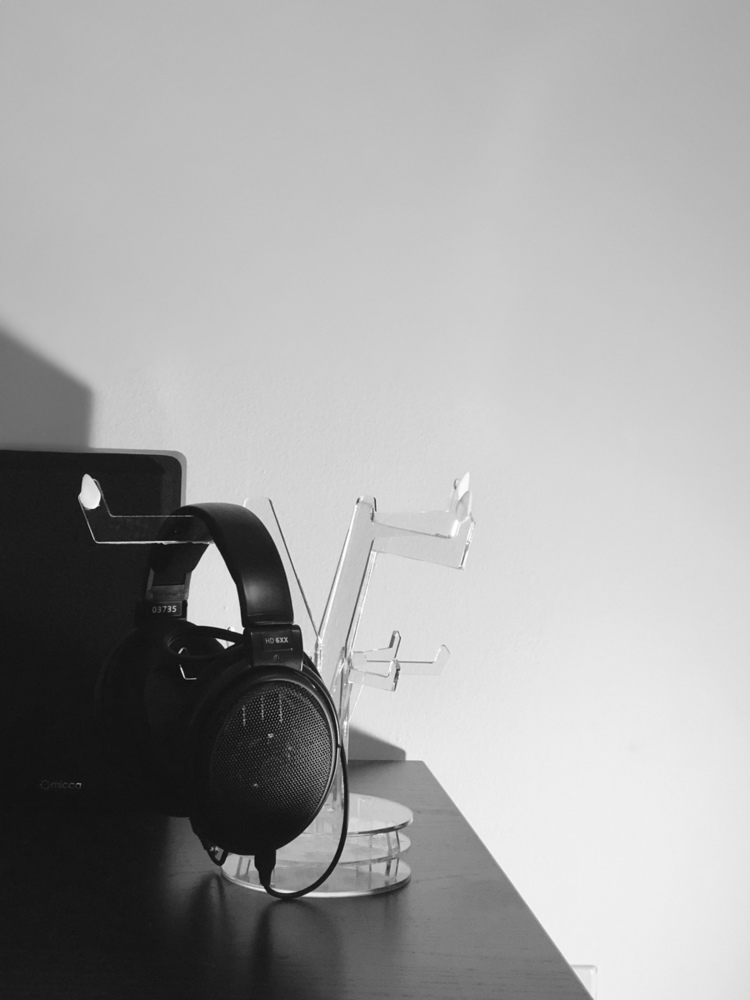
The form of my design is influenced by current headphone stands (the general idea of headphones hanging off of a limb from the main base). However, my design includes multiple limbs, cord spools, and hopefully a collapsable system. Also, since this hobby has grown with him throughout the years so I liked the idea of the visual representation being a tree (or something similar).
Process + Procedure
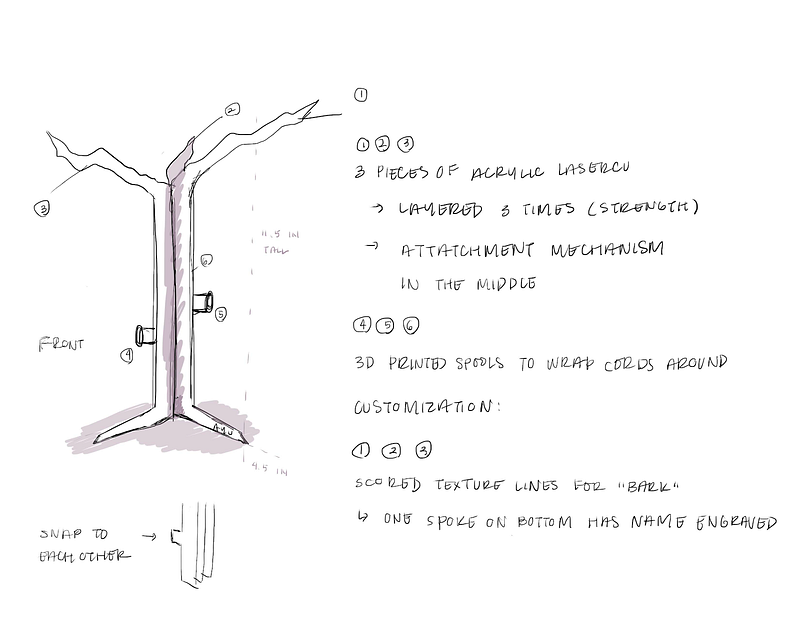
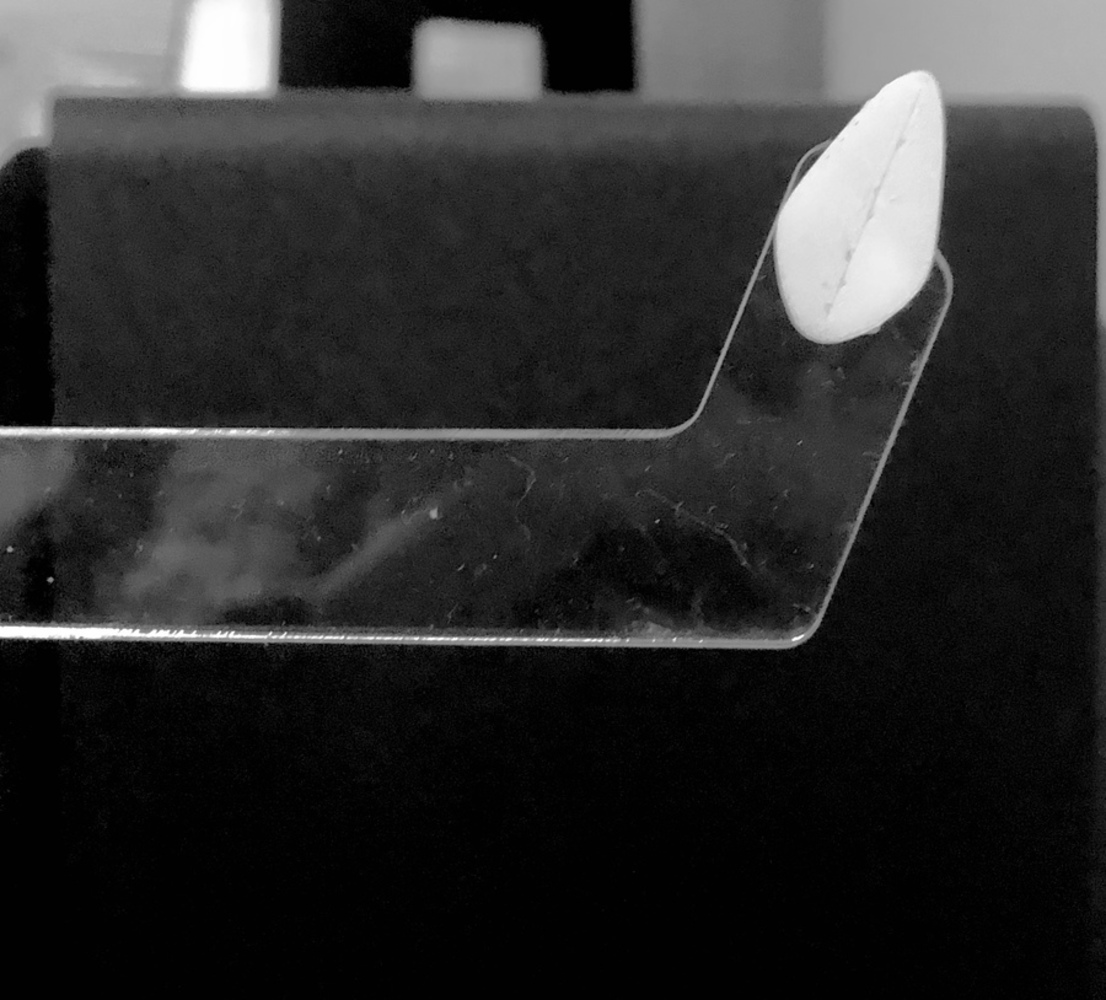
Materials Used: Clear Acrylic, PLA (3D printed leaves), and Acrylic Glue
Steps:
1. I created an Adobe Illustrator (AI) file that would contain all the individual elements of the main portion of the headphone stand. I opted to use Illustrator instead of Fusion 360 since my pieces are more abstract in shape. In addition, the artboard layout made it easier for me to keep track of all the individual pieces that needed to be cut, scored or engraved.

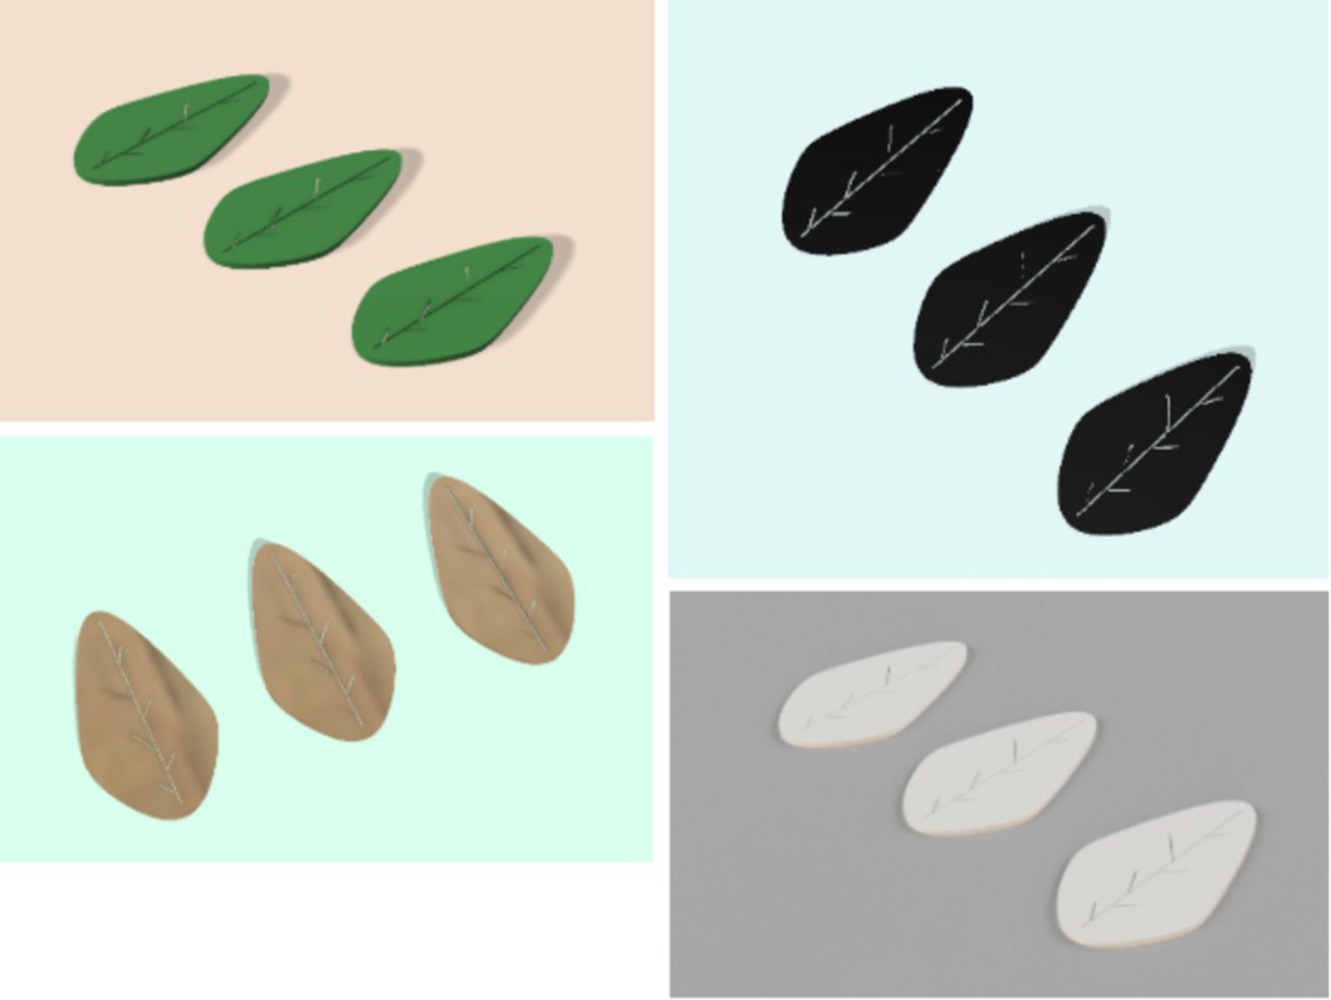
2. I then modeled 3D decorative leaves in Fusion 360 to be added to the three main hooks that would hold the headphones. The leaves are each about 2cm long and about 1cm wide. I printed them through the Stratasys machine. I rendered various colors for the leaves to picture how they would look if I painted them. In the end, I chose to make the leaves white because it looked the best with the clear cut acrylic.