Back to Parent

Outcome


Intention

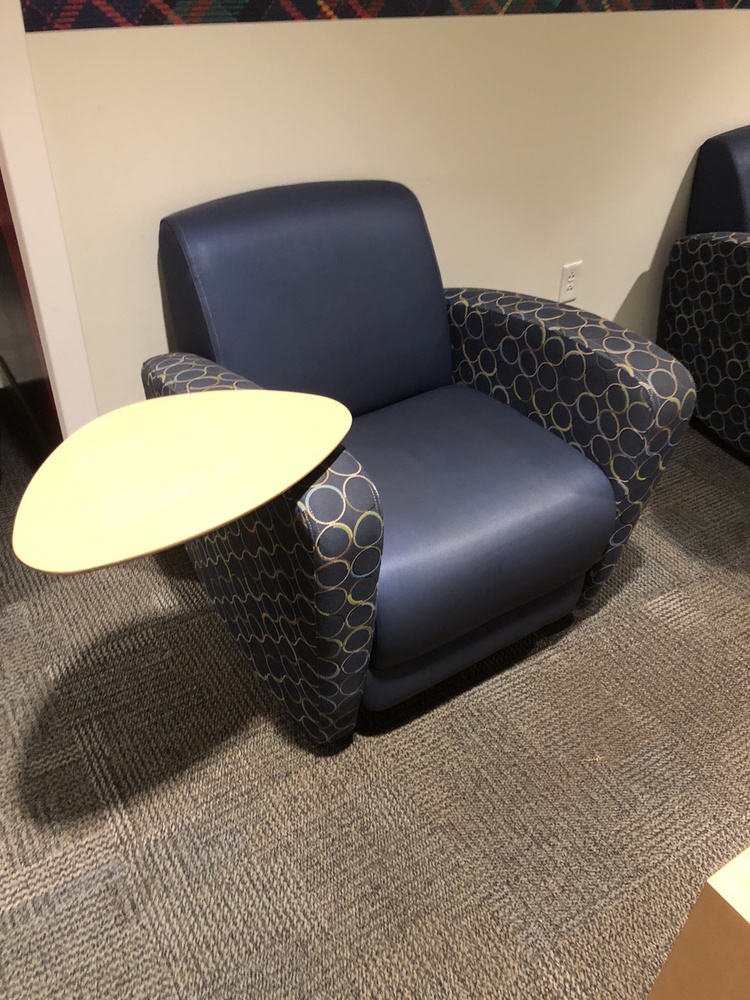
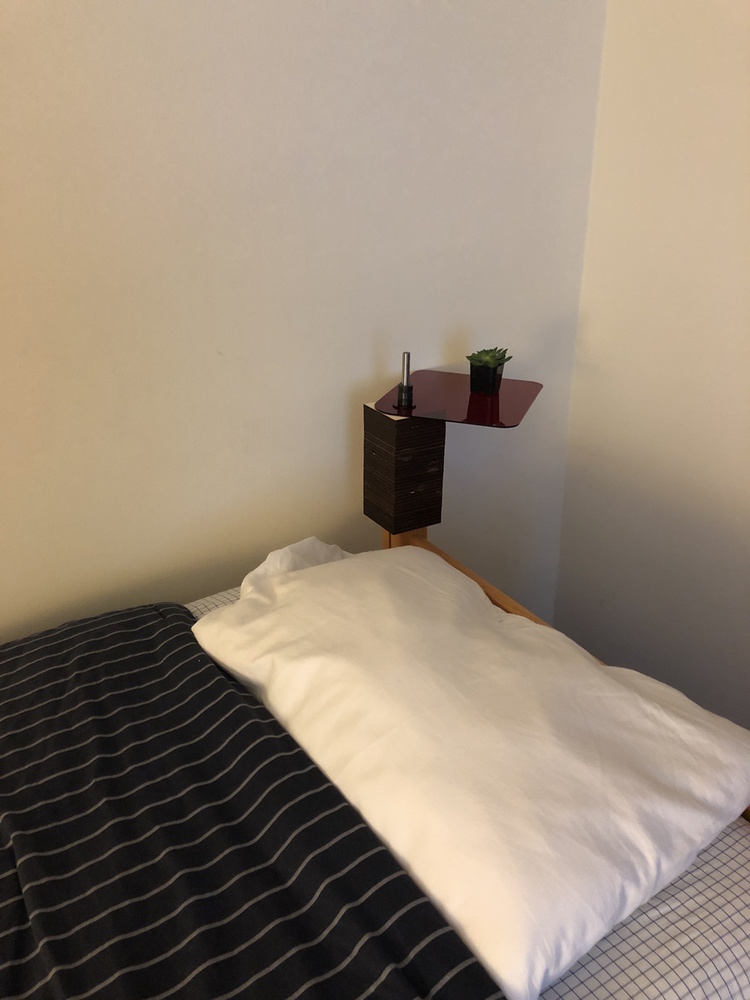
For me, a bedside table was a natural choice for this project. In my apartment, there is not enough space for a free-standing bedside table. Consequently, I end up storing my phone, earbuds, glasses, and other items on the floor under my bed. This makes them difficult to reach, and I have long been searching for a solution to this inconvenience.  

Inspiration

For my final iteration, I took inspiration from the chairs in the lounge outside Skibo Café in the Cohon Center. I sometimes sit here when eating a meal, doing my homework, or both, and I find the mobility of the desk surface to be very convenient. I wanted to replicate something like this for my table. 

Img 1040.jpg.thumb
Show Advanced Options

Process

My initial sketches for the bedside table resembled an airline tray table (or as I jokingly called it, a toilet seat). It consisted of a surface that was connected by wire in three places to a disposable command hook that would be placed on the wall. The surface had a hinge that allowed it to be folded up when not in use. Upon consulting the instructor and considering the structural integrity, I ultimately shelved this design. 

Screen shot 2018 10 23 at 9.23.32 am.thumb
Show Advanced Options

The hardware I used for this project were a Rabbit Lasercutter and the NVBots 3D printer. The software used was Audodesk Fusion for Computer Aided Design (CAD) and a slicer program. Materials included 6mm birch plywood, 3mm red acrylic, grey-colored polylactic acid (PVA), and a 6-inch long 0.5" diameter steel dowel. 

Img 1039.jpg.thumb
Show Advanced Options

For the support structure, I used Autodesk to make a 3D hollow box. I then used a slicing software that recreated the box using 2D images, which I then lasercut into plywood. I then carefully assembled these pieces to make the 3D shape. This support sits on and around my bedpost. The tabletop was lasercut from acrylic. Additionally, there is a 3D-printed piece which I created in Autodesk, with two lofted components that neatly hold my earbuds. This piece fits on top of the steel dowel that I used to connect the tabletop to the base. 

Img 1036 %281%29.jpg.thumb
Show Advanced Options

Unexpected Challenges

One thing that I did not consider very much but was crucial to the project was the system that fastened the table top to the base. I initially considered making an acrylic or wooden dowel. I started to make lasercuts with these materials but quickly realized it would be difficult to make a sturdy system that is also mobile. I ended up using a steel dowel that my roommate had left over from an engineering project. I was lucky that it was the exact size I needed. 

Final Notes

Overall, I was very satisfied with the final product. It is useful and solves a unique problem that lends itself to a custom-made solution. If I were to start this project again, I would take some more pointers from the laptop holder in-class project. Specifically, I would make my project in one piece in CAD, since I almost made an error due to inconsistent measurements between files. Below are some additional renderings and pictures of my project. 

Screen shot 2018 10 15 at 9.33.06 am.thumb
Show Advanced Options
Screen shot 2018 10 15 at 9.35.24 am.thumb
Show Advanced Options
Screen shot 2018 10 15 at 9.25.14 am %281%29.thumb
Show Advanced Options
Screen shot 2018 10 15 at 9.36.23 am.thumb
Show Advanced Options
Img 1016 %282%29.jpg.thumb
Show Advanced Options
Img 1035 %281%29.jpg.thumb
Show Advanced Options
Img 1069.thumb
Show Advanced Options
Img 1071.jpg.thumb
Show Advanced Options

Here is a link to my final project presentation: 

Show Advanced Options
Drop files here or click to select

You can upload files of up to 20MB using this form.