Outcome
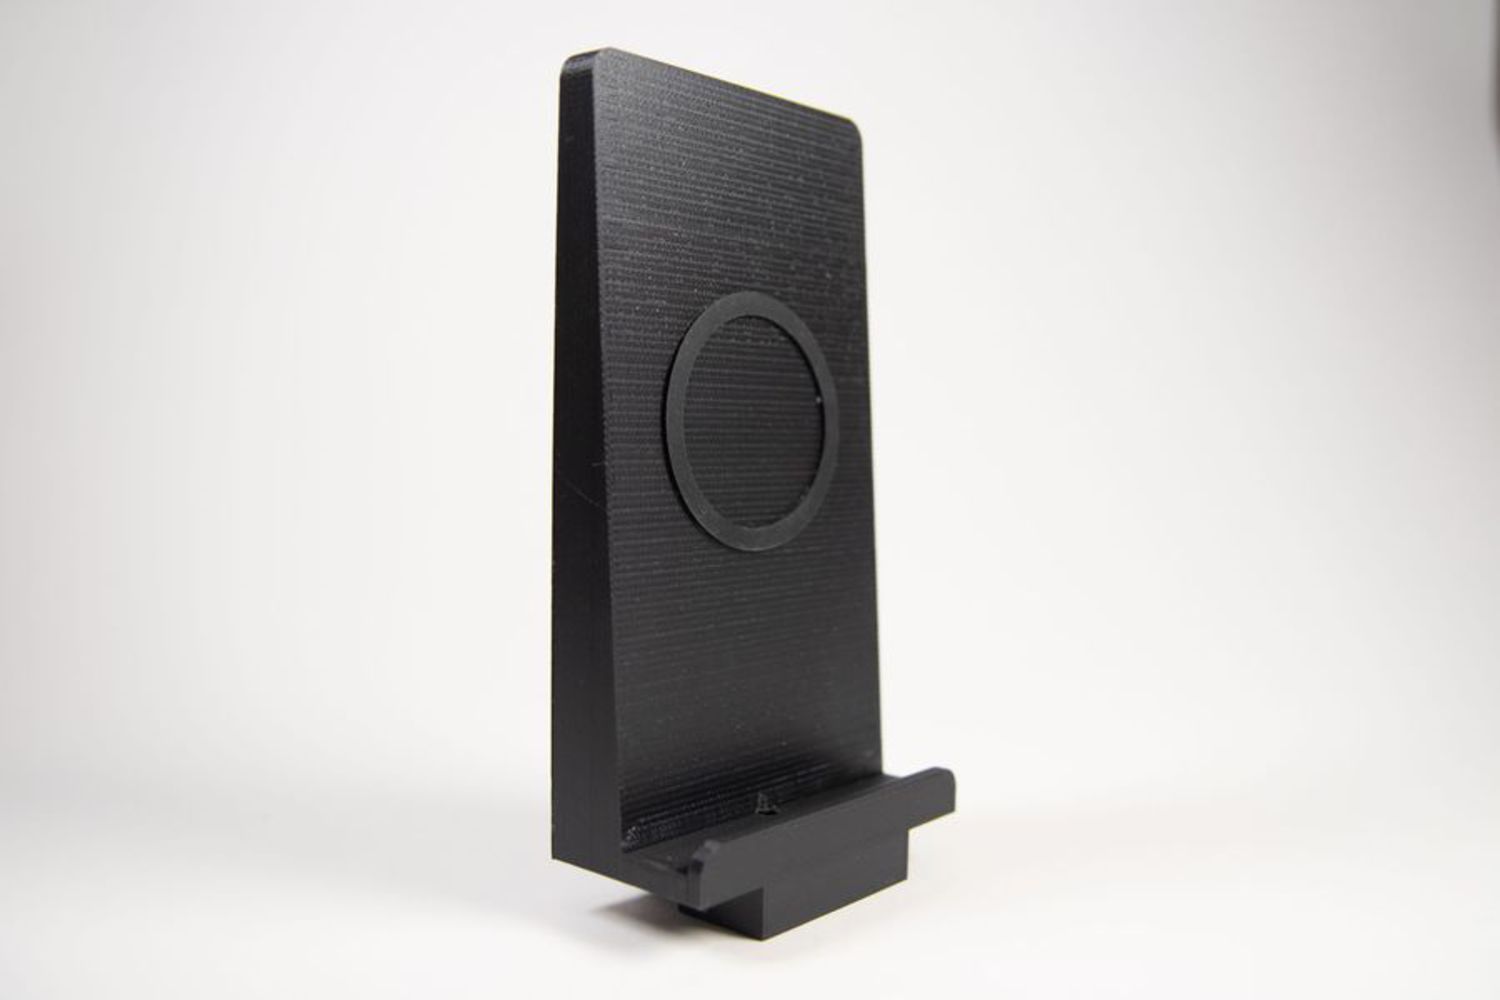
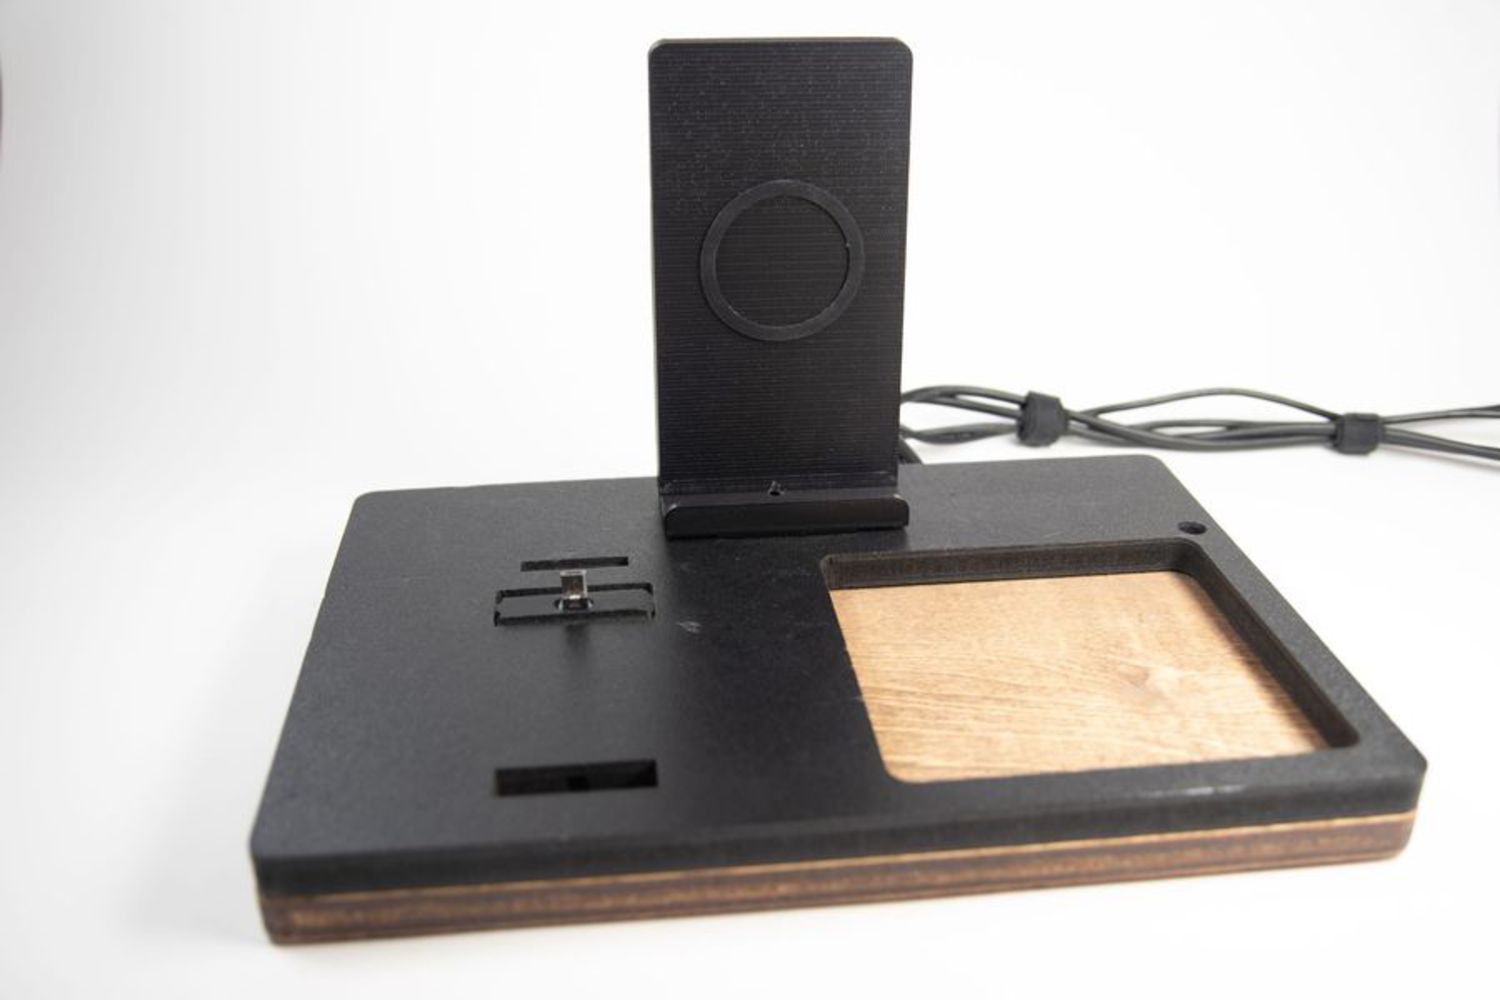
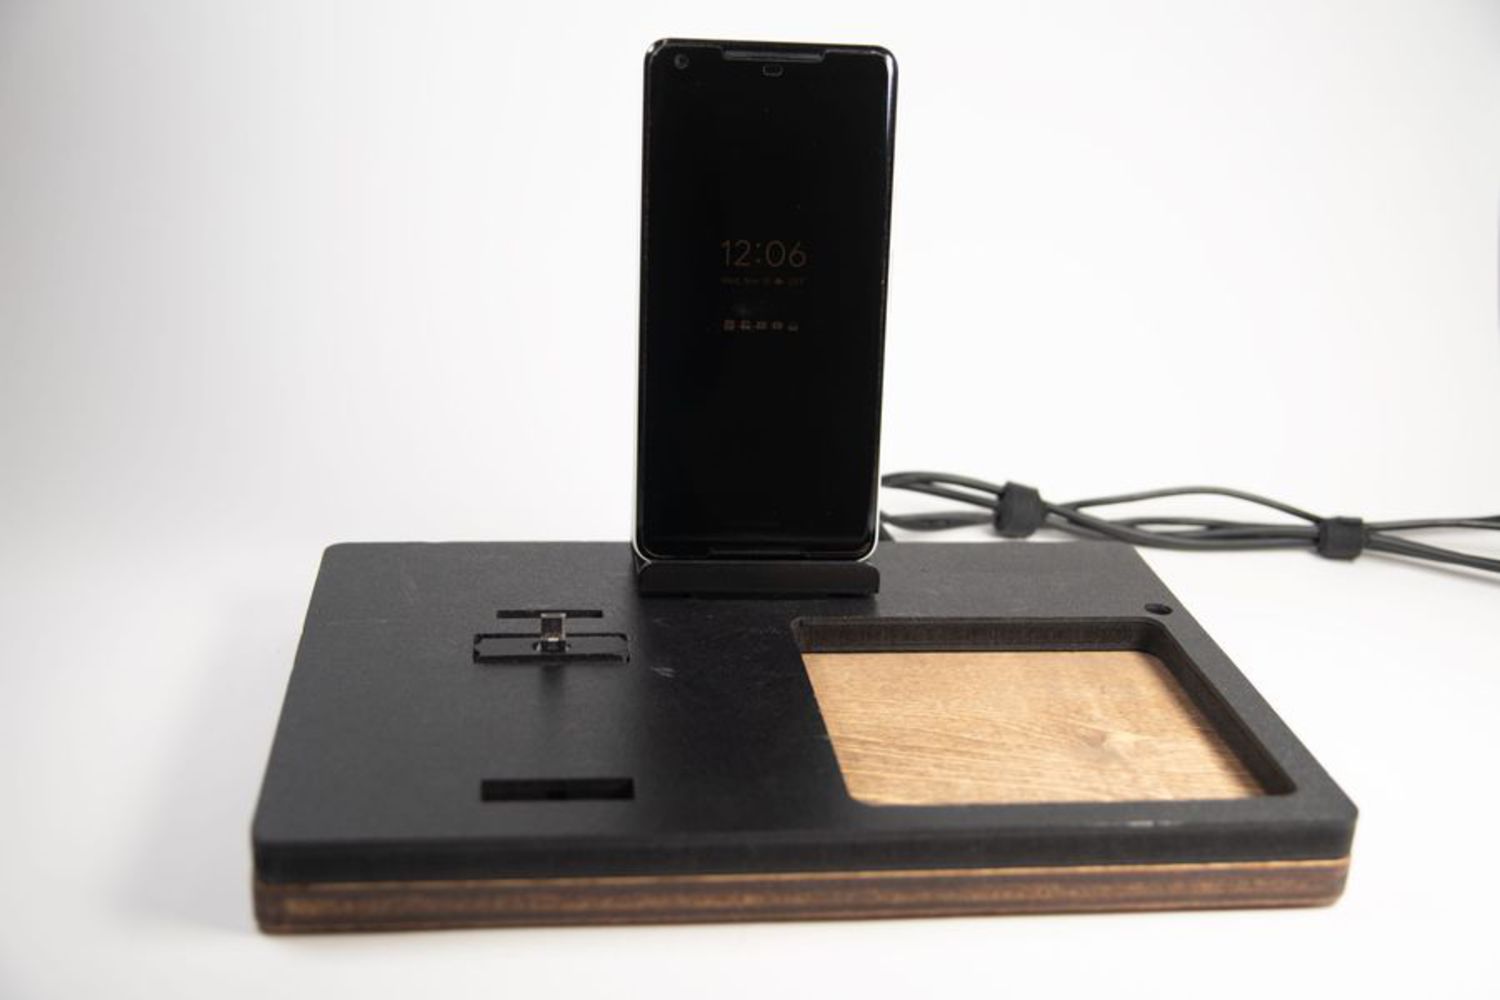
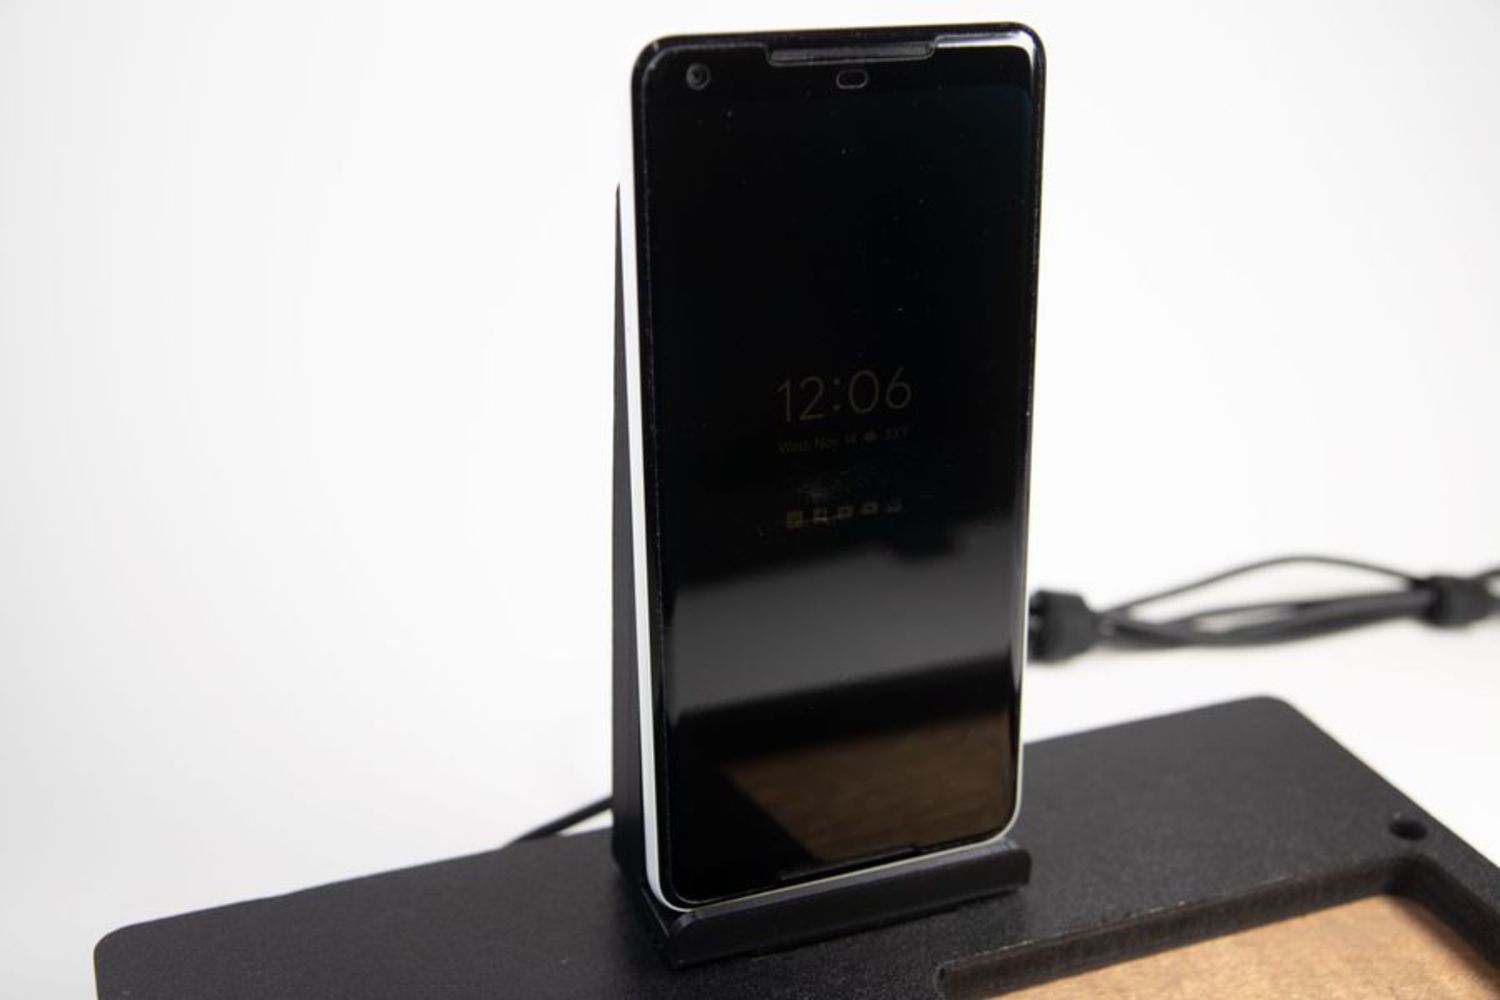
Wireless charging is becoming more prevalent in modern day smartphones, whether it is a budget phone or a high-end flagship. To ensure that my current charging solution can adapt to the changes in the smartphone industry, I created a wireless phone charging stand that integrates into my existing charging station. The stand will be at an angle to better support the phone and have a wireless charger mounted in the back.
When designing the stand, I wanted it to fit into the existing design of my charging station, so I included fillets on the top edge. I was also had to decide whether I wanted the stand to be larger than the phone or smaller than the phone. I looked at other wireless phone charging stands and most were larger than the phone. However, because I was constricted by how much space I had, I chose to make the stand smaller than my phone.

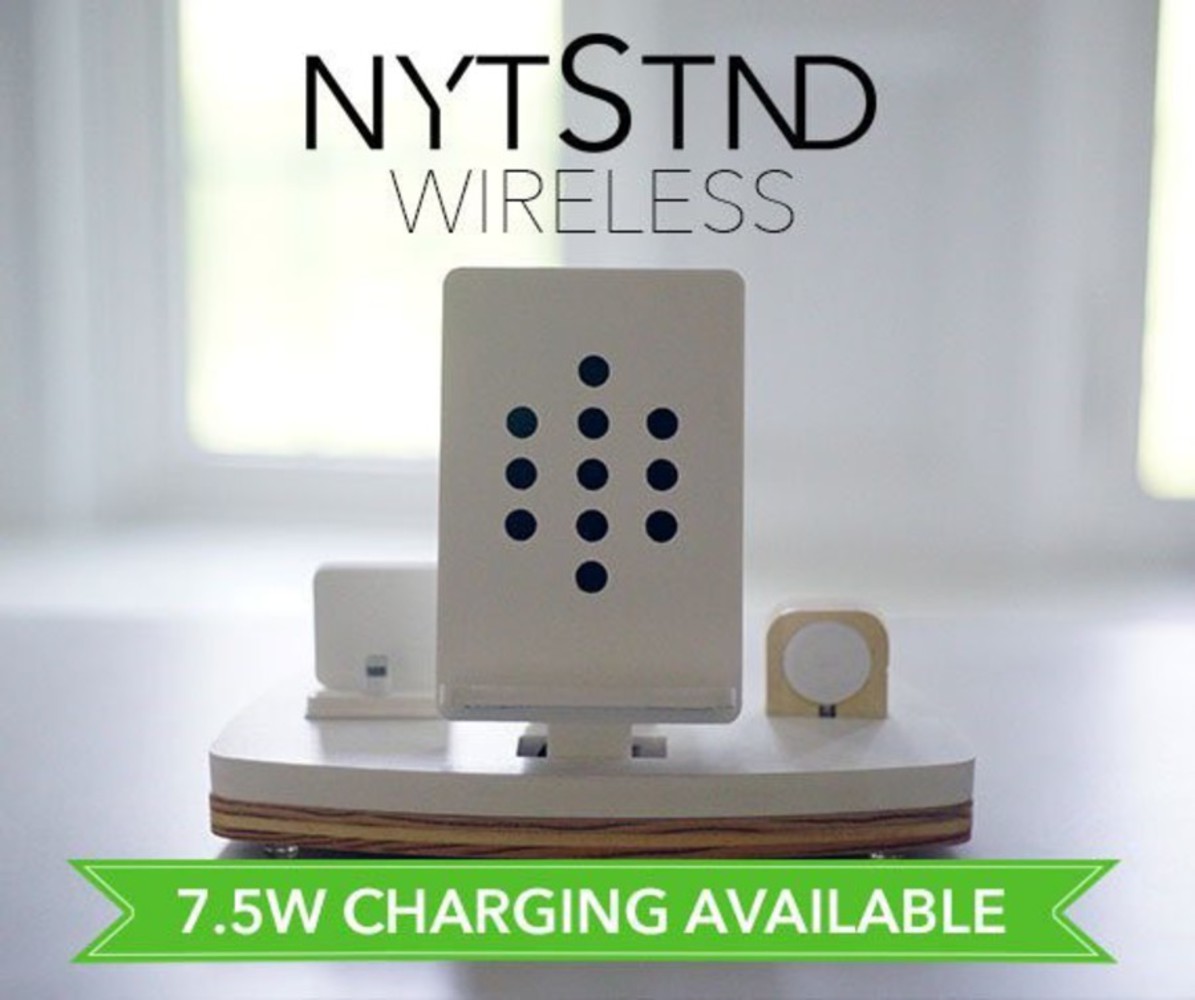
The two pictures above are from the company I bought my charging stand from. On the left is a picture of the charging solution I have, and on the right is a wireless charging stand that the company sells.
I wanted to incorporate the aesthetic choices of the NytStnd into my own wireless charging stand, so the stand would look as if it was a part of the original stand and not as if it did not belong.
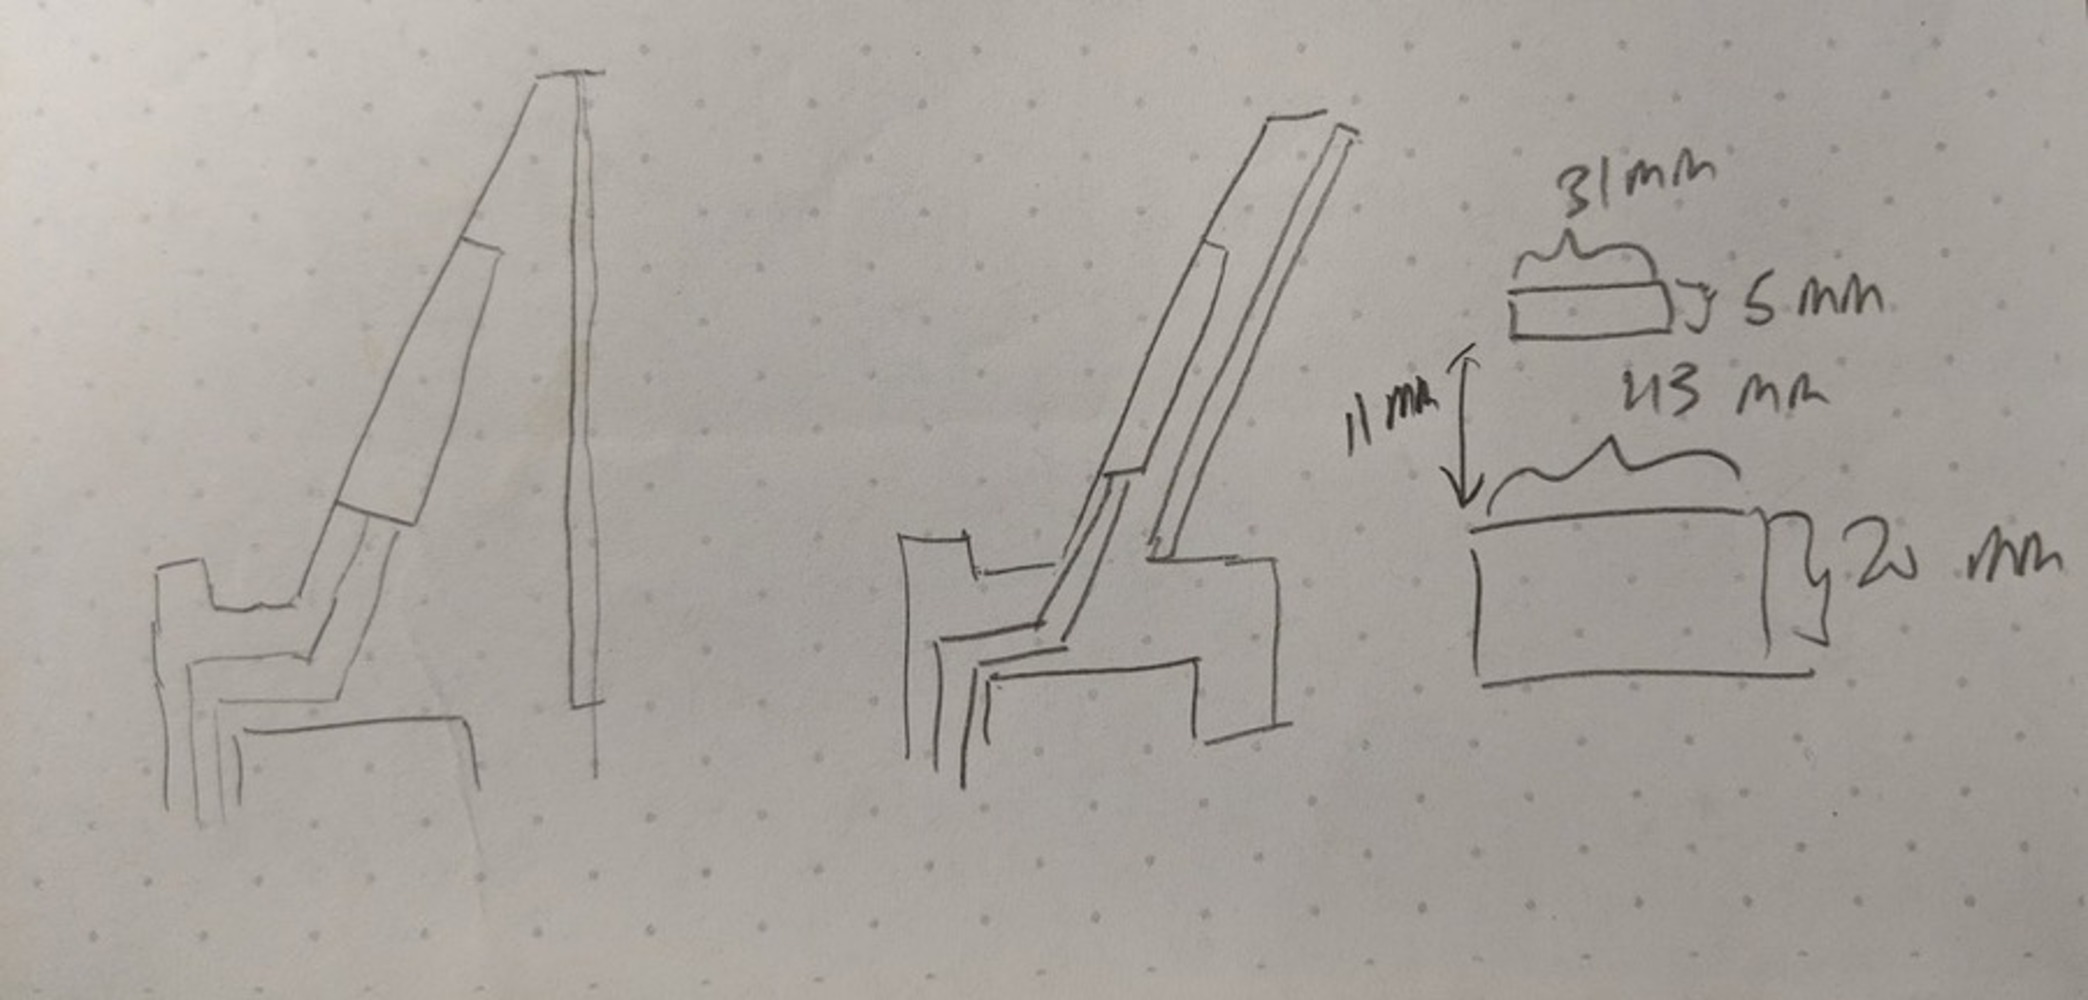
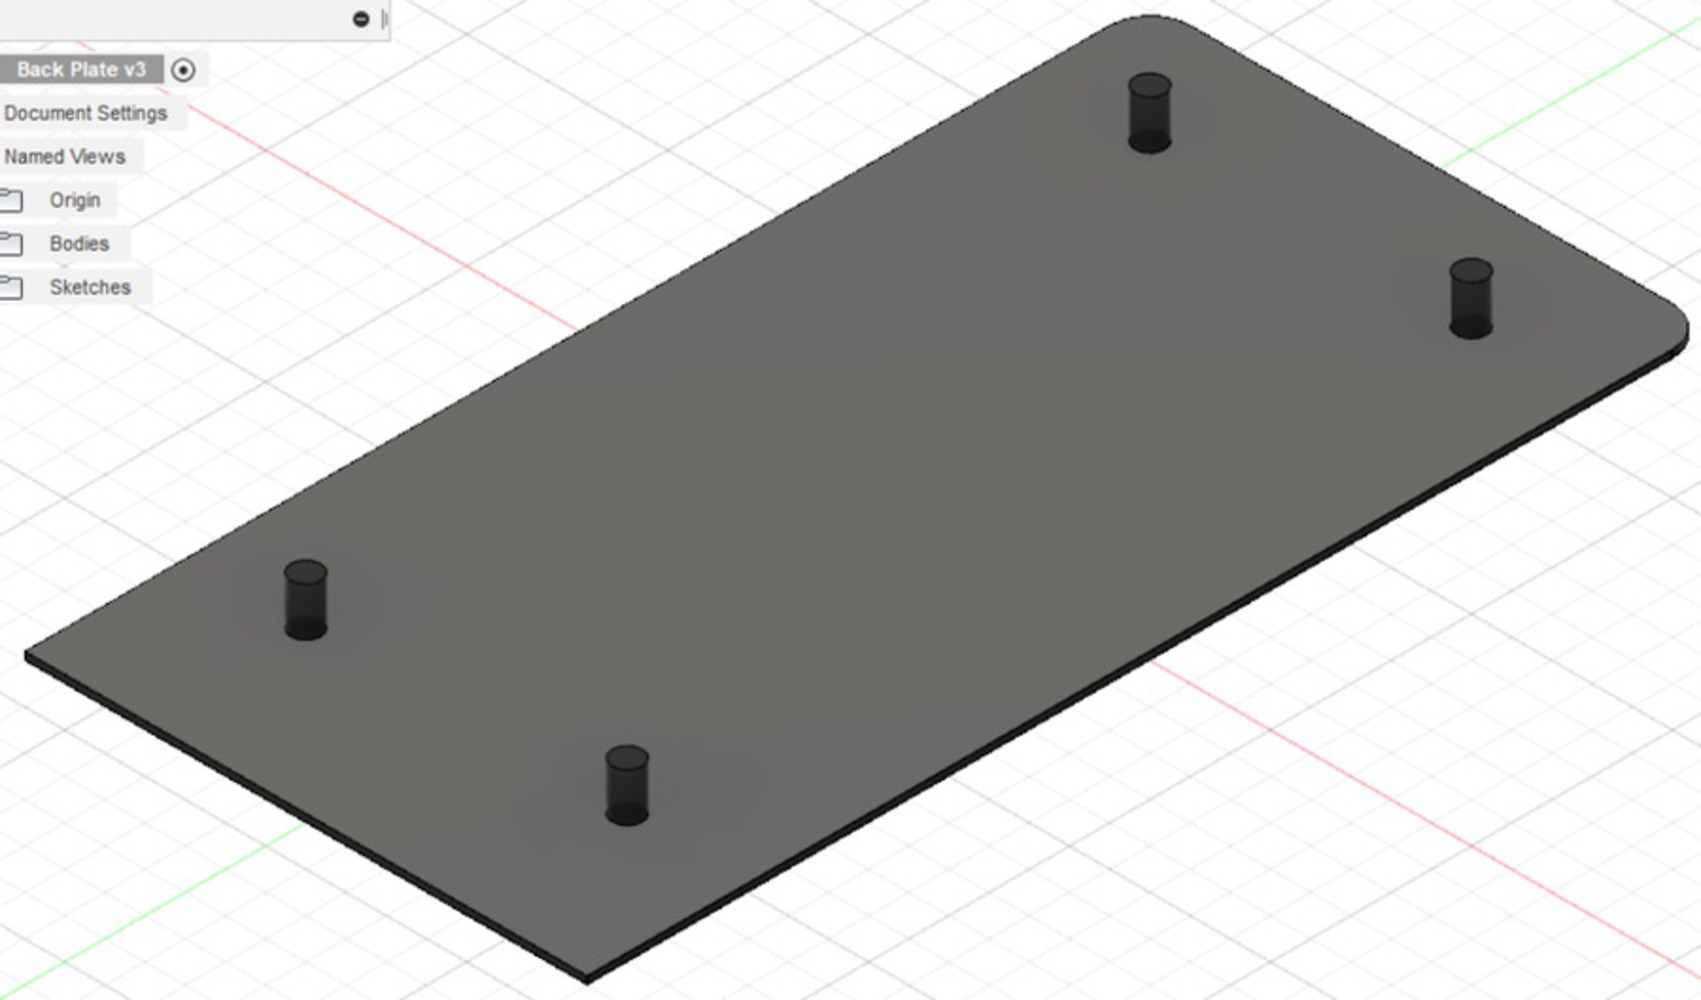
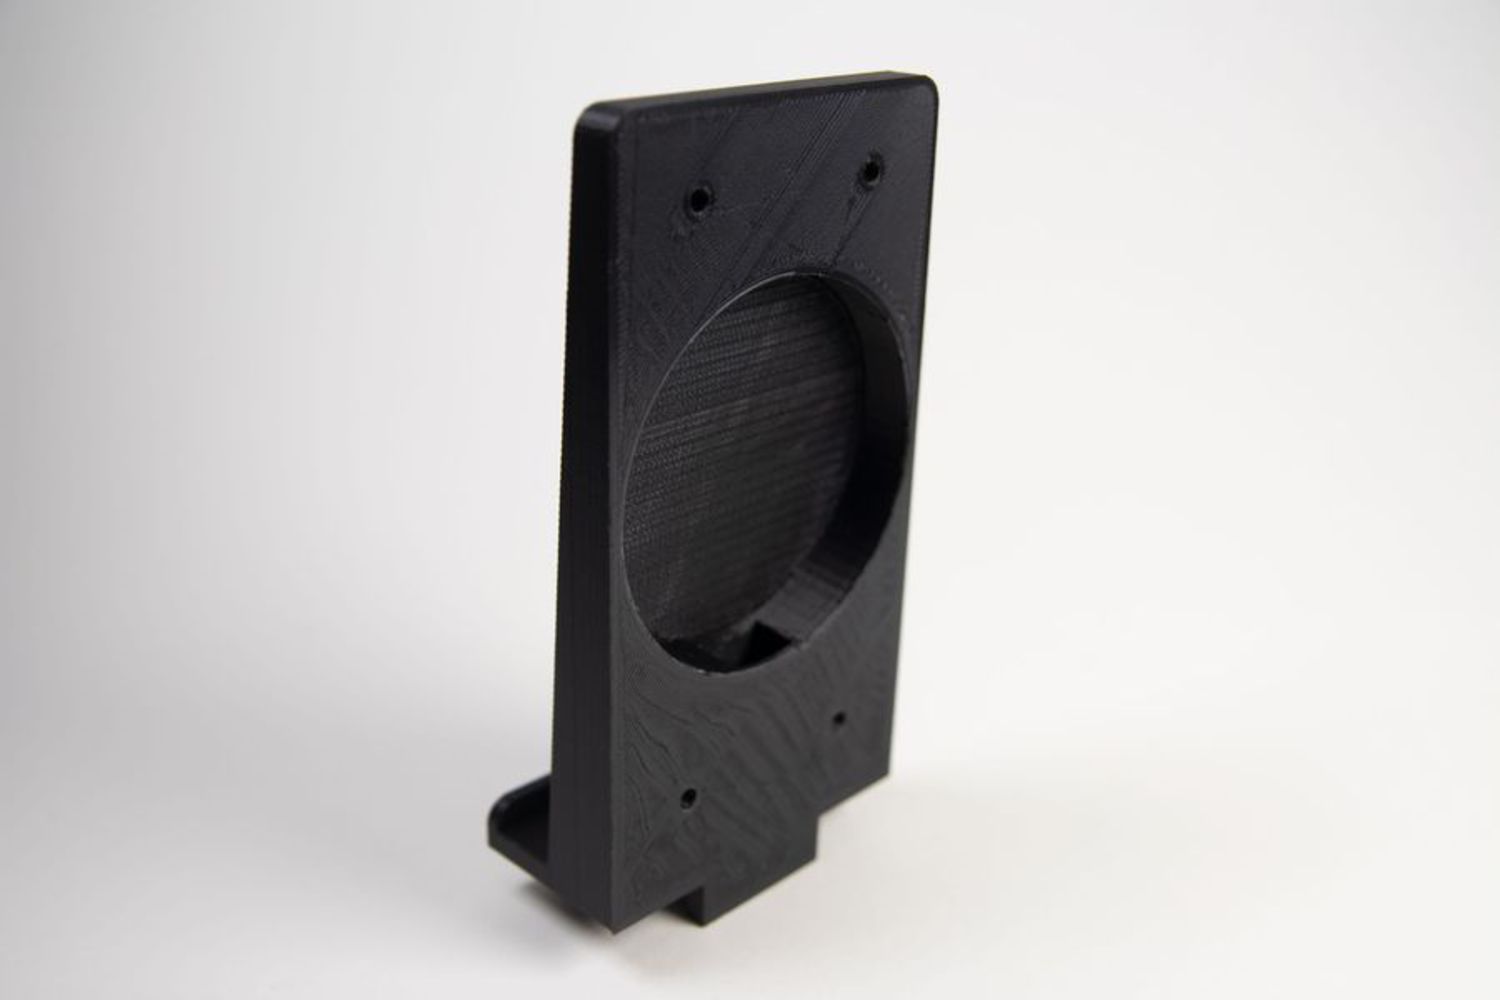
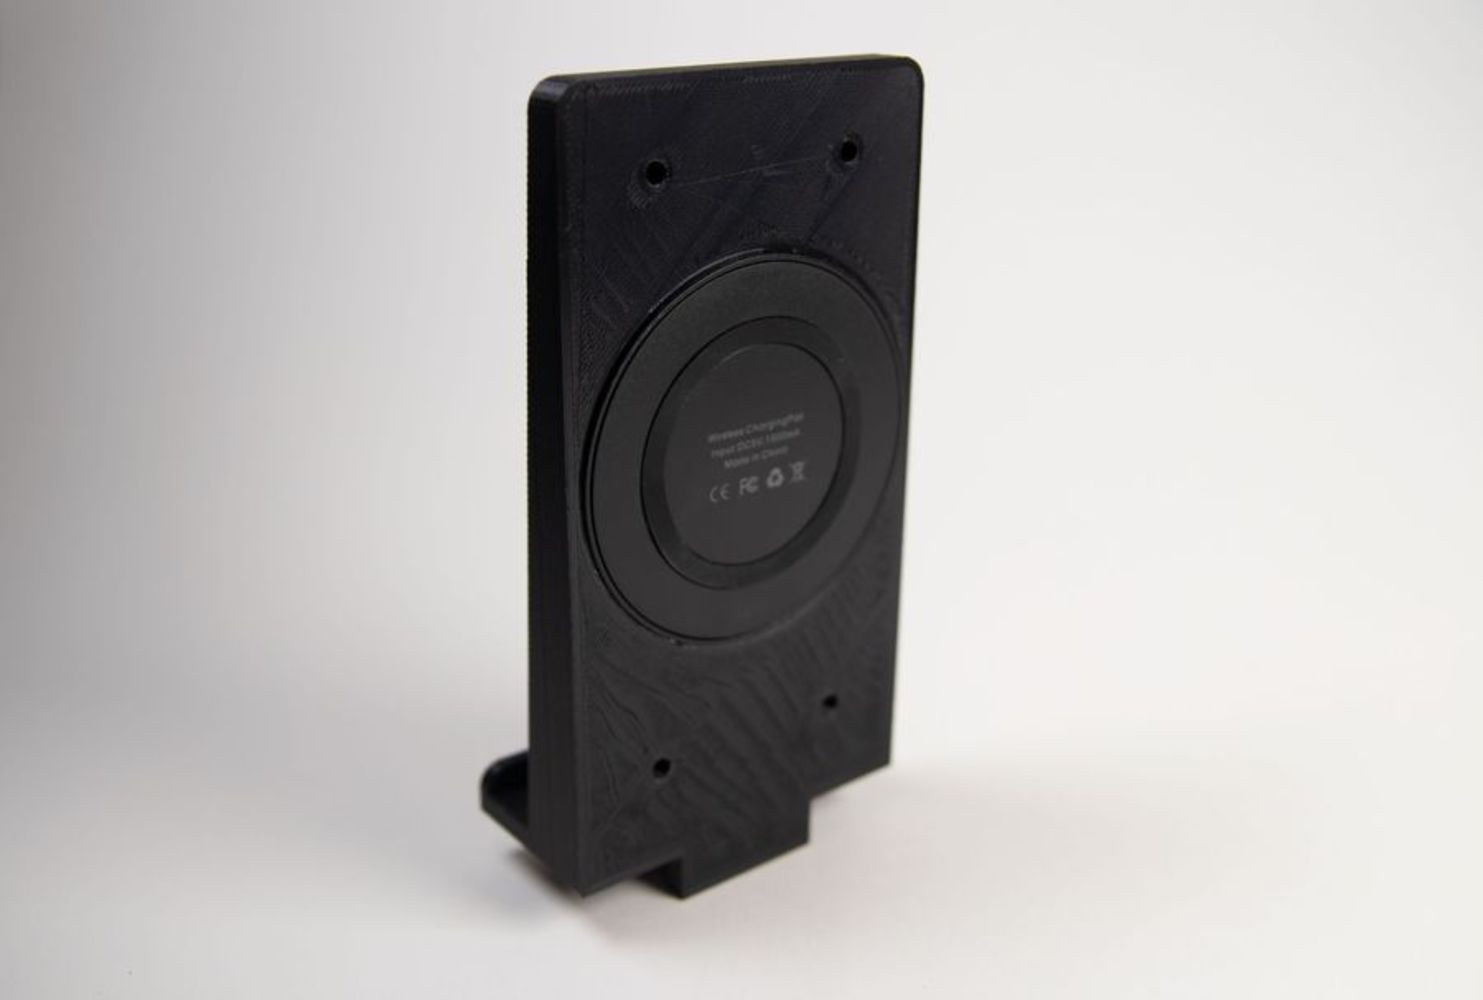
I first started off with a rough sketch of my concept, and because I was making an object that was going to be integrated into another object, I had to take precise dimensions to ensure that the part would fit. I also had to consider the fact that the 3D printers would not make my part to the exact dimension specified, so I made certain parts .5 mm smaller or larger. There would be two pieces to my design, the actual stand and a back plate to hold the wireless charger in place.
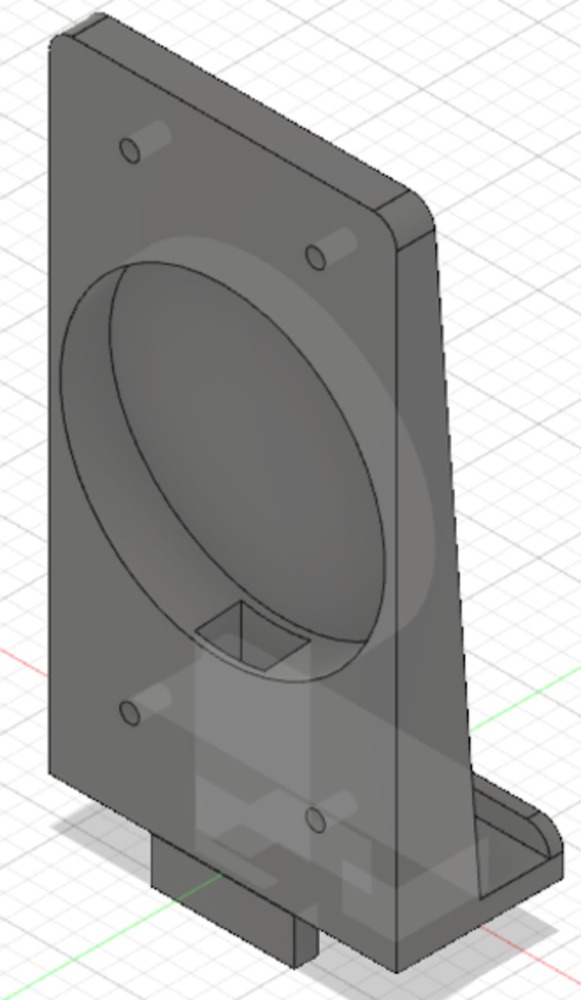
Once I had a rough sketch of my concept, I moved to Fustion360 and made a CAD of my design. Some of the tools I used were extrusions, fillets, lines, and construction lines.
My next step was to print the parts on the Ultimaker 3’s or NV bots.
I did not realize how much trouble I would have printing my parts. Not only were the Ultimakers incredibly prone to failure, but the other 3D printers were also out of filament. Since 3D printing is a slow process, and it is common for parts to fail, I plan to start any future print I have much earlier. There were also some slight modifications that could be made to further improve the design.
You can upload files of up to 20MB using this form.