Back to Parent

Outcome


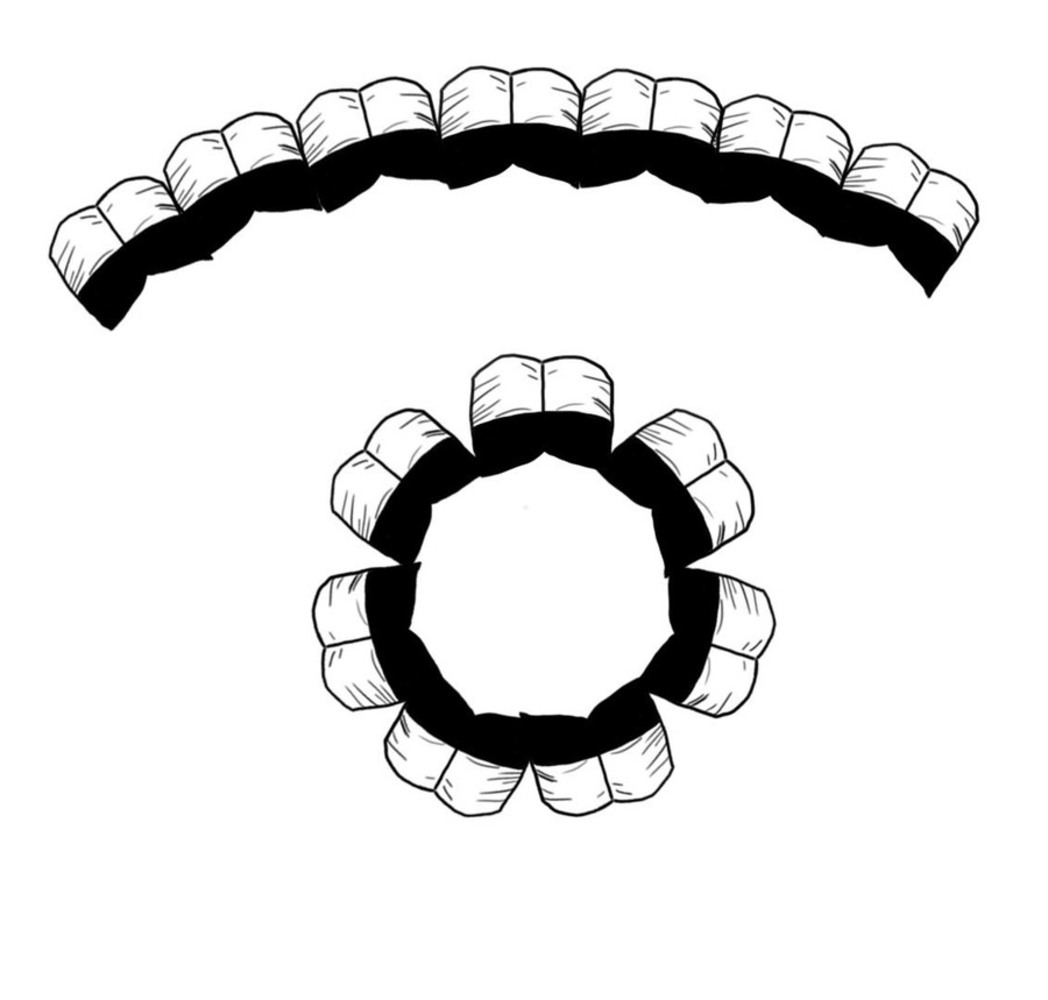
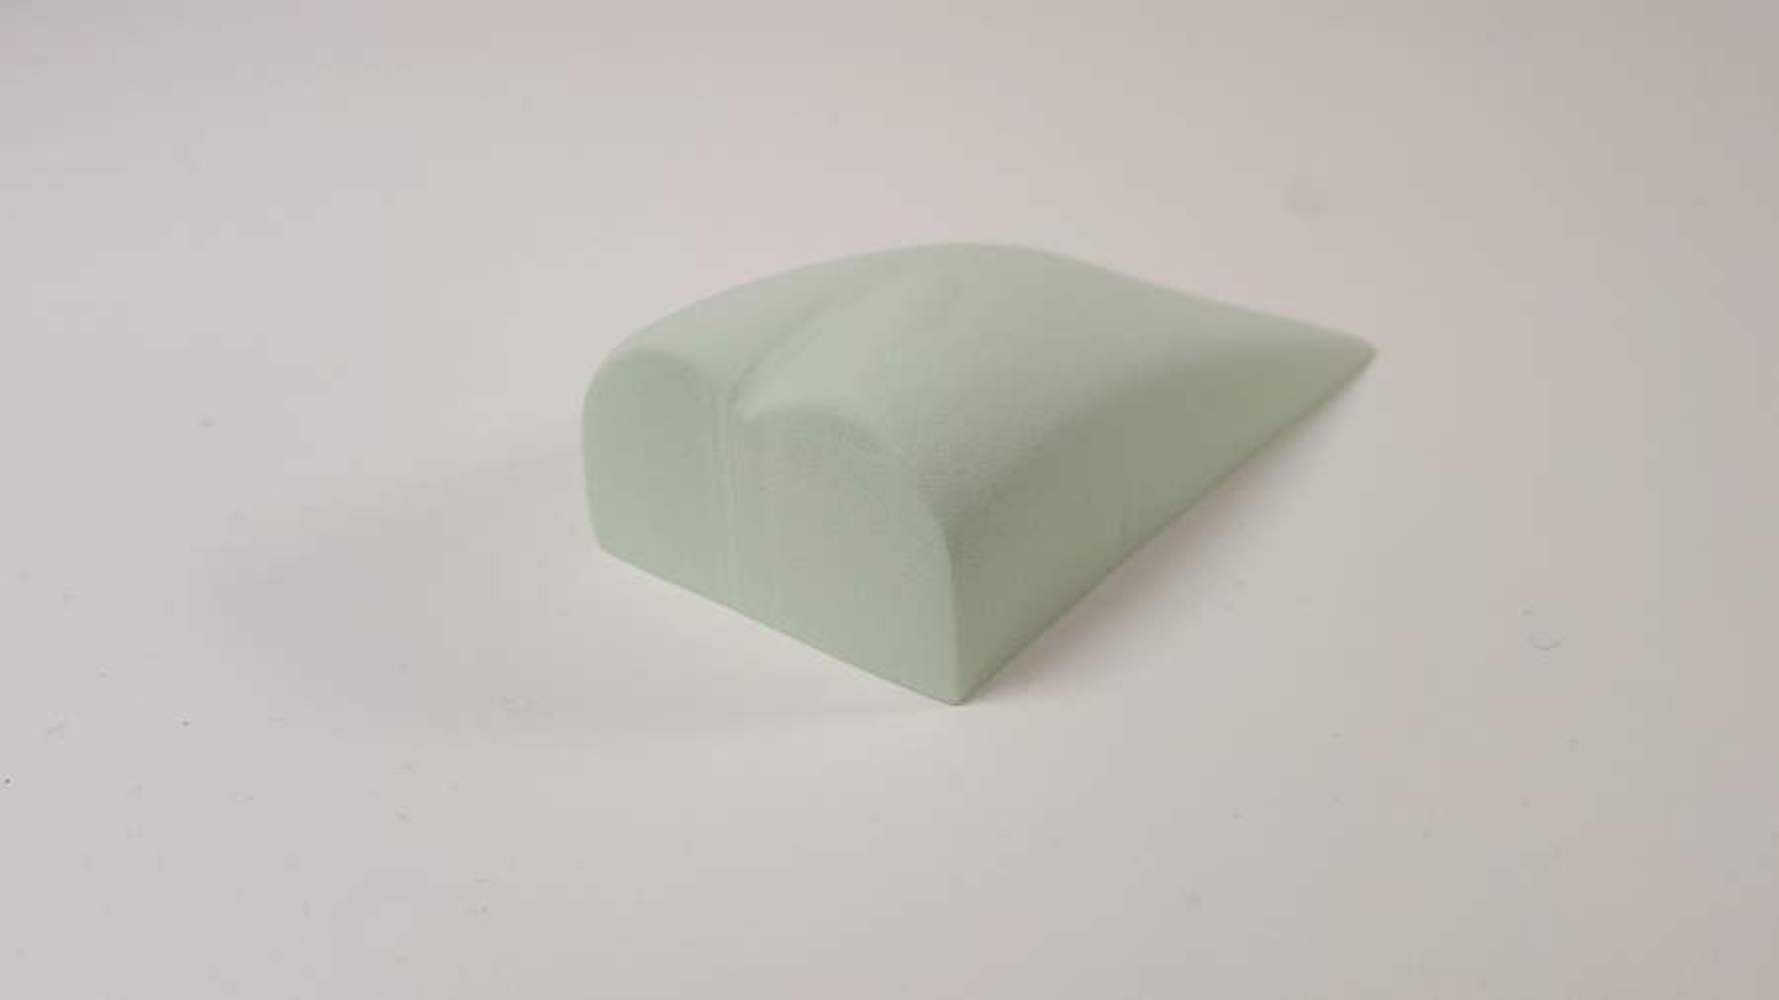
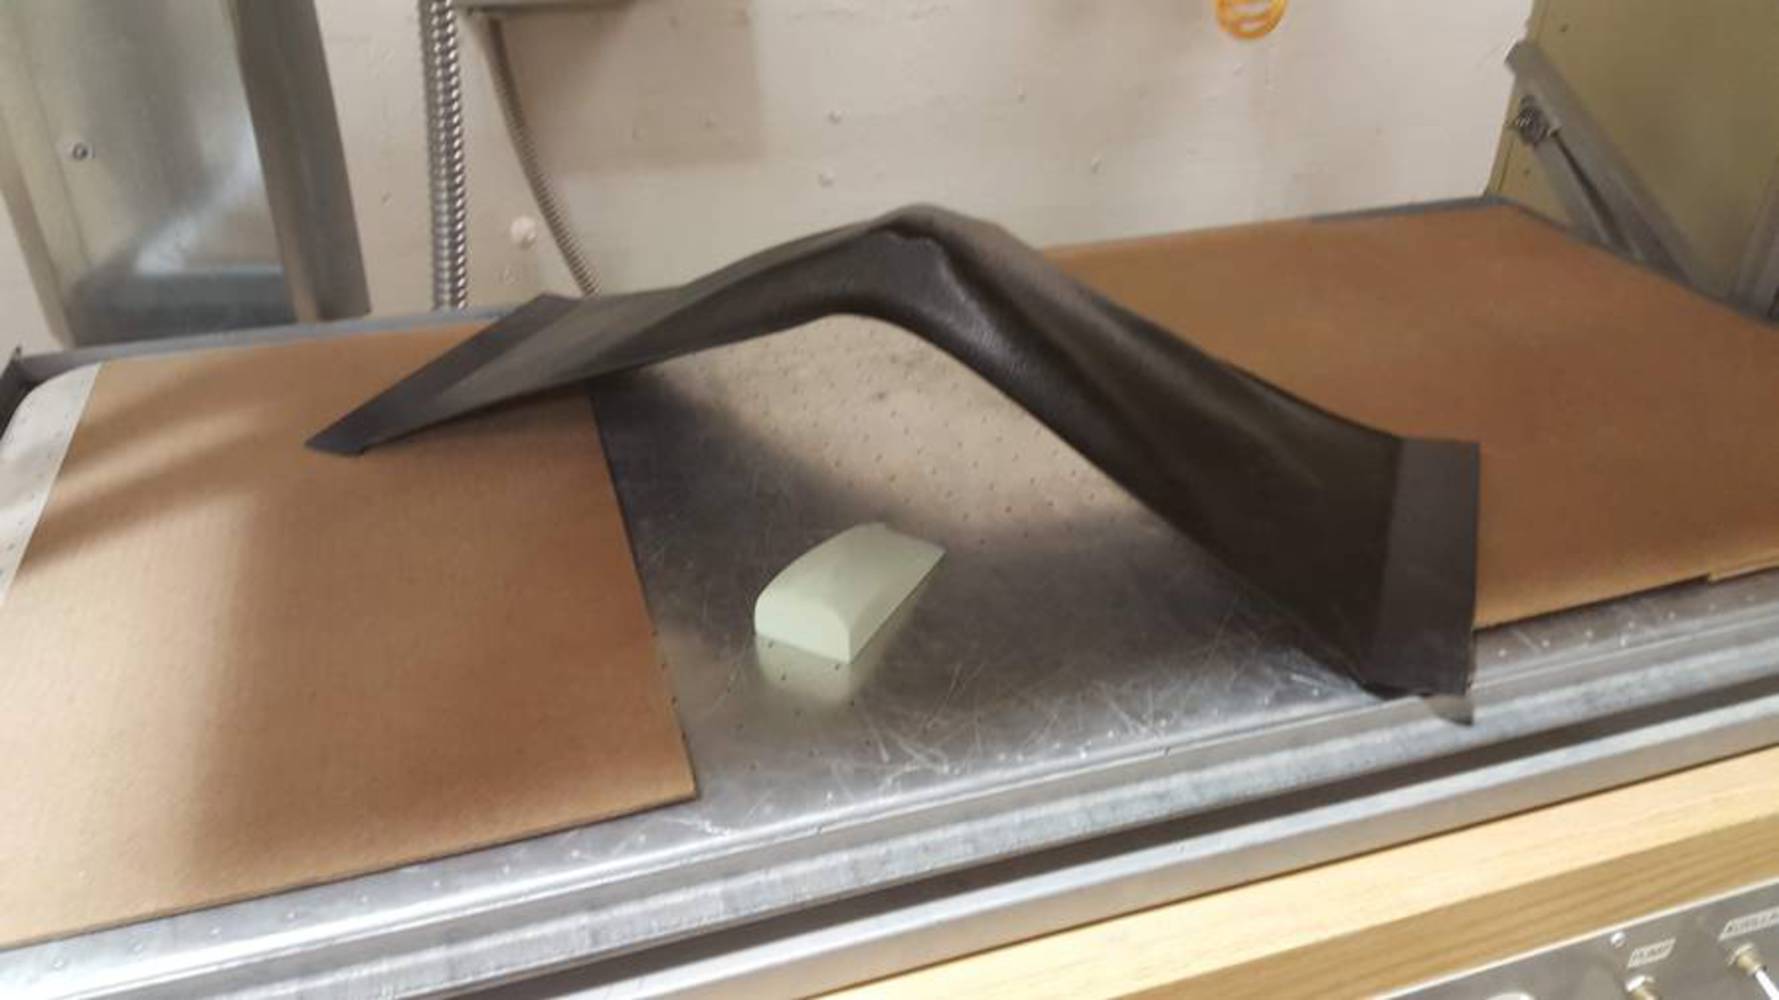
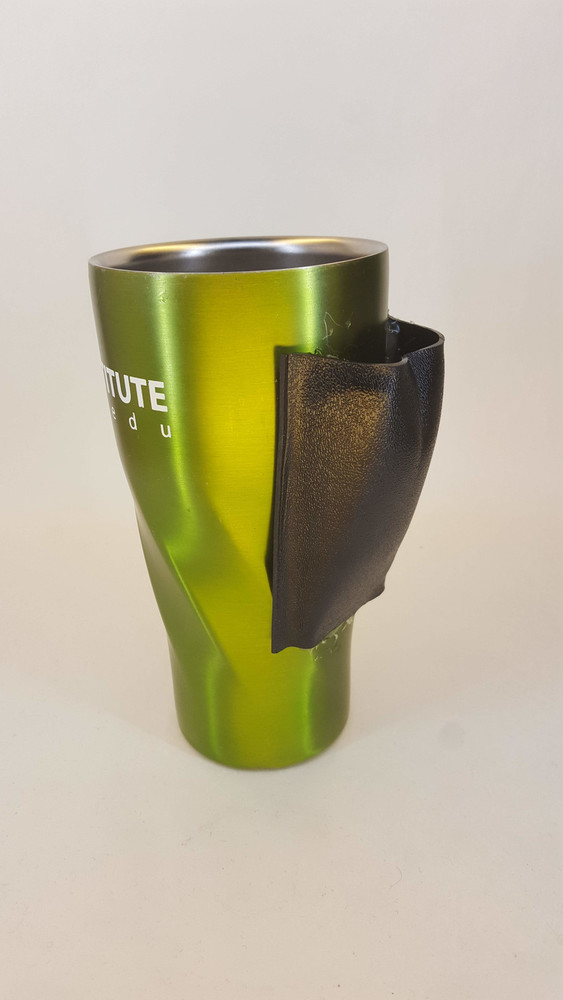
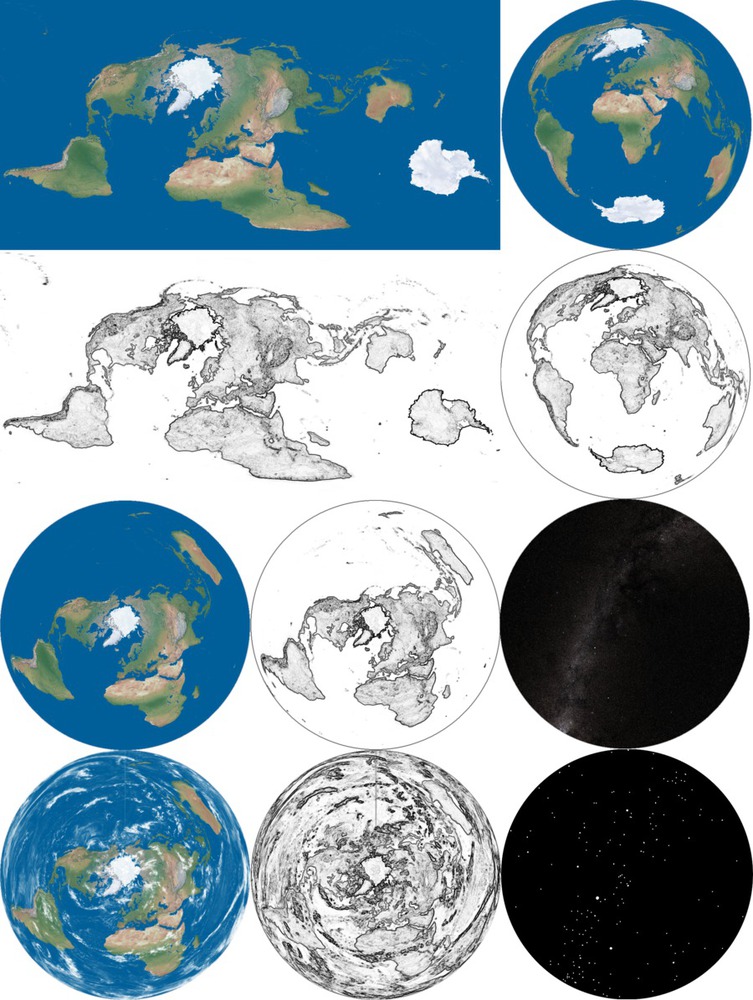
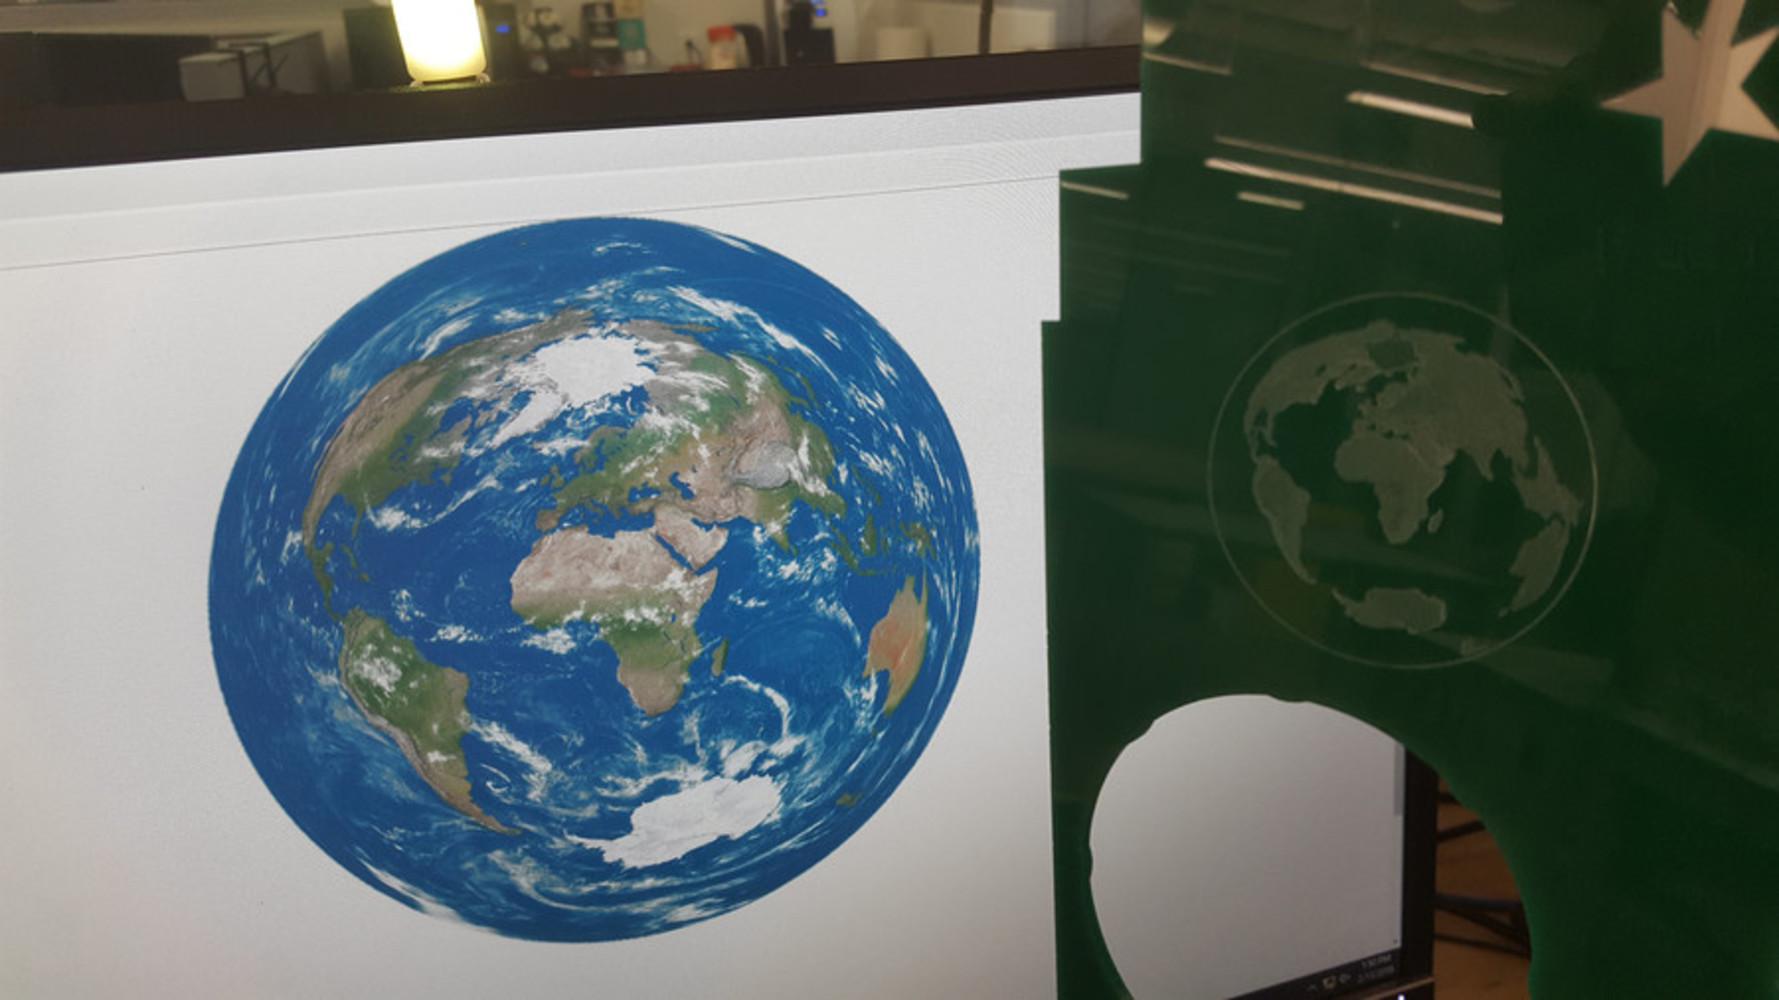
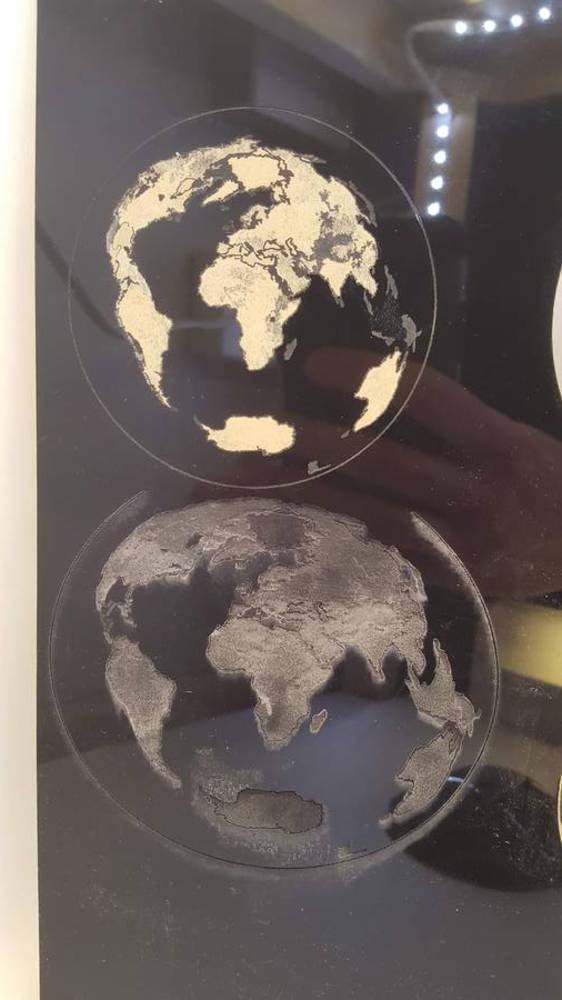
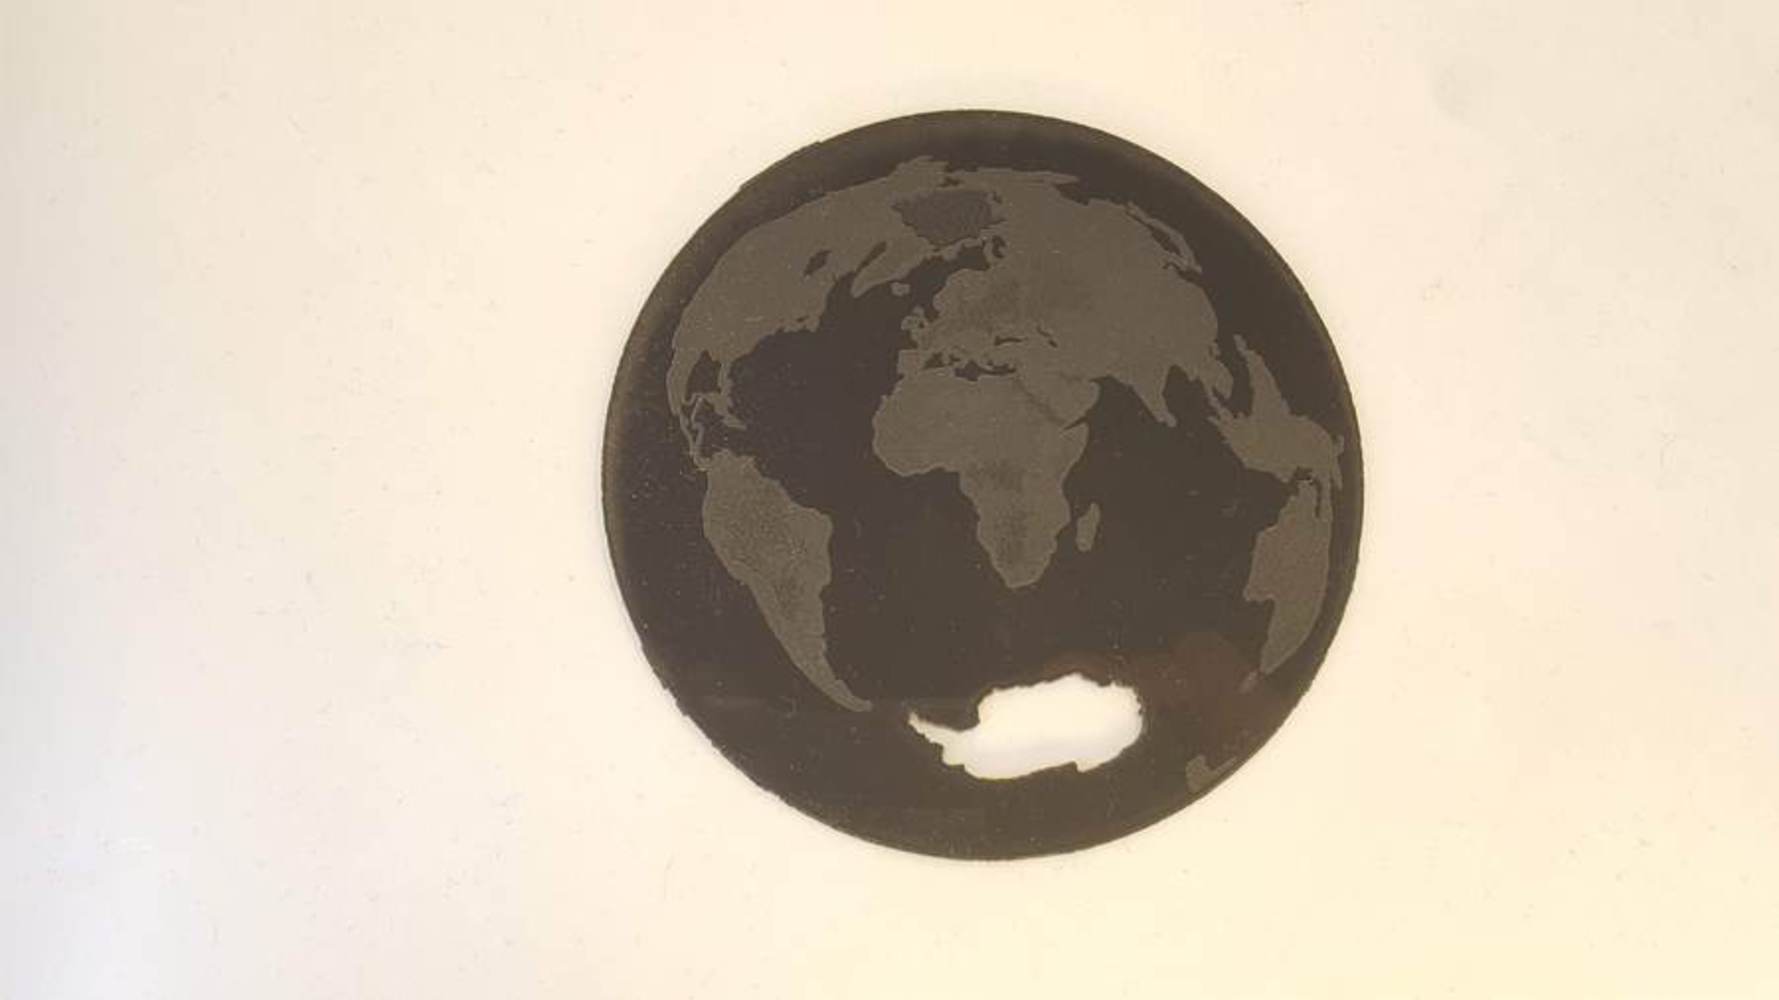
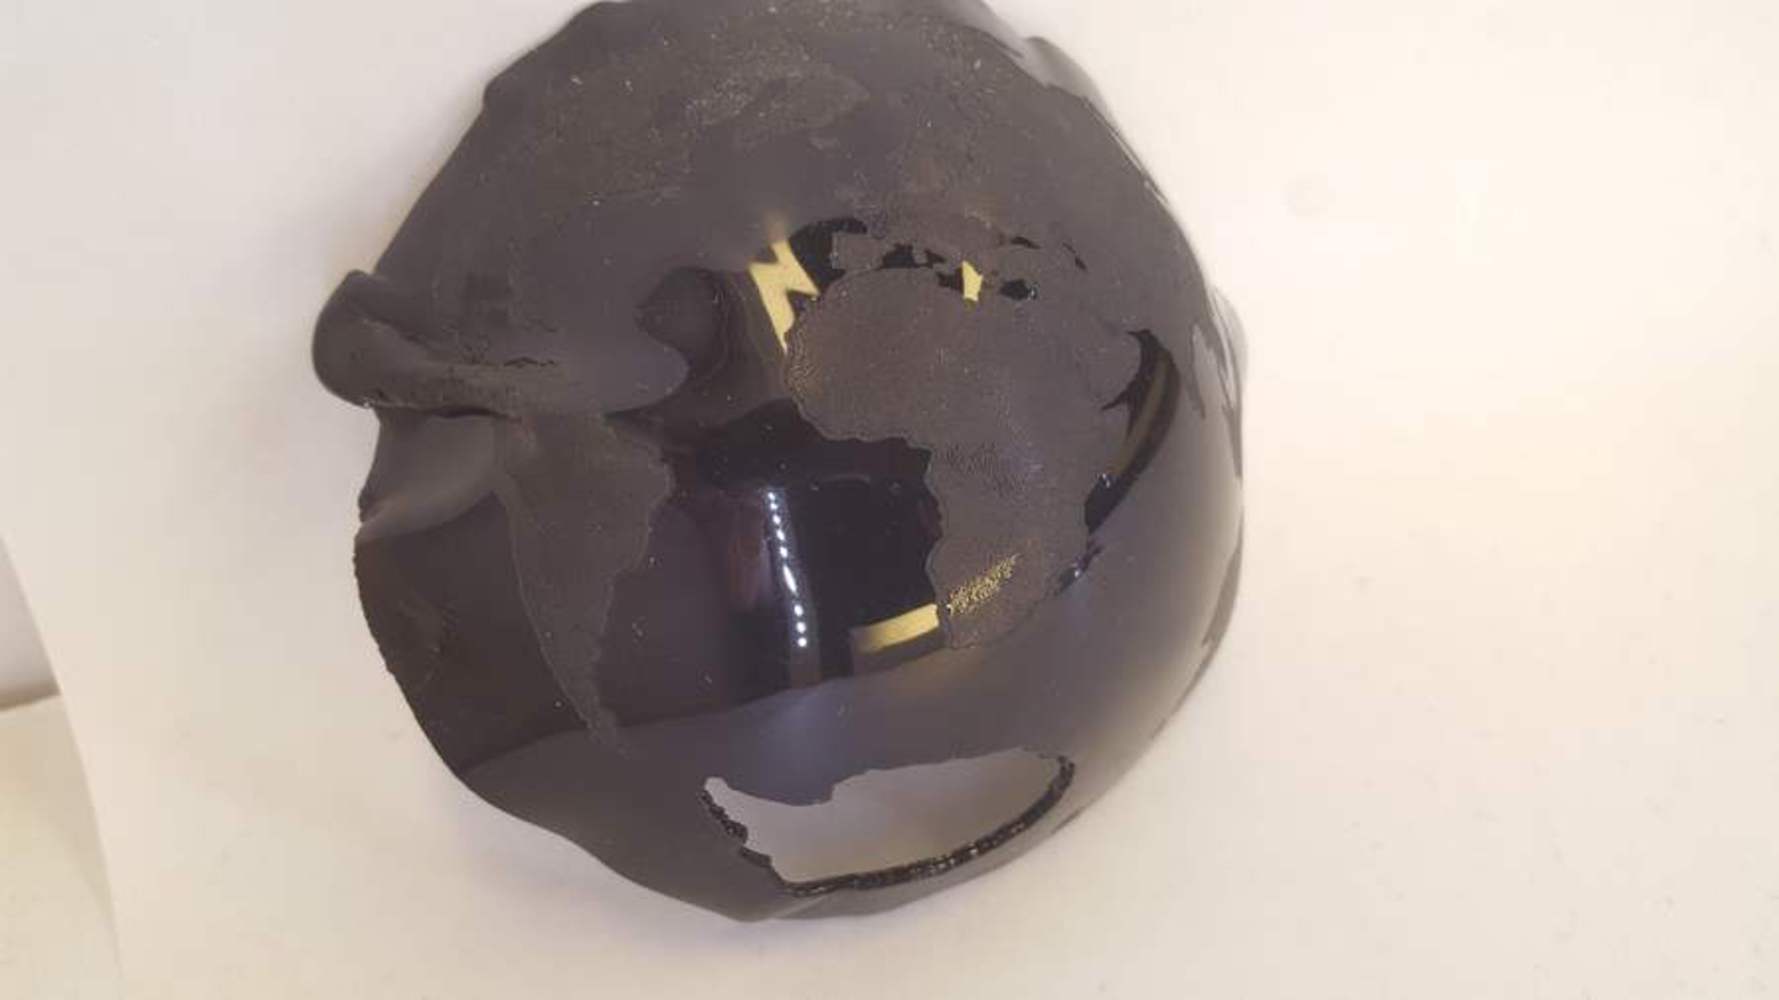
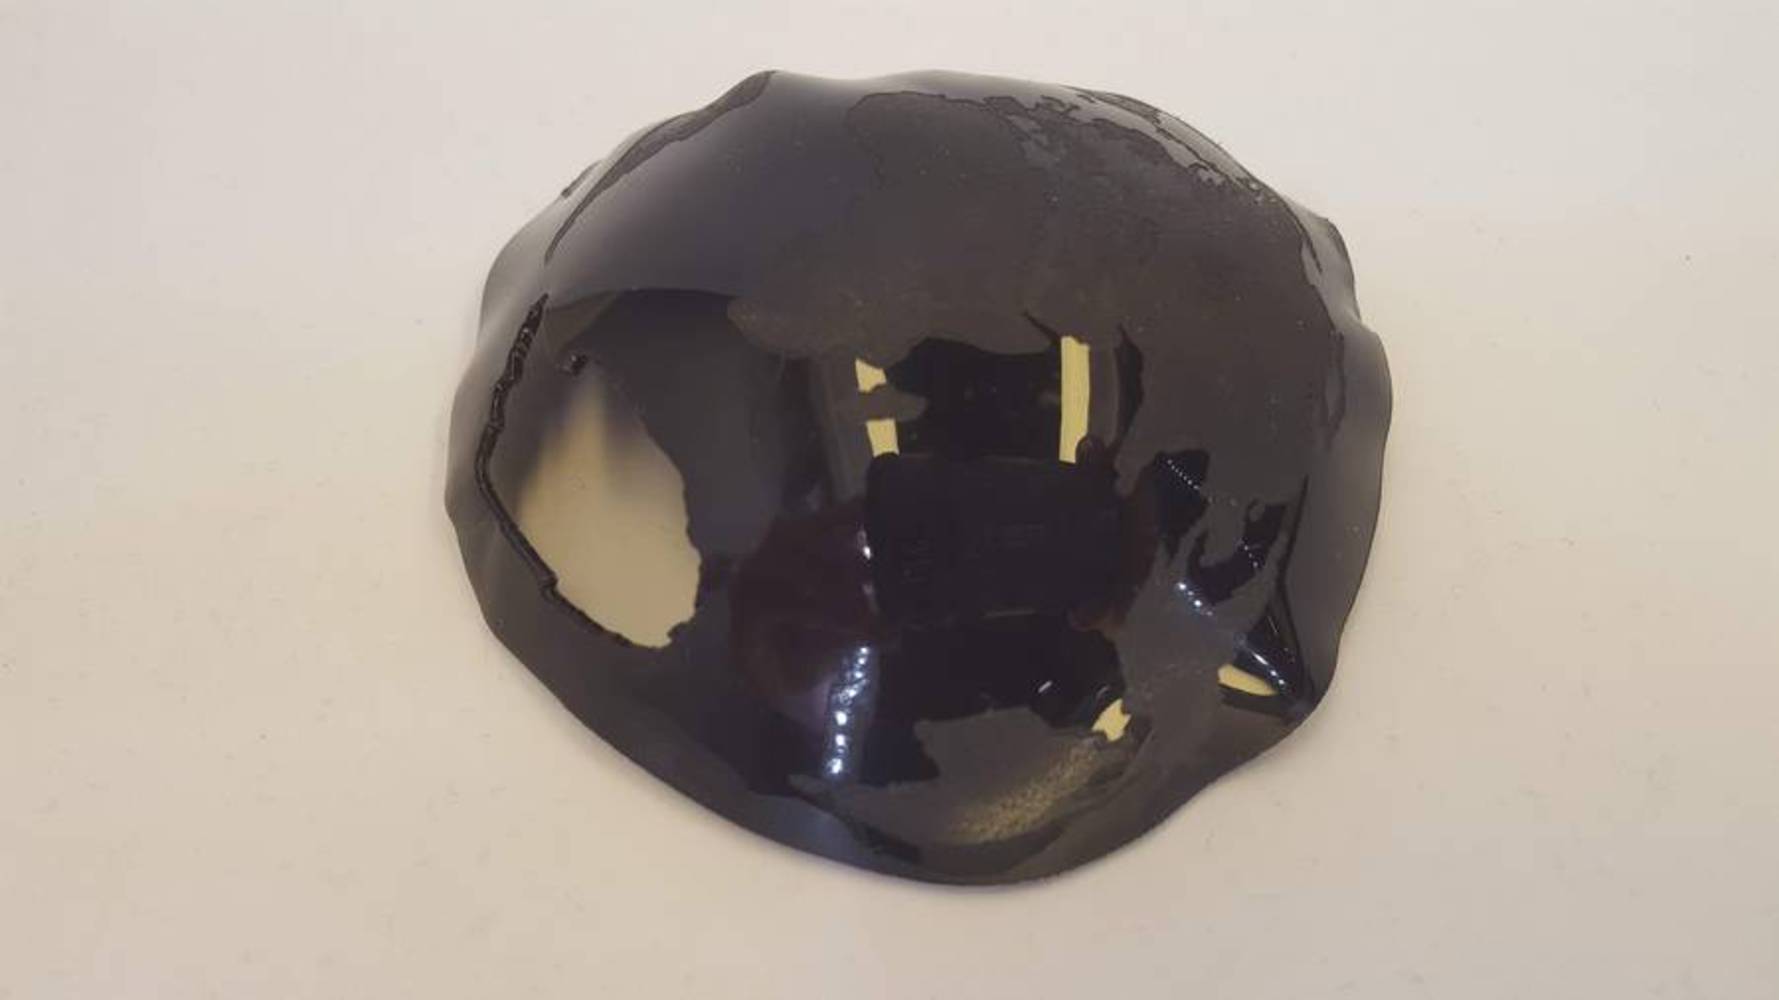
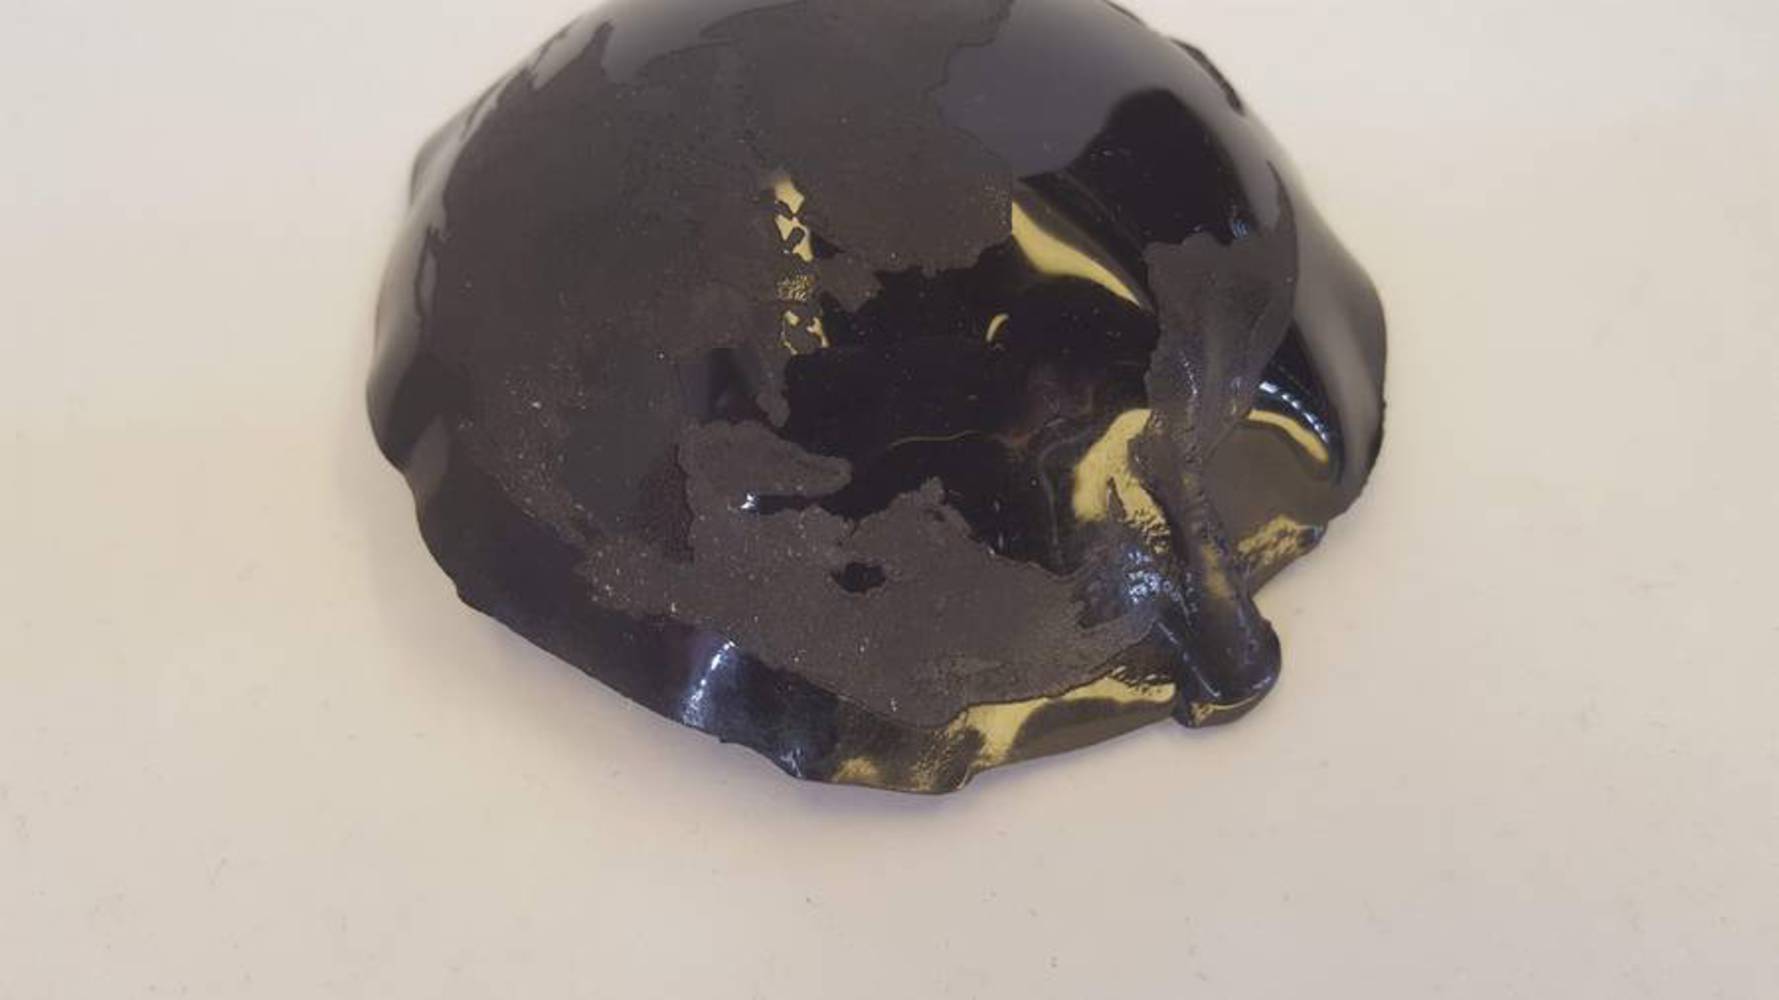
For this project I was prompted to make something to accent my tea drinking experience. After thinking about the project for a week and creating some concept images I settled on making two things, a cup sleeve with the form of a parachute, and a domed lid to showcase some of my open source, 360 image reprojection software. To get a better idea of how I created some of the imagery for the domed lid I encourage you to visit my site, and set the output projection to "fisheye" and create some images for yourself: https://danielarnett.github.io/360GL/ 


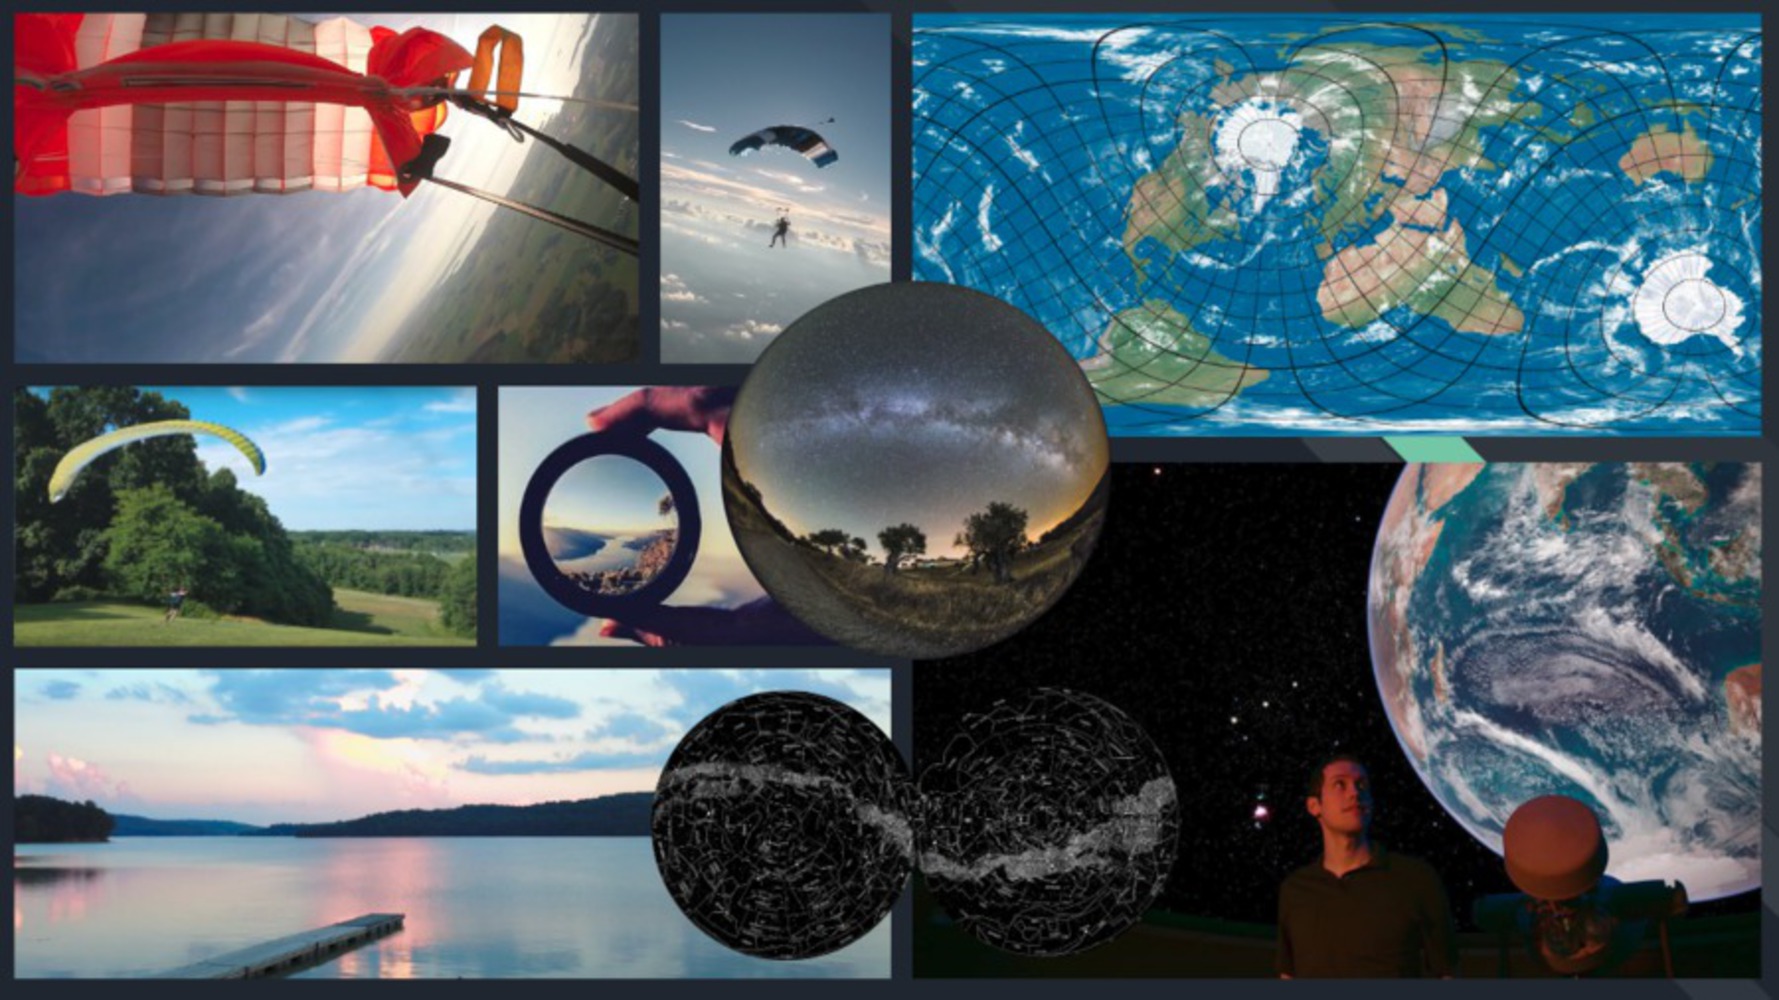
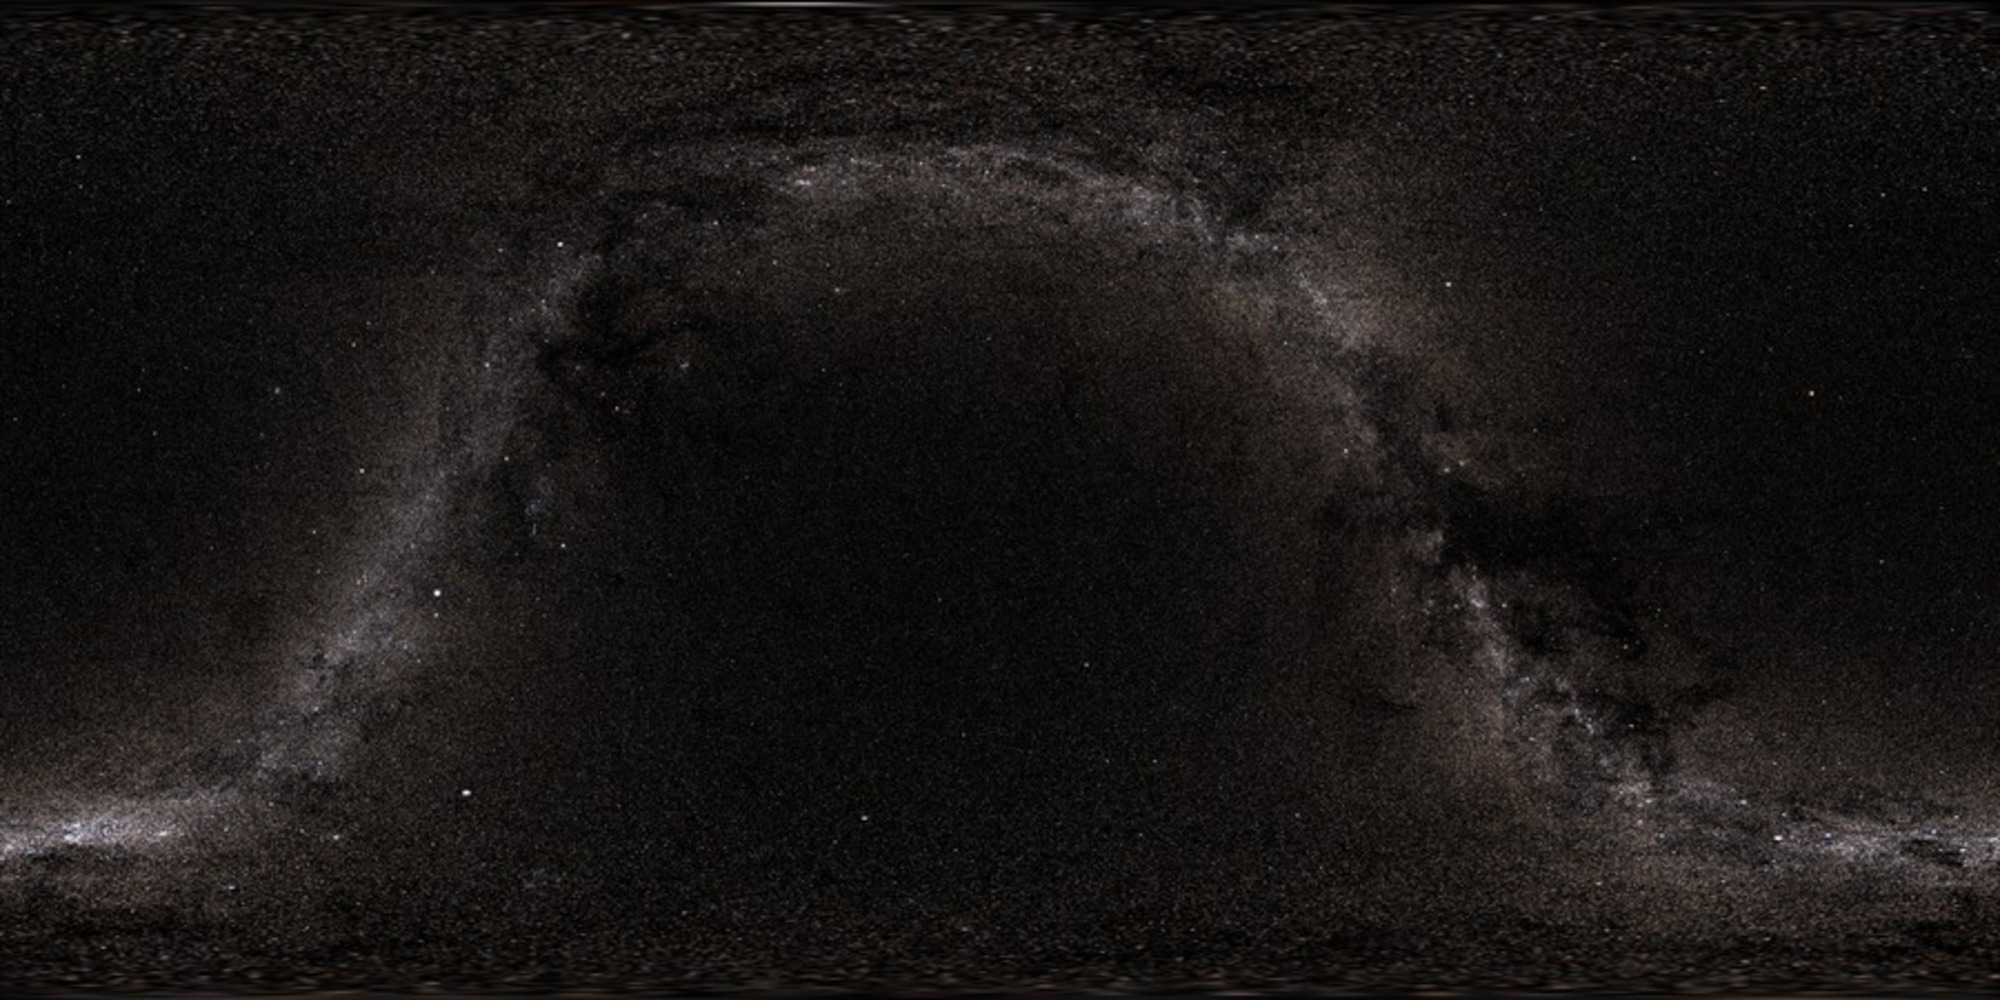
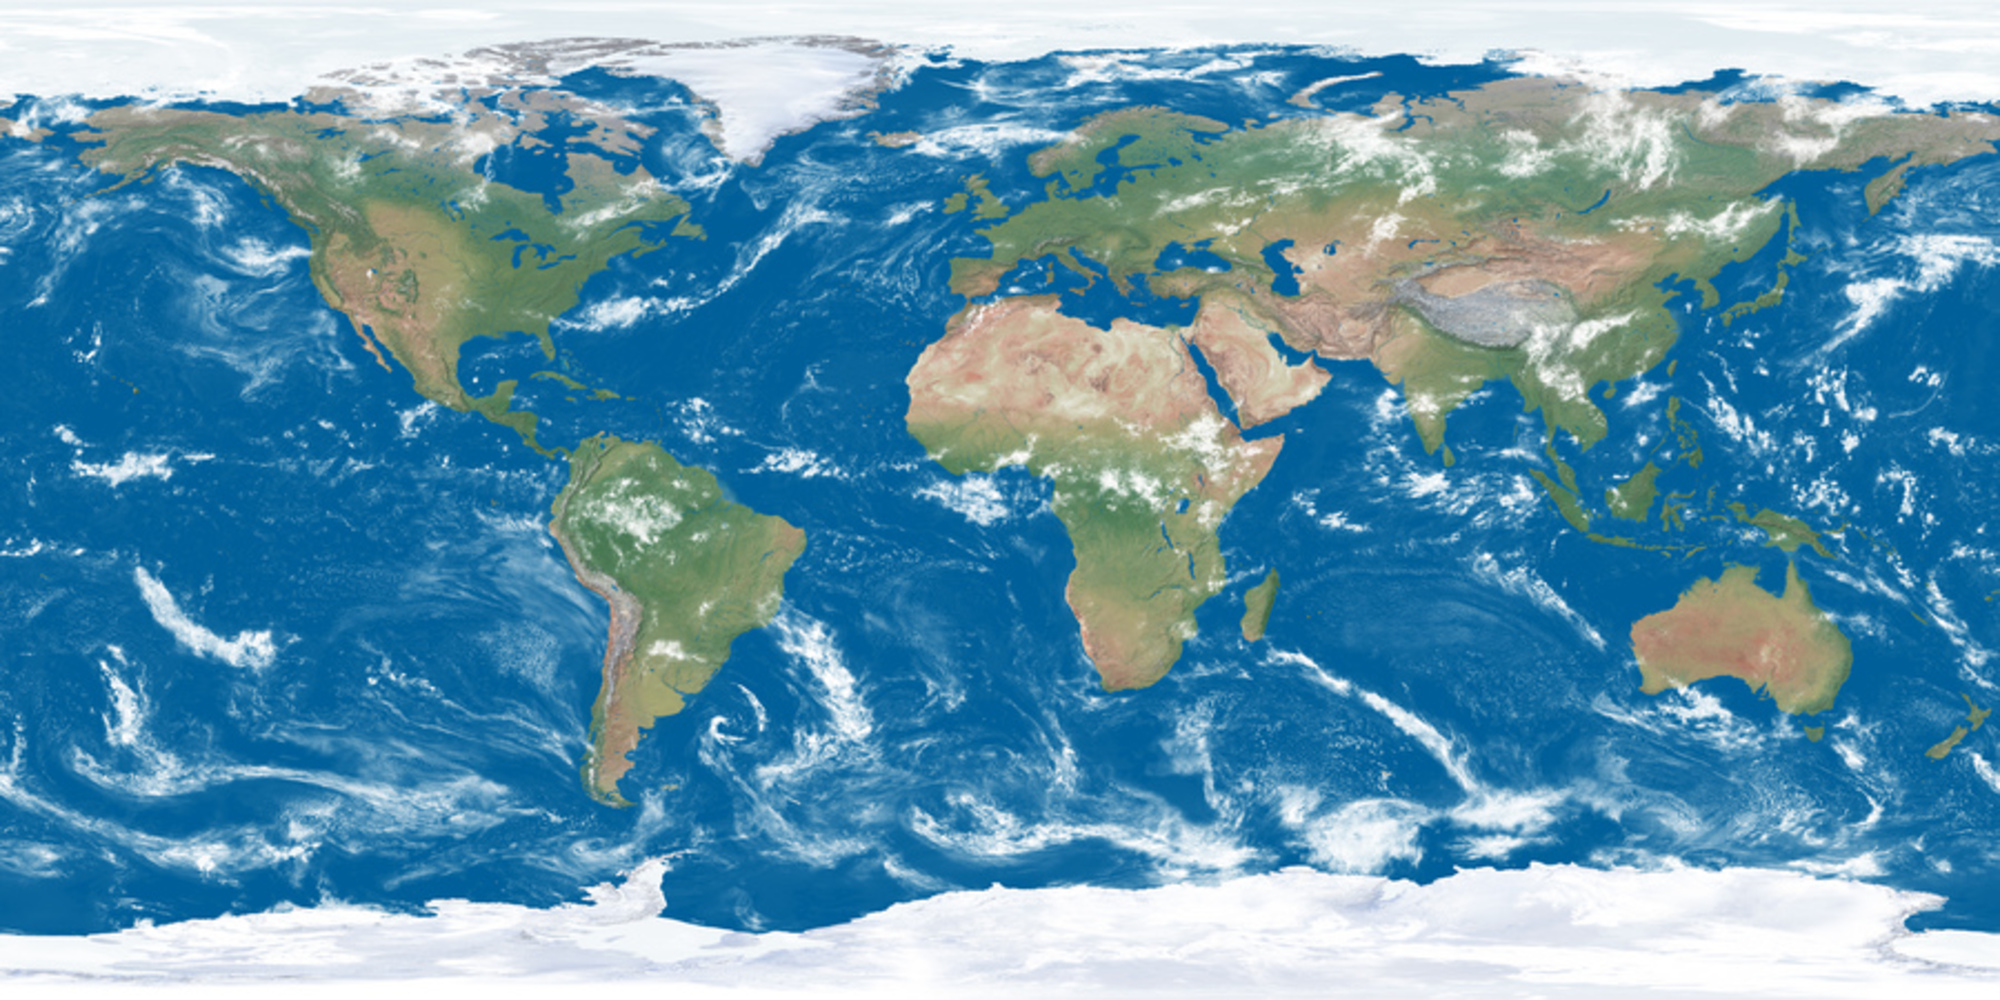
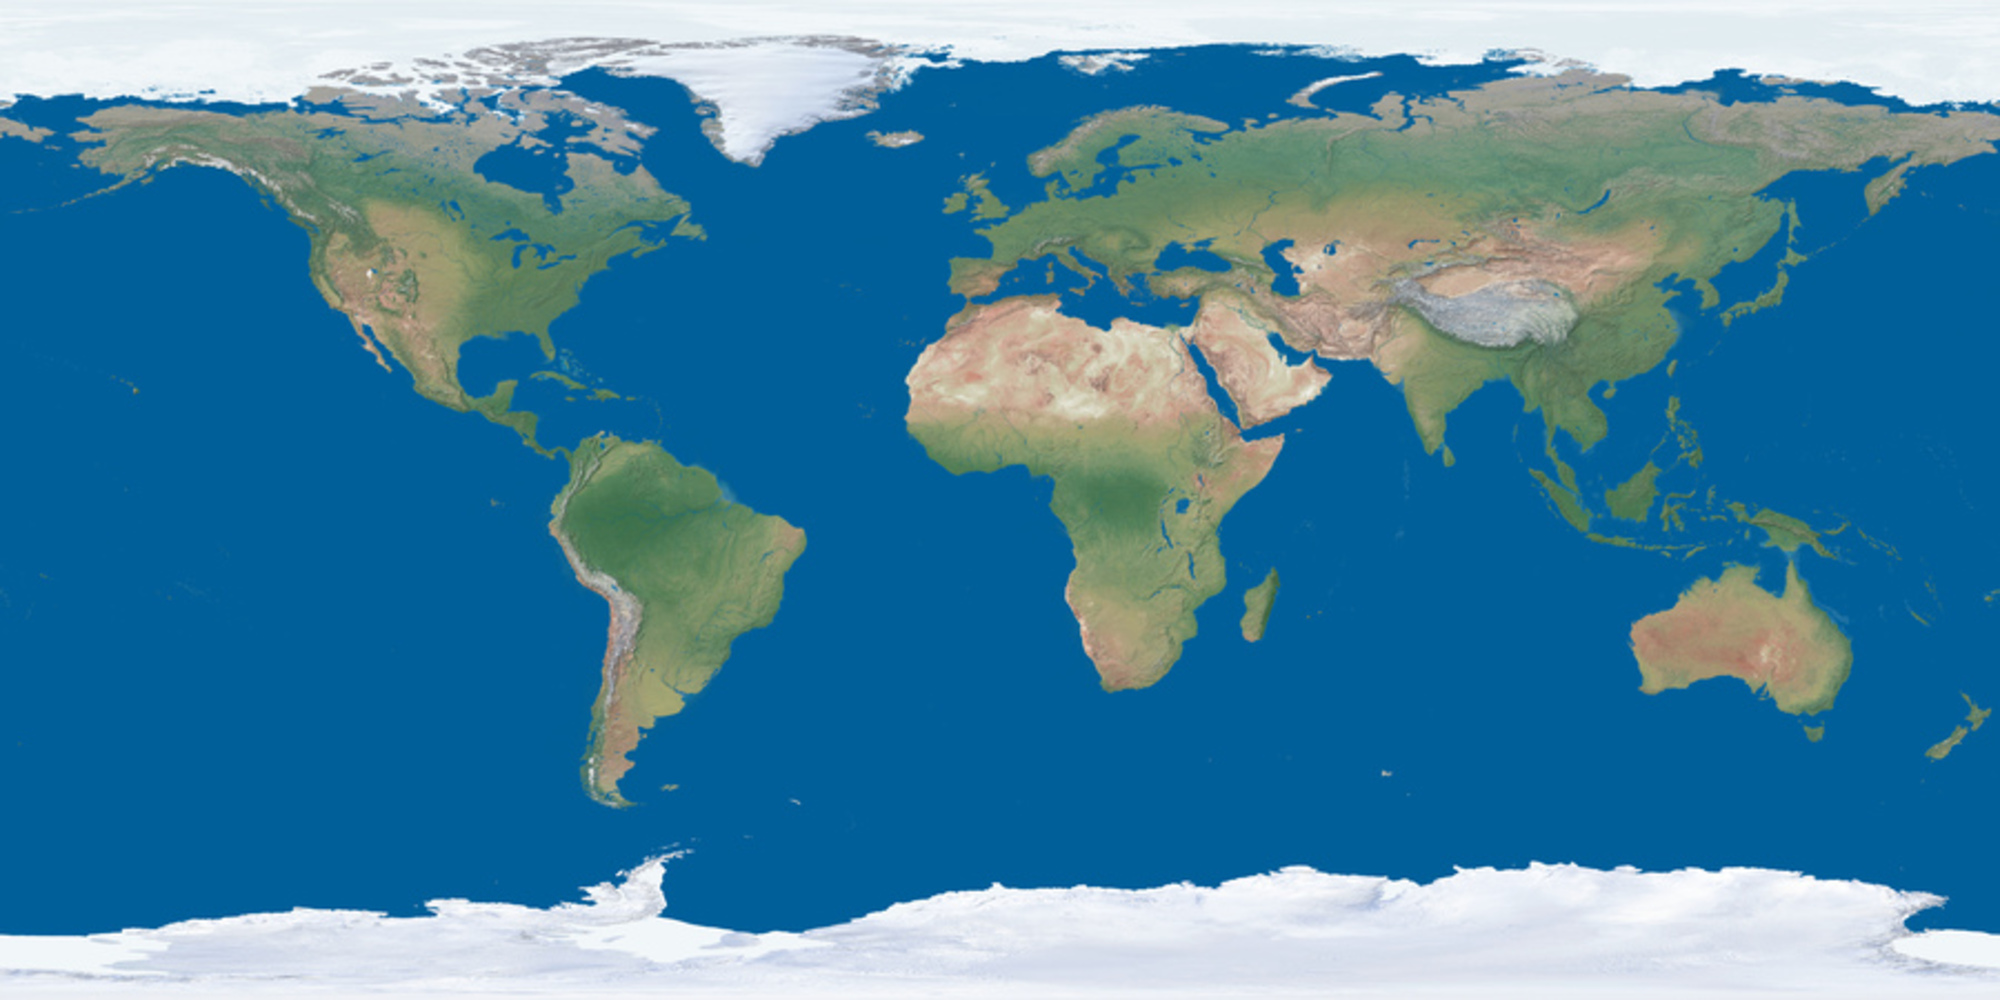
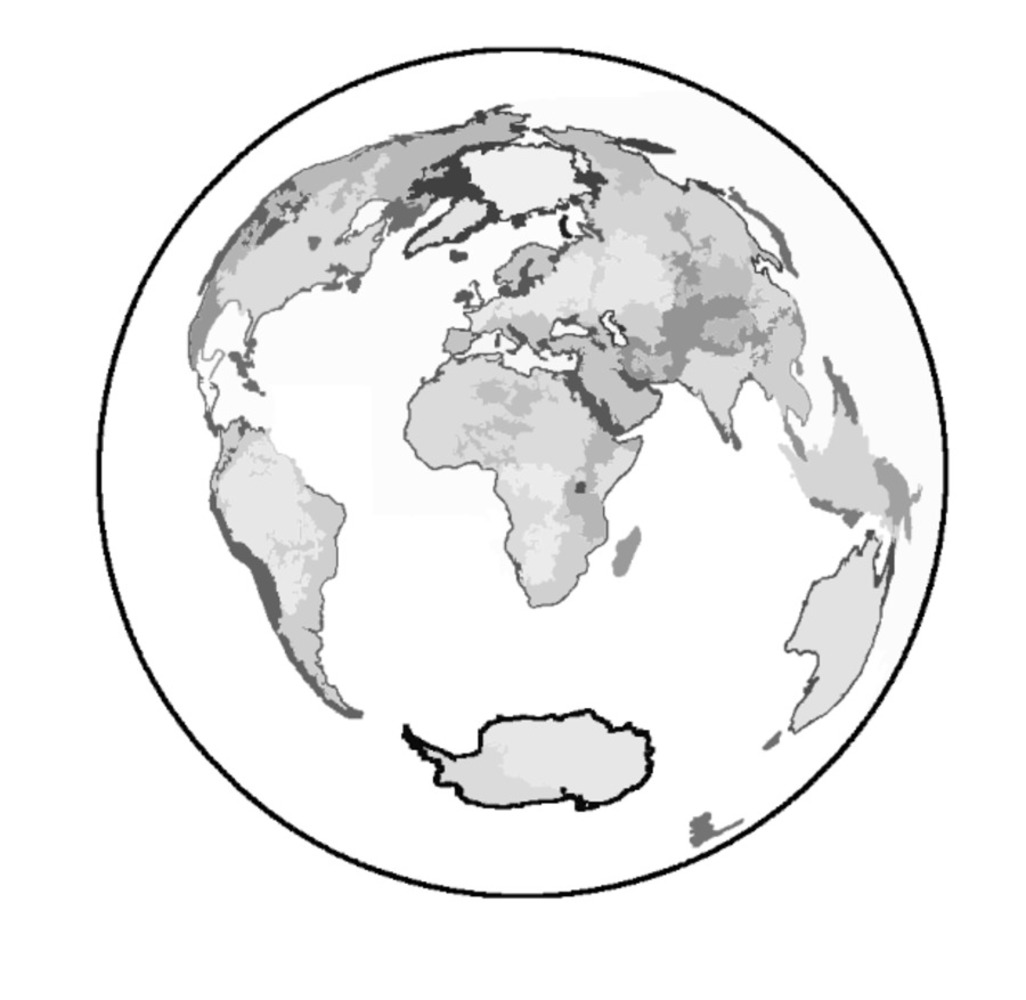
Before settling on an idea I created a moodboard. I asked what does drinking tea mean to me? I drink it every day, not that I enjoy tea necessarily, but because I enjoy taking a moment to disconnect and think about the things that get me excited. Below is the moodboard displaying some of my parachuting and paragliding photos, my drone photography, a map I've modified with the above software, a fisheye image which I write software to modify, a starmap using the dual-fisheye projection, and a photo myself in the planetarium I ran during undergrad.  Drinking tea is for me an escape to these ideas.

Moodboard.thumb
Show Advanced Options

After spending time looking at these images I decided to start with the shape of the parafoil. Modern parachutes and paragliders work because air is rammed into the nose of the canopy which inflates and pressurizes it into a wing shape. It's amazing how well it works, and because of this simple shape I've logged a few hours now of piloting my own little aircrafts. I asked what I could do with the parafoil shape and drew the below designs.


Top Drawing: the normal shape of a 7 celled skydiving canopy. The black areas on the bottom represent the opening of the cells where air is pushed in to inflate the wing. 

Bottom Drawing: the 7 celled canopy design arranged around a cup. This could be used as a sleeve like those used for coffee cups. Eventually I settled on only using one cell of the canopy due to limited time. 

Cropped canopy cup.thumb
Show Advanced Options

Knowing that such a shape would not be easy to manufacture in acrylic I decided to make a mold. Fortunately I made a connection with someone who had a CNC and could help me manufacture my CAD design out of medium density sculpting foam. 

20190207 124021.thumb
Show Advanced Options
20190207 135515.thumb
Show Advanced Options
20190207 140342.thumb
Show Advanced Options
20190207 140319.thumb
Show Advanced Options
20190207 143214.thumb
Show Advanced Options

Once I had the mold ready I attempted using the vacuum form to make it. Since I did not have a full-sized piece of material to work with I tried to make due with a smaller sheet, but in the end I didn't get nearly enough suction for the vacuum to actually make a difference. It wasn't critical to the project, I just wanted to try it out. After the video, since the material was still hot I just pushed the mold up into the warm acrylic and it created the shape I needed.

Show Advanced Options
20190212 200002.thumb
Show Advanced Options
Cup rotated.thumb
Show Advanced Options

Even though it didn't turn out to be what I had in mind I'm excited to see how the idea turned out. Also as an unexpected function I've started storing extra tea bags in it.

For the second part to this project I wanted to incorporate my interest in making maps and reprojecting 360 degree imagery (like a starmap). I started with three images, a uv map of the night sky, a uv map of the Earth with clouds, and a uv map of the Earth without clouds. I then manipulated these images using my open source image reprojection tool that I built from scratch. I wanted to incorporate this because it's something I'm proud of and I've developed in my free time. I did the math to move every pixel in the following images, and accelerated the code on the graphics processor using OpenGL. I encourage you to visit my website https://danielarnett.github.io/360GL/ and play with the rotation sliders to make your own custom maps!

Tycho.thumb
Show Advanced Options
1 earth 8k.thumb
Show Advanced Options
2 no clouds 8k.thumb
Show Advanced Options
Earths.thumb
Show Advanced Options

Above are maps generated for this project. I experimented with different styles and projections. These images were generated with my code and filtered through an edge detection algorithm, so the laser cutter can cut the edges directly rather than cutting by the value of the pixel directly. Each image is paired with the output from the edge detection filter. Top left: a rotated version of the standard equirectangular map projection. This is essentially the same projection we normally see used for maps, just rotated to place the distorted poles of the image in the oceans. Top Right: The fisheye projection at around 360 degrees. This is similar to the projection used in the UN logo. Middle/Bottom Left: The projection used in the UN Logo with and without clouds. The edges from the clouds make the landmasses almost indiscernible. Bottom Right: A starmap centered on the Orion constellation. 

The first design I tried cutting the starmap. 

20190217 155845.thumb
Show Advanced Options
20190217 155901.thumb
Show Advanced Options

See if you can spot the Orion constellation in the above image! The stars did not turn out to be very interesting overall, so I knew I should switch to using the map of the earth. After a few hours of struggling with CorelDraw I eventually worked out how to use its features for vectorizing bitmaps. I took my map images, applied an edge filter, converted them to grayscale, imported them into CorelDraw, and segmented the image. This created many separate layers for different regions and assigned different values. I then uploaded this to the laser printer as a raster image.

Vectorized.thumb
Show Advanced Options
Laser first cut.thumb
Show Advanced Options

The first cut worked, but it did not cut as deeply as I expected. I tried again several times with slower cut settings. You can see how the raster cut works in the video below, notice how it always moves side-to-side like a normal printer. When doing vector cuts it traces the lines out.

Show Advanced Options
20190217 155724.thumb
Show Advanced Options

The top one was an interesting mistake- I forgot to take the paper off of the acrylic. The bottom one I didn't measure the space far enough away and had to stop cutting. At this point I started to look at Antarctica and think that it's in a perfect position to be the "mouth" for the lid. Also in CorelDraw I worked out how to turn some of the lines into vector lines rather than raster areas, so I converted the perimeter of the map and of Antarctica into vector cuts 

20190217 155830.thumb
Show Advanced Options

To give it the dome shape I then heated it up and pressed it down onto a hemisphere of about the correct size. This took about an hour to work the material into the correct shape and even still it turned out lumpy.

20190217 155752.thumb
Show Advanced Options
20190217 155804.thumb
Show Advanced Options
20190217 155758.thumb
Show Advanced Options

Ultimately if I had to do it again I would cut it out with extra material, build molds for both sides of the shape, and make fixturing that could hold the material from all sides, heat up the acrylic until it sags, and sandwich it between the two molds. Either that or just use the flat map as a coaster.

Drop files here or click to select

You can upload files of up to 20MB using this form.