Back to Parent

Outcome


Ideation

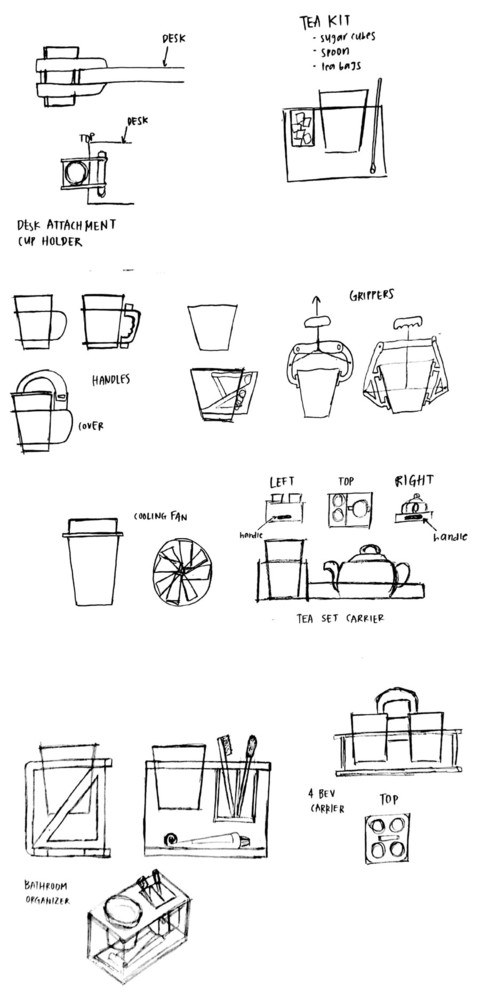
At the start of the design process, I tried to think of things that I would want for a cup. Sketching them out onto paper helped me flesh out both their functionality and feasibility. I love drinking tea, so a lot of my initial ideas revolved around tea sets and beverage holders. 

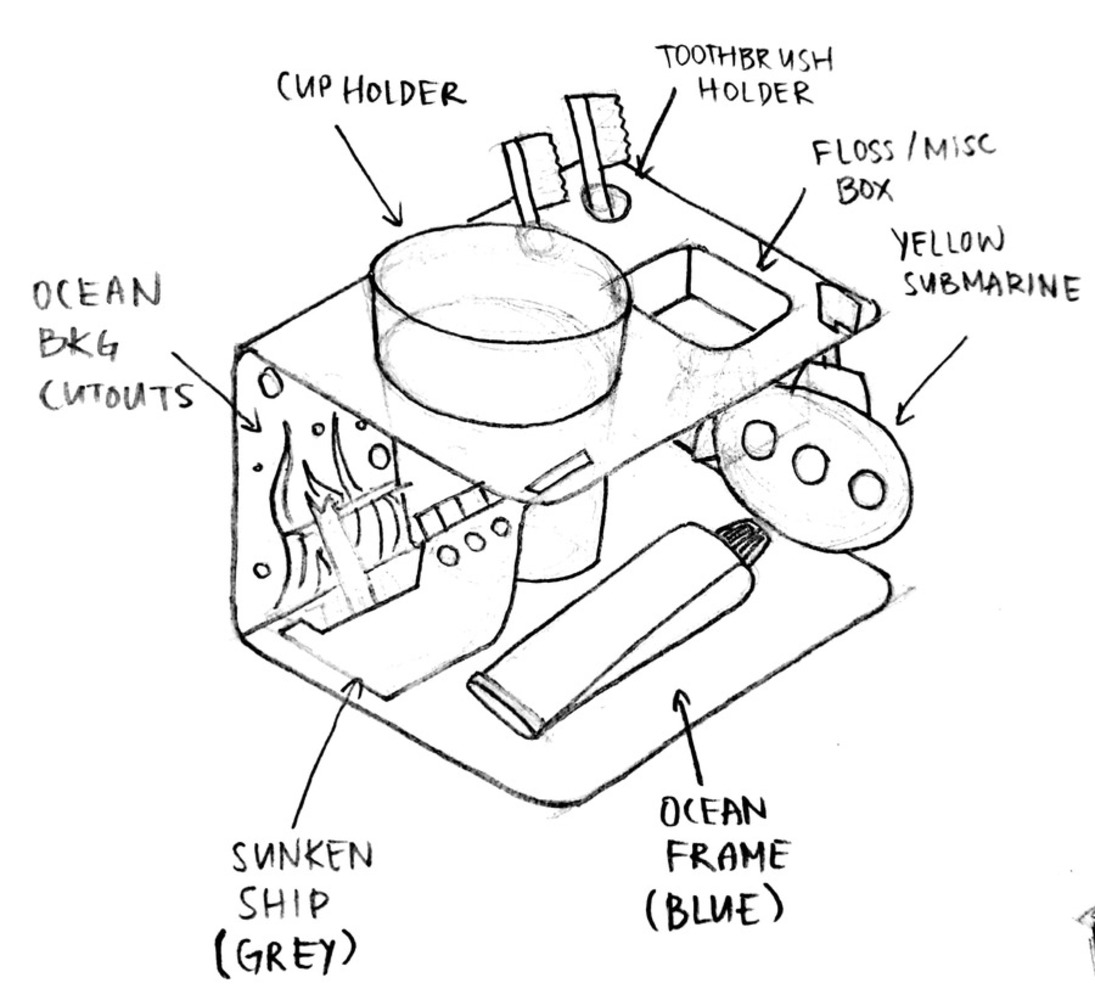
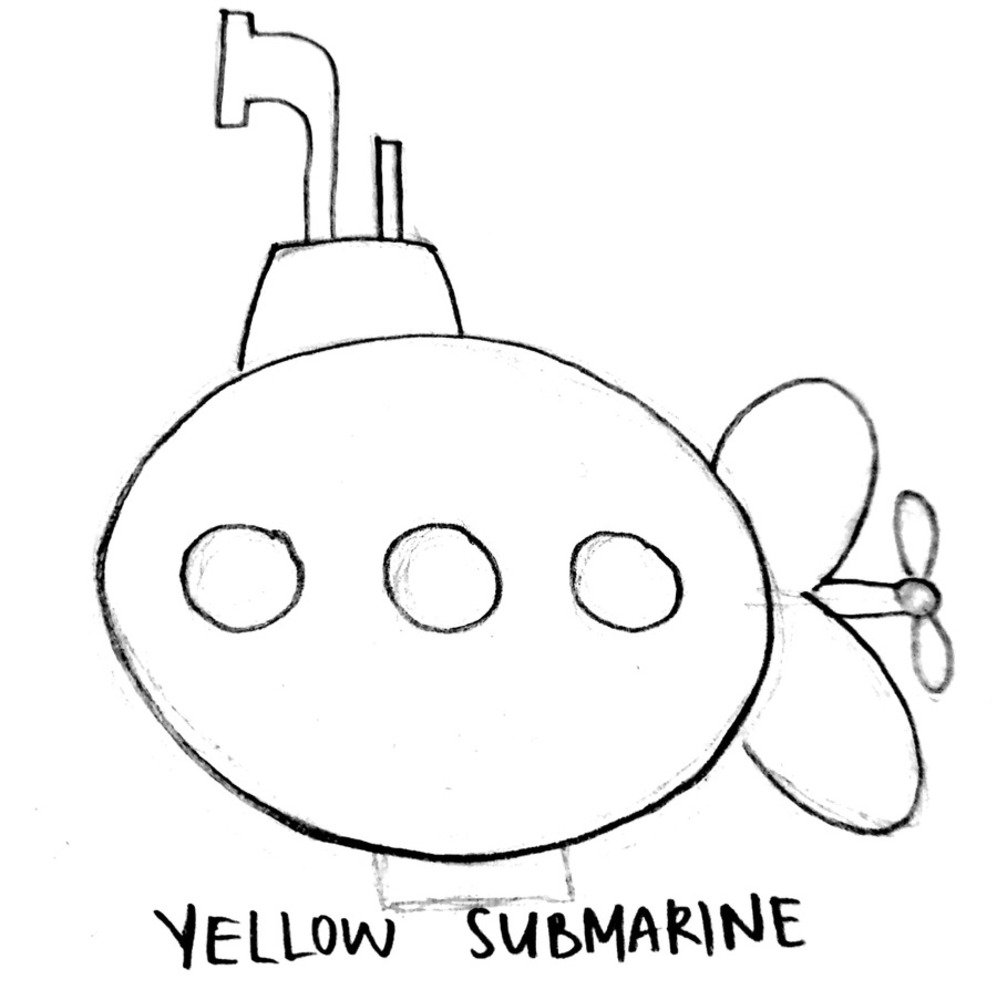
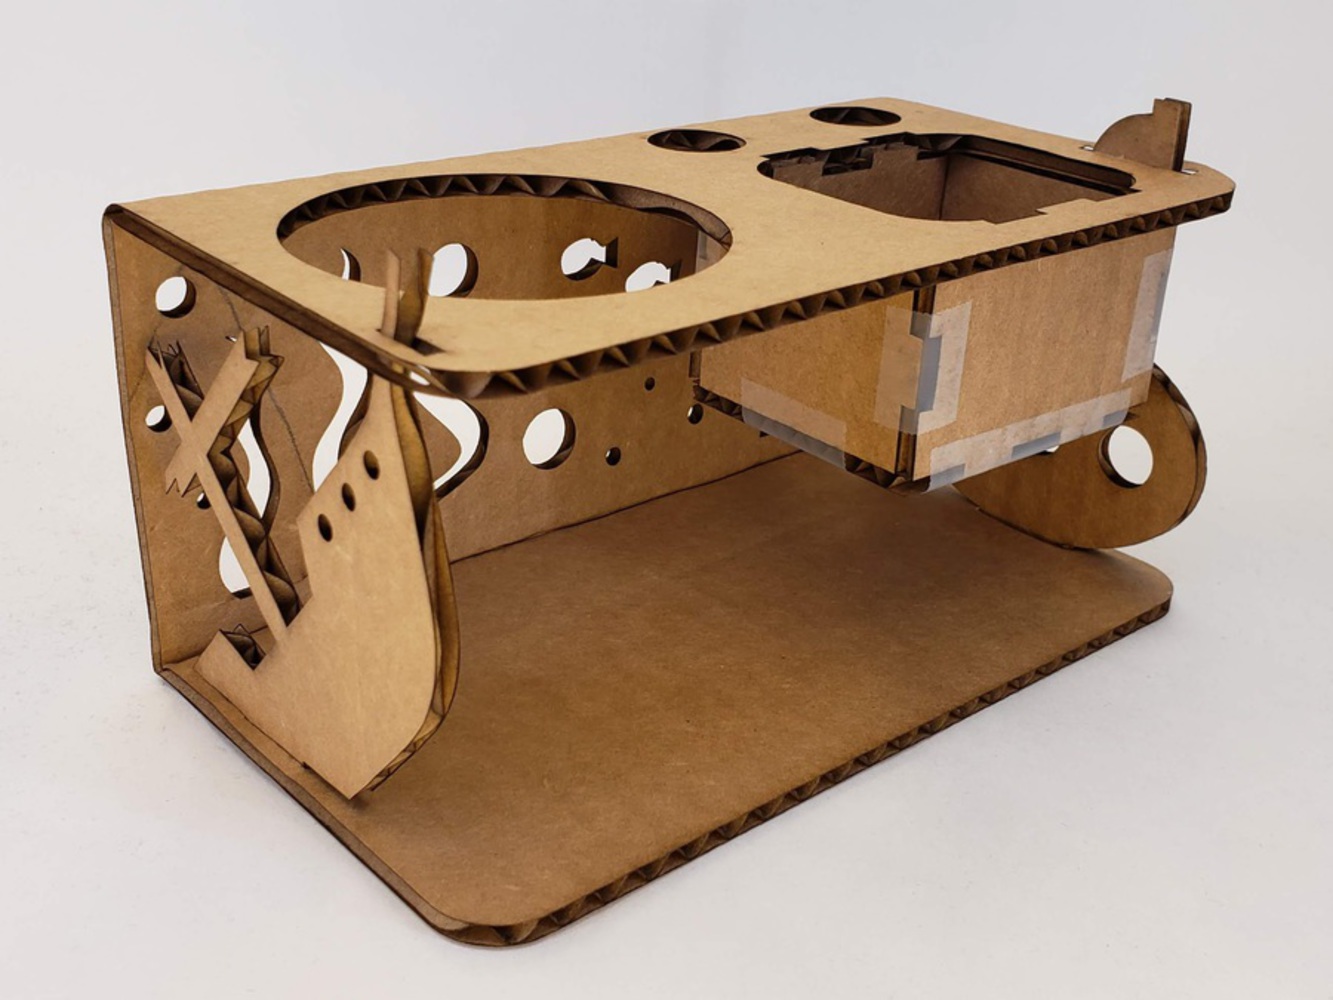
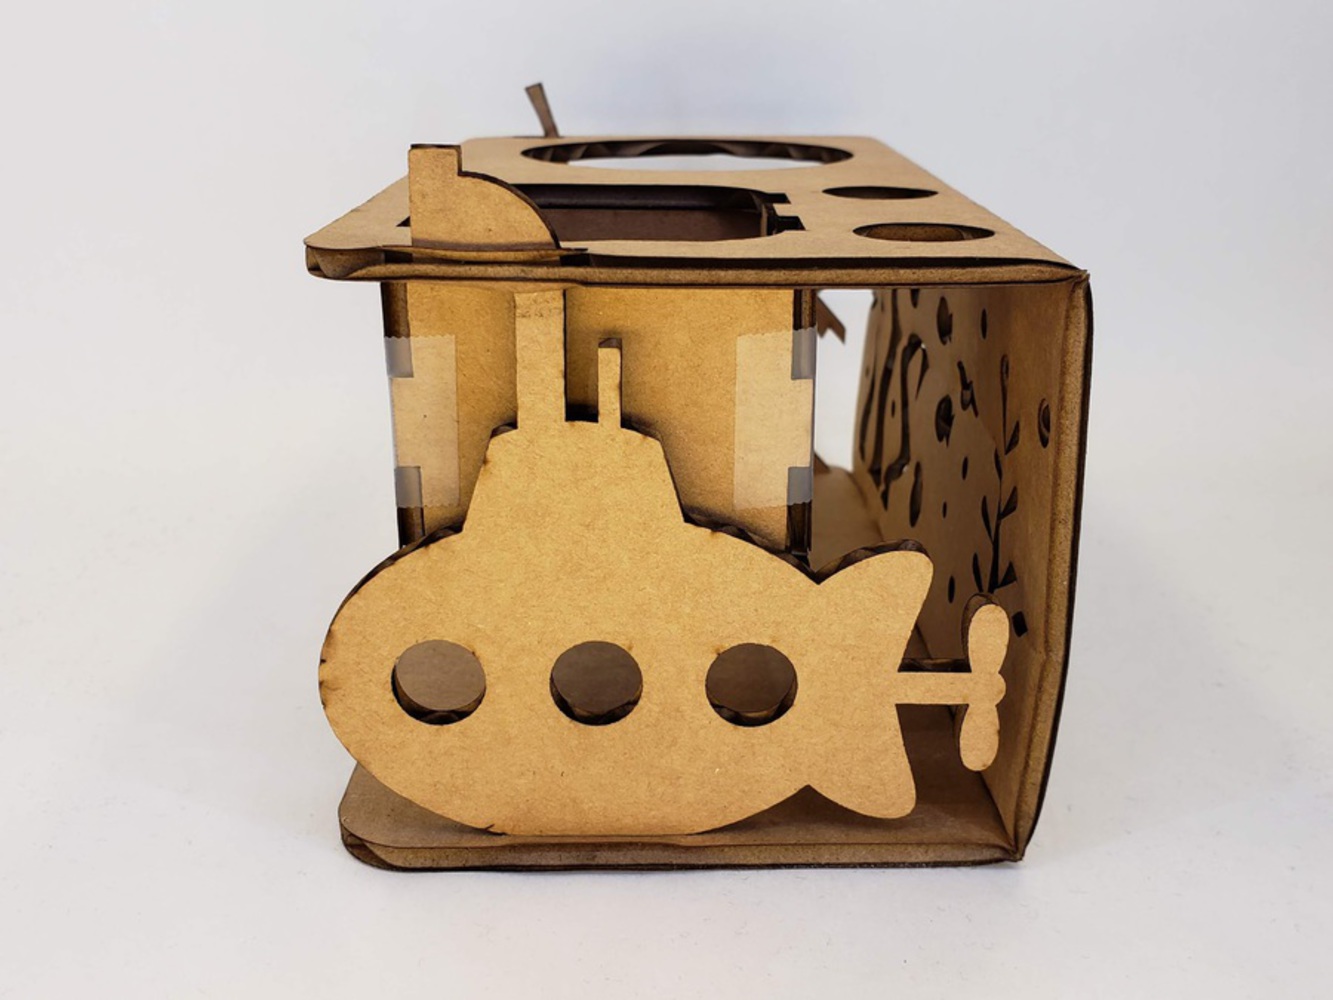
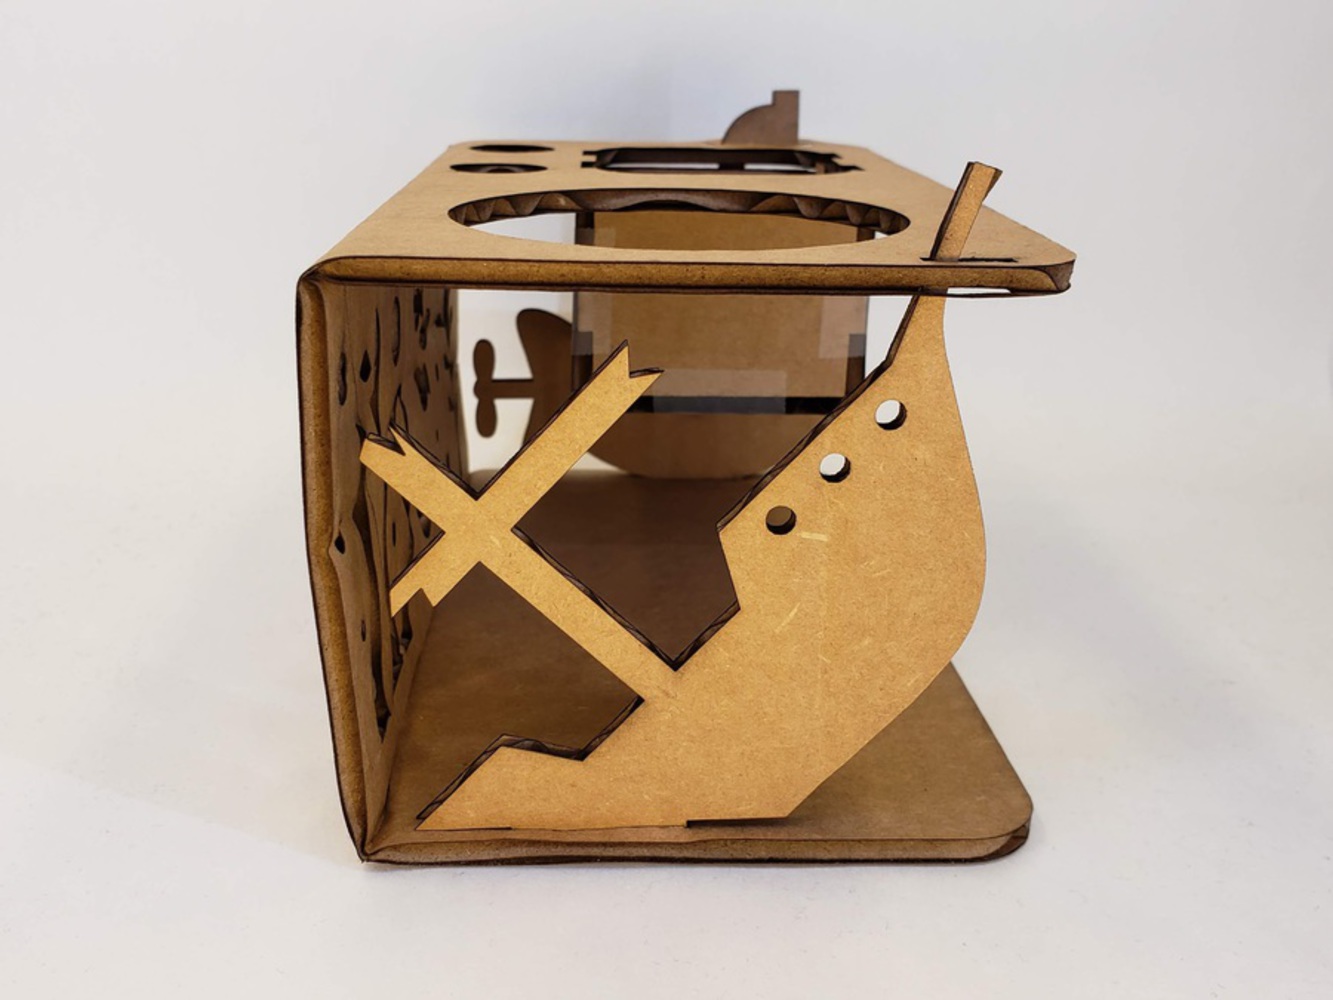
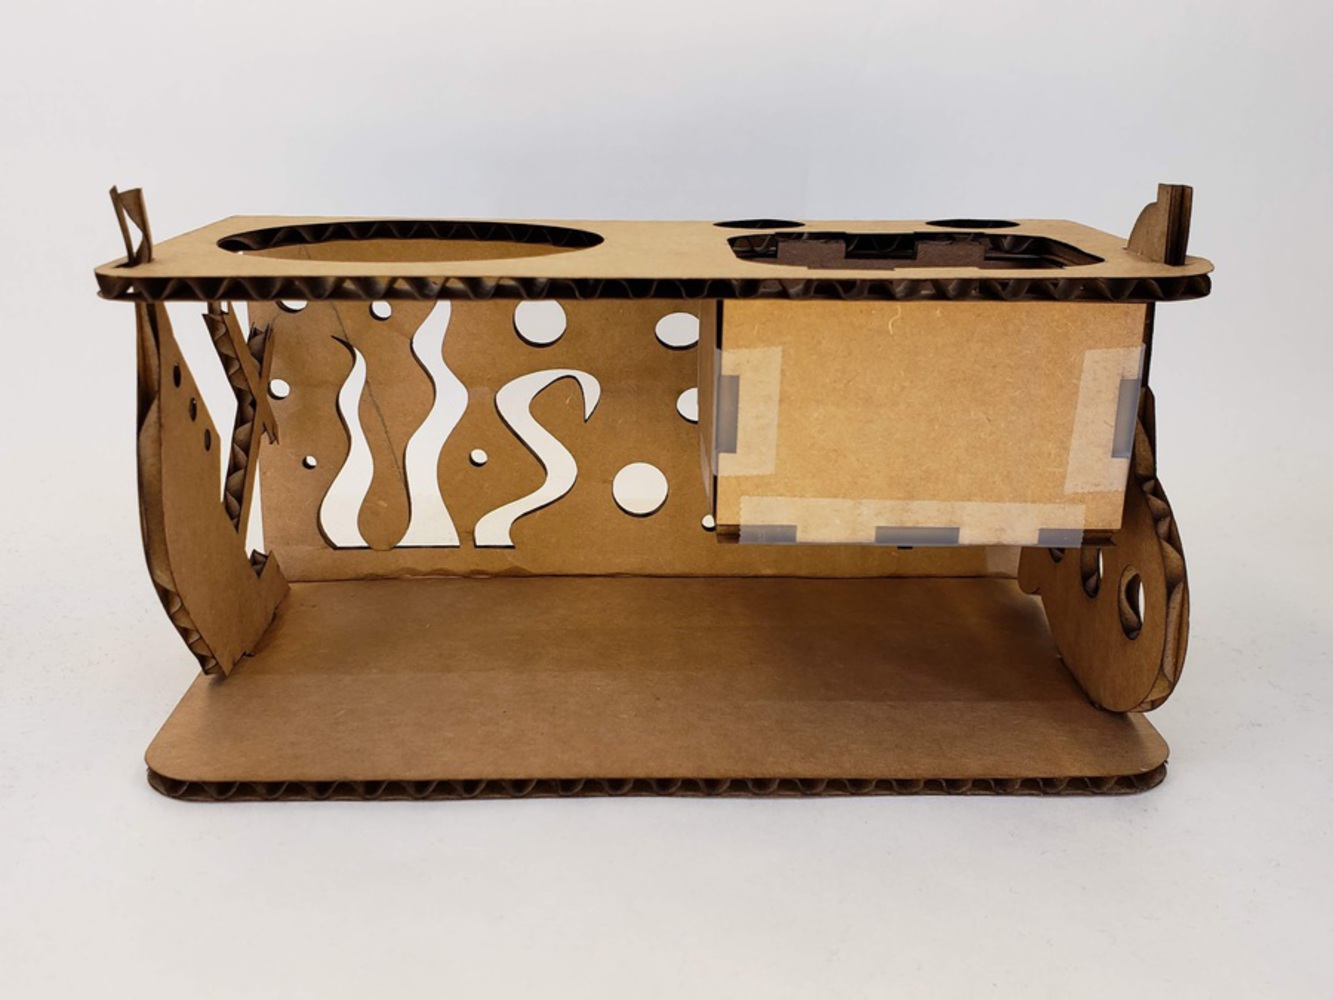
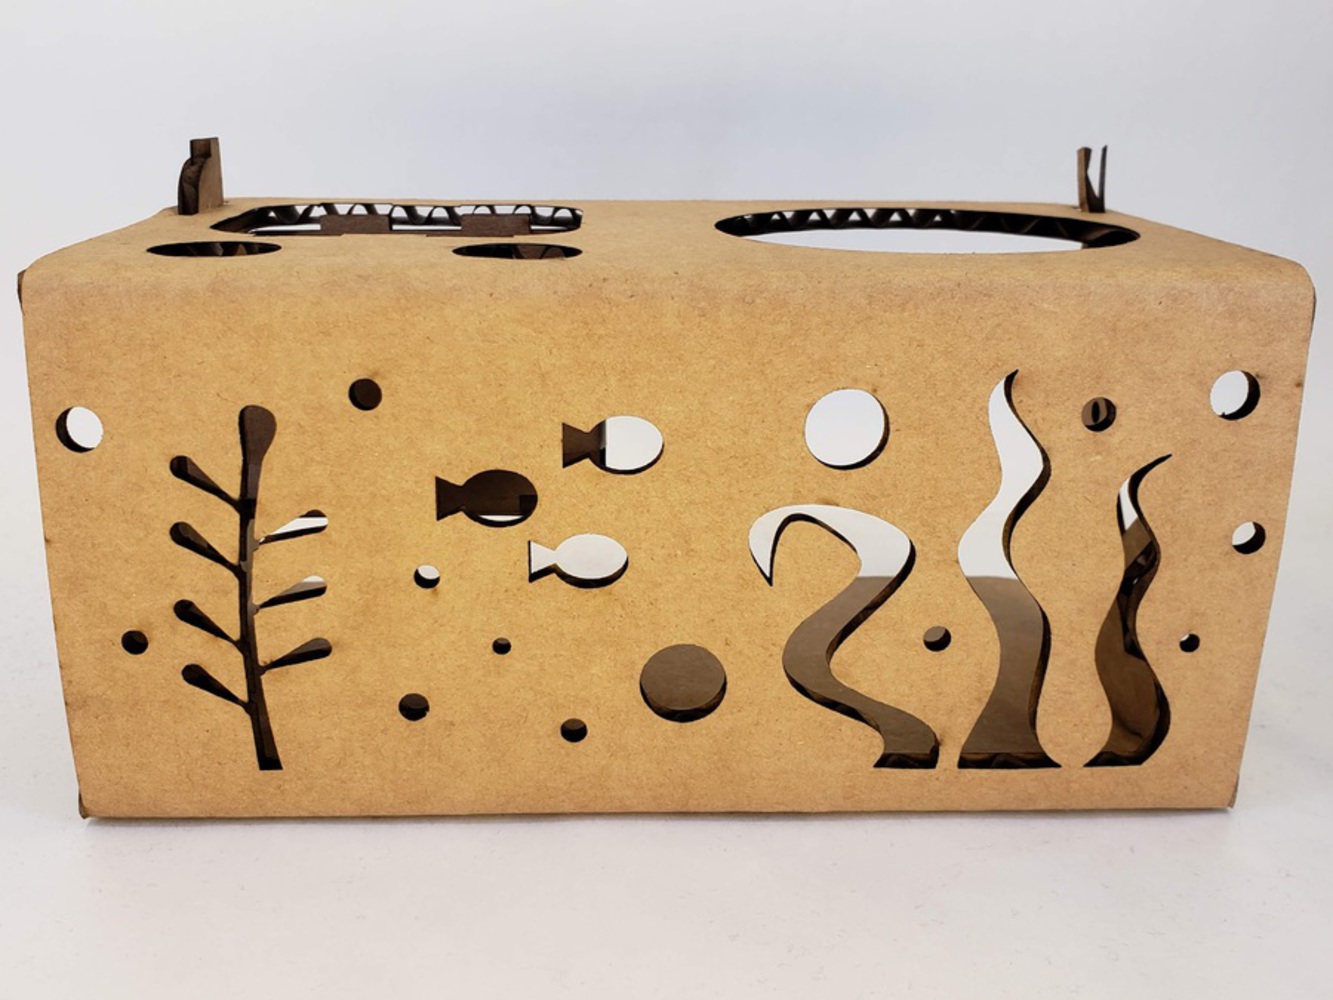
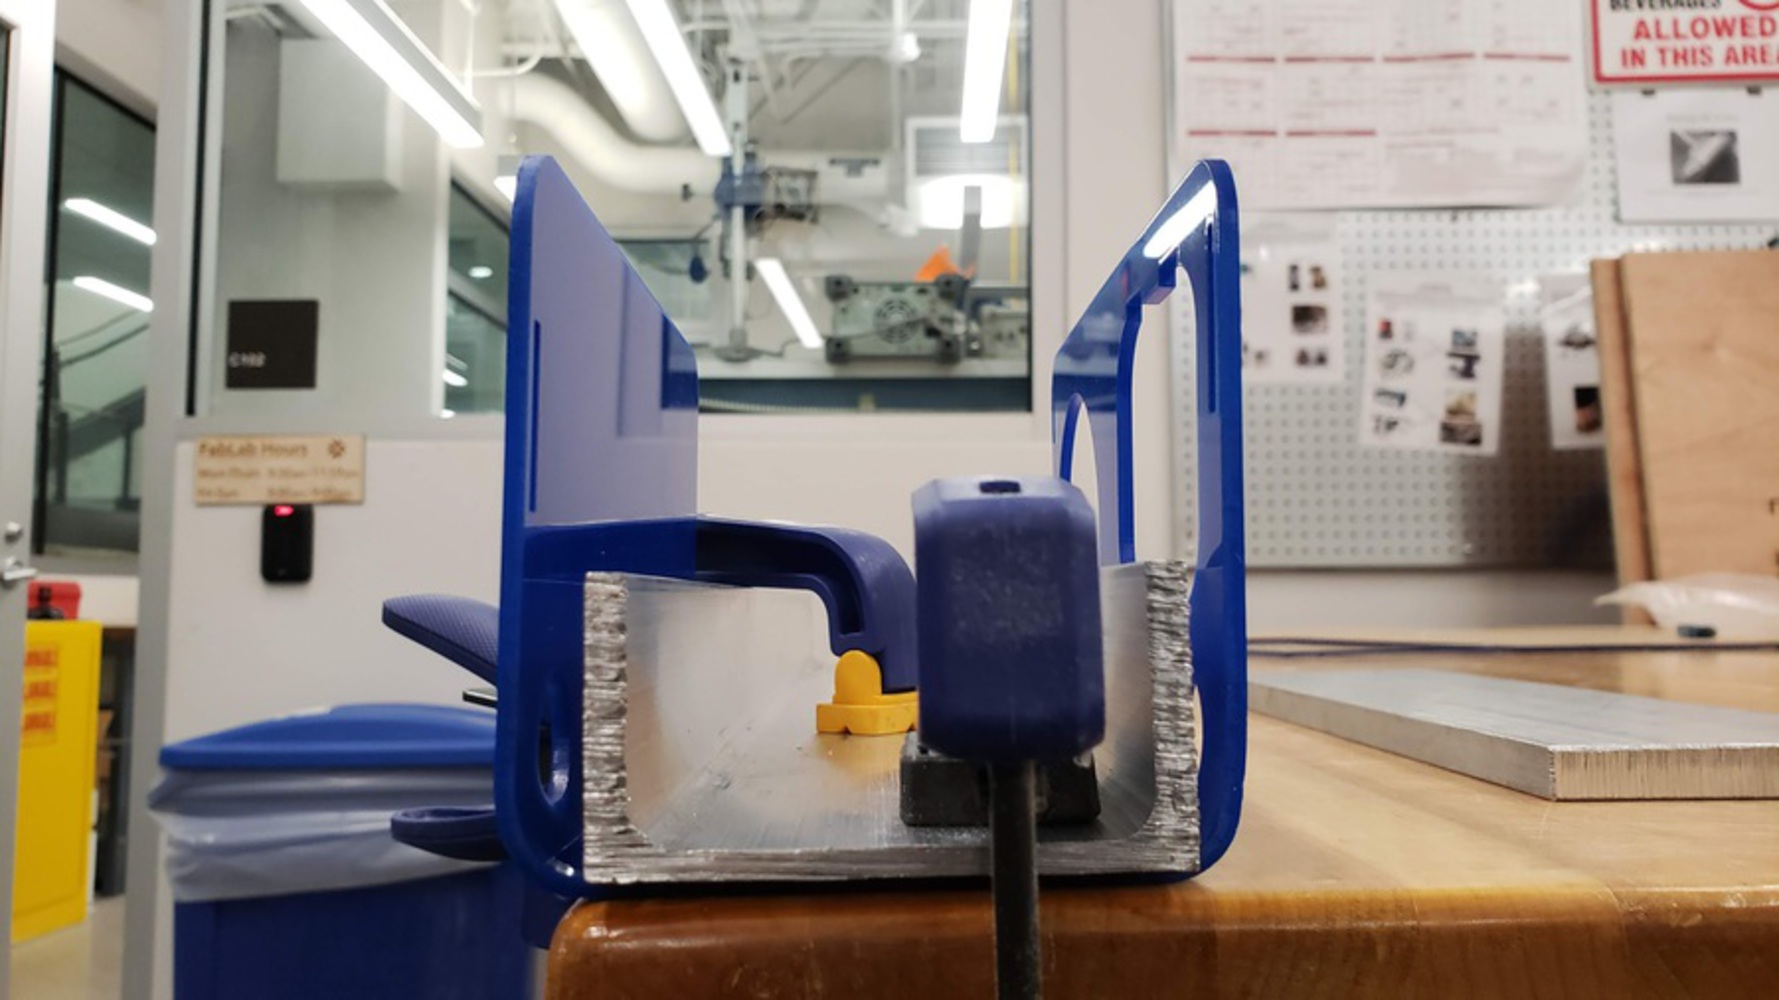
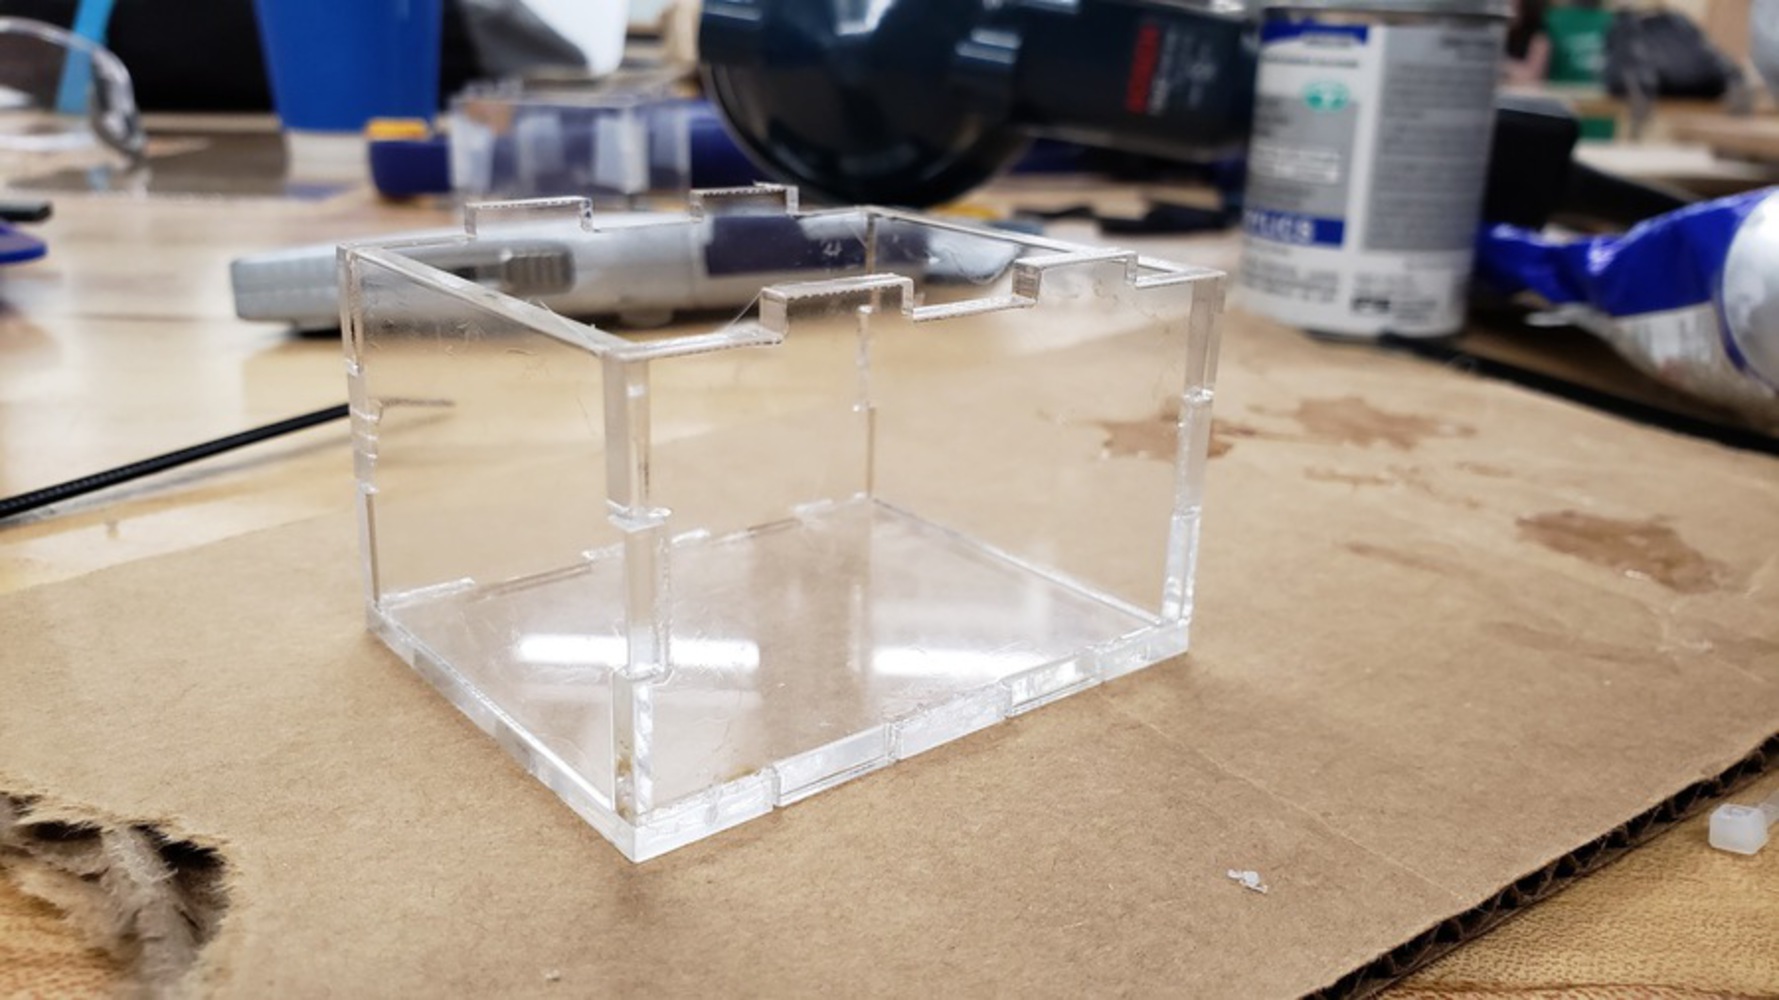
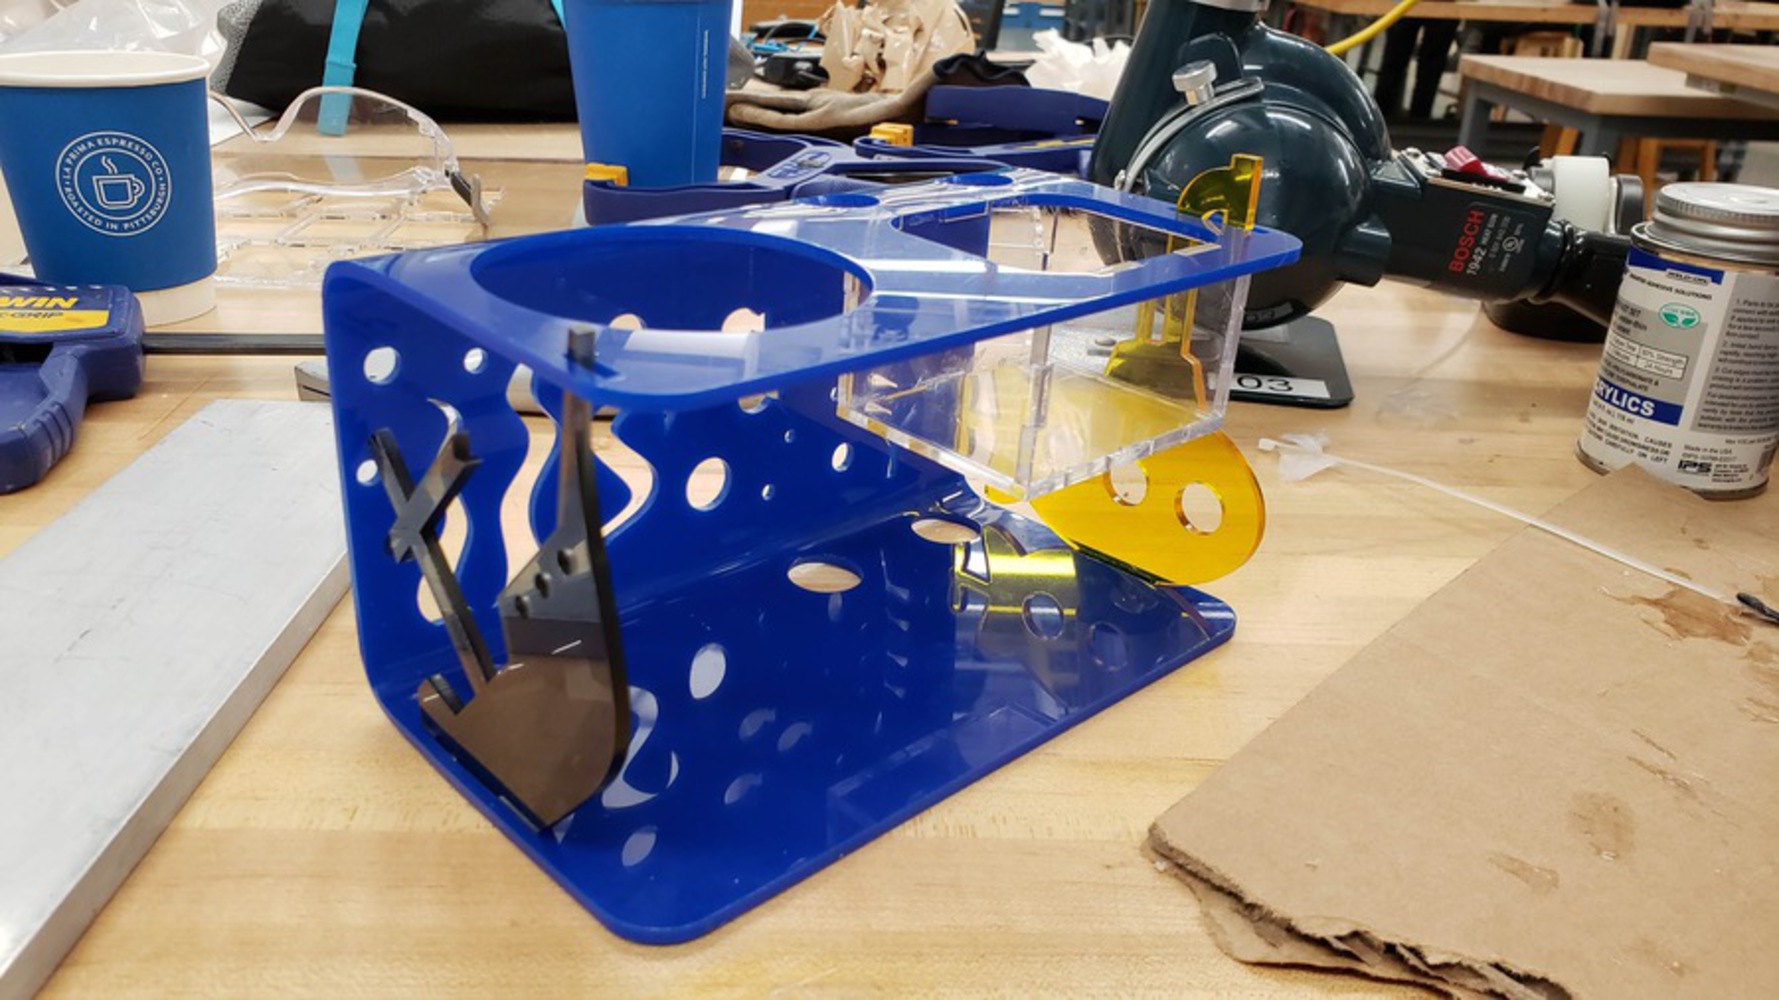
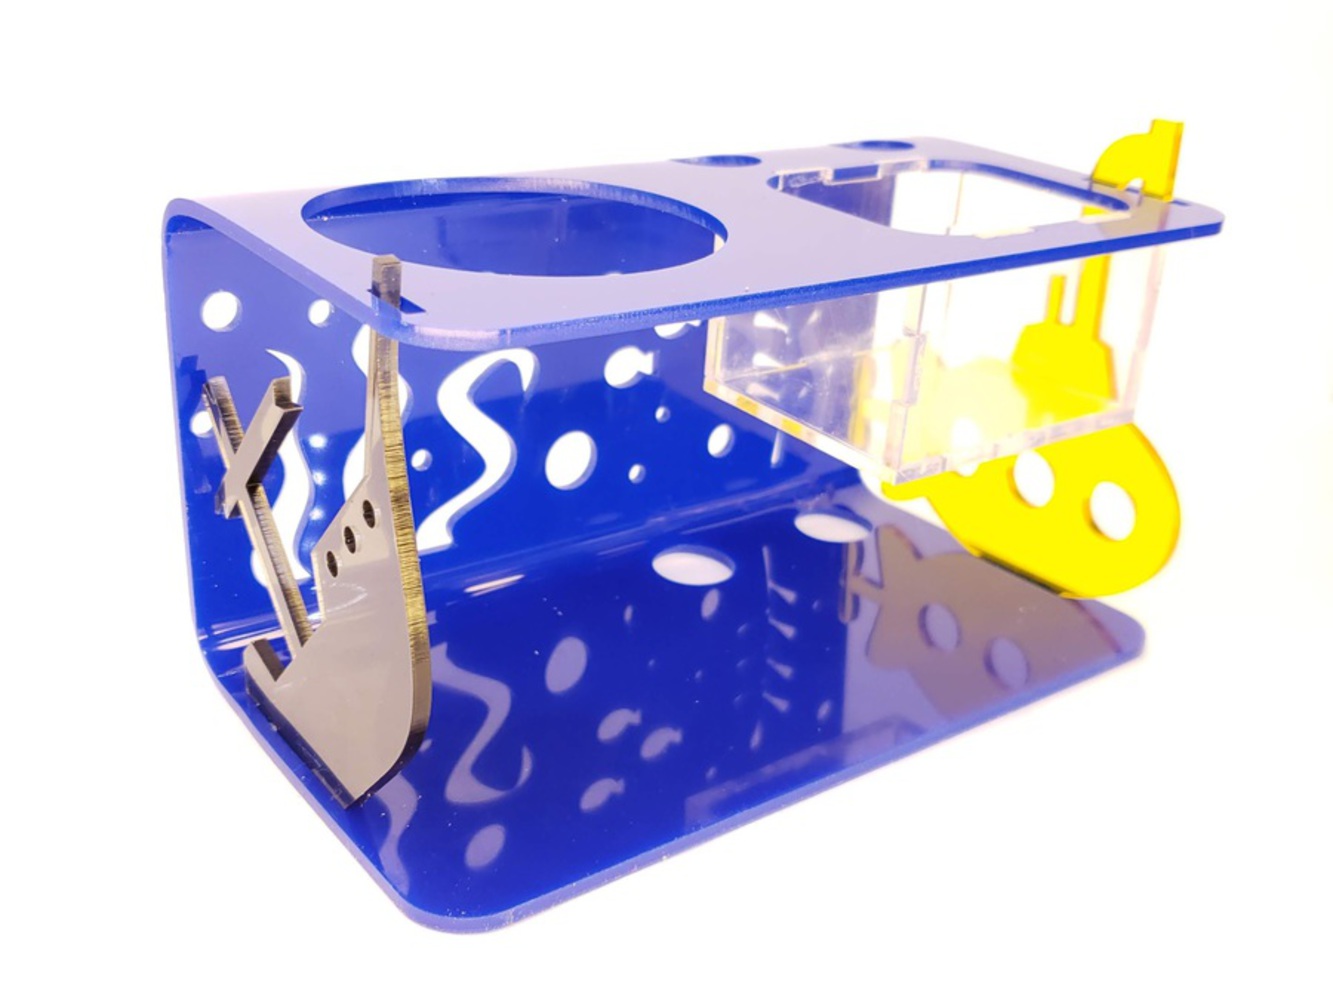
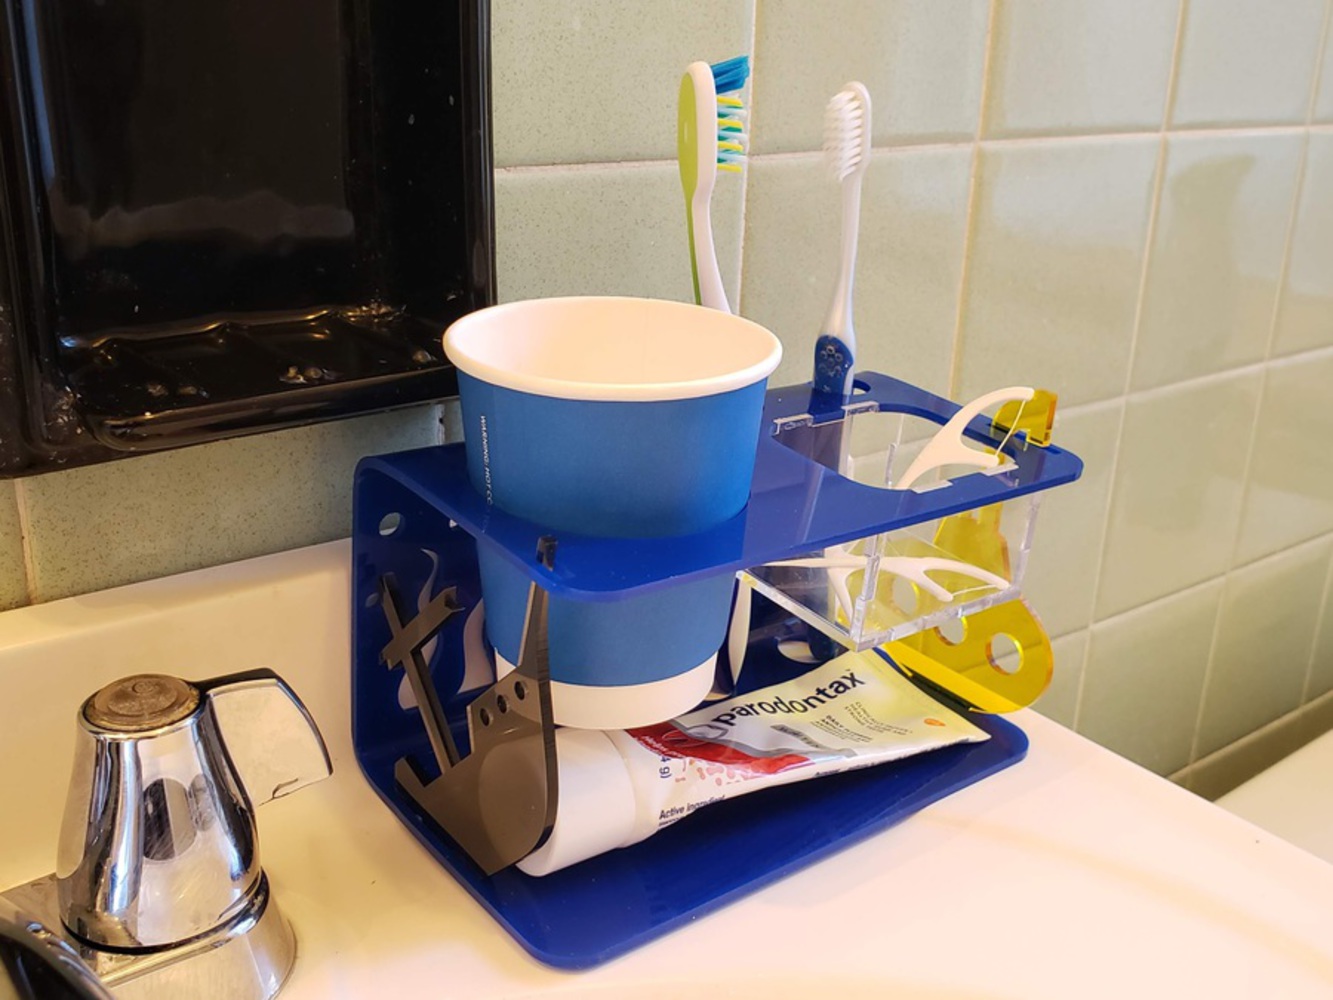
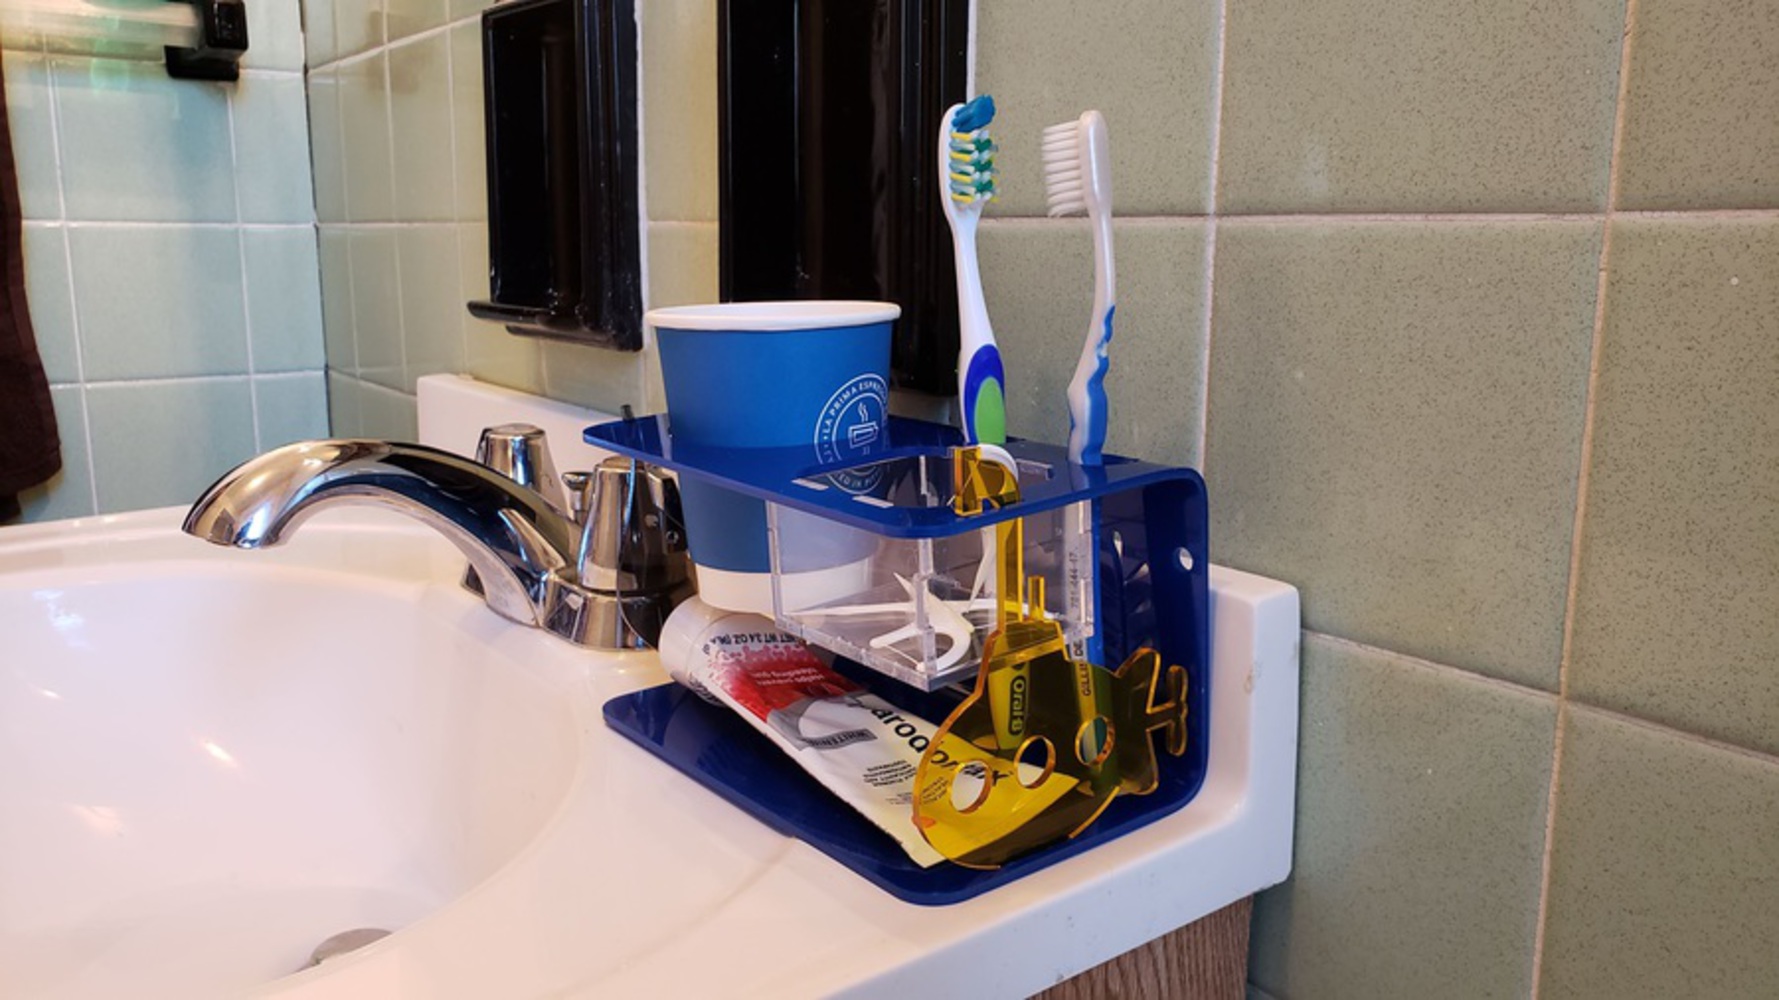
Later on, however, I thought it might be cool to approach the problem from another angle. When people just think about tea and coffee cups, ideas can get pretty similar. Every year we see a lot of handles and cup lids. I opened my scope from drinking beverages to this question: "What cup do I use every day?" After some thought I remembered that I brush my teeth and rinse with water from a cup twice a day, so this could be a great starting point for my project. I sketched out a simplistic but functional bathroom organizer and was happy to move forward with the idea.

Ideation.thumb
Show Advanced Options

Mood Board

I created a mood board to help brainstorm how to take my idea further. My favorite color is blue, so that is reflected throughout the piece. This gave me the idea to make the organizer ocean themed. I am also a huge fan of 70s and 80s music. Seeing the cassettes reminded me of The Beatles' song "Yellow Submarine", which was also incorporated into the project.

Mood board.thumb
Show Advanced Options

Sketching

With the ideas gathered from my mood board, I created a sketch of the final piece with all the functionality I wanted. For organization, there are holders for the cup, toothbrushes, and floss. The box also needs to be tall enough to slide a tube of toothpaste in at the bottom. 

I was worried about excess bending in the top flap when the cup was placed, so I wanted to add struts along the edges. These eventually turned into the sunken ship and submarine for a more artistic design. The background features some cutouts for kelp, coral, fish, and bubbles to complete the underwater look.

Diagram.thumb
Show Advanced Options
Submarine.thumb
Show Advanced Options
Ship.thumb
Show Advanced Options
Background.thumb
Show Advanced Options

Solidworks Model

The next step was to recreate the idea in Solidworks. Everything was modeled in one multi-body part to ensure that form, fit, and function were all satisfactory. The blue acrylic was 1/8'' thick material I purchased from the Art Store, and everything else was 3mm thick material I purchased from Ideate. I designed the parts to all slot together for easy assembly. I also tried to limit the number and complexity of the bends because I didn't have experience bending acrylic.

Using the sheet metal tool, I converted my blue acrylic into "sheet metal" in order to get both a better sense of the bend radius and a flat sheet model that could be sent to the laser cutter.  

Cad.thumb
Show Advanced Options
 40a84628 7299 4e12 848e 1f72a7cdc145 .png.thumb
Show Advanced Options
 65eb8b6a 207c 47f0 9609 cb987d084cdb .png.thumb
Show Advanced Options
 ccb82546 e9b3 4598 84a8 1250ef51a907 .png.thumb
Show Advanced Options
Flat sheet.thumb
Show Advanced Options

Prototype

For my first prototype, I laser cut and assembled the entire thing out of cardboard. I planned to use this to test feasibility, fit, and size. This prototype ended up being so successful and easy to put together that the only adjustments I made were to the size of some bubbles in the background.

20190207 110042.thumb
Show Advanced Options
20190207 110203.thumb
Show Advanced Options
20190207 110154.thumb
Show Advanced Options
20190207 110145.thumb
Show Advanced Options
20190207 110211.thumb
Show Advanced Options

Manufacturing

With a plan in mind coming out of the prototype, I cut all the pieces out of acrylic using the Makerspace laser cutters. This was a quick and easy process because I used the same .dxf as before.

I had never bent acrylic before, but knew going into the project that heat spreading through the acrylic could be a problem. I found some aluminum U-channel from the machine shop and used that to sink excess heat from the non-bend zones. It also served as a straight edge to follow for the actual bend. This went super well and I had very clean bends without any melted zones in the final part.

For the floss box, I assembled it used small amounts of acrylic glue. Then I glued in to my bent blue acrylic. 

I did have to make the ship and submarine slightly taller because my box was a taller than modeled. This was because my first bend was centered a little higher than the bend line, leading to a taller final product. This was a very easy fix, and the new parts fit perfectly. I glued the base tabs to the blue acrylic, but opted not to glue the top areas. The organizer didn't have any significant deflection when the cup was placed so the struts weren't necessary for function. I could go back and glue them in the future if needed.

20190207 224624.thumb
Show Advanced Options
20190207 211937.thumb
Show Advanced Options
20190207 212040.thumb
Show Advanced Options
20190207 214248.thumb
Show Advanced Options
20190207 214303.thumb
Show Advanced Options
20190207 231952.thumb
Show Advanced Options
20190207 233001.thumb
Show Advanced Options

Final Product

I was extremely happy with my final product. It came out looking exactly as I had envisioned and had a very clean appearance. It also fit in on my sink and organized all my dental hygiene products perfectly.

20190207 233702.thumb
Show Advanced Options
20190209 152313.thumb
Show Advanced Options
20190209 151924.thumb
Show Advanced Options
Drop files here or click to select

You can upload files of up to 20MB using this form.