Back to Parent

Outcome


My Cup of Tea

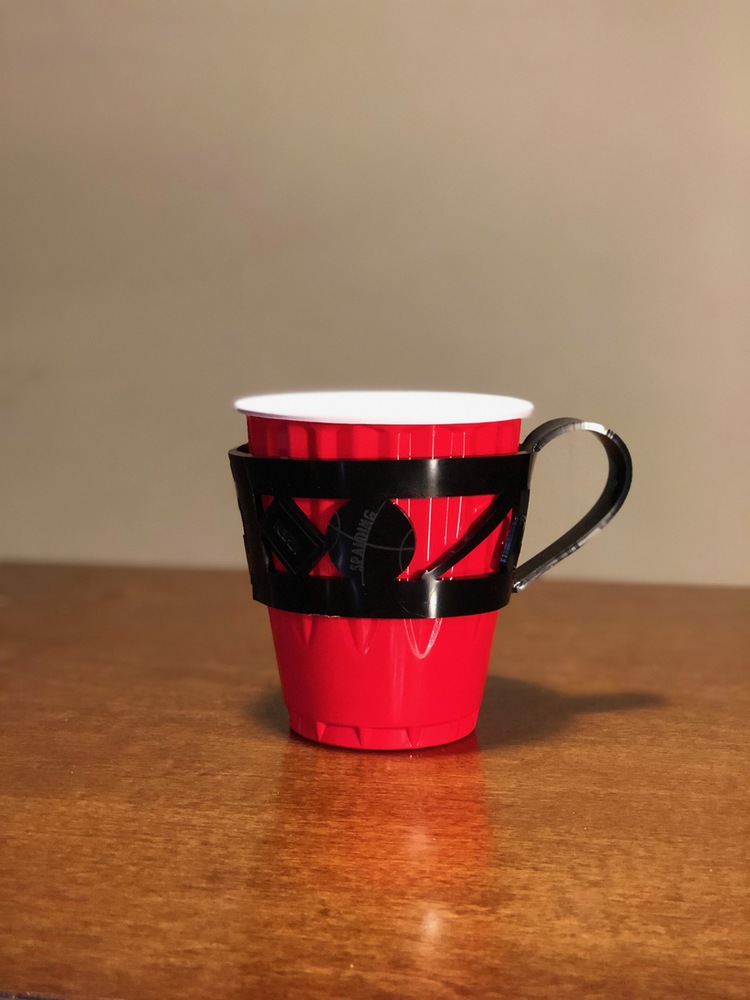
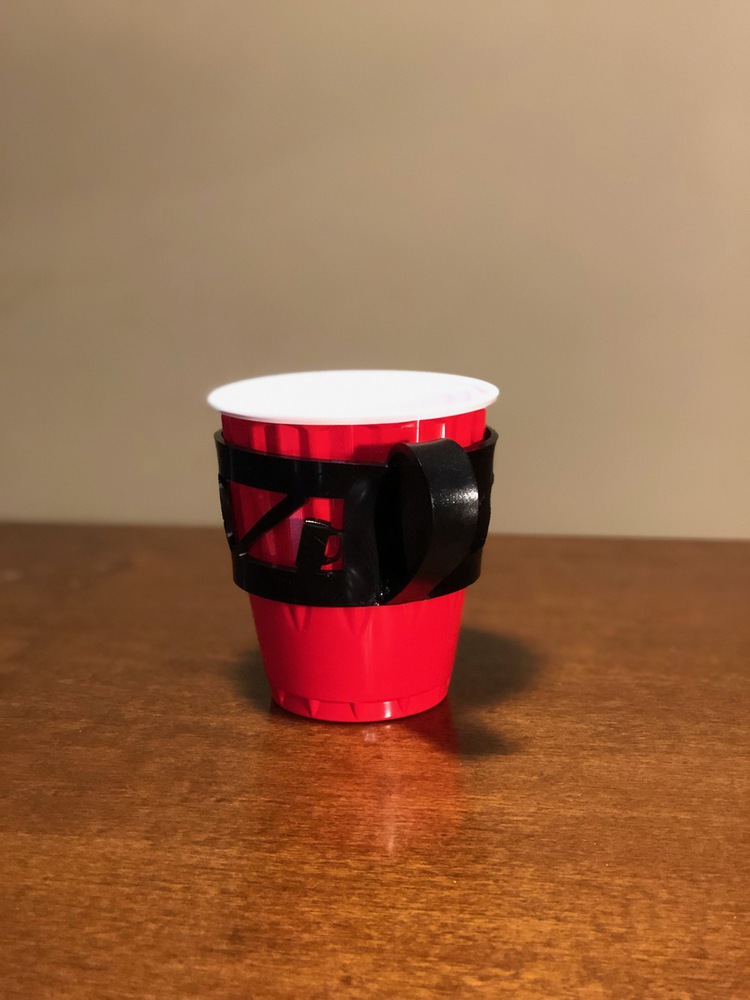
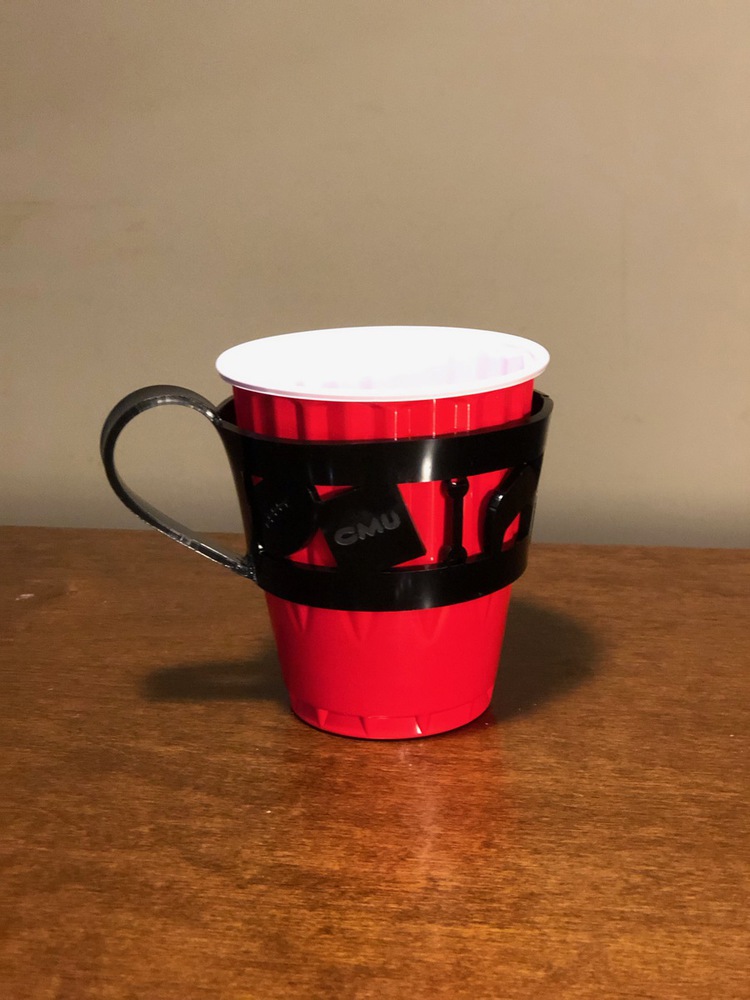
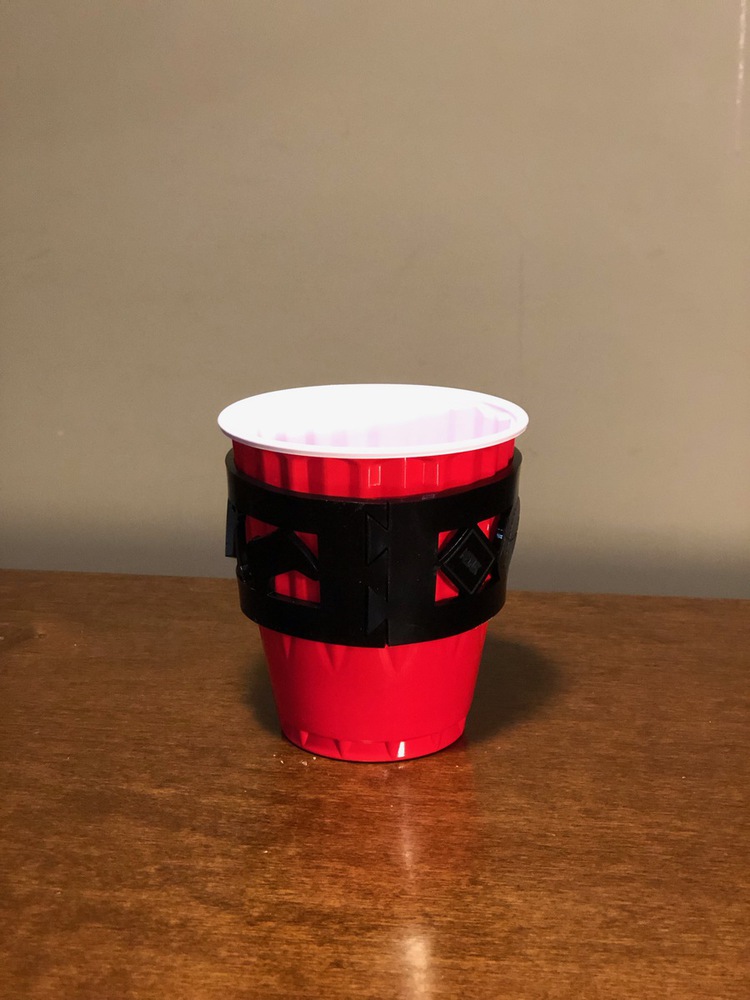
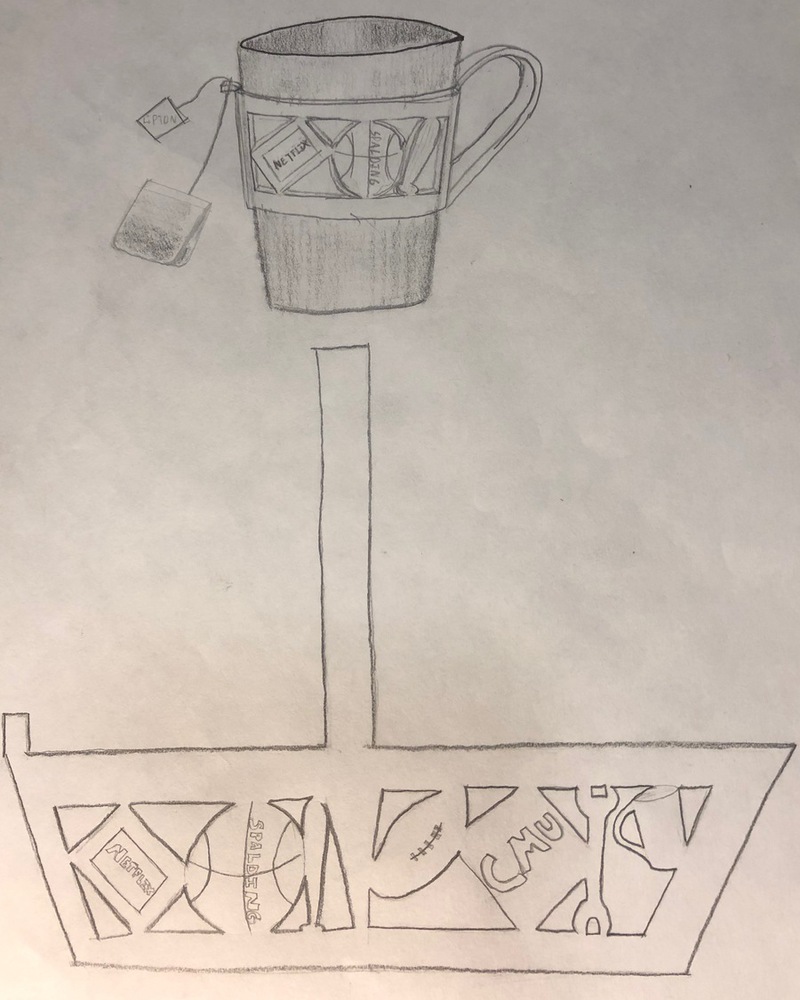
I'm not a coffee drinker however, I do enjoy a nice cup of tea. Even so, I do not drink tea very often either. Choosing from hot beverages, I would say my favorite hot drink (which i prefer to drink during cold weather), is hot chocolate. One thing that I noticed which is universal to all purchased hot beverages is the absence of a handle. Personally, I prefer the comfort of holding a mug in my hand with my fingers resting within the handle area. It feels more secure to me and minimizes the possibility of the drink slipping through my hands. Moreover, I realized that the one type of cup I use more than any other is the tried and true, Red Solo Cup.  With this in mind, I set out to create a personalized cup sleeve with a handle that can not only fit larger hot beverage cups, but also Red Solo Cups. 

Mood-Board

I first began by collecting pictures that could depict my daily and weekly routines. Using these pictures I created a mood-board shown below.
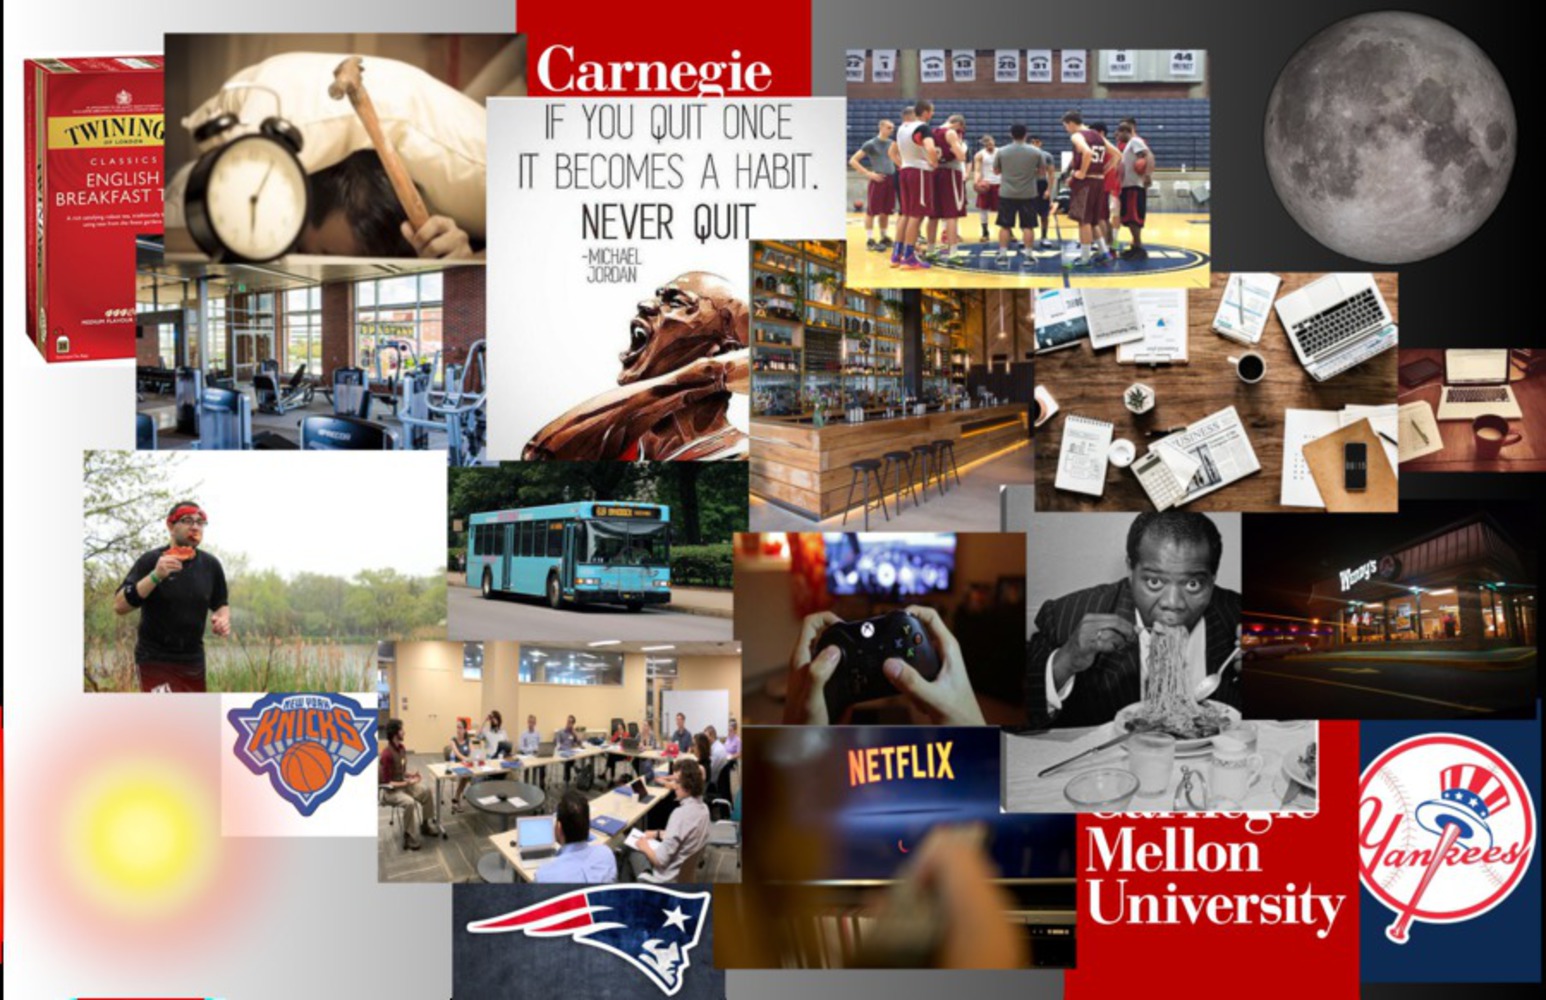
Moodboard.thumb
Show Advanced Options

Design Sketches

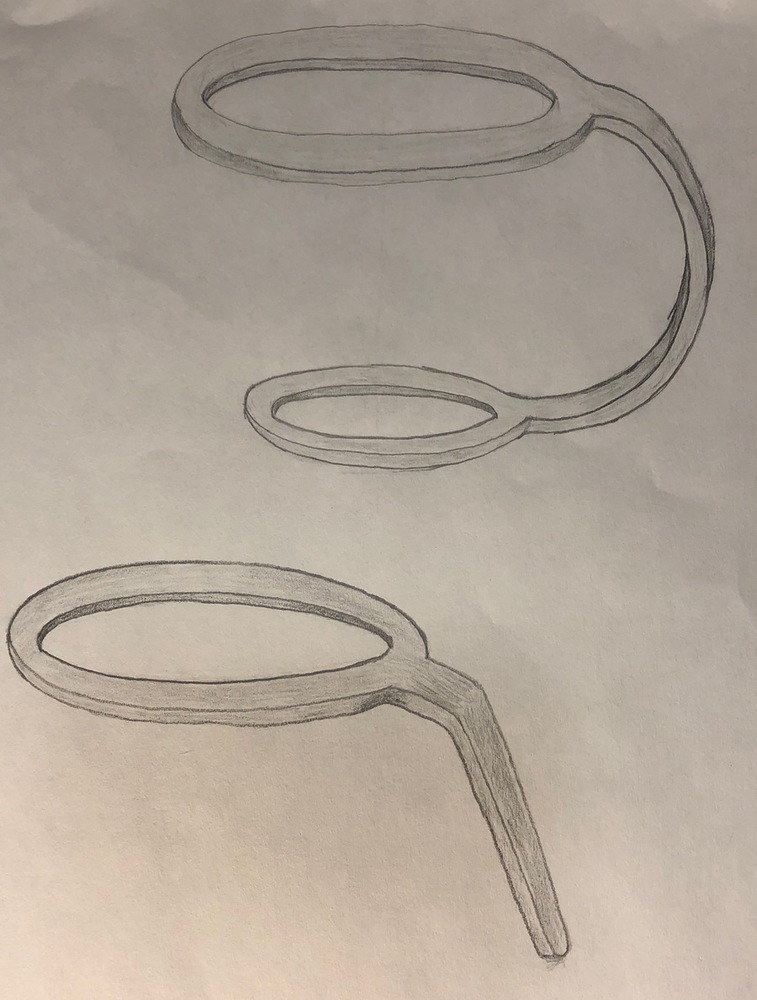
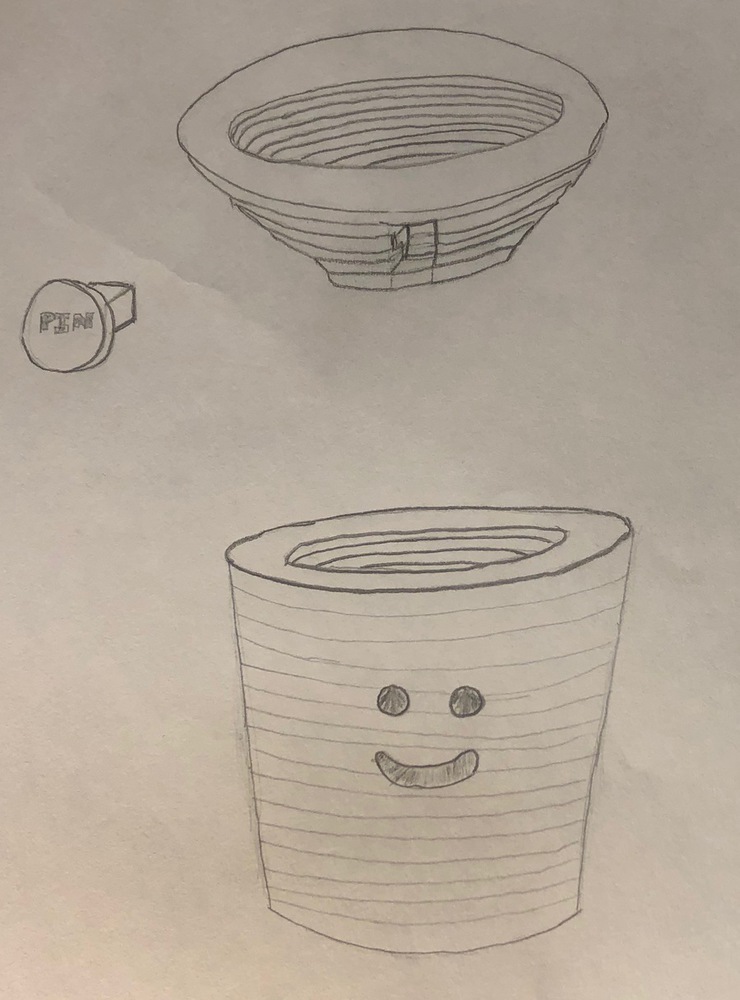
Using my mood-board as inspiration, I began to sketch out some preliminary ideas for my cup sleeve.  They are listed in the order of personal favoritism. 

Img 1516.thumb
Show Advanced Options
Img 1517.thumb
Show Advanced Options
Img 1518.thumb
Show Advanced Options

Modeling the Holder

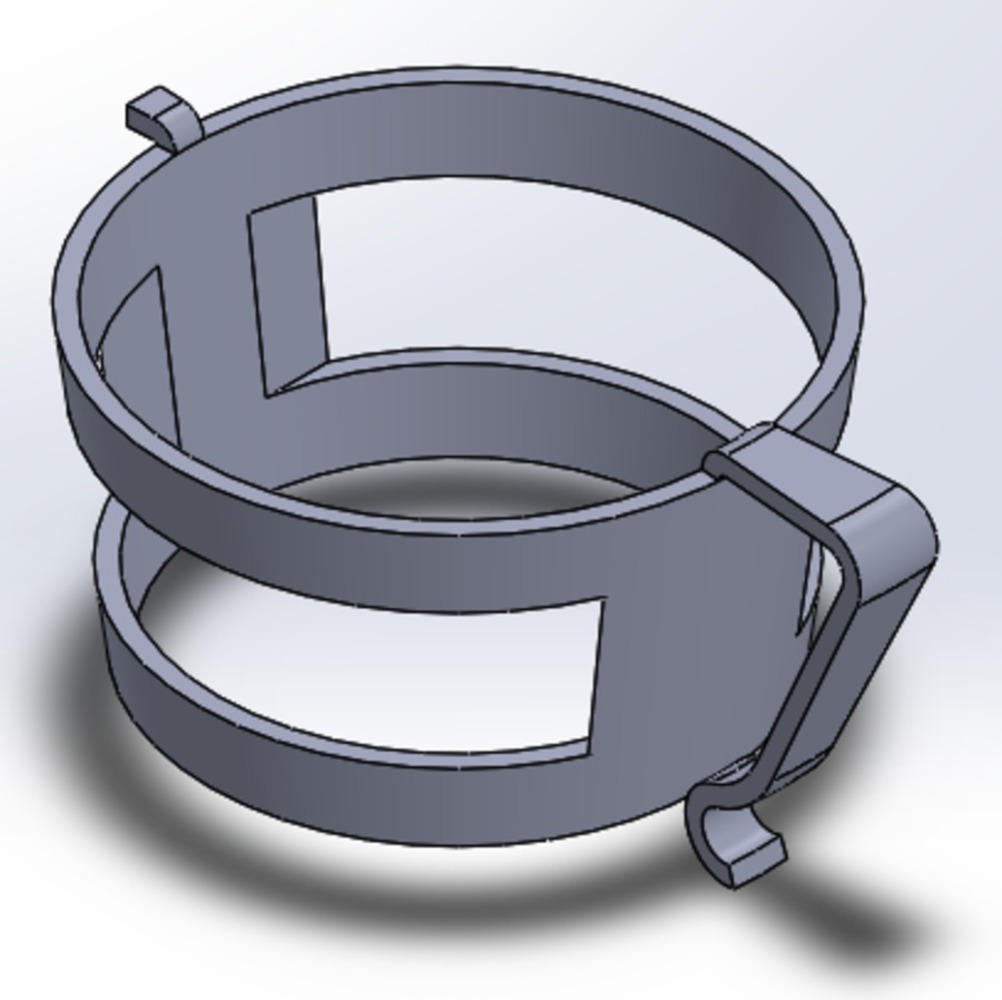
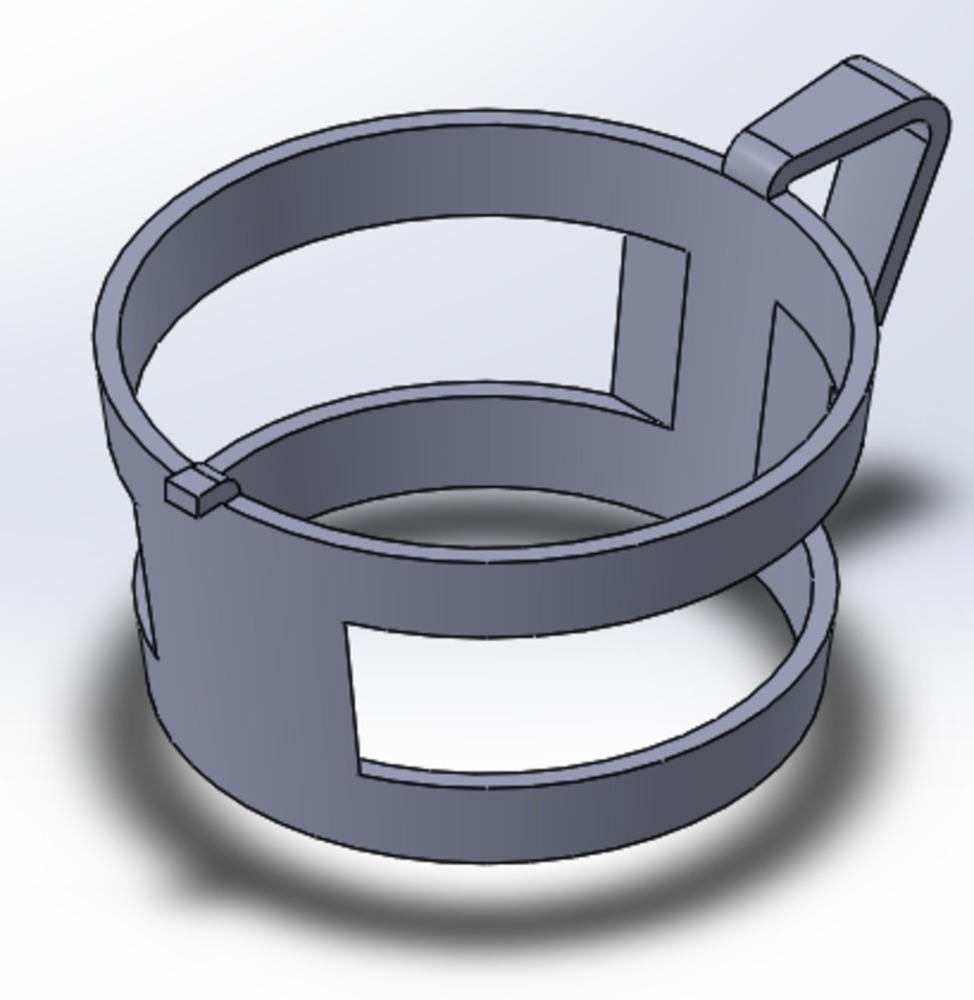
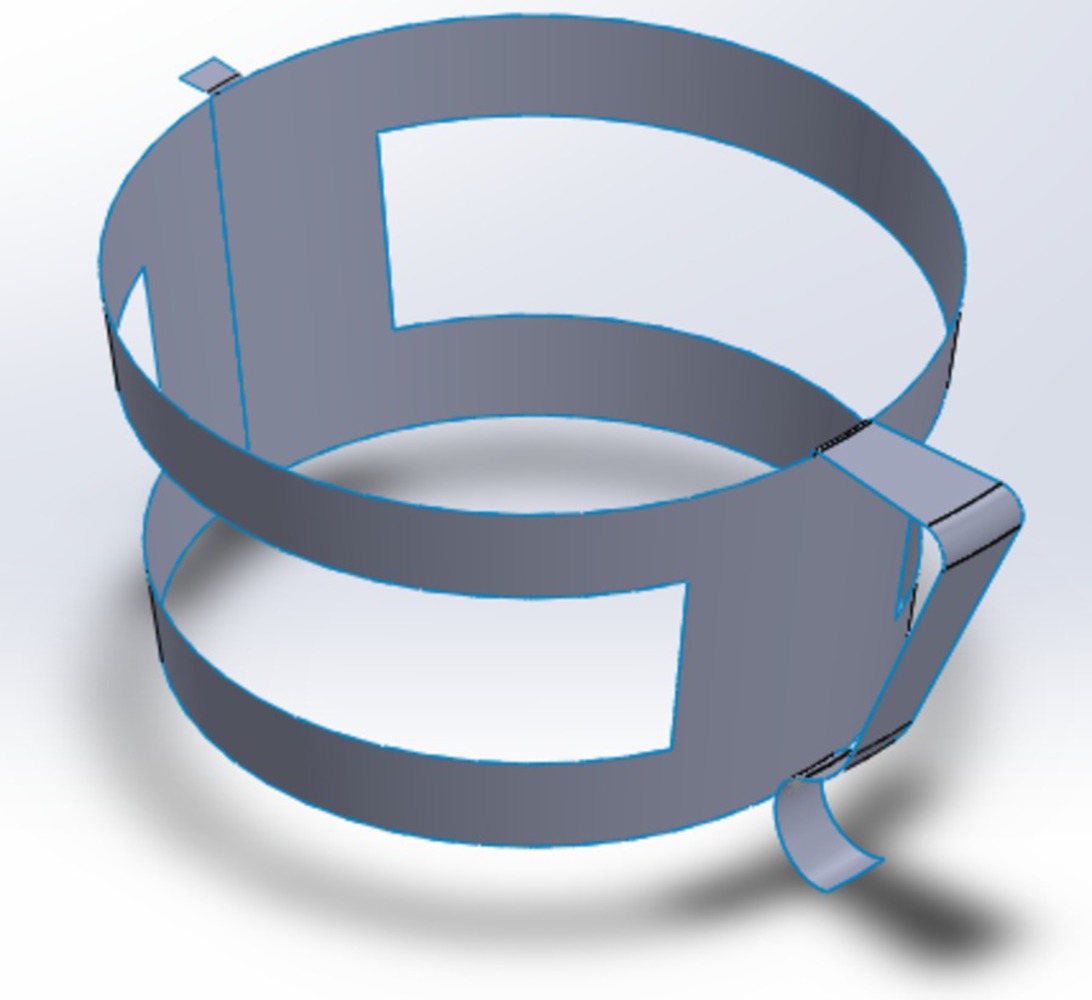
After the pin up session, with the feedback on my various sketches, I decided to continue with the first design above. I began by making a simple solid model of my cup sleeve in SolidWorks using measured cup dimensions as well as common acrylic thickness dimensions. Pictures of the model can be seen below:

Solid 1.png.thumb
Show Advanced Options
Solid 2.png.thumb
Show Advanced Options

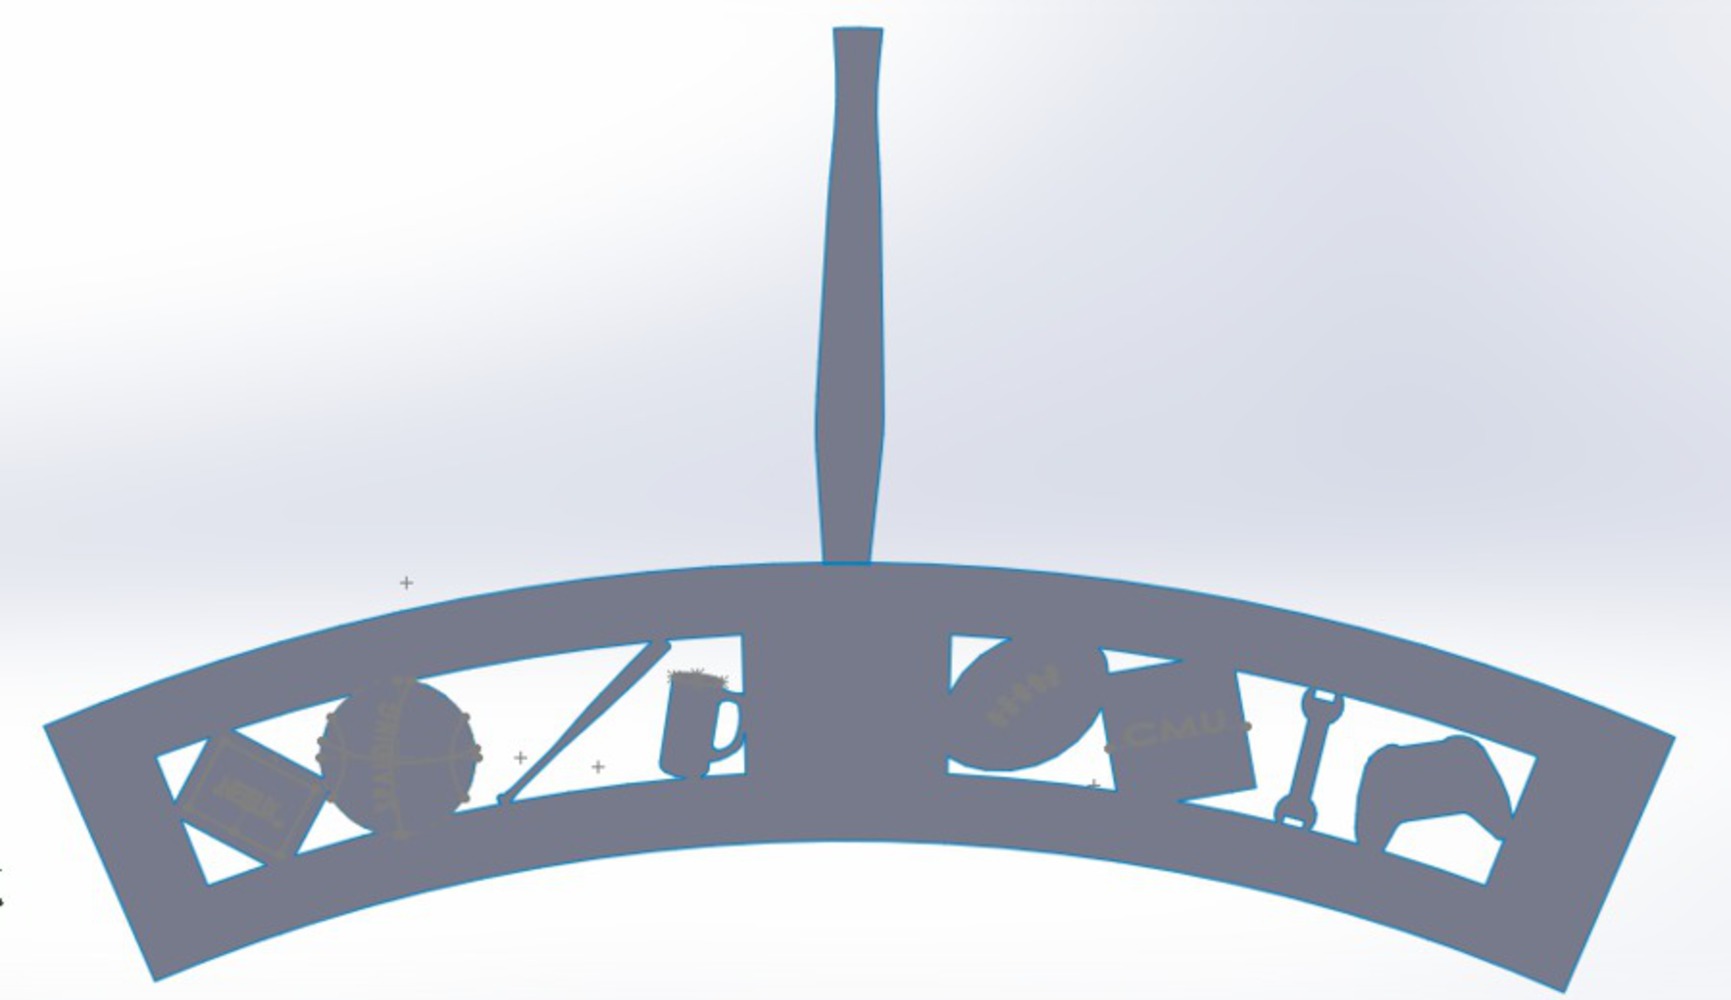
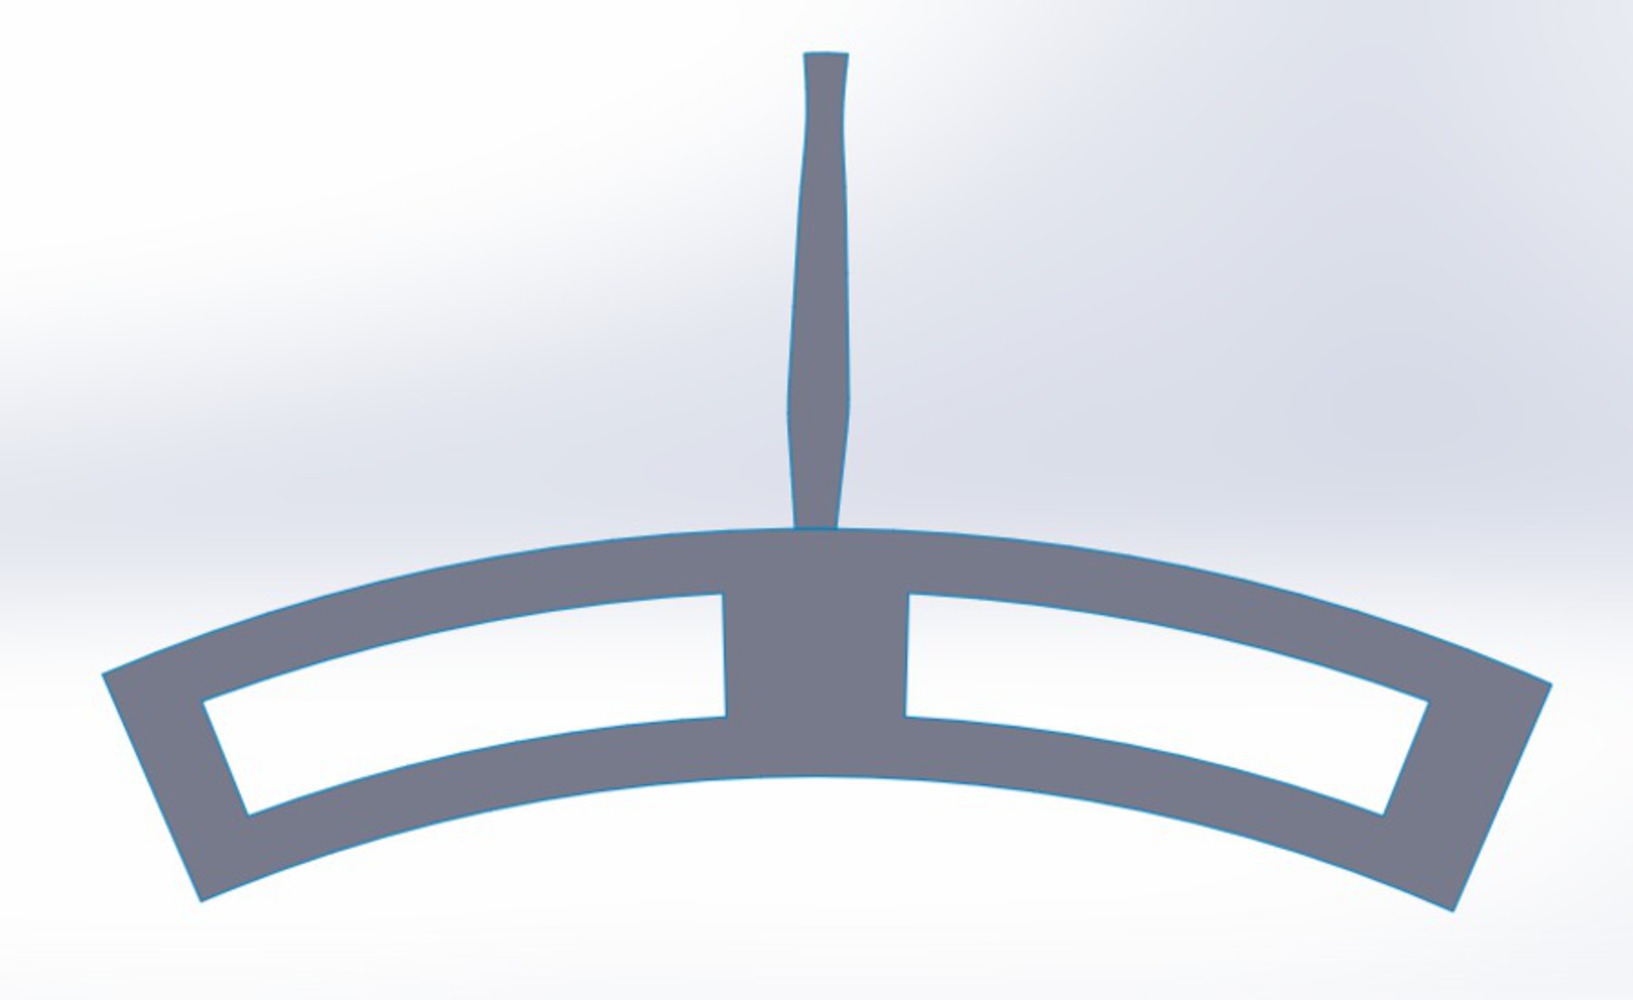
Using the solid model, I used the outer connected surfaces to create a surface model. I flattened the surface model to create a 2D surface of the above shown cup holder. Once the model was flattened, I added in lines to create the various icons and shapes that filled the empty spaces. Using those created sketches, I made surfaces and joined them to the original surface to create the final surface file. Once that was done, I used the surface file to create a .DXF file for laser cutting. Pictures of this process can be seen in order below.

Surface 2.png.thumb
Show Advanced Options
Finished surface.png.thumb
Show Advanced Options
Flat surface 1.png.thumb
Show Advanced Options

Initial Cutting

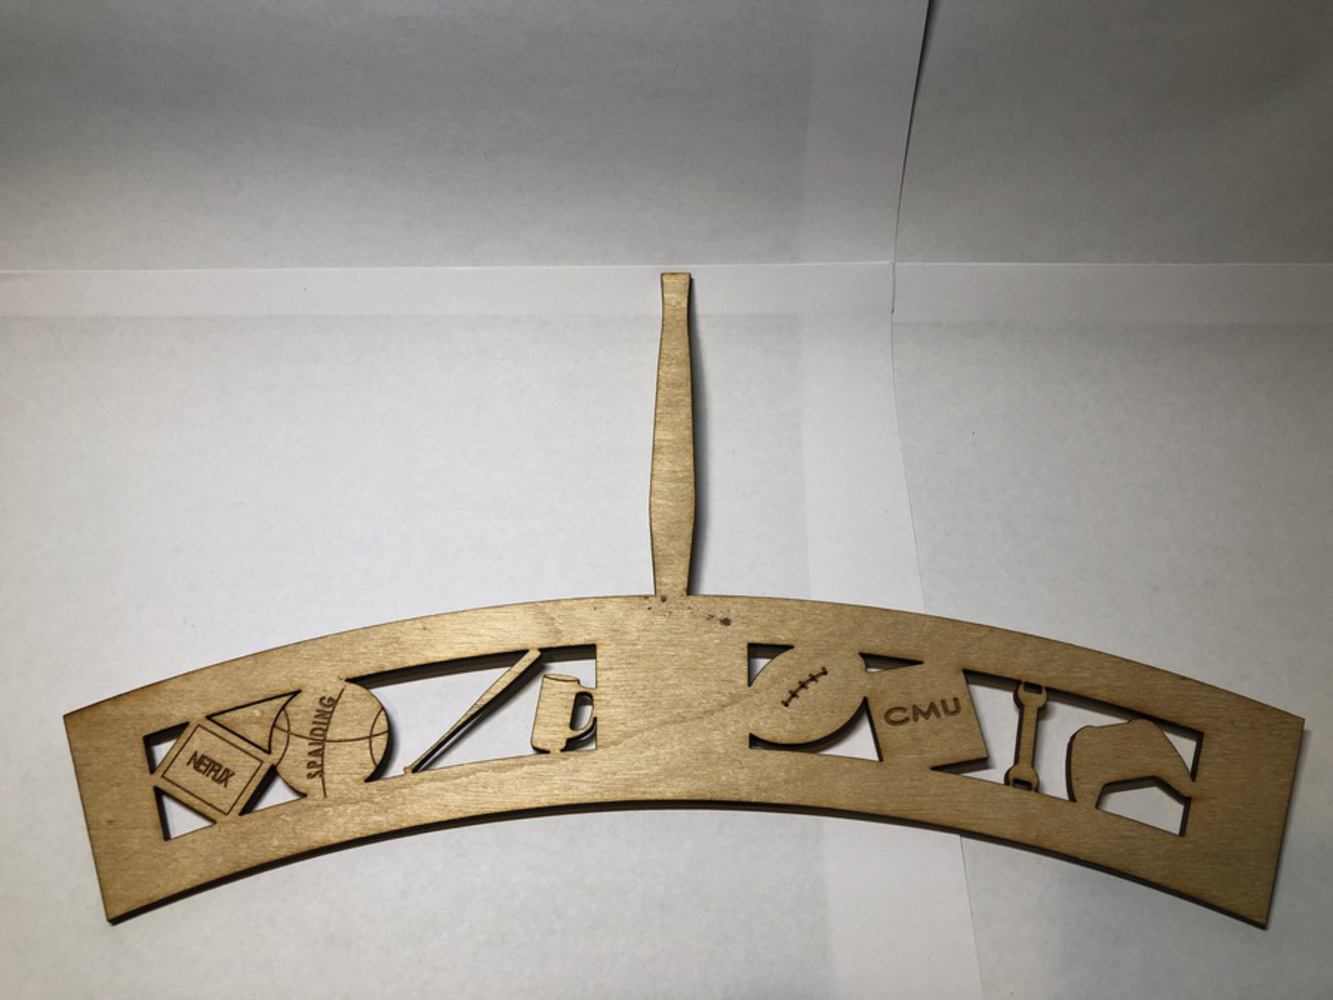
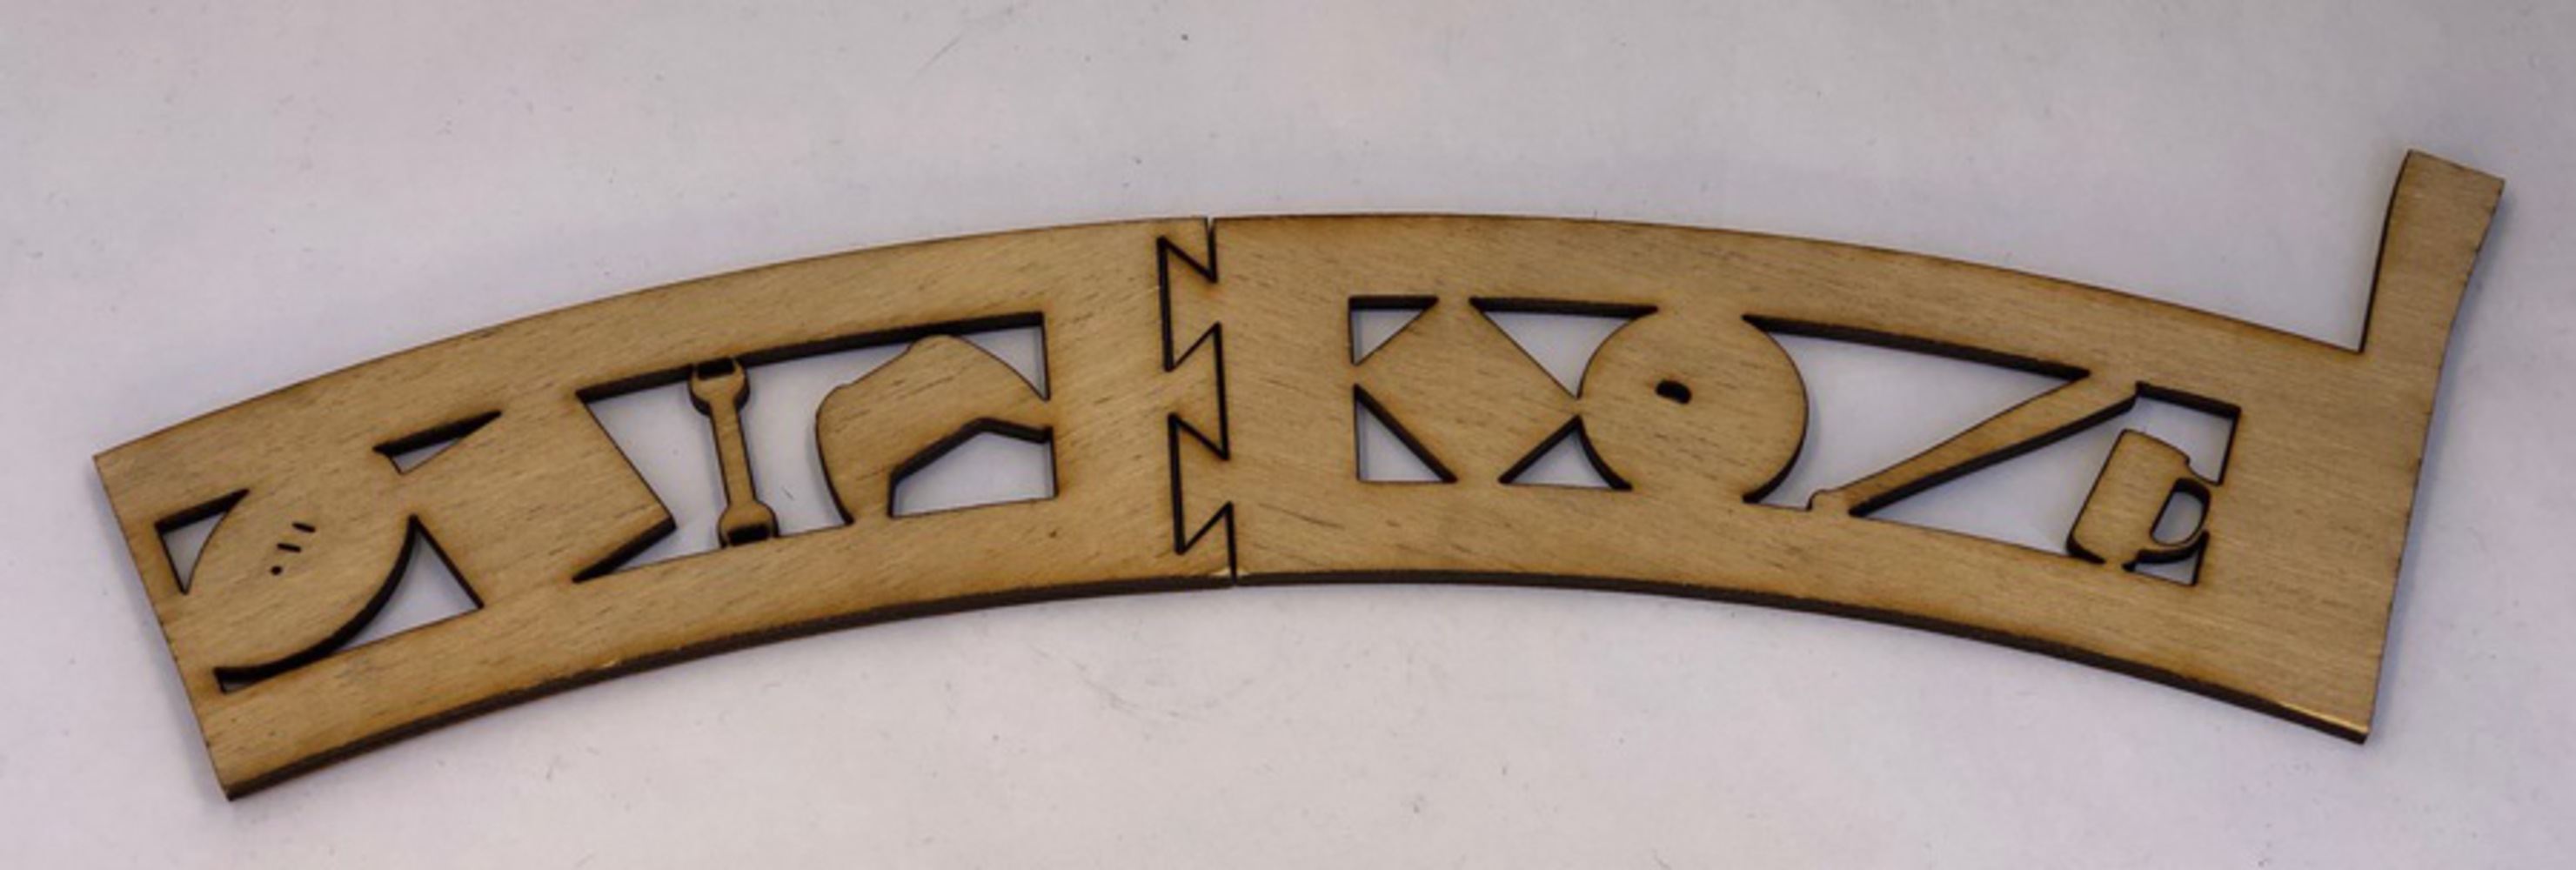
Using the .DXF file obtained from the above surface model I first laser cut a prototype out of one eighth inch  plywood. Once determining that the laser cut file was correct and the shapes were cuttable, I cut a couple from acrylic. I used the two acrylic pieces to experiment with and try and get the right shape for the cup holder. In addition, I looked for ways to improve the design for another iteration. Pictures of the wood cut model and acrylic models can be seen below.

Img 1519.thumb
Show Advanced Options
Img 1496 2.thumb
Show Advanced Options
Img 1498 2.thumb
Show Advanced Options
Img 1497 2.thumb
Show Advanced Options

Lessons Learned

From looking at the initial prototypes, there were a few things I learned.

  • Holding the heat gun too close to the surface of the acrylic for too long can cause shrinkage. In addition, too much heating will cause surface bubbling.
  • The Baseball bat on the side of the holder is too thin and falls apart when heated. This will need to be thickened
  • The handle itself is not wide enough. It feels a bit flimsy and may break. it should be widened.
  • With flat edges, there is no way to ensure that the edges of the holder stay together where they meet. The next iteration will need some sort of mechanical snap fitting.
  • The bottom part of the handle will need to be attached to the holder in some way
  • It is hard to bend the top and bottom of the holder to perfect circles.

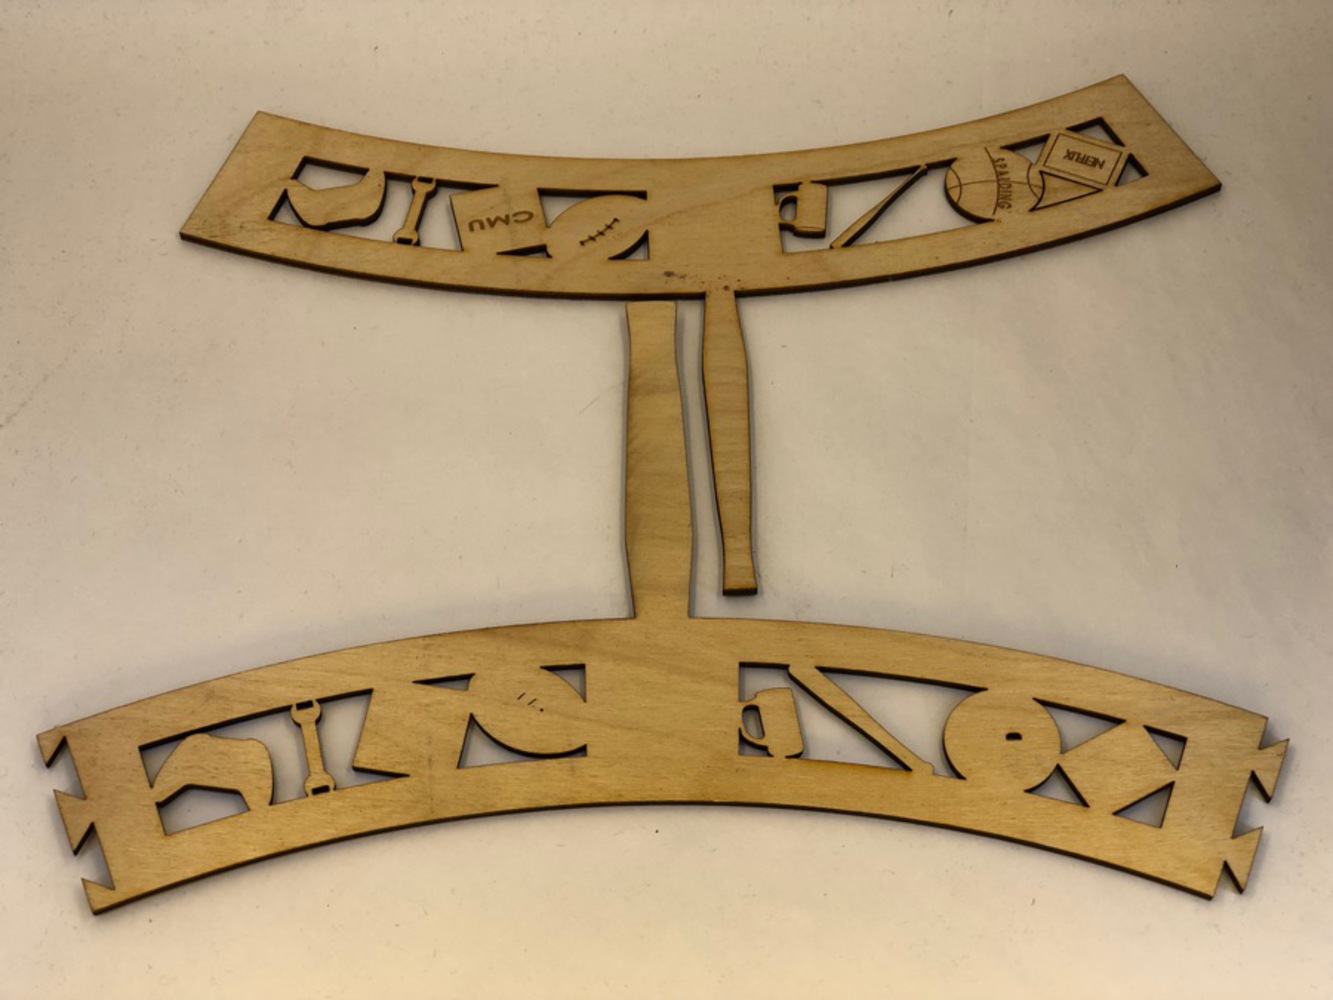
With all of these shortcomings noted, changes were made to the surface model. A new .DXF file was created and a wood prototype was cut. In addition, the top and bottom circumferences were measured. Circles with the corresponding diameters were cut out to help in the heat molding process. Comparisons photos between the old and new wood prototypes can be seen below.

Img 1503 2.thumb
Show Advanced Options

Iteration Comparison

Looking at the old (top) and new (bottom) iterations, there are a few noticeable differences. First off, the snap fits on each side were added to lock the ends of the cup holder together when they are bent together. Secondly, the bat and the handle were made wider to better hold up to the heat. 

The snap fits were also test out prior to cutting acrylic by making two separate halves of the second iteration, and fitting them together to insure they would fit. This is shown below.

Img 1504 2.thumb
Show Advanced Options

Assembly

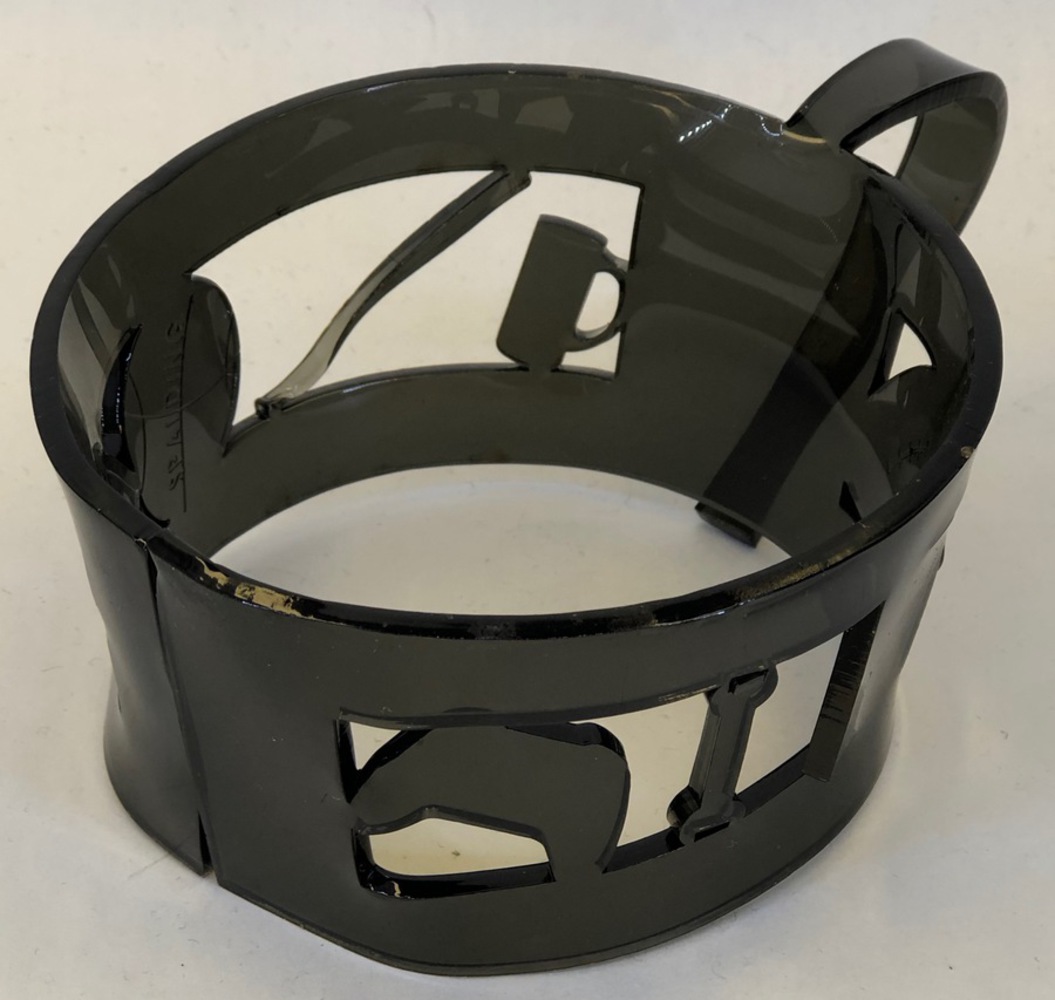
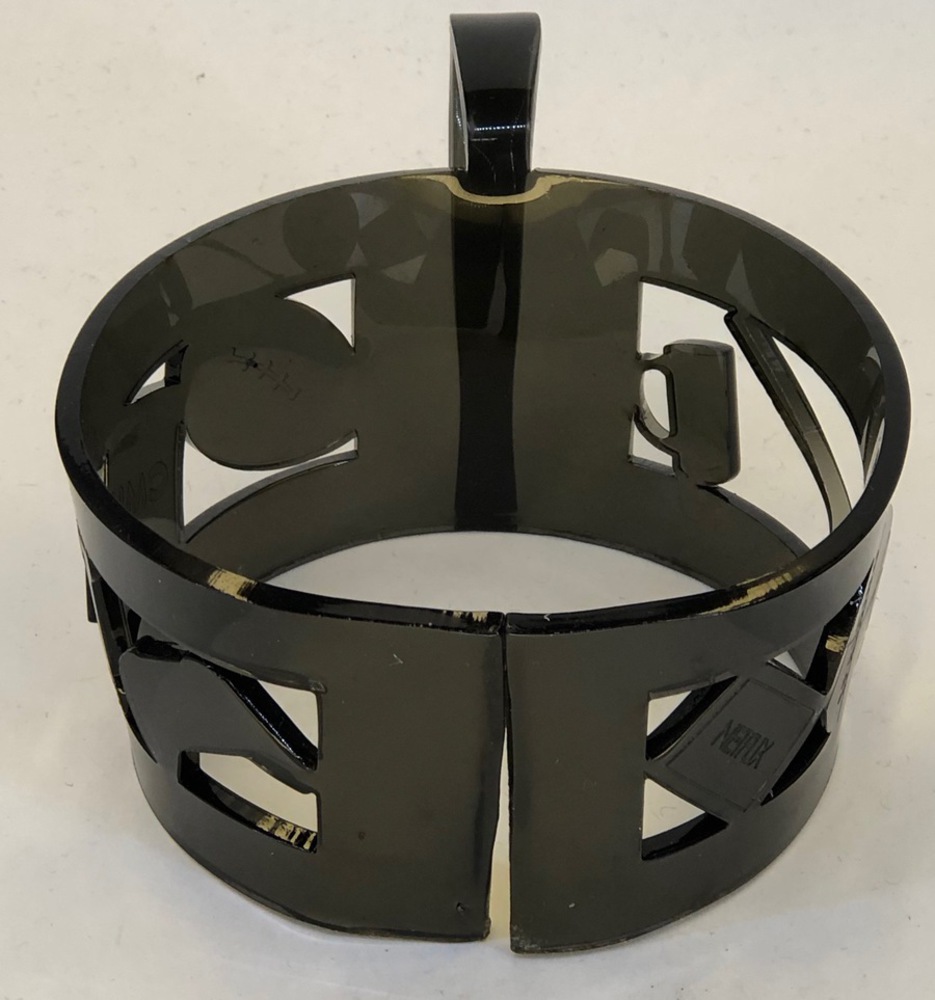
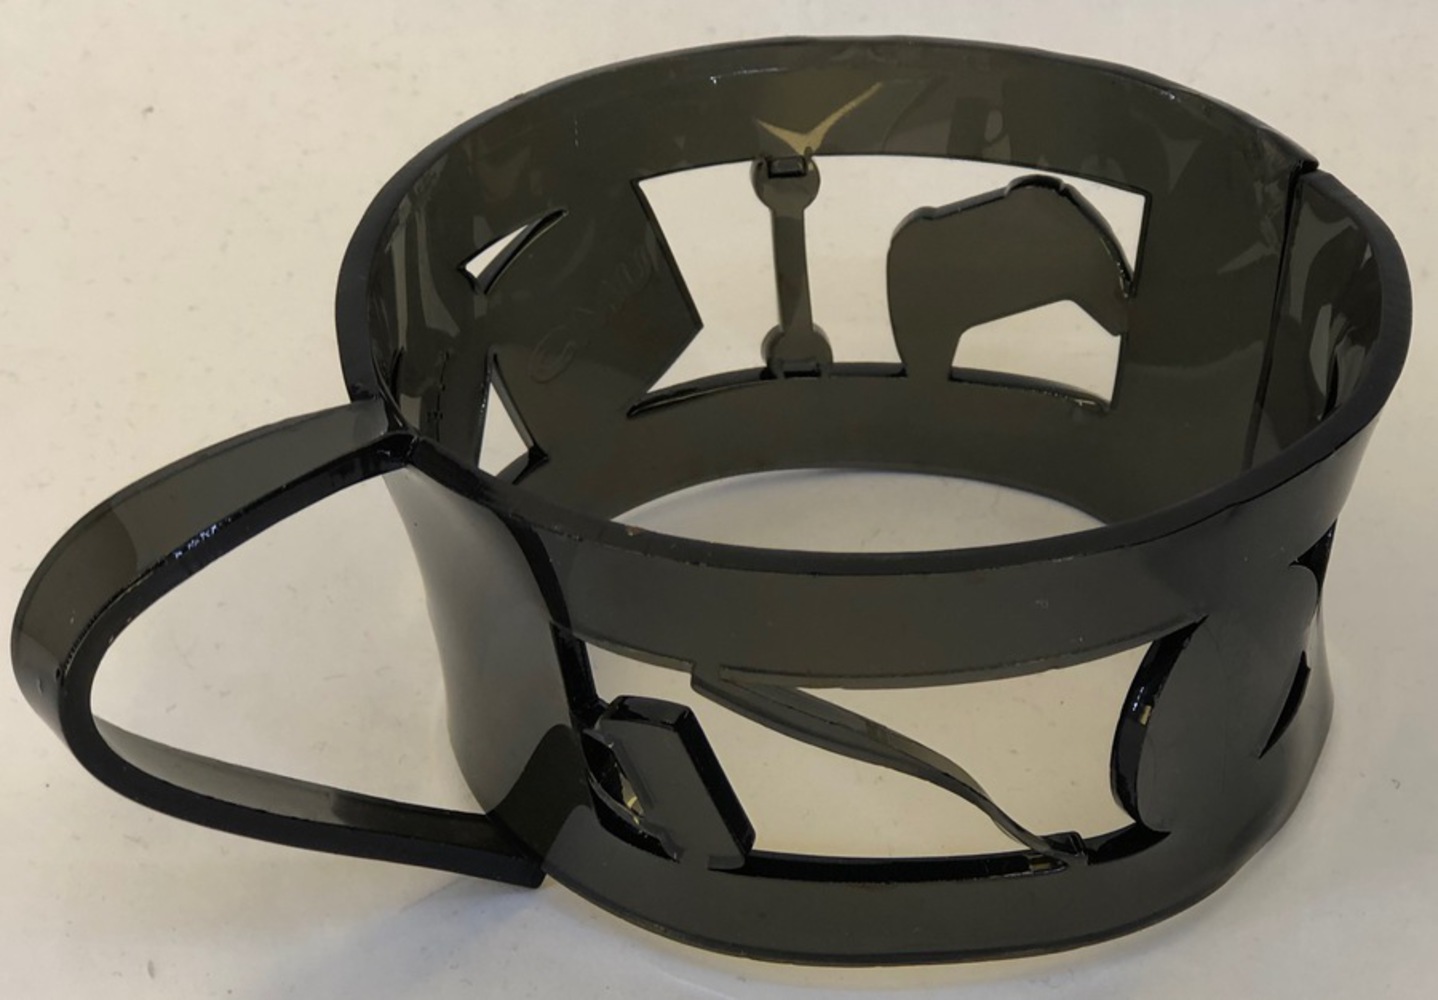
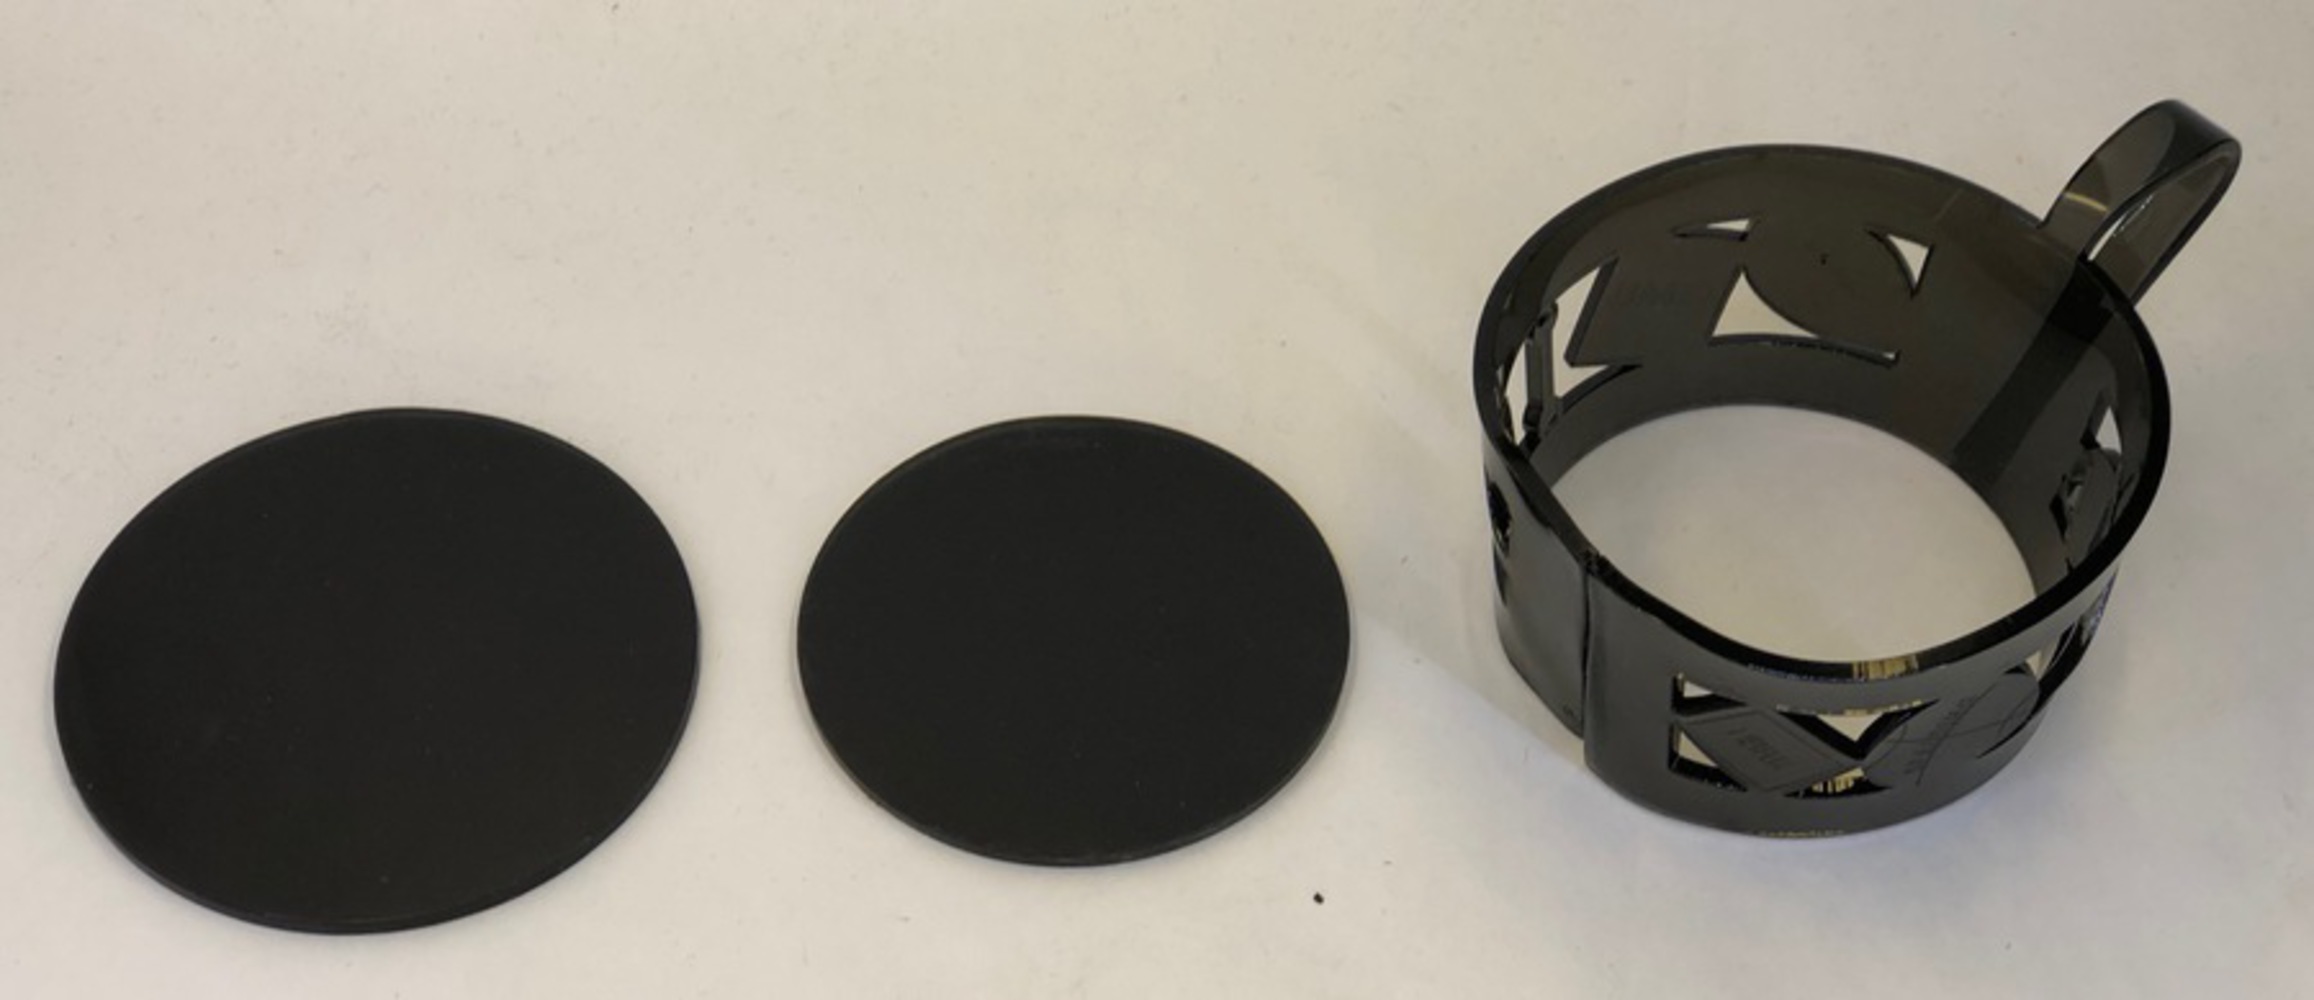
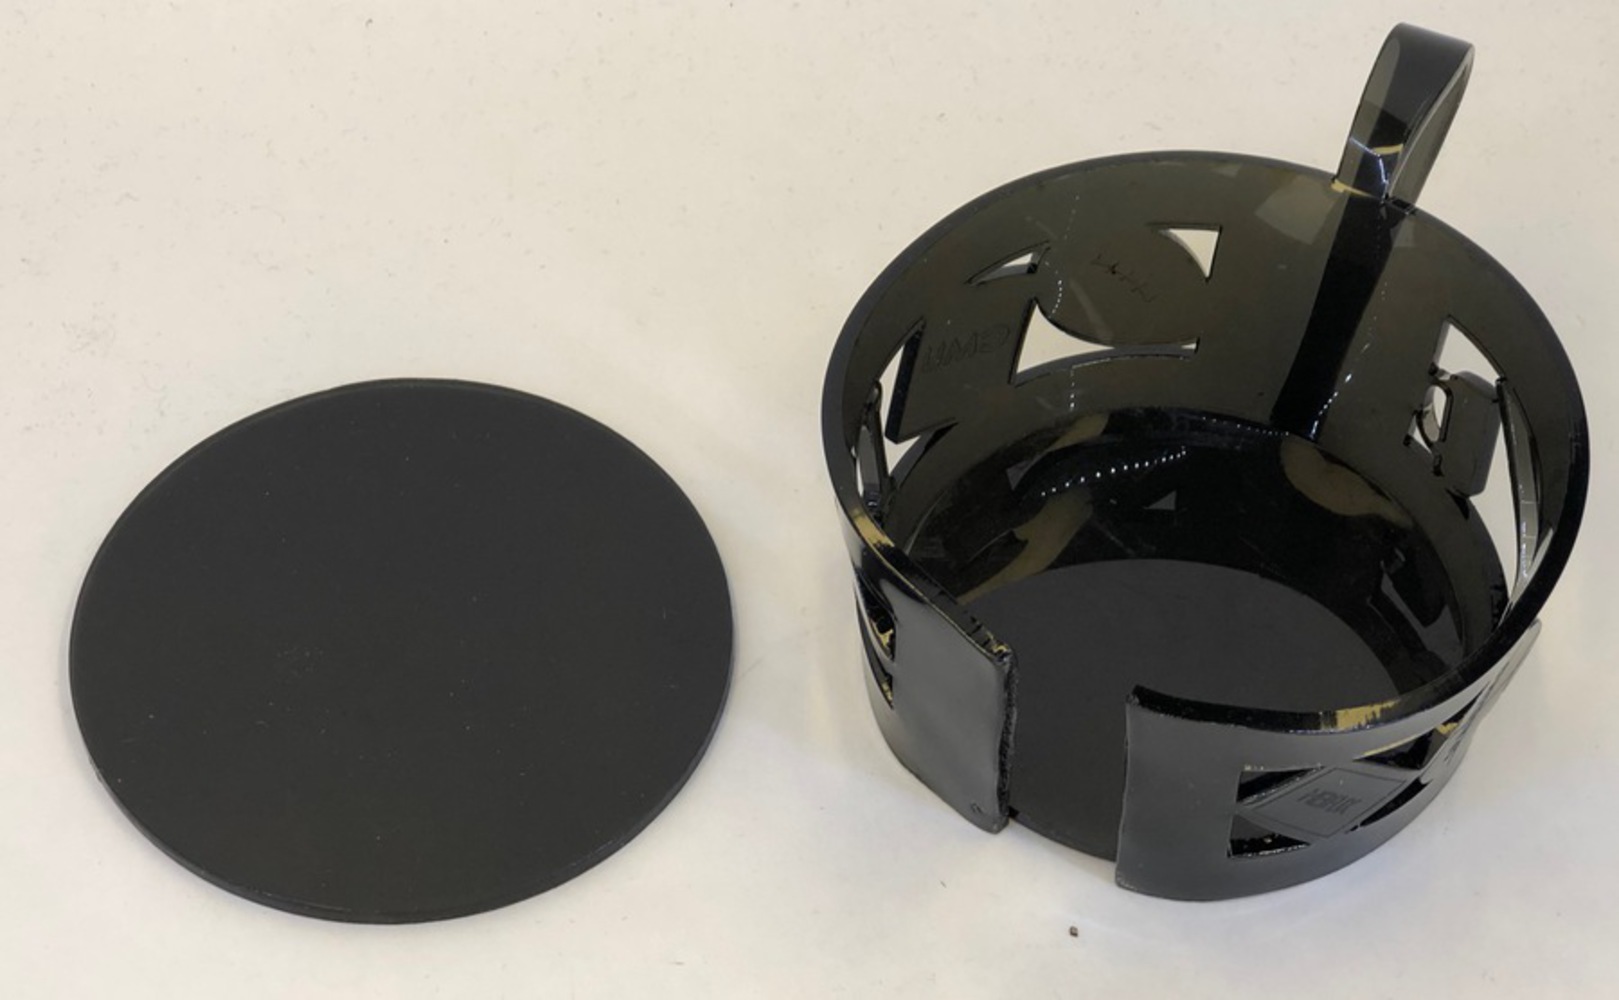
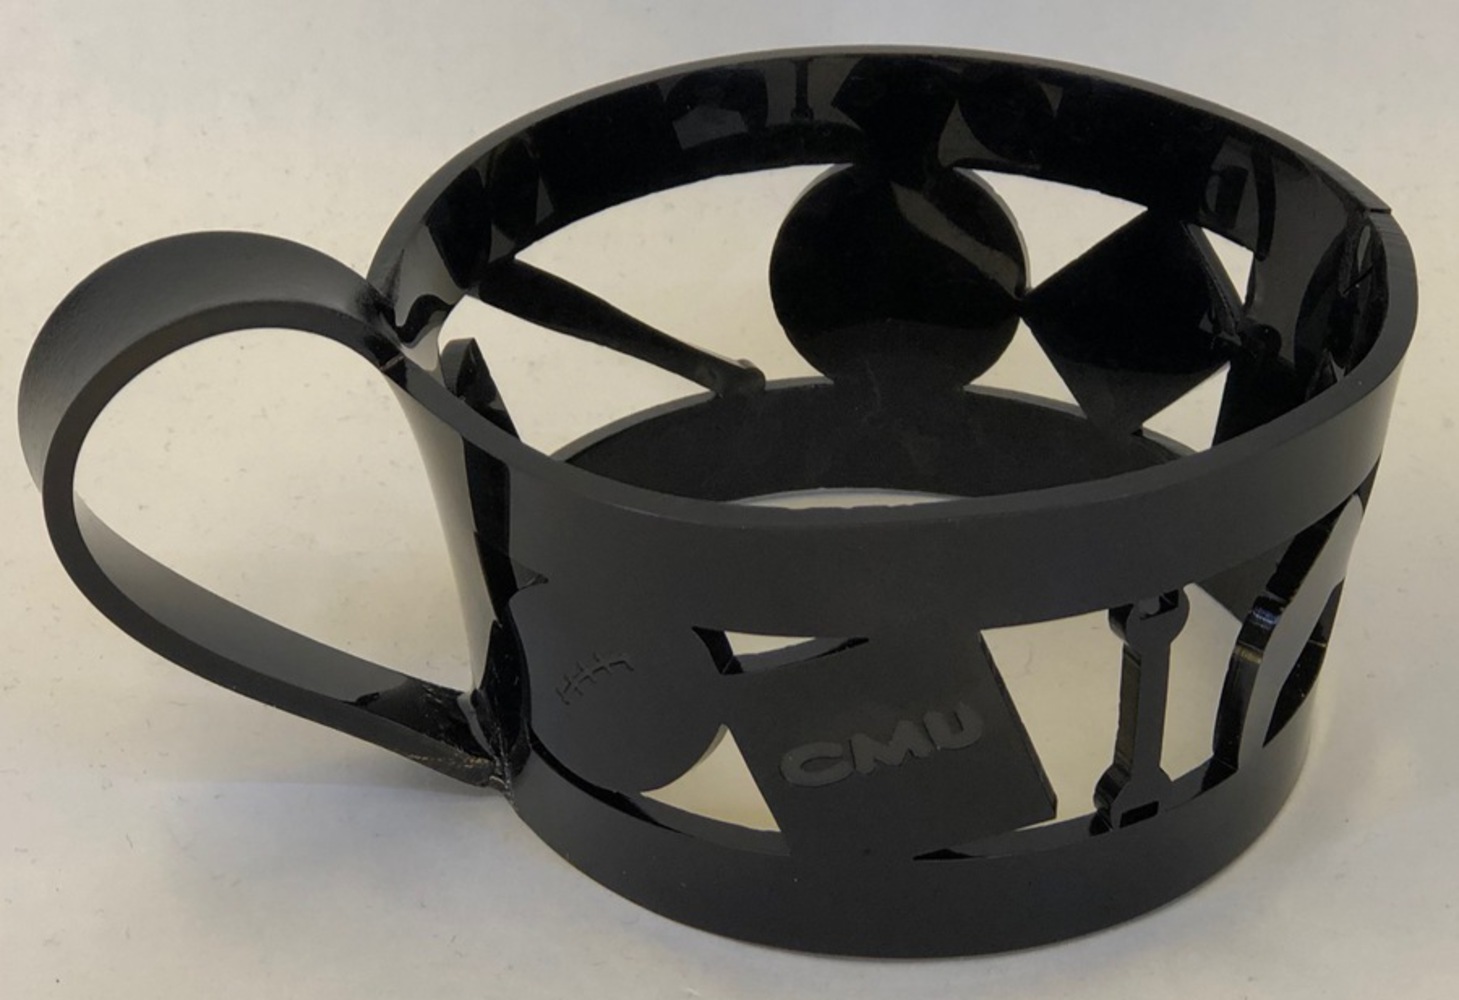
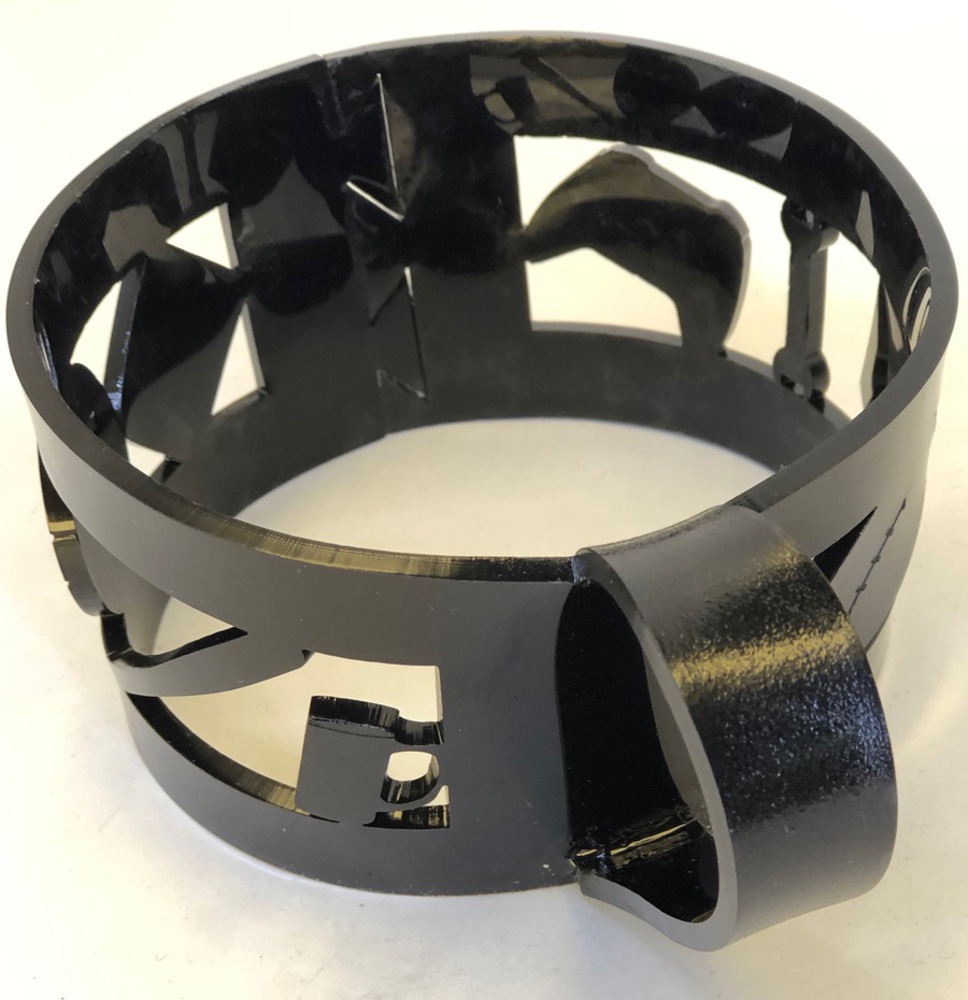
Applying what I learned from the previous iteration, I was able to create a better cup holder using the second iteration design. In order to heat form the cup holder, I first started with the flat acrylic cut out and smaller diameter circle cut out. I heat the acrylic close to the center area and wrapped the bottom of the sleeve closely around the circle cut out. After letting it cool a bit, I then focused on each side of the center and wrapped the bottom around the circle cutout until the snap fits were close together. I then heated up the snap fit edges and and connected the two. I then tried to heat the top edges of the cup holder and used the larger cutout disk to shape the top edge of the cup holder. The last step in shaping the cup holder was to heat all surfaces on the cylindrical surfaces. Then the sleeve is slid up on a Red Solo Cup in order to fully shape it. After cooling a bit the sleeve is removed from the cup.

The next step in manufacturing the sleeve is to shape the handle. First the handle was heated at the base and bent until it was horizontal. After cooling, the mid section of the handle (where the second bend is made) is heated. The bottom half of the handle is then bent until the edge of the handle touches the bottom edge of the cup sleeve. Once the handle was bent into place, a little bit of epoxy was applied between the edge of the handle and the cup sleeve to hold it fully in place. 

Pictures of the process and final product can be seen below. 

Img 1505 2.thumb
Show Advanced Options
Img 1506 2.thumb
Show Advanced Options
Img 1500 2.thumb
Show Advanced Options
Img 1499 2.thumb
Show Advanced Options
Img 1501 2.thumb
Show Advanced Options

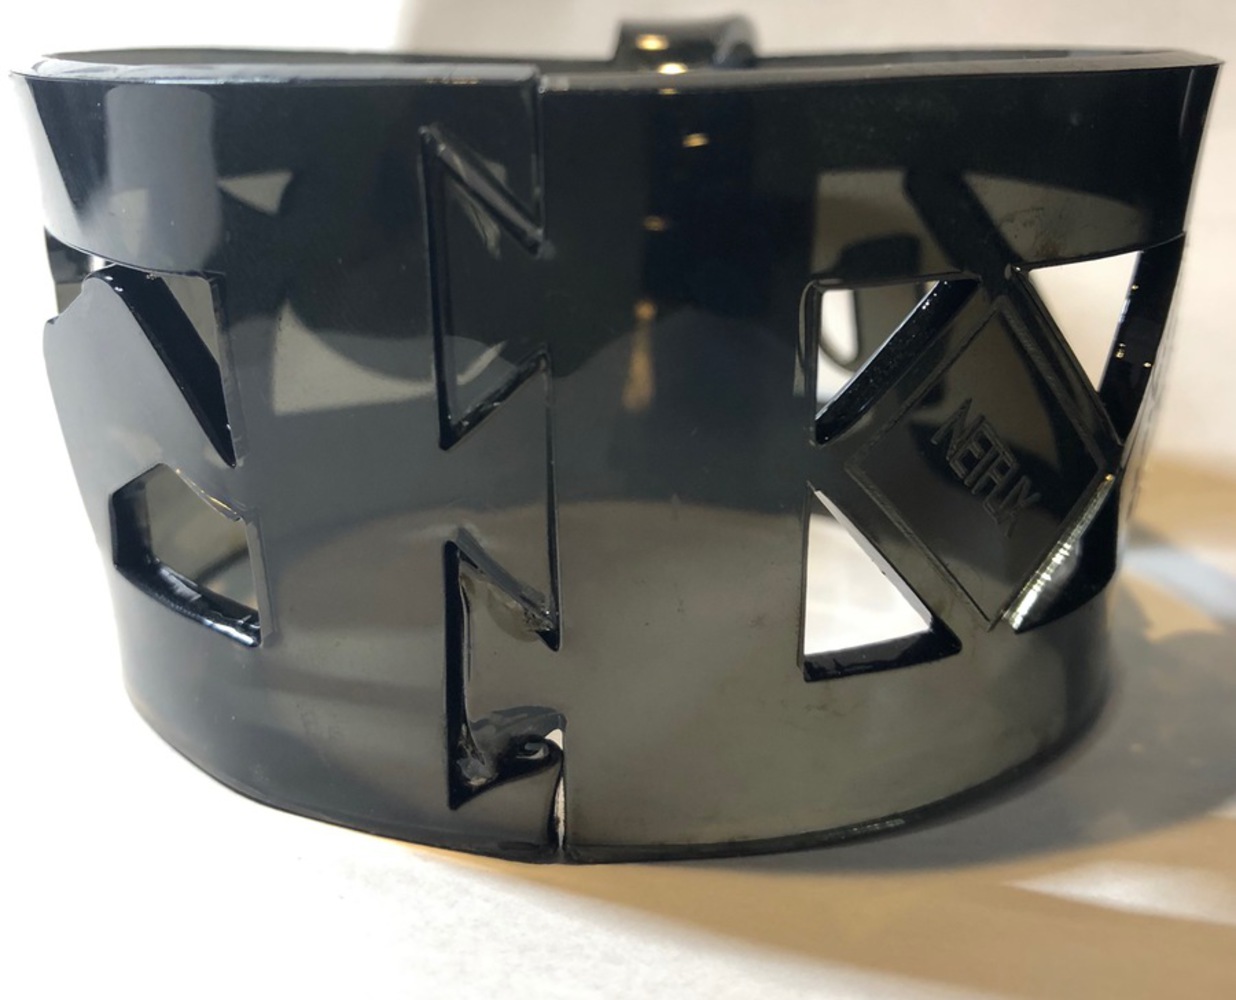
Two attempts were made with the second design before coming up with the final product. The first one had a defect in the snap fit area where the acrylic was overheated and deformed. This can be seen below. Also, and addition made in the second attempt was purposely bubbling the handle for a bit of texture and style. 

Img 1522.thumb
Show Advanced Options

Final Product

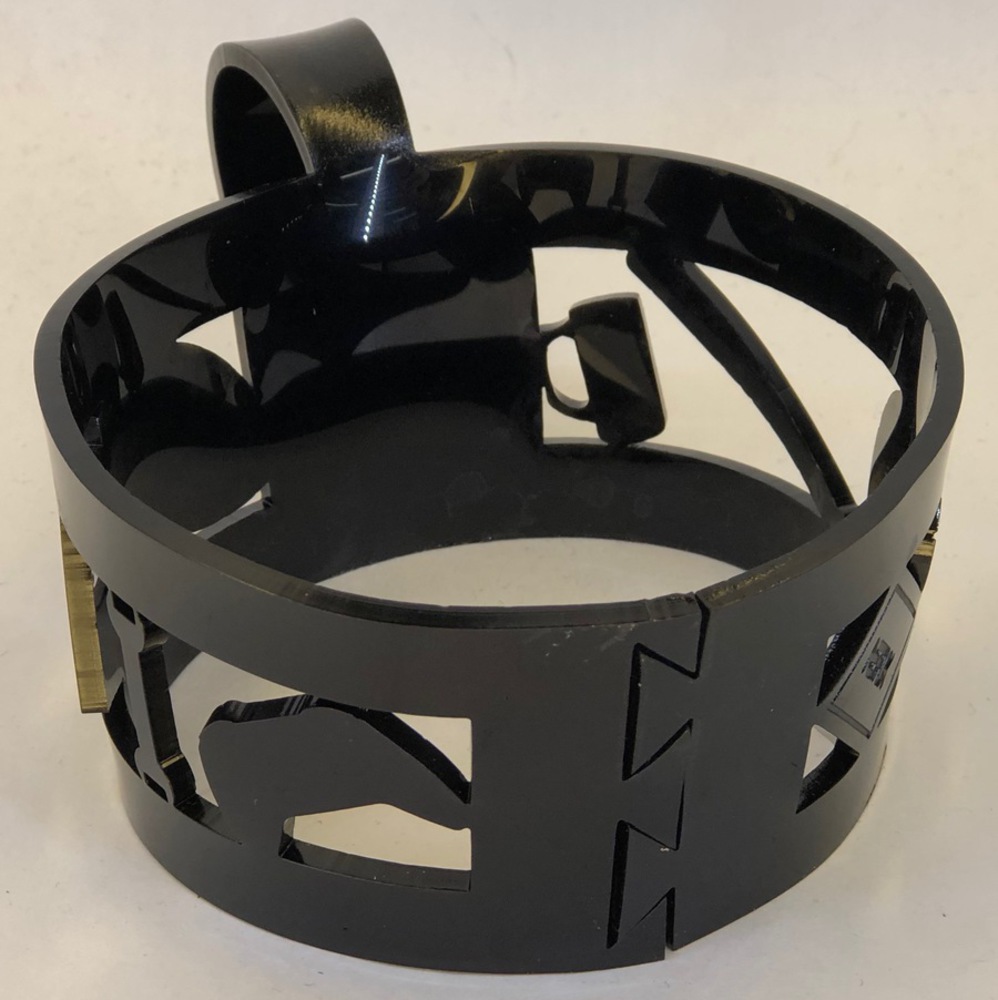
In the second attempt, this defect was fixed and the final product was created. In context photos of the cup sleeve can be viewed below:

Img 1515.thumb
Show Advanced Options
Img 1514.thumb
Show Advanced Options
Img 1513.thumb
Show Advanced Options
Img 1512.thumb
Show Advanced Options
Drop files here or click to select

You can upload files of up to 20MB using this form.