Back to Parent

Outcome


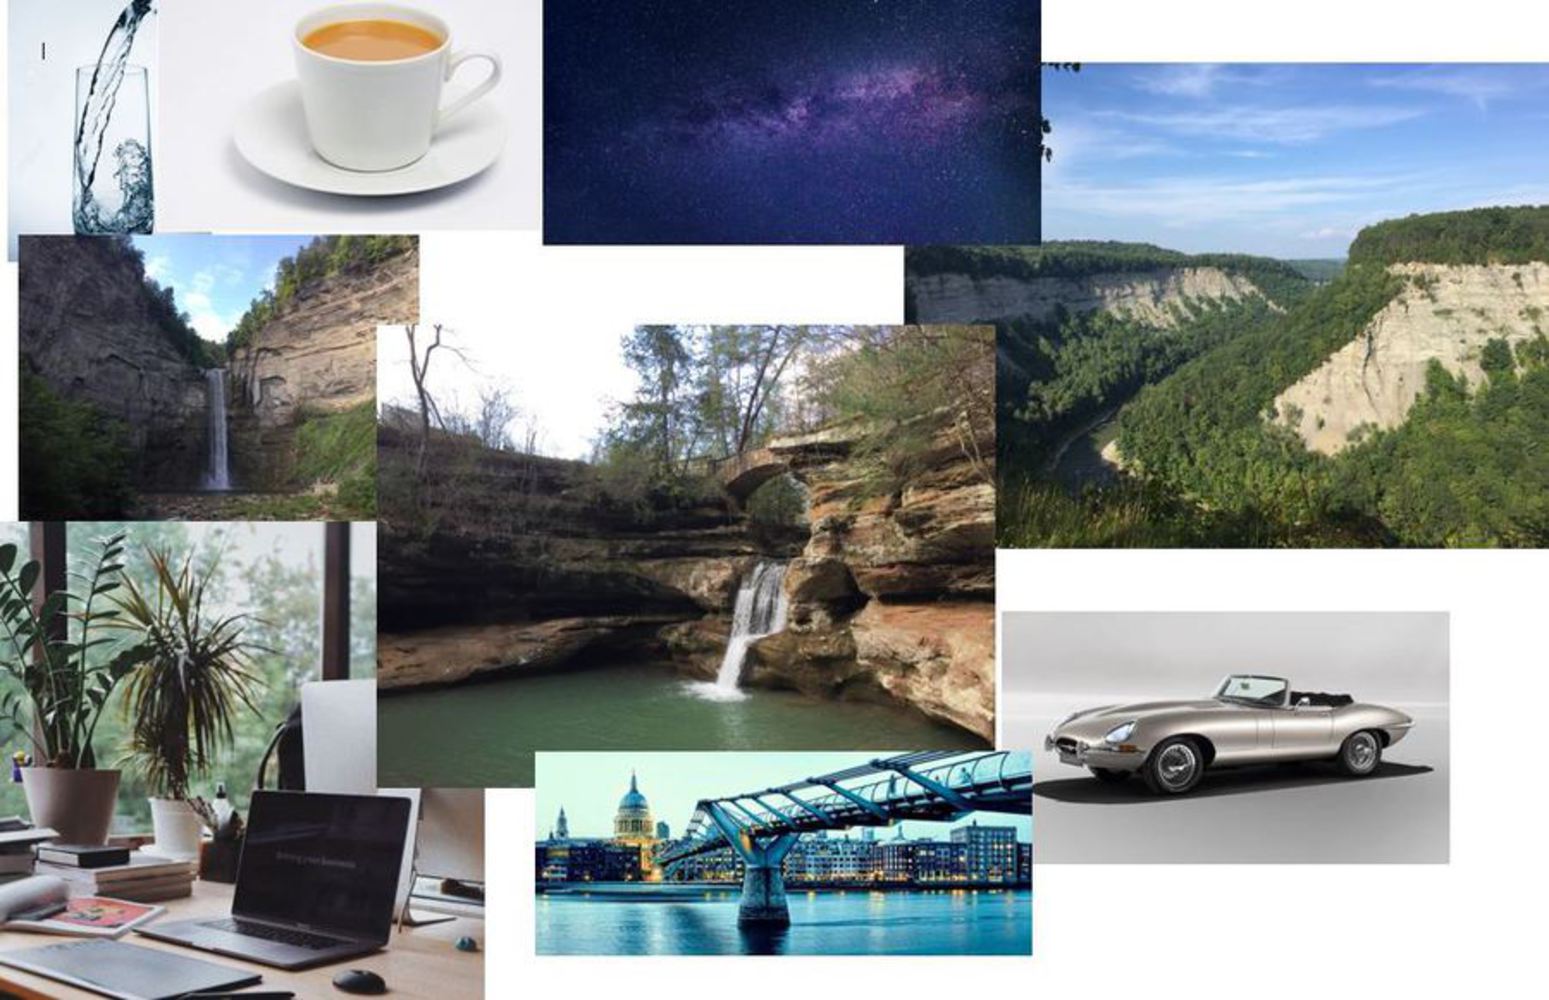
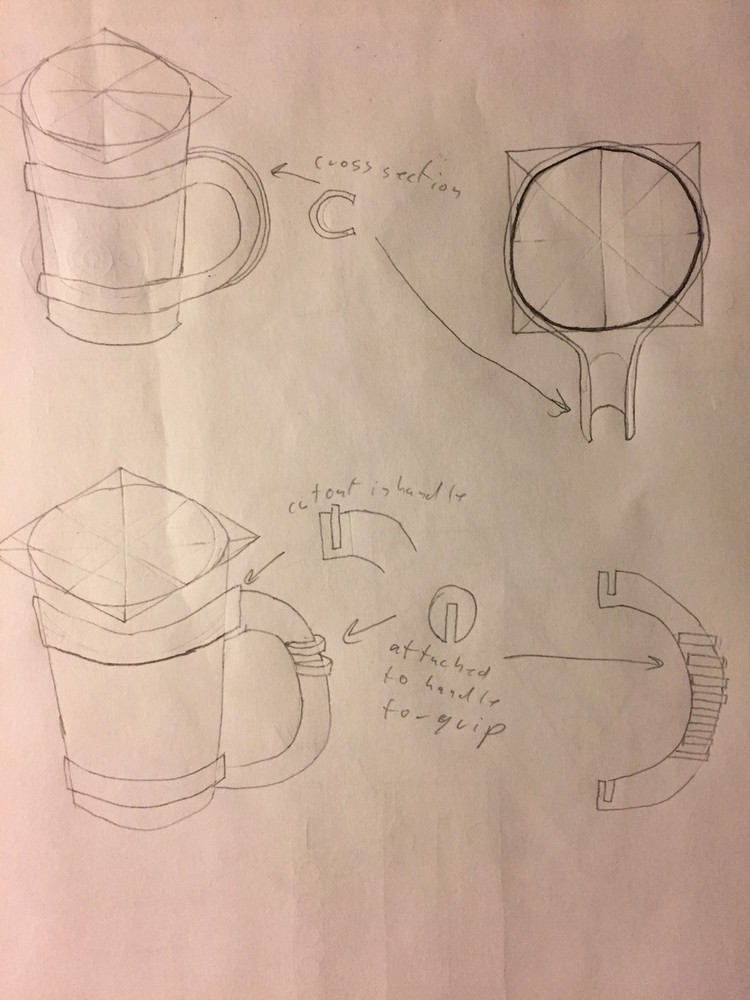
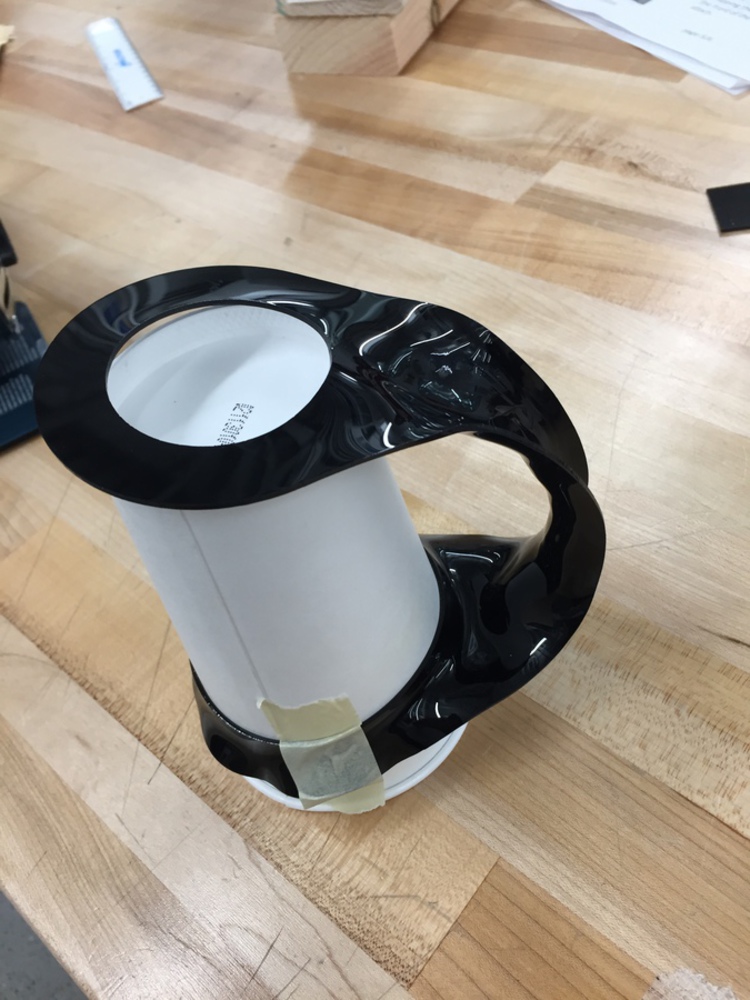
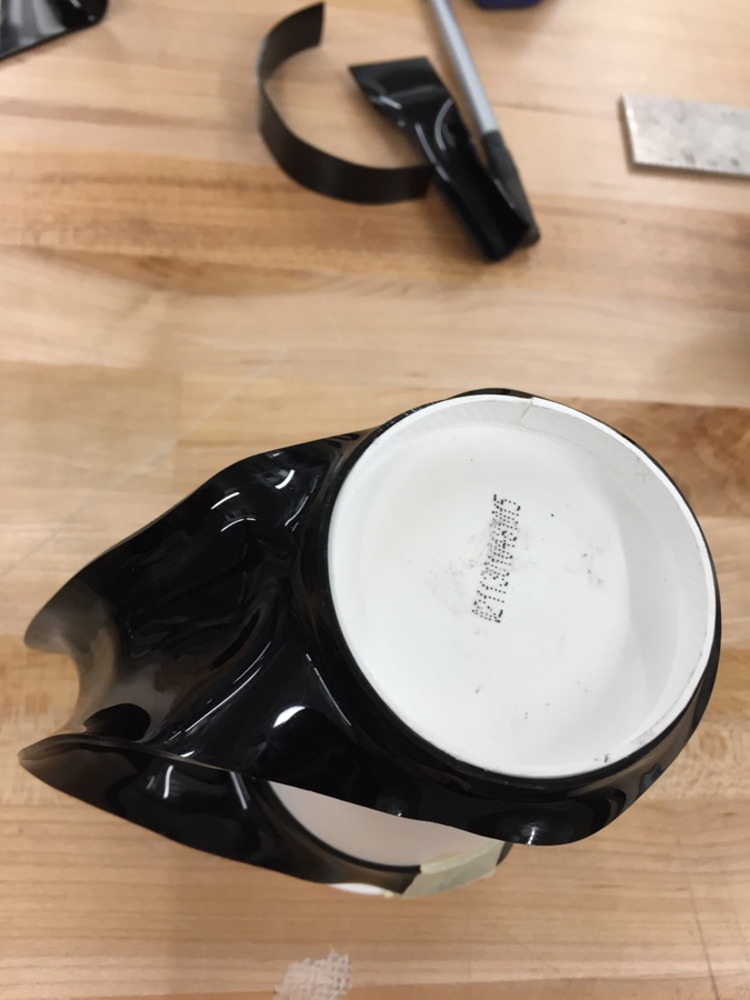
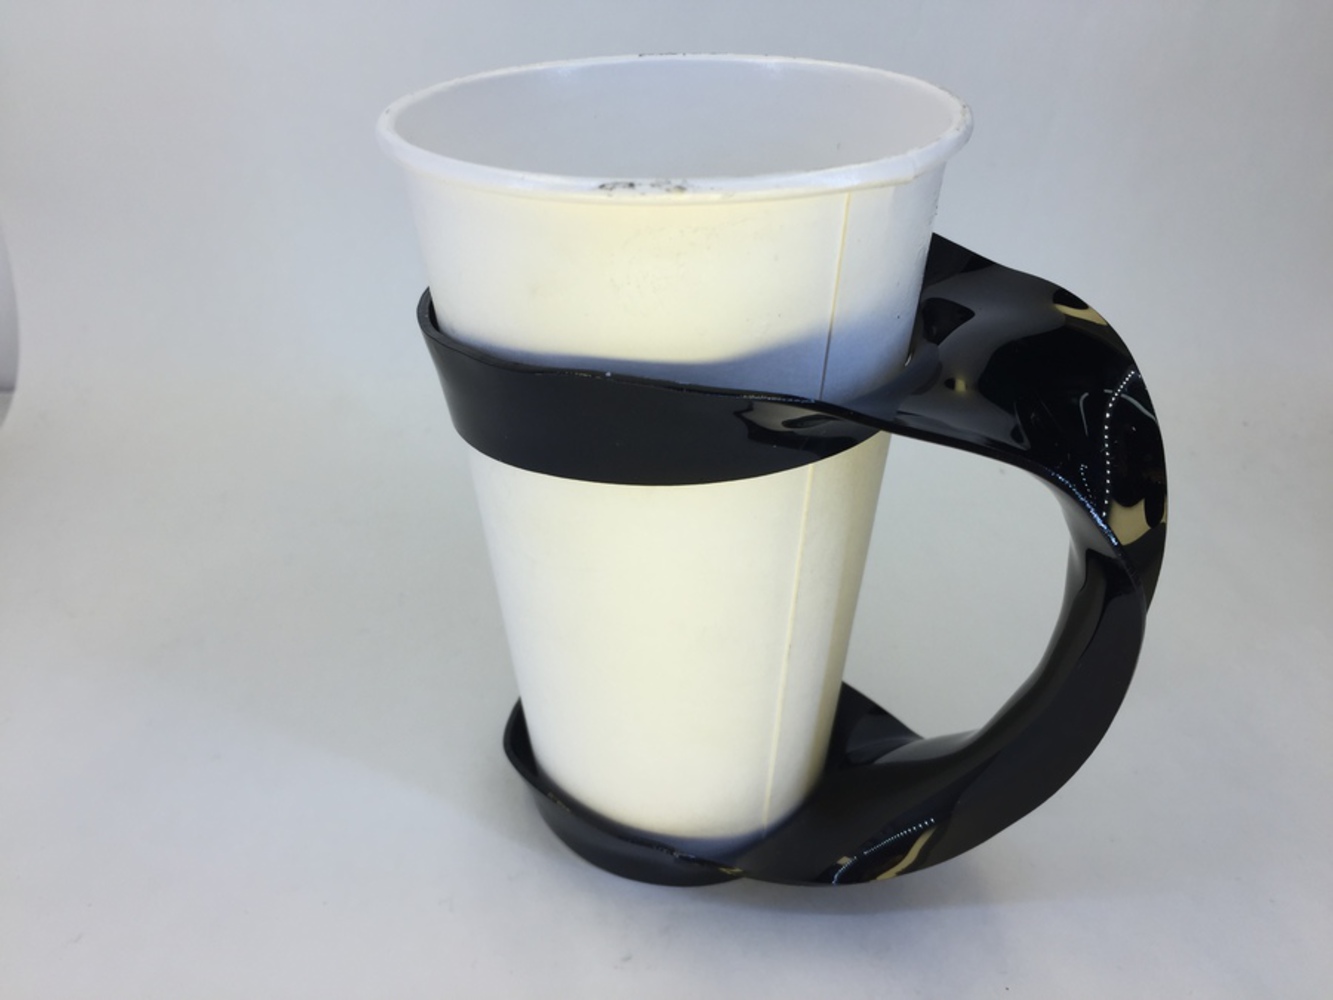
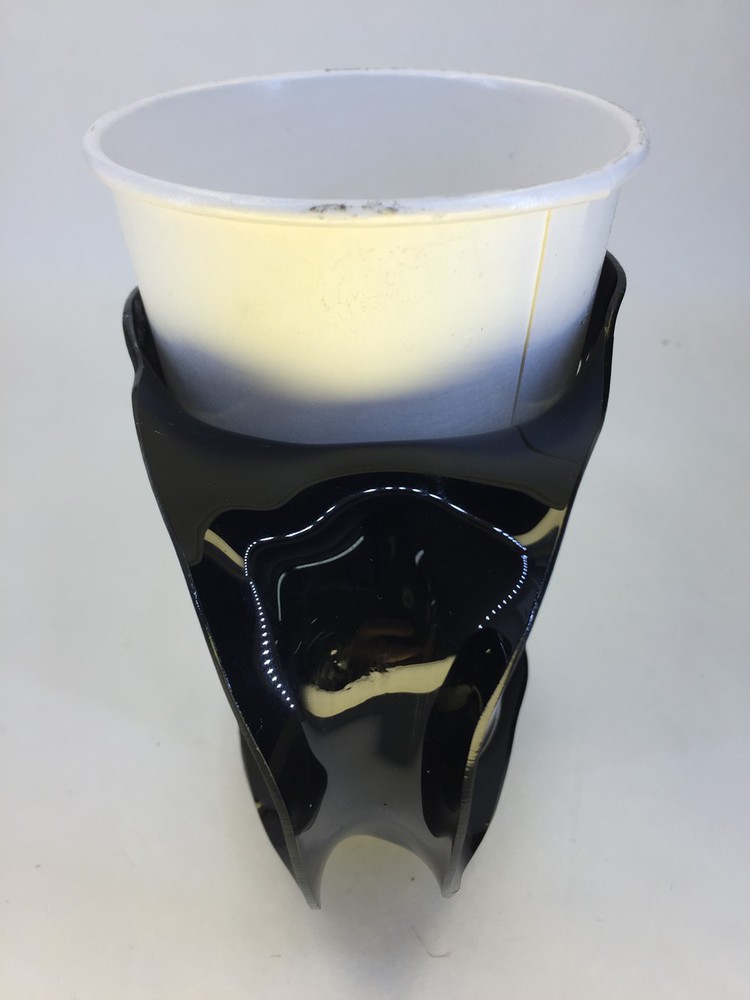
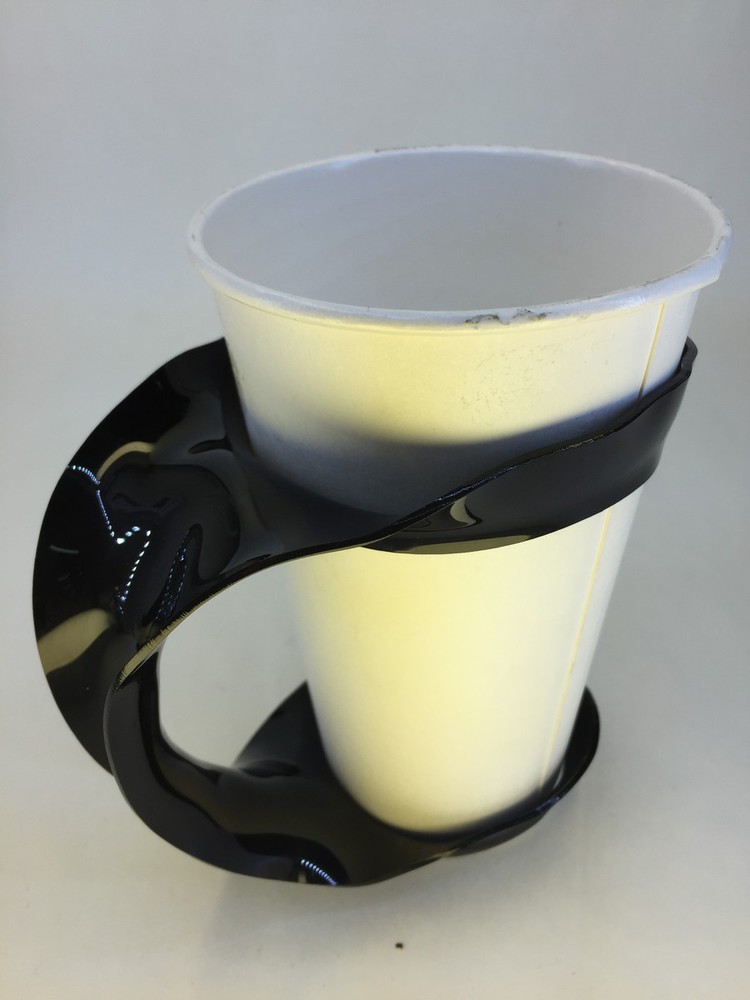
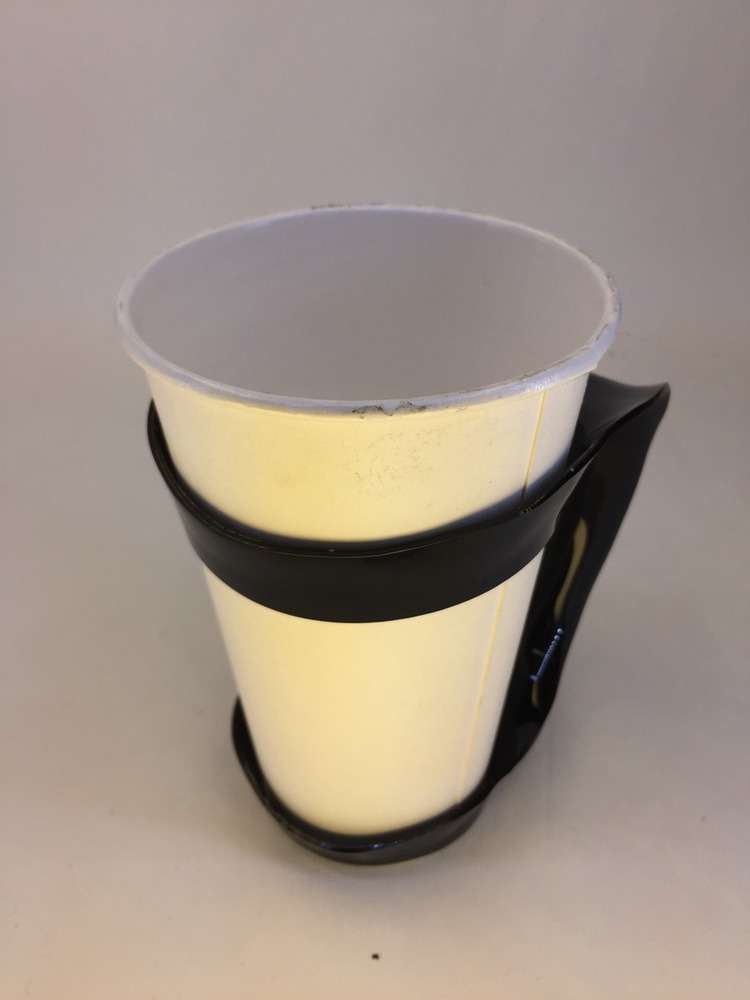
With my mood board, I was inspired by simple, flowing designs and I wanted to build a cupholder that would have this appearance. I decided that using a single piece of acrylic was the best way to achieve this, since it avoids having any glue or joints which would take away from  the clean look.

Capture.jpg.thumb
Show Advanced Options
Img 1069 3.thumb
Show Advanced Options

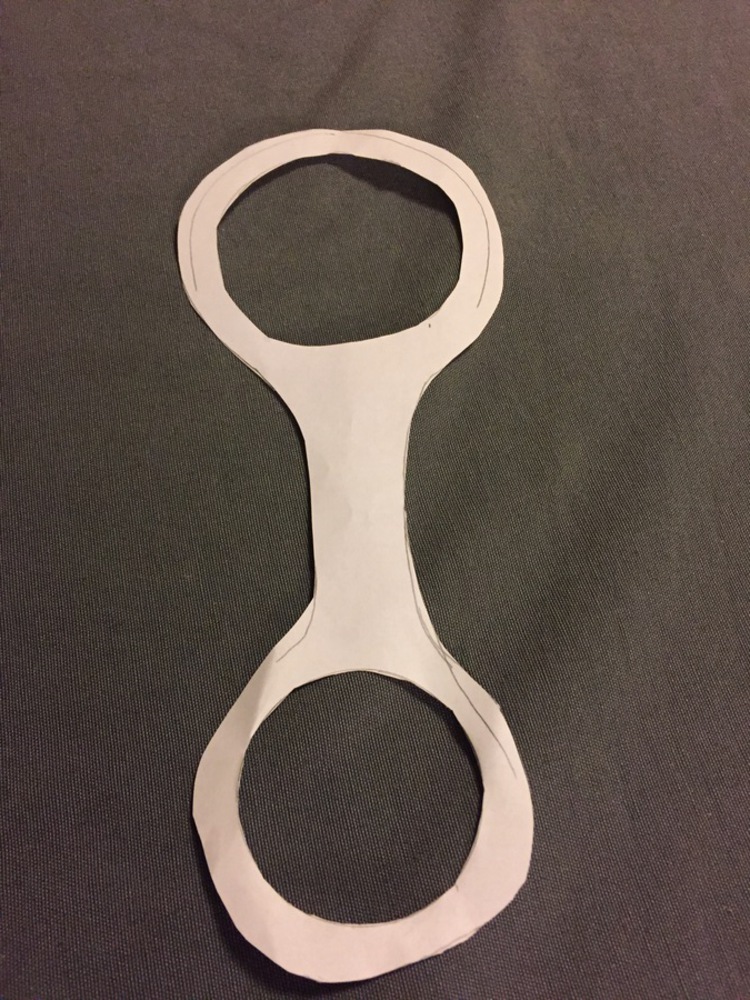
I began by making a simple paper cutout to test the dimensions of my cupholder. This way I could make sure everything fit properly without wasting acrylic.

Img 1066.jpg.thumb
Show Advanced Options

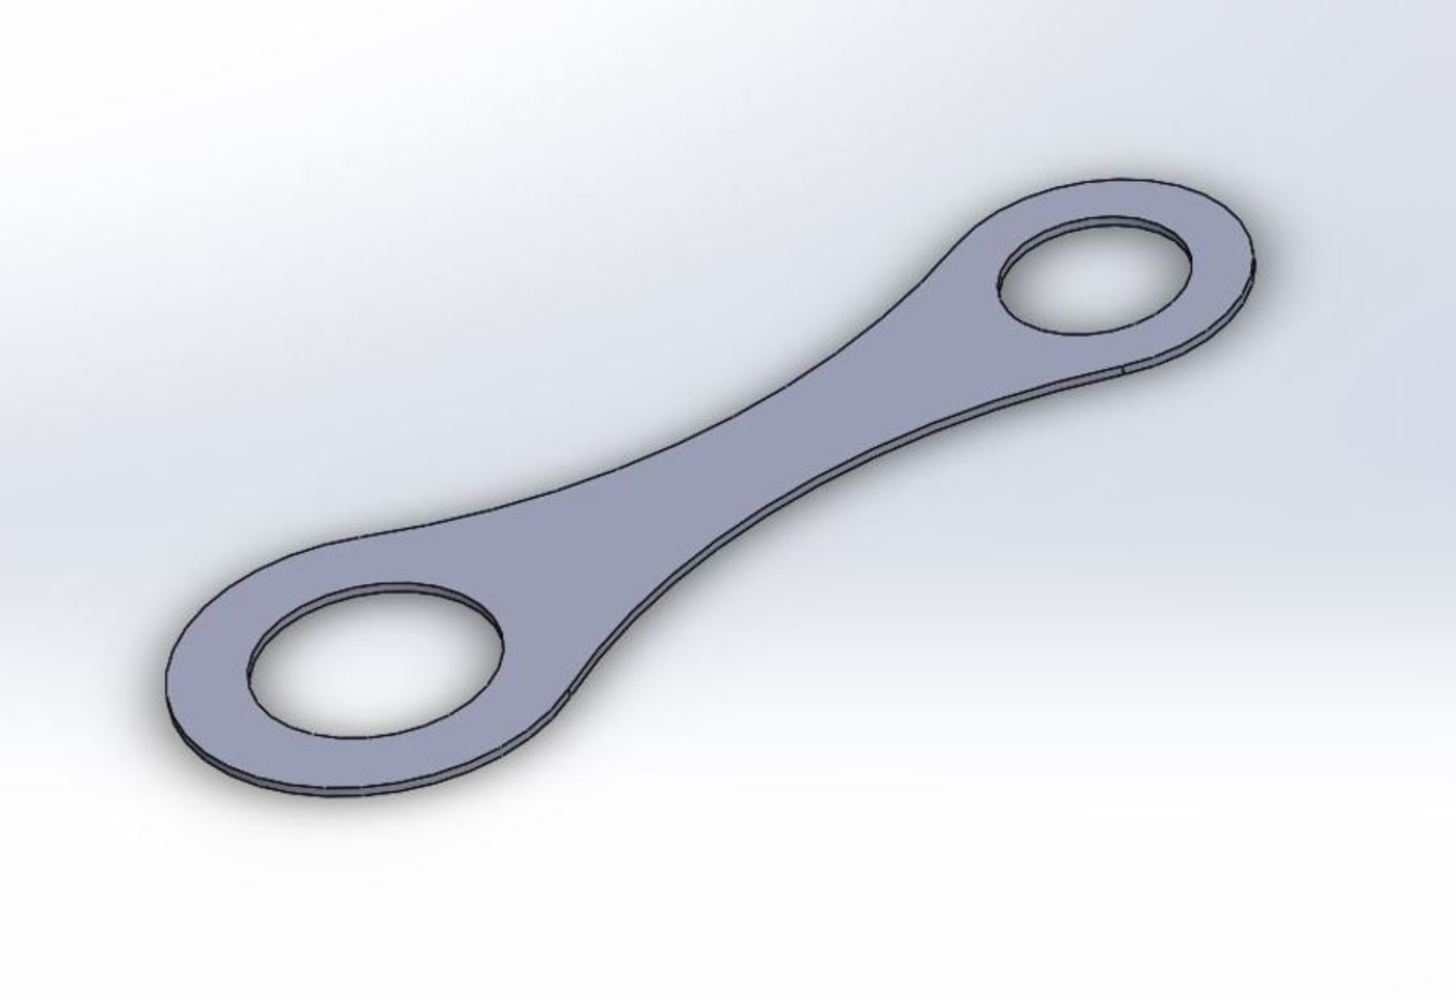
Using the dimensions of this paper cutout as a reference, I produced a CAD model that could be cut out on a laser cutter.

Capture2.jpg.thumb
Show Advanced Options

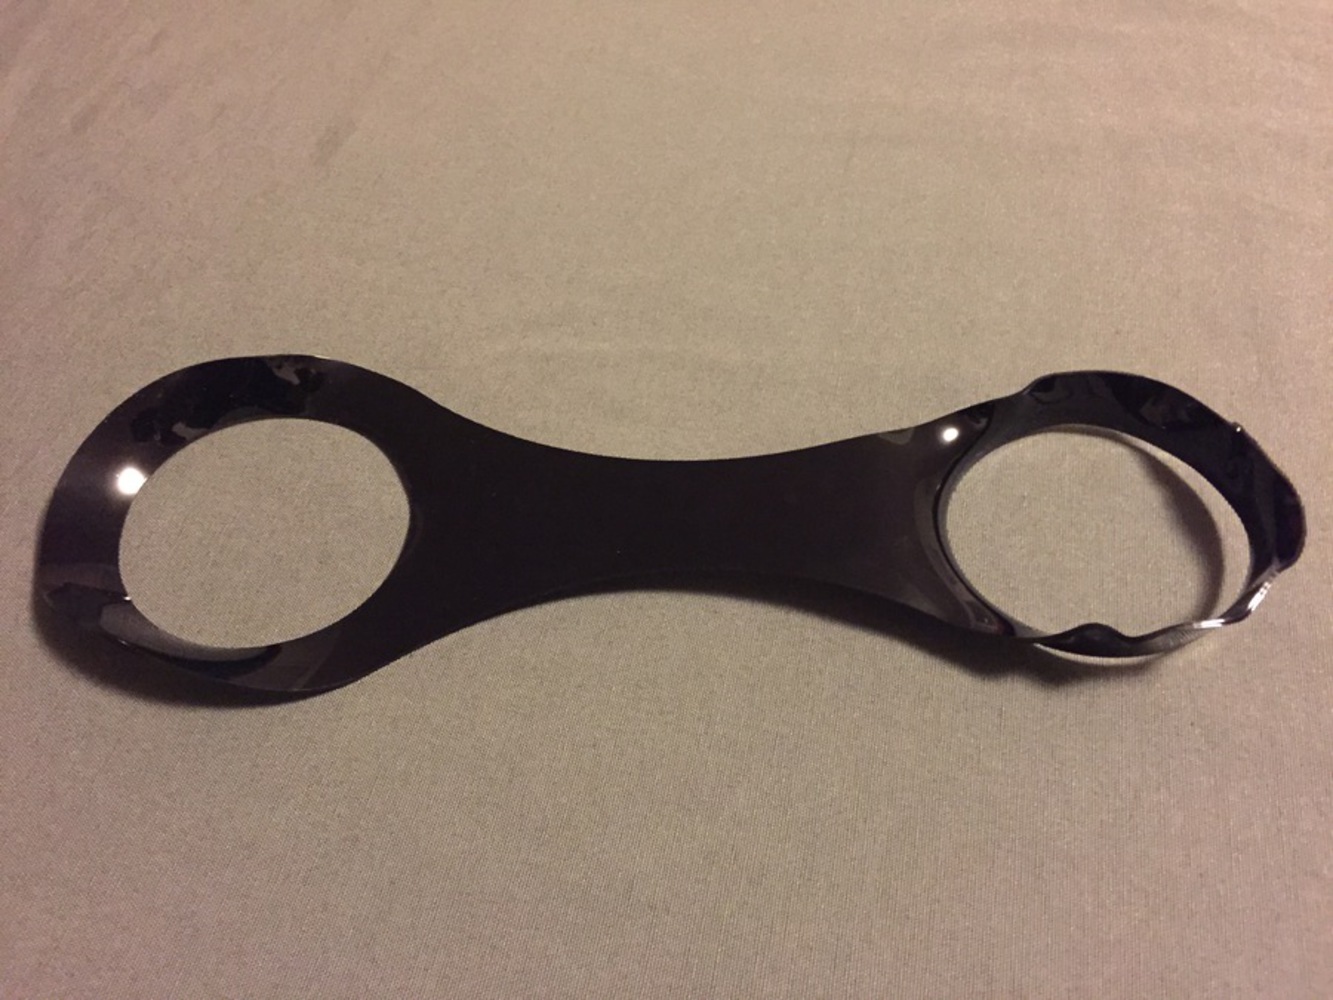
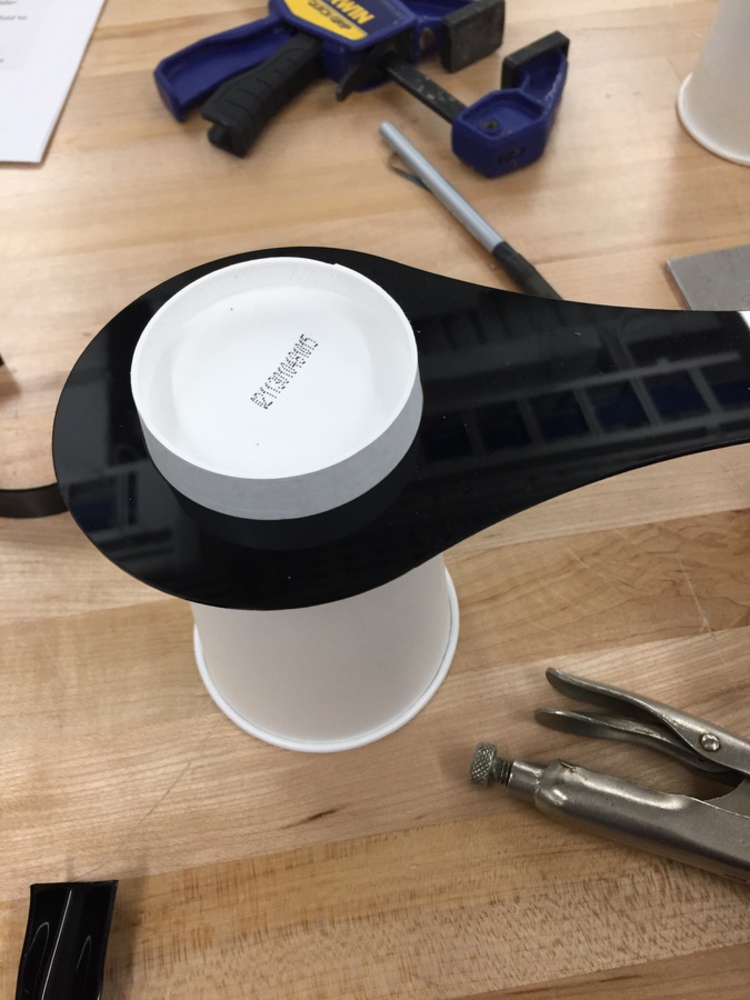
I cut this out on thin acrylic, which was chosen because it would be easier to heat form than thicker material. However, I did not account for the fact that the acrylic could stretch easily when heated and the rings quickly became too large for the cup.

Img 1067.jpg.thumb
Show Advanced Options

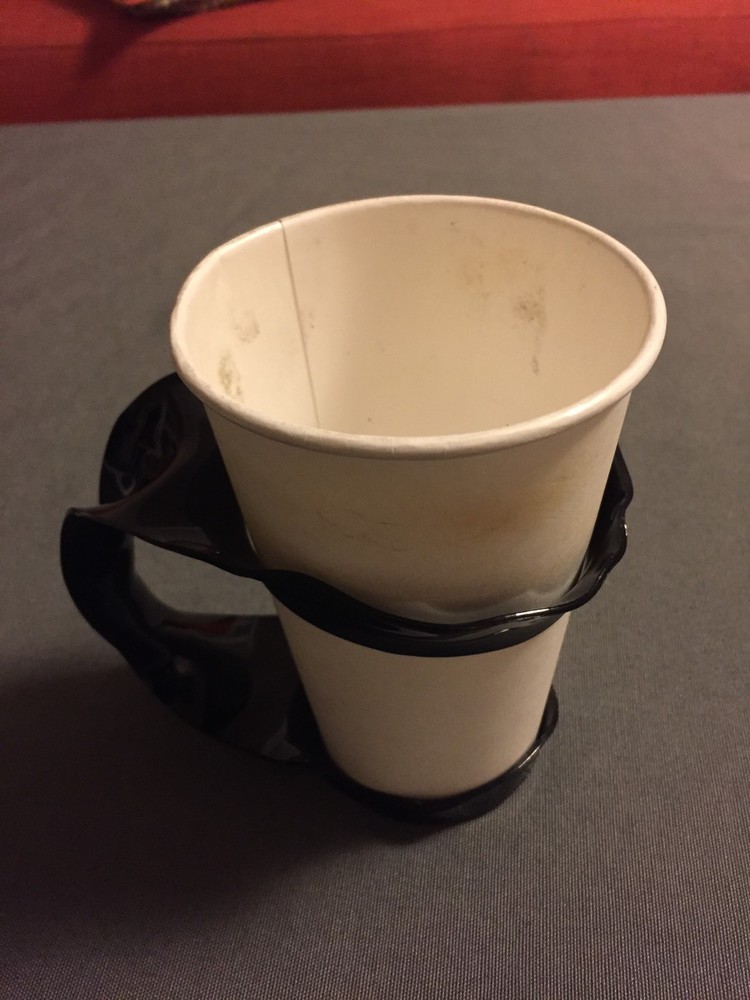
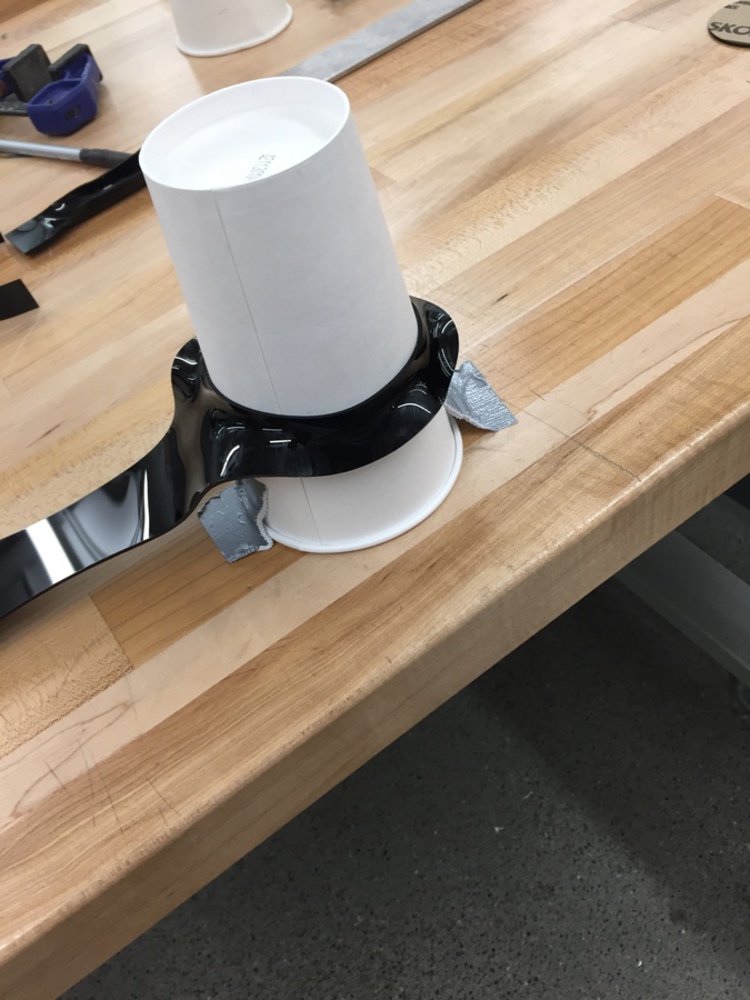
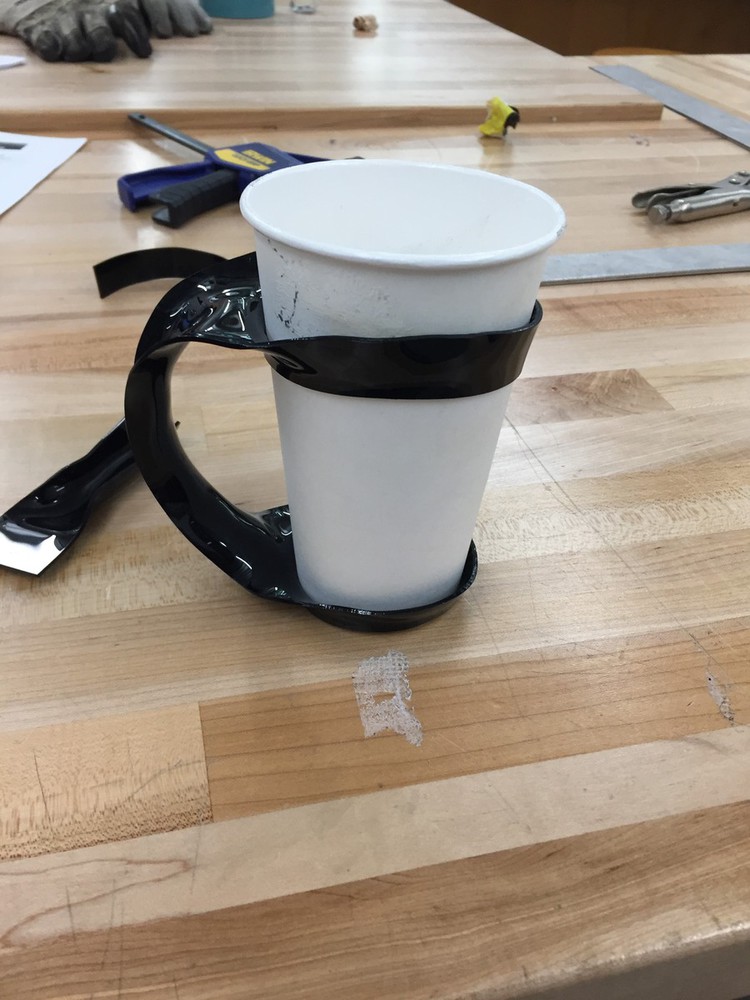
For my second prototype, I significantly shrank the size of the rings, however, it proved to be difficult to manually bend a complex shape by hand, especially since the makespace only had right gloves. As a result, this prototype could hold a cup, but had a sloppy look and did not have the clean, simple design that I wanted.

Img 1065 2.thumb
Show Advanced Options

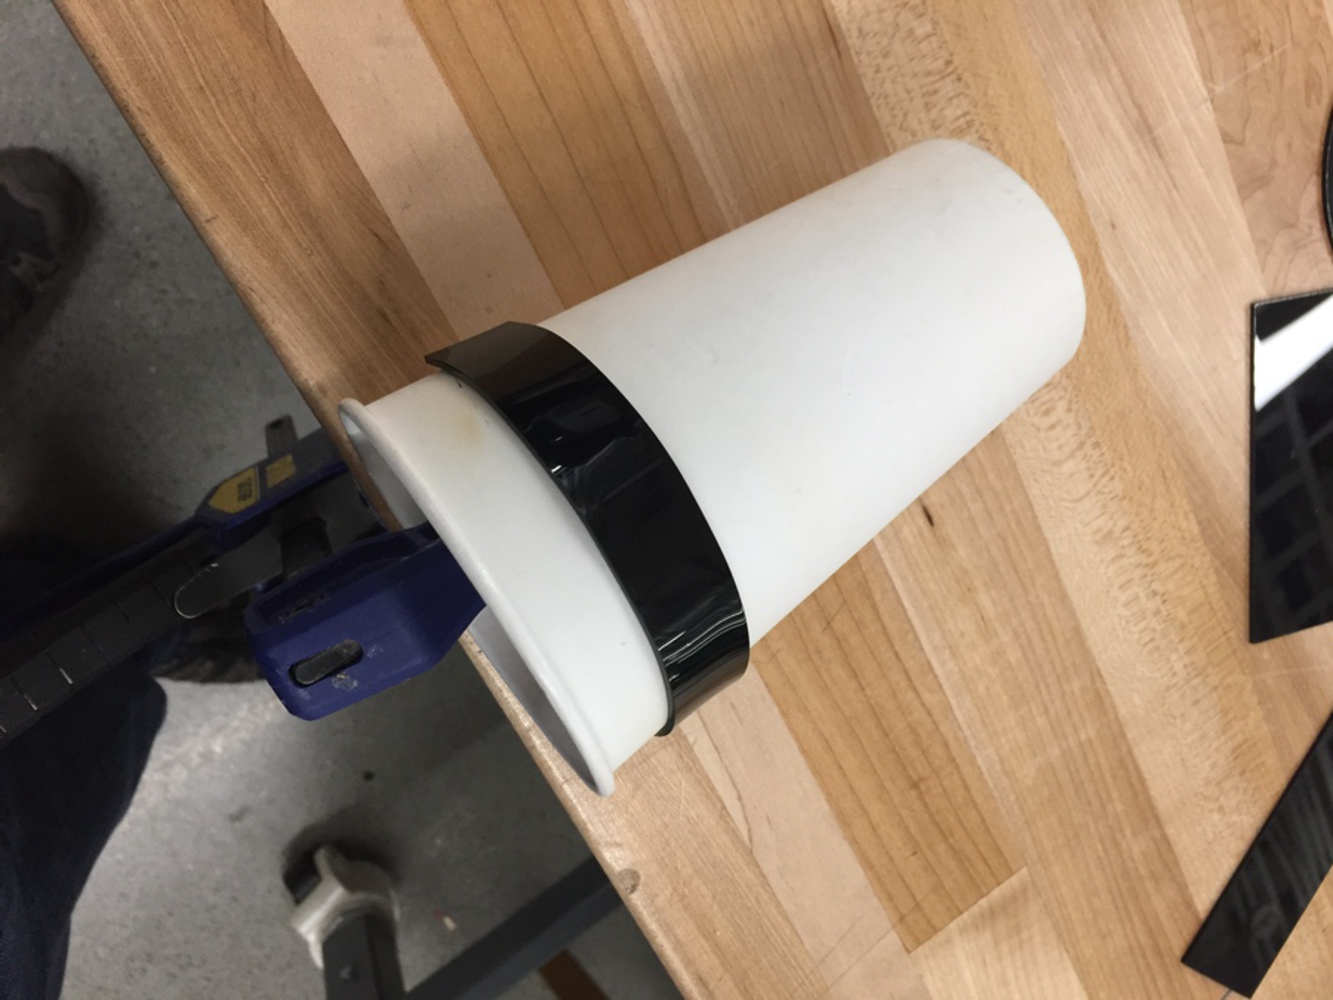
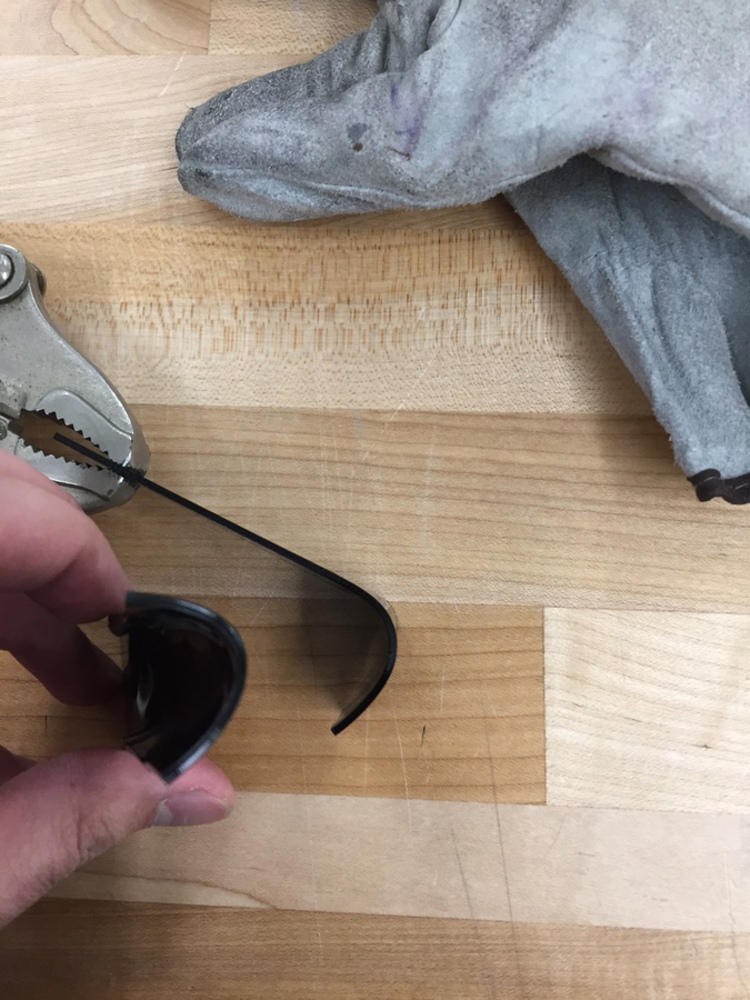
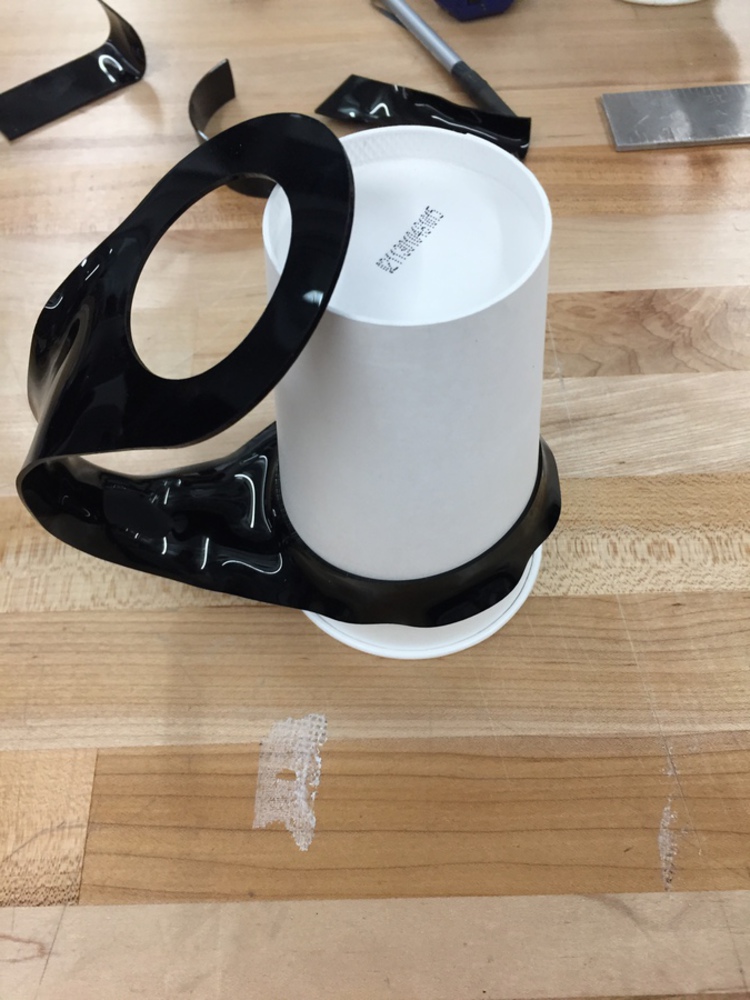
To improve on my previous prototype, I built some simple tools out of acrylic that could be used to press the correct shapes into the handle and rings. These consisted of a half circle for removing the rough edges on the rings and two pieces that could be used to make the handle more even. I also was more careful with bending the handle, and was able to achieve a much better result than the previous prototype.

Img 1039.jpg.thumb
Show Advanced Options
Img 1044.jpg.thumb
Show Advanced Options
Img 1045.jpg.thumb
Show Advanced Options
Img 1046.jpg.thumb
Show Advanced Options
Img 1047.jpg.thumb
Show Advanced Options
Img 1049.jpg.thumb
Show Advanced Options
Img 1051.jpg.thumb
Show Advanced Options

After finishing the initial heat forming, I cleaned up the design with the tools that I made earlier.

Img 1055 2.thumb
Show Advanced Options
Img 1059.jpg.thumb
Show Advanced Options
Img 1060 2.thumb
Show Advanced Options
Img 1061 2.thumb
Show Advanced Options
Img 1063 2.thumb
Show Advanced Options
Drop files here or click to select

You can upload files of up to 20MB using this form.