Back to Parent

Outcome


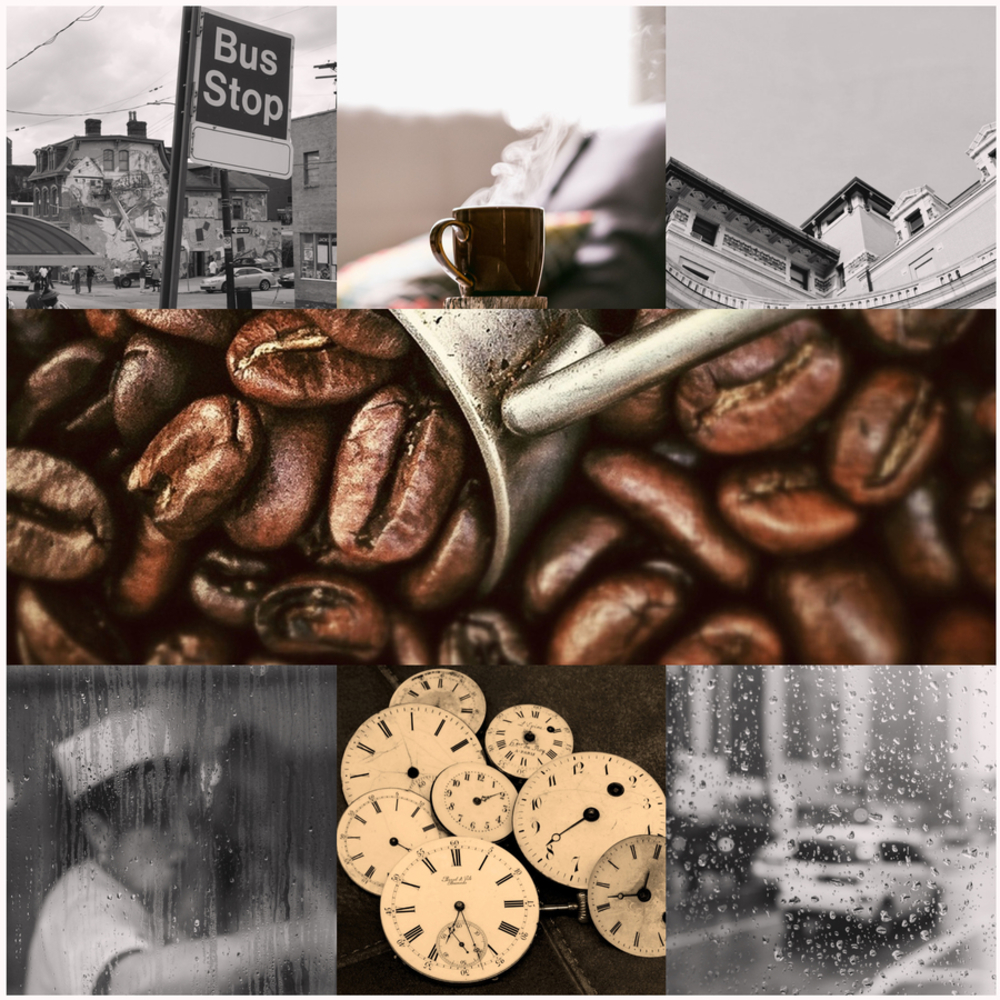
EARLY BRAINSTORMING AND MOODBOARD

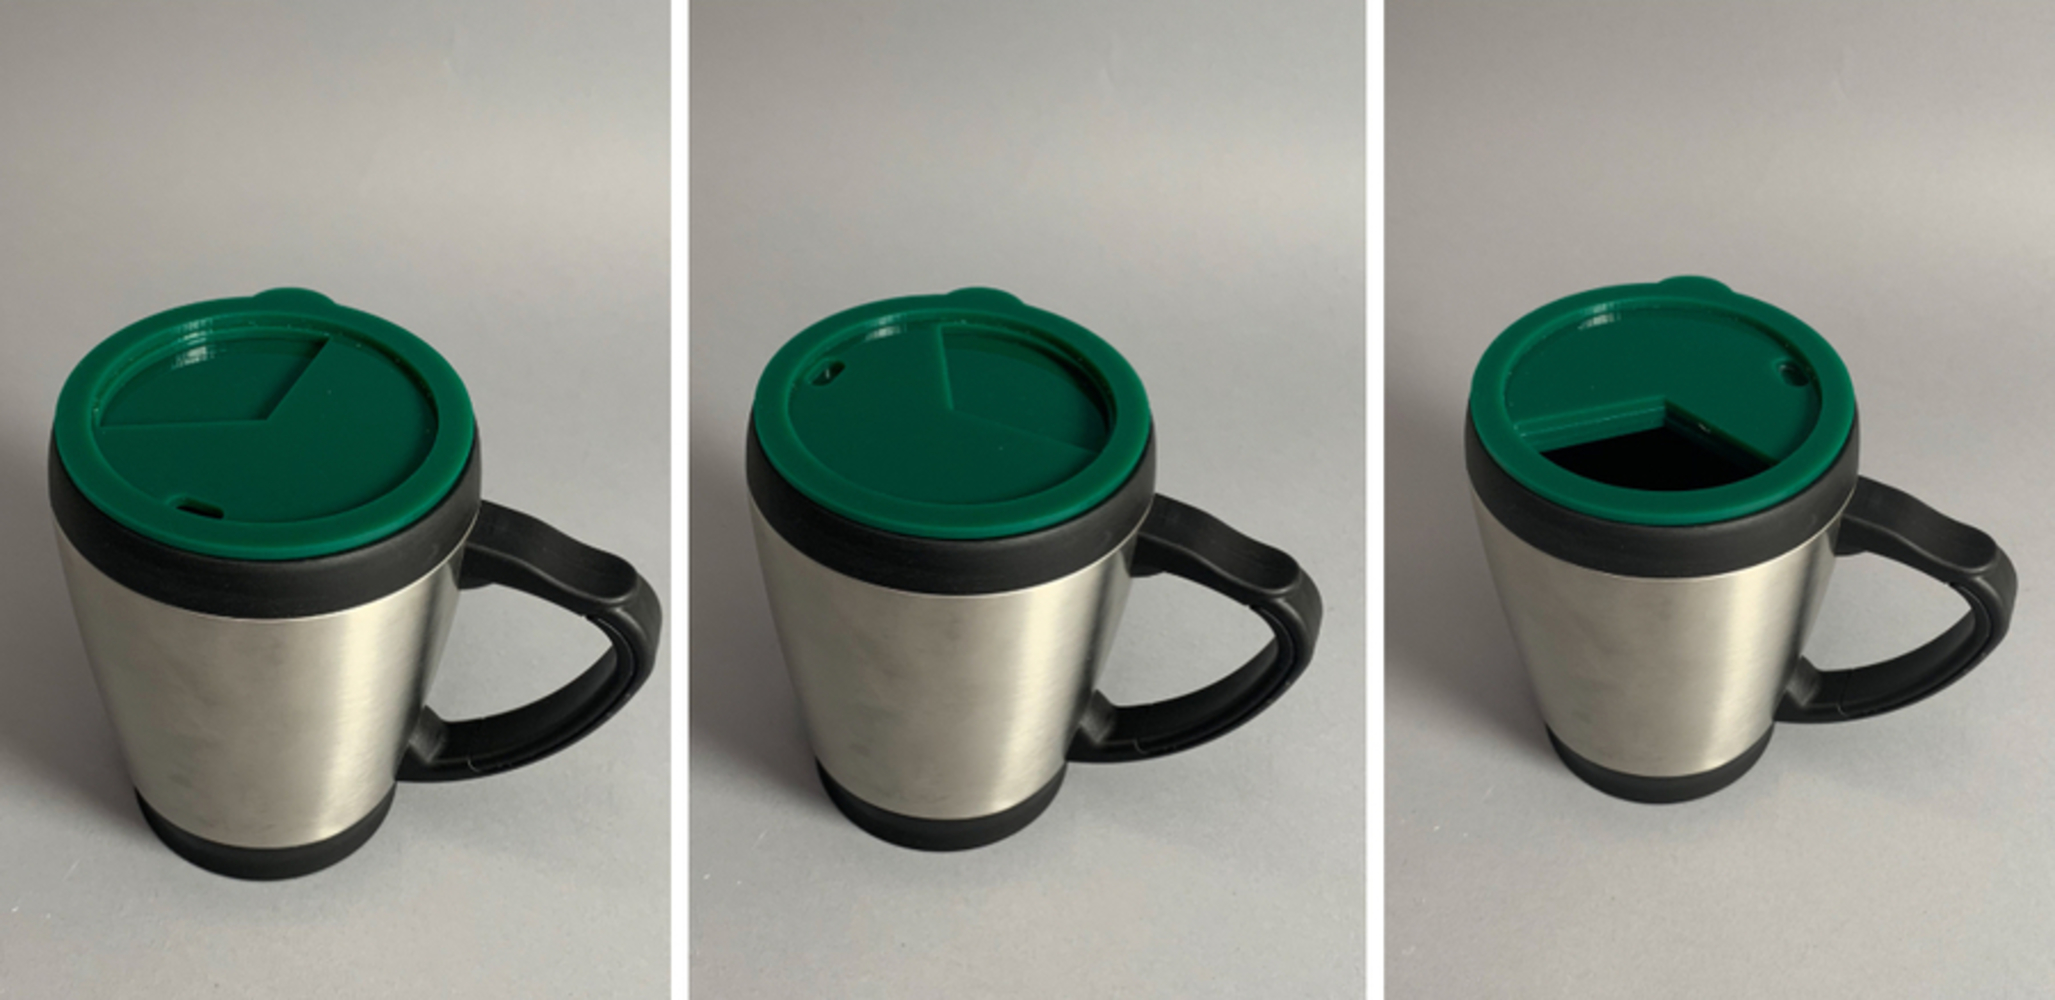
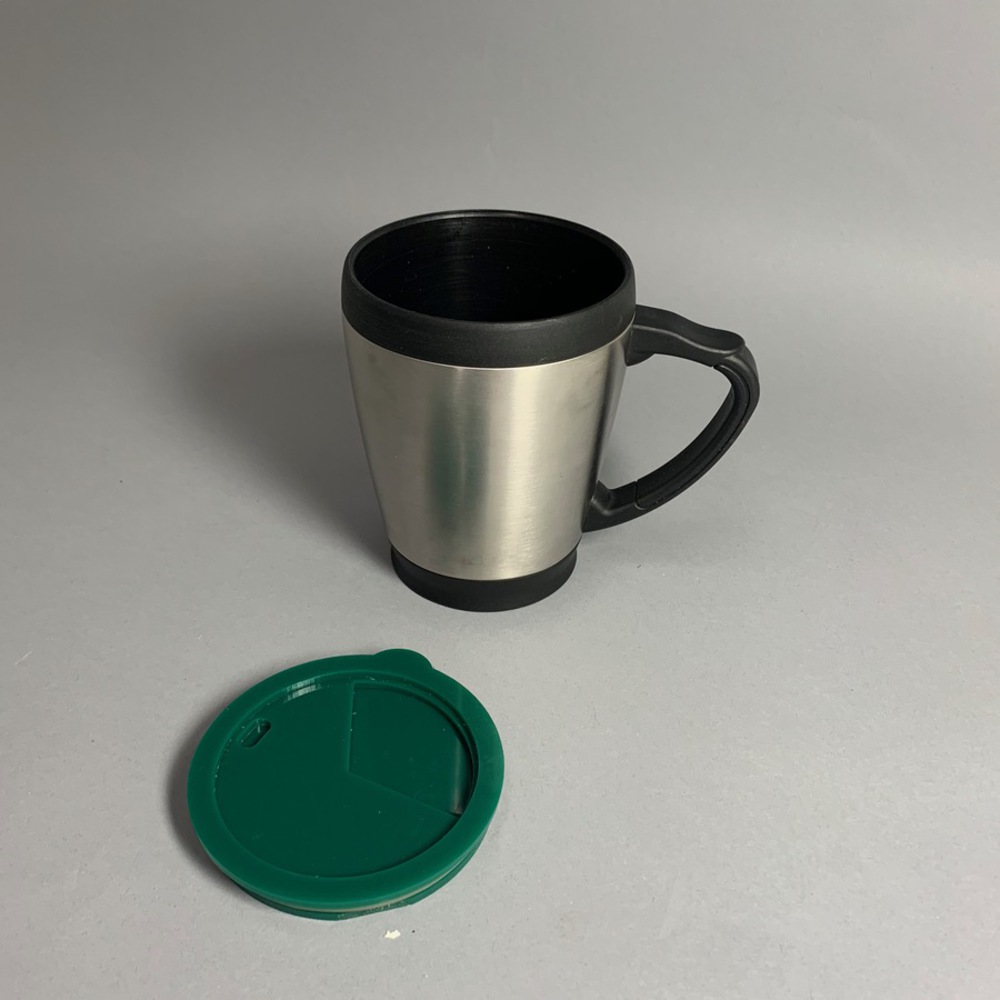
I started my design process by thinking about my morning routine. My mornings are very standard; I make the same black coffee in the same $3 travel mug, walk to the bus stop, and take the bus to campus. I tend to wake up as late as possible, so my coffee finishes brewing about 30 seconds before I walk out the door. I generally don't start my coffee until I get to campus because it's too hot for me, and I can't open my lid to cool it down until I get to class.

I realized that the perfect complement to my morning routine is a lid that can be easily opened to cool coffee while I'm rushing to the bus stop, without excessive spillage. Based on my moodboard, I decided to use colored acrylic for a pop of color on a grey Pittsburgh morning.

My post.thumb
Show Advanced Options

IDEATION AND EARLY DRAWINGS

Below are drawings from my concept generation process. My original focus was something that I could open to cool down my coffee without fully taking off the lid while on the bus in the mornings. During our in-class pin up session, a peer suggested that I look into a pivoting design rather than my top design at the time (left), which had a rotating flap that would open/close. The issue with this design was that the bottom of the flap would dip into my coffee when open if the mug was entirely full.

Screen shot 2019 02 13 at 1.50.54 am.thumb
Show Advanced Options

FINALIZED DESIGN SKETCH

After our pin-up session, I did a quick sketch of my updated pivoting design before moving forward with paper and acrylic prototypes.

Fullsizerender 3.thumb
Show Advanced Options

PAPER PROTOTYPE

My work on the project started with a paper prototype, to confirm the viability of the rotating plate idea. Because I was working with paper, in this case I worked with a hole through the middle to connect the various levels, but decided that for acrylic and given the need to fit in a coffee cup, a stack of plates and rings would work better to hold each layer in place.

My post 10.thumb
Show Advanced Options

SOLIDWORKS DESIGN

After my paper proof of concept, I worked on a Solidworks model of the lid with its rotating components. This step allowed me to work out necessary dimensions and interactions of each acrylic plate. This assembly is a representation of the final product, with accurate dimensions (with the exception of a small amount of sanding on the bottom two plates, necessary for the lid to fit into the seal on the cup).

My post 12.thumb
Show Advanced Options

FIRST ACRYLIC PROTOTYPE

After some sanding to make the lid fit the seal, this prototype had the full functionality of the final lid. However, it had epoxy smudges and acetone residue from cleaning the epoxy, as well as some scratches and uneven surfaces from sanding. This lid provided a proof of concept for a final more polished design.

Img 0750.thumb
Show Advanced Options

FINAL PROTOTYPE

This design offers rotation into three different configurations and a snug fit, with a polished finish. It is designed to use the seal that came with the travel mug, which can be quickly slipped off of the original lid and onto the new one. The lid is water-tight when closed, and prevents splashes and spills while on the go.

Its major limitation is that you cannot turn the mug upside-down or severely jostle it without the lid coming off, but this is no different from the original black lid, as it is pressed on and sealed with a gasket instead of screwing on.

My post 9.thumb
Show Advanced Options
My post 4.thumb
Show Advanced Options
Fullsizerender 3.thumb
Show Advanced Options
Drop files here or click to select

You can upload files of up to 20MB using this form.