Back to Parent

Outcome


Overview

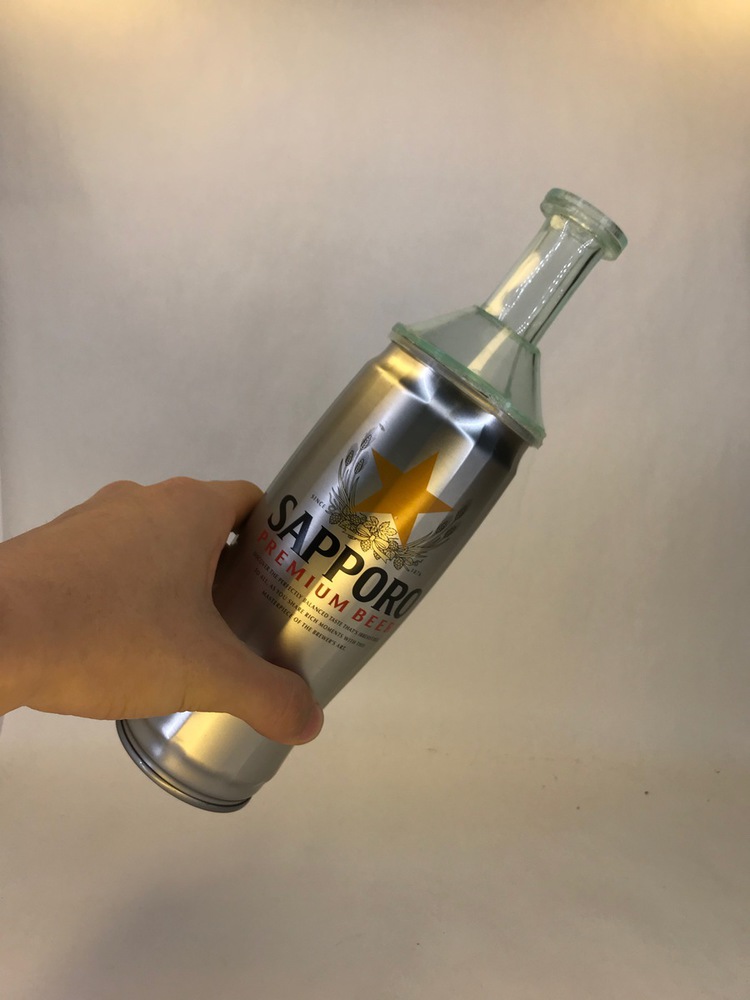
My favorite part of a long day of work is coming home to enjoy a beer while catching up on my interests and hobbies. But as a college student, I like to be economic with my spending and would prefer to get the most buzz for my buck. That being said, it's rare for me to want to spend my money on the pricier glass bottles, as opposed to cheaper, more economical beer cans. That being said, I still enjoy drinking from a bottle far more than I do from a can.

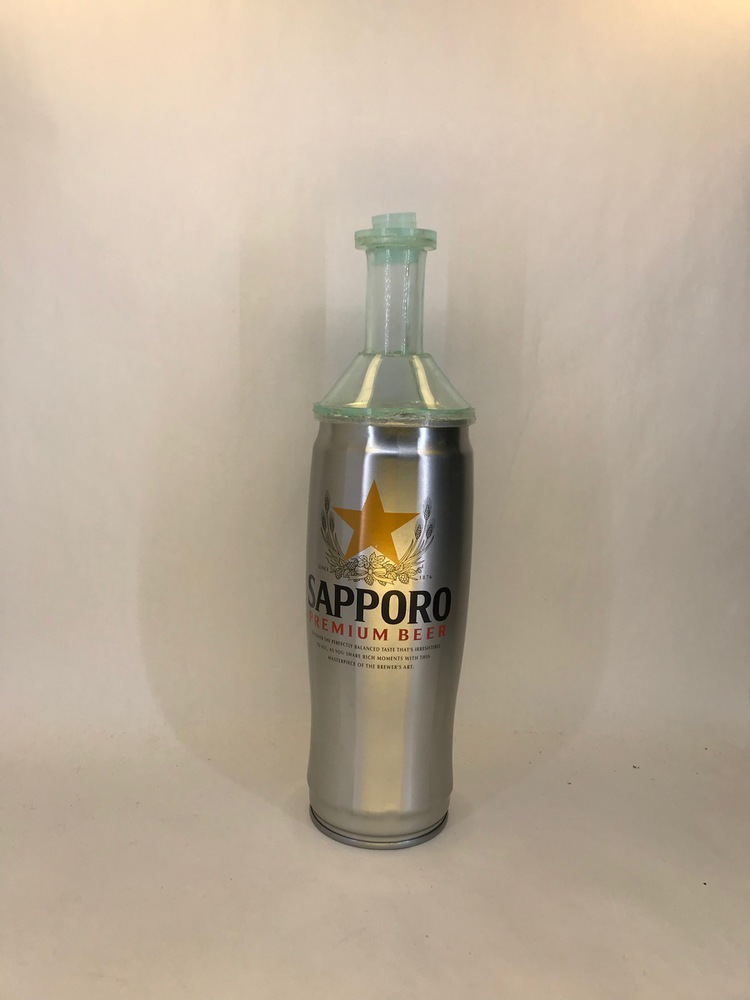
Because I don't have the economic power or influence to change the prices of bottled beer, I decided to design and create a reusable aluminum can slip-on for the sake of replicating the feeling of drinking from a bottle. I also came to the realization that I tend to take sips from my beer too aggressively at times and the beer will often bubble out, making a mess. To prevent any future spillage or accidents, I decided that designing a makeshift cork was also necessary.
Process

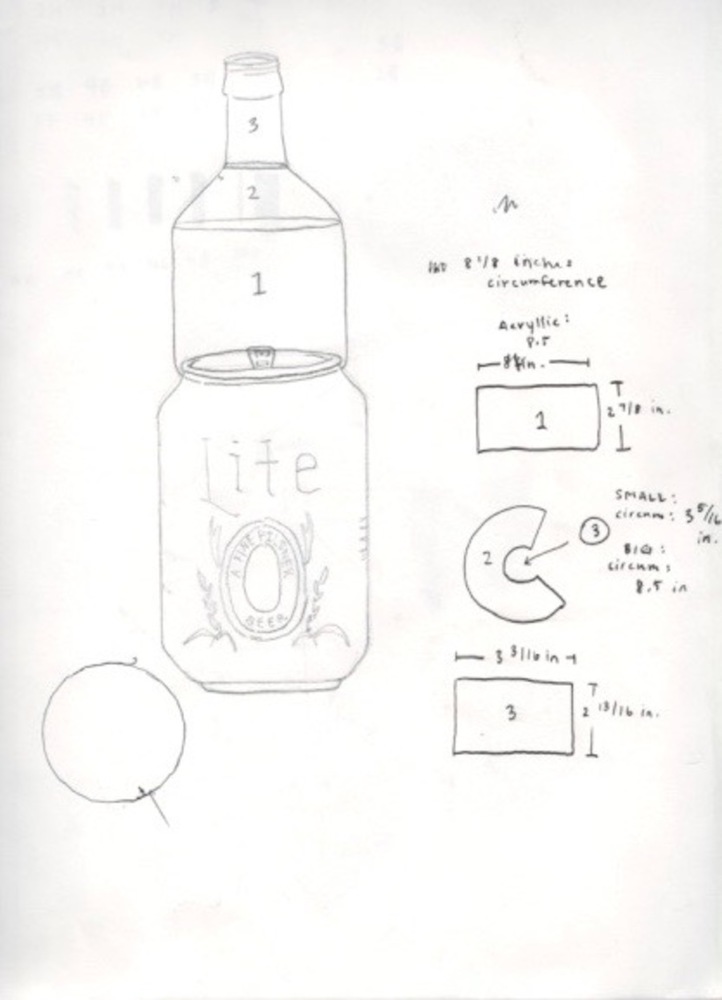
I first started sketching out ideas for the basic construction of my design. I planned out three parts to my product: a cylindrical body, a truncated cone, and finally another cylindrical neck. 

Scan.thumb
Show Advanced Options

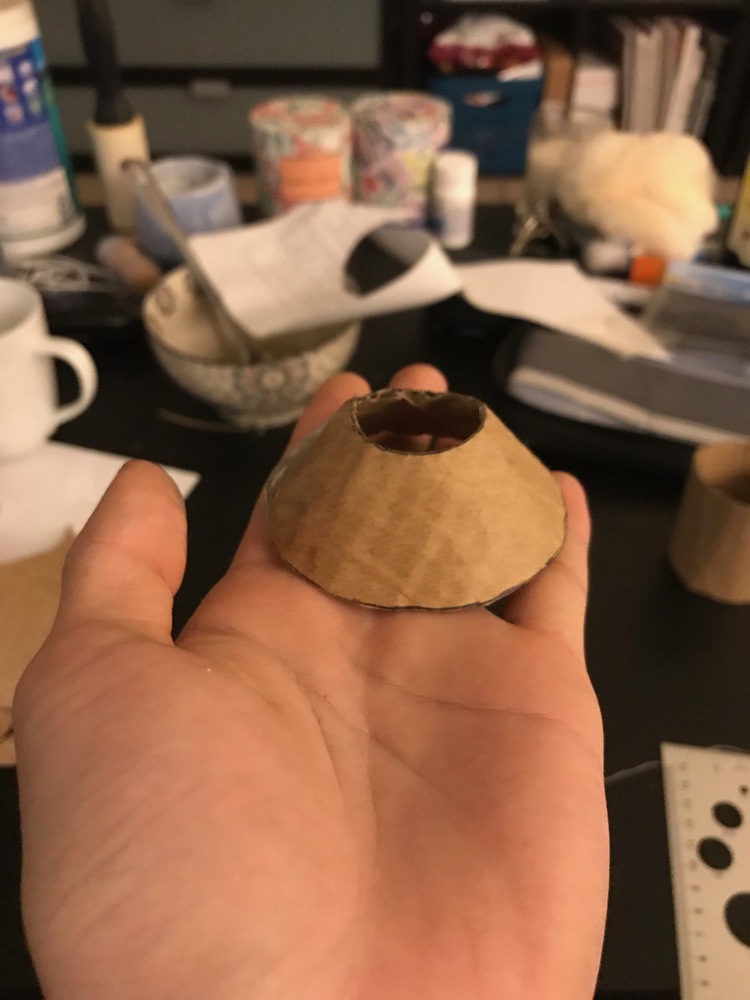
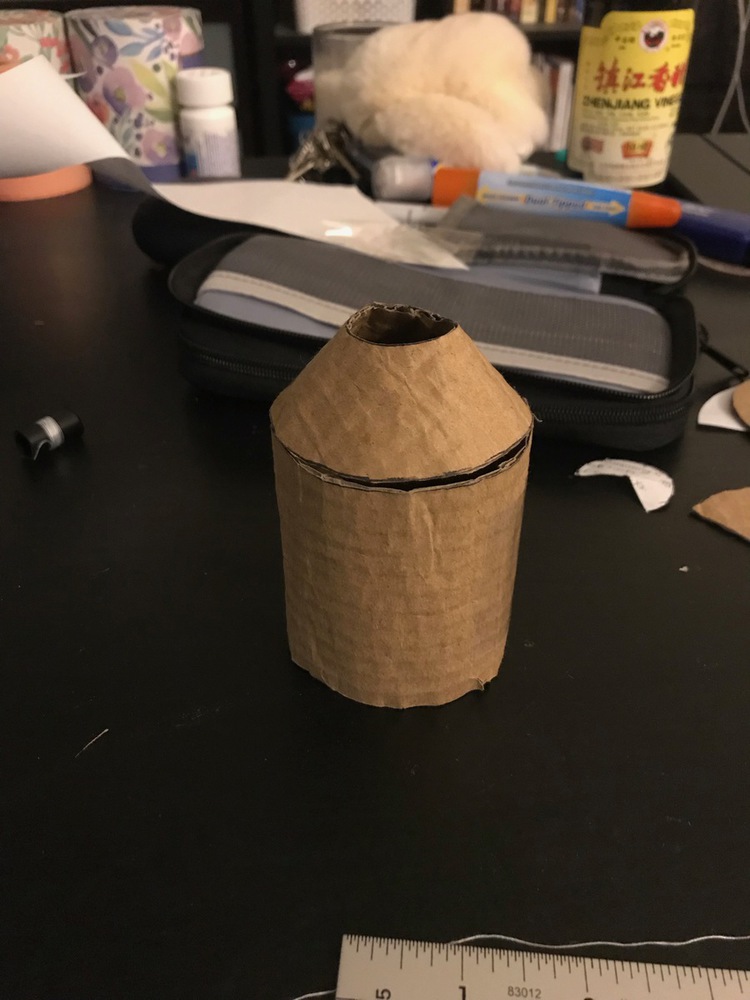
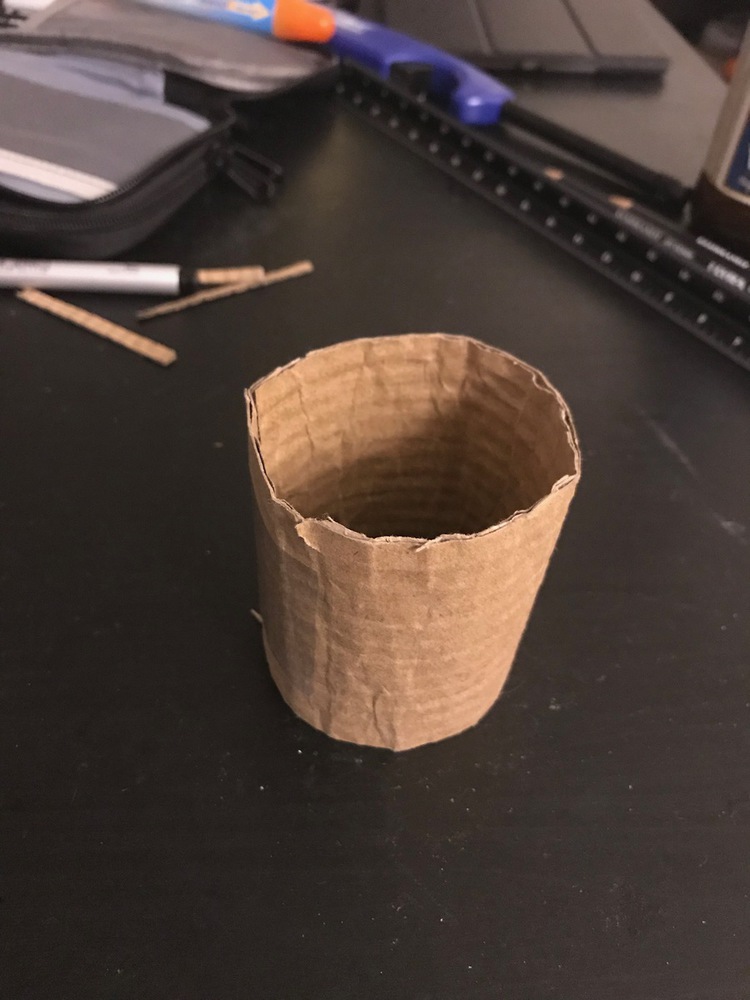
I didn't want to be wasteful and start off by testing out the feasibility of my design on acrylic, the final product material, so I created a cardboard model after measuring the desired size of each individual piece. The bottom piece was made through a process of trial and error that would result in the perfect circle that had the same circumference as the top of the beer can. The shoulder piece was made involving slightly more math, but the bottom circle's circumference had to match that of the bottom piece's, while the top circle had to be wide enough for the top piece to fit through. And finally, the neck piece was just another simple cylindrical shape that could fit snuggly into the shoulder piece. The measurements had to be precise; otherwise, when putting them together, the final product would spill beer everywhere. 

Img 0639.thumb
Show Advanced Options
Img 0647.thumb
Show Advanced Options
Img 0648.thumb
Show Advanced Options

Prototyping

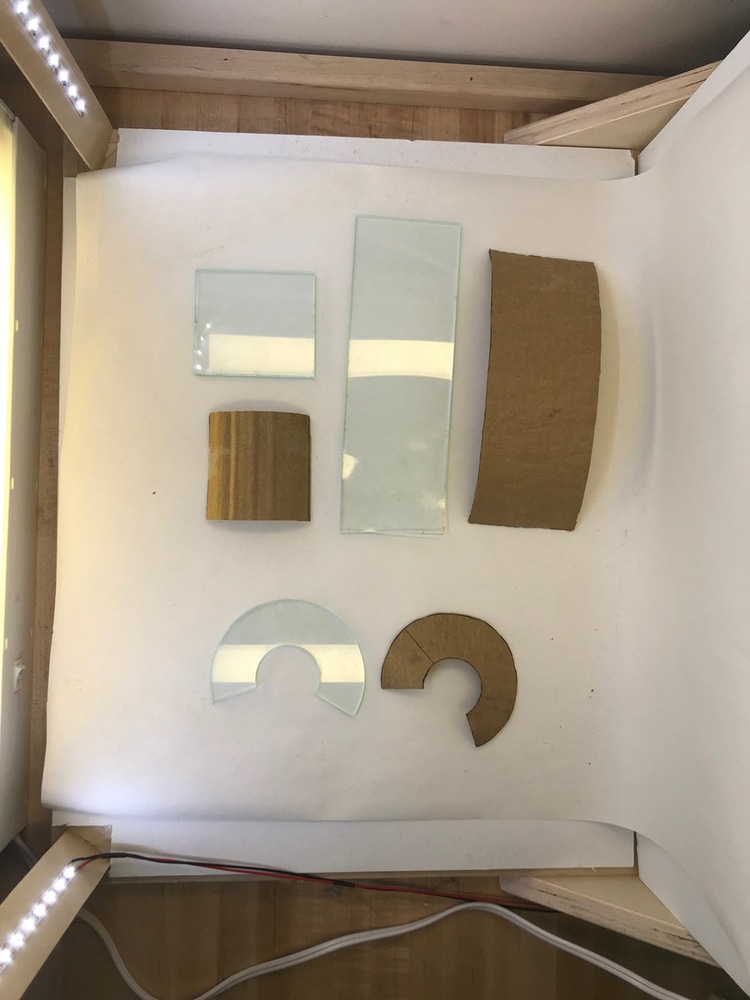
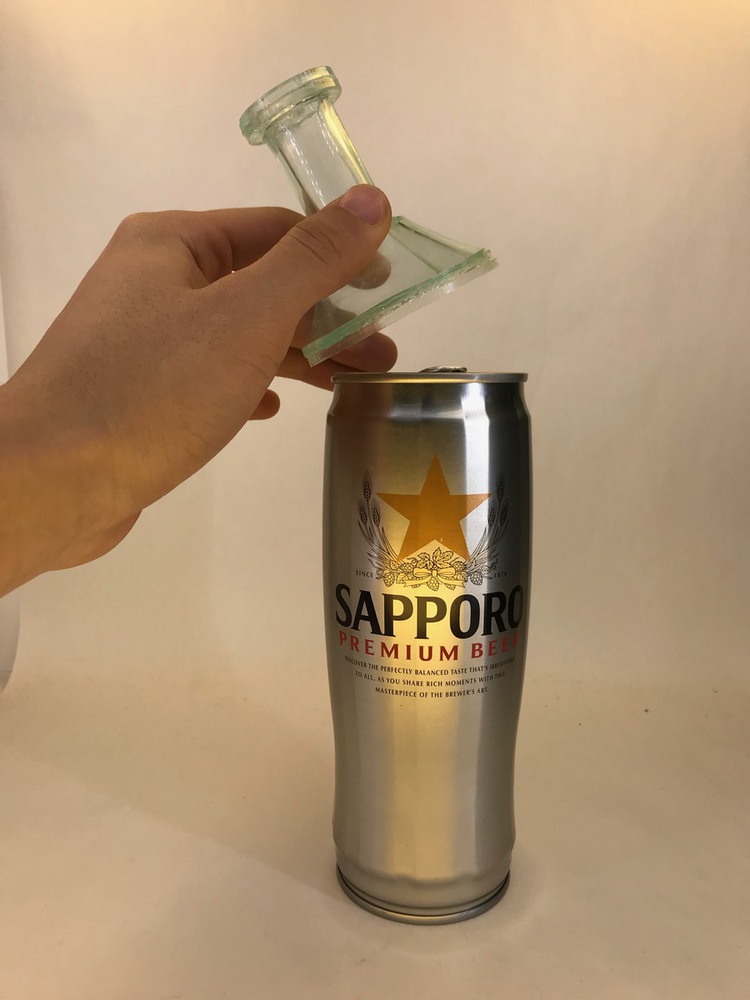
From there, I went into the MakerSpace Lab and used the pre-existing measurement for the cardboard models to create replicas using acrylic, a laser cutter, and the CORELDraw software. Except for the body piece, the prototype pieces were the exact sizes that I needed. However, at that point I realized that if I were to also put the body piece into my final product, the bottle and can would be too tall to drink out of. 

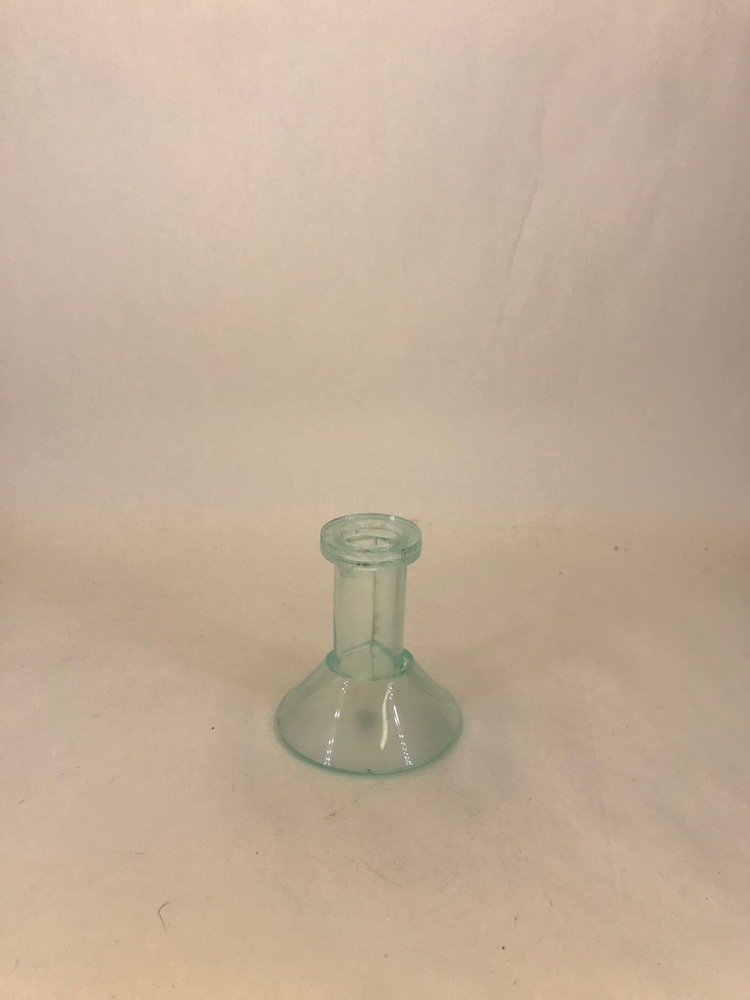
With that in mind, I decided to scrap the body piece and use only the neck and shoulder pieces, with the beer can itself acting as the body.

Img 0652.thumb
Show Advanced Options

After a long process of heat molding and gluing, I ended up with the two pieces, but did not have a way to actually make the Beer Lingerie latch onto the can, nor did I have a nice mouthpiece for the user to drink out of. 

For the mouthpiece, I laser cut two small circles with slightly larger circumferences than the neck piece, and stacked them on top of each other. 

Img 0655.thumb
Show Advanced Options

For the last few pushes of this project, I needed to find a way for the lid itself to latch onto the can. To do this, I worked through a process of trial and error in cutting very thin circles of acrylic that would make a perfect ring around the edges of the top of the can. This was a bit trickier because I needed to create a ring that was not too thick so that it could easily latch on to the can and not too thin so that it wouldn't snap with too much pressure. 

After several iterations, I finally found the right size and glued it onto the base of the shoulder piece. For the final step, I measured the inside circumference of the neck piece and created six small circles that would snuggly fit as an acrylic cork, completing my final product. 

Img 0662.thumb
Show Advanced Options
Img 0663.thumb
Show Advanced Options
Img 0661.thumb
Show Advanced Options

Final Thoughts

Because this was my first time working with a laser cutter and gluing acrylic pieces together, if I were to redo this project, I would be more careful with how much glue I use. The final iteration of the Beer Lingerie also had a weak cork that would break off if too much pressure was applied to unseal it from the opening. To counteract this, I would create a more functional lid that would be connected to the mouthpiece in the form of a flat seal. I had a lot of fun creating a hands-on project like this, especially one that is relevant and useful to my everyday life. 

Drop files here or click to select

You can upload files of up to 20MB using this form.