Back to Parent

Outcome


The Why: 

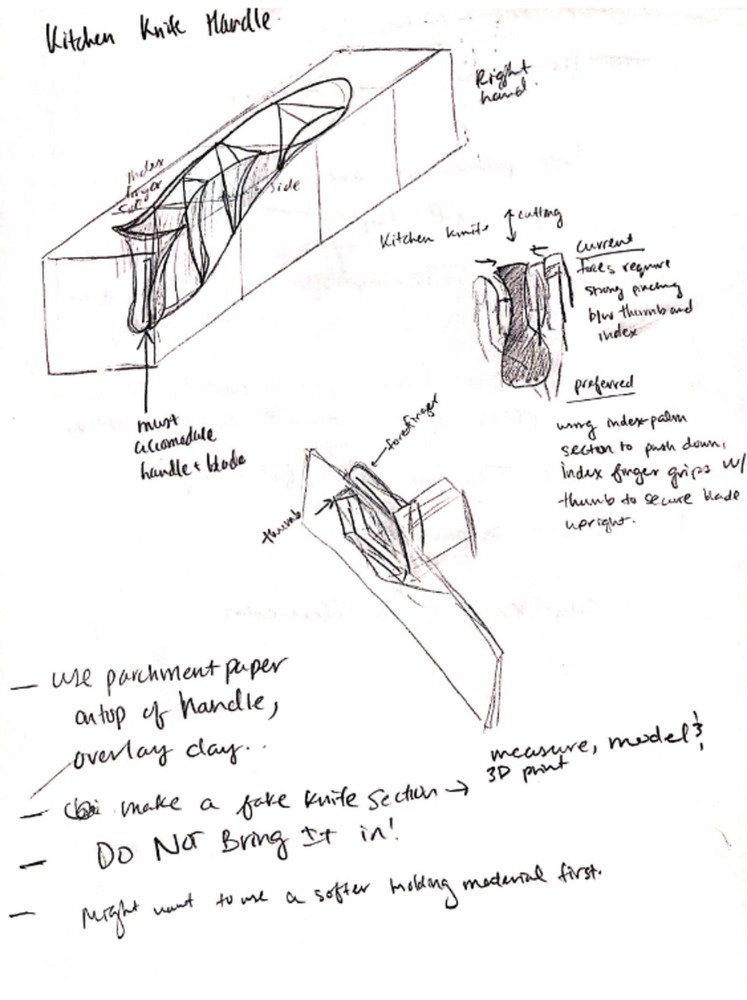
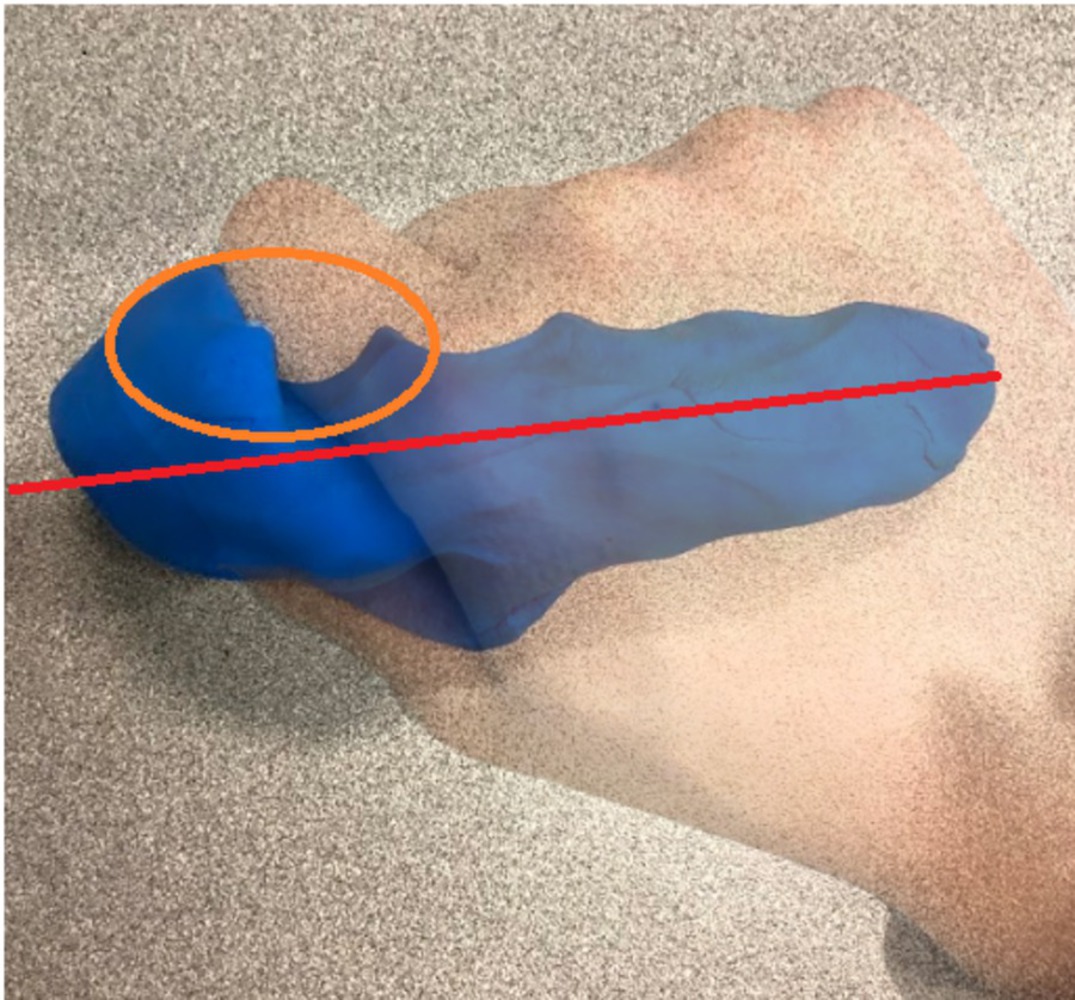
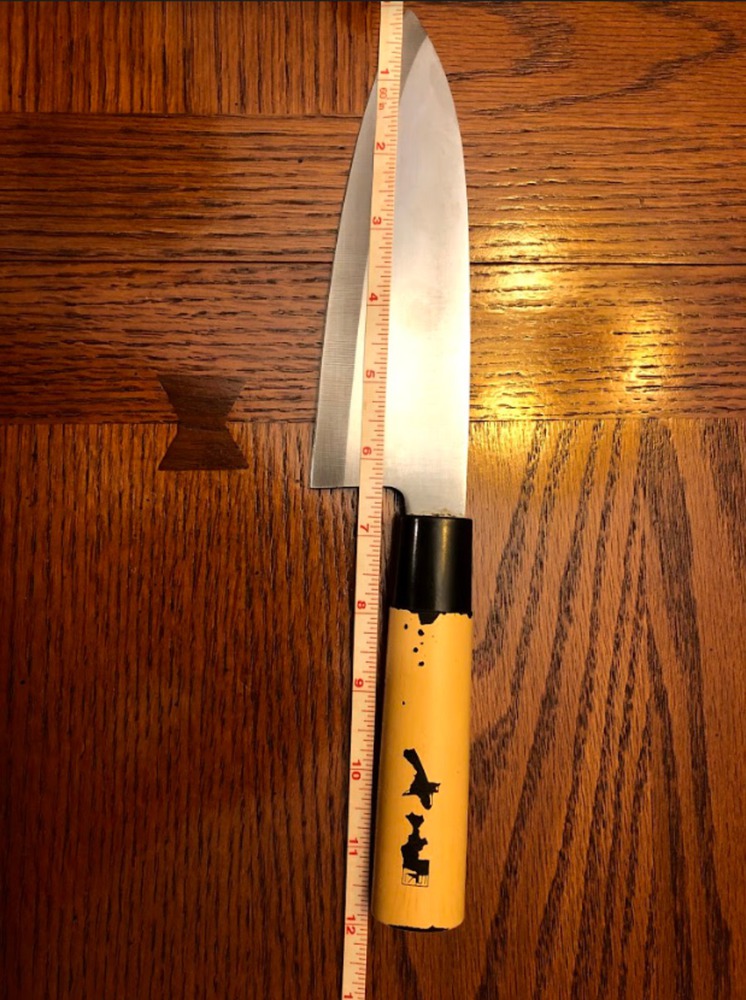
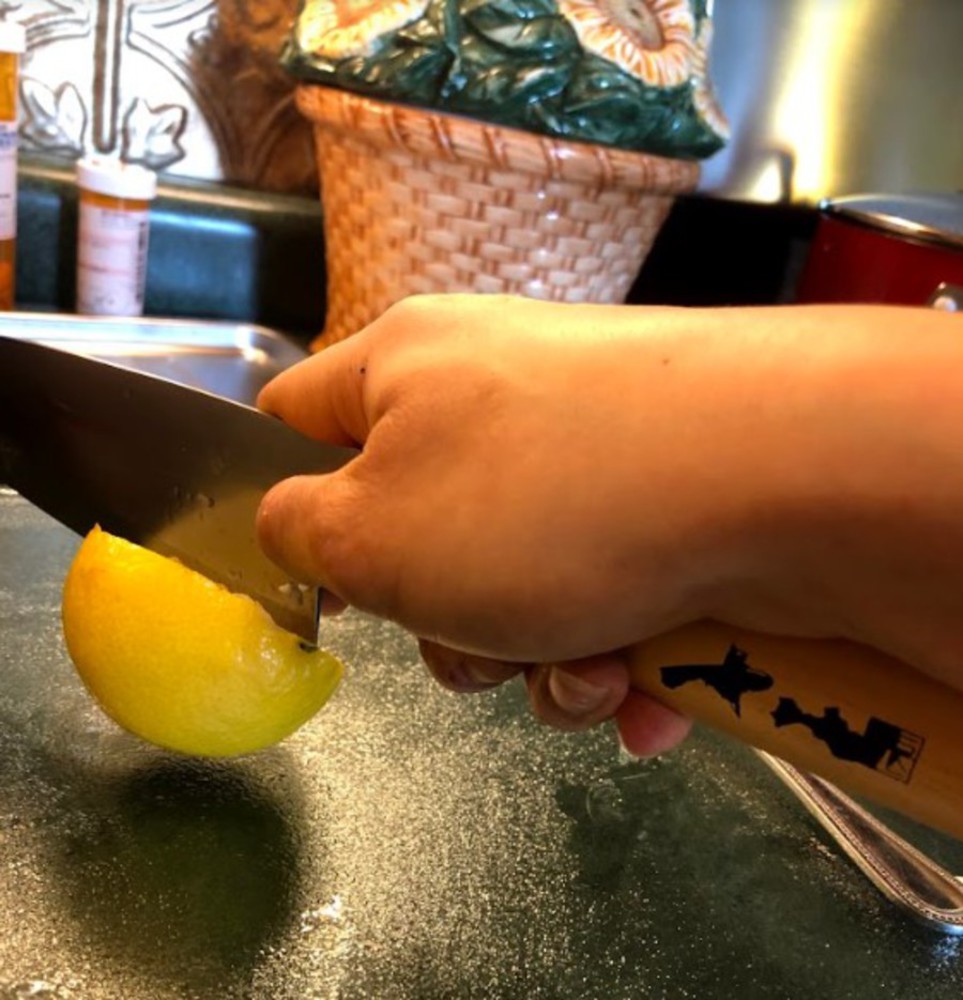
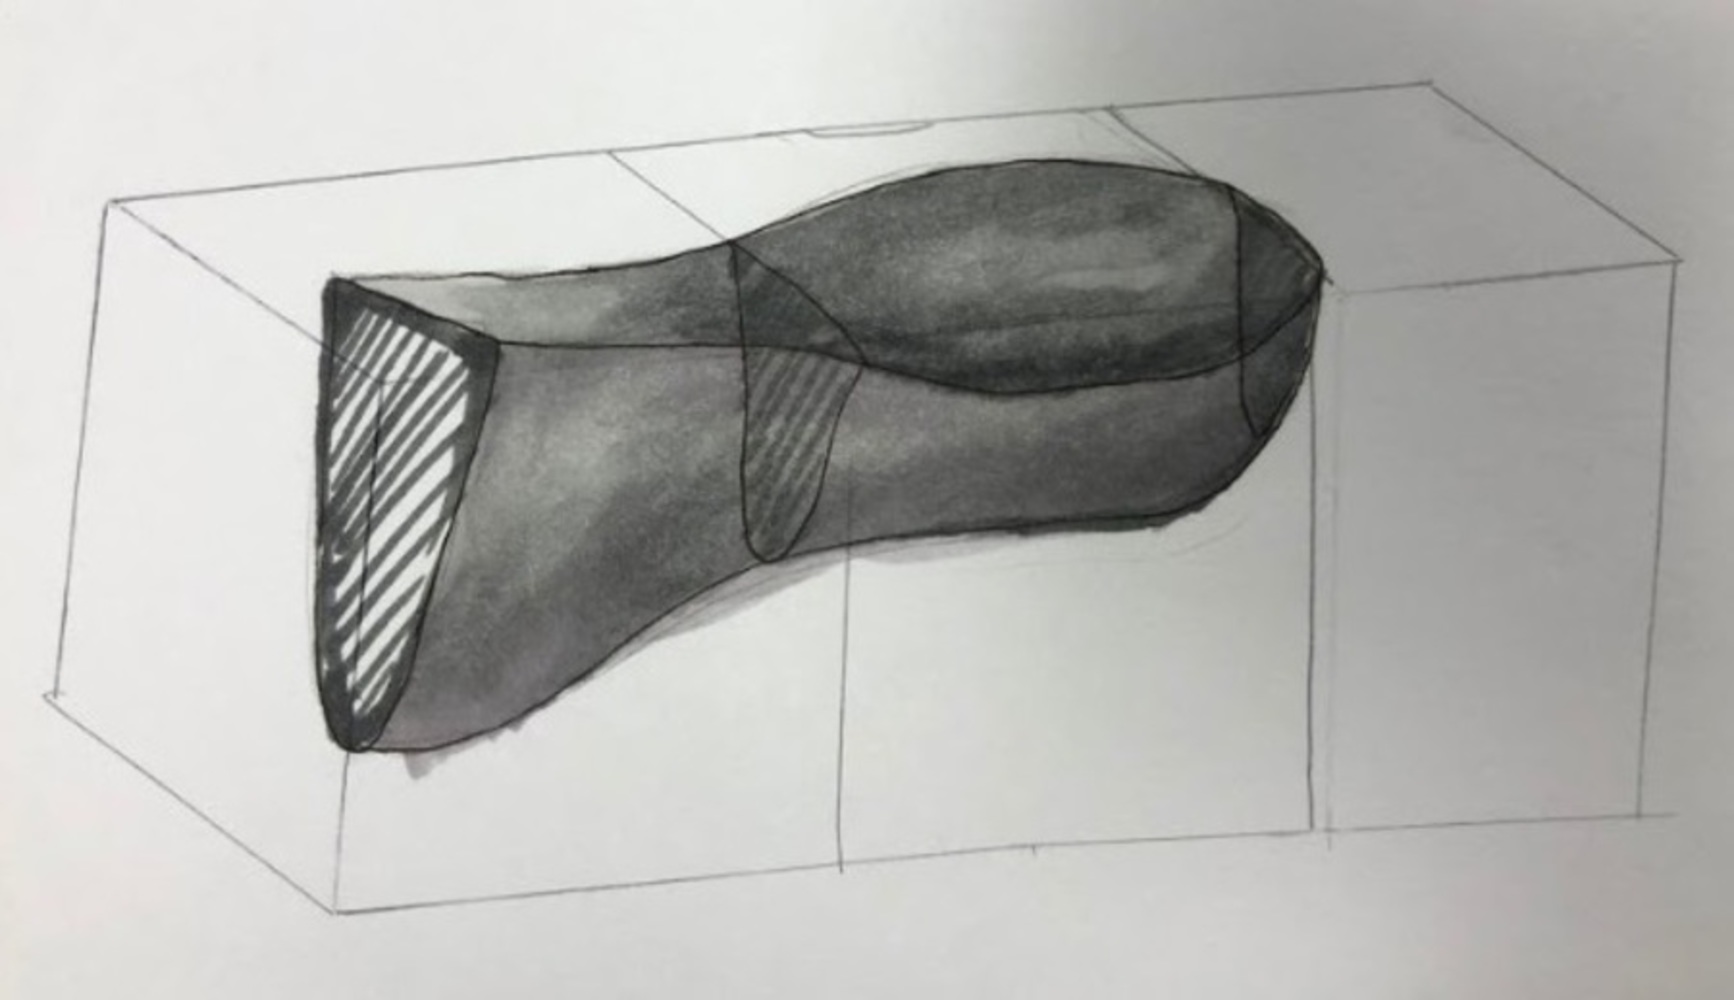
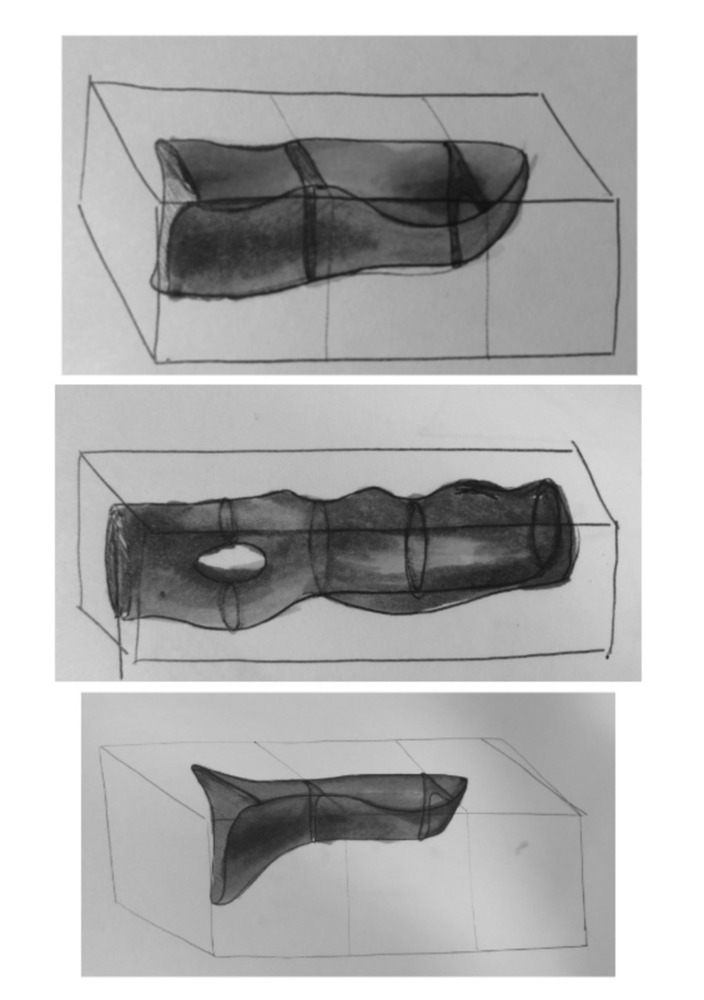
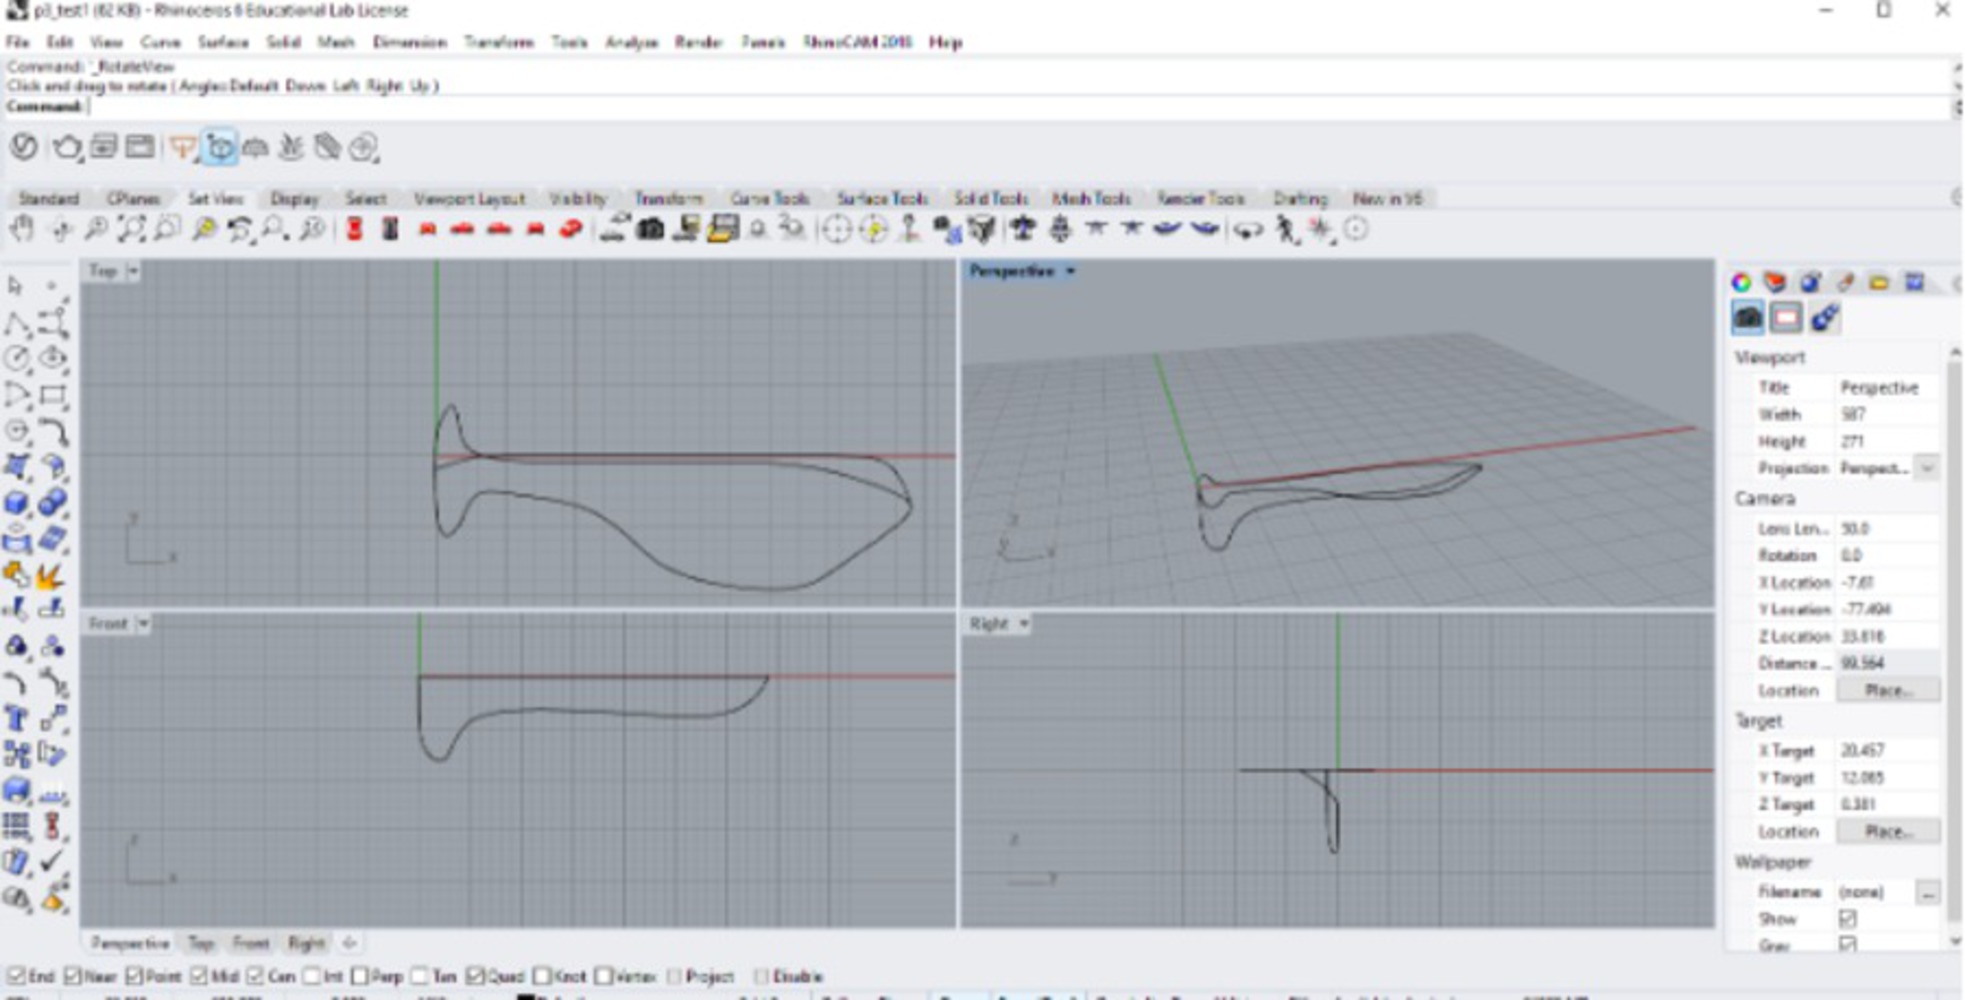
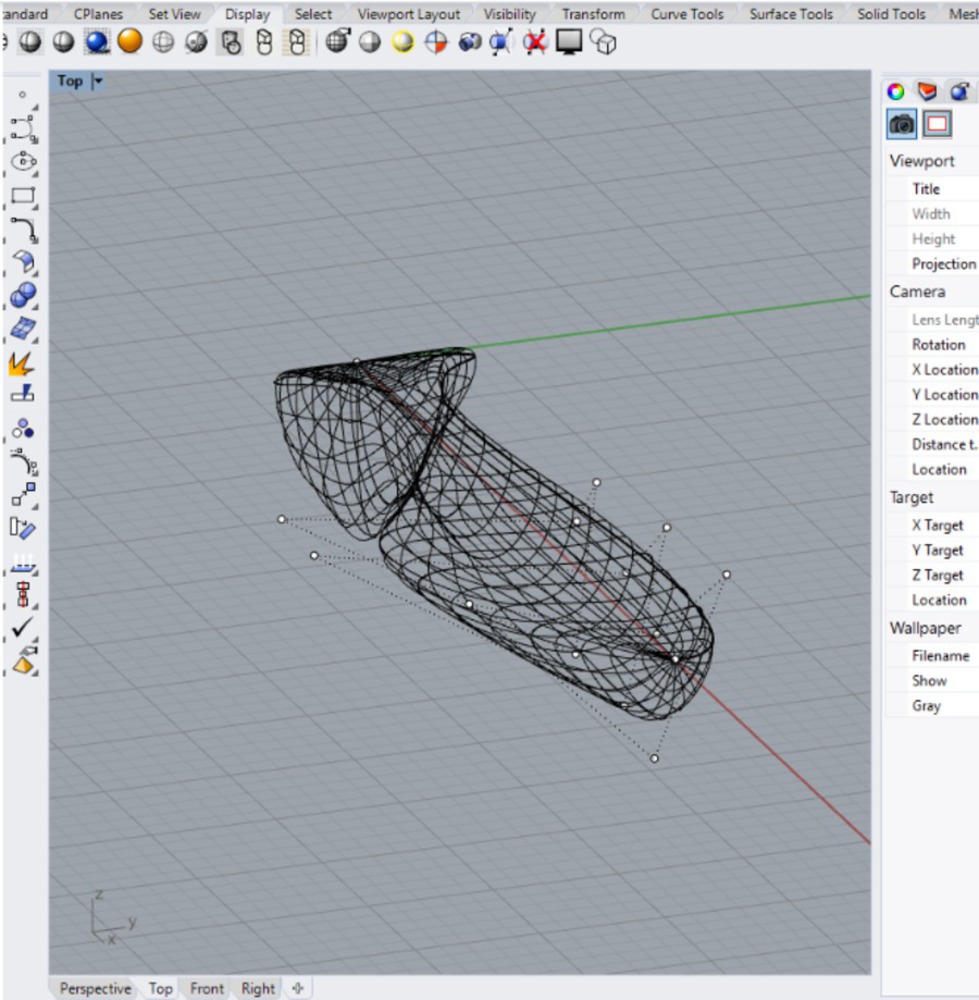
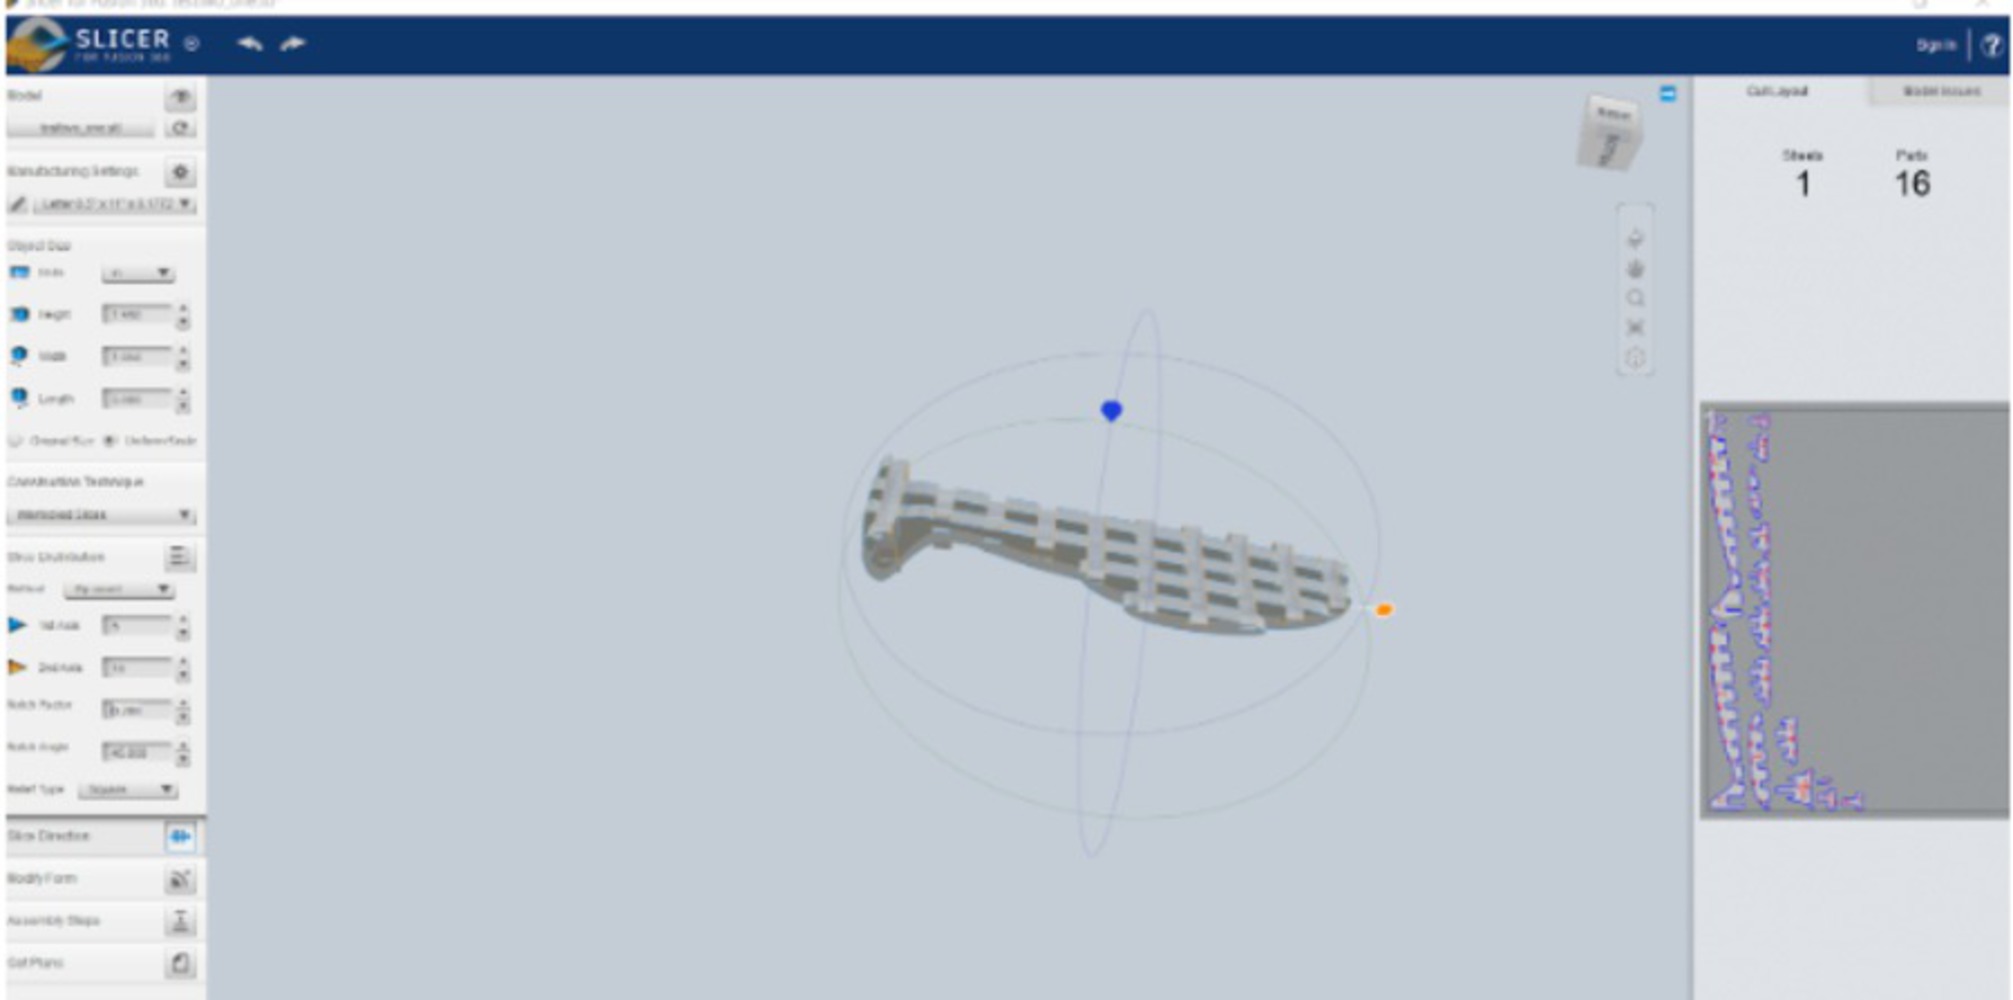
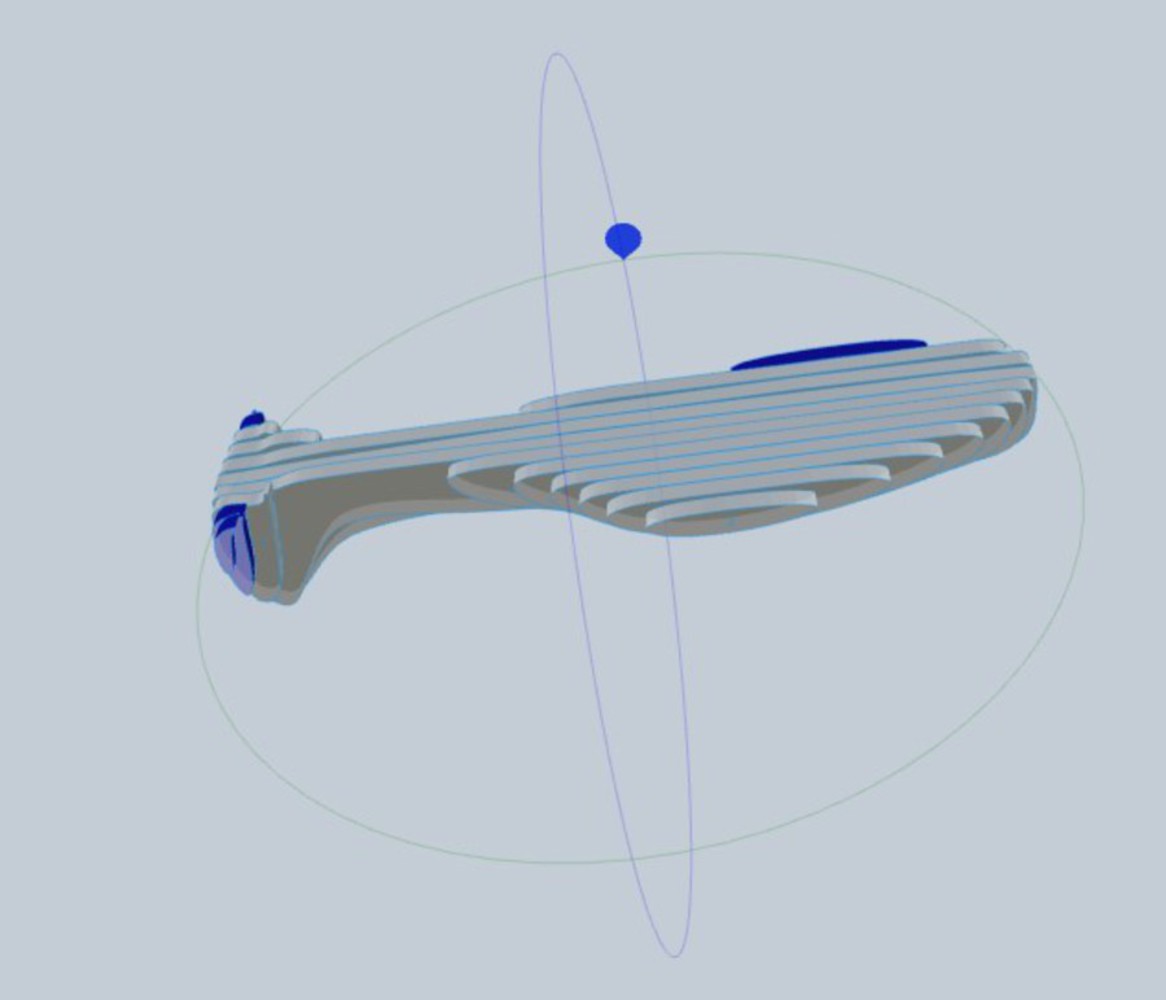
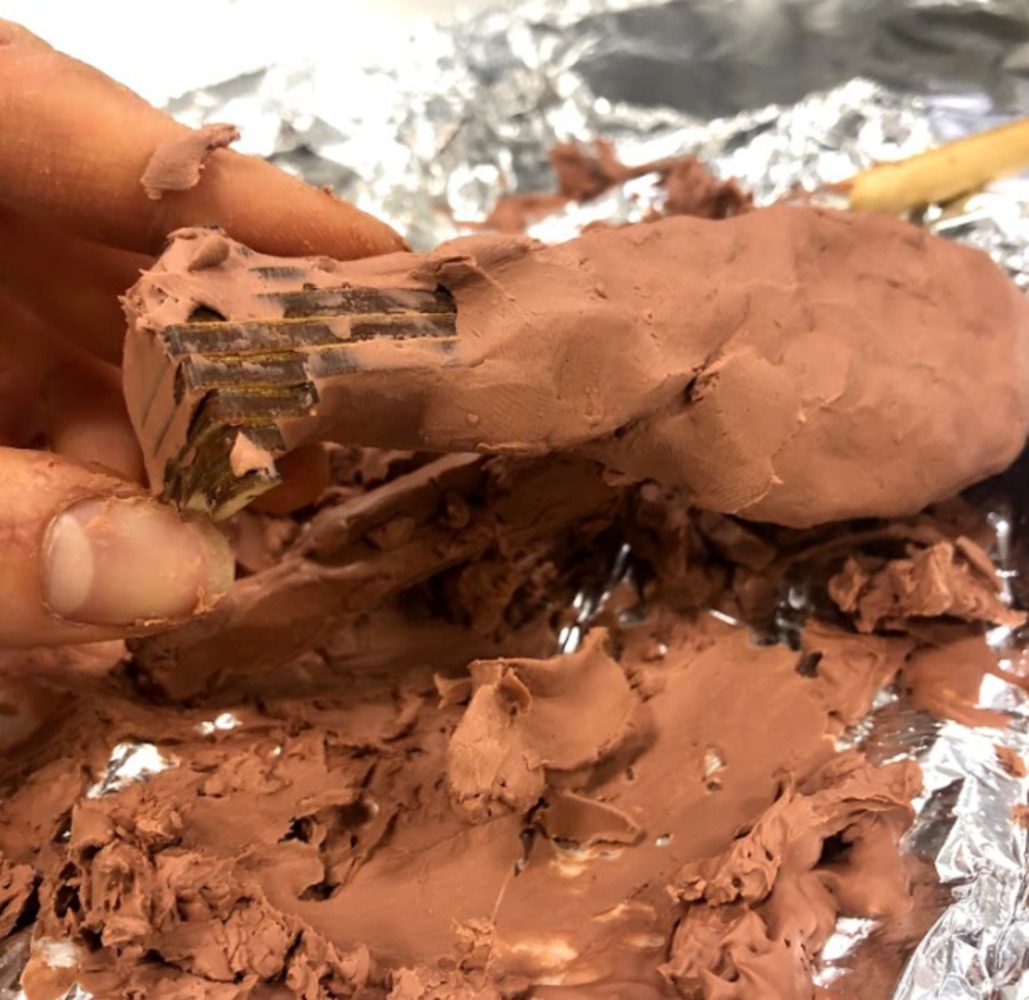
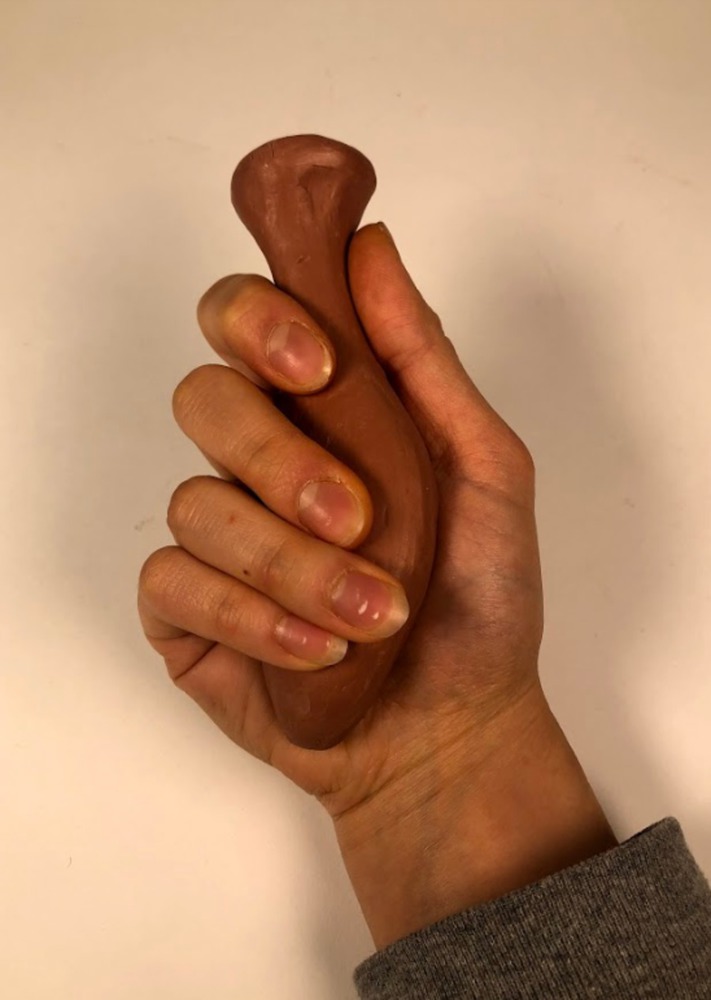
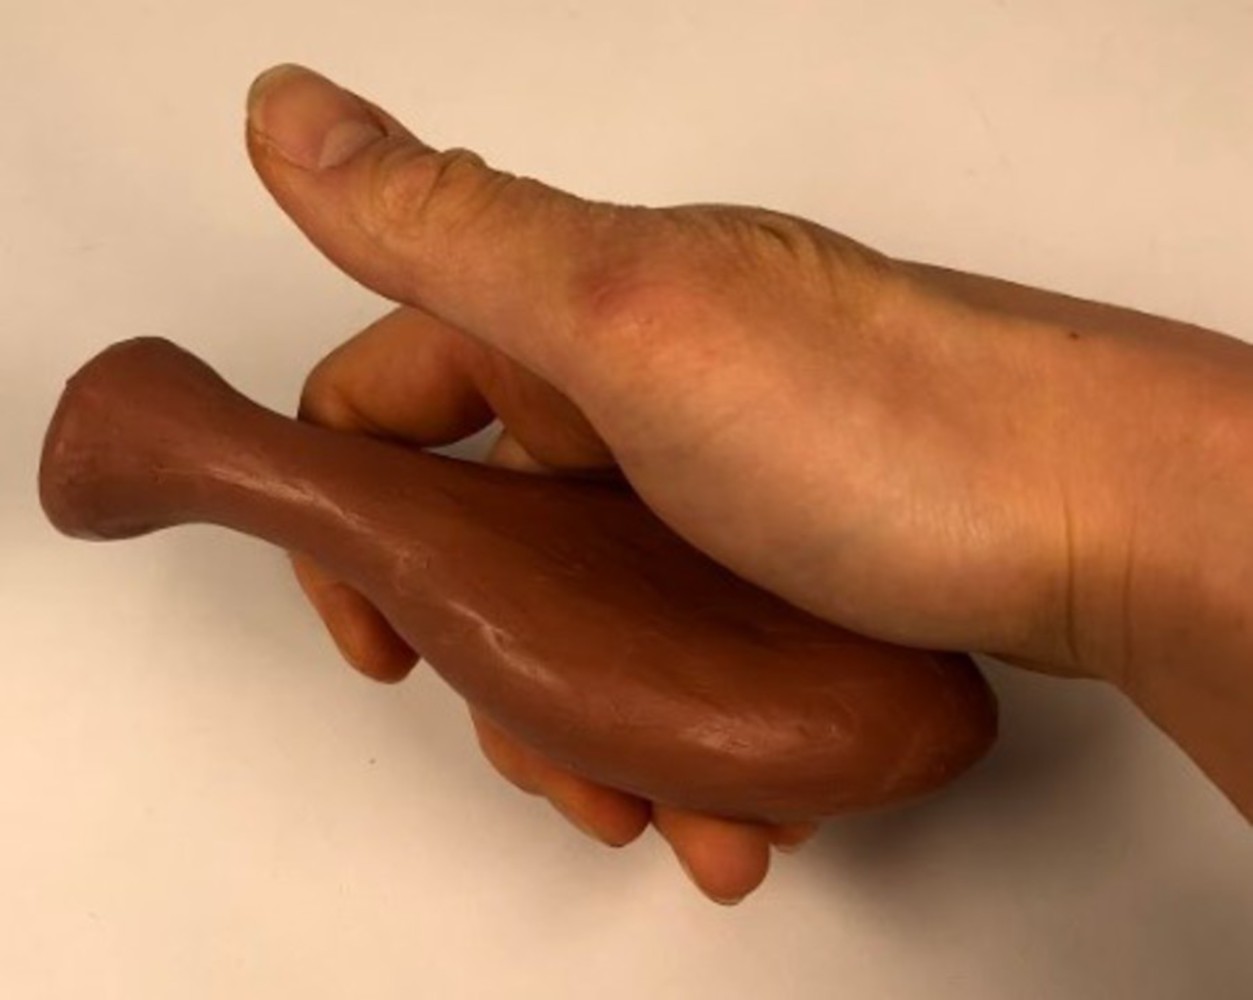
The grip I’m improving is a kitchen knife grip. When holding a knife, the forefinger and thumb clench the knife blade which reduces buckling, and the downward force of the blade comes from the palm of the thumb. The middle, ring and pinky fingers grab around the handle to provide additional stability. I really enjoy cooking, so the kitchen knife is something important and used daily in my life. After longer periods of use, or if I have a tough piece of meat to cut, my index finger would hurt from the blade digging into the segment closest to my palm.  Below is my initial brainstorming page. 

1111.png.thumb
Show Advanced Options

  The current blade handle forces the blade into my index finger and almost all the cutting force from my hand is delivered to the blade from just the pushing motion from my finger (orange circle in below image). The red line in the below circle shows the line of motion from the blade, relative to the position of all my fingers and my palm of the right hand. I used Crayola Model Magic first to get an imprint of my hand and see what a natural grip looks like if it conformed to all the contours of my hand. Model Magic was chosen because it provided the necessary firmness to hold the negative shape of my grip to give my design a baseline.   

11.png.thumb
Show Advanced Options

Original Product

Current Knife Specifications:

Typical Asian kitchen knife

Total length: 12 inches

Handle length: 5.25 inches

Vertical length of handle: 1.25 inches

Horizontal length of handle: 1 inch

Handle end.thumb
Show Advanced Options
11.png.thumb
Show Advanced Options
Original pic.thumb
Show Advanced Options
Drawing.thumb
Show Advanced Options

  I want to design a knife handle that increases the surface area that contacts my index finger and palm section of my thumb to more effectively move force to the knife. I also wanted the design to have grooves that would allow for my index finger and thumb to pinch the blade more securely. Some designs explored were as follows:  

11.png.thumb
Show Advanced Options

The How:

Step 1: Figure out my natural grip, pain points in the existing knife handle

Step 2: Draw sketches of possible designs 

Step 3: Make a basic model in CAD of the chosen design 

Step 4:Use Slicer in AutoCAD and lasercut from wood the model 

Step 5: Cover in clay and dry

Initially, I was going to use the Model Magic to get as close to an ergonomic grip as possible, let it dry, 3-D scan the model and use the resulting .STL file to generate the wooden frame in Slicer. The shape was too irregular, and the model was not a very good representation of a grip. There were a lot of lumps from the Model Magic not being incorporated fully, and excess material that kept getting displaced. As a result, the design was chosen from the brainstorm session instead. 

CAD:

Using Rhino instead of SolidWorks

The design in mind had a lot of irregular geometric shapes involves, so I used Rhino instead of SolidWorks to generate the CAD The following tutorial by PJ Chen Design was used for the Rhino commands, such as curve from cross-section (CSec) generation and surface creation from curve networks: https://www.youtube.com/watch?v=iwqPI0kN7u4

11.png.thumb
Show Advanced Options
12.png.thumb
Show Advanced Options
11.png.thumb
Show Advanced Options
Slicer work.thumb
Show Advanced Options

One of the largest challenges in the process was using Slicer. I tried several different Manufacturing settings for the slots that gave the model the interlocking design. When adjusting for 6mm and 3mm plywood thickness, I tried increasing and decreasing the Slot Offset but still could not get slots that fit together as they were made too small. The slots seemed to get smaller when the offset was set to be larger (which would make sense if the slot offset setting is made to account for kerf). I tried to increase the material thickness to make larger slots, but no progress was made. Eventually, I used 3mm plywood and Stacked for the Construction Technique to capture the most detail.

11.png.thumb
Show Advanced Options
12.png.thumb
Show Advanced Options
11.png.thumb
Show Advanced Options

Ultimately, the handle looked and felt like it achieved the intended purpose, with appropriate support for the index finger and palm of the thumb. 

From the above image, you can see the extended area on the grip that rests right under the palm of my thumb. The thumb and index finger section of the blade would shows that there is support for my index finger when pushing the blade down.

Formwork.thumb
Show Advanced Options
Drop files here or click to select

You can upload files of up to 20MB using this form.