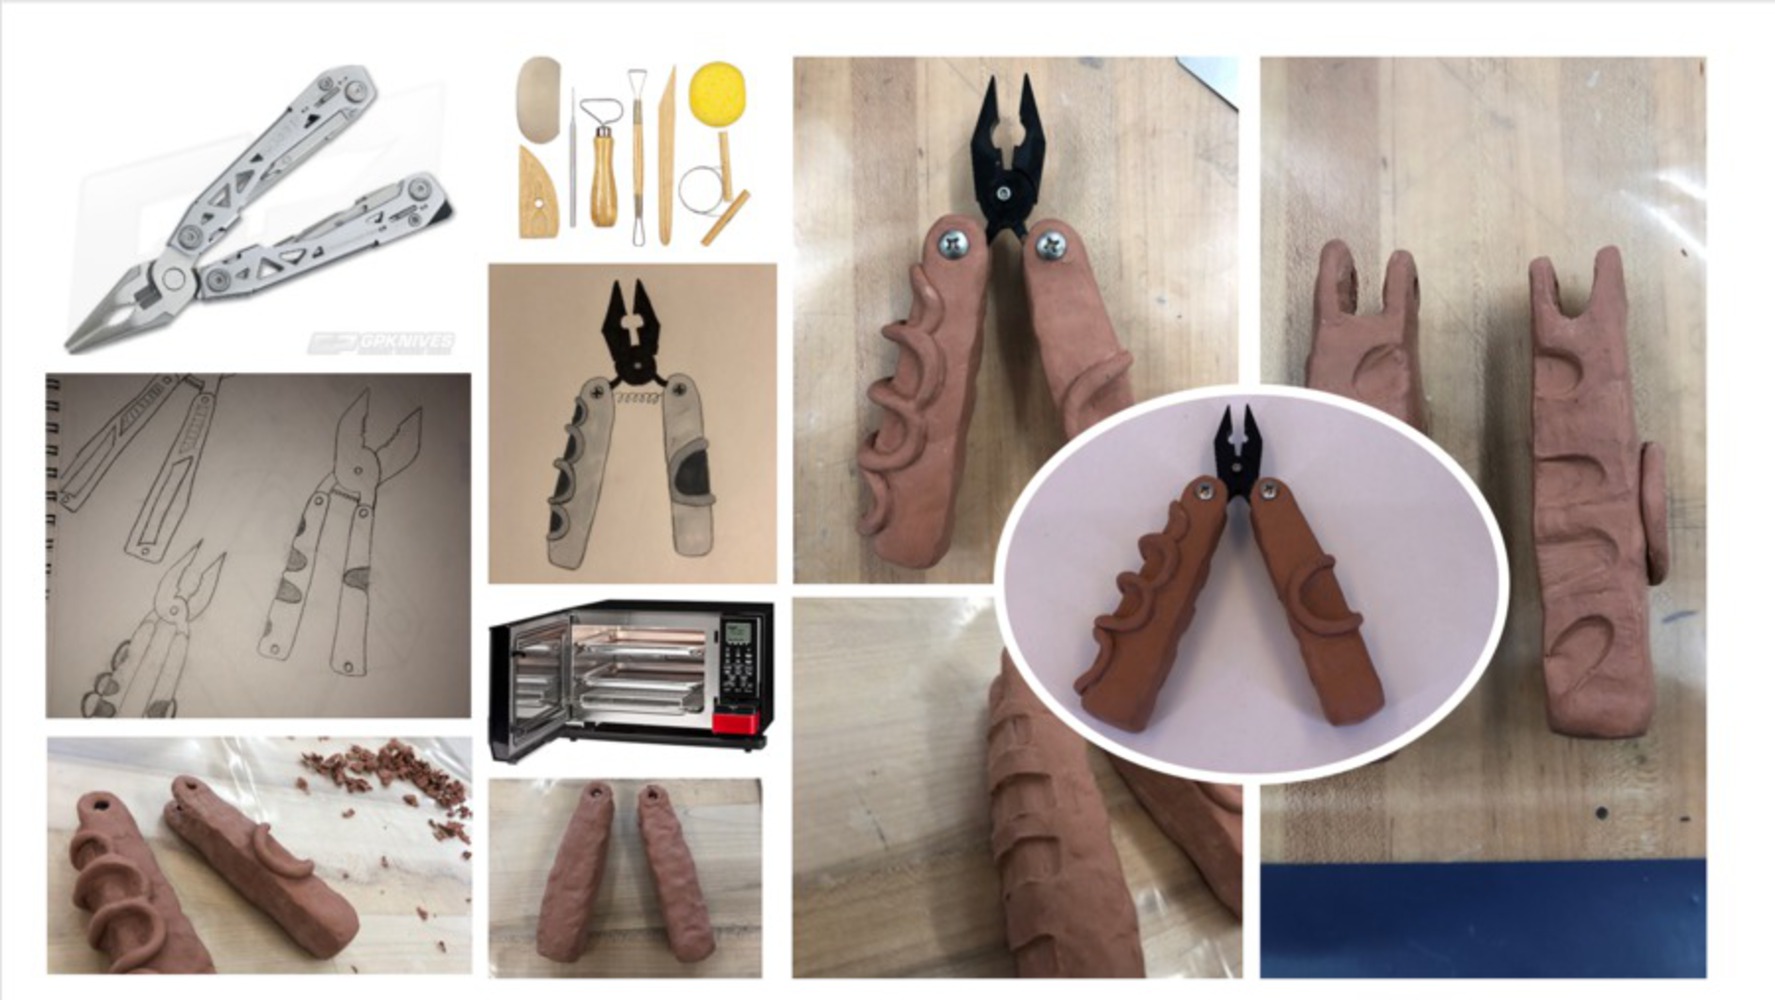
The first thing I did was create a 3D model in SolidWorks in order to have a physical tool to pack clay on to that resembles the general shape of my grip. I sliced up the 3D model and printed 2D cross sections to put the tool together.
Outcome
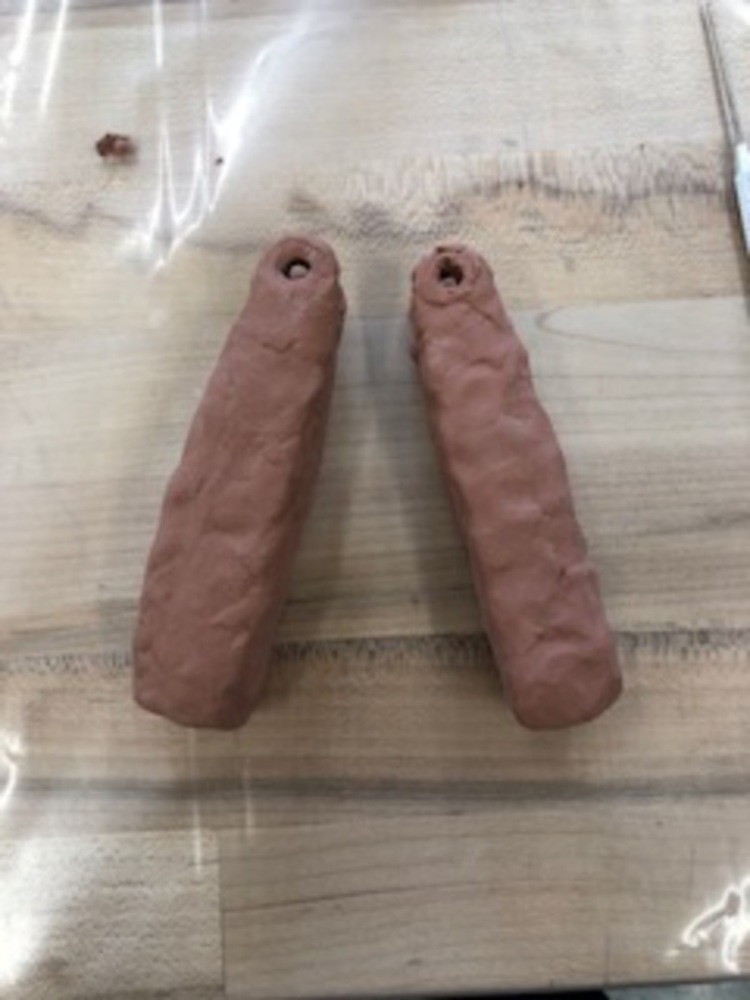
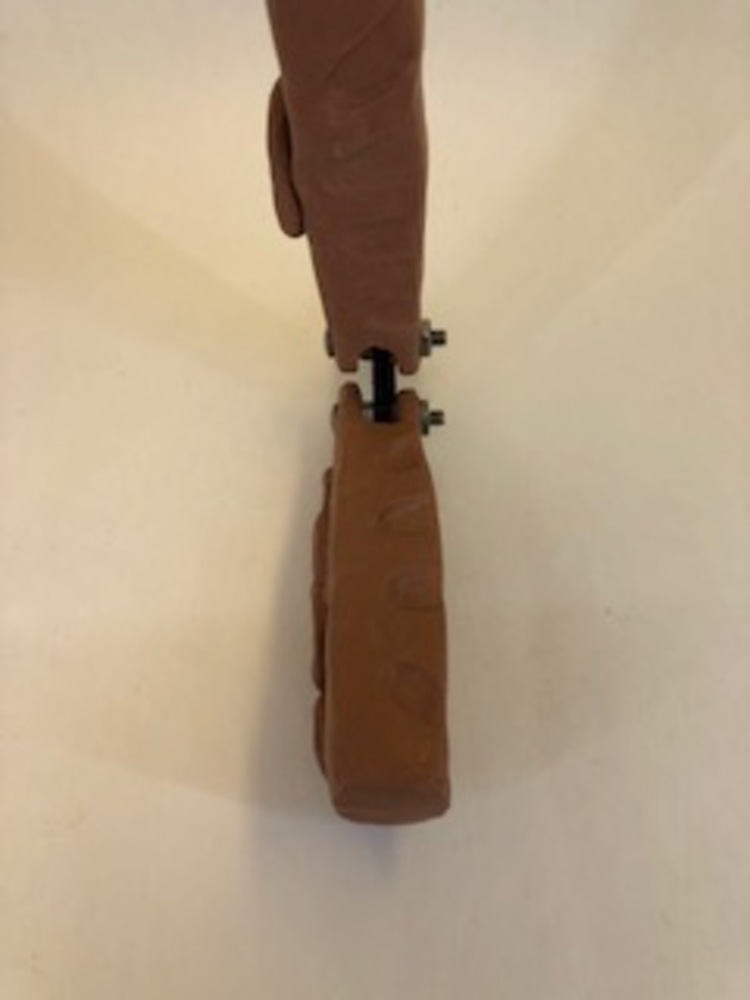
Once I put together all of the 2D pieces, I started packing on the clay pretty generously to most places. I wanted to have the option to remove a lot of material to get the correct design, instead of having to put more clay on later because I couldn't go deep enough or started to uncover the underlying structure.
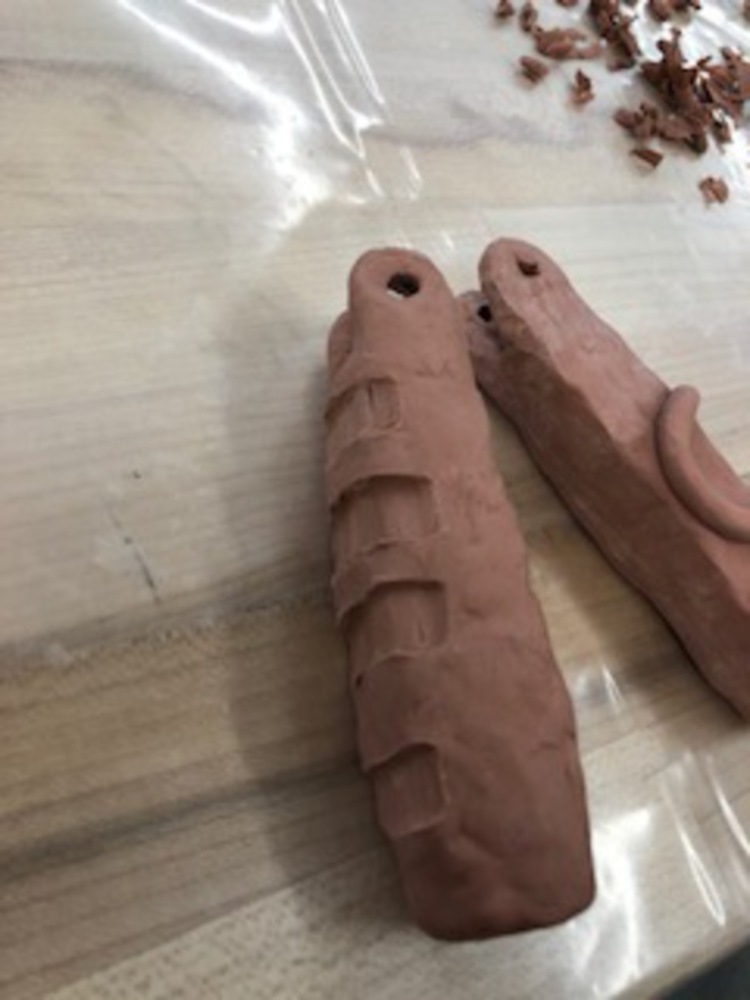
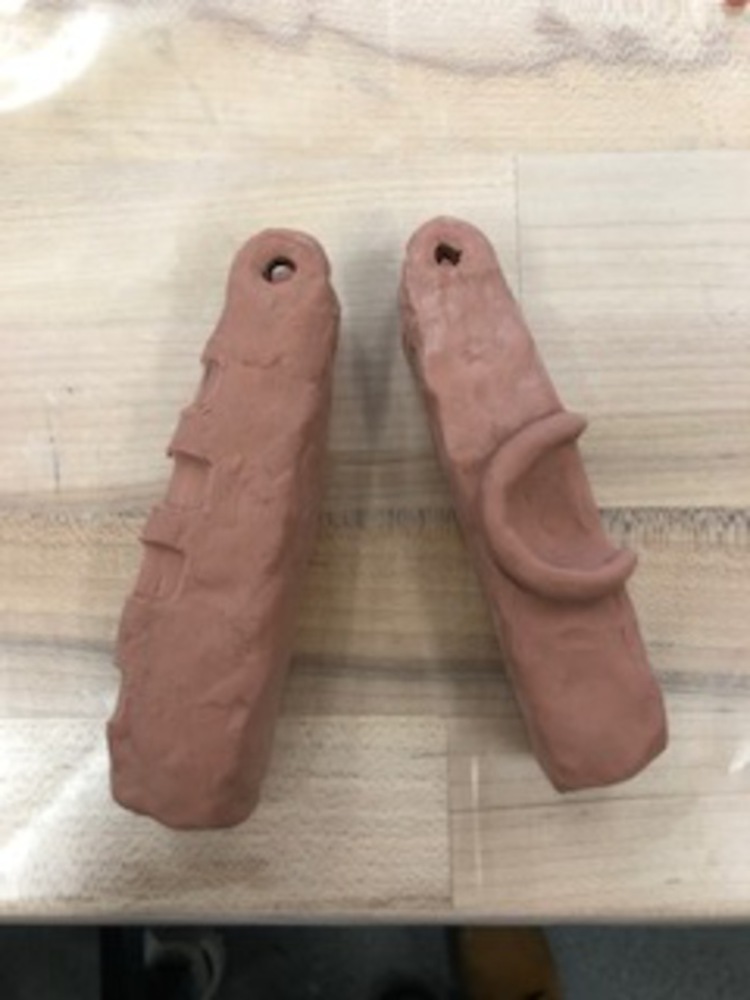
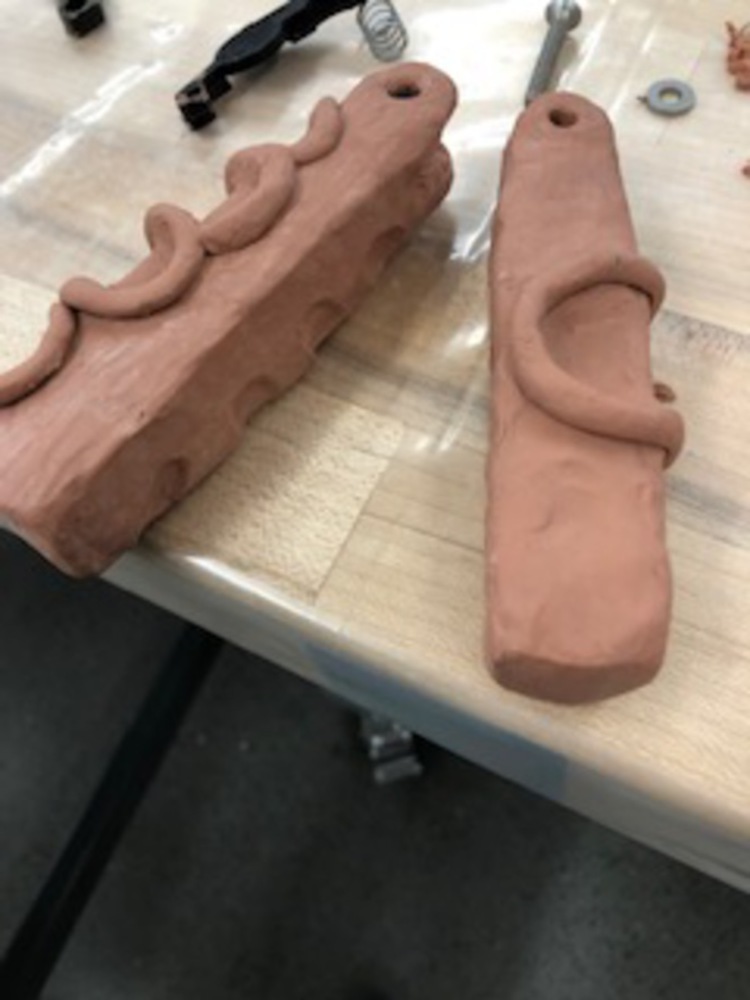
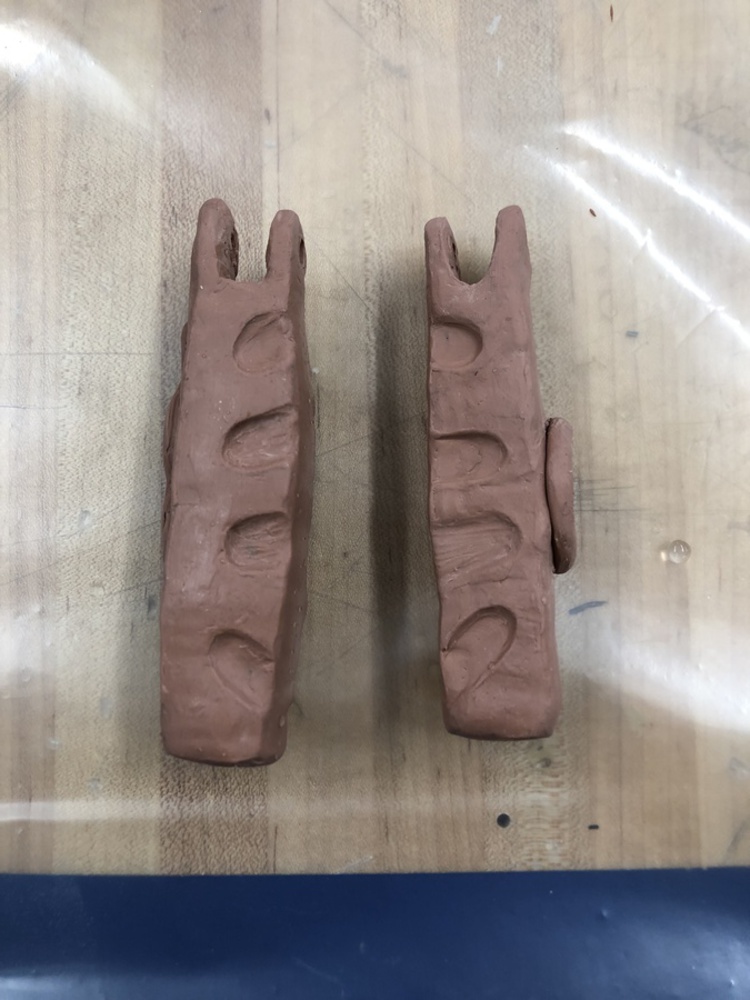
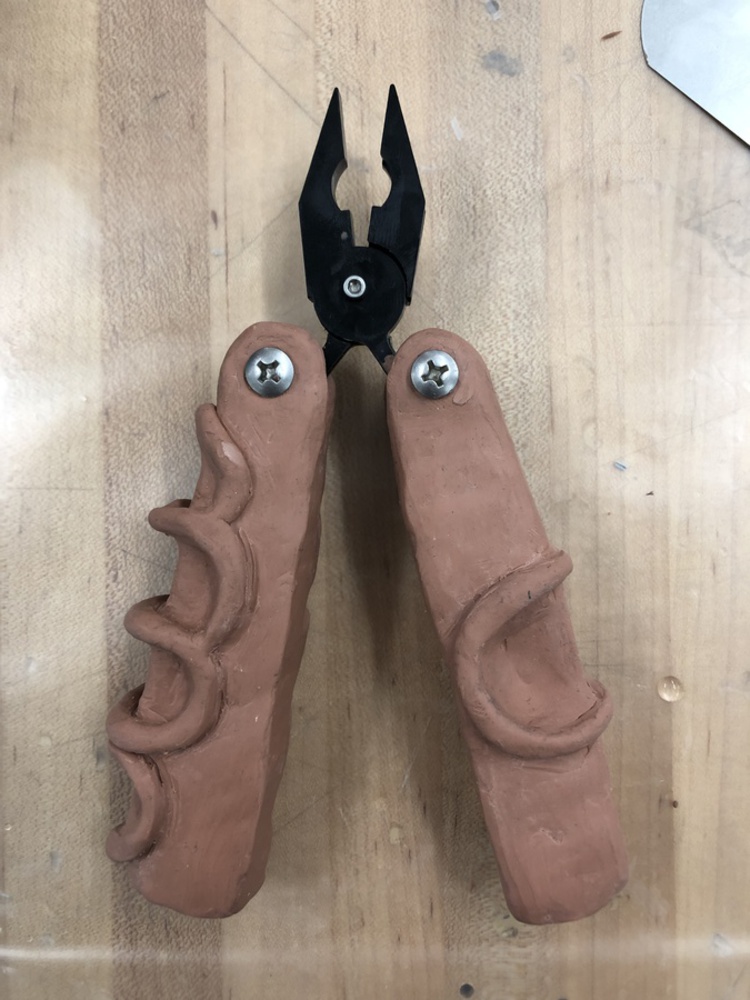
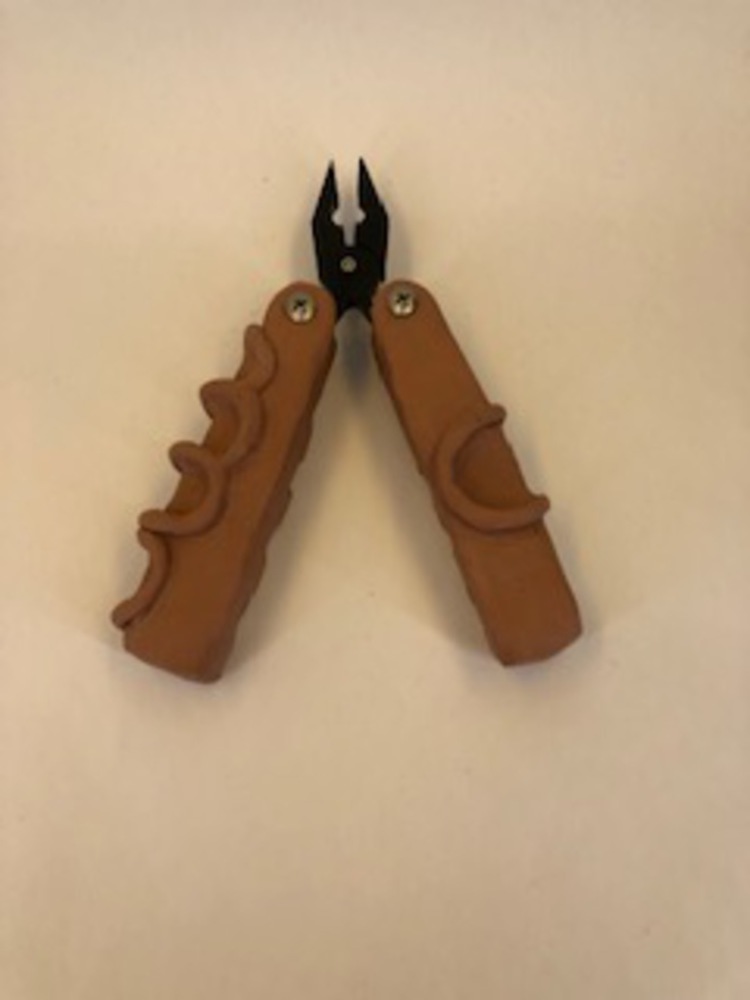
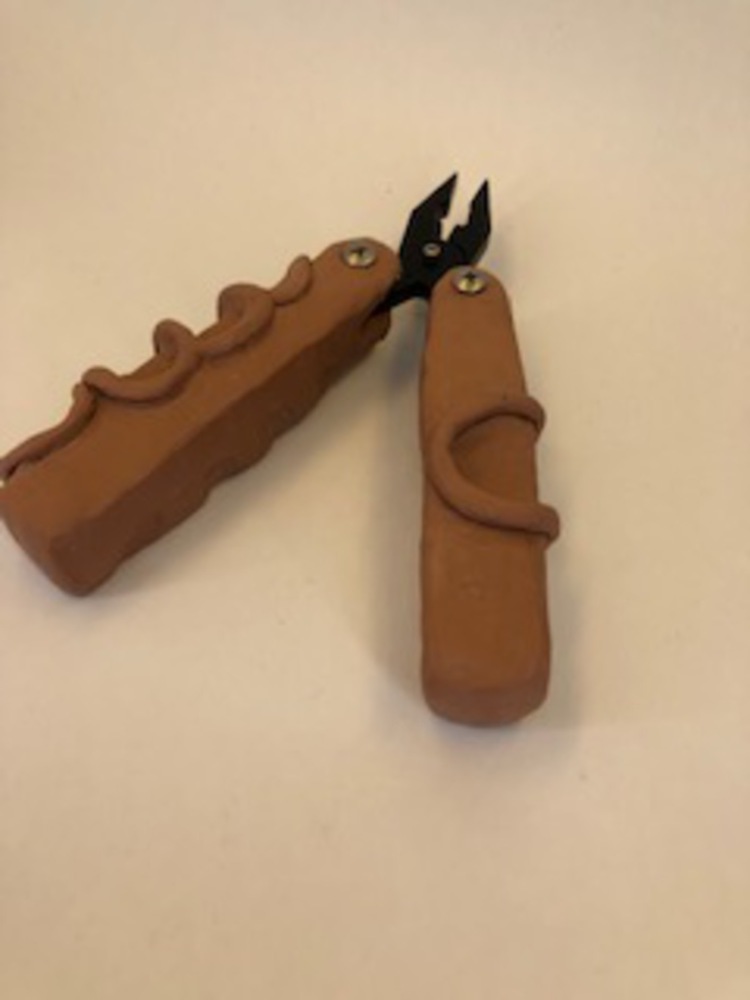
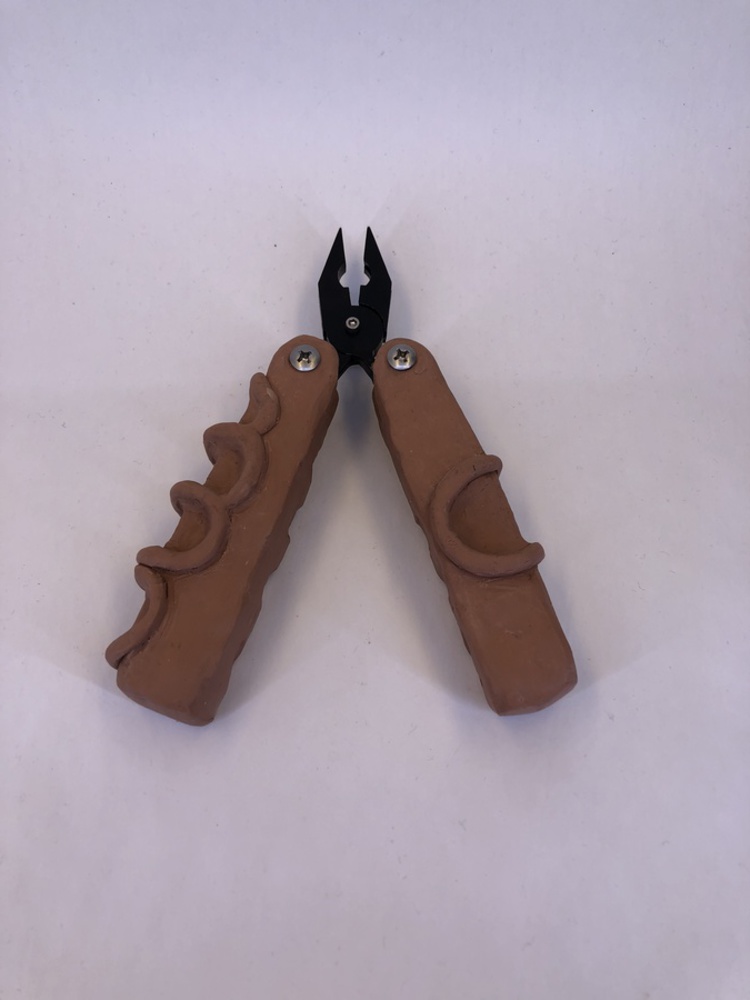
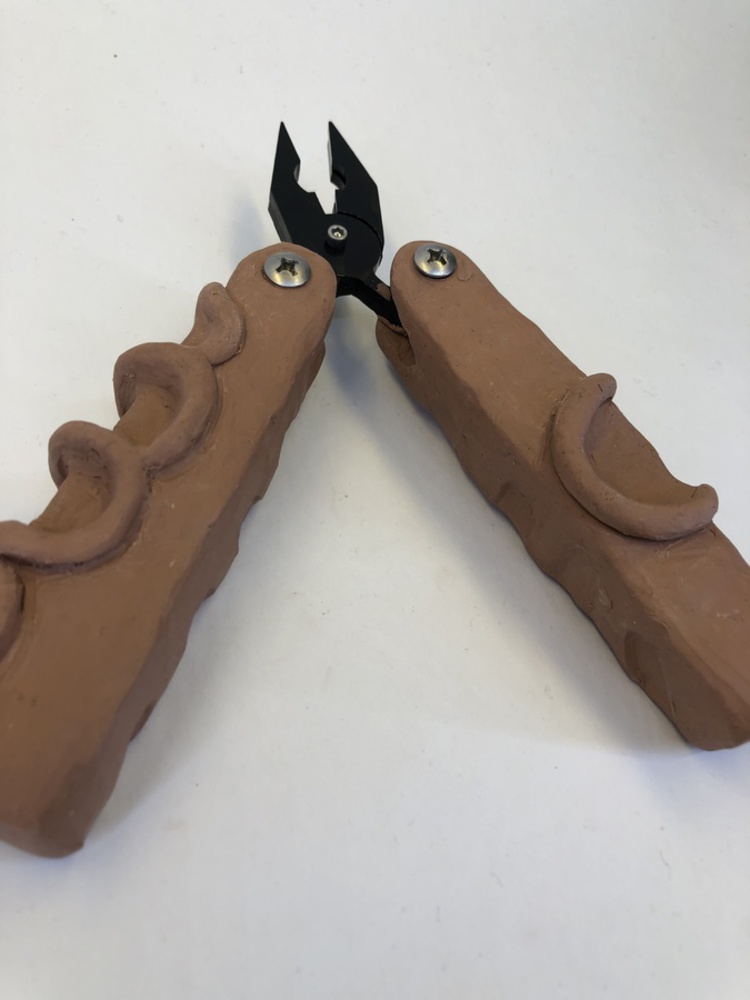
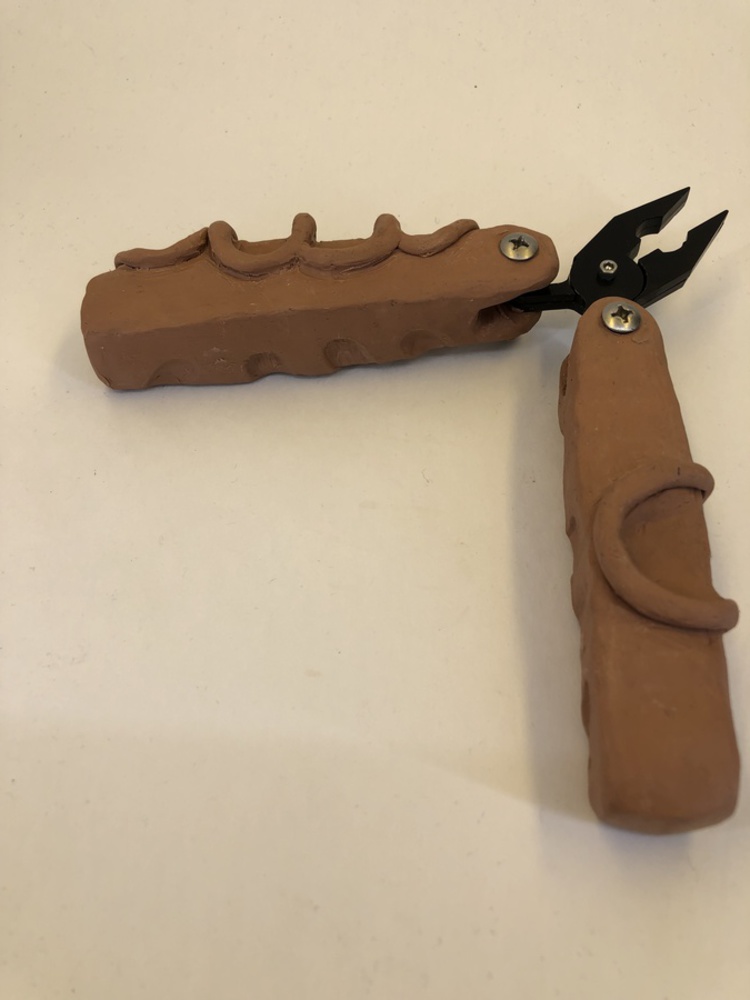
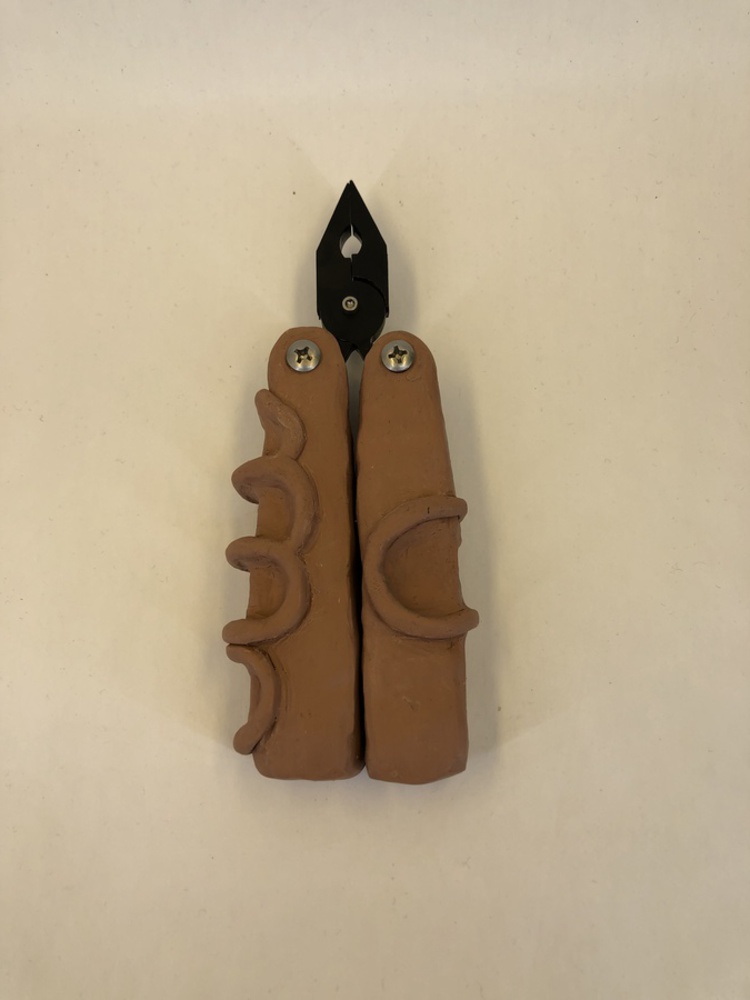
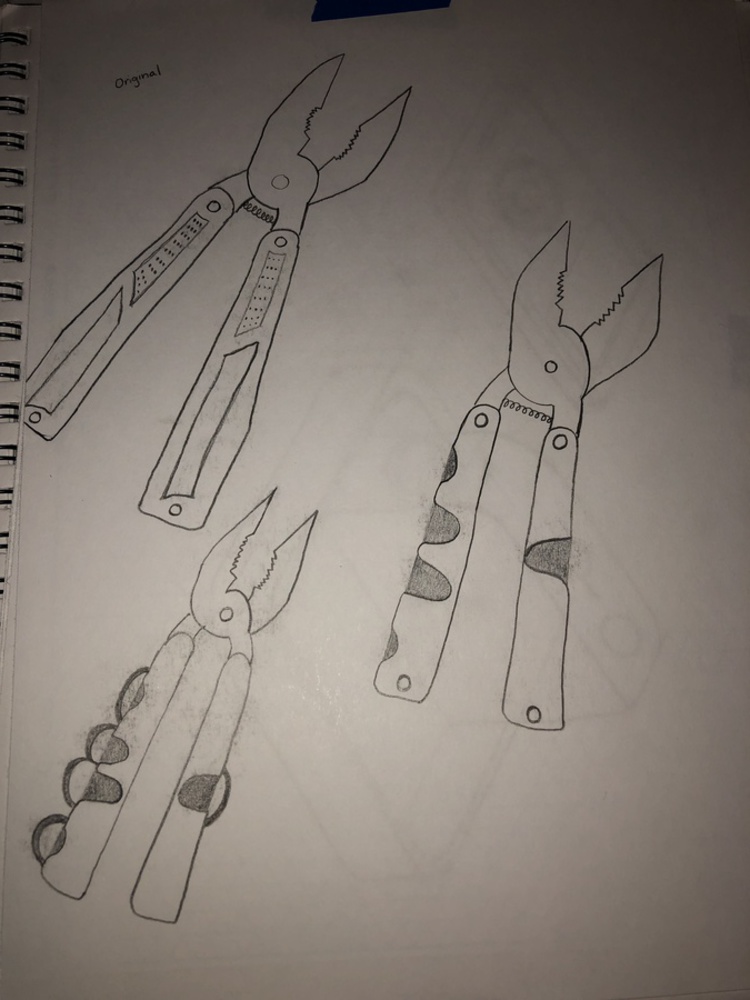
After most of the clay was packed on, I started to make the indents for the fingers. My plan of attack was to place my hand in a comfortable position, then mart with a tool the outline of my fingers in those positions. Once I removed my hand, I was able to carve grooves where my fingers were placed. Once I removed enough material in those locations, I added finger guards using thin rolls of clay. This feature makes the grip more comfortable and gives your fingers a nice designated area to be. The next couple of pictures show this process.
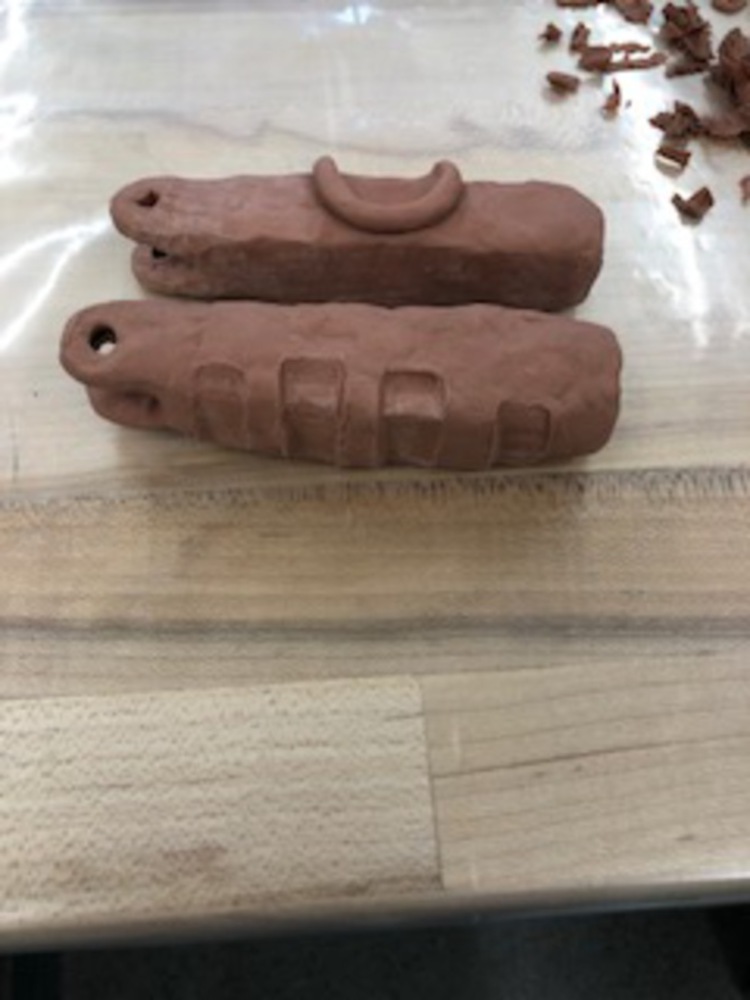
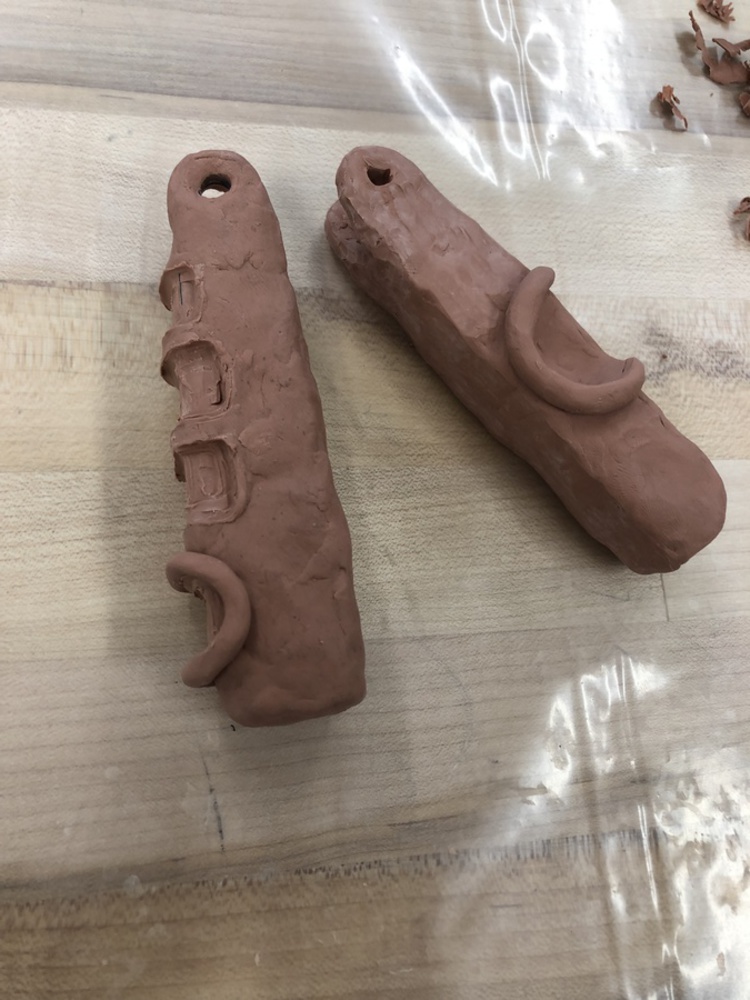
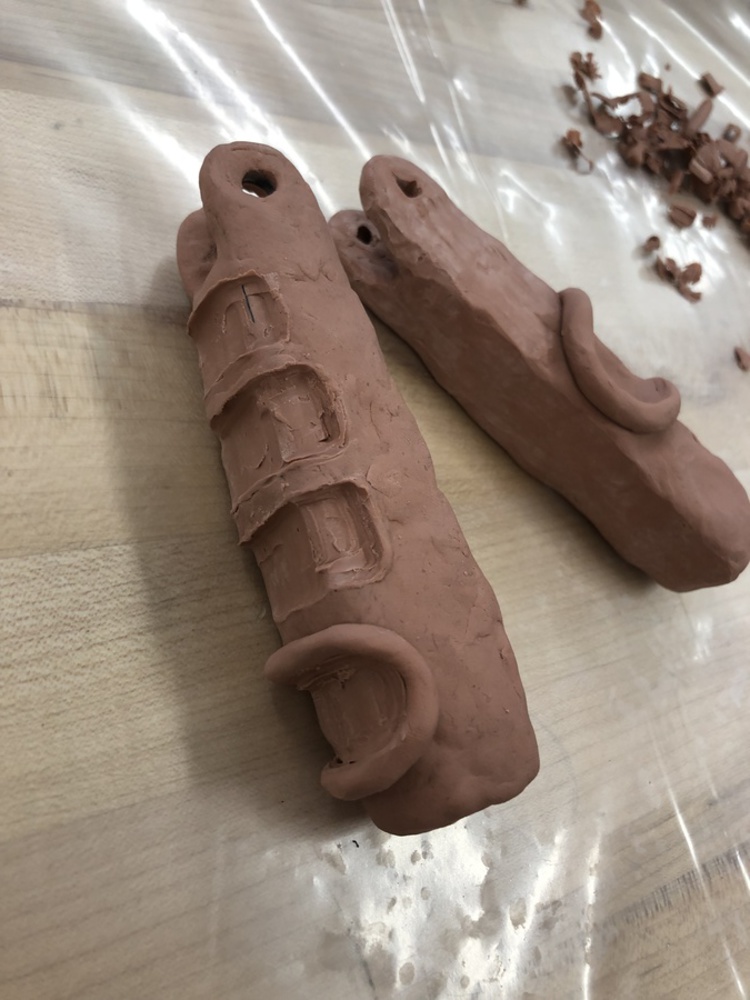
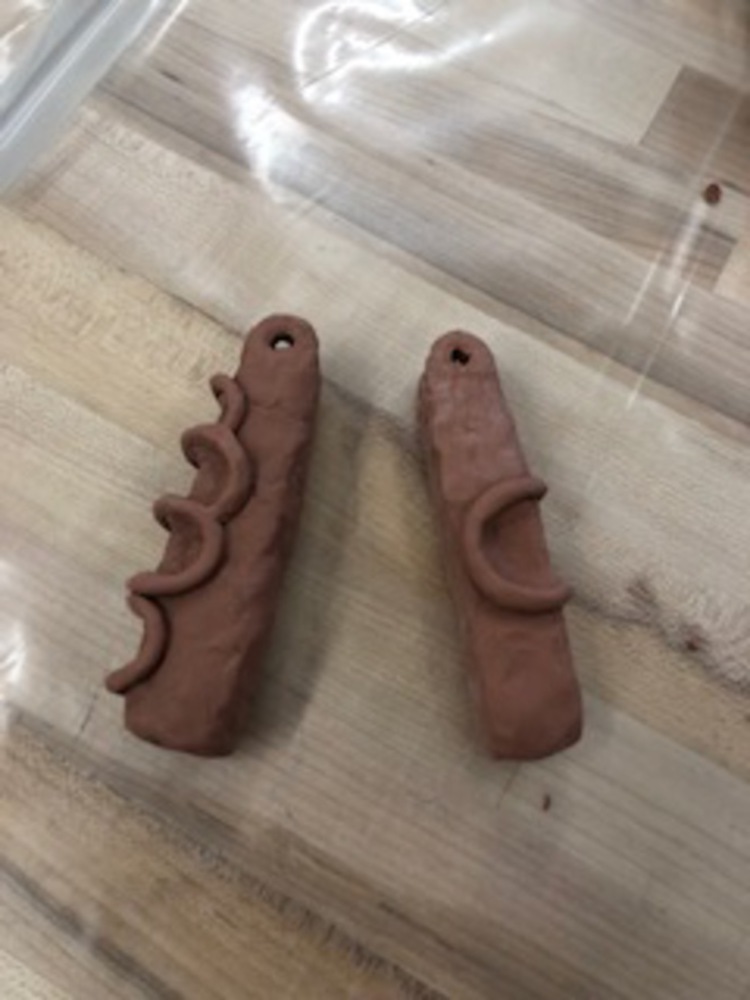
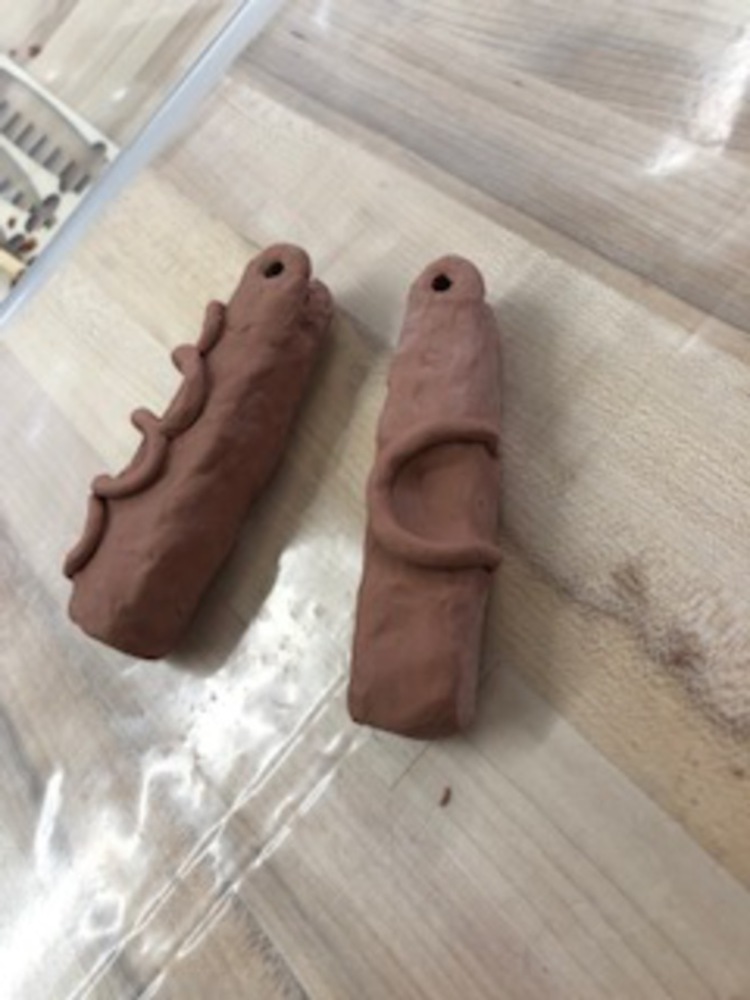
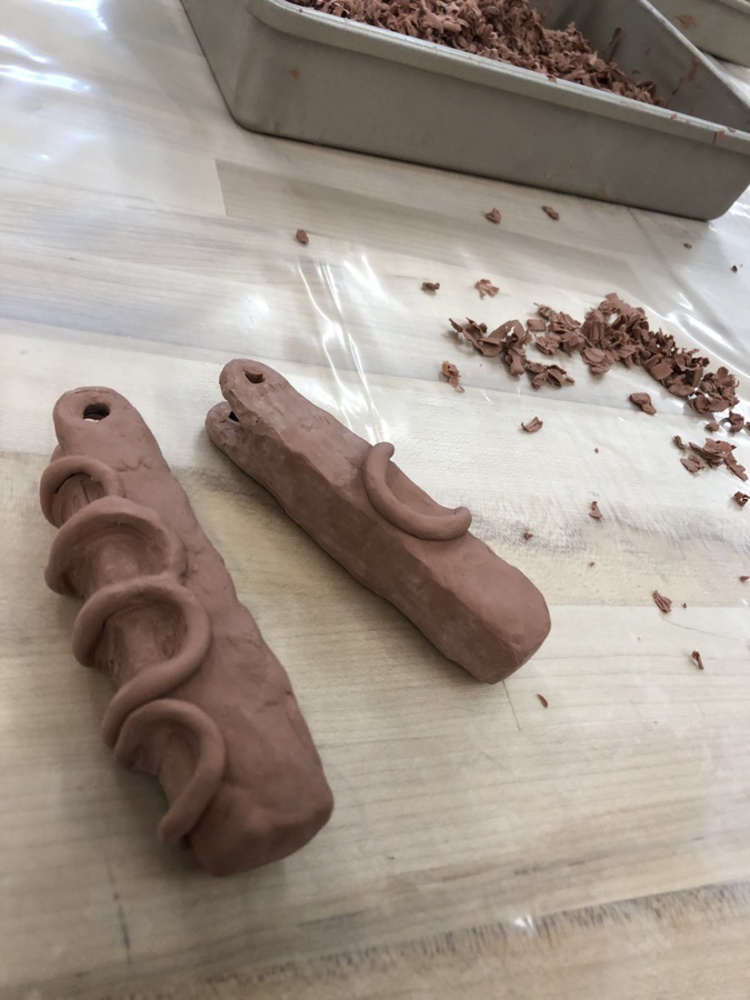
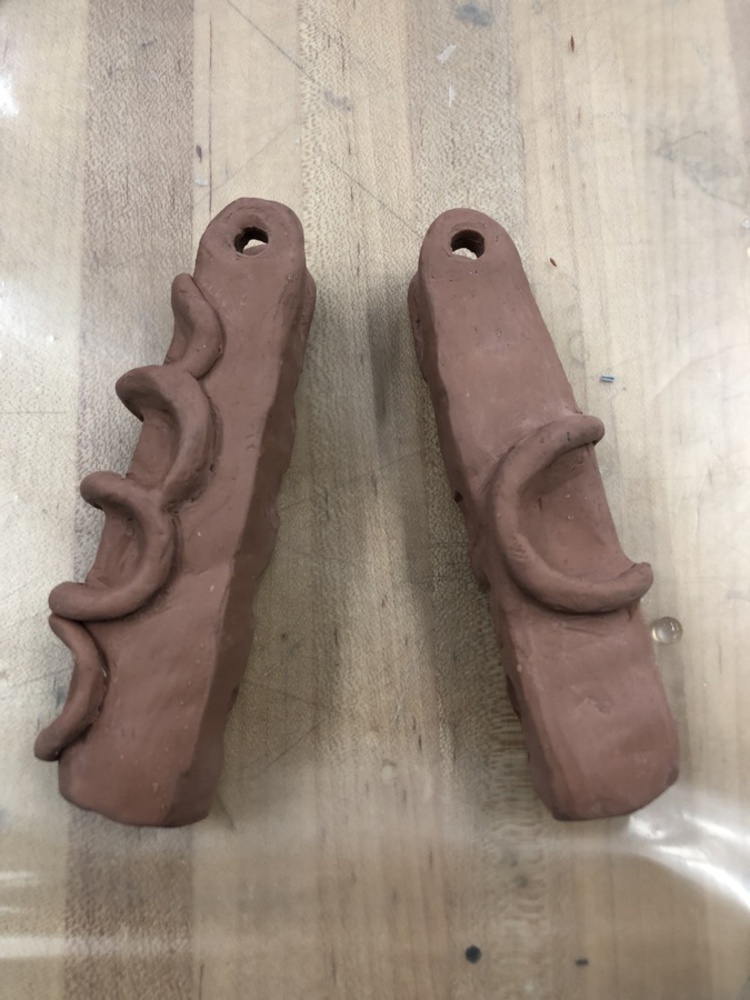

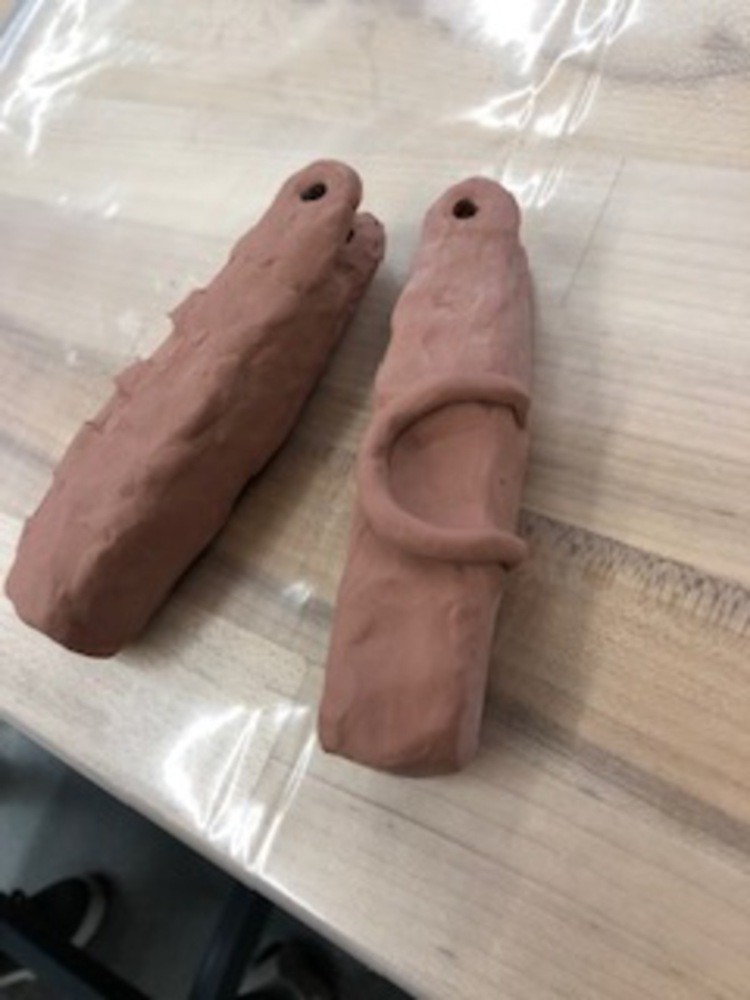
After I finished the outer finger holders, I wanted to create places for your fingers to be if you were to use the pliers to open something up, similar to the Jaws of Life grip. Once again, I placed my fingers in a comfortable position and used a tool to mark the areas. I then carved out a reasonable amount of material to create nice grooves for each finger.
You can upload files of up to 20MB using this form.