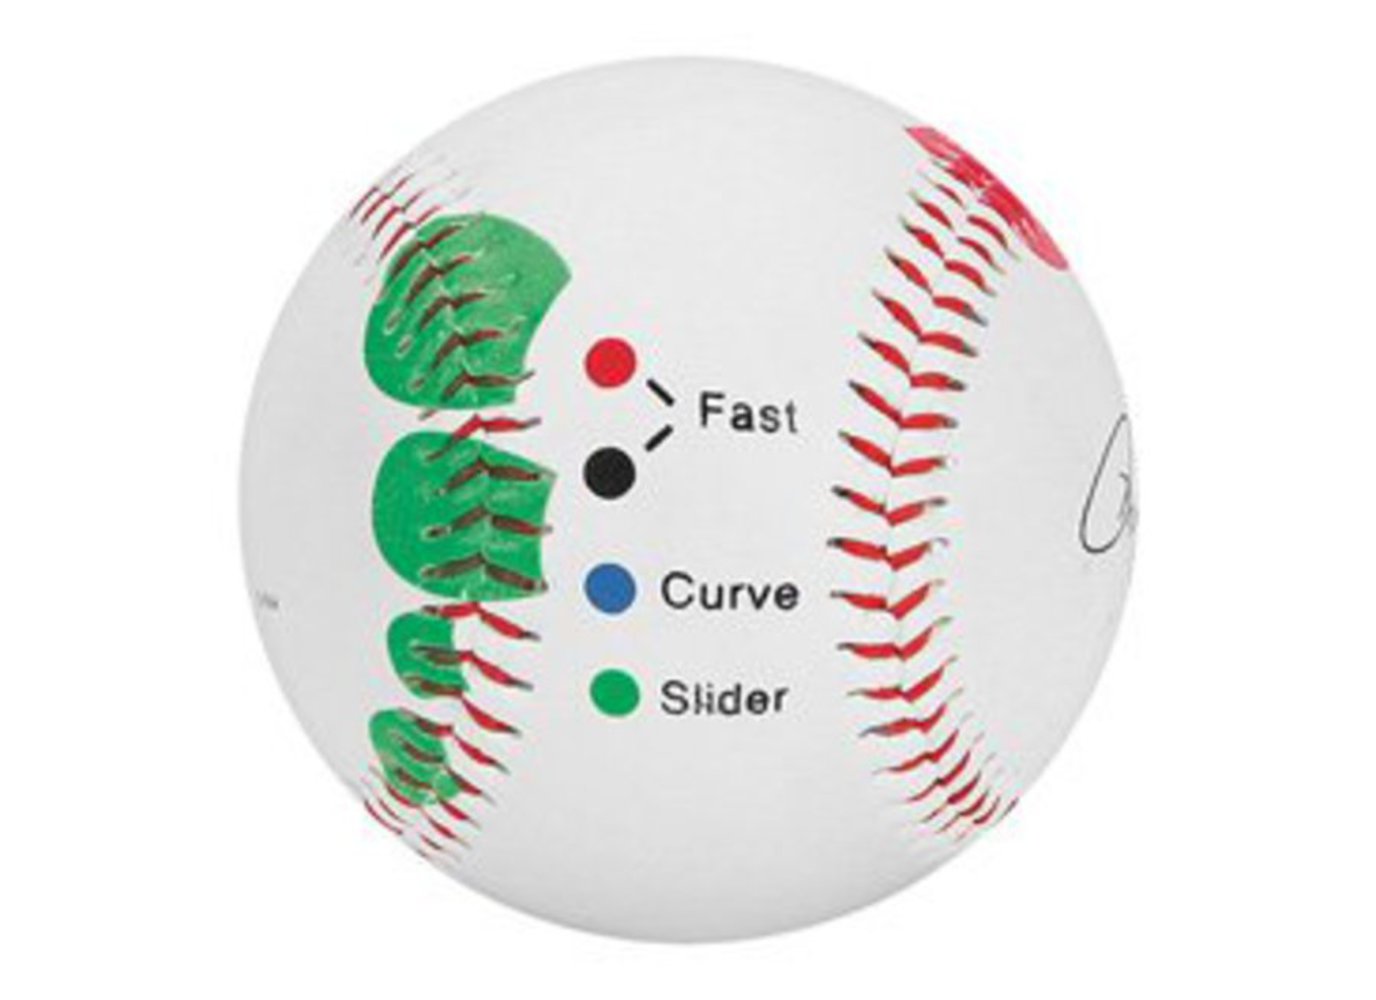
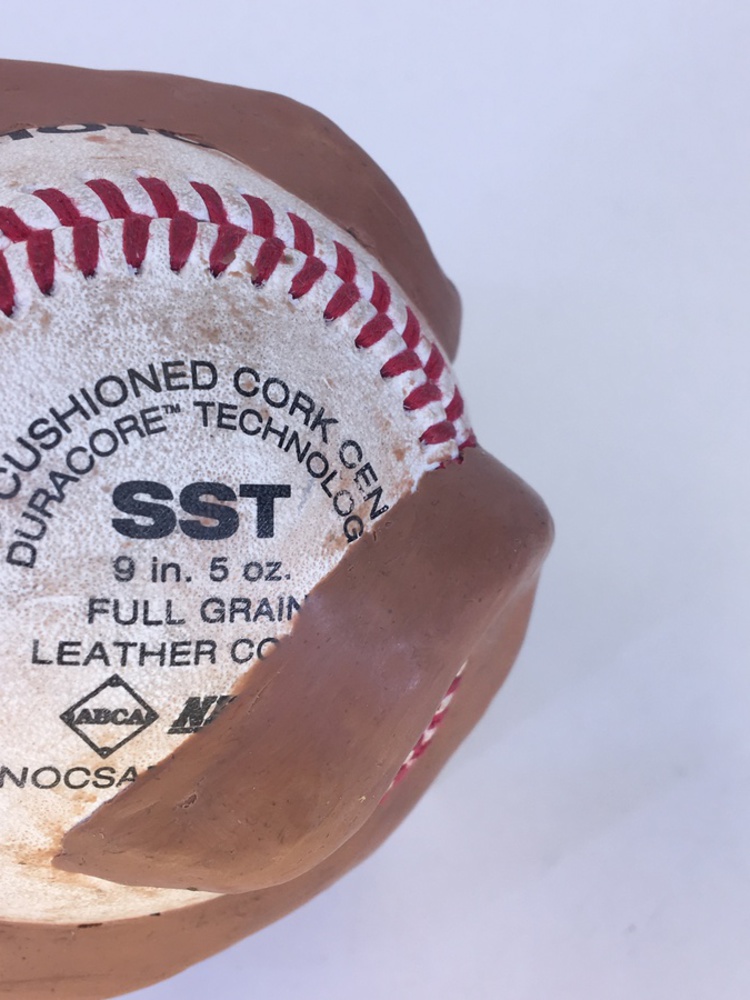
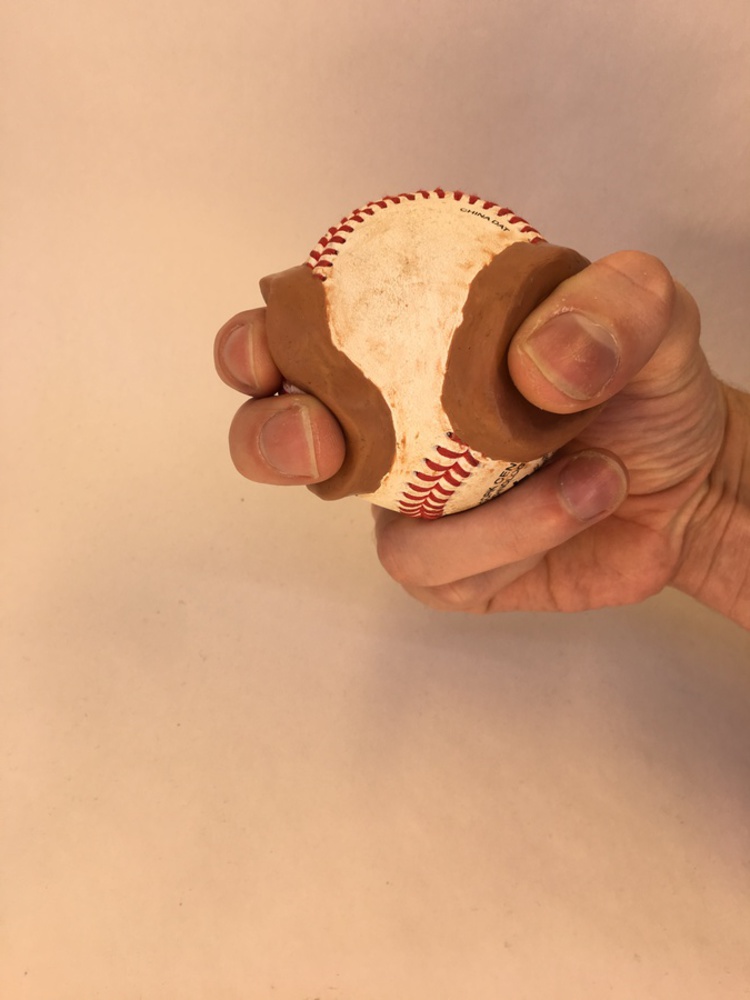
I have always loved baseball, and played it competitively from age 6 to 16. However, I was always a catcher and infielder, never a pitcher. One reason was that I couldn't throw all that hard, but the other was that I could never throw a curveball. Throwing a curve requires a certain grip and throwing motion that I just never got the hang of. So, I decided to make a grip for a baseball that shows a player where on the baseball to grip to throw a curveball. I was inspired by training balls, like the one shown below.
Outcome
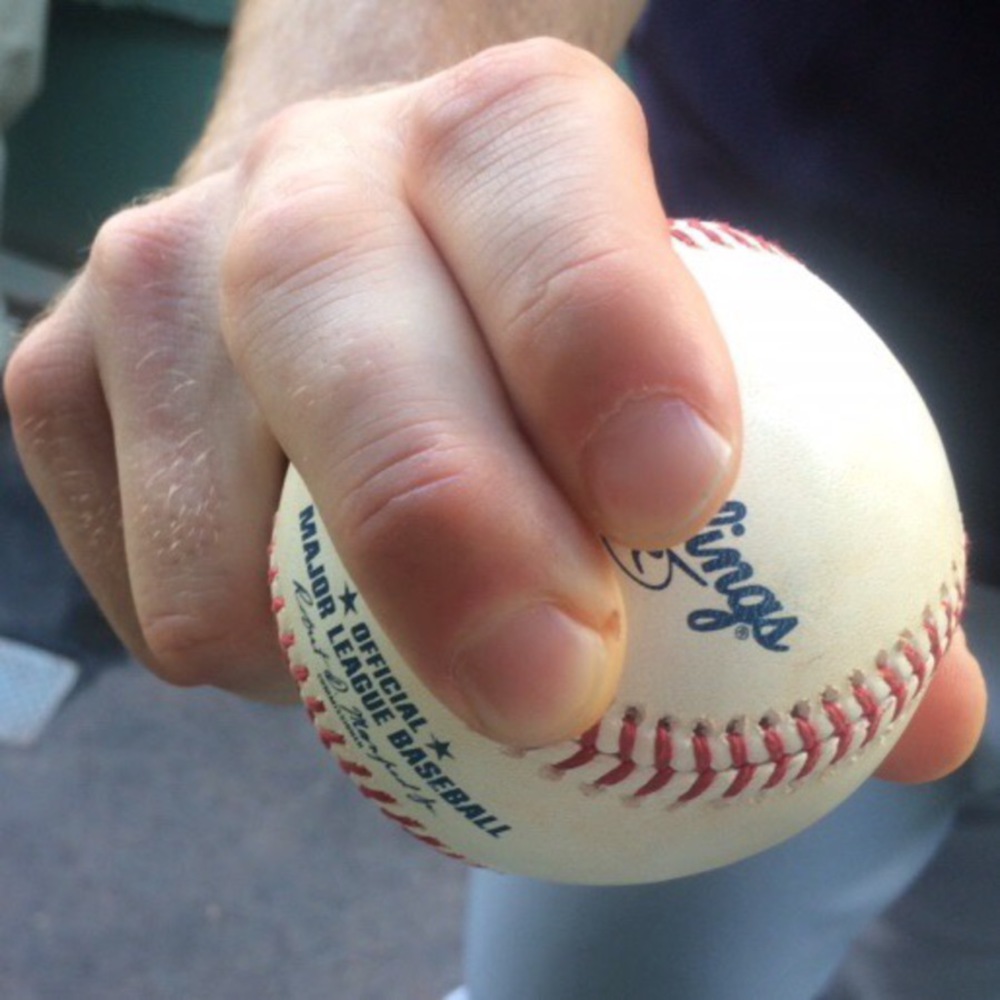
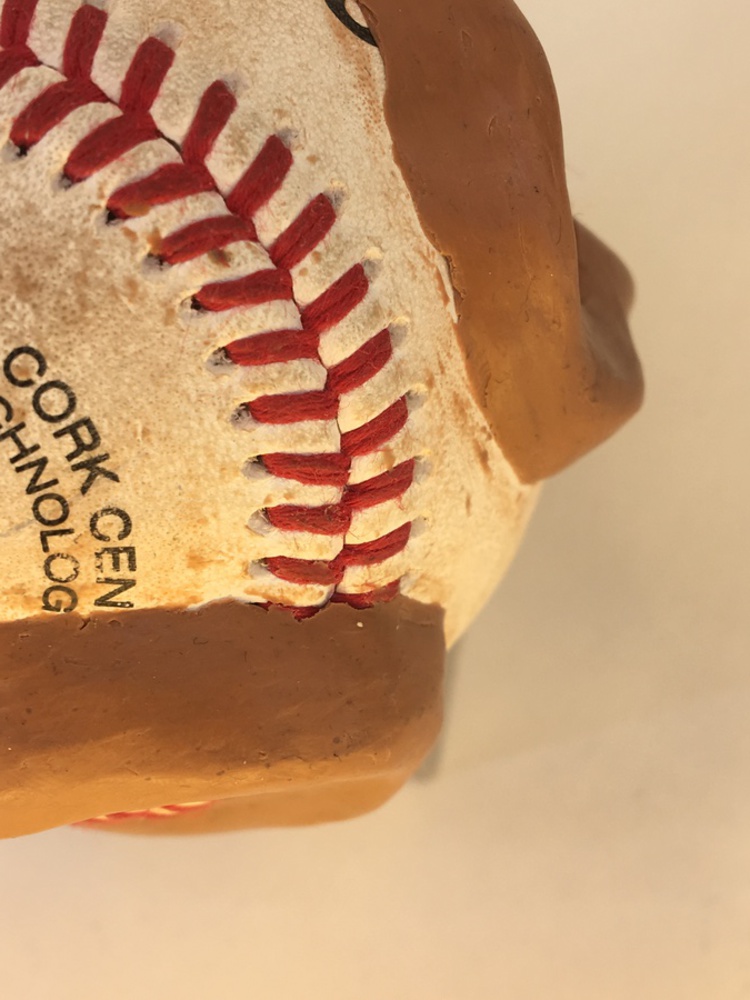
However, my project would be slightly different. I wanted to make a more tactile grip, but making the full guide would mean that I could only make one pitch grip. I decided to choose a curveball since in my opinion, it is the best looking pitch. I chose the grip used by one of my favorite pitchers, Sonny Gray. His curveball is his "signature pitch", and is well known throughout baseball.
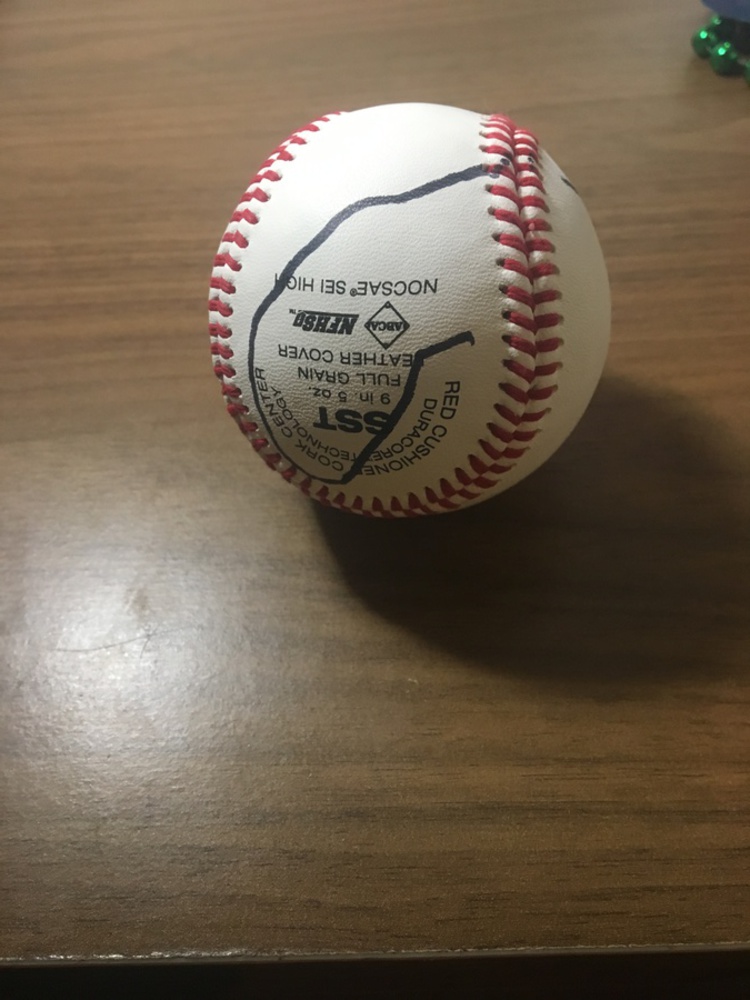
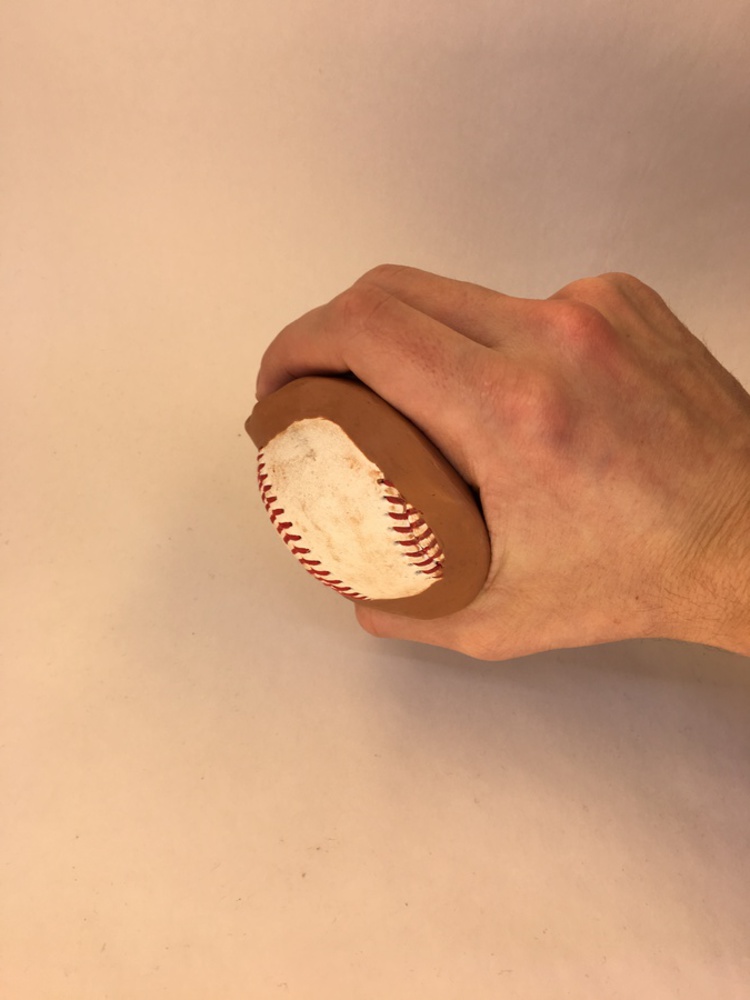
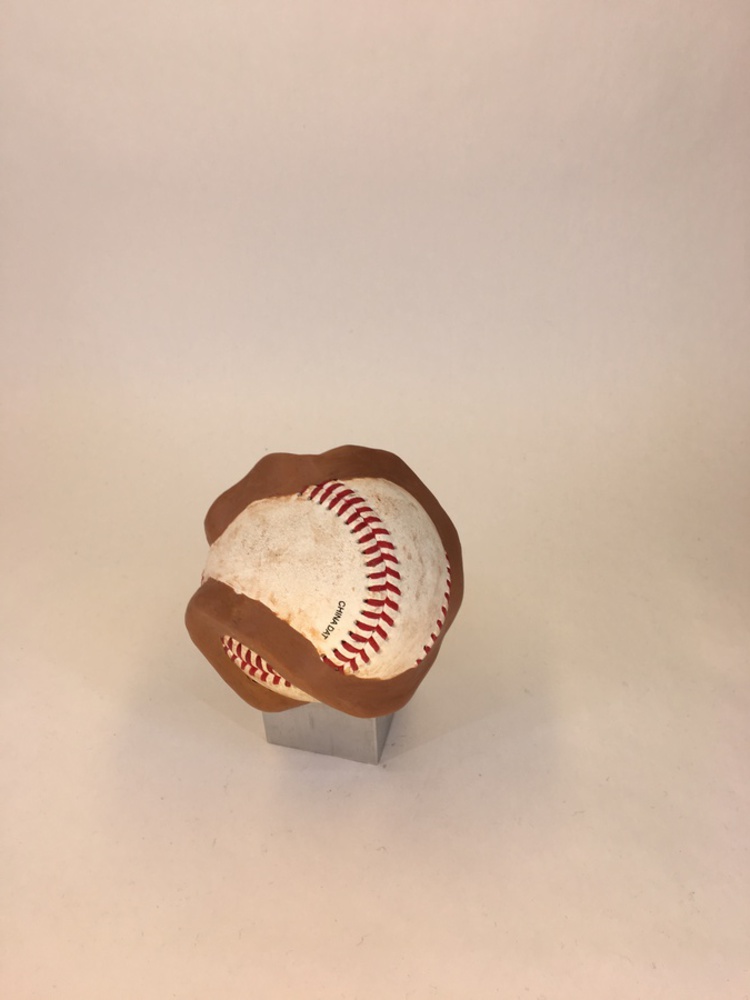
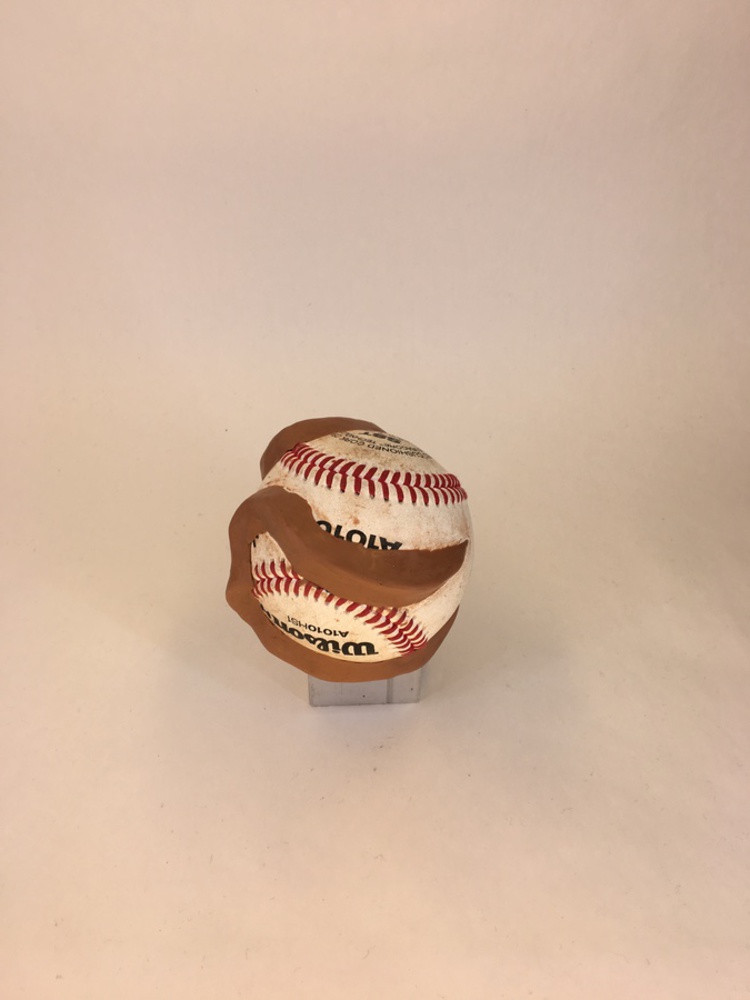
As can be seen, the grips cross the seams multiple times, and he sharpie marks were not quite perfectly continuous. This made making the guide a little more difficult. However, it was a fairly simple operation to push the clay onto the ball and then build up from that initial layer. The photo below shows how the clay adheres well to the leather of the ball, making a good base layer.
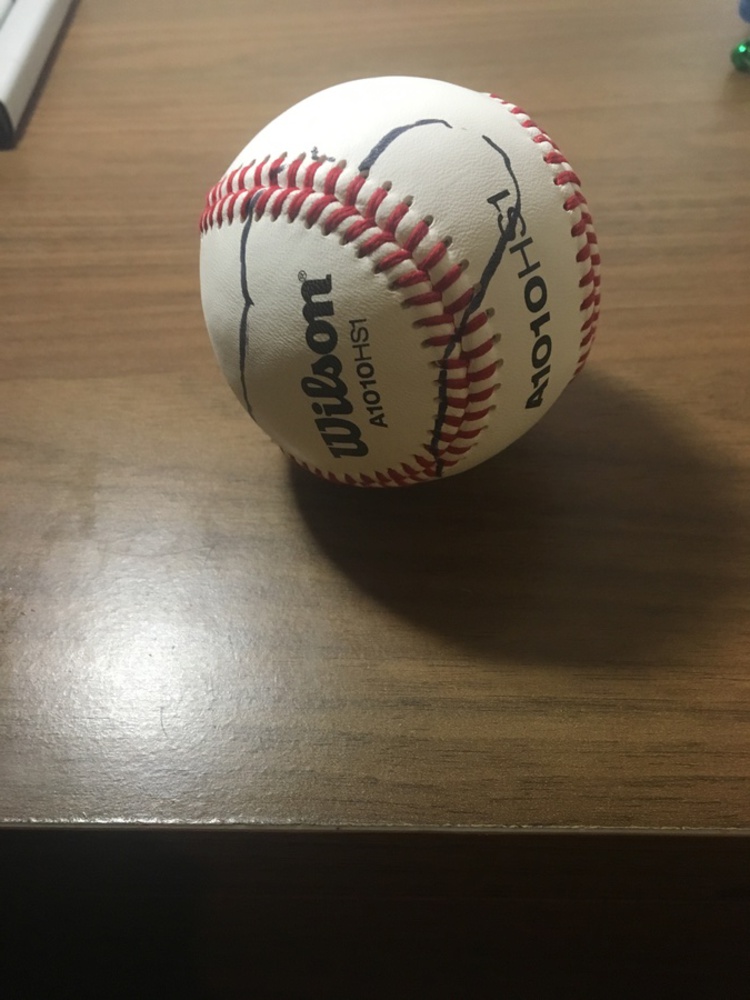
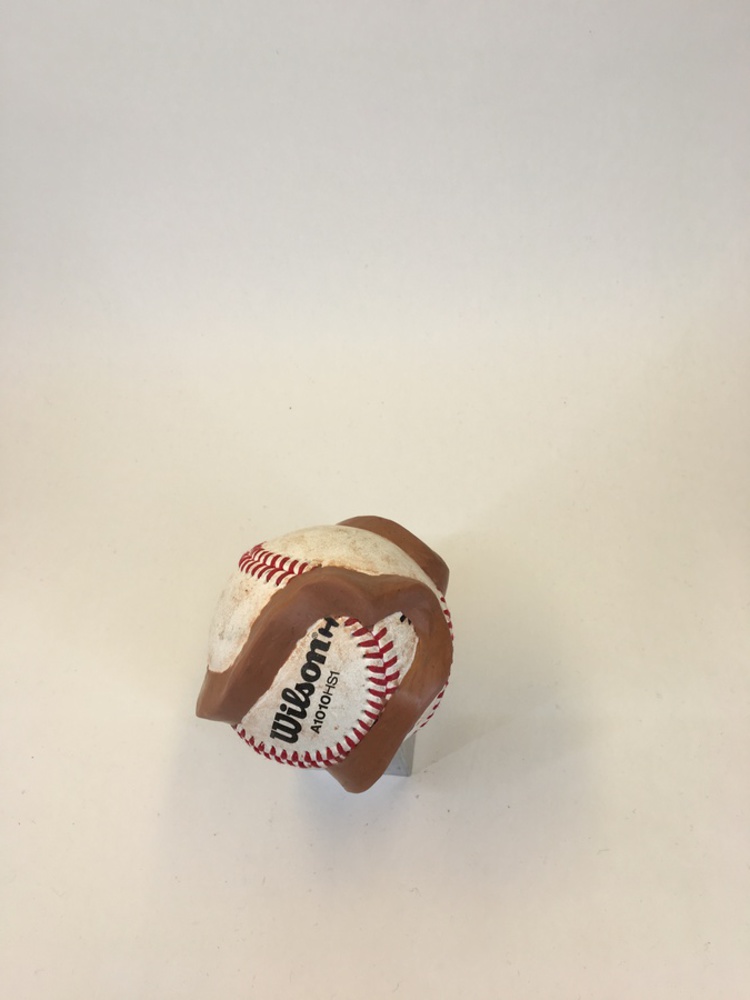
Since the base was made of the clay and it adheres very well to itself, it was easy to build up to a sufficient height. After that, it was just a lot of smoothing with my fingers and using the tools to make the cross-sectional profile as consistent as possible. I had to use my fingers to do the smoothing since the path of the grip was too irregular to utilize them to the full extent. I did use the sponge to smooth out the surfaces, and ended up with a pretty nice finish overall. The smooth finish can be seen in the same picture above. However, it didn't turn out perfectly.

You can upload files of up to 20MB using this form.