Back to Parent

Outcome


The Problem

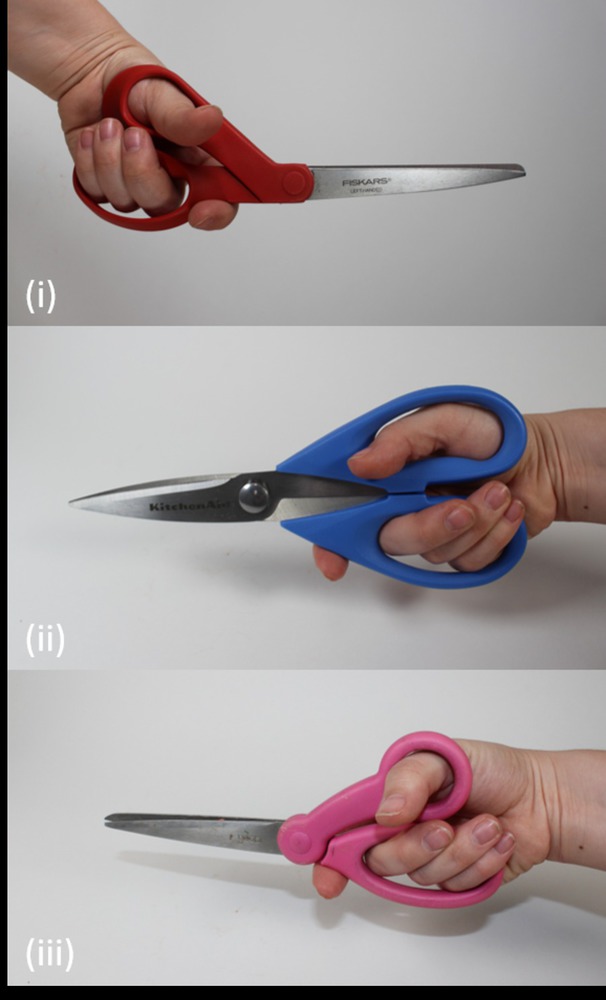
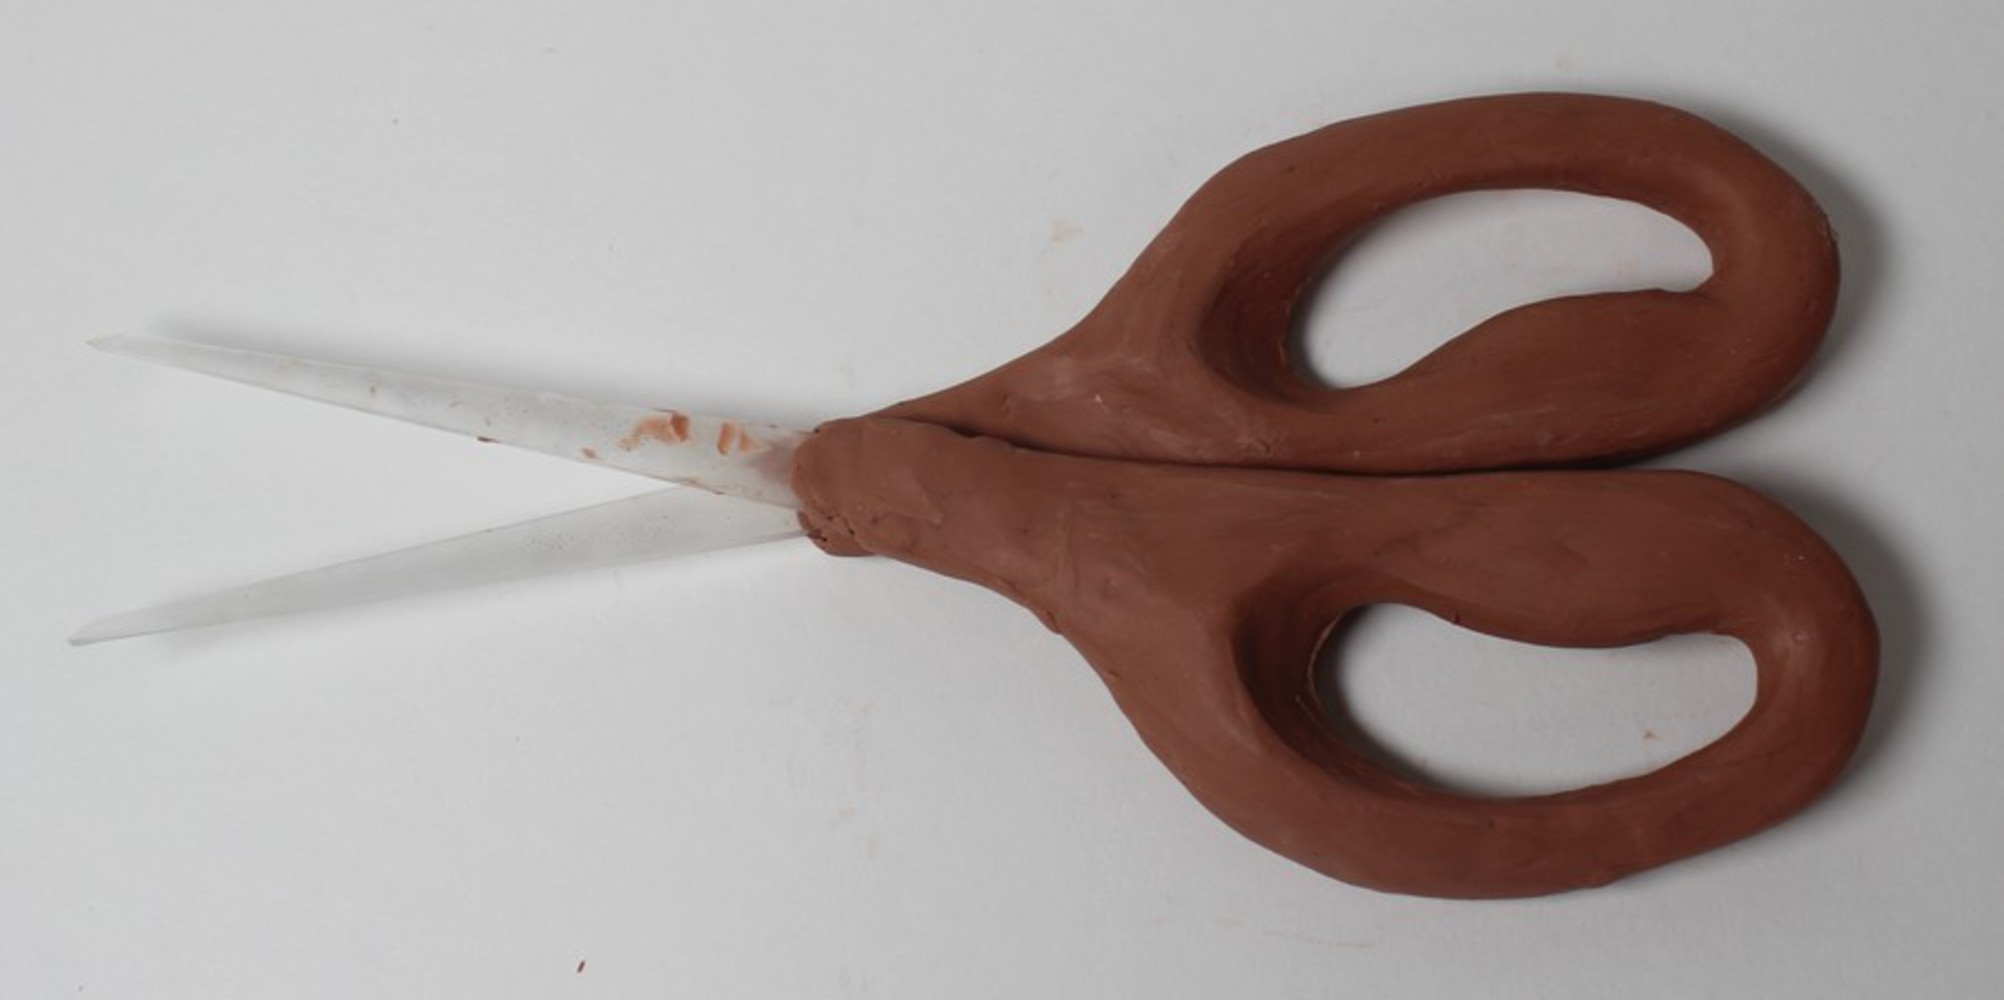
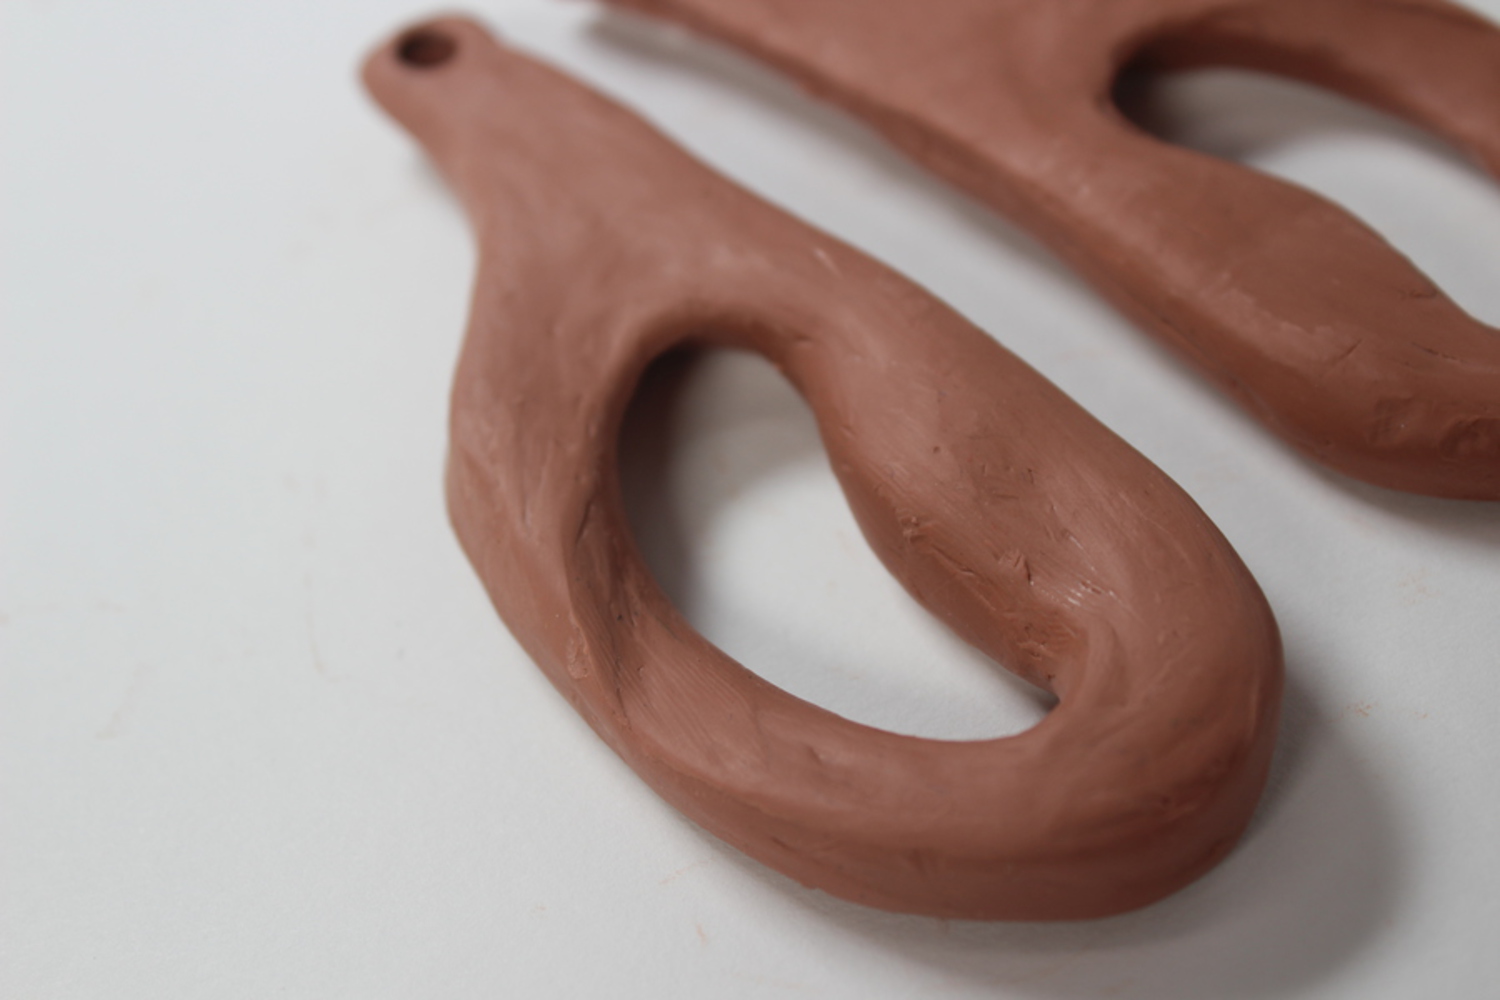
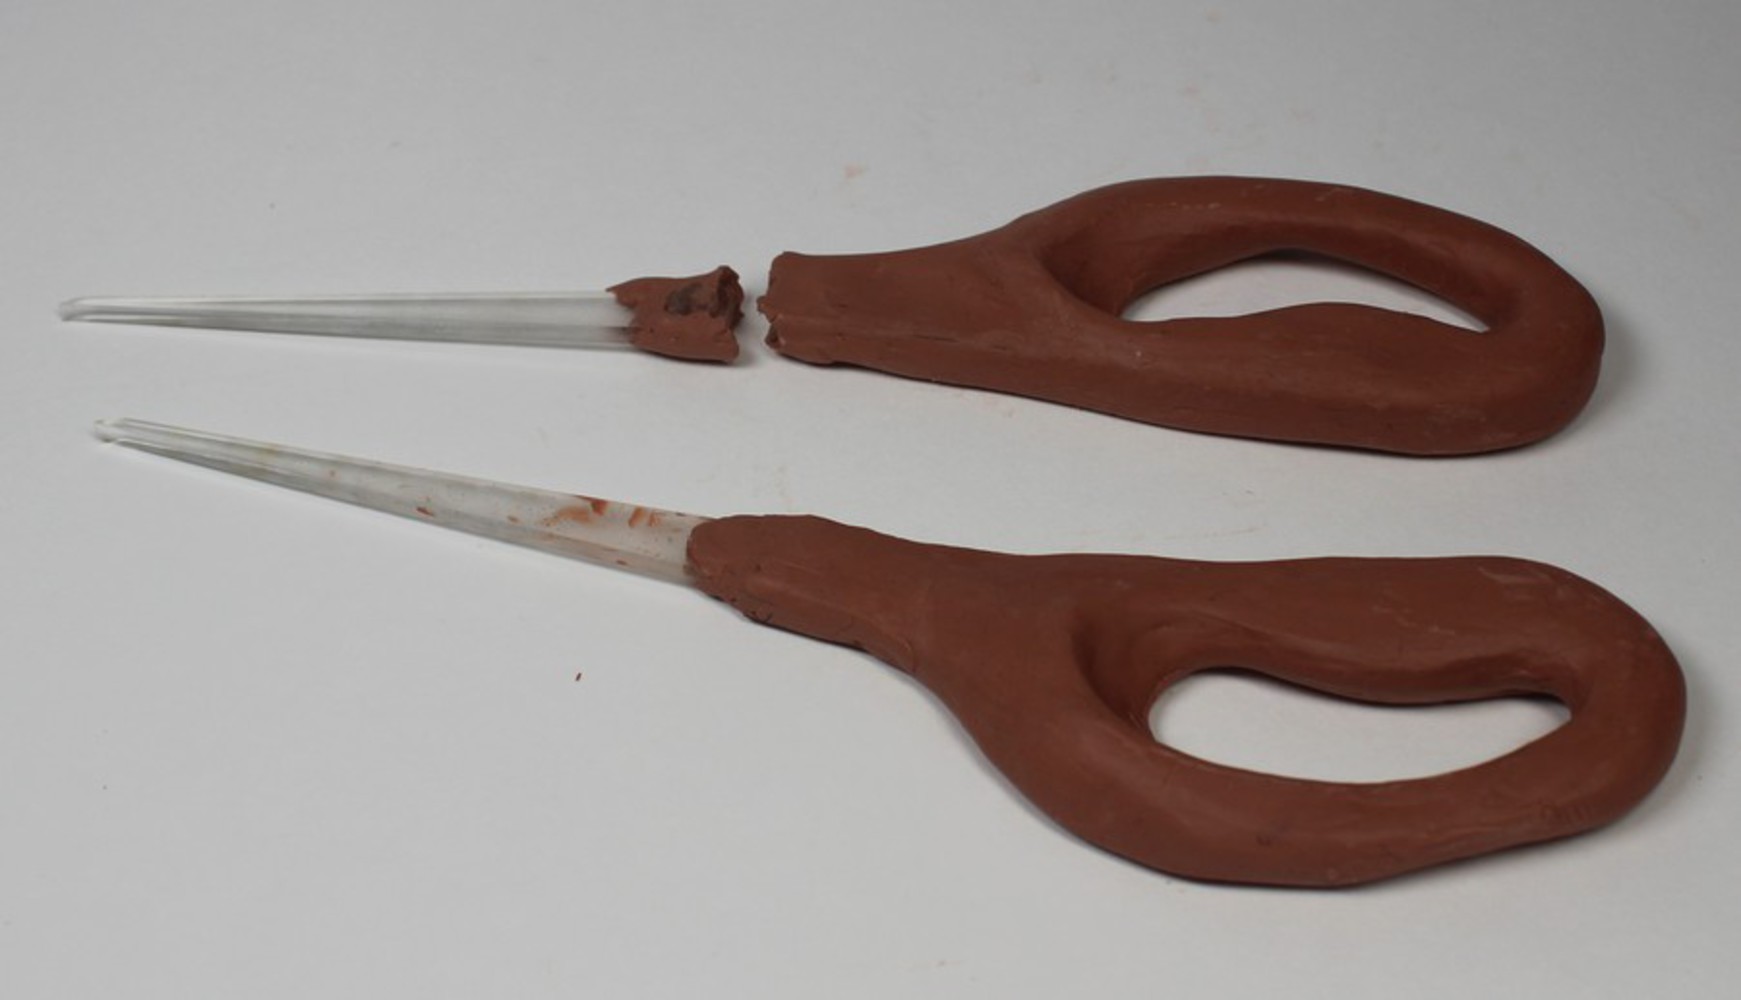
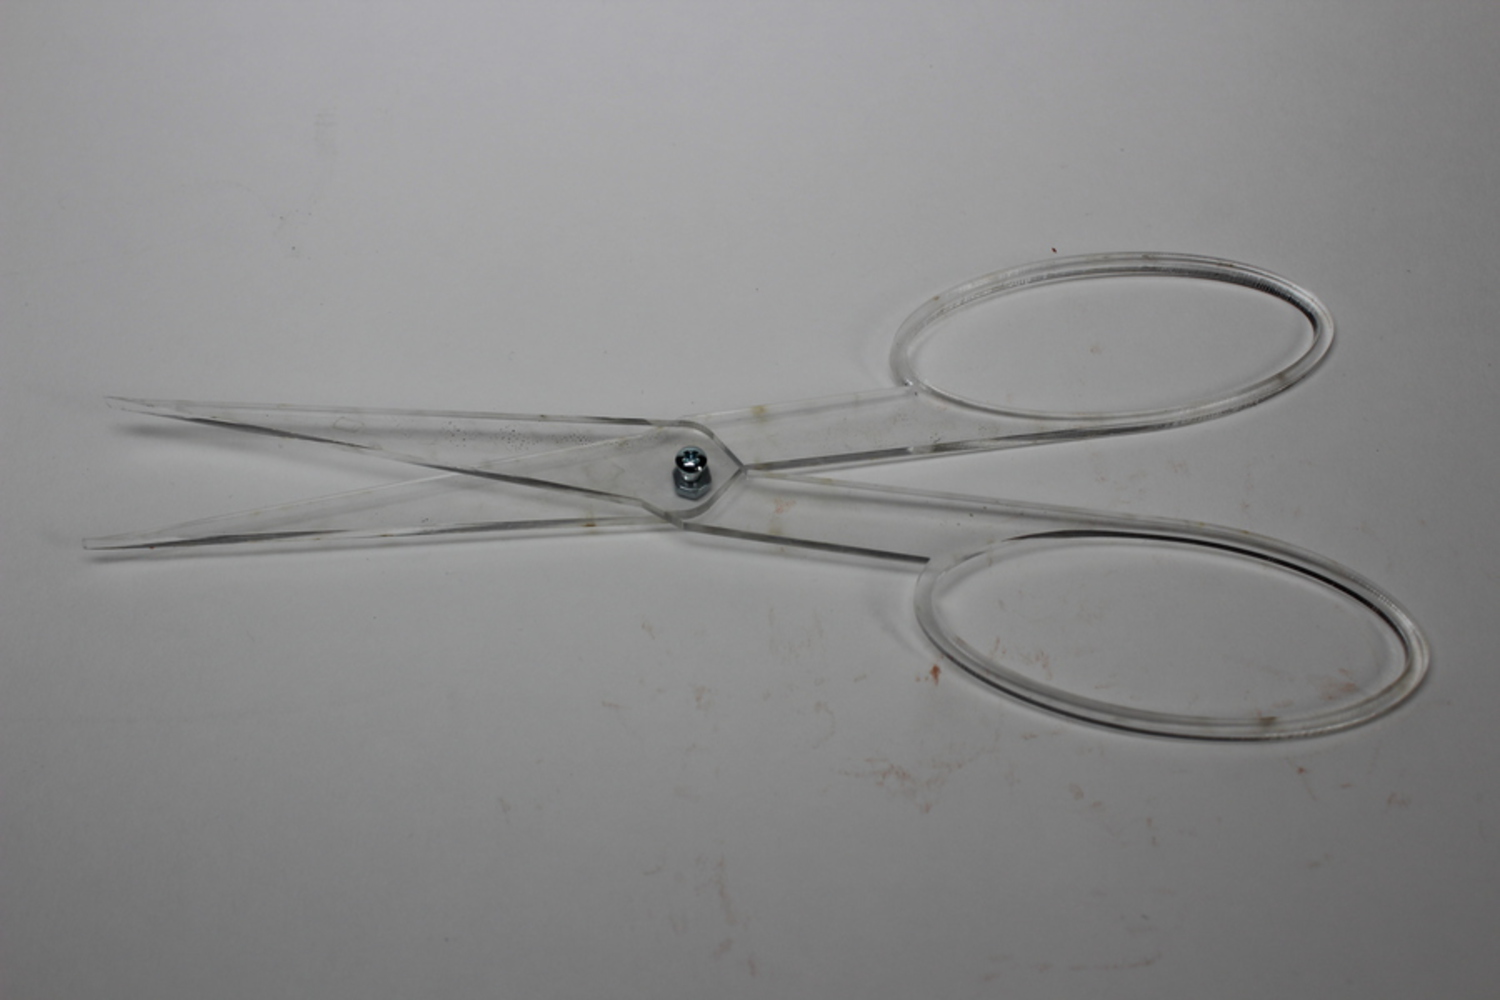
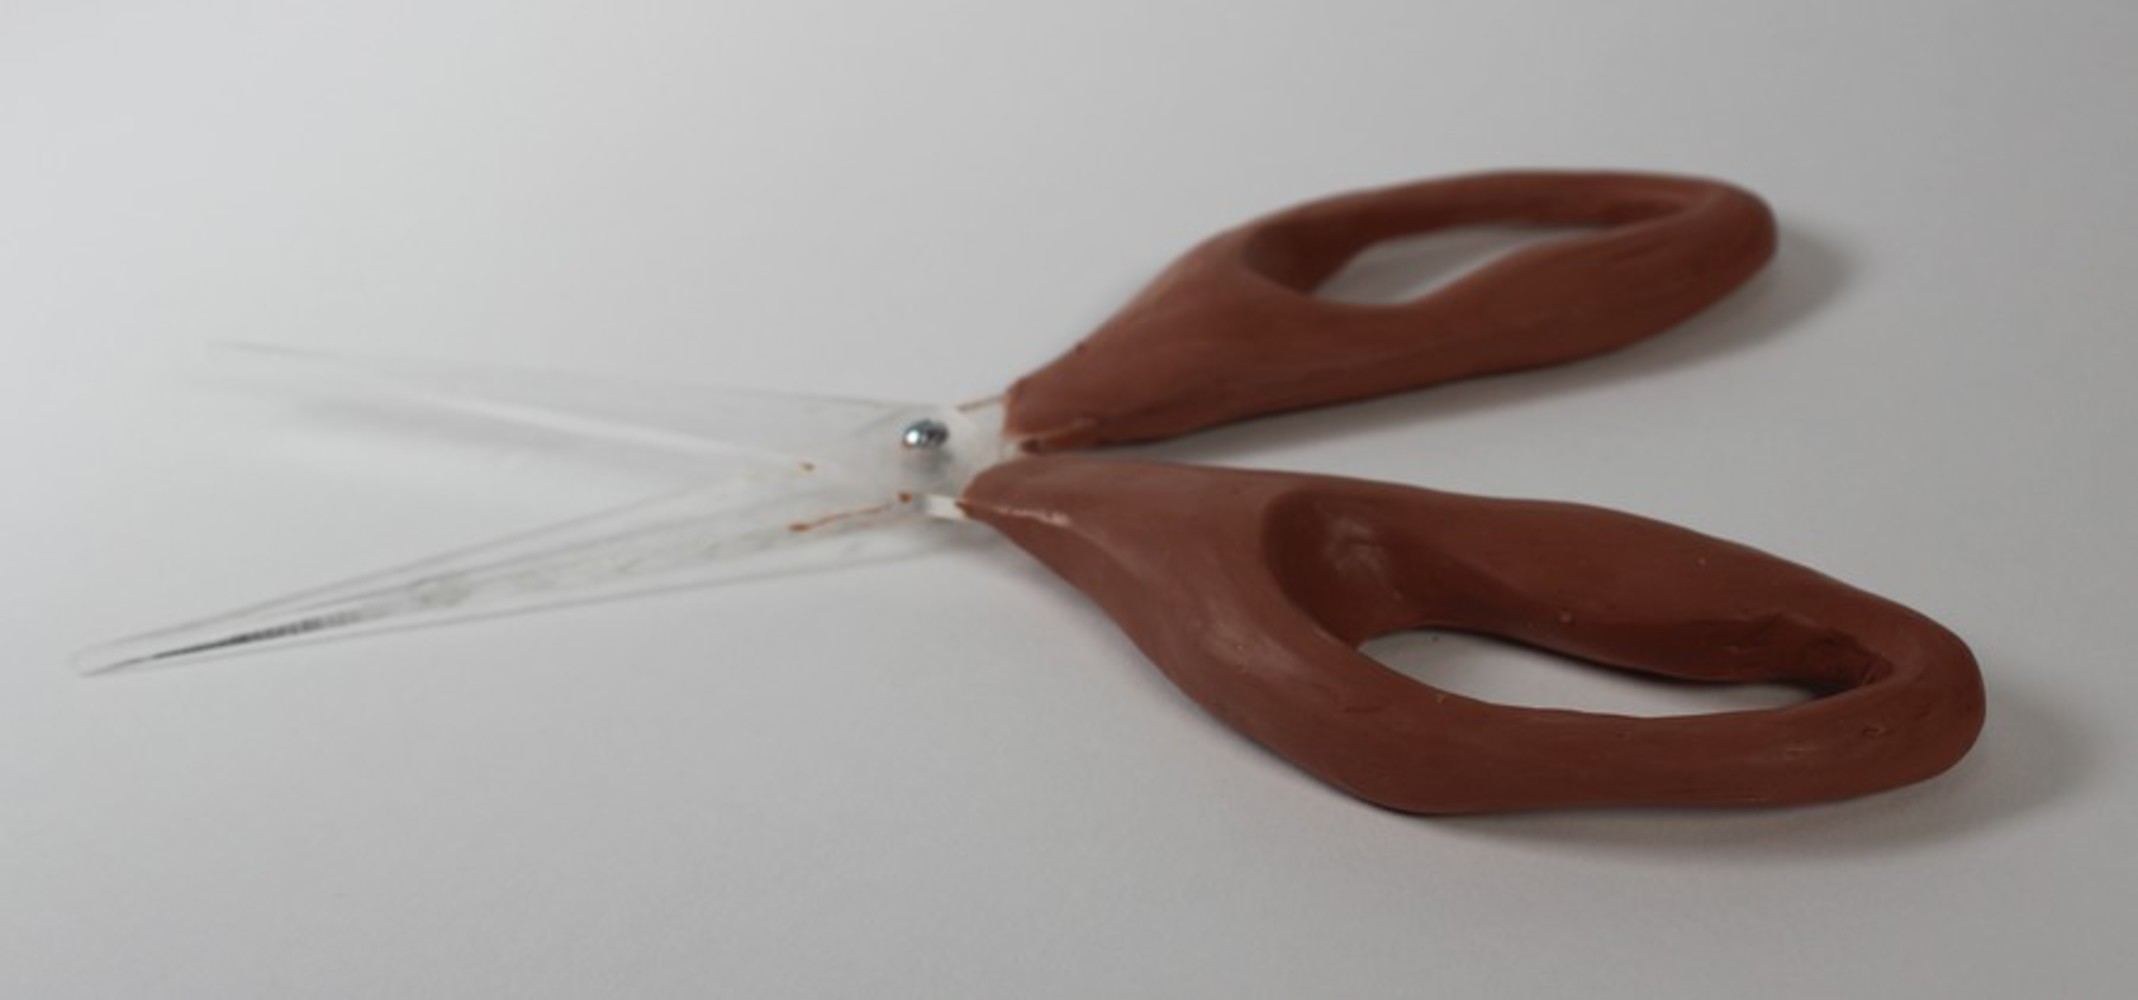
A common problem for left-handed people is that most scissors are difficult to use because they are designed with right-handed users in mind. This difficulty occurs for two reasons, one is that when scissors are designed with ergonomic handles for a right-handed person, the handles don’t fit a left-handed user’s grip the same way. Additionally, the placement of the blades (whether the lower or upper blade is facing inwards) makes cutting uncomfortable. This problem is usually solved by purchasing a pair of scissors specifically made for left-handed users, in which the handles are made to fit a left-handed person’s grip and the lower blade is facing inwards when cutting with the left hand. My goal for this project was to make scissor handles with an ergonomic grip that worked for both left-handed and right-handed users. 

Analysis of Current Models

I started this project by exploring the current grips on different kinds of scissors. The three main types I focused on were a (i) pair of left-handed scissors with ergonomically designed handles, (ii) a pair of simple scissors with symmetric handles and no ergonomic intention, and (iii) a pair of right-handed scissors with ergonomically designed handles. I analyzed what key features were incorporated in ergonomically designed handles as well as the importance of having an ergonomic design over a simple one. 

Current models.thumb
Show Advanced Options

Findings

I found five features to be common in most ergonomically designed scissor handles.

  1. The top hole for the thumb is usually smaller, this keeps the thumb from sliding around and allows the user to have a firmer grip when cutting. I also noted that this hole is not centered over the larger bottom hole, but tends to sit slightly forward from the center.

  2. The bottom hole is larger to accommodate the middle, ring, and pinky fingers.

  3. On the bottom edge of the bottom handle is a slight indent for the index finger to grip onto. This was something I had never thought about before as I naturally assumed that the larger bottom hole was for all fingers other than the thumb. However, the bottom hole is purposefully made to only fit three fingers so that the index finger can support the weight and movement of the scissors cutting from the outside of the handle.

  4. The inner side of the bottom hole is convex for the fingers to grip around.

  5. The top hole is slightly bowl shaped for the thumb to comfortably slide in and apply the normal forces necessary to create the cutting movement as well as to keep it in place. 

54257827 304629646842428 6354894174495440896 n.thumb
Show Advanced Options
54228855 2279485049044343 7296285717980774400 n.thumb
Show Advanced Options

Creating the Concept

The concept for my grip was to create a symmetrical pair of handles which incorporated each of the key features determined in my findings. In this way, the scissor handles could be easily and comfortably gripped by both left-handed and right-handed users. 

Scissor handle outlines.thumb
Show Advanced Options
54516706 2183953498392241 1911947349429583872 n.thumb
Show Advanced Options
54516373 404233057022832 6715830281019850752 n.thumb
Show Advanced Options

Construction

Iteration 1

In my first iteration for this design, I laser cut a cardboard skeleton of the scissor handles and formed Chavant Industrial Design clay around it to create the ergonomic grip I wanted.  

54220384 830338683967495 4996718725433393152 n.thumb
Show Advanced Options
Img 2534.jpg.thumb
Show Advanced Options

Next, I attempted to attach acrylic scissor shears to the handles and use the friction between the clay and a column of acrylic (created by using acrylic glue to form two circle cut outs of acrylic together) to simulate the cutting motion of scissors. 

Img 2559.jpg.thumb
Show Advanced Options

  One feature of the grip design that I did not come up with in my initial analysis, but that I realized was necessary while manually constructing the handles, was creating an indentation so that the thumb could easily slide into the hole from behind.   

Img 2539.jpg.thumb
Show Advanced Options

  While this iteration was successful in creating the ergonomic grip that I wanted, the assembly contained many weak points that made it difficult to perform the actual cutting motion. For example, the connection of the acrylic sheer to the clay molded handle was weak because it was attached to the edge of the model. Additionally, the shears were spaced too far apart to create the effective cutting motion.   

Img 2573.jpg.thumb
Show Advanced Options

Iteration 2 (FINAL)

For my final iteration, I laser cut the full scissor assembly (with the blade and handle shapes fully connected) out of acrylic.

Img 2580.jpg.thumb
Show Advanced Options

I then formed the clay around the acrylic handles to ultimately create the ergonomic grip that I wanted.   

Img 2584.jpg.thumb
Show Advanced Options
Img 2597.jpg.thumb
Show Advanced Options
Img 2596.jpg.thumb
Show Advanced Options
Img 2589.jpg.thumb
Show Advanced Options
Img 2588.jpg.thumb
Show Advanced Options
Process printout.thumb
Show Advanced Options
Drop files here or click to select

You can upload files of up to 20MB using this form.