Back to Parent

Outcome


Ideation

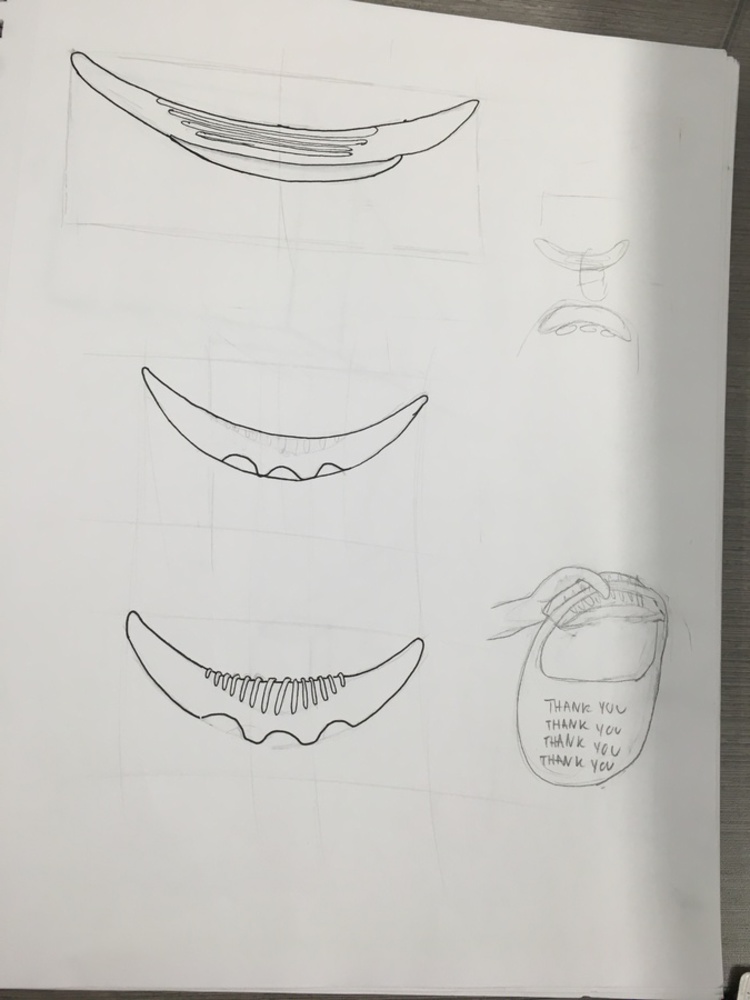
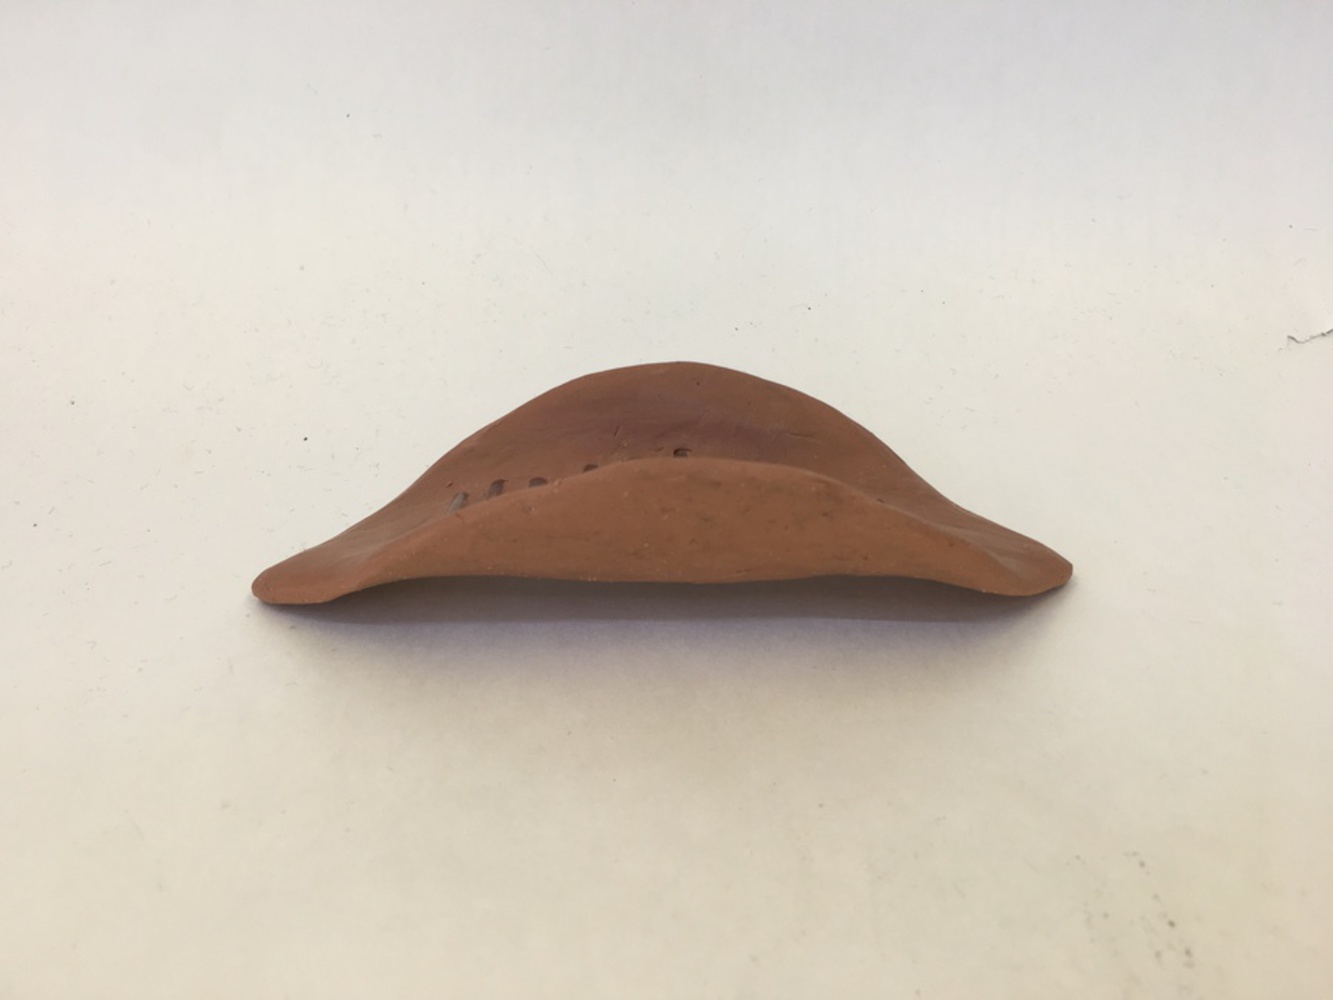
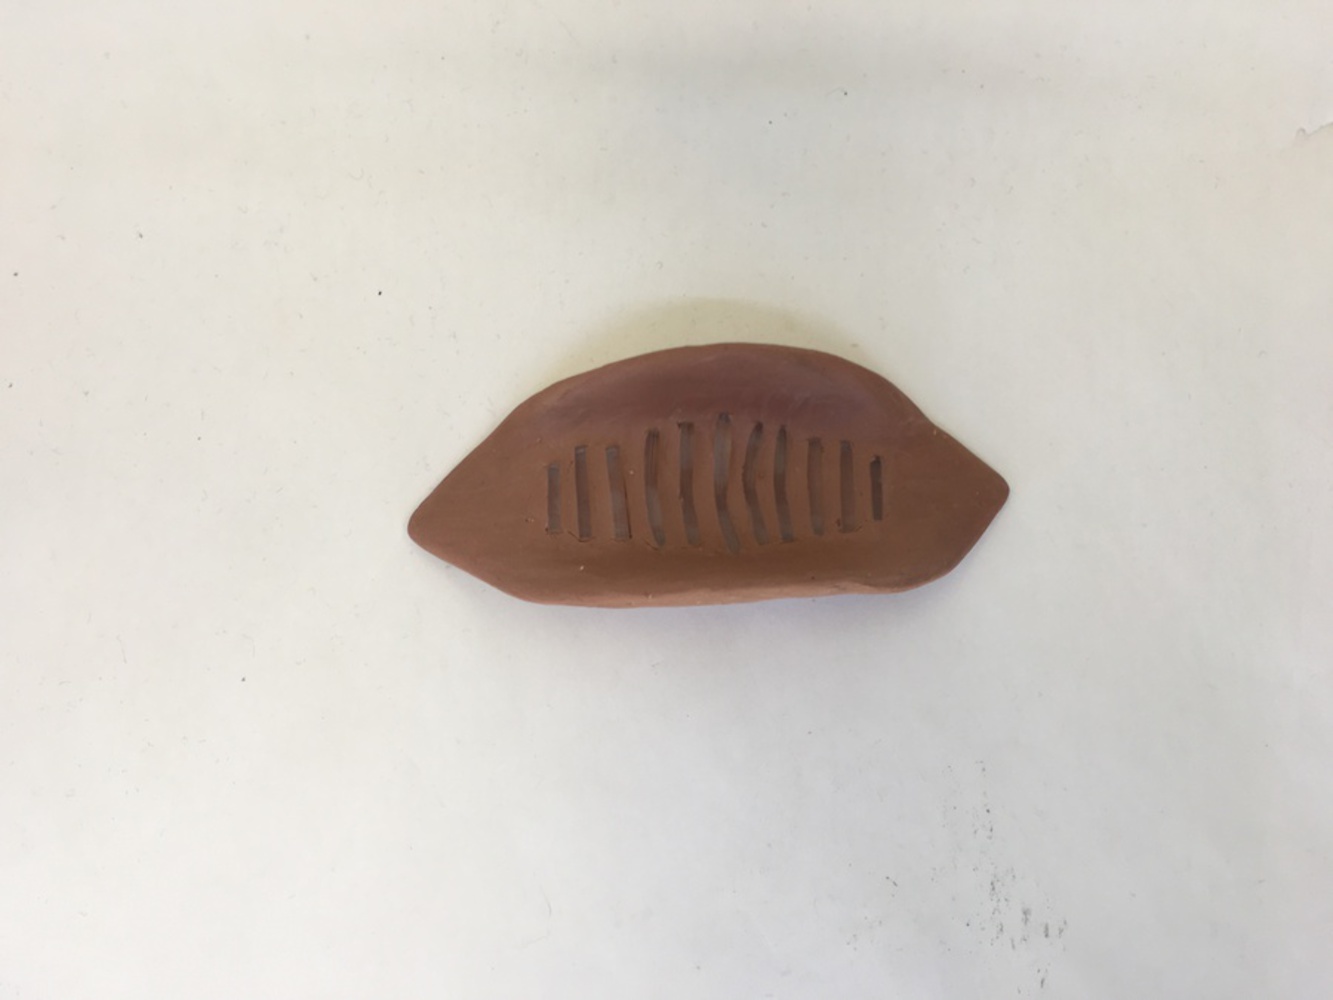
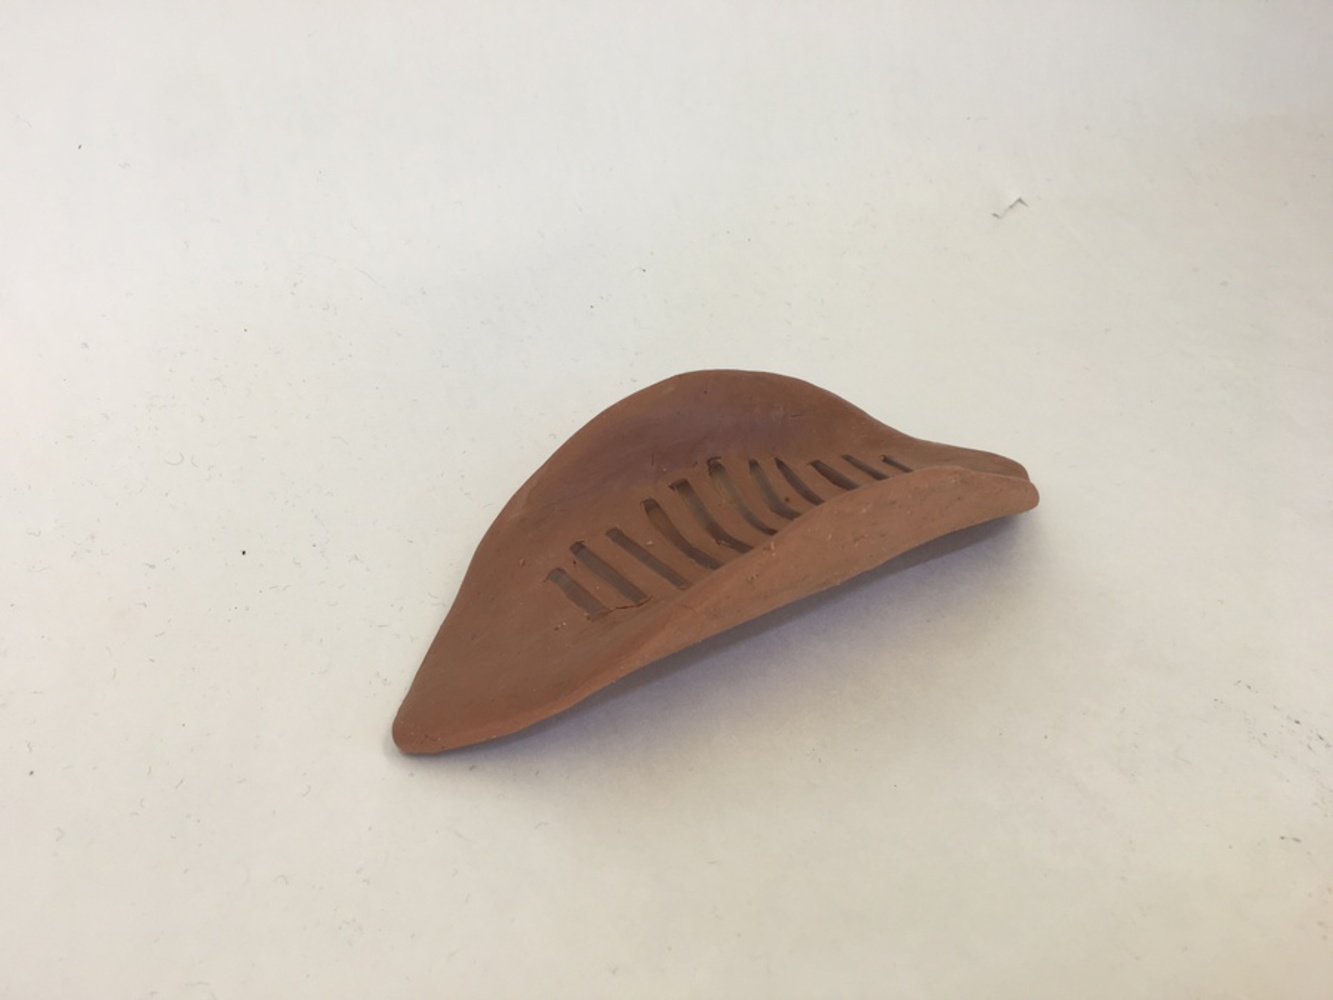
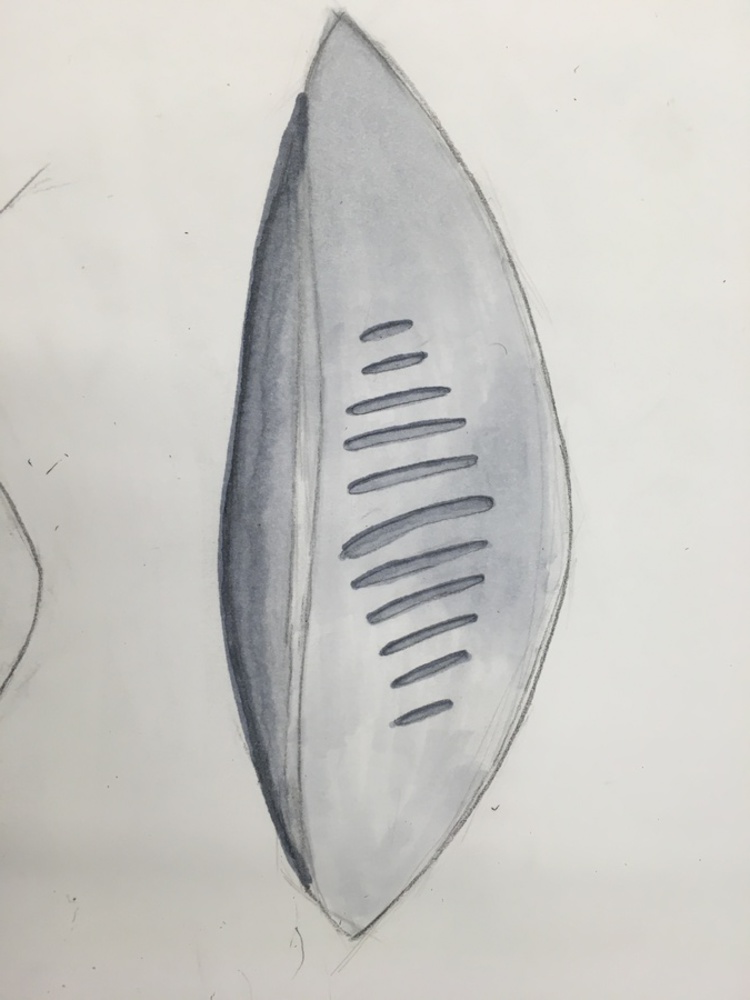
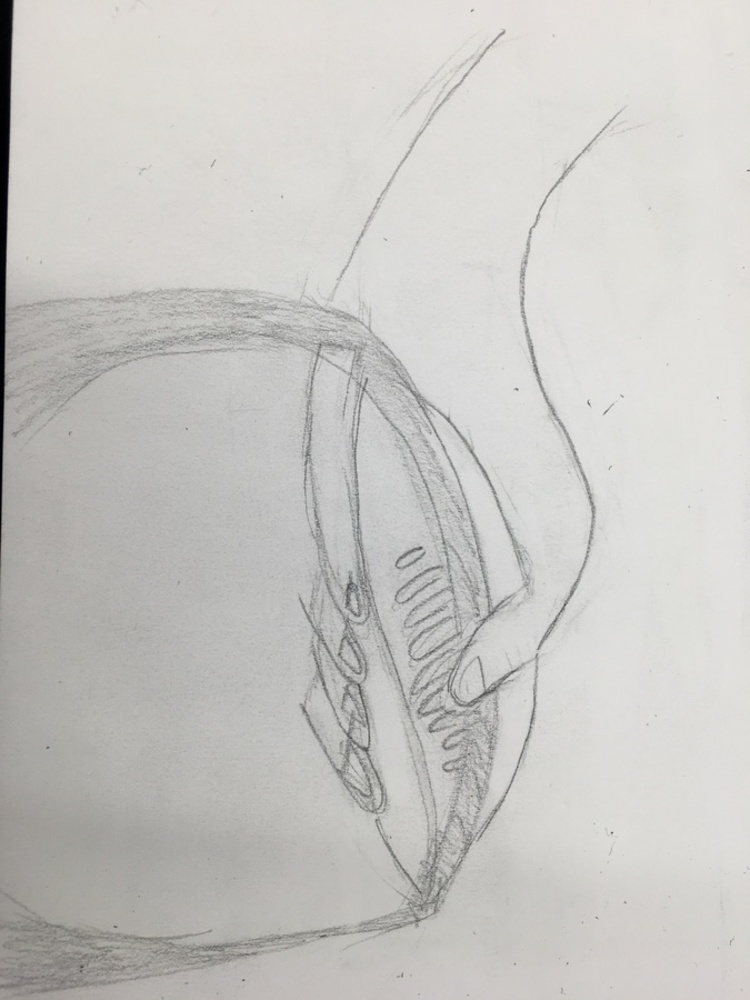
As someone who lives off-campus with no meal plan, I have to do a lot of grocery shopping. A part of my grocery shopping trips is carrying lots of heavy bags to the public bus or an uber all at once. Anyone who has ever tried to carry all of their grocery bags in one trip knows that the stringy plastic handles always dig into your arms or fingers. To alleviate this pain I've designed a handle that sits in the palm of your hand (or your forearm if need be) that supports the weight of your grocery bags. 

Sketches

My plan was to have a pringle-shaped handle with distinct ridges running along the top. The pringle shape of the handle would follow the natural cupping of a hand while the ridges were meant to add grip and disperse the weight of a grocery bag across the entire handle. 

Img 1689.jpg.thumb
Show Advanced Options
Img 1688.jpg.thumb
Show Advanced Options

Planning and Construction

To get a feel for the handle's shape and for working with clay in general, I started off by using paper clay. The paper clay was much more malleable and easier to work with, allowing me to adjust my design as I went along with little resistance. From the paper clay modeling I found my desired dimensions and worked on different methods of putting on the ridges in my design. I tried methods such as rolling out thin lines of clay and etching it out on a thicker pad (pictured below) however neither produced the desired level of precision. Instead I tried out rods of piano wire. While the piano wire was very thin and would produce the texture I was looking for, it was incredibly hard to cut precisely or sand and so it yielded a very messy look. Also my cut wire was thrown out during a working session and I didn't feel like cutting more. 

Img 1669 %281%29.jpg.thumb
Show Advanced Options
Img 1670 %281%29.jpg.thumb
Show Advanced Options
Piano wire.thumb
Show Advanced Options

Once I had my dimensions I needed to construct a base to model my clay on. Because my design was so oddly shaped and thin, I decided not to pack my clay onto a physical form but instead used a a base to help me shape it. I created a base in solidworks with curved edges to help guide the curves of my piece and 3d printed it in an Ultimaker 3. Duct tape was used to give the base a smooth bottom and to keep the clay from sticking.


Img 1632.jpg.thumb
Show Advanced Options
Img 1631.jpg.thumb
Show Advanced Options

Final Product

For my final product I went with acrylic rods for the ridges. It was easier to cut and sand and I could heat bend it to follow the curve of the handle. 

Img 1682.jpg.thumb
Show Advanced Options
Img 1683.jpg.thumb
Show Advanced Options
Img 1685.jpg.thumb
Show Advanced Options
Img 1687.jpg.thumb
Show Advanced Options
Img 1686 %281%29.jpg.thumb
Show Advanced Options

If given the chance to do this project again, I wouldve taken more into consideration the clay as a working medium. The clay was quick to break and crack in the bends and around the acryllic rods. The complexity of the shape also made it difficult to smooth and buff as gripping on one side to smooth would rough up another side and the you grip that side and the other side gets roughed so then you smooth that side and a new side gets roughed and...

Img 1690.jpg.thumb
Show Advanced Options
Img 1691.jpg.thumb
Show Advanced Options
Drop files here or click to select

You can upload files of up to 20MB using this form.