Outcome
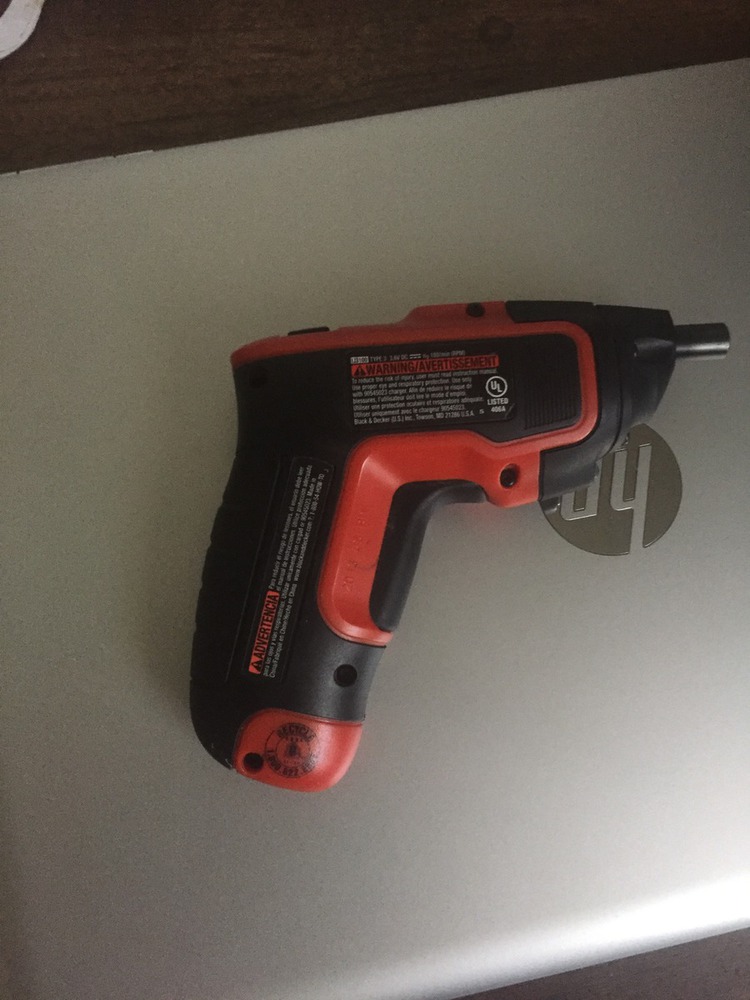
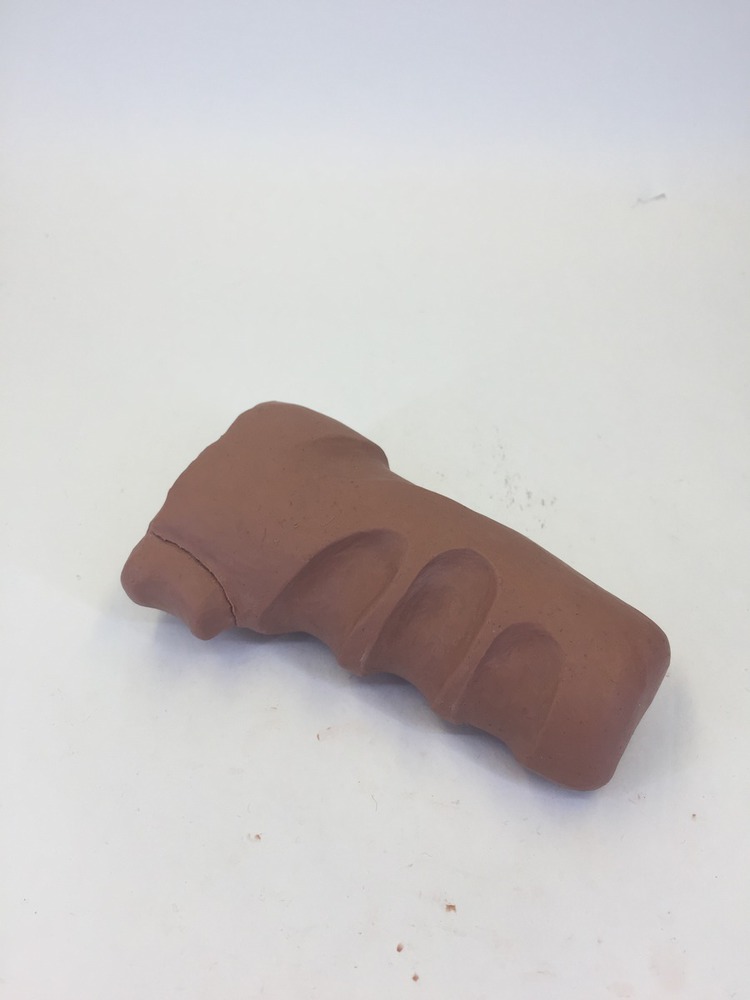
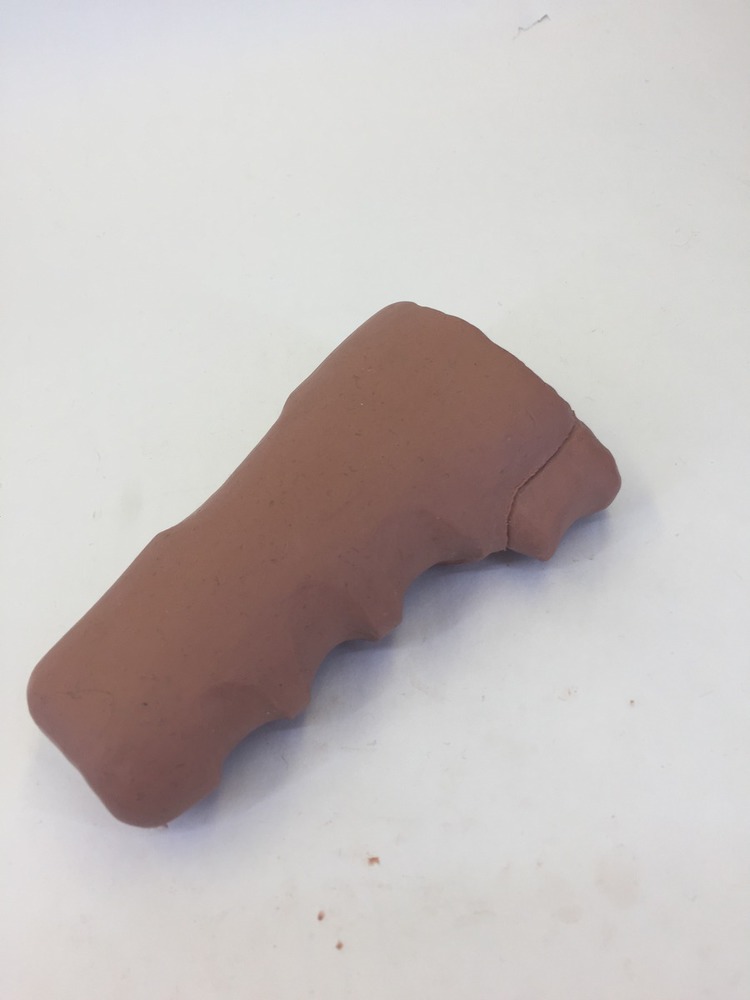
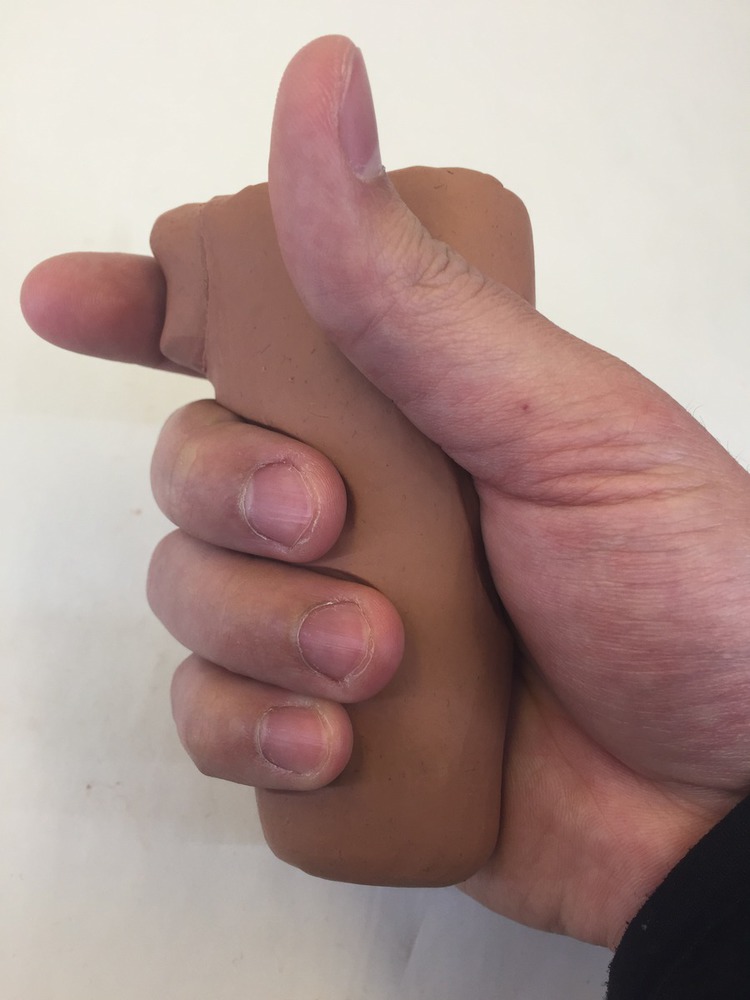
My initial ideas for this project came from thinking about the worst designed handles that I use regularly. The best example that I could think of was this small electric drill. The handle is not only too small, but the trigger is too big so that it is impossible to have a firm grip on it while using it. I even broke it once from trying to grip it too hard that I crushed part of the handle. I thought I would make the handle longer, as well as add contoured grips so that I would fit easily in my hand.
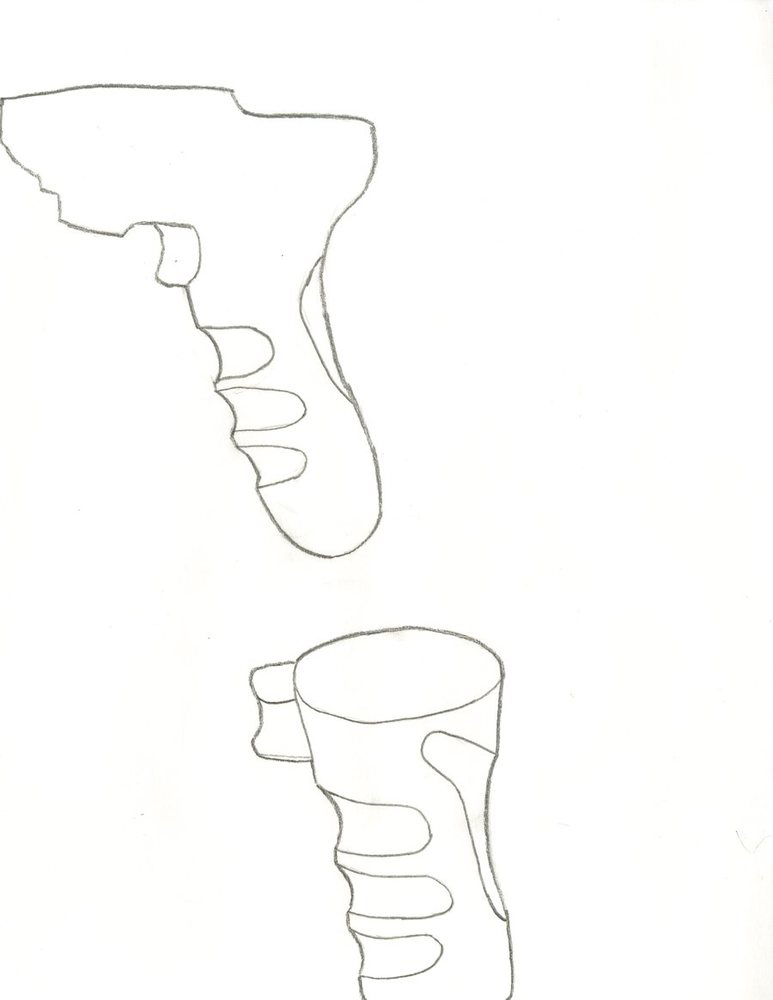
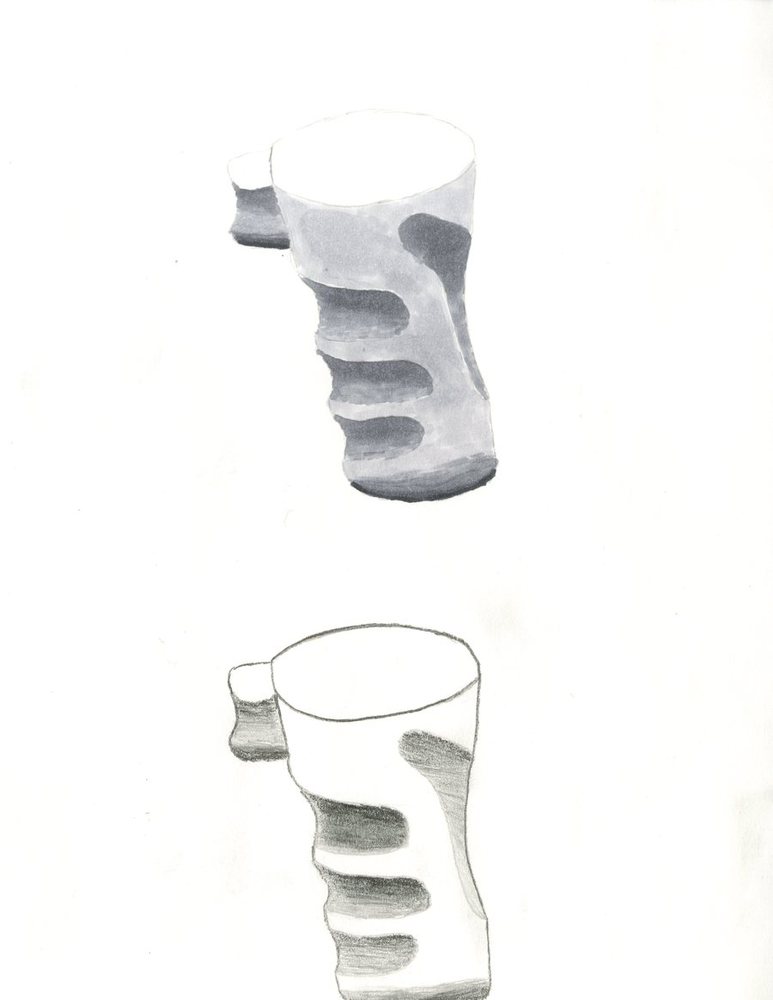
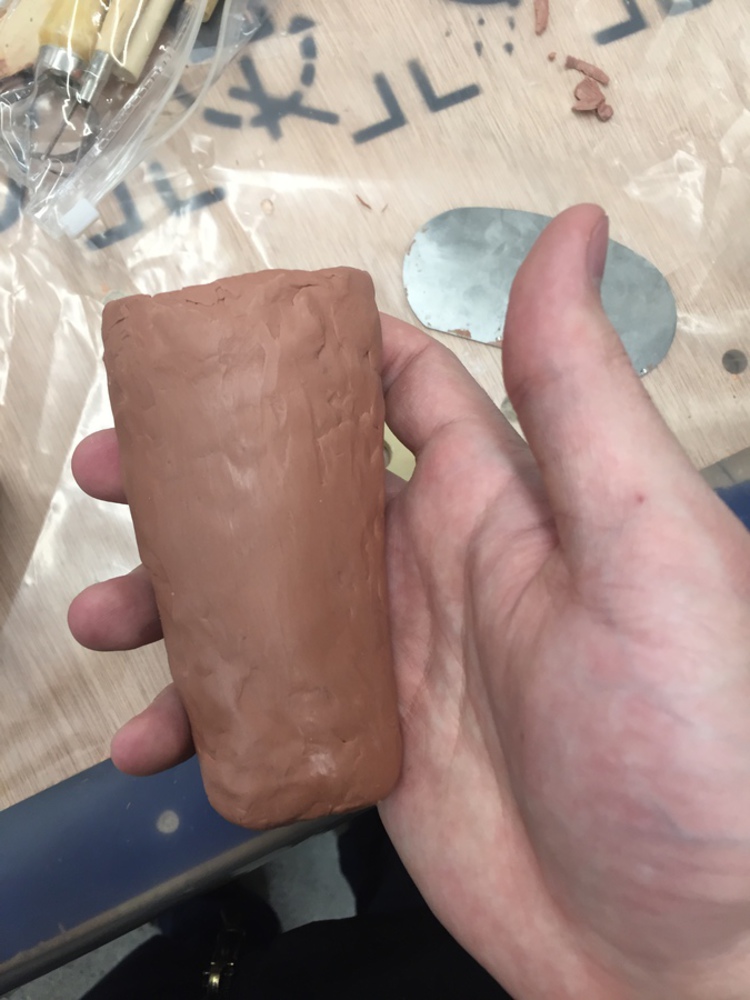
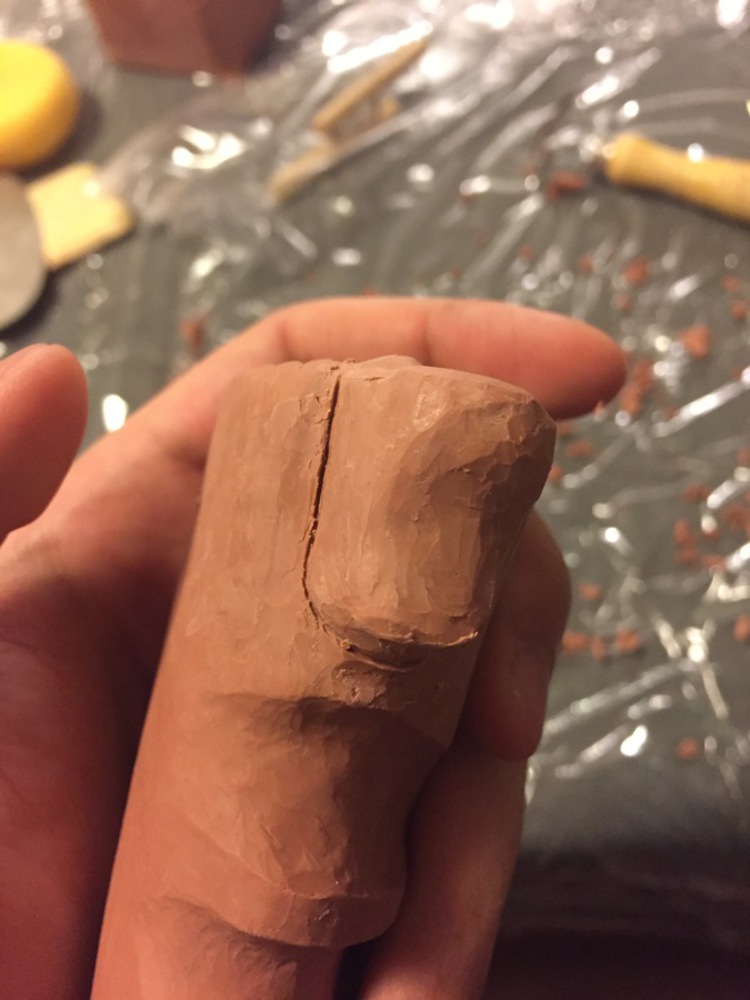
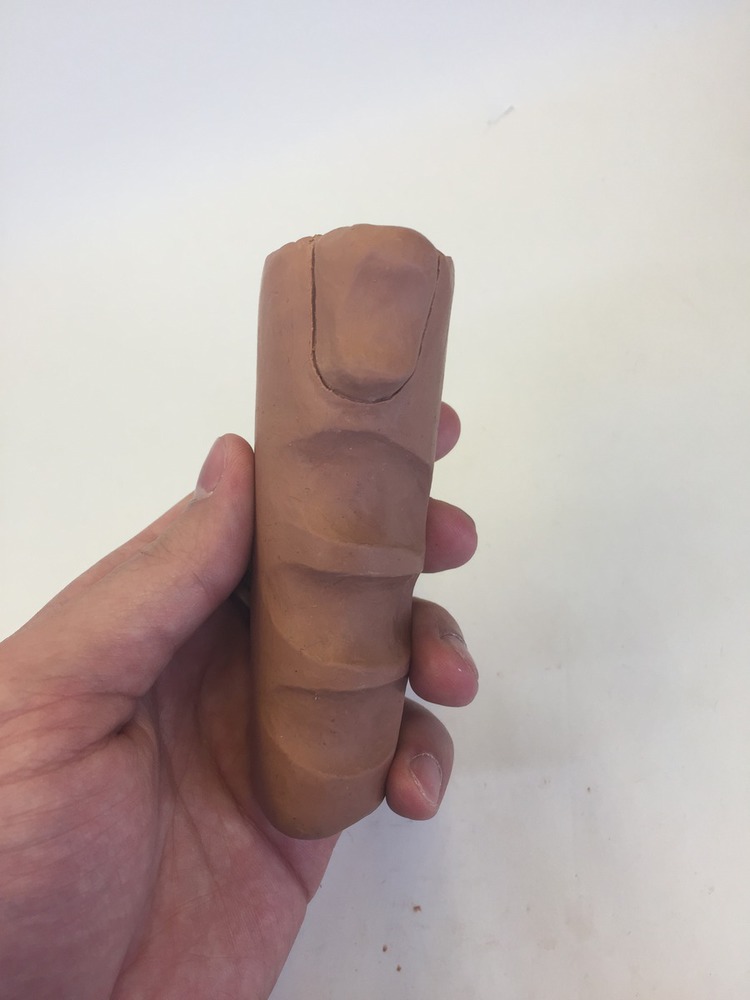
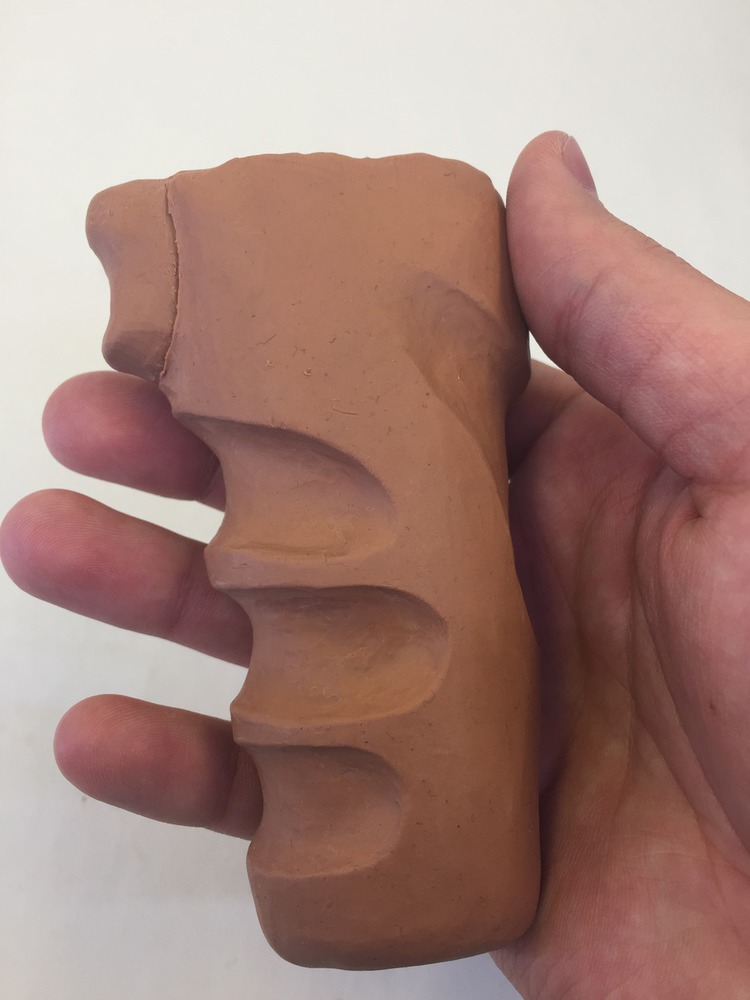
I ended up building the frame myself instead of using slicer. I spent a little bit of time trying to model the grip itself in CAD. I eventually decided that this was more trouble than it was worth and ended up making a simple extruded ellipse shape for the frame and shaped the grip using the clay.
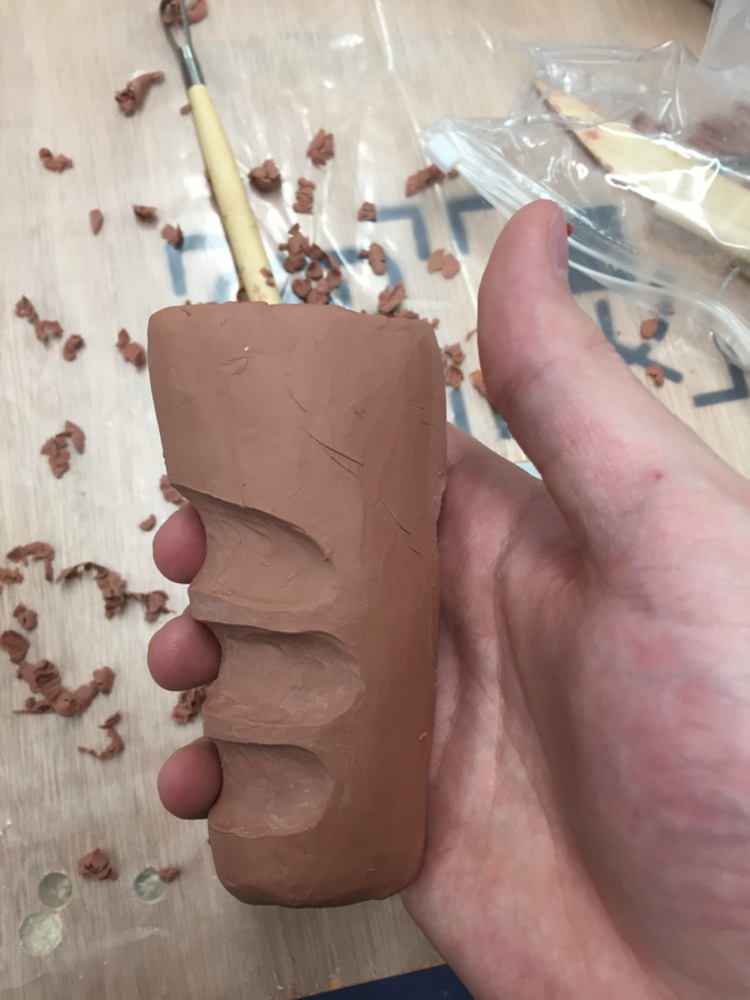
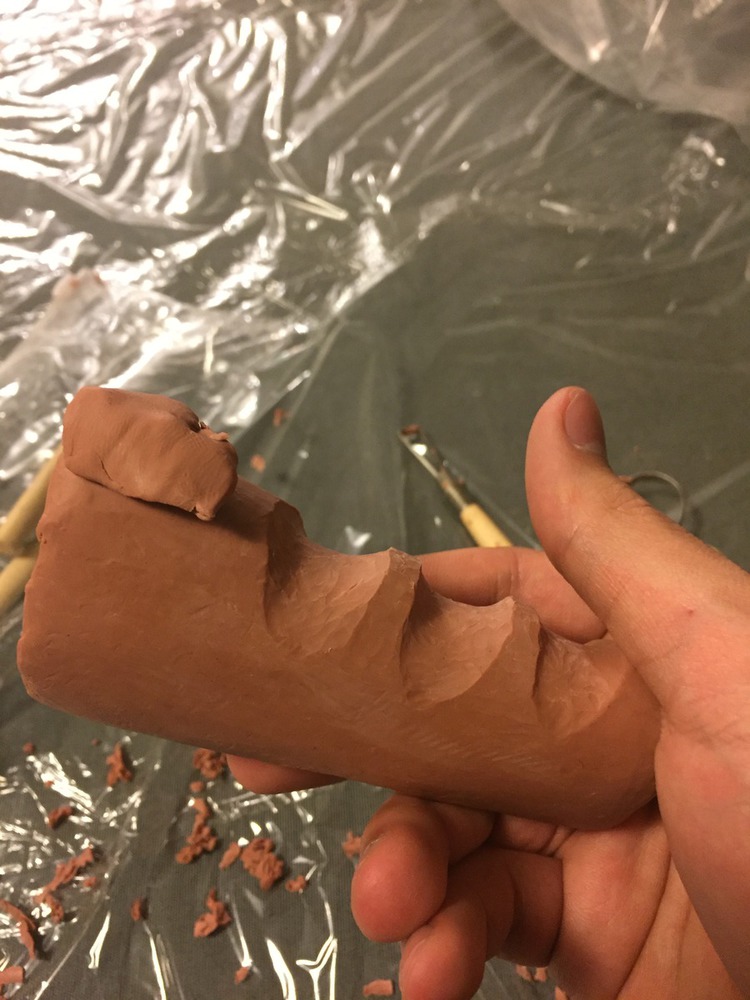
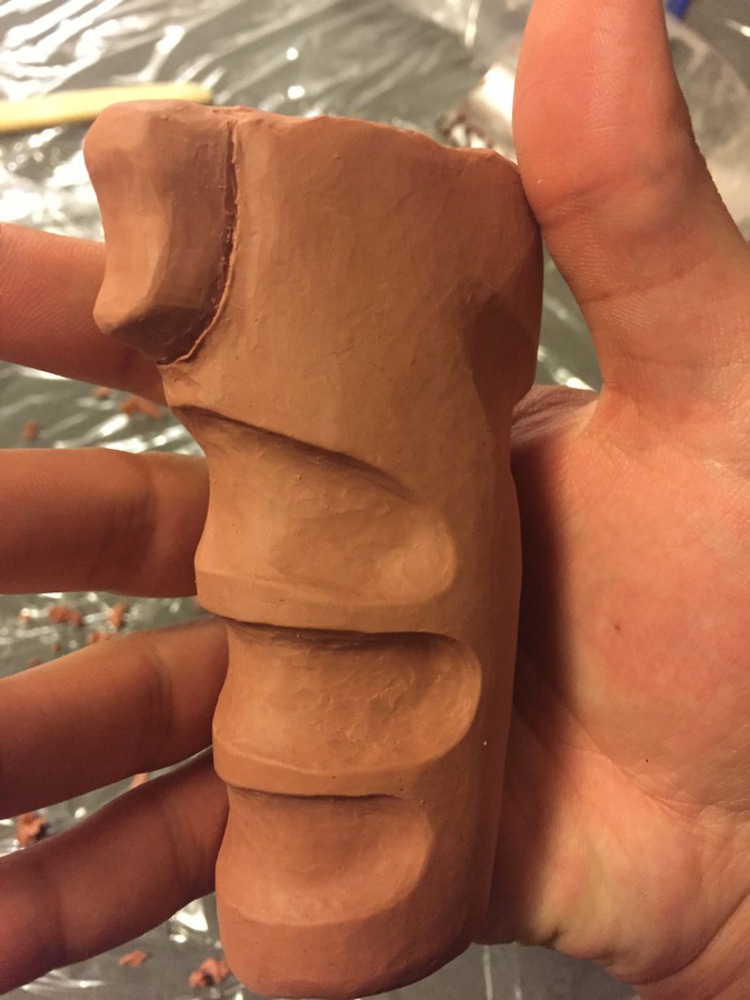
I then traced the outline of my hand onto the grip and cut this out using the small rake. This step required a couple attempts. The initial finger grooves were not quite parallel, causing a sloppy look. They were also too short, causing my fingers to get stuck in the ends of the grooves. This was fixed by re-packing some of the material onto the grip and re-shaping it. Smoothing of the grooves was achieved using the small rake. I had to be careful not to accidentally dig into the sides of the grooves.

You can upload files of up to 20MB using this form.