Back to Parent

Outcome


Process


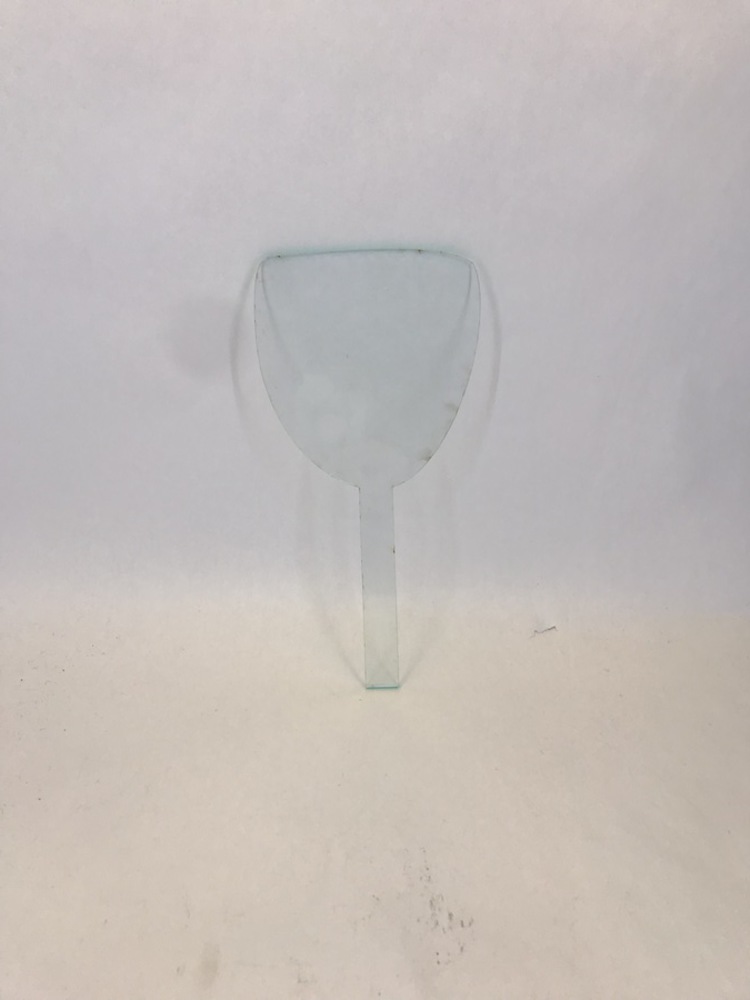
In order to produce my final cooking-spin design, I had to look through a few options first. There were many grips to think of, using most on a daily basis, but there were very few grips that I could confidently say I felt uncomfortable using, so I turned towards an item that I didn't have a problem with per se, but could be happier using: my cooking-spoon.

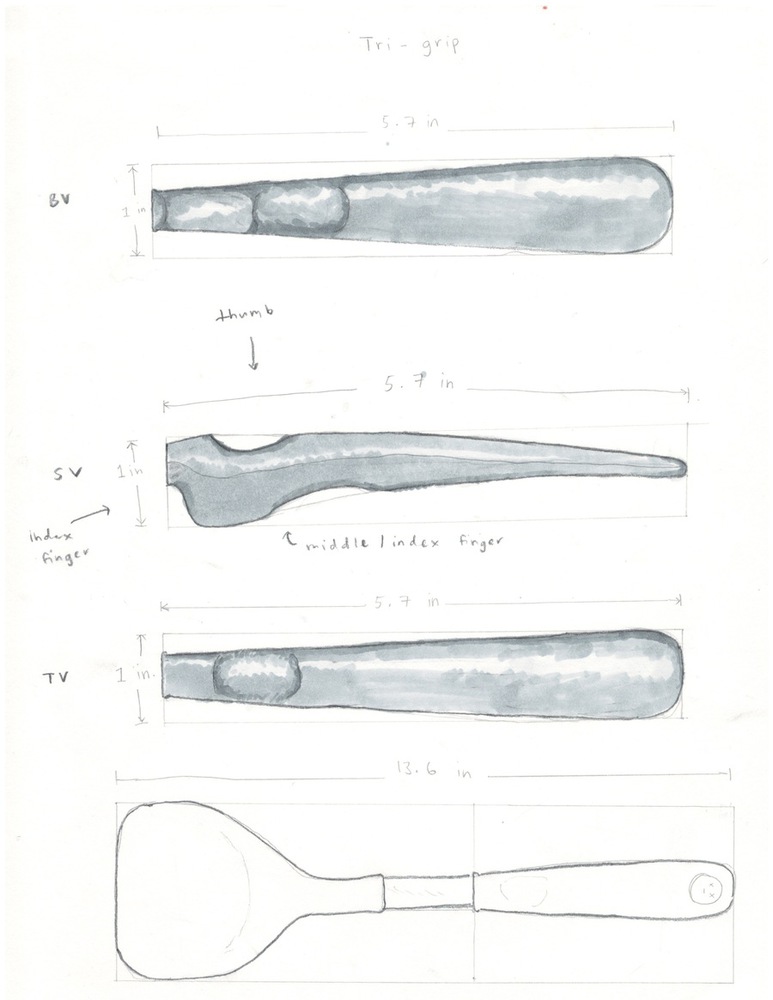
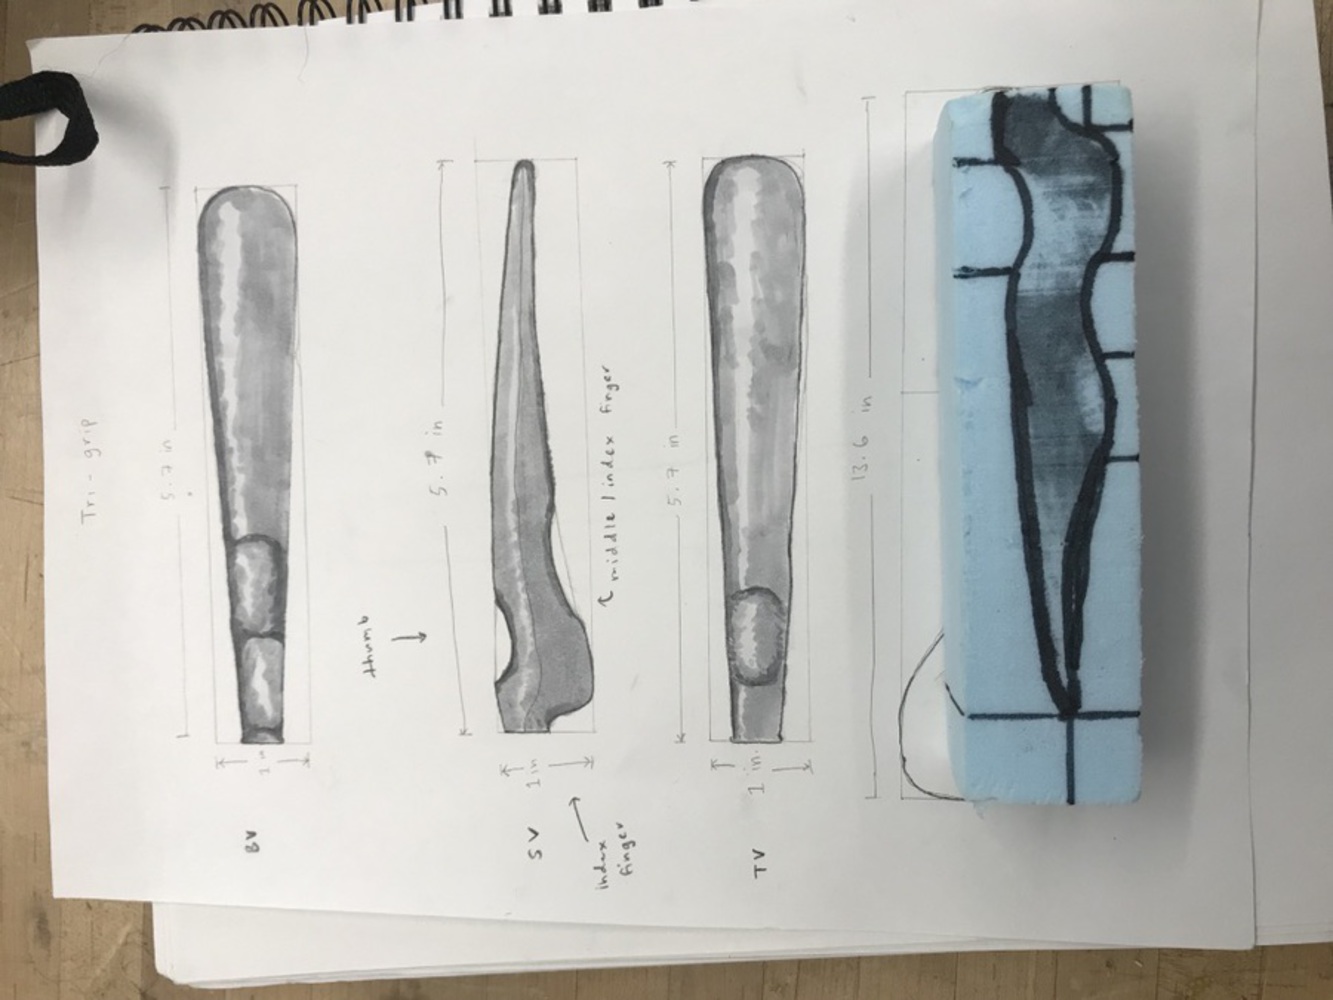
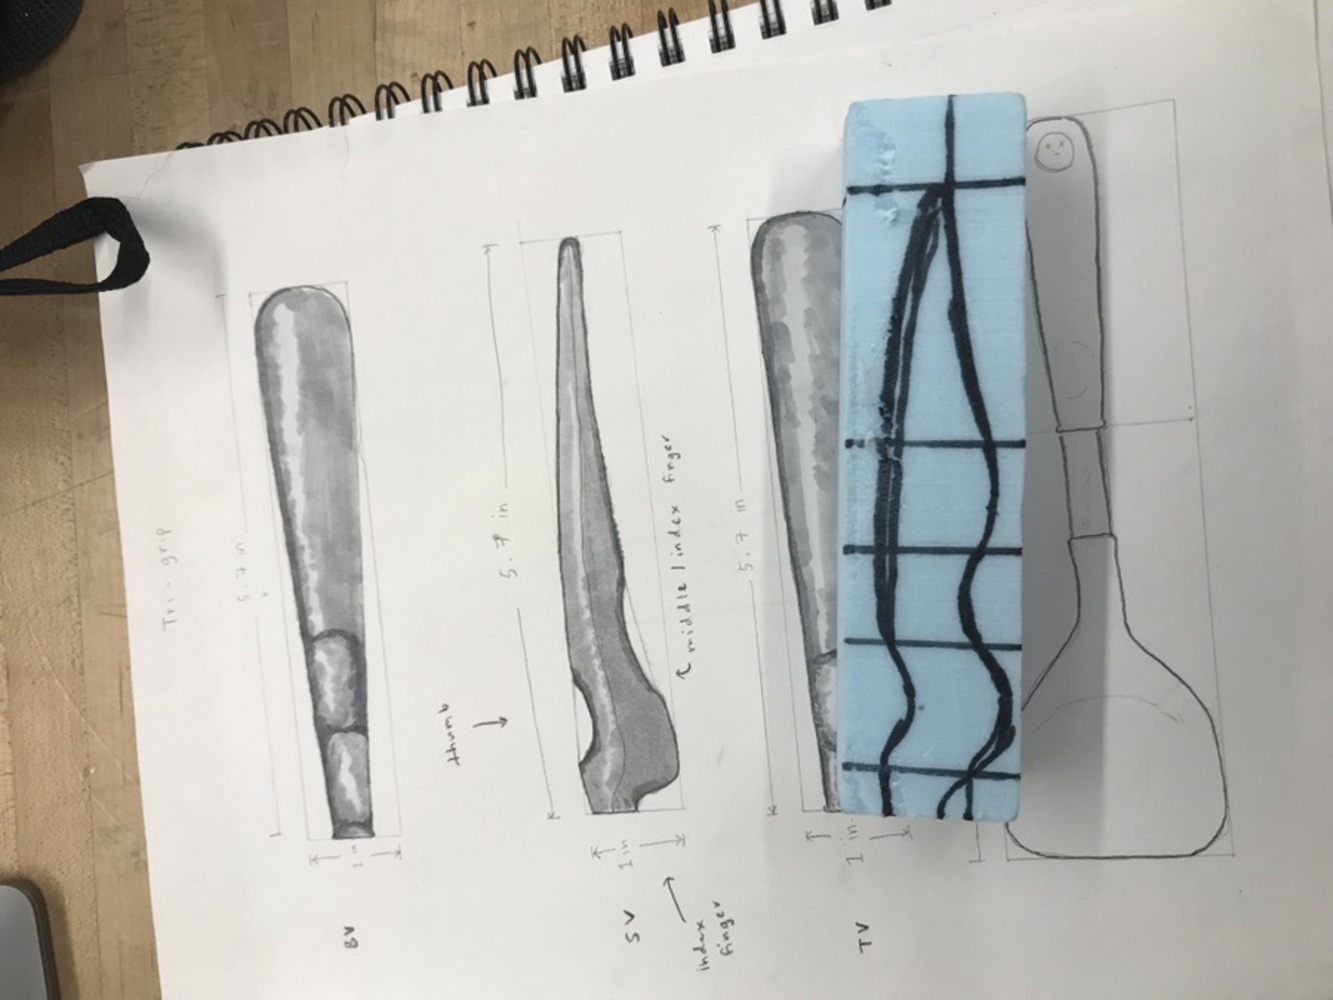
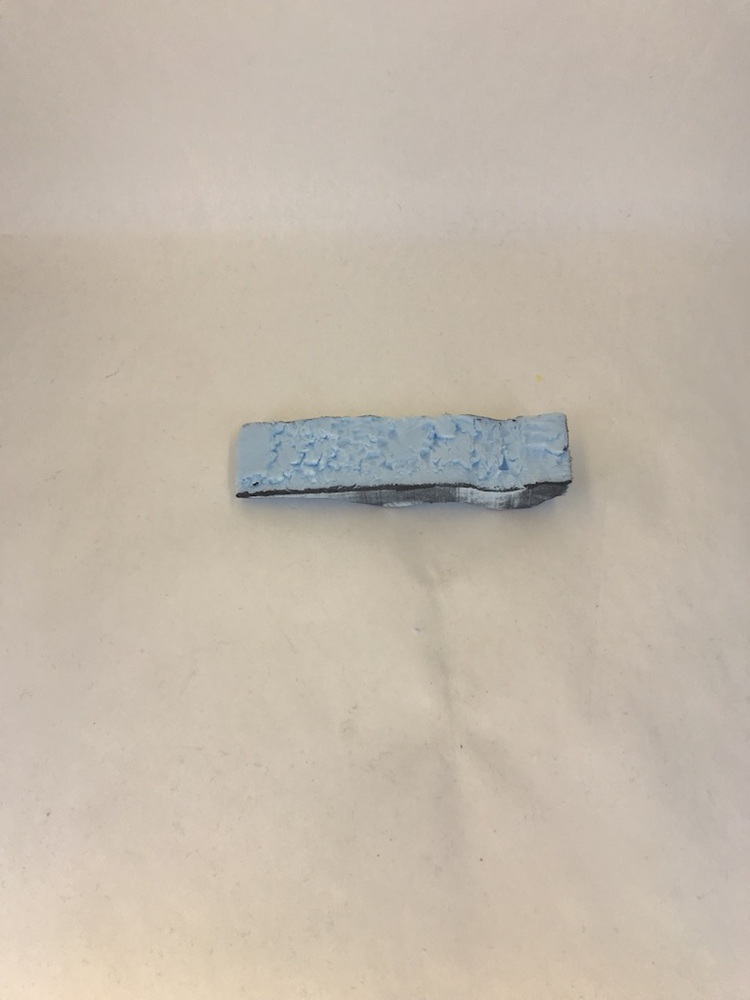
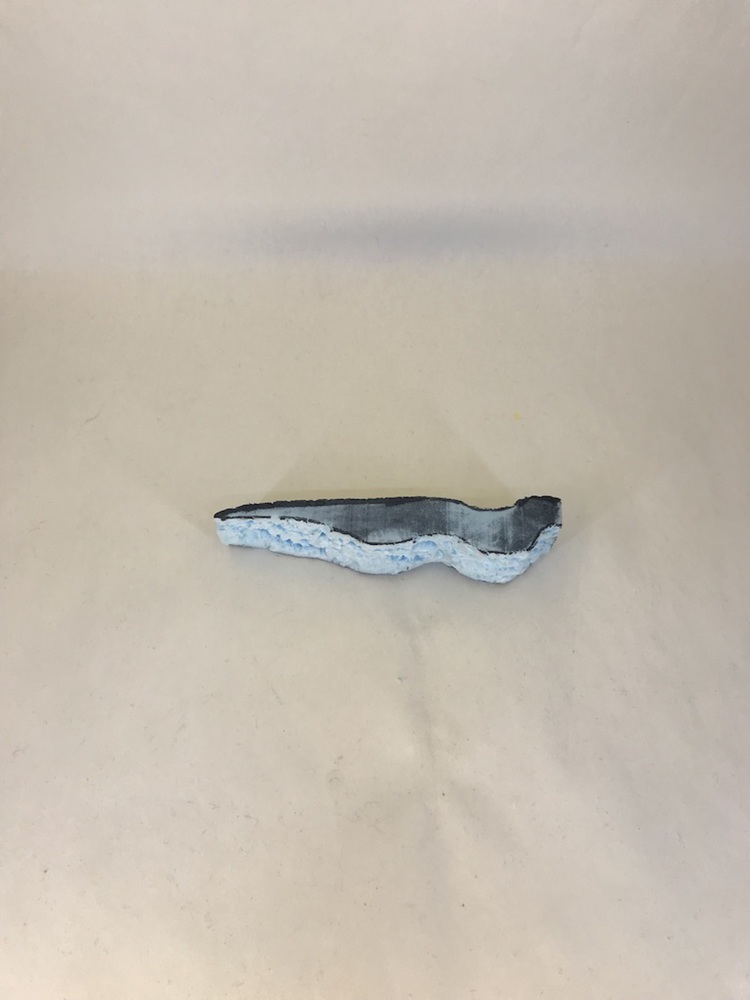
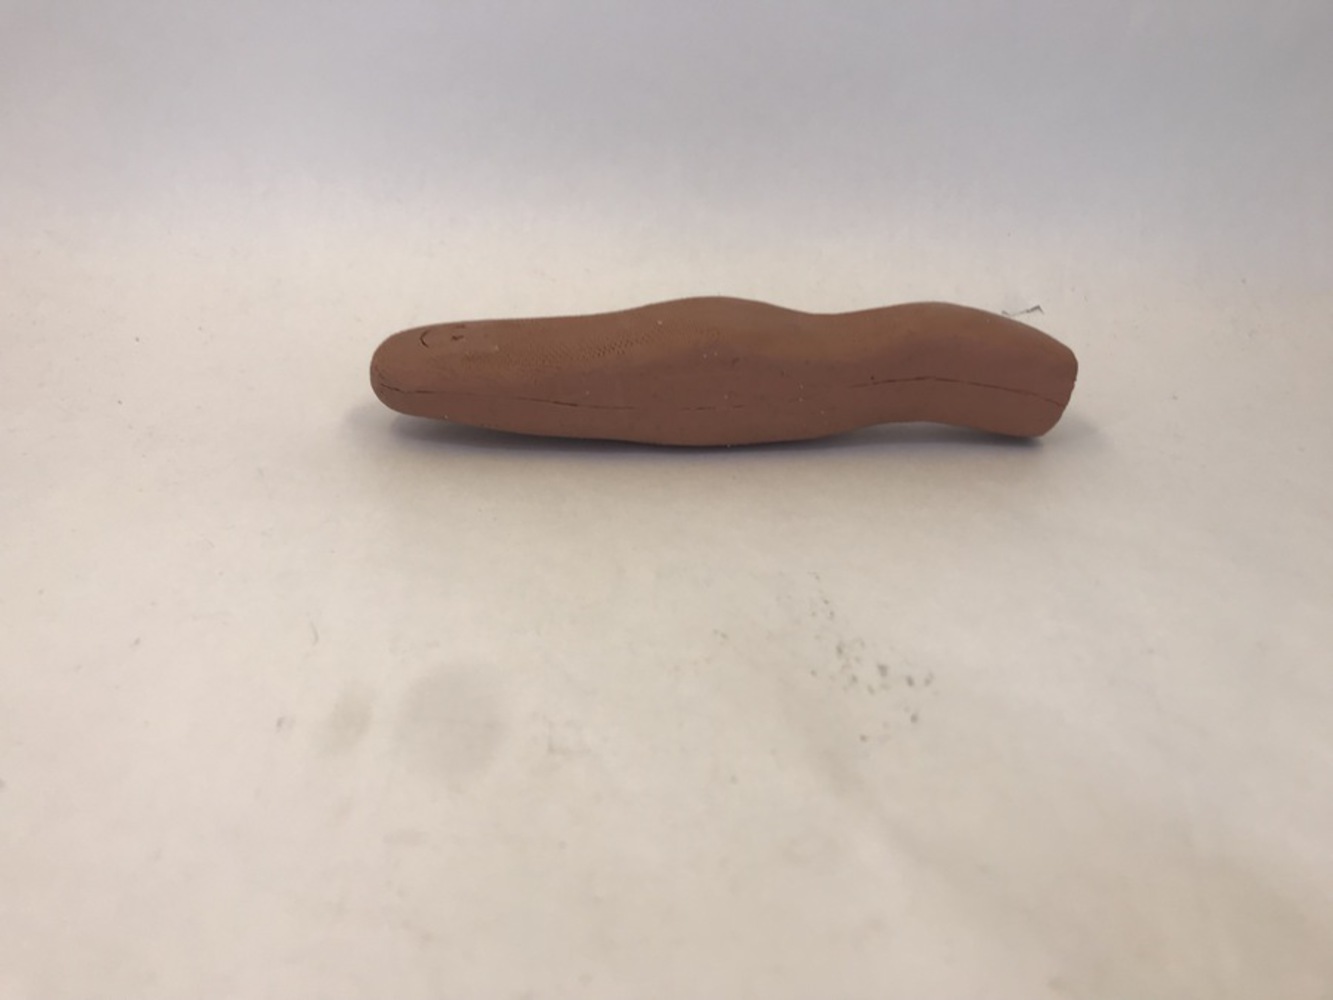
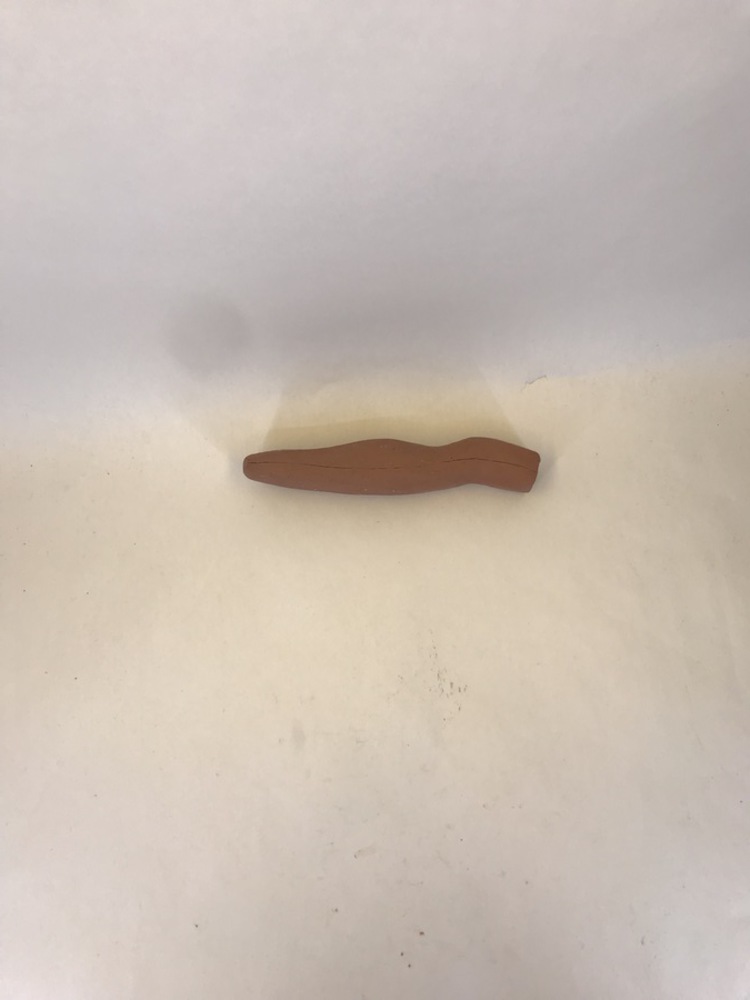
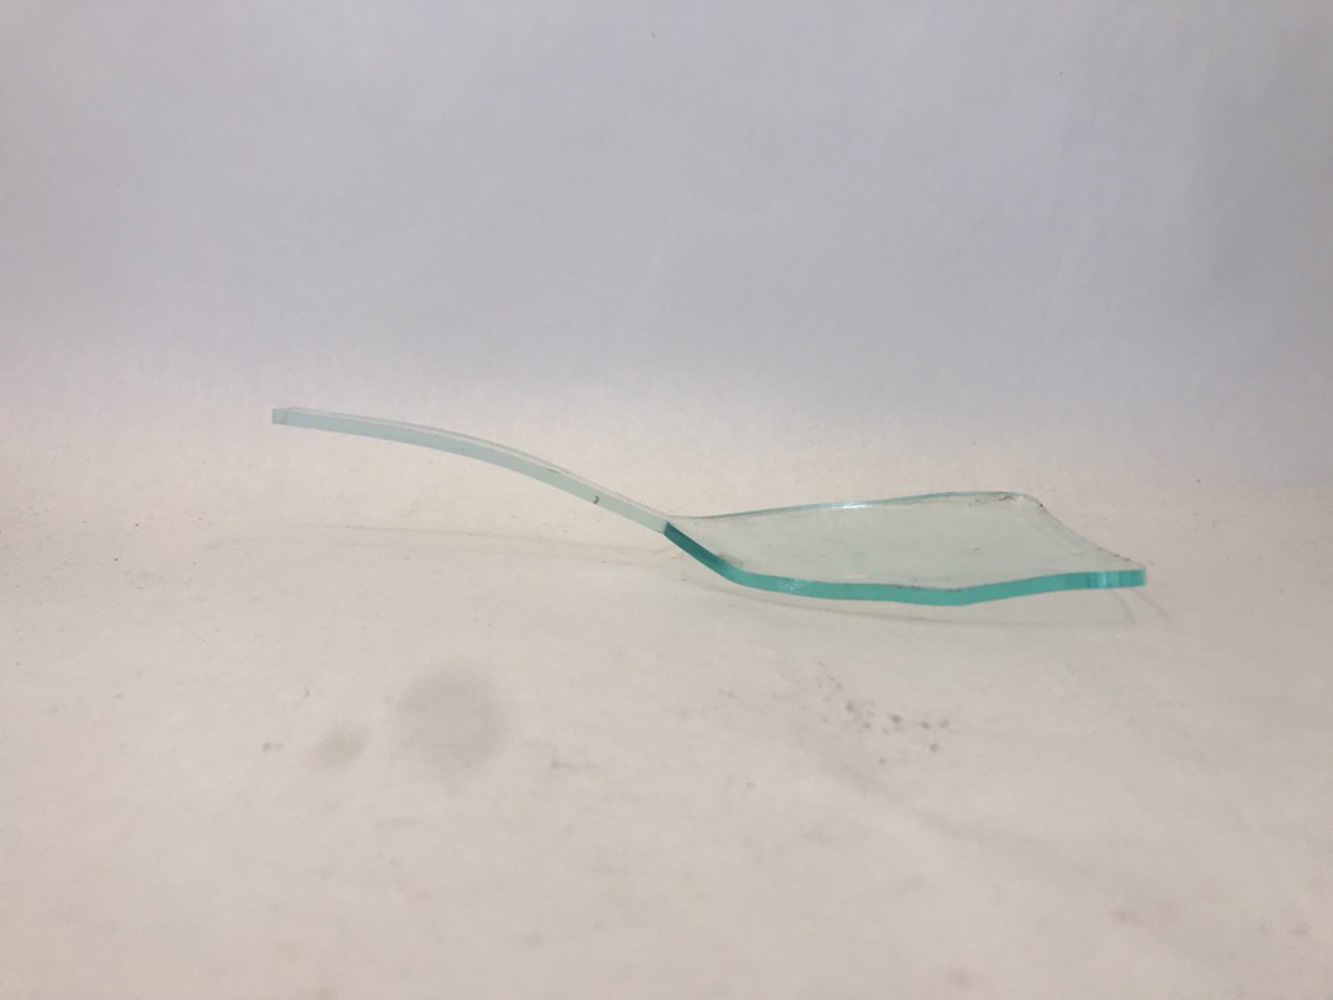
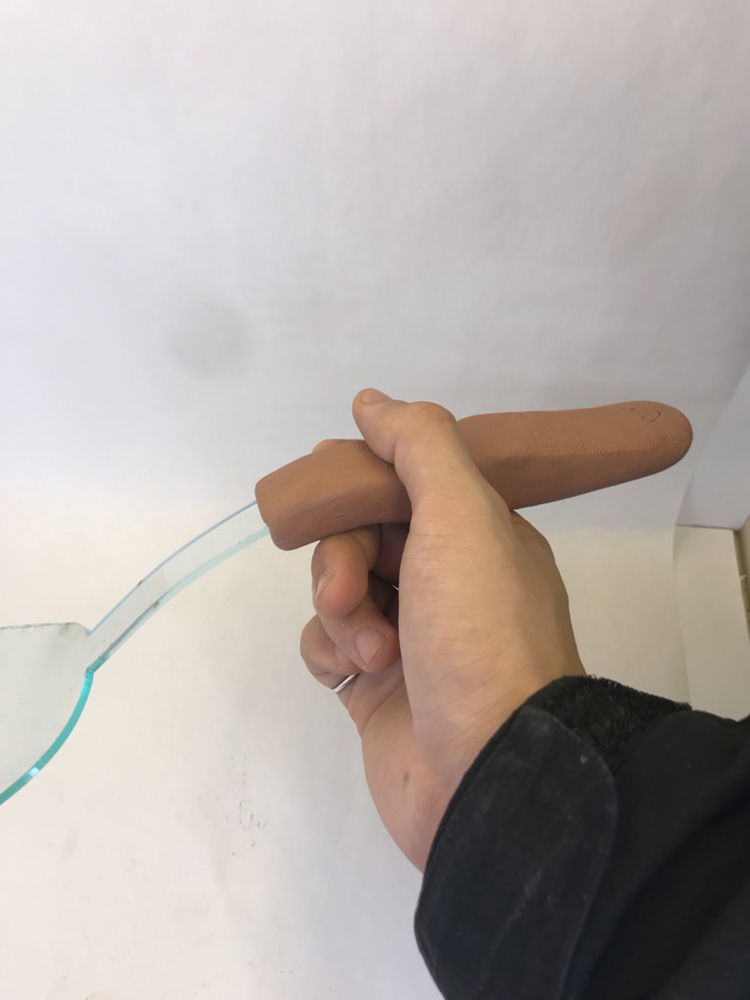
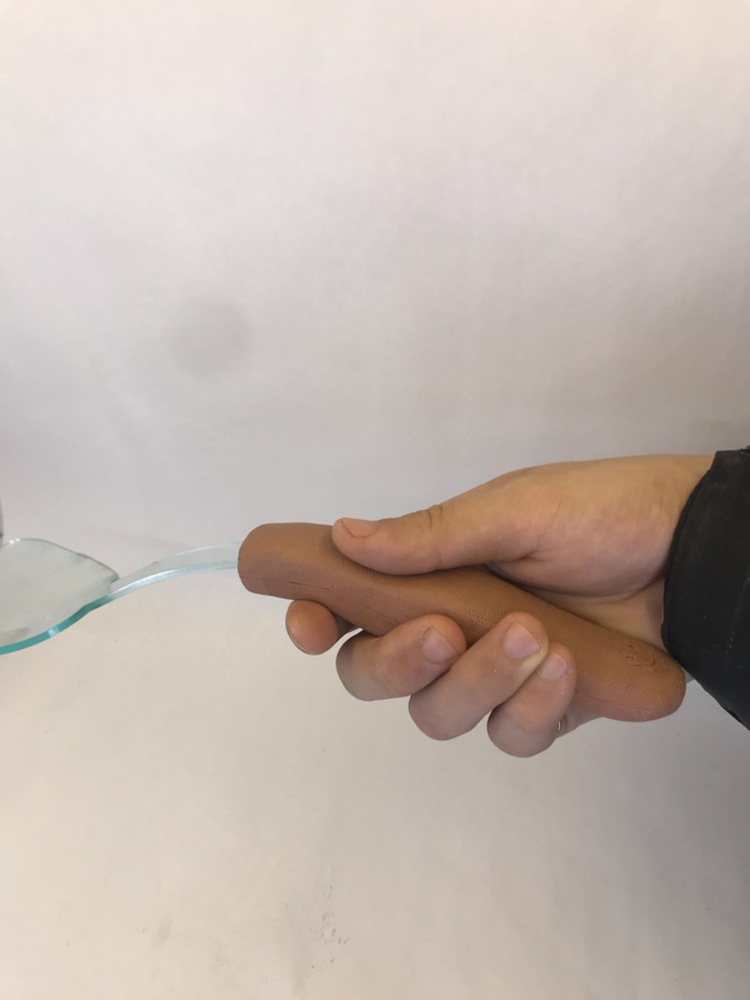
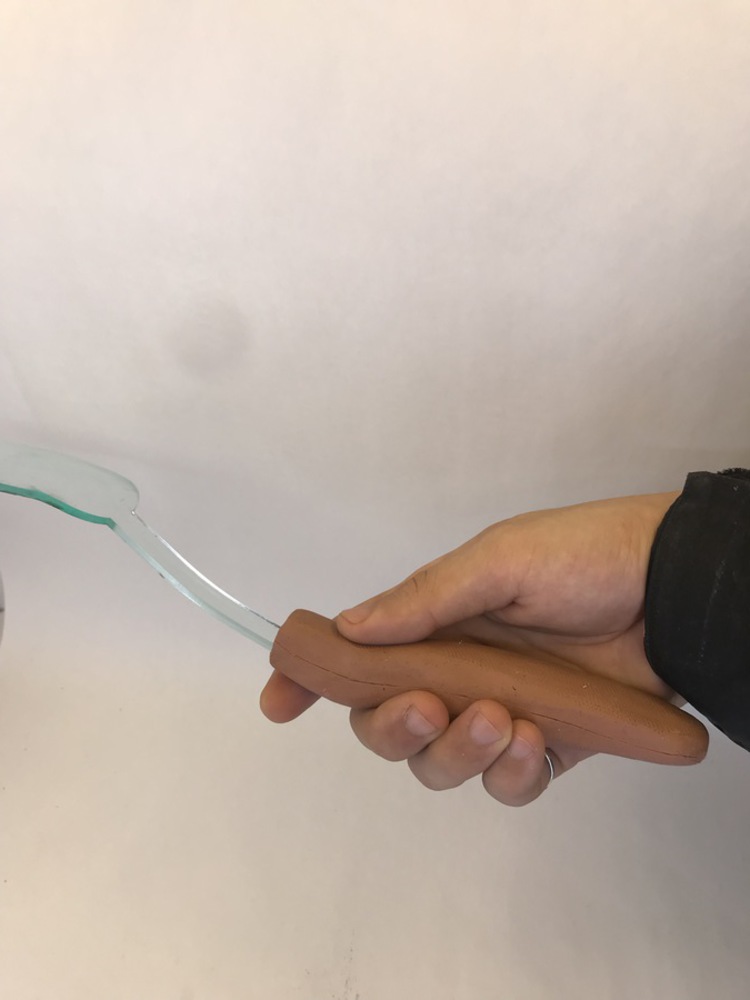
I used the spoon for many things (i.e. cooking ingredients in a pan or foods with sauces), and I noticed that the way I gripped the spoon handle made that entirely possible. However, there were no design-centric tutorial for people picking up the spoon for the first time to see that it could be a multi-faceted tool. I created a sketch of the tri-grip, which can be held in at least three different ways. To bring my idea to life, I used high-density foam core as a solid base in the general shape of the grip, and then shaped the clay around it. After finishing touches on the grip, I used a laser cutter to create a replica of the spoon's neck and head and attached it to the grip. 

Scan 6.thumb
Show Advanced Options

Prototyping Phase

I first laid out some sketches that would capture the general shape of my existing handle, and transferred its outline for me to cut out of a block of foam core. While using a wood-saw and exacto knife to slowly chip away at the thick foam care, I carelessly sliced away at asymmetrical angles, reducing my handle's structural integrity. So when redoing the structure, I drew its outline on both sides of the foam core through straight lines and a little bit of math, to assure that the spoon surfaced symmetrically. I chipped away at it from both sides and met each cut in the middle, succeeding this time. 

Unadjustednonraw thumb 420.thumb
Show Advanced Options
Unadjustednonraw thumb 422.thumb
Show Advanced Options
Img6.thumb
Show Advanced Options

Developing Phase

After making a clean outline of the core, I needed to flesh out the curves of the actual handle, since the final design wouldn't have a rectangular overhead view. After doing some light chipping away at the foam, I created my desired base and started adding clay. This part of the process was much easier because I didn't have to be extra careful with how much clay I added or took out. After creating the general shape of my grip, I started to add a few more intricate details:

  1. Stippling on finger placement points
  2. A smiling face on the lower end of the handle (strictly for aesthetic purposes)
Unadjustednonraw thumb 423.thumb
Show Advanced Options
Unadjustednonraw thumb 421.thumb
Show Advanced Options
Ap99tqicqeufmlm sj0mxa.thumb
Show Advanced Options

After my handle was finally finished, I needed to present some more contextual information, so I recreated the rest of the cooking-spoon with 3mm acrylic. Then with a heat gun, I curved of the acrylic to match the original.

 ob4werorucmxr6hscfoww.thumb
Show Advanced Options
6qpkgc12sb6f2jijxylvna.thumb
Show Advanced Options
Fh46hxqgqwifxwdrlyk7xa.thumb
Show Advanced Options

From there, the last step was to just attach the clay and the acrylic. It was a fairly easy finishing touch, and the clay supported the weight of the acrylic very well.


4vjsorgyswelpulw2toyrq.thumb
Show Advanced Options
Su3 iubzqpyzlhmhtjfrhw.thumb
Show Advanced Options
Sdeua2uprewor0vlnyrnsw.thumb
Show Advanced Options

Afterword


If I were to redo the project, I would consider including a more unique and significant aesthetic element to my design. Not considering a contrasting look from existing cooking-spoons could possibly not give my new product a competitive edge if it were introduced into the market. However, I was happy with the general molding outcome and functionality of my project.

For more questions, please contact me at mslee@andrew.cmu.edu

Drop files here or click to select

You can upload files of up to 20MB using this form.