Back to Parent

Outcome


The criteria for the project was to create a handle for a product. After much deliberation, I decided to create a handle for my drawer because I felt that the current handle was too small, and not stylish enough. I stayed in Spain over the winter for about two weeks, and over there the drawer I was using had circles on the end. I very much liked the design, as I thought the design was classy and more sophisticated.

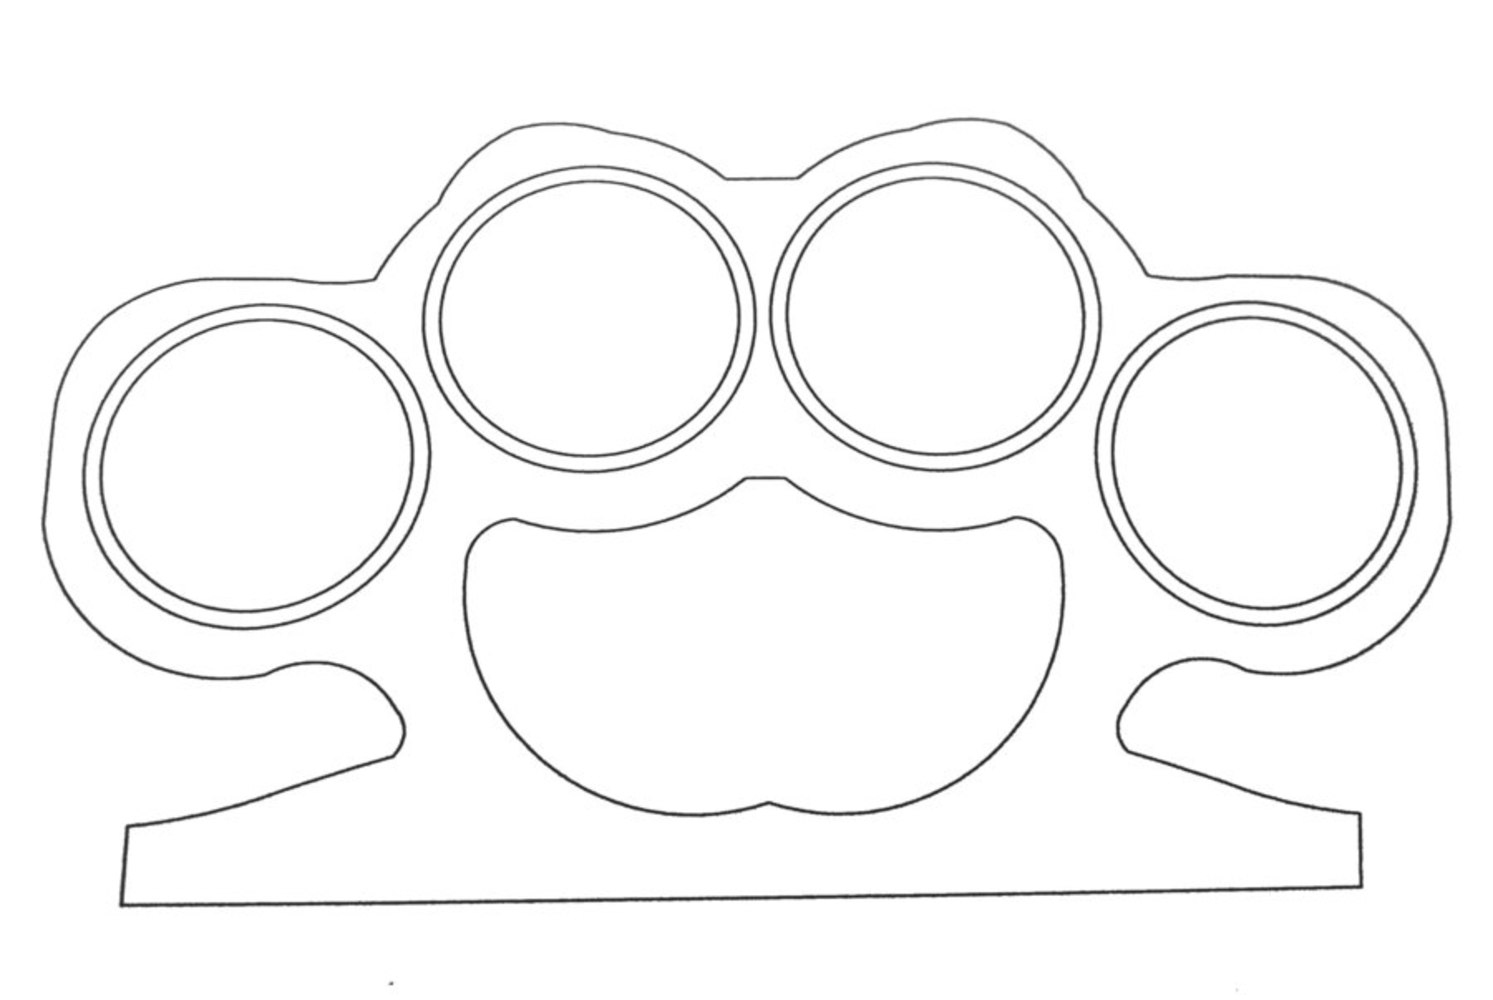
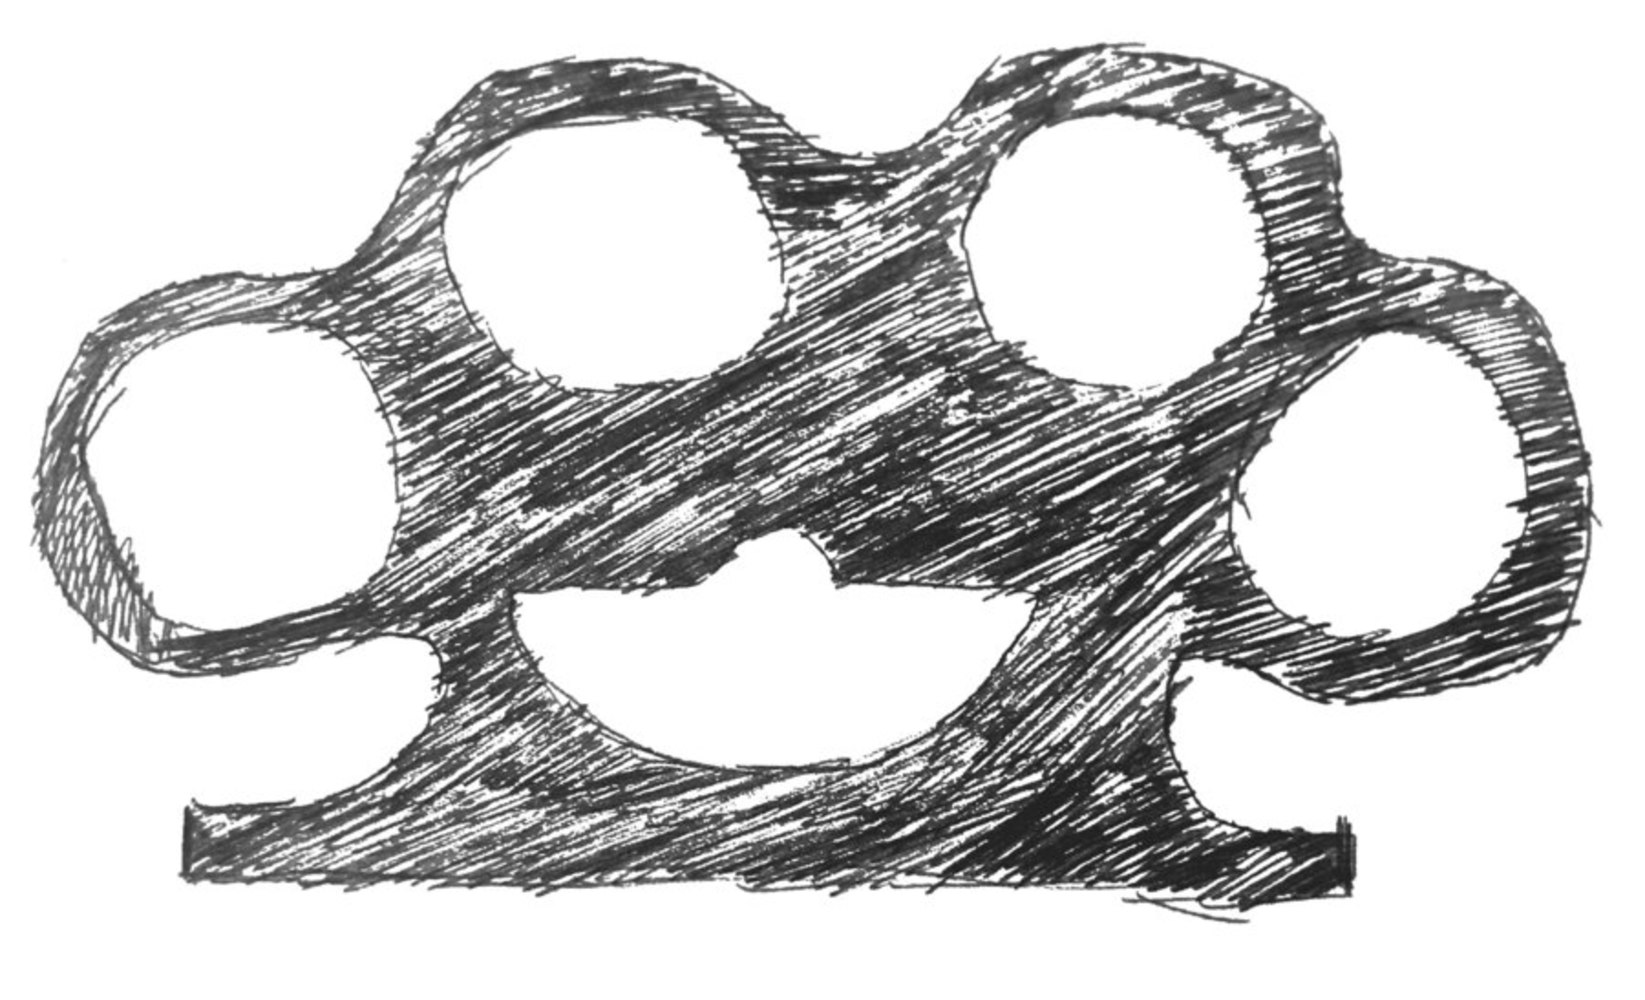
The first step of my design process including sketching out the design of the model. I realized that the shape I desired closely matched the design of brass knuckles. I looked up different types of brass knuckles and used their shape as the top of my design. I then incorporated a flat back rim to allow the handle to be attached to the front of the drawer. 

Once the top view was drawn, I followed up and drew the isometric view of both the handle by itself and the handle attached to a cabinet.
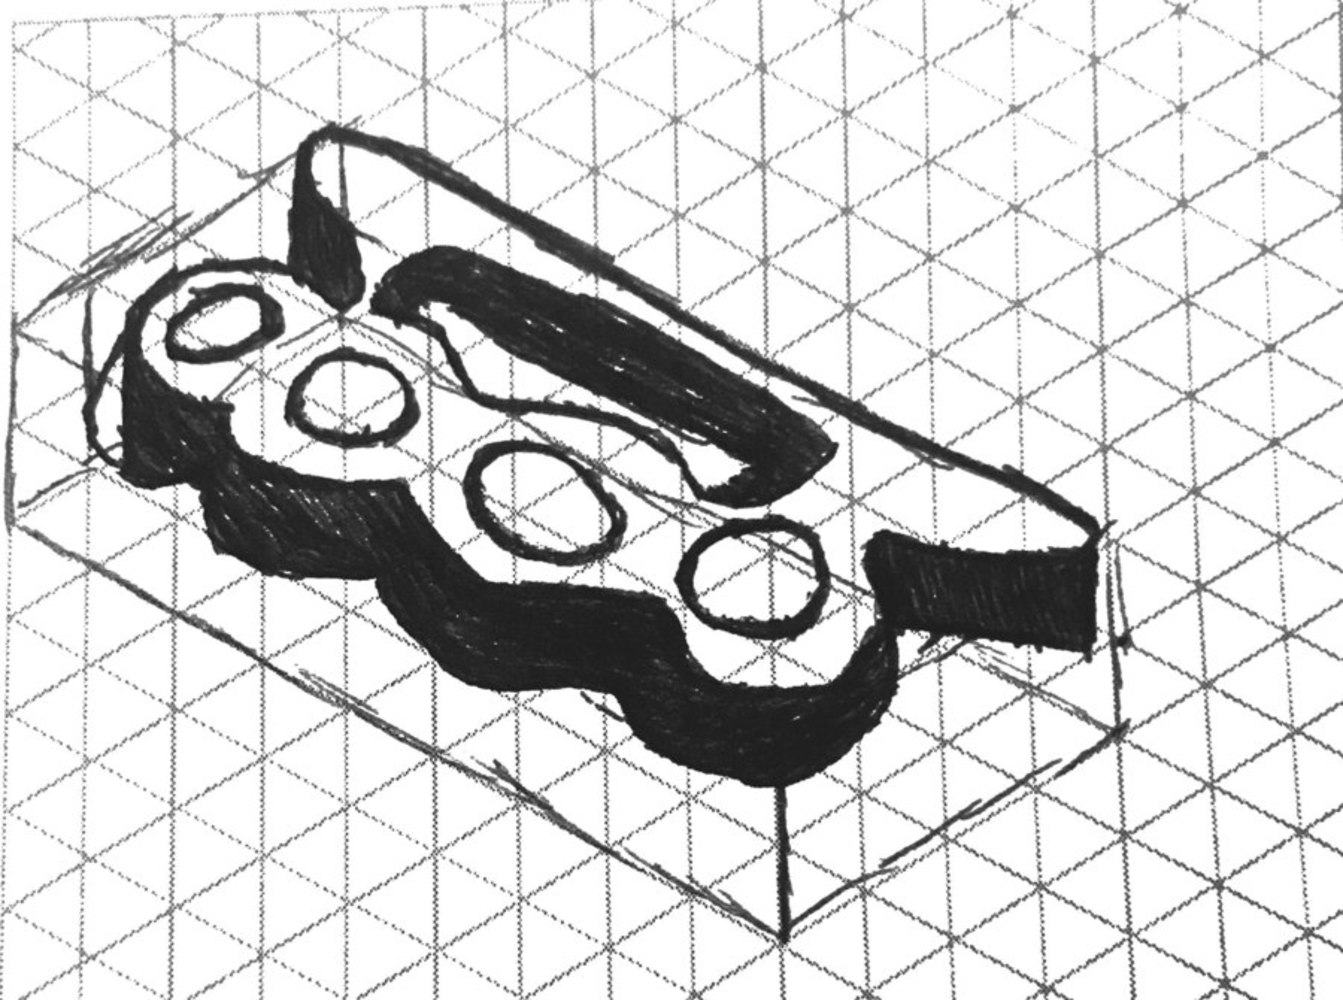
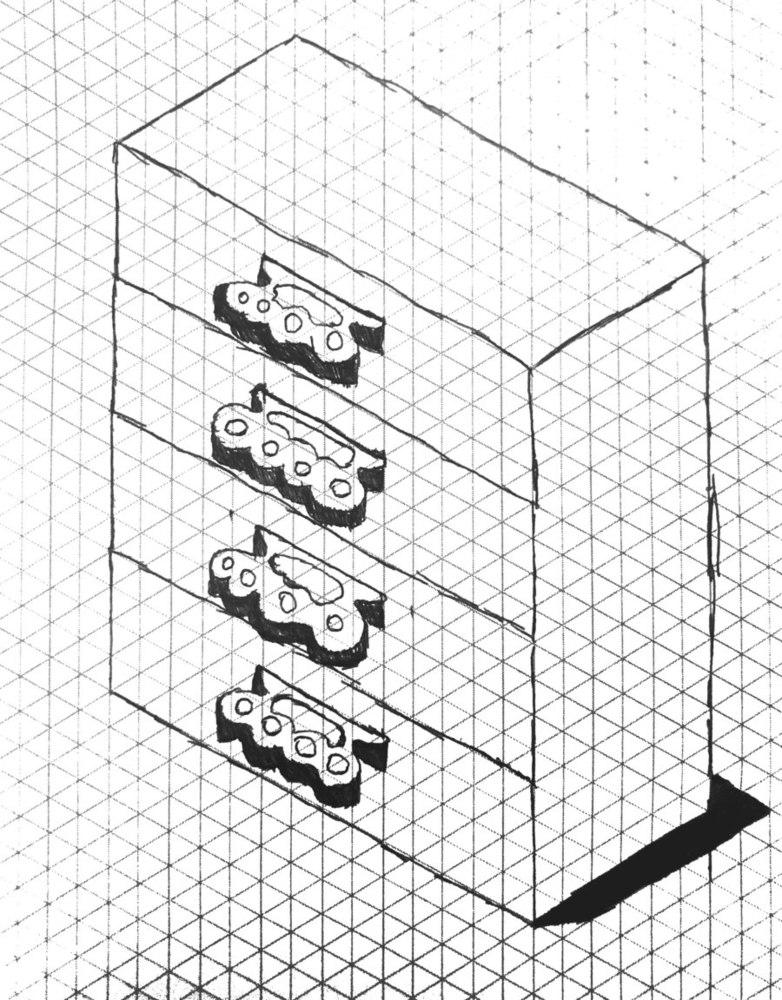
2019 03 18 23 40 34.thumb
Show Advanced Options
2019 03 18 23 10 21.thumb
Show Advanced Options
2019 03 18 23 08 40.thumb
Show Advanced Options

After the design was fully sketched out, the next step was to design it on CAD. The CAD design was difficult but after many iterations, the design was finalized as follows:

2019 03 18 23 49 23.thumb
Show Advanced Options

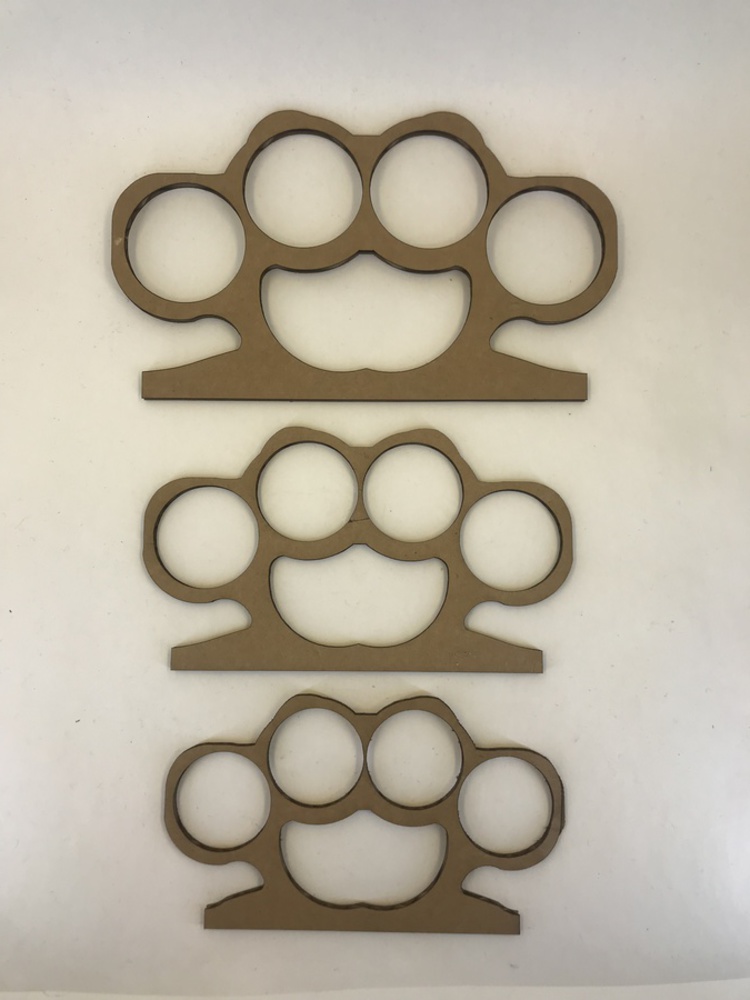
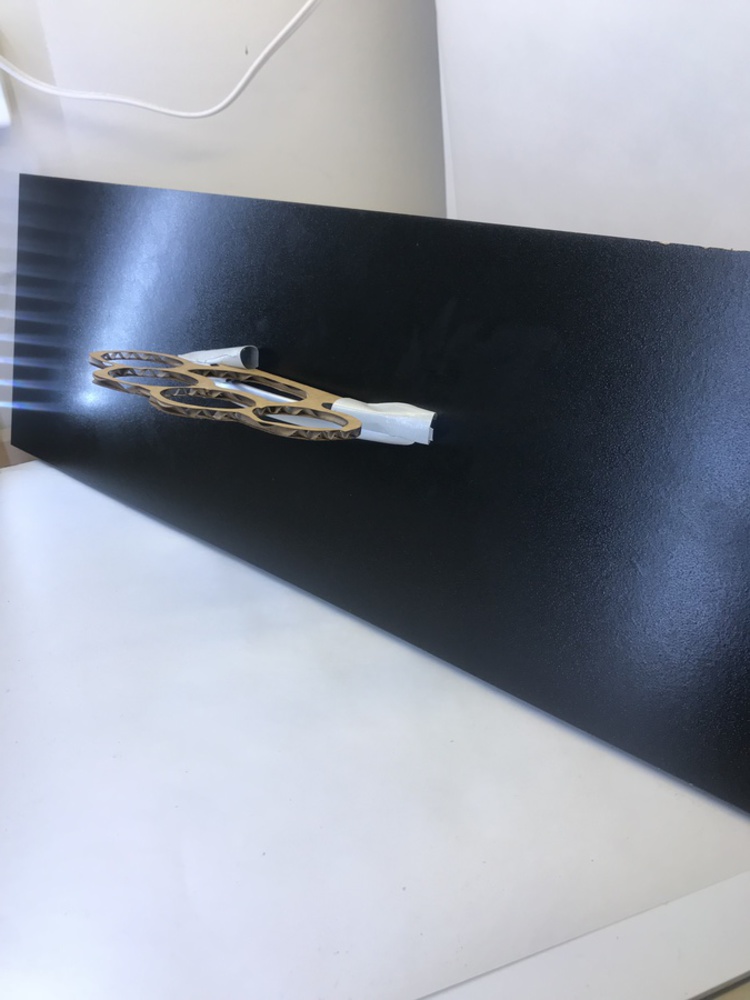
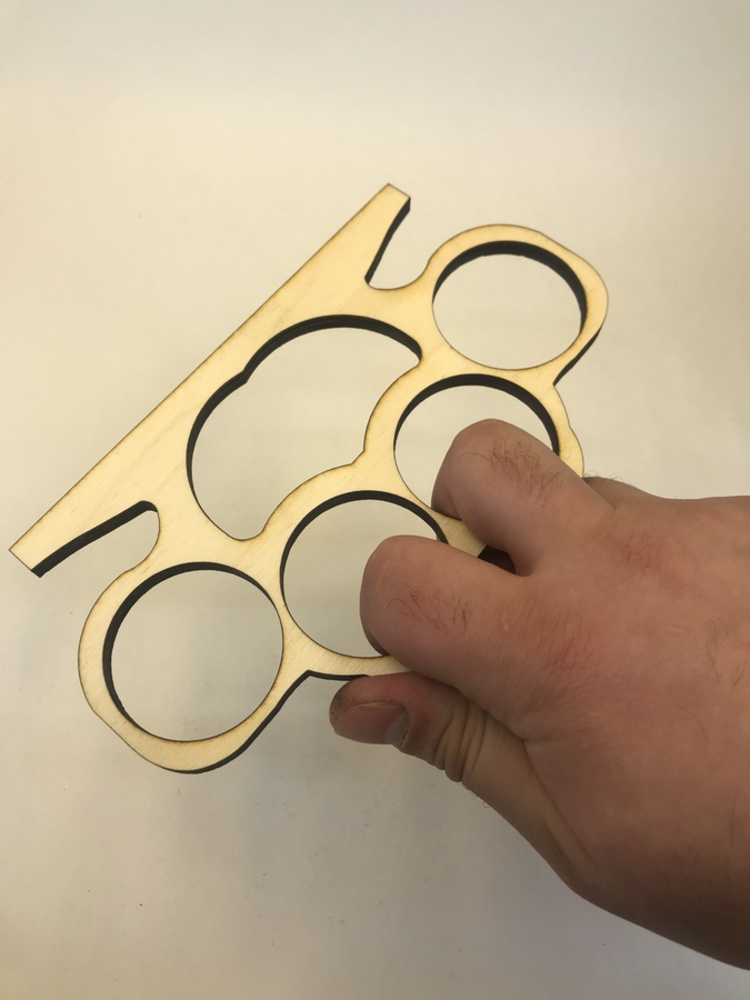
After the design was fully modeled on CAD, the design was laser cut onto cardboard to see the how different sizes would look in relation to my cabinet and how it felt to use. 

Img 8214.thumb
Show Advanced Options
Img 8228.thumb
Show Advanced Options

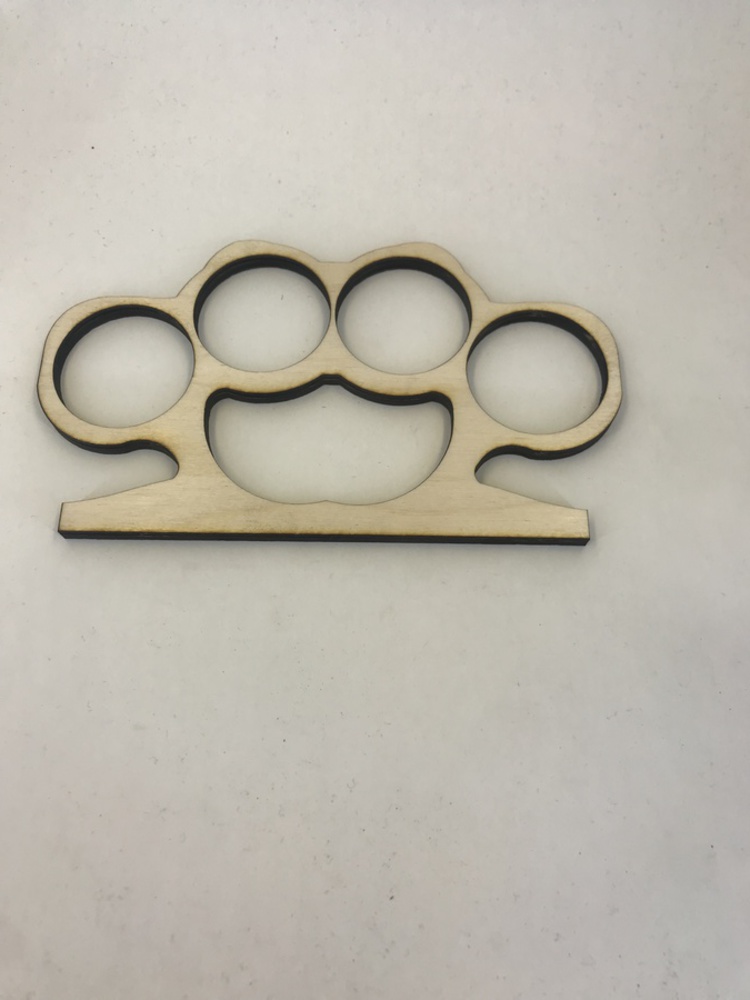
Through the three iterations, it became apparent to me that the middle size was the best to use. It was big enough that the user could only use two rings at any time to open the drawer which was very important to me, and the design was not so big that it looked awkward. After finalizing the design on cardboard, the same design was cut into 3/4 inch plywood so that the design could withstand the force of a human pulling out a drawer without deforming.

Img 8252.thumb
Show Advanced Options
Img 8257 %282%29.thumb
Show Advanced Options

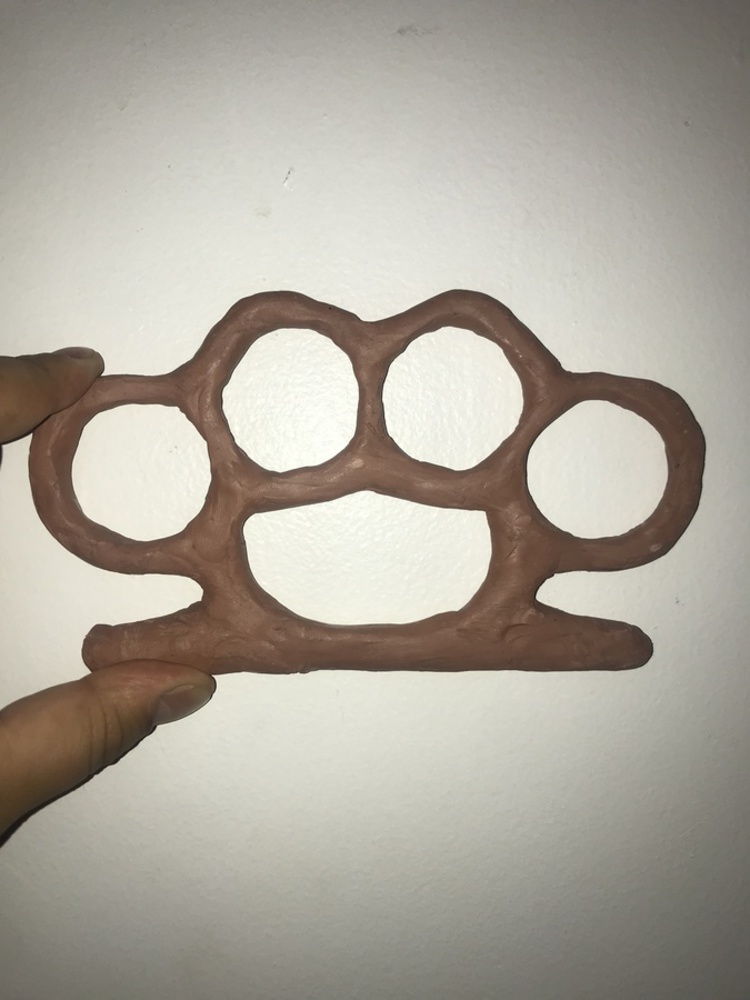
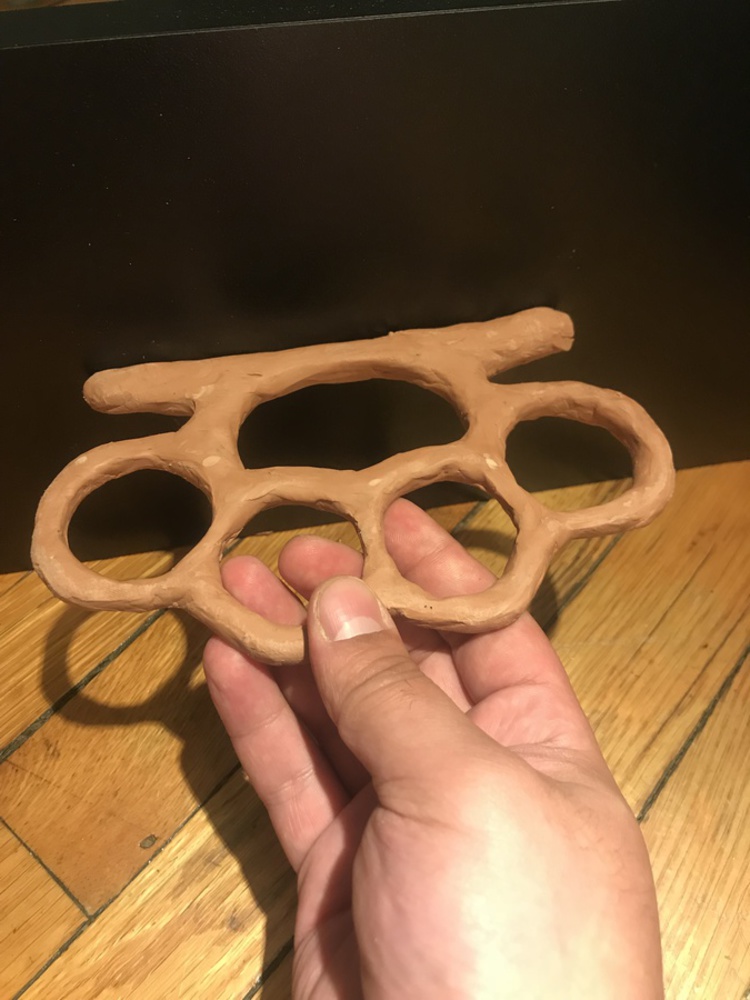
Next, clay was added around to wood to give it a nice texture and finish. The clay was first applied with my hands, and then spread out to give it an even finish. After that, a spoon and knife were also used to brush the excess clay off the design. The final design seen on the cabinet drawer was also pictured.

Img 8327.thumb
Show Advanced Options
Img 8319.thumb
Show Advanced Options
Drop files here or click to select

You can upload files of up to 20MB using this form.