Back to Parent

Outcome


The objective of this project was to create a silicone mould using the clay Flashlight-saber I created in a previous project. Using this silicone mould, I was then tasked with creating three versions of the flashlight-saber out of resin. 

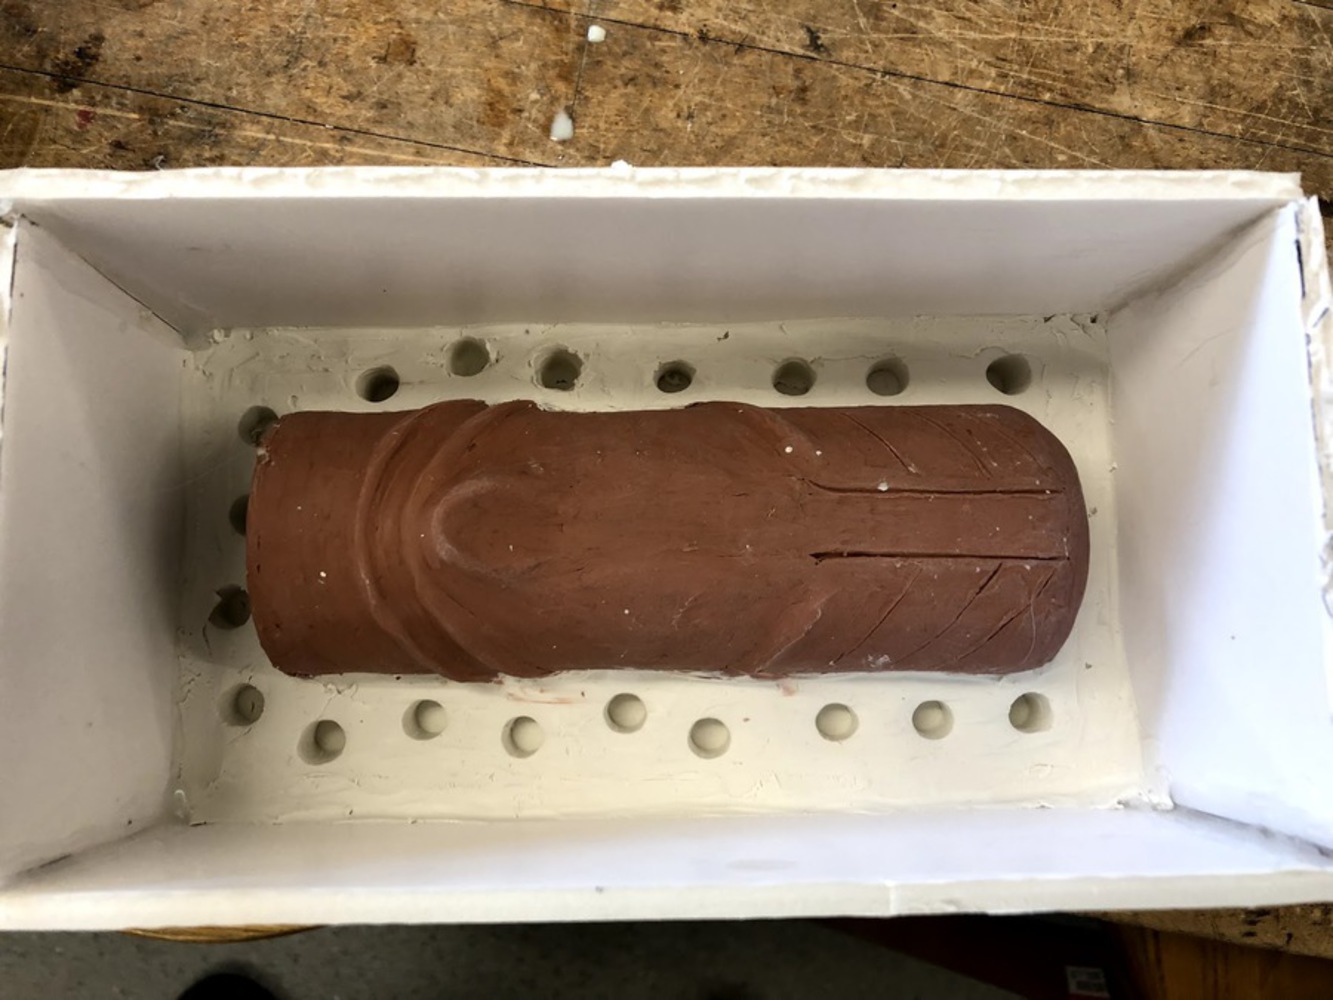
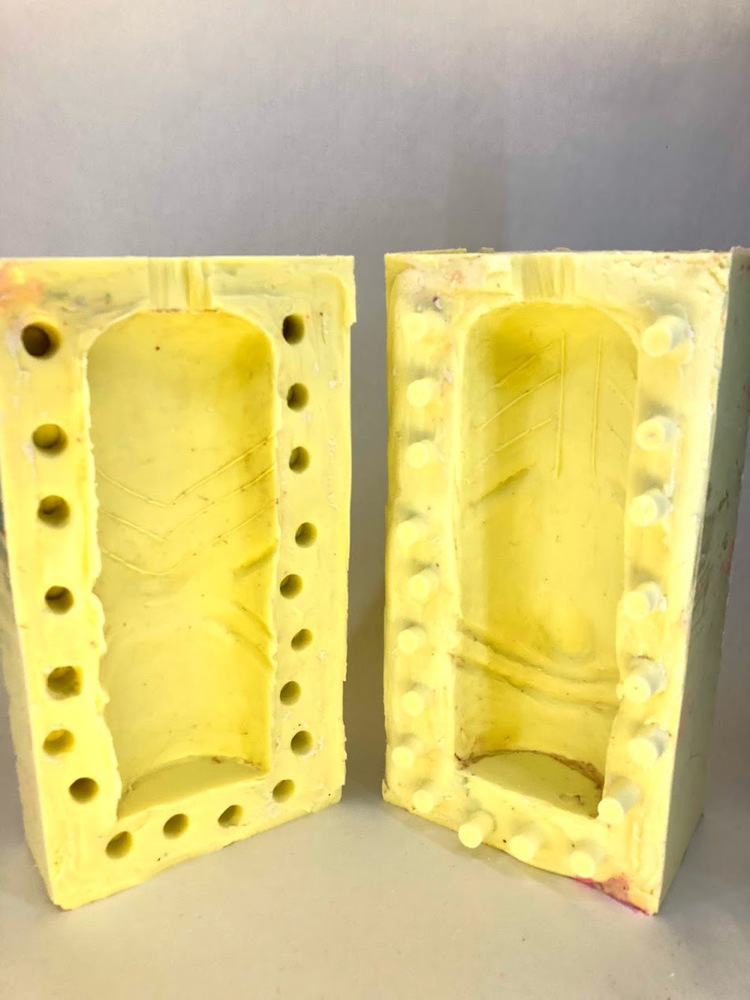
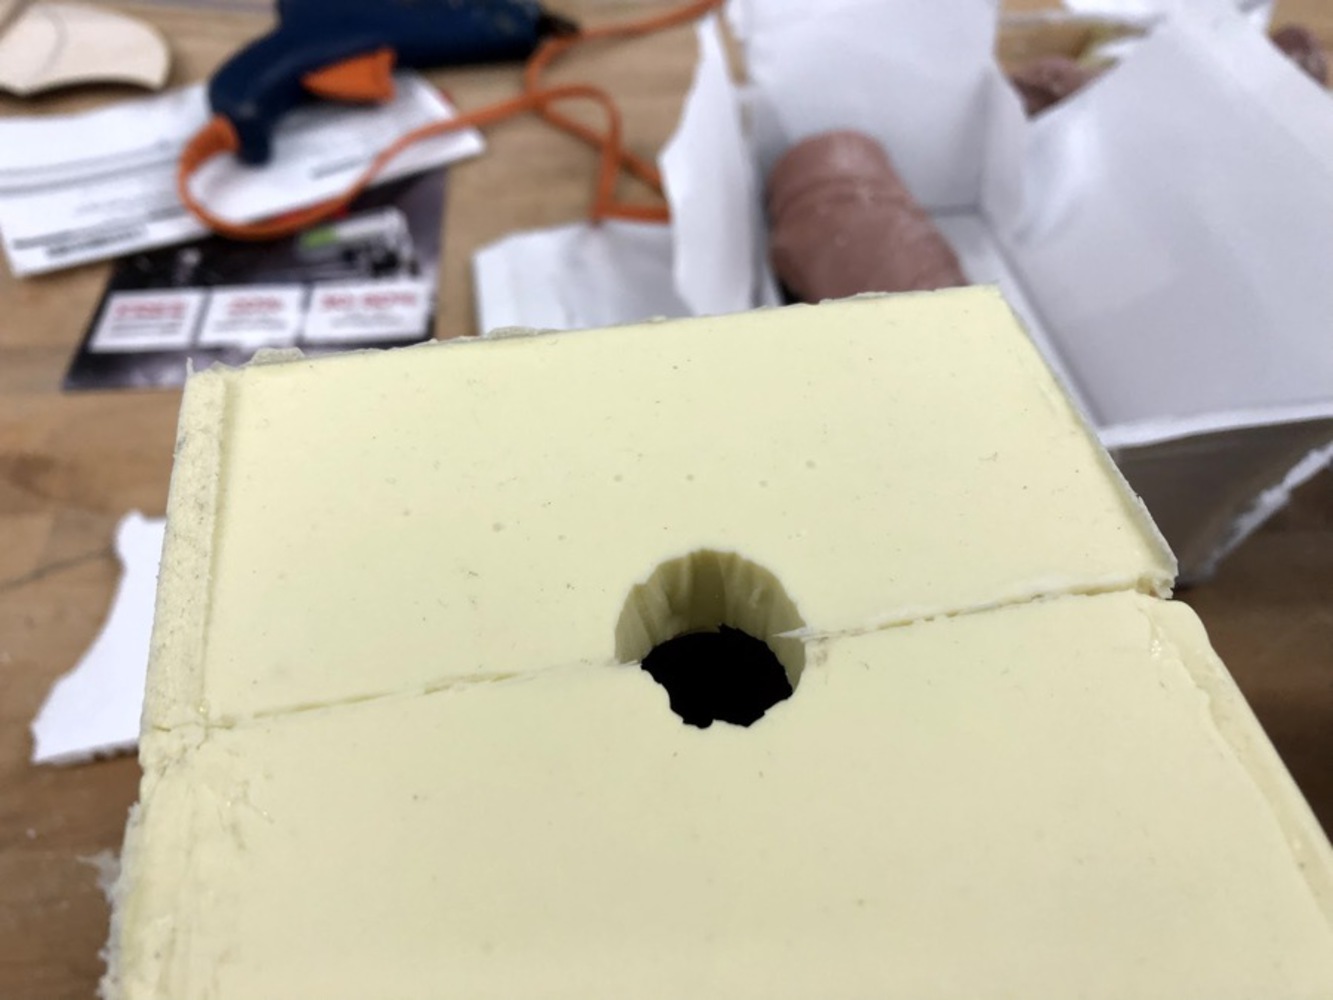
To create the silicone mould, I needed to use my clay model from last project. I set the model in soft, water based clay and glued a foam-core box around it. To make enough space between the edge of the mould and the space where the resin would take shape, I had to leave about an inch and a half of clay. I also poked holes in the clay that would later be filled in by the silicone. These would help the silicone mould stay together while the resin cured. 

Img 1426.thumb
Show Advanced Options
Img 1427.thumb
Show Advanced Options

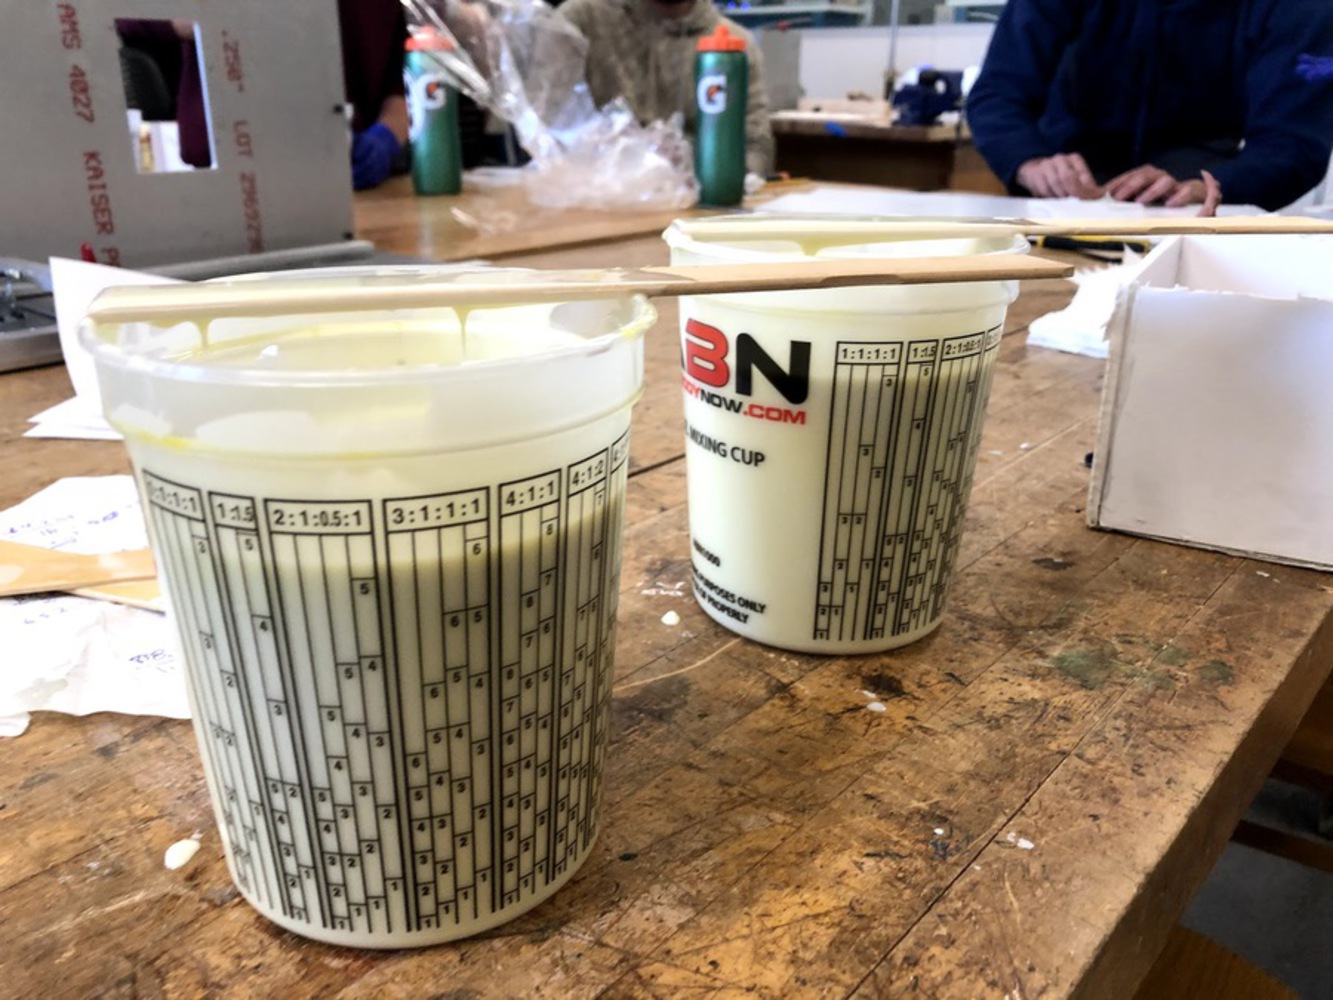
After pouring the silicone into the box, it then cured over 6 hours. 


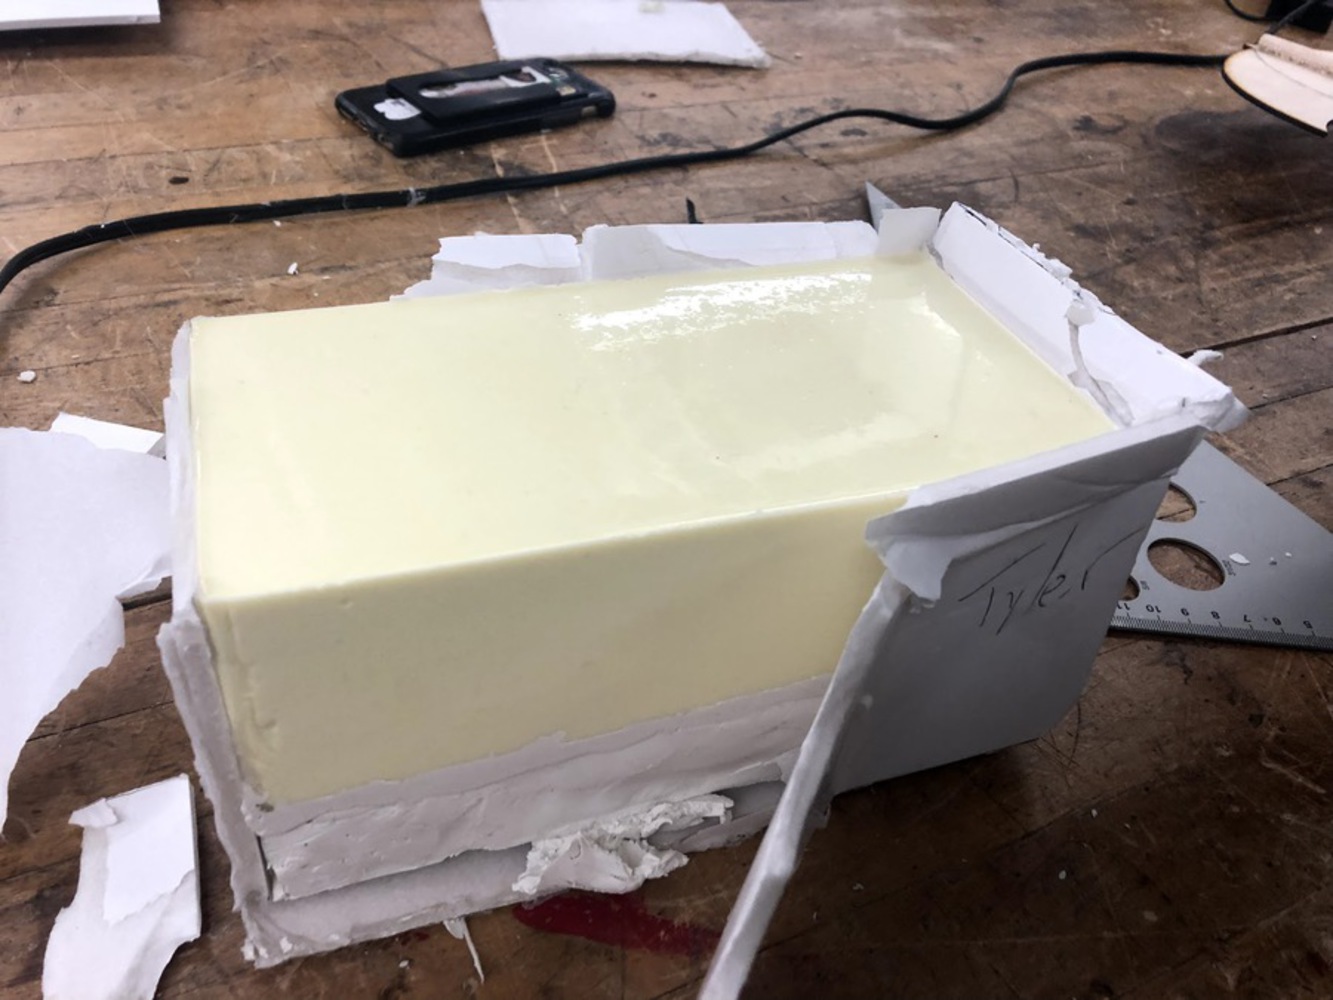
Pulling the box apart was like opening presents on Christmas morning. The first half of my mould was complete. To finish the second, I simply needed to pull the clay off of the silicone, flip it around, and build another box to contain the other half. 

Img 1439.thumb
Show Advanced Options
Img 1479.thumb
Show Advanced Options

When the second half was finished curing, I split the block of silicone apart along my parting line, revealing the inner chamber where the resin would cure. I cut a hole at the top of the mould so I could pour resin into the mould.  

Img 1481.thumb
Show Advanced Options
Img 1526.thumb
Show Advanced Options
Img 1480.thumb
Show Advanced Options

I added orange dye to my first resin pour. However, my flashlight-saber came out pink. This was a no go, so I figuring sticking to the cooler side of the color spectrum would be a good choice. 

Img 1498.thumb
Show Advanced Options

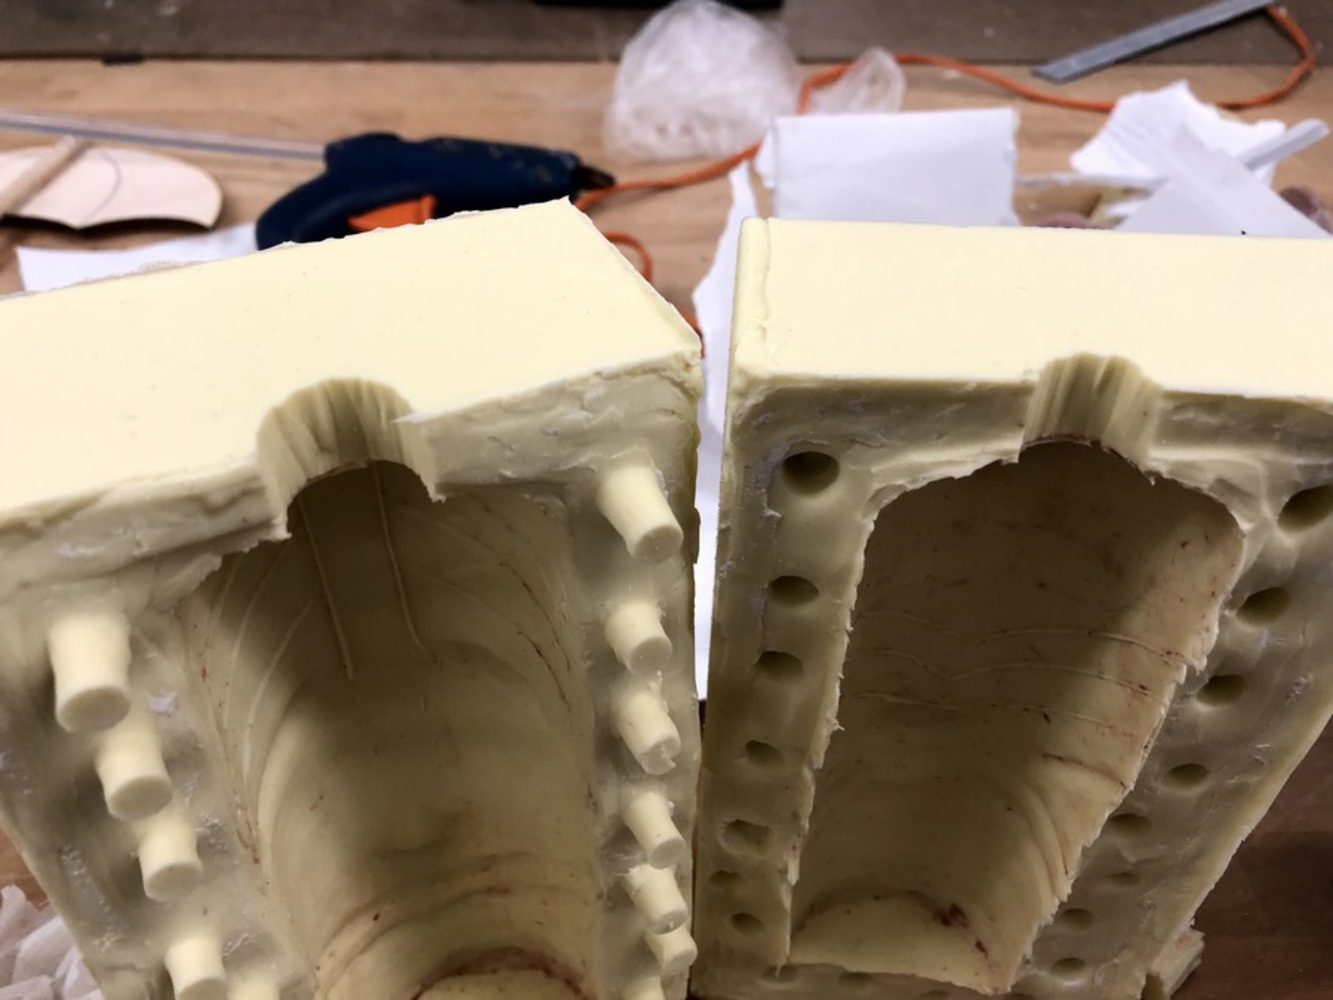
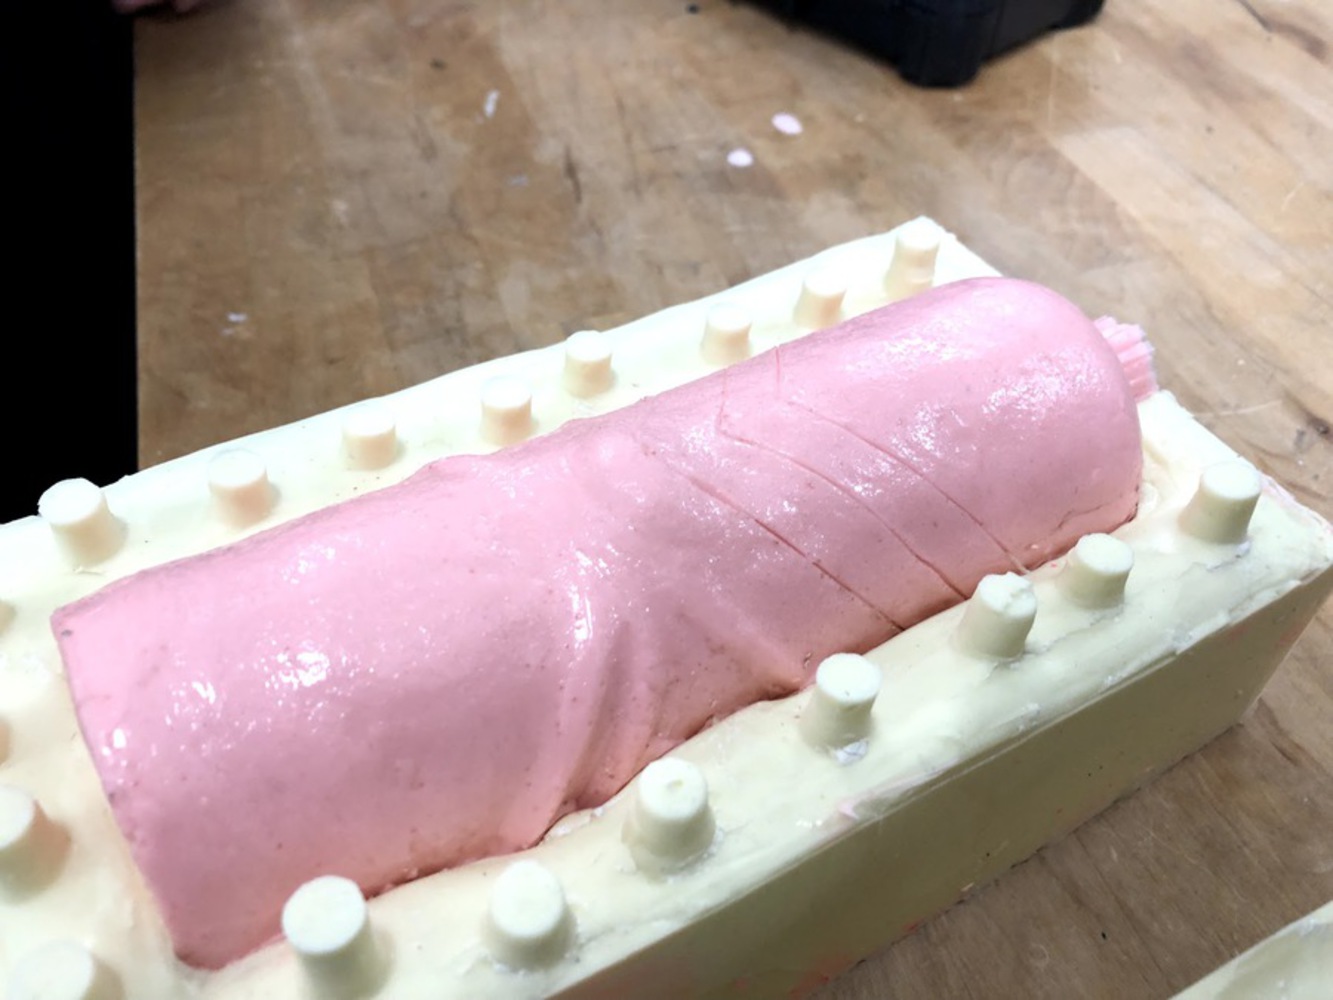
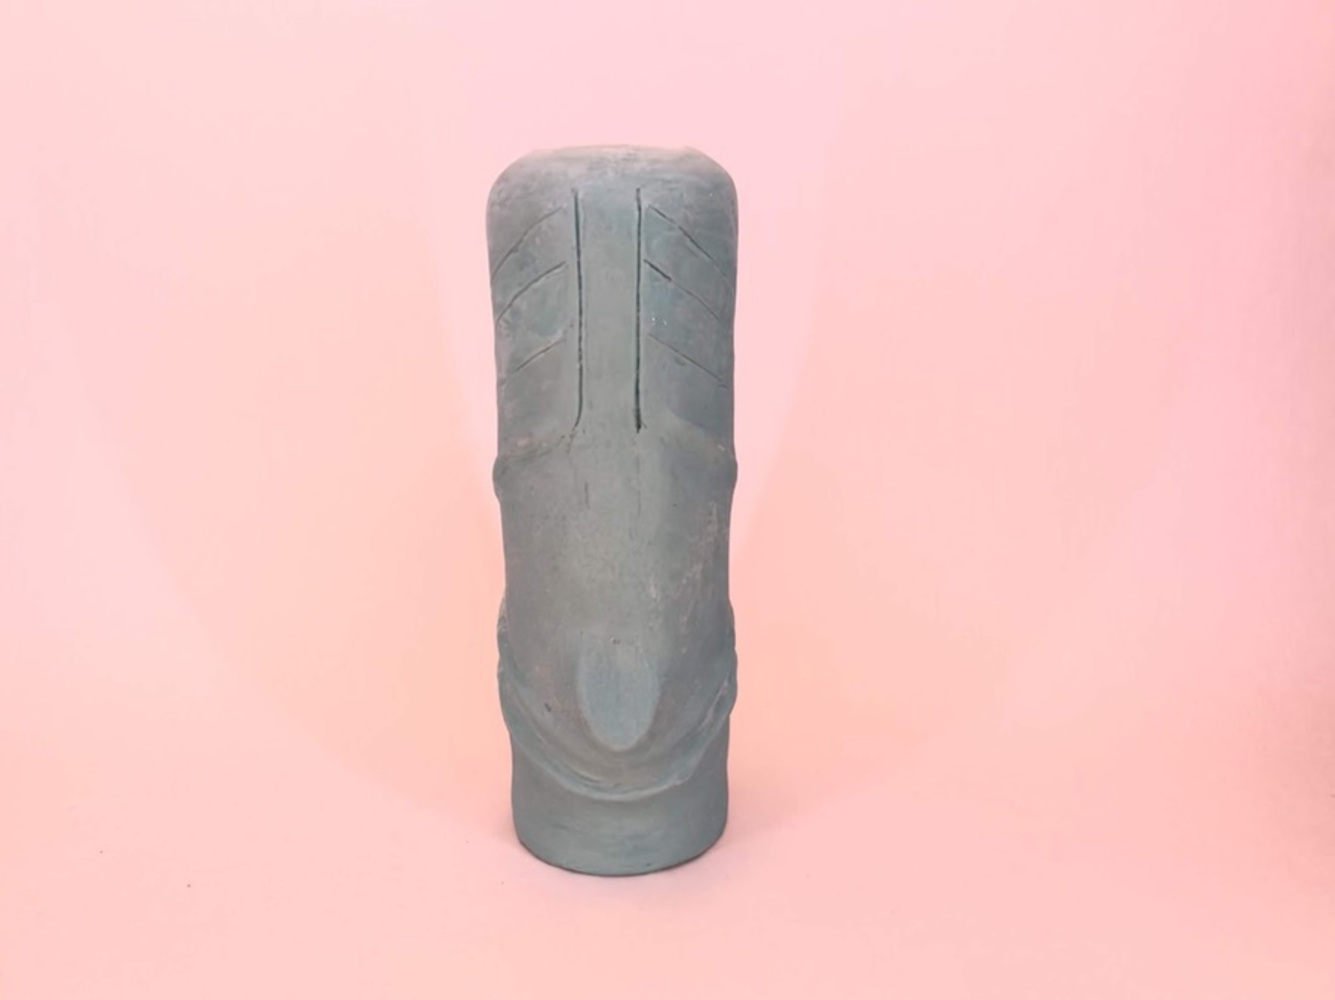
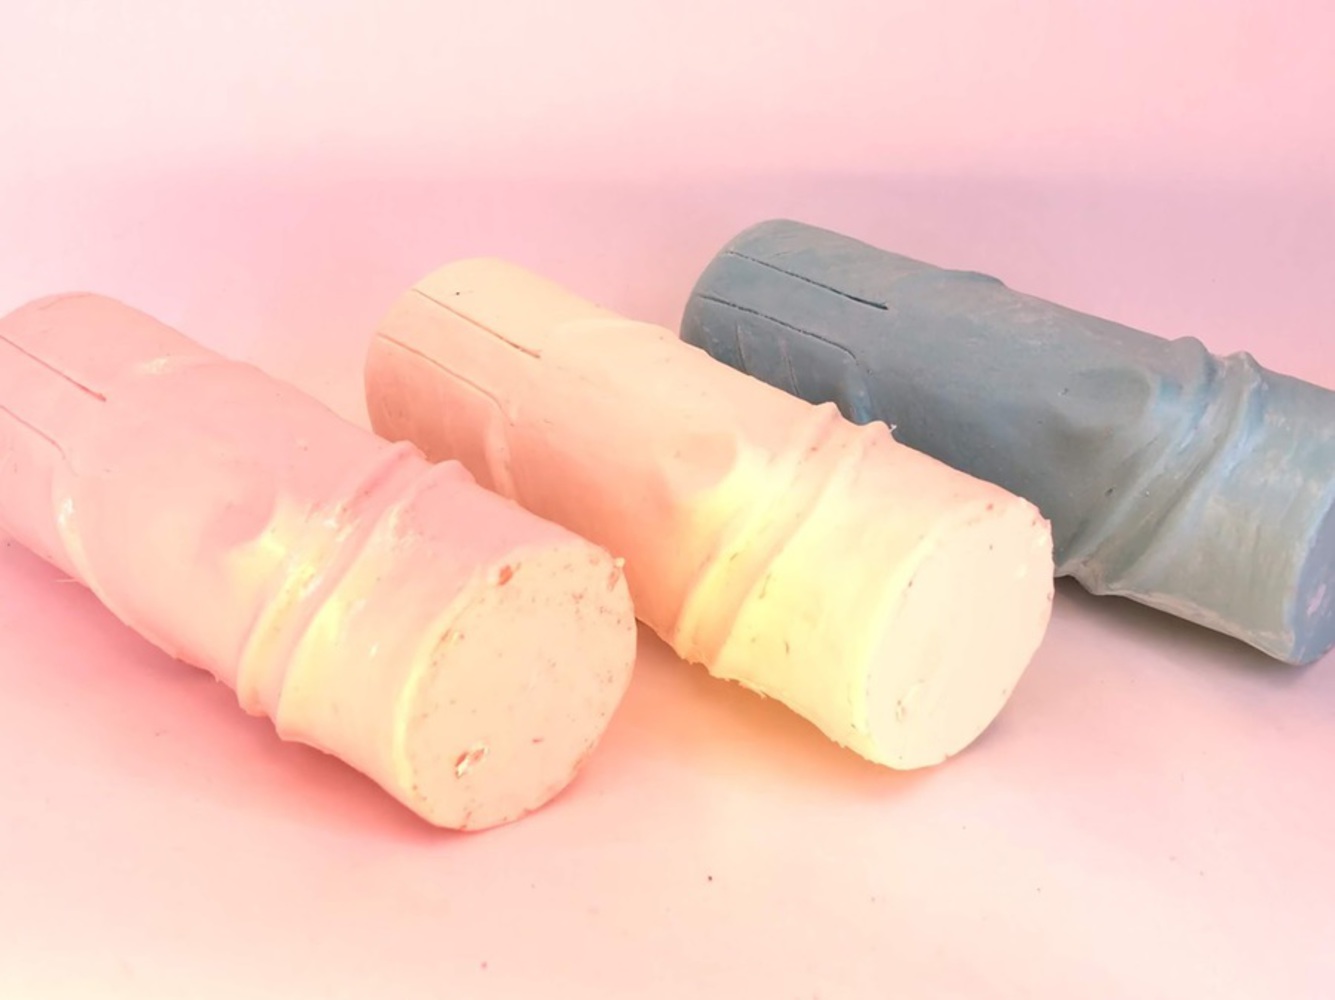
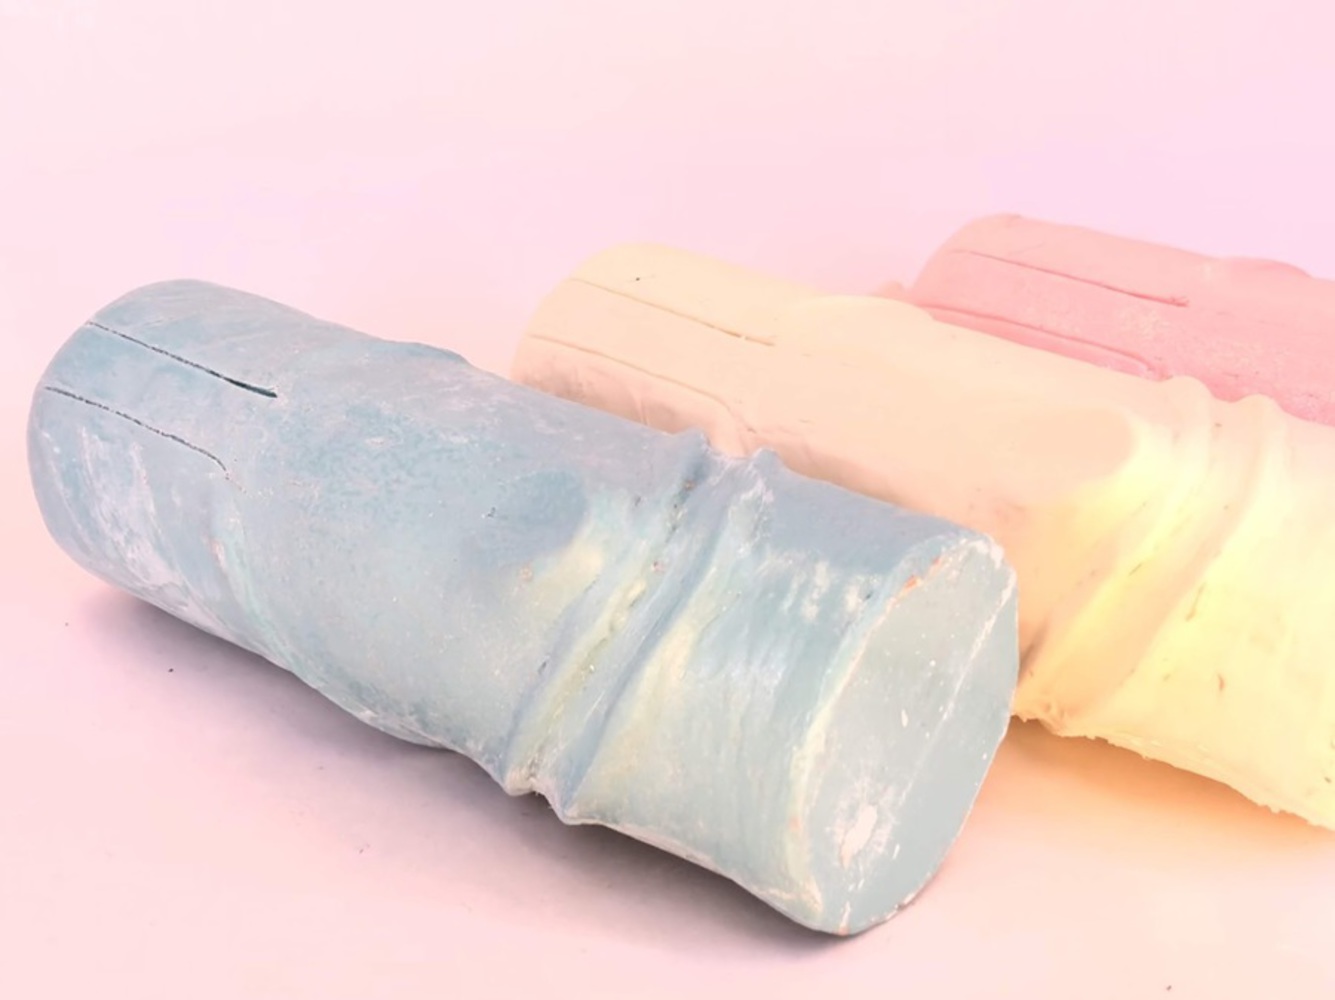
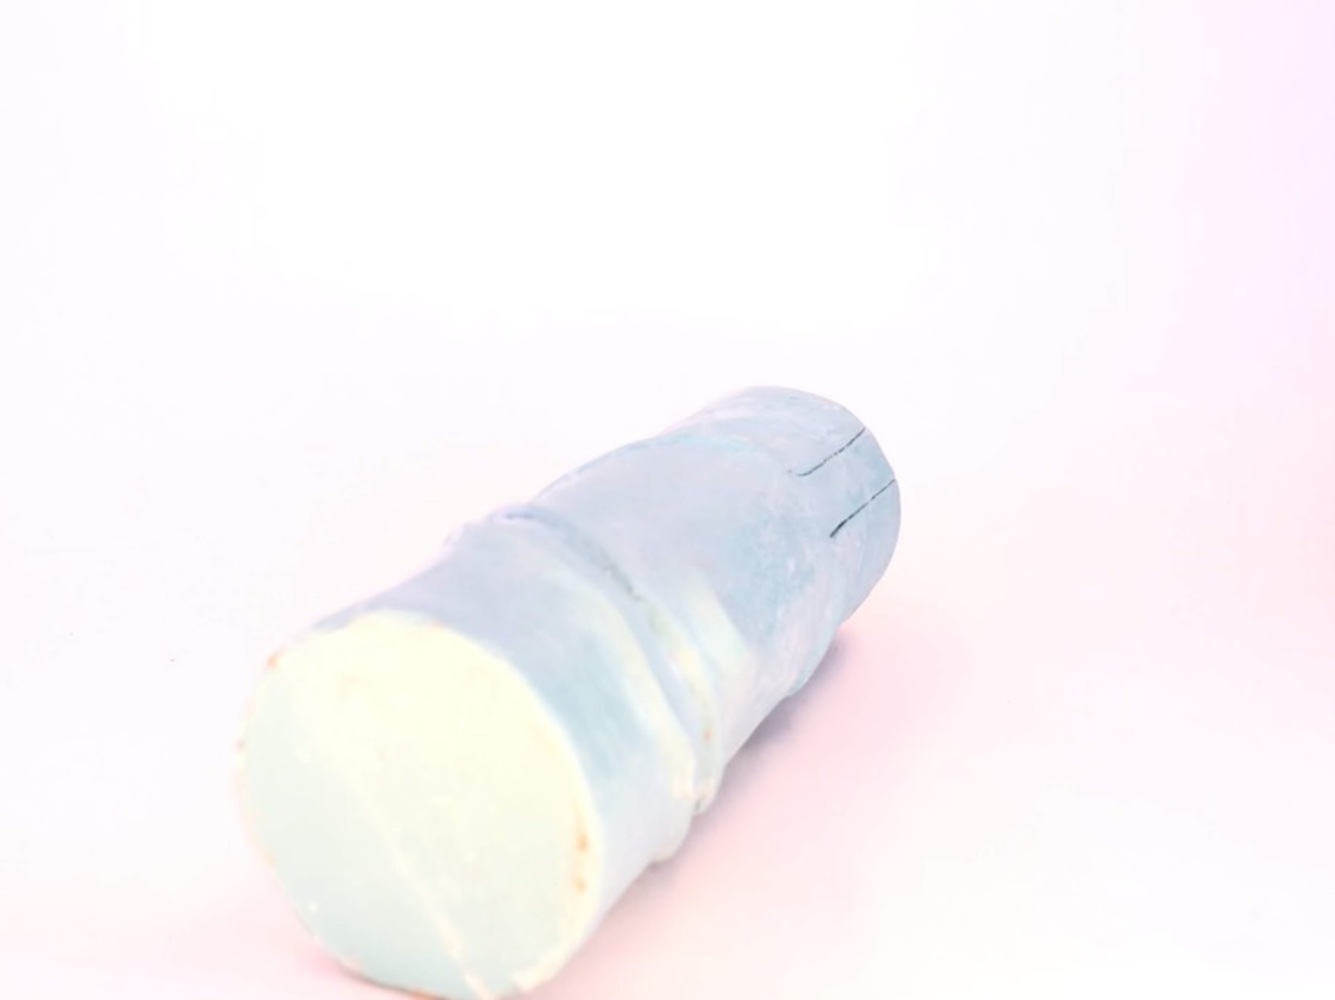
The blue flashlight-saber came out of the mould in decent shape. There was quite a bit of mess on the parting line that I needed to sand off. In fact, much of the handle needed to be sanded down. However, due to time constraints I was unable to sand the amount I wanted. I was trying to explore how to depict different textures on the handle using different mounts of sanding; however, I had to continue with my third model.

Img 1513.thumb
Show Advanced Options
Img 1523.thumb
Show Advanced Options
Img 1525.thumb
Show Advanced Options
Img 1518.thumb
Show Advanced Options

Concluding Thoughts:

My resin model wasn't perfect and still needs some sanding. To be quite honest, a better use of my effort would be to recreate the silicone mould so that I could redo the parting line. That way I would eliminate the need to sand as much surface area in the future. 

Drop files here or click to select

You can upload files of up to 20MB using this form.