Ideation and inspiration for this part can be found in the link below
http://ideate.xsead.cmu.edu/gallery/projects/grocery-bag-handle
Ideation and inspiration for this part can be found in the link below
http://ideate.xsead.cmu.edu/gallery/projects/grocery-bag-handle
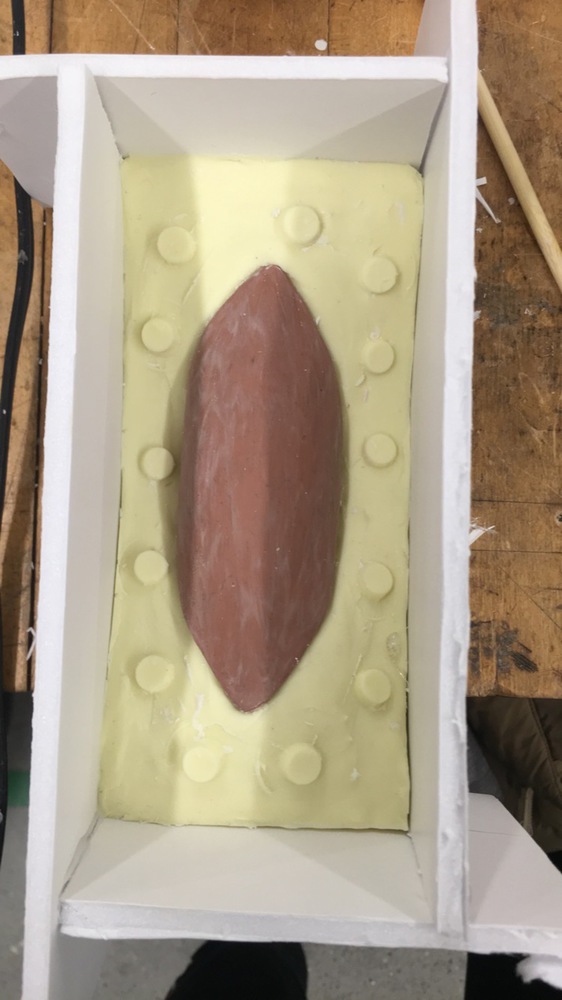
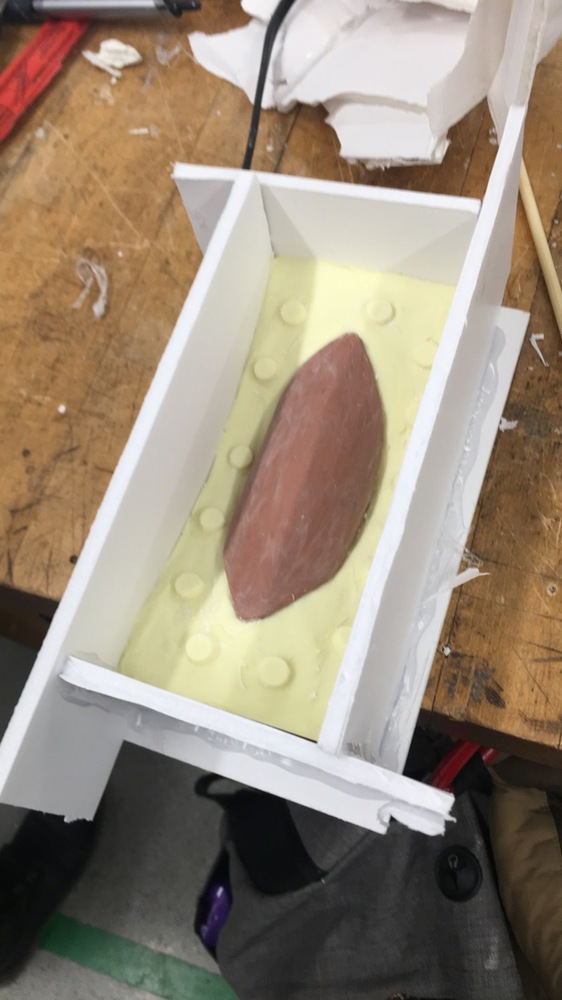
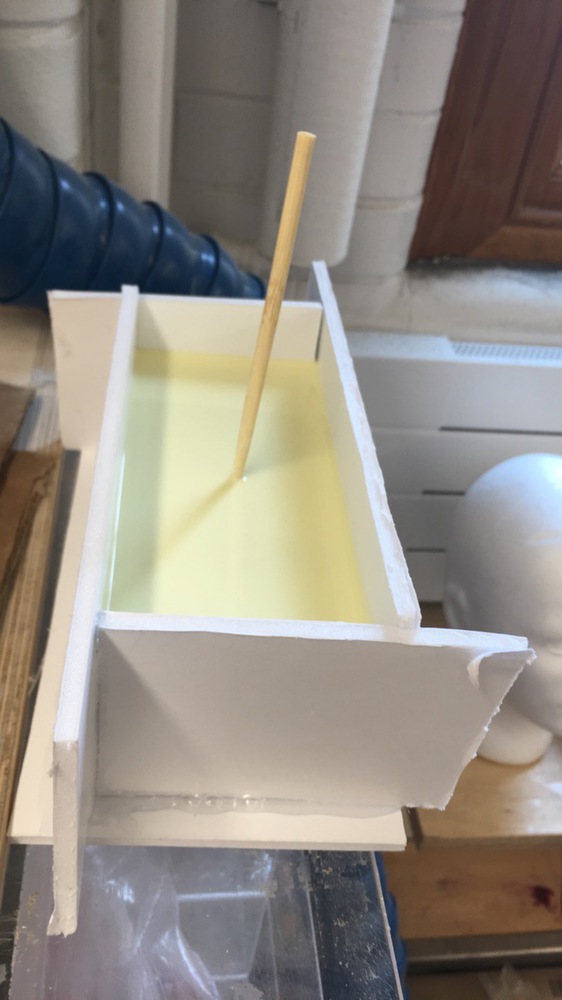
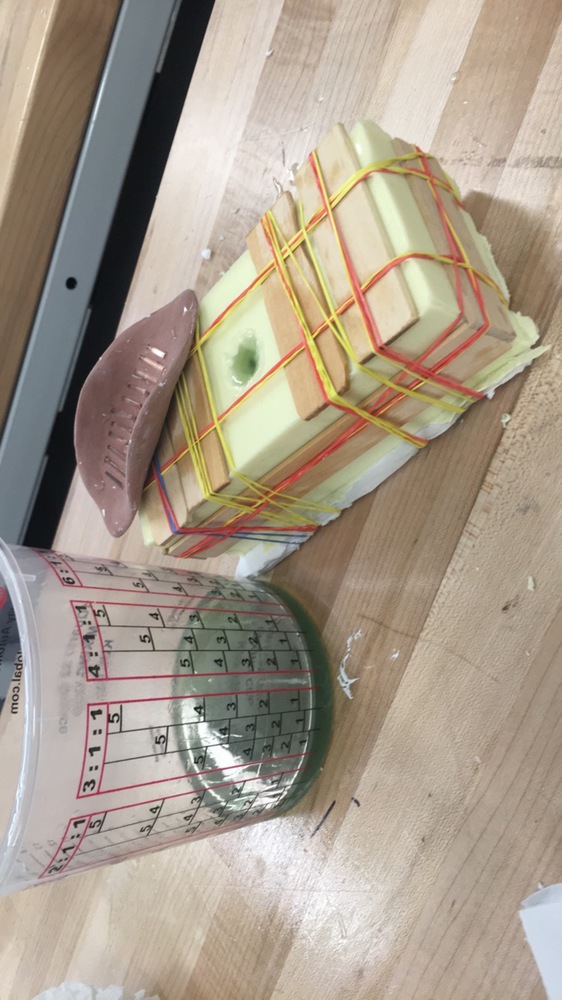
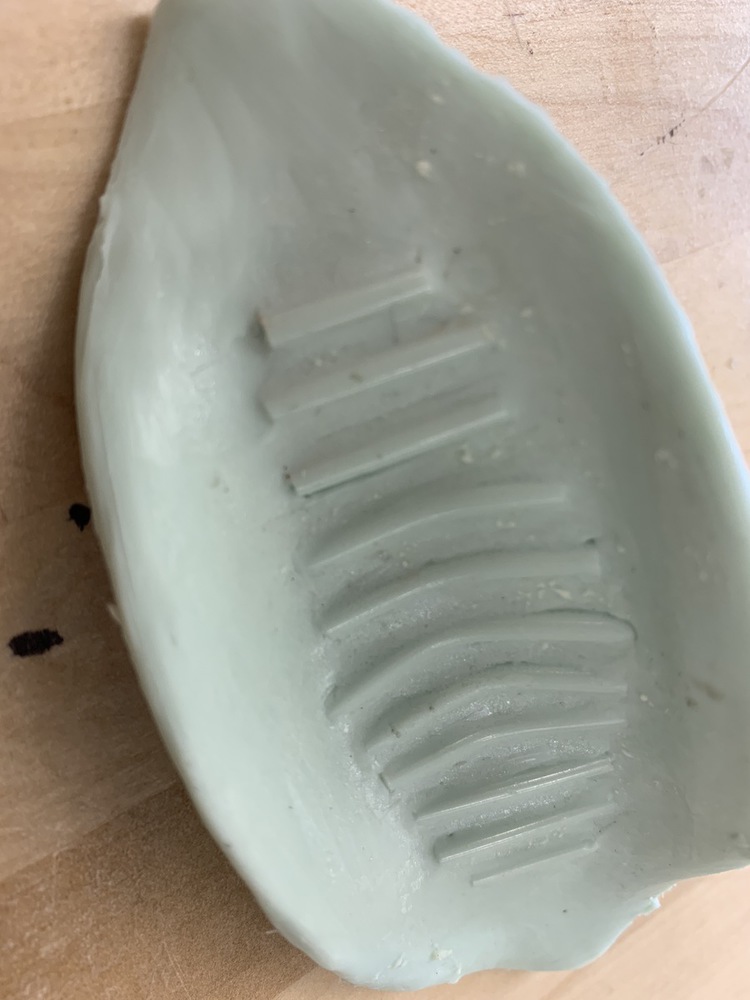
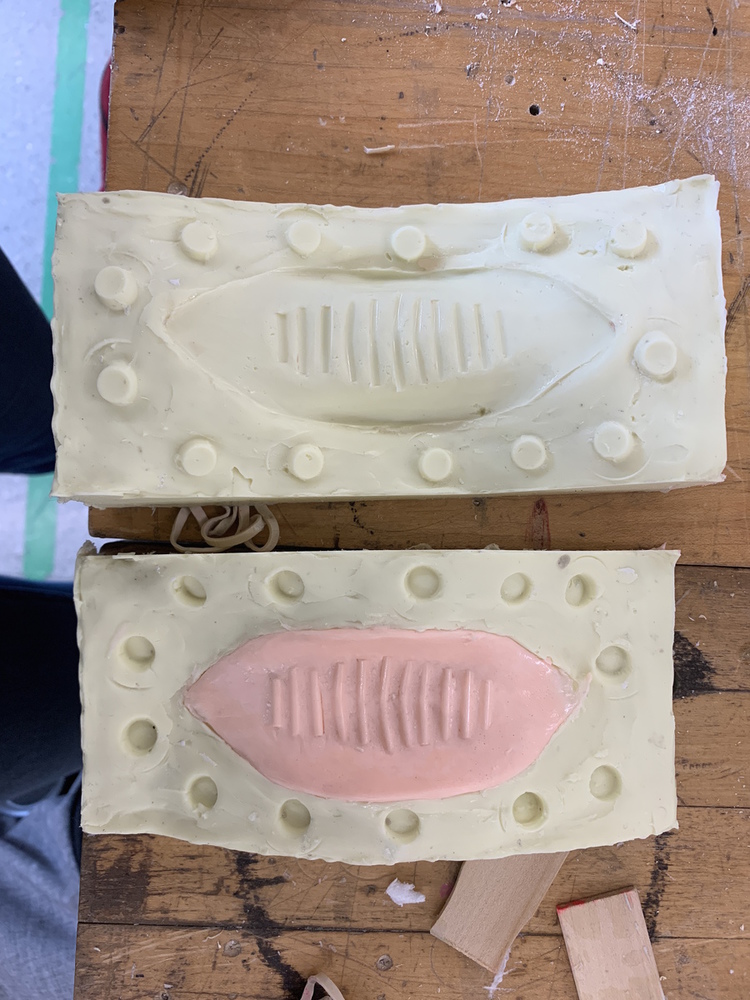
For this part I used a 2 part mold. To do so I used white clay to create a surface around my part that followed its curves. I then constructed a foam core box around the piece and poured in silicon. Once the silicone had cured I released my part and cleaned out the white clay. Pictured below is the first half of the silicon mold with white clay cleaned out and the new foam core box ready for the second half.
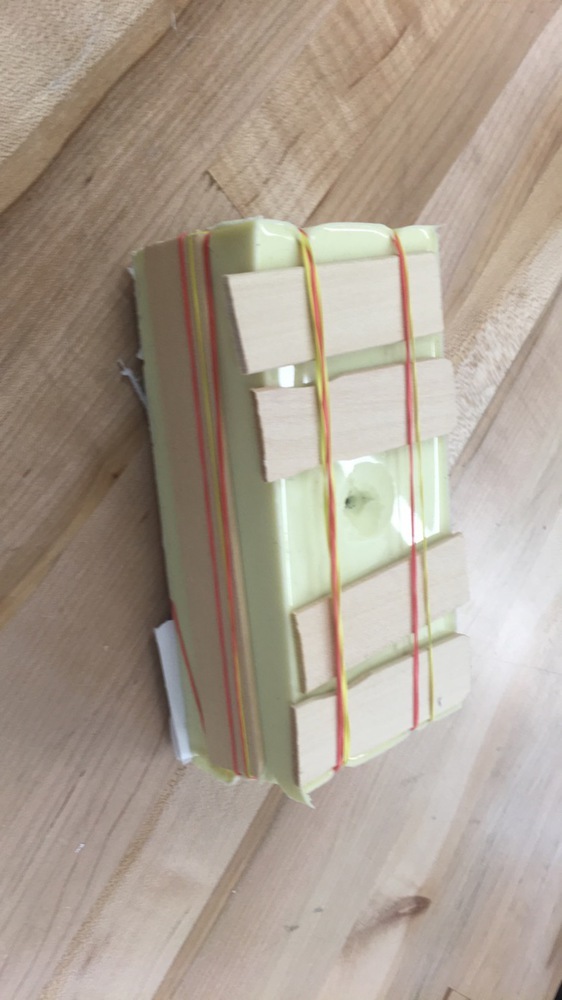
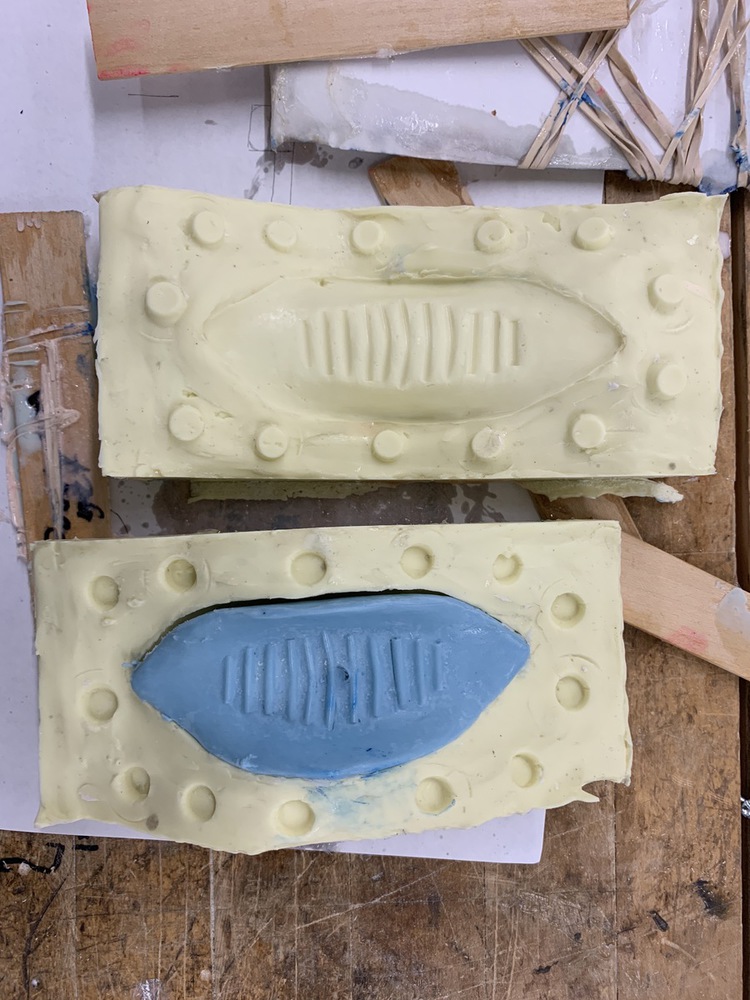
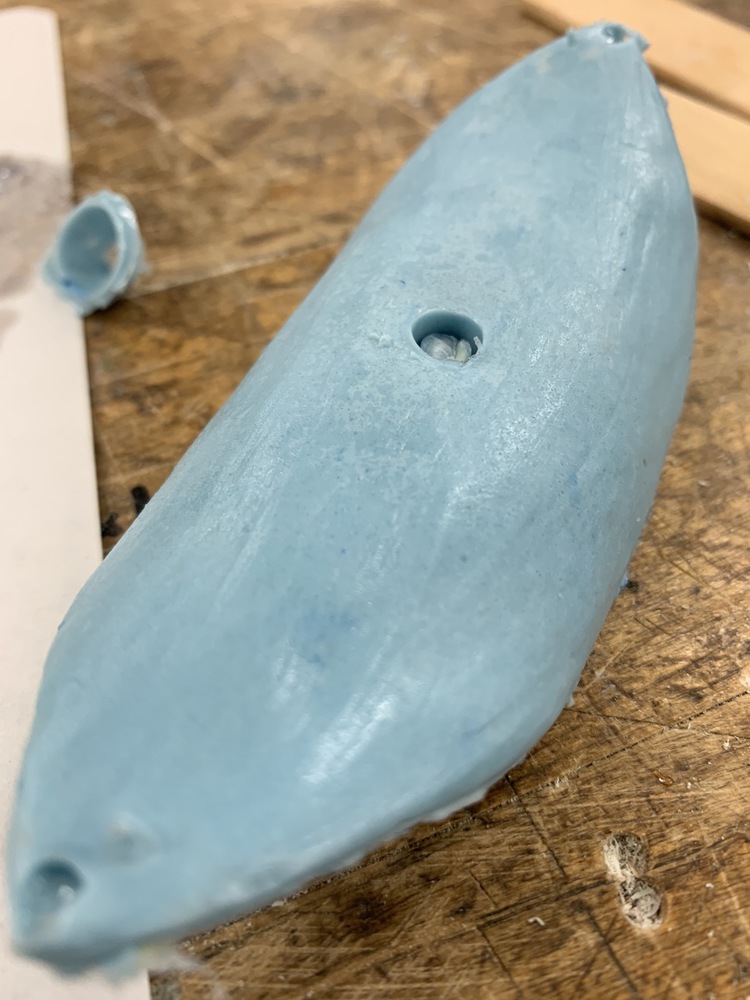
My silicon mold was now complete and ready for casting. Because there were no more funnels I carved one out at the top of the piece which helped with pouring and filling. For my first attempt at casting, I mixed 1:1 by volume (2 oz each, 4 oz total), this ended up being a total failure and the resin did not cure at all.
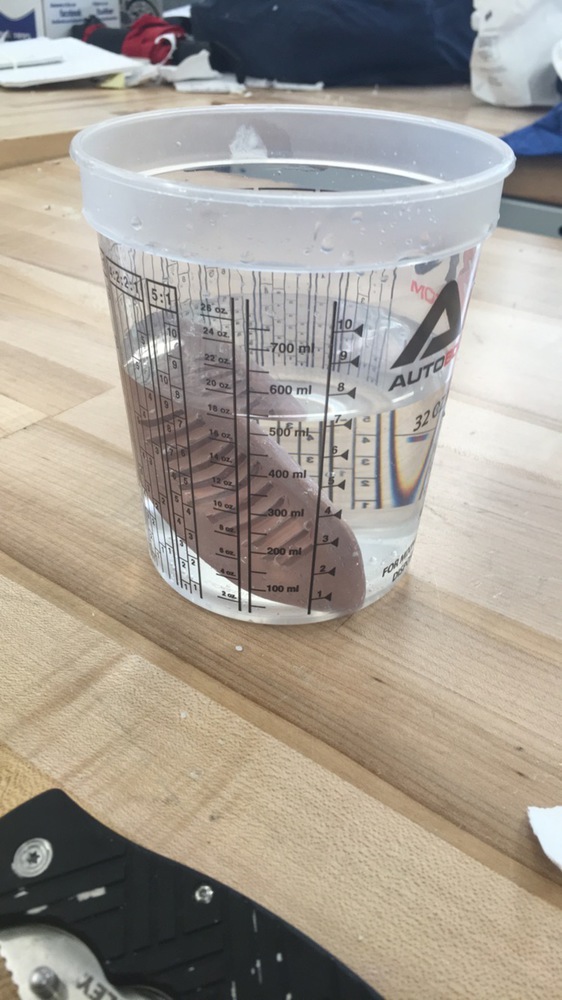
For my second attempt, I measured the resin out by weight to be more accurate and calculated the minimum I need to reduce waste. I dunked my part in water and measured the volume to be approximately 40 ml and mathed out how much part A and part B resin I needed (pictured below).
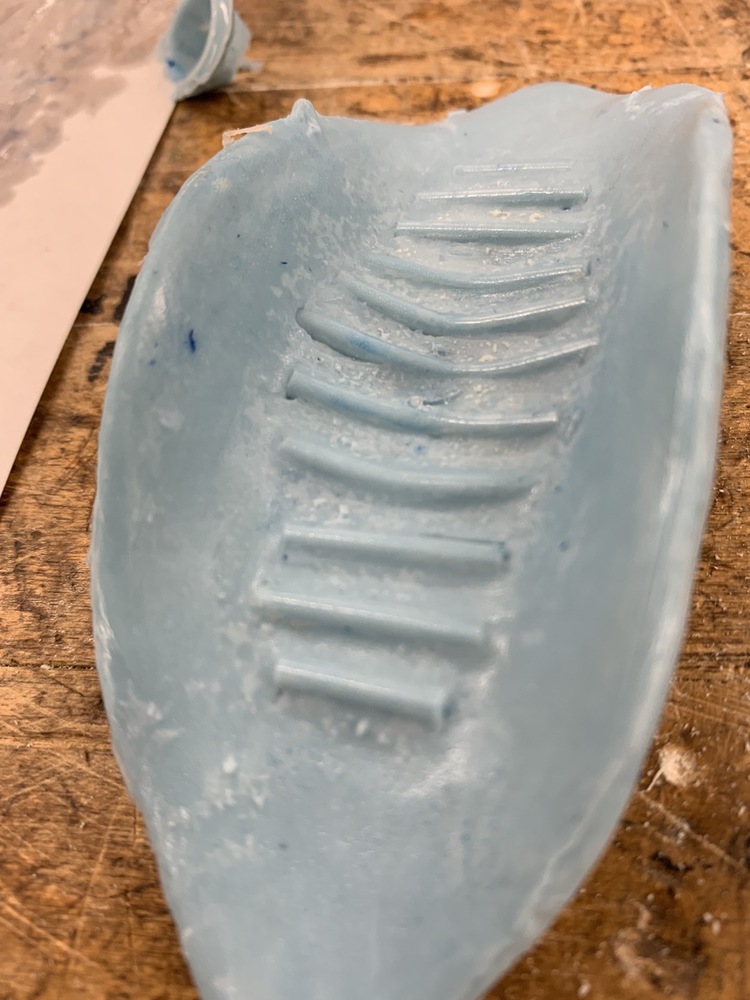
For the second casting, I tried to minimize the amount of time between mixing and vacuuming in hopes of getting a better finish and fuller edges. To suction the resin down I pressed down on the mold with my thumbs until all of the air was out (video below). For the second cast, I spent less time on this process and ended up with worse edges than before.
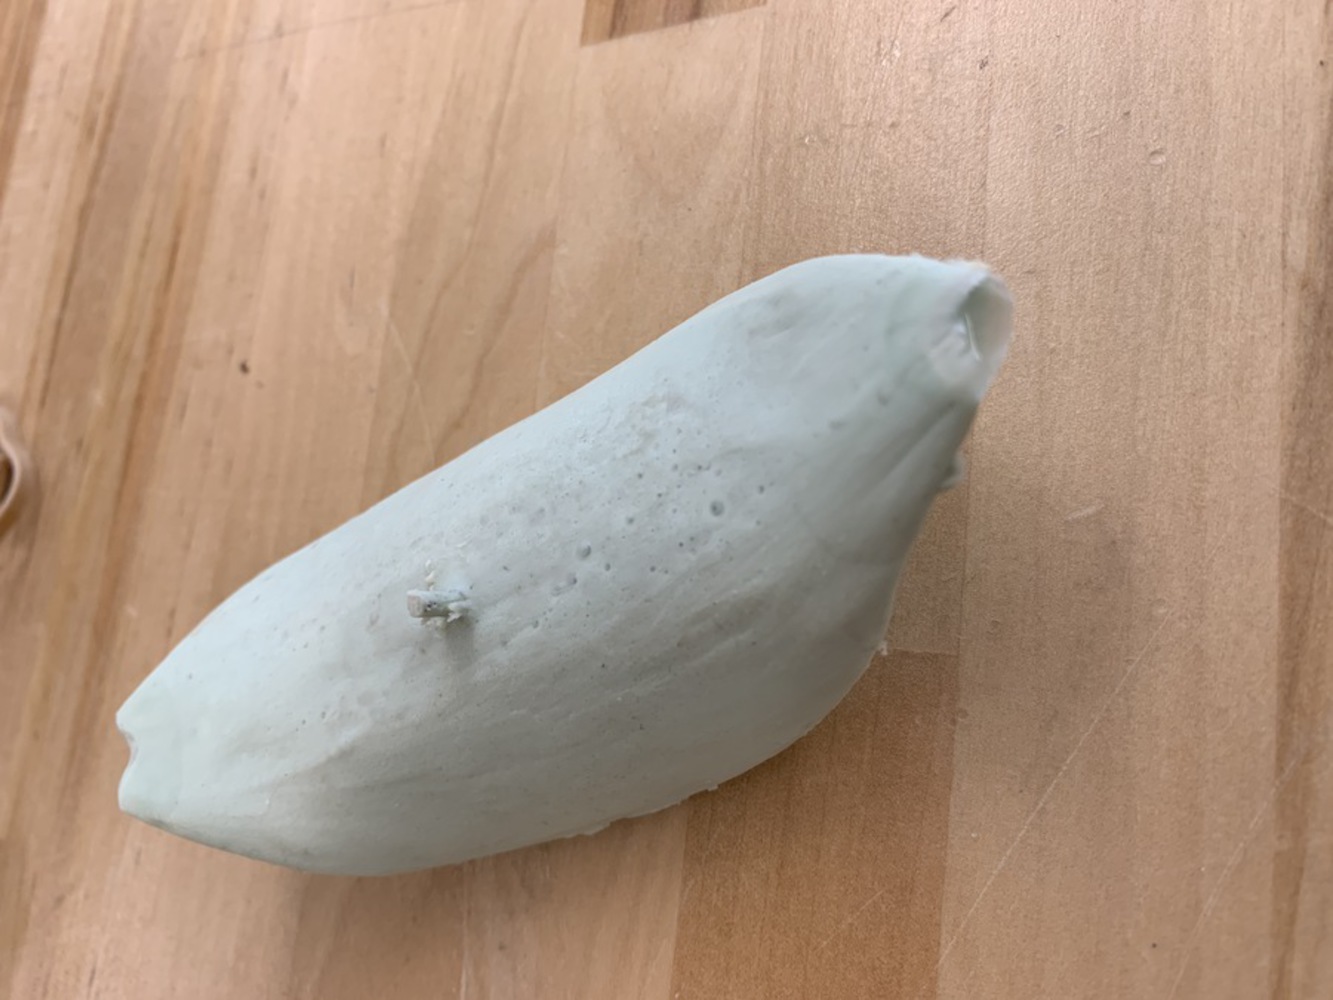
The extra air holes gave the part almost perfect corners, however, in this final casting, the surface finish on the top edge (pictured above) was the worst of all three. My guess for this is that my last cast somehow damaged the mold or there was leftover residue/ stray resin.
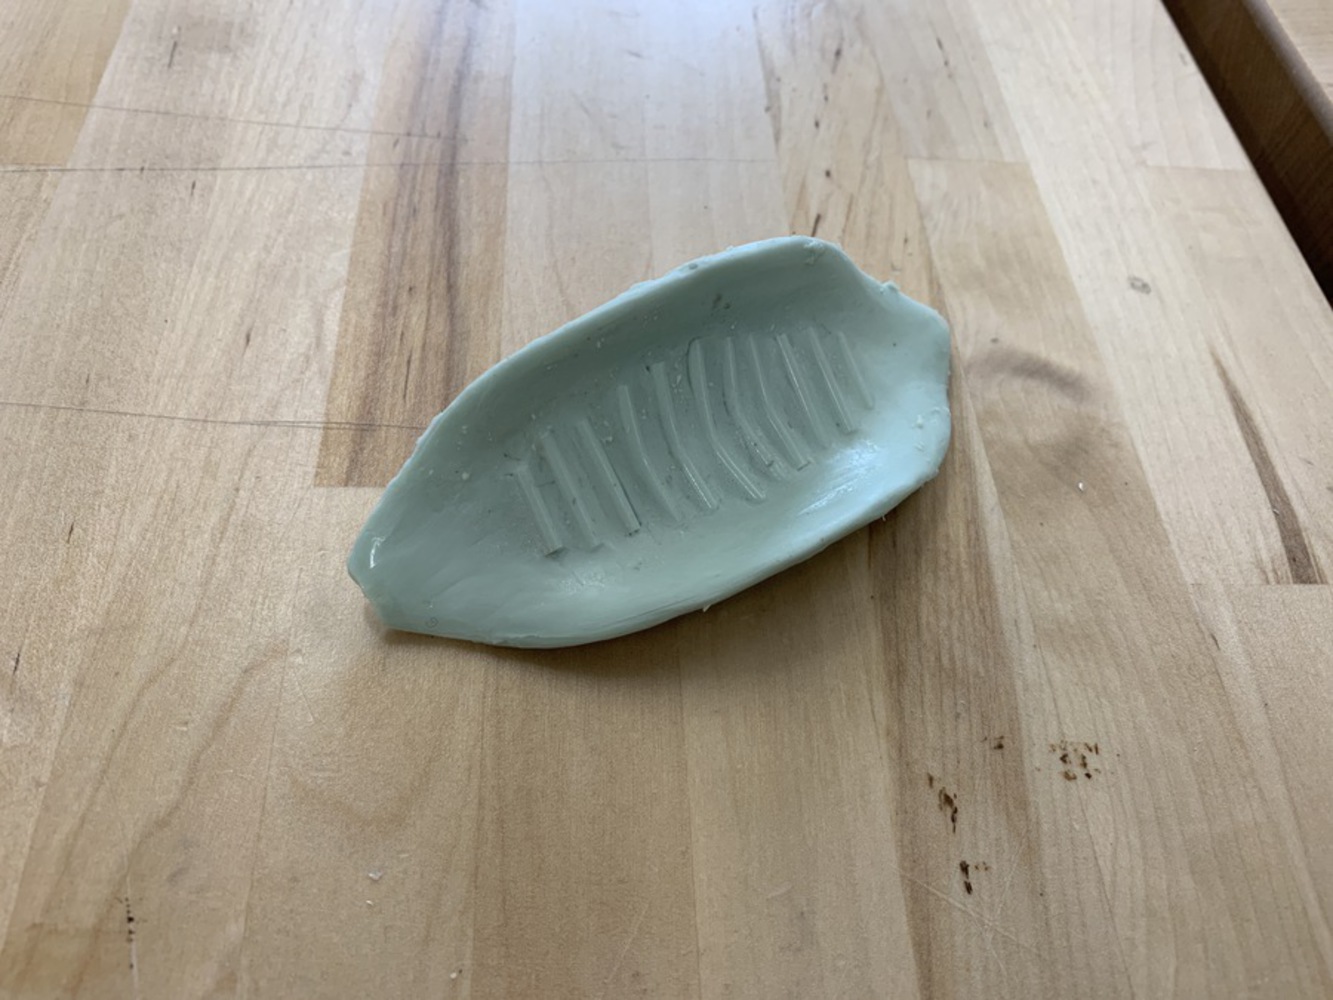
Ultimately my first casting came out the best. My last one had better techniques but some isolated mistakes that prevented it from being the better one. Pictured below is the piece fully sanded and finished. If given the chance to do this project again I would've considered the working mediums more in my design. As mention in project 2, the handle's shape did not allow the clay to be fully smoothed on all sides and those uneven finished transferred on to the final parts. The handle, however, did have a very nice feel to it and was comfortable to hold in my hand in the cupped position it was designed for. The ridges themselves transferred very smoothly and were almost pleasing to run my fingers over. Ultimately I found myself holding and fiddling with my finished parts a lot through this project and liked having it in my hands, I consider this to be the mark of a succesful ergonomic grip.
You can upload files of up to 20MB using this form.